Introduction
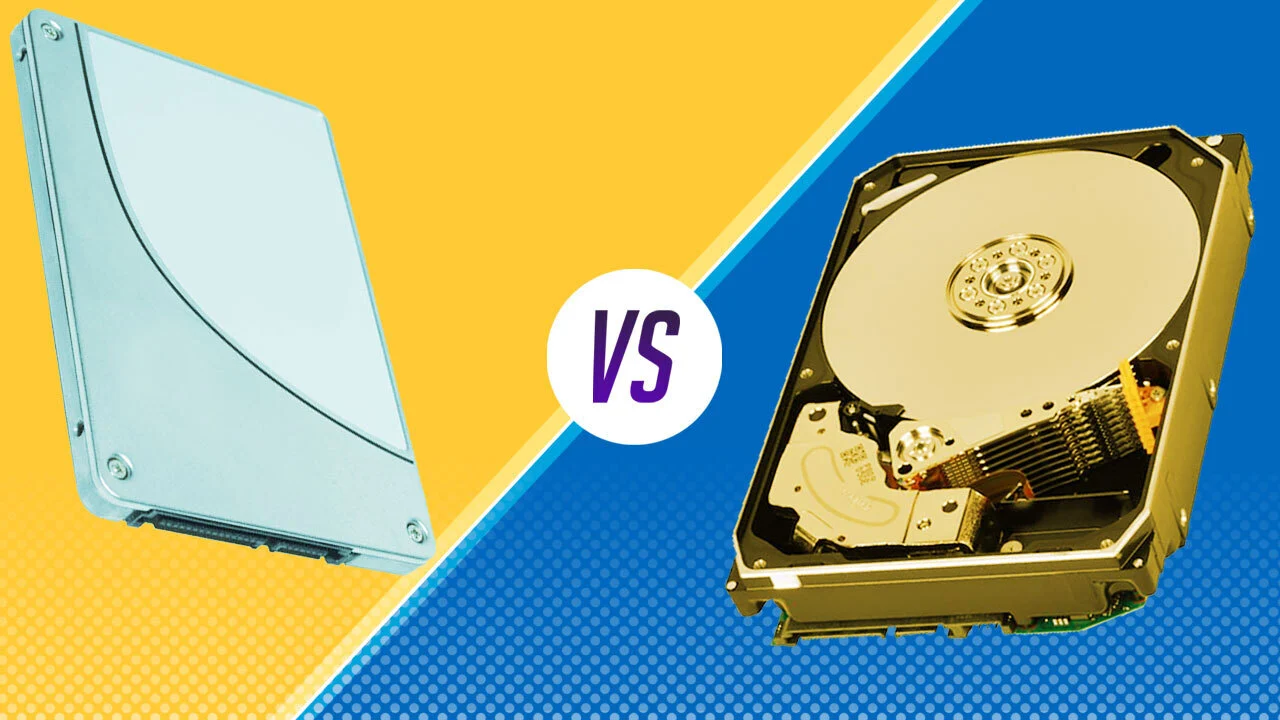
Moving your operating system from a traditional Hard Disk Drive (HDD) to a Solid State Drive (SSD) can significantly improve the performance and speed of your computer. SSDs are faster, more reliable, and offer better overall performance compared to HDDs. With an SSD, you can experience faster boot times, quicker application launches, and improved overall system responsiveness.
In this article, we will guide you through the process of migrating your operating system from your HDD to an SSD. We will cover the necessary steps to ensure a smooth transition, from backing up your data and checking compatibility to transferring your operating system and updating the boot order in your BIOS. By following these steps, you can seamlessly move your OS to an SSD without losing any data or functionality.
Before proceeding with the migration, it’s important to note that this guide assumes you have a basic understanding of computer hardware and software. If you are not comfortable working with computer hardware or if you are unsure about any of the steps outlined below, it’s recommended to seek professional assistance or consult your computer’s manufacturer for guidance.
Now, let’s dive into the process of migrating your operating system from your HDD to an SSD and unlock the full potential of your computer’s performance.
Prepare for the OS Migration
Before you begin the process of migrating your operating system from your HDD to an SSD, it is essential to take several preparatory steps to ensure a successful migration. Follow these steps to ensure a smooth transition:
- Back Up Your Data: Before making any changes to your system, it is crucial to backup all your important files and data. This step ensures that even if something goes wrong during the migration process, your data will remain safe. You can use an external hard drive, cloud storage services, or backup software to create a backup of your files.
- Choose the Right SSD: Selecting the right SSD is essential for a successful OS migration. Consider factors such as storage capacity, speed, brand reputation, and price. SSDs come in various sizes, so make sure you choose one that has enough capacity to accommodate your operating system and other important software.
- Check Compatibility: Ensure that your computer’s hardware and software are compatible with the SSD you have chosen. Check the manufacturer’s specifications and compare them to your computer’s requirements. Pay attention to factors such as interface type (SATA, NVMe), form factor (2.5-inch, M.2), and the connectors available on your motherboard.
- Create an Installation Media: Obtain an installation media for your operating system. This could be a USB flash drive with a bootable version of your OS or a DVD installation disc. Check the manufacturer’s website or contact their support for instructions on how to obtain the installation media if you don’t already have one.
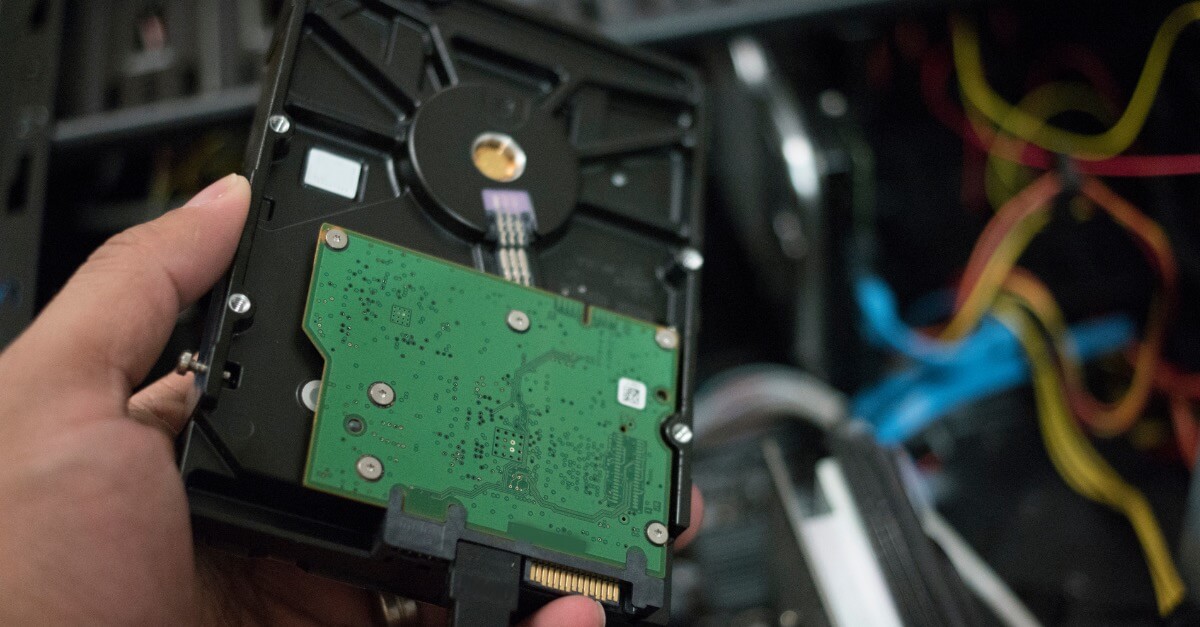
- Connect the SSD: Physically install the SSD into your computer. Follow the manufacturer’s instructions for your specific computer model. Ensure that the computer is unplugged from the power source and take necessary precautions to prevent static electricity discharge.
By properly preparing for the OS migration, you can minimize the chances of encountering any issues during the process. Taking the time to backup your data, choose the right SSD, check compatibility, and create an installation media will set the foundation for a successful migration. In the next section, we will guide you through the process of transferring your data from the HDD to the new SSD.
Back Up Your Data
Before embarking on the process of migrating your operating system from your HDD to an SSD, it is crucial to back up all your data. This step ensures that even in the unlikely event of data loss or system failure, your important files and documents will remain safe. Follow these steps to effectively back up your data:
- Identify Critical Data: Start by identifying the files and folders that contain your important data. This can include documents, photos, videos, music, and any other files that you cannot afford to lose. Take note of the locations where these files are stored, such as the Documents folder, Desktop, or external storage devices.
- Select a Backup Method: There are several methods you can use to back up your data. One option is to manually copy the files to an external hard drive or USB flash drive. Another option is to use cloud storage services like Google Drive, Dropbox, or OneDrive, which allow you to upload and sync your files automatically.
- Use Backup Software: If you have a large amount of data or want a more efficient and automated backup solution, consider using backup software. There are various options available, both free and paid, that provide features like scheduled backups, incremental backups, and encryption for added security. Research and choose a reliable backup software that suits your needs.
- Create Backup Copies: Once you have chosen a backup method or software, start creating backup copies of your data. If manually copying the files, ensure that you organize them in a logical and accessible manner. If using backup software, configure the software to select the files and folders you want to back up and set the desired backup frequency.
- Verify Backup Integrity: After copying or creating backups of your data, verify their integrity by checking that the files can be accessed and opened correctly. This step ensures that the backups are valid and that all critical data has been successfully stored in a safe location.
- Keep Multiple Copies: It is advisable to keep multiple copies of your backups in different locations. This provides an additional layer of protection in case of hardware failure, theft, or natural disasters. Consider storing backup copies on external hard drives, cloud storage, or even offline storage solutions like DVDs or tape drives.
By diligently backing up your data, you can have peace of mind knowing that your important files and documents are protected. In the next section, we will guide you through the process of choosing the right SSD for your OS migration.
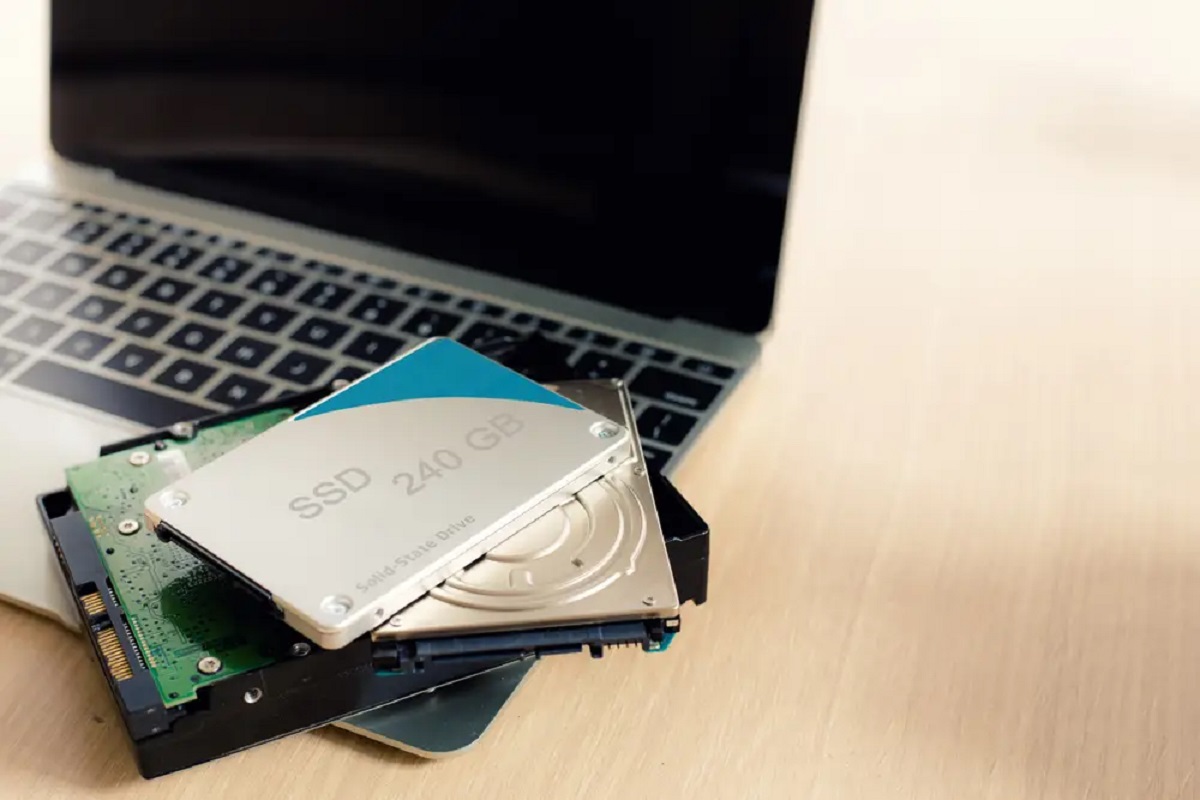
Choose the Right SSD
Selecting the right Solid State Drive (SSD) is crucial for a successful operating system (OS) migration. Consider the following factors to ensure you choose an SSD that meets your requirements and maximizes performance:
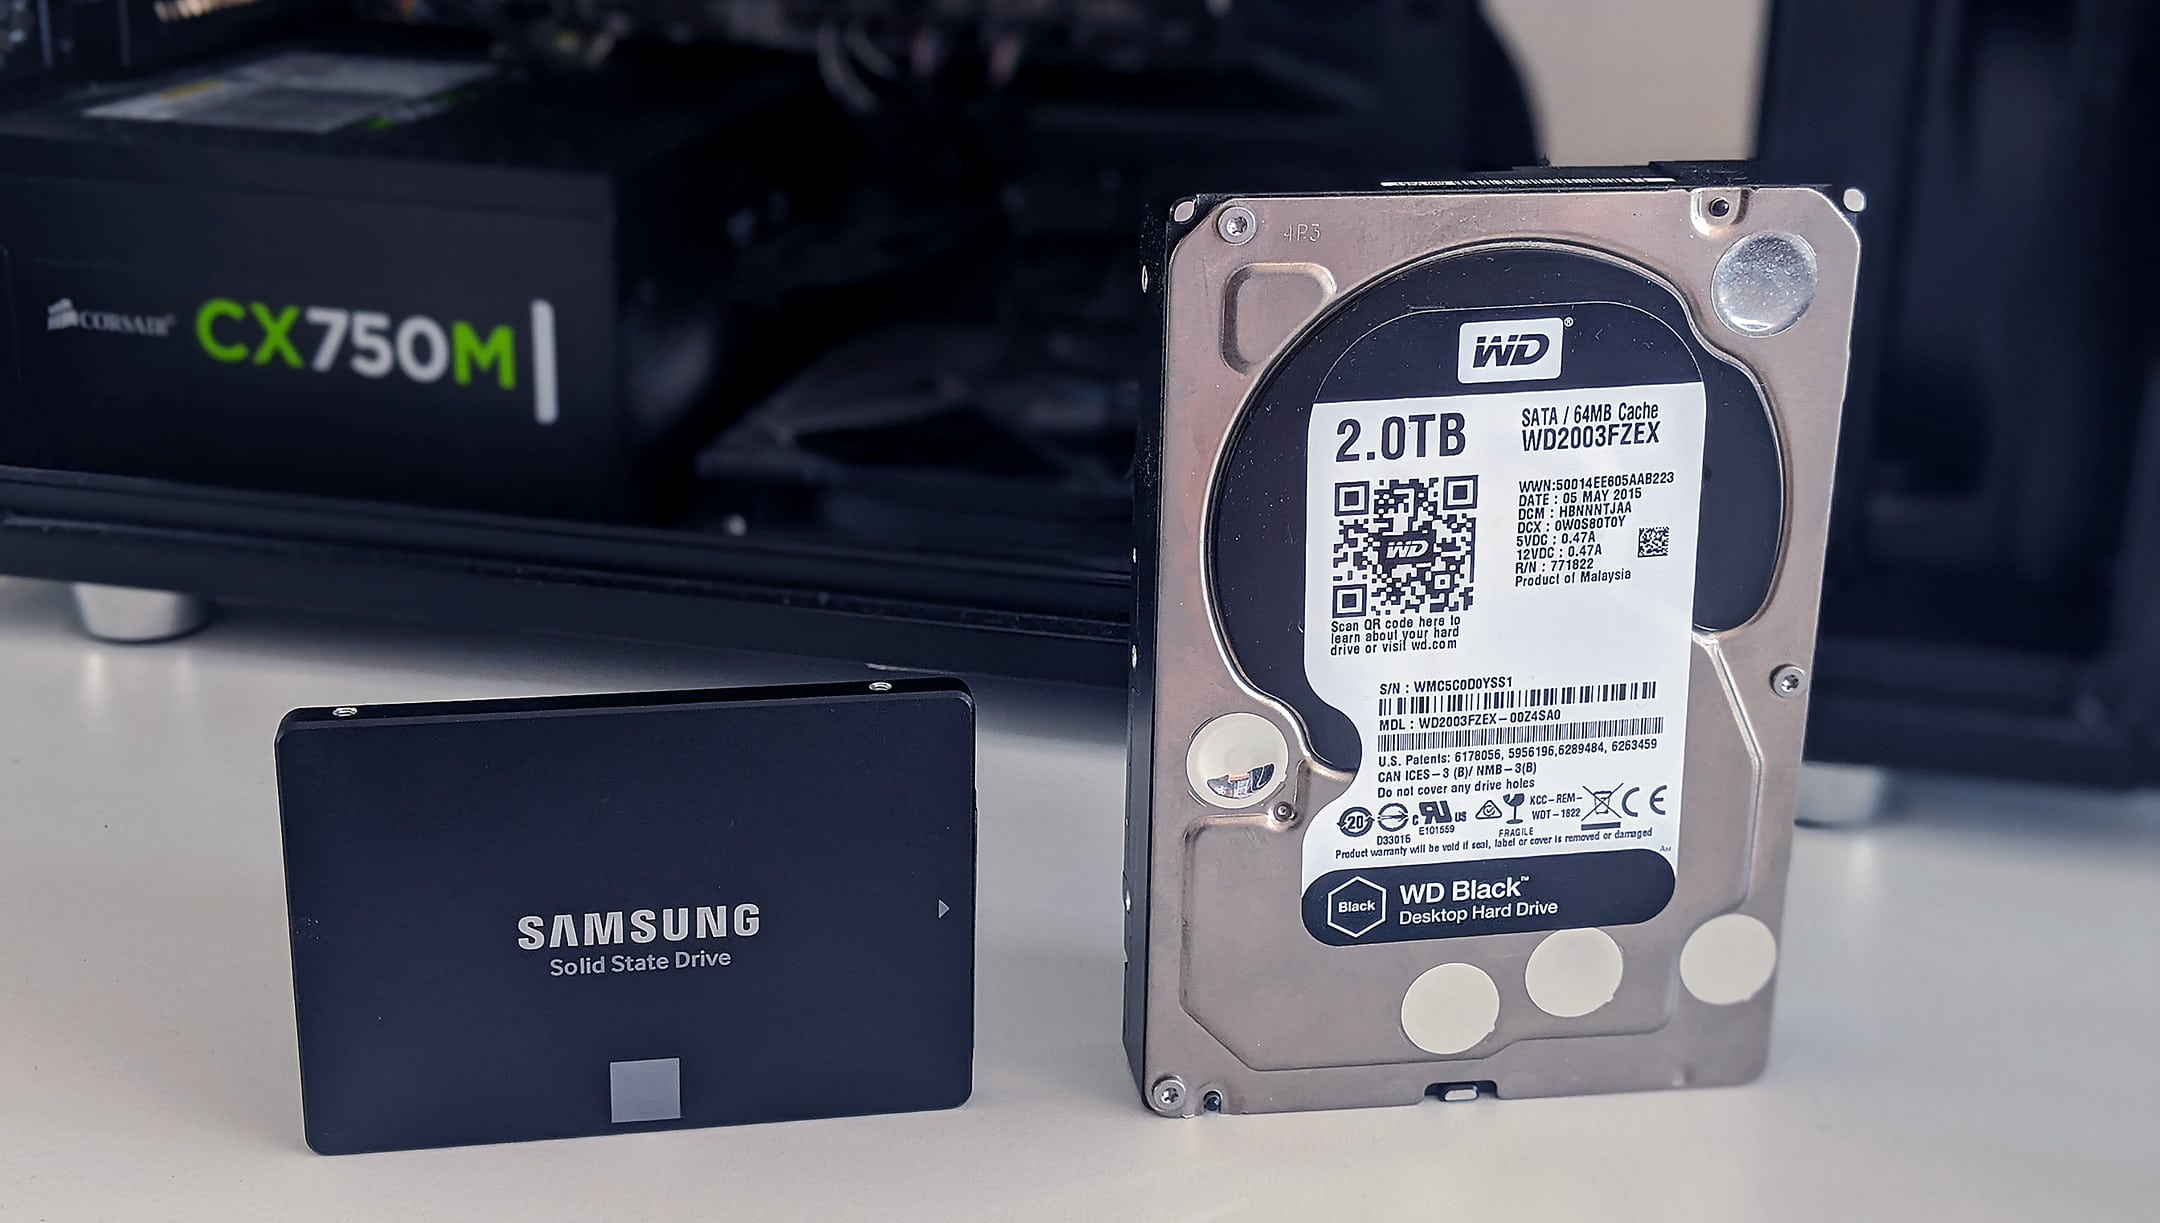
- Storage Capacity: Determine the storage capacity you need for your operating system and other software. SSDs typically come in a range of capacities, from 120GB to several terabytes. Choose a capacity that accommodates your OS, applications, and files, while leaving some room for future growth.
- Speed: SSDs offer faster data transfer speeds compared to traditional Hard Disk Drives (HDDs). Consider the SSD’s read and write speeds, which influence the overall performance of your system. Look for SSDs with higher speeds, especially if you perform tasks that involve intensive data processing, such as video editing or gaming.
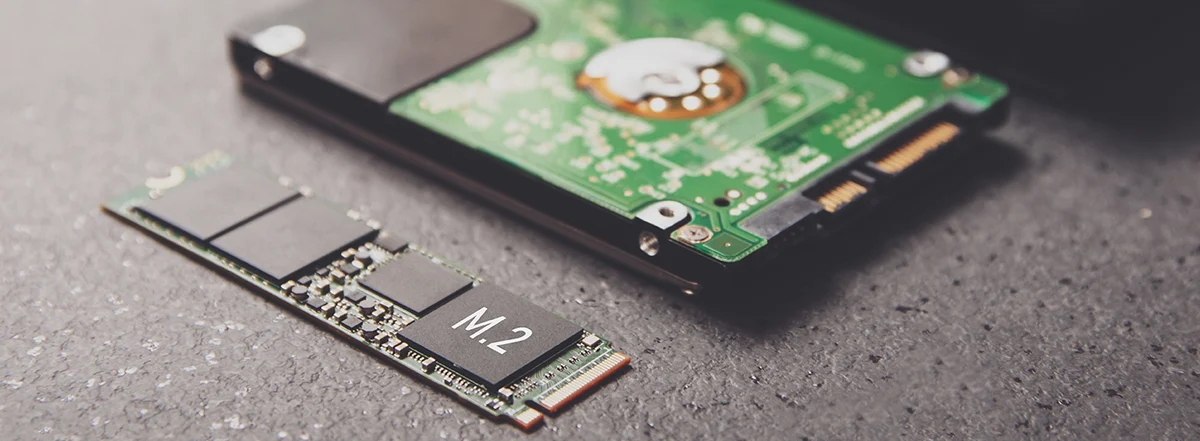
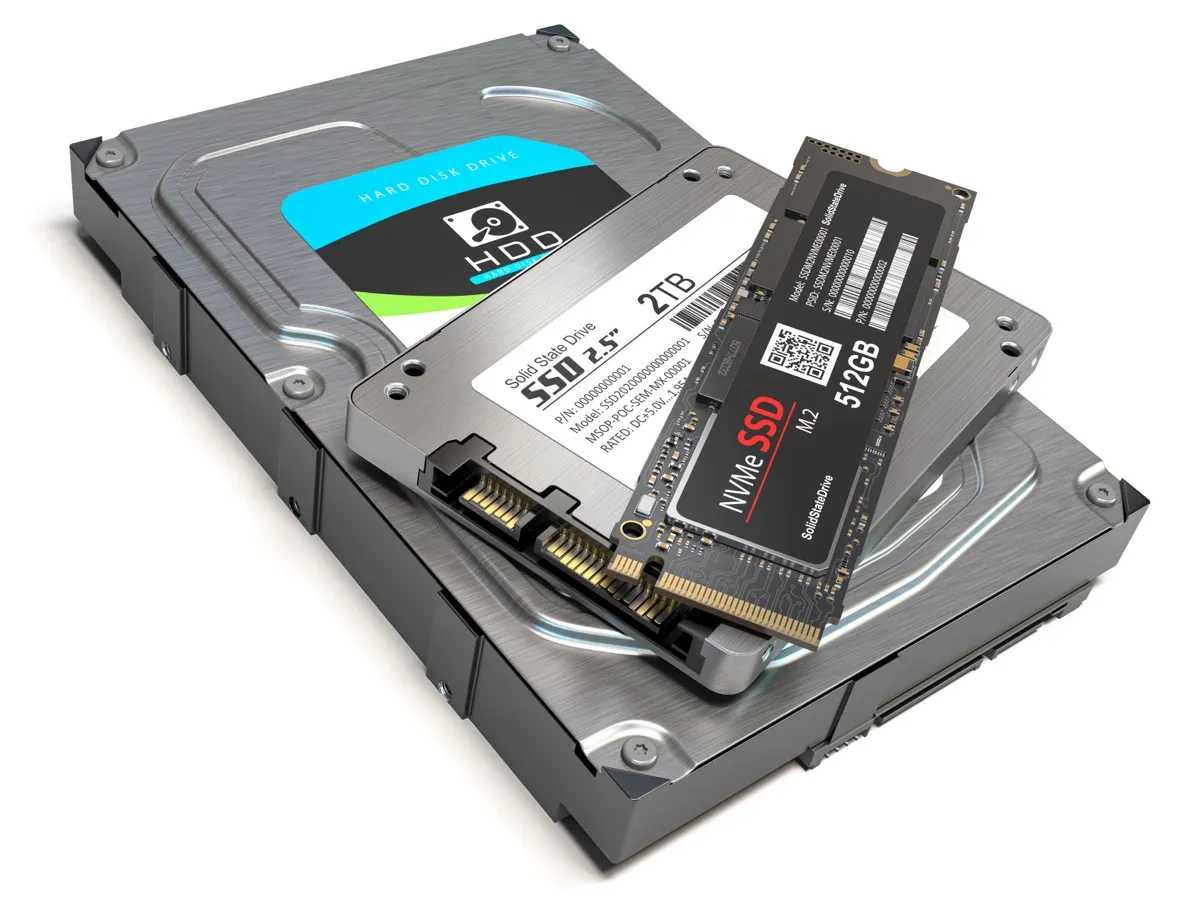
- Form Factor: SSDs come in different form factors, such as 2.5-inch drives and M.2 drives. Determine which form factor your computer supports and ensure the SSD you choose is compatible. Additionally, M.2 drives can be either SATA-based or NVMe-based, so verify which type your computer supports before making a purchase.
- Interface: Consider the interface that the SSD uses to connect to your computer. The most common interface is Serial Advanced Technology Attachment (SATA), which is compatible with most computers. However, newer systems may support the faster Non-Volatile Memory Express (NVMe) interface. Check your computer’s specifications or user manual to determine the supported interface.
- Reliability: Look for SSDs from reputable brands that are known for their reliability and durability. Reading customer reviews and feedback can provide valuable insights into the long-term performance and reliability of different SSD models.
- Price: SSDs vary in price based on the storage capacity, speed, and brand. Set a budget and identify SSD models that offer the best value for your specific needs. Compare prices from different retailers and consider any ongoing promotions or discounts.
By considering these factors, you can choose an SSD that aligns with your requirements and enhances the performance of your computer. In the next section, we will discuss how to check the compatibility of the chosen SSD with your system before proceeding with the OS migration.
Check Compatibility
Before proceeding with the operating system (OS) migration to a Solid State Drive (SSD), it is essential to check the compatibility of the chosen SSD with your system. Consider the following factors to ensure a smooth and successful migration process:
- Interface Compatibility: Verify that the interface of the SSD is compatible with your system. The most common interface for SSDs is Serial Advanced Technology Attachment (SATA), which is supported by the majority of computers. However, some newer systems may support the faster Non-Volatile Memory Express (NVMe) interface. Check your computer’s specifications or user manual to determine the supported interfaces.
- Form Factor Compatibility: Ensure that the form factor of the SSD matches the physical dimensions supported by your system. Common SSD form factors include 2.5-inch drives and M.2 drives. 2.5-inch drives are similar in size to traditional HDDs and are compatible with most laptops and desktops. M.2 drives, on the other hand, connect directly to the motherboard and come in different lengths and key types. Check your system’s specifications or user manual to determine the appropriate form factor.
- Available Connectors: Check the connectors available on your system’s motherboard to ensure compatibility with the chosen SSD. 2.5-inch SSDs usually use a standard SATA connector, which is widely supported. M.2 SSDs, on the other hand, require specific M.2 connectors on the motherboard. It is important to verify the type and availability of these connectors before making a purchase.
- Available Slots: For M.2 SSDs, check if your motherboard has an available M.2 slot. Some motherboards may support multiple M.2 slots, while others may only have one or none. Additionally, be aware of any potential restrictions or bandwidth limitations associated with using specific M.2 slots, as some may share resources with other components like graphics cards or network adapters.
- System Requirements: Ensure that your system meets the minimum requirements specified by the SSD manufacturer. Some SSDs may have specific requirements in terms of operating system version, BIOS version, or driver installations. Check the manufacturer’s website or product documentation for any specific system requirements.
By thoroughly checking compatibility before proceeding with the OS migration, you can avoid issues such as physical incompatibility or performance limitations. In the next section, we will discuss how to create an installation media for the OS migration process.
Create an Installation Media
To migrate your operating system (OS) from your Hard Disk Drive (HDD) to a Solid State Drive (SSD), you will need to create an installation media. This media will allow you to install the operating system on the new SSD. Follow these steps to create an installation media:
- Obtain the Installation Files: Depending on your operating system, you can obtain the installation files from various sources. If you have a Windows OS, you can download the ISO file or use the Windows Media Creation Tool from the official Microsoft website. For macOS, you can find the installation files on the App Store or by contacting Apple support.
- Prepare a USB Flash Drive: You will need a USB flash drive to create the installation media. Ensure that the flash drive has enough storage space to accommodate the installation files. Format the USB drive to be compatible with your operating system; for Windows, use the FAT32 or NTFS file system, and for macOS, use the Mac OS Extended (Journaled) format.
- Create Bootable Media: Use a dedicated tool or utility to create a bootable USB drive with the installation files. For Windows, you can use tools like Rufus or the Windows Media Creation Tool. For macOS, you can use the built-in Disk Utility to restore the installation files onto the USB drive. Follow the instructions provided by the tool or utility to create the bootable media.
- Set Boot Priority: Once the bootable media is created, insert the USB drive into the appropriate port on your computer. Restart your computer and access the BIOS or UEFI settings by pressing the designated key (typically F2, F12, or Del) during the boot process. In the BIOS or UEFI settings, navigate to the Boot or Startup tab and set the boot priority to prioritize USB devices. Save the changes and exit the BIOS or UEFI settings.
- Verify Bootable Media: Restart your computer, and it should boot from the USB drive. The installation process for your specific operating system should begin. Verify that the installation media is working correctly by following the on-screen instructions up to the point where you need to select the destination drive for the OS installation. You can exit the installation process at this stage.
By creating a bootable installation media, you will have the necessary tools to install the operating system on the new SSD. In the next section, we will discuss how to physically connect the SSD to your computer in preparation for the OS migration.
Connect the SSD
Once you have obtained or created the installation media for your operating system (OS) migration, the next step is to physically connect the Solid State Drive (SSD) to your computer. Follow these steps to ensure a proper connection:
- Power Off Your Computer: Before making any hardware changes, shut down your computer completely and unplug it from the power source. This step is crucial to prevent any potential electrical damage.
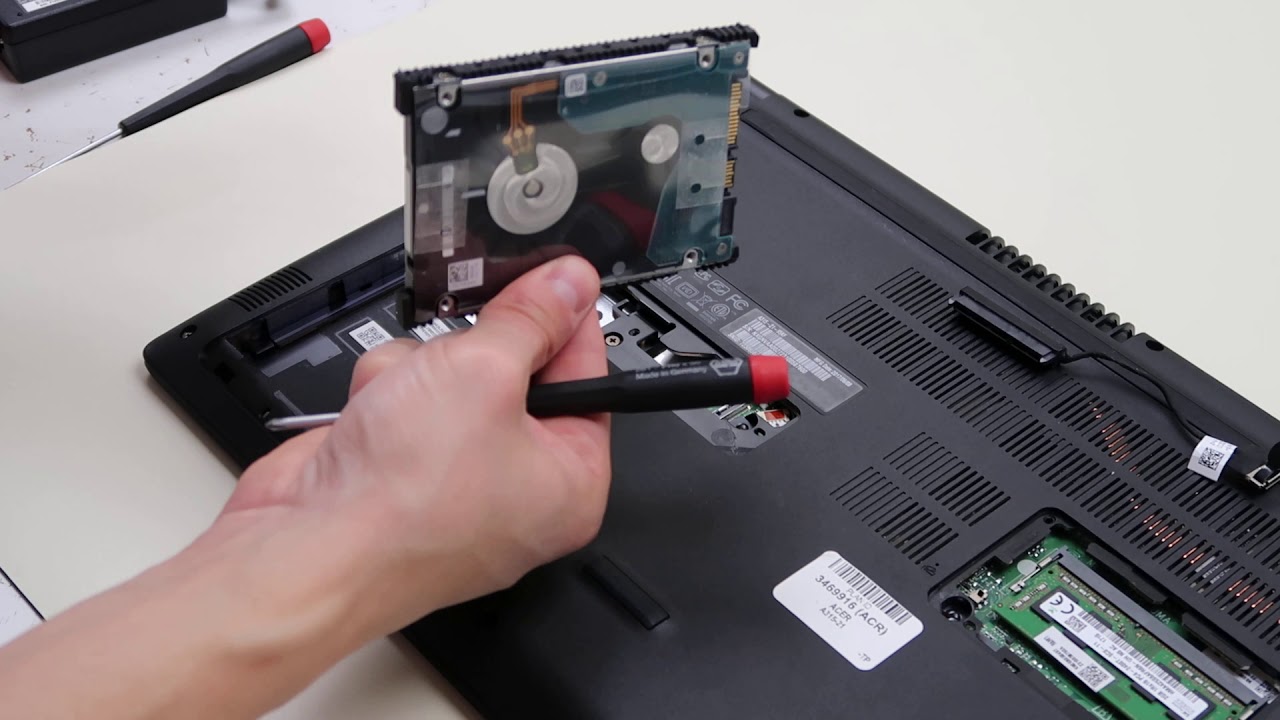
- Locate an Available Drive Bay: Identify an available drive bay in your computer where you can install the SSD. In desktop computers, this is typically a 2.5-inch or 3.5-inch drive bay, while in laptops it may require removing the existing HDD or using an empty M.2 slot.
- Mount the SSD: If installing a 2.5-inch SSD in a desktop, use the mounting brackets and screws provided with the SSD or available in the computer case to secure the SSD in the drive bay. Ensure that the SSD is snugly fit and properly aligned. If installing an M.2 SSD, carefully insert the SSD into the appropriate slot on your motherboard, applying gentle pressure until it is firmly seated.
- Connect Power and Data Cables: For a 2.5-inch SSD, connect the SATA power cable from your power supply unit to the power port on the SSD. Then, connect the SATA data cable to both the SSD and a SATA port on your motherboard. Make sure the cables are securely connected without exerting excessive force. For M.2 SSDs, skip this step as they do not require any direct power or data cables.
- Reassemble Your Computer: Once the SSD is properly connected, reassemble your computer by securely fastening any removed panels or covers. Make sure all cables are neatly organized and out of the way to allow for optimal airflow and prevent any interference with other components.
- Power On Your Computer: Plug your computer back into the power source and power it on. Enter the BIOS or UEFI settings by pressing the appropriate key (typically F2, F12, or Del) during the boot process. Verify that the SSD is recognized in the BIOS or UEFI settings, and ensure that the boot order is properly configured to prioritize the SSD as the main boot device.
By following these steps, you will have successfully connected the SSD to your computer in preparation for the OS migration. In the next section, we will guide you through the process of transferring your operating system and data to the SSD.
Transfer Data to the SSD
Now that you have connected the Solid State Drive (SSD) to your computer, it’s time to transfer your operating system (OS) and data from the Hard Disk Drive (HDD) to the SSD. There are a few different methods you can use, depending on your specific needs and preferences.
One option is to perform a fresh installation of the operating system on the SSD. This involves reinstalling the OS from the installation media you created earlier and manually transferring your files and applications to the new SSD. While this method ensures a clean and optimized installation, it requires more time and effort to reinstall applications and restore files from backups.
Another option is to clone your HDD to the SSD using specialized software. Cloning creates an exact copy of your HDD, including the operating system, applications, and files, onto the SSD. This method is convenient and saves time in setting up the OS and reinstalling applications. However, limitations may arise if the storage capacity of the SSD is smaller than the HDD, requiring careful selection of the data to be cloned.
Regardless of the method chosen, it is crucial to back up your data before proceeding with the transfer process. This ensures that your files and documents are safe, even in the event of unforeseen issues during the transfer. Use an external hard drive, cloud storage, or backup software to create a backup of your important files.
If you opt for a fresh OS installation, boot your computer from the installation media and follow the prompts to install the operating system on the SSD. Once the installation is complete, you can manually transfer your files and reinstall applications from your backup. Take this opportunity to organize your files and remove any unnecessary data.
If you choose to clone your HDD to the SSD, use reputable cloning software such as Clonezilla, Macrium Reflect, or Acronis True Image. Follow the instructions provided by the software to select the source (HDD) and destination (SSD) drives. Make sure to double-check the settings and confirm that you want to proceed with the cloning process, as this step cannot be undone.
After transferring the OS and data to the SSD, restart your computer and enter the BIOS or UEFI settings to ensure that the SSD is recognized as the primary boot device. Verify that the computer boots from the SSD and that everything is functioning correctly.
By effectively transferring your operating system and data to the SSD, you can take full advantage of the improved speed and performance offered by the SSD. In the next section, we will discuss third-party software options for OS migration, which can provide additional convenience and flexibility.
Migrate OS Using Third-Party Software
If you prefer a more streamlined and automated approach to migrating your operating system (OS) from your Hard Disk Drive (HDD) to a Solid State Drive (SSD), you can consider using third-party software specifically designed for OS migration. These software tools offer simplified and efficient solutions for transferring your OS, applications, and data to the new SSD. Here’s how you can migrate your OS using third-party software:
- Research and Select a Reliable Software: Explore different third-party software options available on the market. Look for features such as OS migration, disk cloning, data backup, and restoration. Read reviews and compare the functionality, user-friendliness, reliability, and pricing of different software tools to find the one that best suits your needs.
- Back Up Your Data: Before proceeding with the OS migration, create a backup of your important files and data. This will ensure that even if any unexpected issues arise during the migration process, your data will remain safe and accessible. You can use external storage devices or cloud-based backup services to securely store your files.
- Install the Third-Party Software: After selecting the appropriate software, download and install it on your computer. Ensure that you are using the latest version of the software to benefit from any performance improvements or bug fixes.
- Launch the Software: Open the third-party software and follow the provided instructions to initiate the OS migration process. The software will guide you through the steps, such as selecting the source (HDD) and destination (SSD) drives, configuring the migration settings, and initiating the migration process. The software will handle the transfer of your OS, applications, and data, ensuring a seamless transition to the new SSD.
- Monitor the Migration Process: During the migration process, keep an eye on the progress to ensure that everything is functioning as expected. The software may provide a progress bar or status updates to keep you informed about the transfer. Be patient, as the duration of the migration process can vary depending on the size of your OS and data.
- Verify the Migration: Once the migration is complete, carefully review the transferred OS, applications, and data on the new SSD. Ensure that all files and settings have been successfully transferred, and that everything is functioning as intended. Take the opportunity to organize your files and delete any unnecessary data to optimize the storage space on the SSD.
- Update Boot Order: Restart your computer and enter the BIOS or UEFI settings to update the boot order. Ensure that the SSD is set as the primary boot device to allow the computer to boot directly from the new drive.
By utilizing third-party software for OS migration, you can streamline the process and minimize the risk of errors or data loss. However, it is still important to back up your data and verify the migration to ensure a successful transition. In the next section, we will guide you through updating the boot order in your computer’s BIOS for a seamless booting experience from the new SSD.
Update Boot Order in BIOS
After migrating your operating system (OS) to a Solid State Drive (SSD), it is important to update the boot order in your computer’s Basic Input/Output System (BIOS) or Unified Extensible Firmware Interface (UEFI) settings. By doing so, you ensure that your computer boots directly from the new SSD, allowing for faster startup times and improved overall system performance. Follow these steps to update the boot order in your computer’s BIOS/UEFI:
- Restart Your Computer: Save any open files and programs, and restart your computer. Depending on your computer model, you may need to press a specific key (such as F2, F12, or Del) during the boot process to access the BIOS/UEFI settings.
- Enter BIOS/UEFI Settings: Once you have identified the correct key to access the settings, press it repeatedly until you enter the BIOS/UEFI settings screen. Different computer models have different key combinations, so refer to your computer’s documentation or the manufacturer’s website for specific instructions.
- Navigate to the Boot Options: Inside the BIOS/UEFI settings, navigate to the Boot or Startup tab. The exact name and location may vary depending on your computer’s manufacturer and BIOS/UEFI version.
- Modify the Boot Order: Locate the list of boot devices or boot priority. Use the arrow keys to move the SSD to the top of the list or rearrange the order so that the SSD is listed before any other storage devices, such as the HDD or optical drive. The specific method for modifying the boot order may differ depending on your BIOS/UEFI interface. Refer to any on-screen instructions or consult the documentation for your computer if needed.
- Save and Exit: Once you have updated the boot order to prioritize the SSD, save the changes and exit the BIOS/UEFI settings. Typically, you can do this by pressing a designated key combination (often F10) or selecting the “Save and Exit” option from the menu.
- Restart Your Computer: Allow your computer to restart and boot from the SSD. You will notice a significant improvement in boot times and overall system performance as your OS is loaded from the faster SSD instead of the HDD. Enjoy the increased speed and responsiveness of your newly migrated system.
It is essential to update the boot order after migrating your OS to the SSD to ensure that your computer properly recognizes and utilizes the new drive. By following the steps above, you will optimize the boot process and fully benefit from the enhanced performance of your SSD. In the next section, we will cover how to test the new SSD to ensure everything is functioning correctly.
Test the New SSD
After migrating your operating system (OS) to the Solid State Drive (SSD) and updating the boot order, it is important to perform some tests to ensure that the new SSD is functioning correctly and delivering the expected performance. Here are some tests you can run to validate the performance and reliability of the new SSD:
- Benchmarking Tools: Use benchmarking software like CrystalDiskMark, AS SSD Benchmark, or Blackmagic Disk Speed Test to measure the read and write speeds of the SSD. These tools provide detailed insights into the drive’s performance, highlighting sequential and random read/write speeds, as well as input/output operations per second (IOPS).
- Load Time Comparison: Compare the loading times of your frequently used applications and games before and after the SSD migration. Note any significant improvements in the time it takes for applications and games to start up. This test will give you a practical sense of the SSD’s impact on your daily computer usage.
- File Transfer Speed: Transfer a large file or folder from one location on your SSD to another and note the transfer speed. This test will help verify the SSD’s sustained performance during real-world data transfer scenarios.
- Boot Time: Time how long it takes for your computer to boot up from pressing the power button to reaching the desktop. Compare this boot time to the boot time you experienced with the previous HDD. The SSD should significantly reduce boot times, allowing for a faster and smoother startup experience.
- Application Launch Time: Launch various applications and note how quickly they open and become usable. Applications installed on the SSD should open noticeably faster compared to when they were on the HDD.
- System Stability: Monitor the stability of your computer after the migration. Ensure that the system does not encounter any crashes, freezes, or unusual behavior. If you notice any issues, double-check the connections of the SSD and verify that all drivers and software are up to date.
- Data Accessibility: Check the accessibility and functionality of your stored data on the new SSD. Open various files and ensure they are accessible and usable without any errors. Verify that all applications, settings, and preferences have successfully migrated to the SSD.
By performing these tests, you can verify the performance, stability, and reliability of the new SSD after the migration process. If any issues arise during the testing phase, double-check the installation, connections, and software configurations to ensure everything is correctly set up. Enjoy the enhanced speed and responsiveness of your computer with the new SSD.
Conclusion
Migrating your operating system (OS) from a Hard Disk Drive (HDD) to a Solid State Drive (SSD) can unlock a plethora of benefits, including improved performance, faster boot times, and enhanced overall system responsiveness. Throughout this guide, we have walked you through the necessary steps to successfully migrate your OS to an SSD.
We began by highlighting the importance of preparing for the migration, including backing up your data and choosing the right SSD. To ensure a smooth transition, checking compatibility and creating an installation media were crucial steps to undertake. We then discussed methods for transferring data to the new SSD, whether through a fresh OS installation or cloning with third-party software, and emphasized the necessity of backing up data before proceeding.
Updating the boot order in your computer’s BIOS or UEFI settings was emphasized as a crucial element to ensure that your computer boots from the new SSD. We also provided guidance on how to test the new SSD to validate its performance and reliability, including benchmarking, comparing load times, file transfer speed, boot time, and application launch times.
By following these steps and conducting thorough tests, you can ensure that the migration process is successful and fully harness the benefits of your new SSD. From improved system performance to faster loading times, the SSD will provide a significant boost to your computing experience.
Remember, if you encounter any issues or feel uncomfortable performing any of these steps, it is advisable to seek professional assistance or consult your computer’s manufacturer for guidance. Migrating your OS to an SSD requires careful execution and attention to detail, but the results are well worth the effort.
Now that you have successfully migrated your OS to an SSD, enjoy the enhanced speed and responsiveness of your computer. Whether you are using it for work or play, the improved performance will undoubtedly elevate your computing experience to new heights.