Introduction
Welcome to our guide on how to install a solid state drive (SSD) on an eMachines ET1331G-03W. If you’re looking to improve the performance and speed of your computer, upgrading to an SSD is a great option. Unlike traditional hard drives, SSDs use flash memory to store data, resulting in faster data access and quicker boot times.
In this article, we will walk you through the steps to successfully install an SSD in your eMachines ET1331G-03W desktop. Whether you are a novice or have some technical knowledge, our guide provides detailed instructions to help you navigate through the installation process with ease.
Upgrading to an SSD offers several benefits. Firstly, it significantly reduces the time it takes for your computer to boot up and load applications. With improved speed and responsiveness, you can enjoy a smoother and more efficient computing experience. Additionally, SSDs are more durable than traditional hard drives since they have no moving parts, making them less susceptible to damage from physical shocks or vibrations.
Before diving into the installation process, it’s important to familiarize yourself with the necessary tools and materials you’ll need. This will ensure a smooth and successful installation process without any last-minute hiccups. Additionally, backing up your data is crucial to ensure that you don’t lose any important files during the installation process.
So, let’s get started! In the following sections, we will guide you through the step-by-step process of installing a solid state drive in your eMachines ET1331G-03W desktop. By the end of this guide, you’ll have a faster and more efficient computer, ready to tackle any task you throw at it.
Step 1: Gather the necessary tools and materials
Before you begin installing a solid state drive (SSD) in your eMachines ET1331G-03W desktop, it’s important to gather all the necessary tools and materials. This will ensure that you have everything you need for a smooth installation process. Here’s a list of what you’ll need:
- Phillips screwdriver: You’ll need a Phillips screwdriver to remove and install screws during the process. Make sure it is the appropriate size for the screws in your computer.
- Anti-static wrist strap: To protect sensitive components from static electricity, use an anti-static wrist strap that you can attach to your wrist and a grounding point.
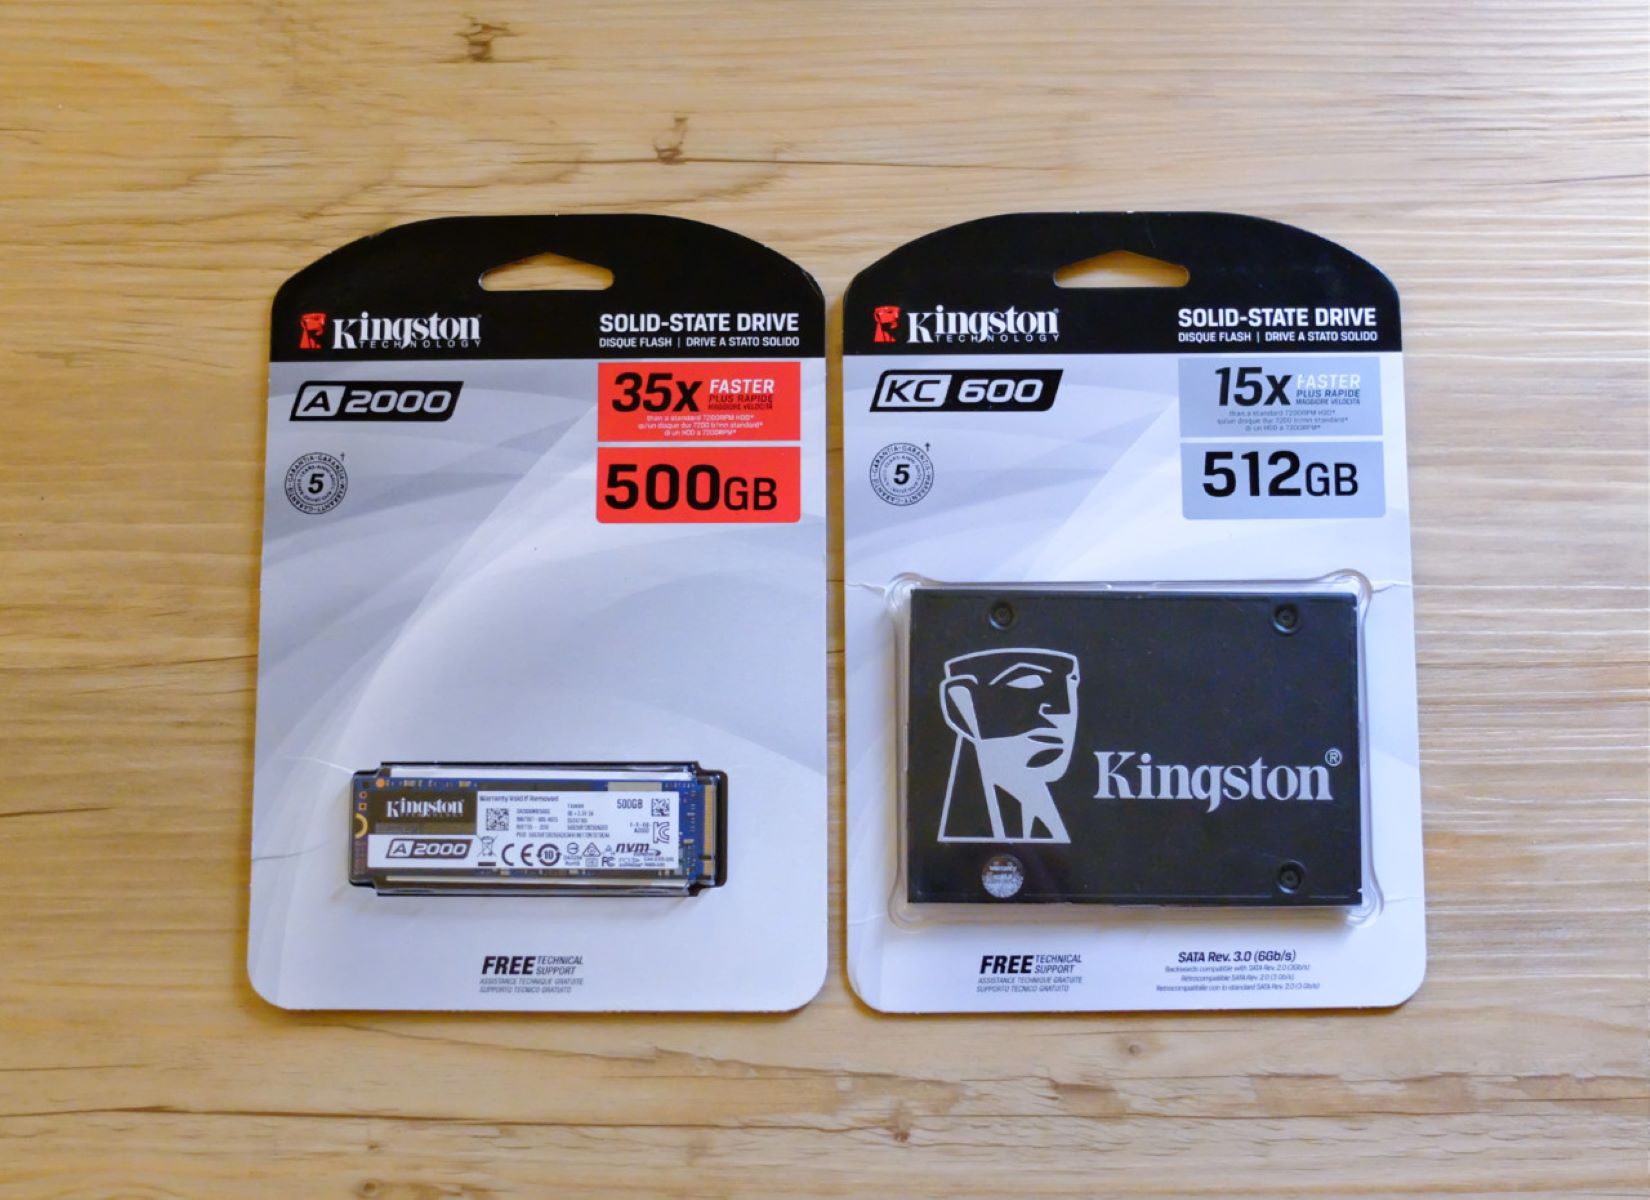
- SSD: Choose the SSD that meets your storage requirements. Consider factors such as capacity, speed, and budget.
- SATA data cable: You’ll need a SATA data cable to connect the SSD to your computer’s motherboard. Ensure that the cable is compatible with both the SSD and your motherboard.
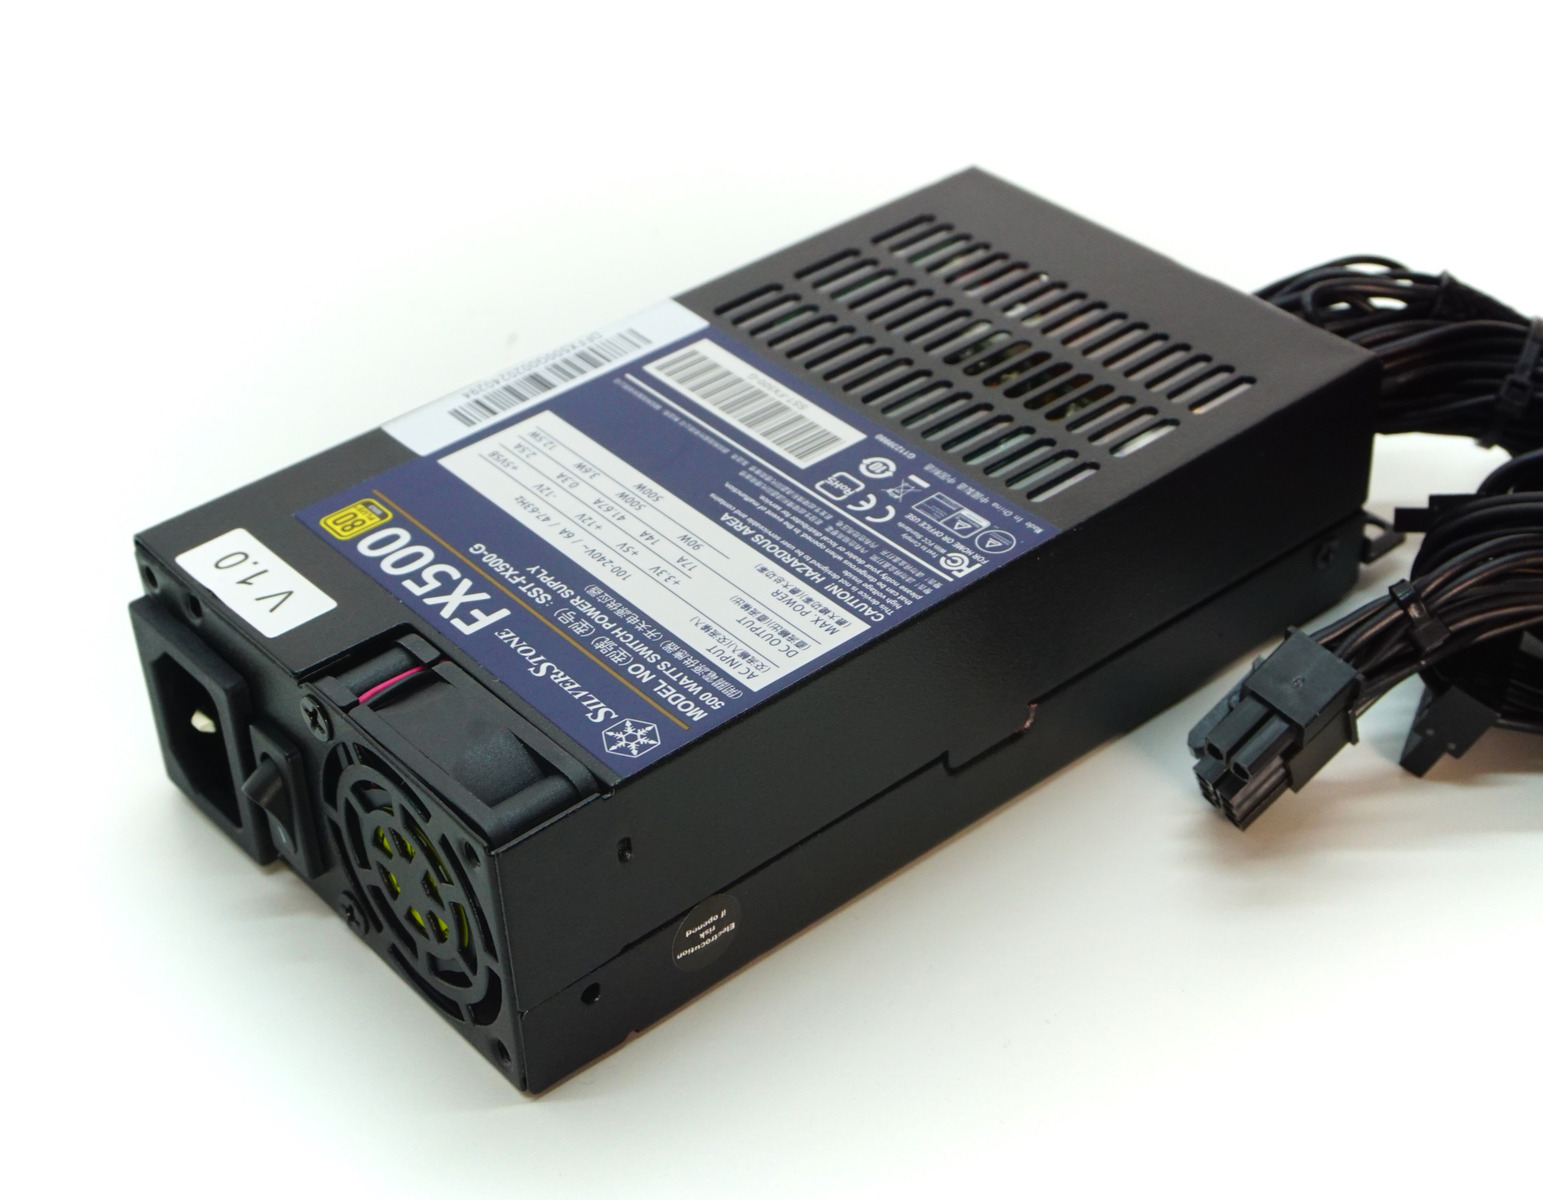
- SATA power cable: This cable will provide power to the SSD. It should be compatible with the power supply unit (PSU) in your computer.
- External storage device: Before proceeding with the installation, back up all your data to an external storage device. This will prevent any data loss in case of unexpected issues during the installation process.
It’s important to ensure that you have all the tools and materials listed above before you begin the installation. This will save you time and avoid any unnecessary interruptions during the process.
Once you have gathered all the necessary tools and materials, you’re ready to move on to the next step: preparing your computer for the installation. In the next section, we will guide you through the process of preparing your eMachines ET1331G-03W desktop for the SSD installation.
Step 2: Prepare your computer
Before you begin the installation process, it’s important to properly prepare your eMachines ET1331G-03W desktop to ensure a smooth and successful SSD installation. Here are the steps to follow:
- Power off and unplug your computer: Before working on your computer, make sure to shut it down completely and unplug it from the power source. This will prevent any accidental damage or electrical hazards.
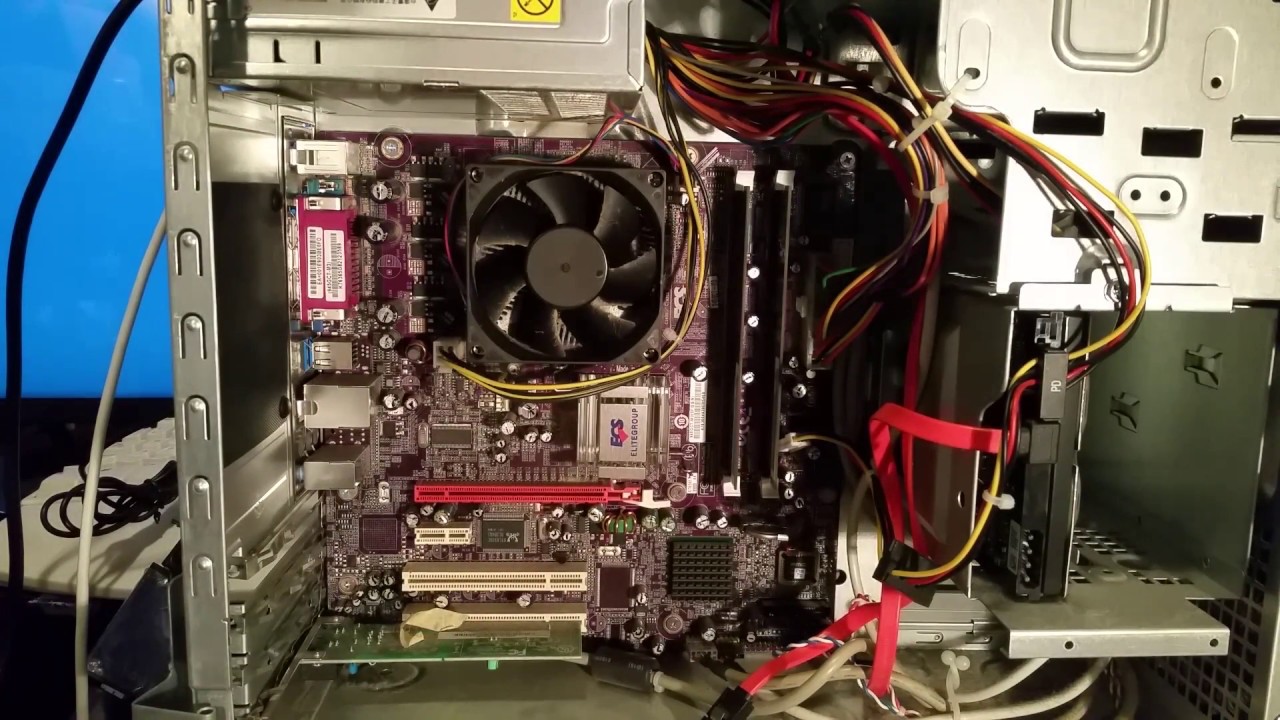
- Open the computer case: Locate the screws or latches on the side or back of your computer case, and carefully remove them to open the case. Ensure that you are working in a static-free environment and ground yourself to discharge any static electricity.
- Identify the hard drive bays: Look for the hard drive bays inside your computer case. These are typically located near the front of the case and are designed to hold your storage drives.
- Remove the existing hard drive: If your computer already has a hard drive installed in one of the bays, you’ll need to remove it to make space for the SSD. Carefully disconnect the power and data cables connected to the hard drive, unscrew any mounting brackets or screws holding it in place, and slide it out of the bay.
- Prepare the SSD bay: If there is an empty bay available for your SSD, make sure it is clean and free from any debris. If necessary, remove any mounting brackets or screws that may be in the way of installing the SSD.
- Install mounting brackets: If your SSD requires mounting brackets to securely fit into the bay, attach them to the SSD using the screws provided. Make sure to align the brackets with the screw holes on the SSD.
By following these steps, you will successfully prepare your eMachines ET1331G-03W desktop for the SSD installation. Now that your computer is ready, you can move on to the next step: backing up your data. This is a crucial step to ensure that your important files are saved and protected throughout the installation process, which we will cover in the next section.
Step 3: Backup your data
Before proceeding with the installation of a solid state drive (SSD) on your eMachines ET1331G-03W desktop, it is essential to back up your data. Backing up your files ensures that you have a copy of important documents, photos, videos, and other files in case of unforeseen issues during the installation process. Follow these steps to back up your data:
- Choose an external storage device: Select a reliable external storage device, such as a portable hard drive, USB flash drive, or cloud storage service. Ensure that the storage capacity of the device is sufficient to hold all your important files.
- Connect the external storage device: Connect the external storage device to your computer using the appropriate cable or method, such as plugging in a USB flash drive or connecting the portable hard drive via USB.
- Select the files to backup: Determine which files are critical to you and need to be backed up. These may include documents, photos, videos, music, and any other personal files that you do not want to lose.
- Transfer the files: Use the file explorer on your computer to locate the files you want to back up. Once found, copy and paste or drag and drop them into the external storage device’s folder or destination. Ensure that the transfer process is completed successfully.
- Verify the backup: After the transfer is complete, double-check the backup to ensure that all desired files have been successfully copied to the external storage device. Open a few files randomly to confirm their accessibility and integrity.
Backing up your data is crucial as it provides you with a safety net in case anything goes wrong during the SSD installation process. By following these steps and backing up your files, you can proceed with the installation with peace of mind, knowing that your important data is securely stored.
Now that you have successfully backed up your data, it’s time to move on to the next step: choosing and purchasing a solid state drive (SSD) that is compatible with your eMachines ET1331G-03W desktop. We will cover this in detail in the following section.
Step 4: Choose and purchase a solid state drive
Choosing the right solid state drive (SSD) for your eMachines ET1331G-03W desktop is an important step in the installation process. The SSD you select should meet your storage requirements and be compatible with your computer’s specifications. Here’s how you can choose and purchase an SSD:
- Consider your storage needs: Evaluate your storage needs and determine how much capacity you require. SSDs come in various sizes, ranging from 128GB to multi-terabyte options. Assess your needs based on the number and size of the files you plan to store on the SSD.
- Check your computer’s specifications: Review the specifications of your eMachines ET1331G-03W desktop to ensure compatibility with the SSD. Look for details such as the supported interface (SATA or NVMe), the form factor (2.5-inch or M.2), and the maximum capacity supported by your computer’s motherboard.
- Research reputable brands and models: Explore reputable brands known for producing reliable SSDs. Read reviews and compare different models based on factors such as performance, durability, and price.
- Compare performance and features: Consider the performance and features offered by different SSDs. Look for features such as high read and write speeds, advanced error correction, and advanced power management.
- Set a budget: Determine your budget for the SSD purchase. SSDs can vary in price based on their capacity and performance. Set a budget that aligns with your requirements and find the best option within that range.
- Make the purchase: Once you have selected the SSD that meets your needs and budget, proceed to make the purchase from a reputable retailer. Online marketplaces and electronics stores are common places to find and purchase SSDs.
By following these steps, you can choose and purchase an SSD that is compatible with your eMachines ET1331G-03W desktop and suits your storage needs. Now that you have the SSD in your possession, it’s time to move on to the next step: installing the solid state drive into your computer. We will guide you through the installation process in the next section.
Step 5: Install the solid state drive into your computer
Now that you have chosen and purchased a solid state drive (SSD) for your eMachines ET1331G-03W desktop, it’s time to install it into your computer. Follow these steps to ensure a successful installation:
- Power off your computer and unplug it: Before proceeding with the installation, make sure your computer is turned off and unplugged from the power source to prevent any accidents or damage.
- Open the computer case: Remove the screws or latches on the side or back of your computer case to open it. Set the case aside in a safe location where it won’t get damaged.
- Locate the storage drive bays: Find the storage drive bays inside your computer case. These bays are usually located near the front of the case and are designed to house your storage drives.
- Insert the SSD into an available bay: Carefully slide the SSD into an empty storage drive bay. Make sure the connectors on the SSD align with the connectors in the bay.
- Secure the SSD in place: If necessary, use the provided screws to secure the SSD to the bay. Be gentle while tightening the screws to avoid damaging the SSD or the bay.
- Connect the SATA data cable: Connect one end of the SATA data cable to the SSD and the other end to an available SATA port on the motherboard. Make sure the connection is secure.
- Connect the SATA power cable: Connect the SATA power cable to the SSD, ensuring a secure connection. The other end of the cable should be connected to an available power connector from the power supply unit (PSU).
- Close the computer case: Carefully put the computer case back together, ensuring that all screws or latches are securely fastened. This will help protect the internal components and ensure proper airflow within the case.
- Plug in and power on your computer: Once the SSD is securely installed, plug in your computer and power it on. The computer should recognize the newly installed SSD.
By following these steps, you will successfully install the solid state drive into your eMachines ET1331G-03W desktop. In the next step, we will guide you on how to connect the solid state drive to the power supply.
Step 6: Connect the solid state drive to the power supply
After successfully installing the solid state drive (SSD) into your eMachines ET1331G-03W desktop, the next step is to connect it to the power supply. Follow these steps to ensure a proper connection:
- Locate an available SATA power connector: Inside your computer case, locate an available SATA power connector from the power supply unit (PSU). These connectors are rectangular in shape and have a L-shaped divider to prevent incorrect insertion.
- Connect the SATA power cable to the SSD: Take the SATA power cable that came with your SSD and connect one end to the SSD’s power connector. Ensure a secure and proper connection.
- Connect the other end to the SATA power connector: Take the other end of the SATA power cable and connect it to an available SATA power connector from the PSU. Make sure it is firmly inserted into the connector.
When connecting the SSD to the power supply, it’s essential to ensure a secure and proper connection to avoid any power-related issues. Double-check that the connectors align correctly and that the cable is fully inserted into both the SSD and the power supply connector.
Once the SSD is connected to the power supply, you can proceed to the next step: installing the operating system on the solid state drive. This crucial step will ensure that your computer can fully utilize the speed and performance benefits of the SSD. In the following section, we will guide you on how to install the operating system on your newly installed SSD.
Step 7: Install the operating system on the solid state drive
With the solid state drive (SSD) successfully connected to your eMachines ET1331G-03W desktop, it’s time to install the operating system. Follow these steps to install the OS on your newly installed SSD:
- Insert the operating system installation media: If you have a physical copy of the operating system installation media, such as a DVD or USB drive, insert it into the corresponding drive of your computer. If you have a digital copy, make sure it is readily accessible.
- Restart your computer: Restart your computer and enter the BIOS or boot menu. The specific key to access these menus can vary, but commonly used keys are F2, F12, or Delete. Check your computer’s manual if unsure.
- Select the installation media as the boot device: In the BIOS or boot menu, navigate to the Boot section and set the installation media as the primary boot device. Save the changes and exit the BIOS or boot menu.
- Follow the on-screen instructions: Once your computer boots from the installation media, follow the on-screen instructions provided by the operating system installation process. These instructions may vary depending on the OS version.
- Select the SSD as the installation destination: During the installation process, you will be prompted to choose the installation destination. Select the SSD as the destination drive for the operating system installation.
- Configure the installation settings: Customize the installation settings according to your preferences, such as language, keyboard layout, and user account information. Follow the instructions provided by the installation process.
- Wait for the installation to complete: Be patient while the operating system is being installed on the SSD. The installation process may take some time, depending on the OS and your computer’s specifications.
- Restart your computer: Once the installation is complete, restart your computer. Make sure to remove the installation media to prevent your computer from booting from it again.
By following these steps, you will successfully install the operating system on your solid state drive. This will allow your computer to fully utilize the speed and performance benefits offered by the SSD. In the next step, we will discuss how to transfer your data to the newly installed SSD.
Step 8: Transfer your data to the solid state drive
After successfully installing the operating system on your solid state drive (SSD), the next step is to transfer your data from the previous storage device to the SSD. Follow these steps to ensure a smooth transfer:
- Open File Explorer: Open the File Explorer or any other file management application on your computer.
- Locate your old data: Navigate to the location where your old data is stored. This can include files, folders, documents, pictures, videos, and any other data you want to transfer.
- Select the data: Using your mouse or keyboard, select the files and folders that you want to transfer to the SSD. You can select multiple files and folders by holding down the Ctrl key (or Command key on a Mac) while making your selections.
- Copy the data: Right-click on the selected data and choose the “Copy” option from the context menu. Alternatively, you can use the keyboard shortcut Ctrl+C (or Command+C on a Mac) to copy the data.
- Navigate to the SSD: Open another File Explorer window and navigate to the location on the SSD where you want to transfer the data.
- Paste the data: Right-click in the destination folder on the SSD and choose the “Paste” option from the context menu. Alternatively, you can use the keyboard shortcut Ctrl+V (or Command+V on a Mac) to paste the data.
- Wait for the transfer to complete: The transfer process can take some time, depending on the amount and size of the data being transferred. Be patient and avoid interrupting the transfer.
- Verify the data: Once the transfer is complete, double-check the transferred data on the SSD to ensure that everything has been successfully copied. Open a few files randomly to confirm their accessibility and integrity.
By following these steps, you will be able to transfer your data from the previous storage device to your newly installed SSD. Once the transfer is complete, your data will be readily accessible and stored on the SSD, allowing for faster access and improved performance.
In the next step, we will discuss how to test and optimize your new solid state drive to ensure optimal performance. Keep reading to learn more.
Step 9: Test and optimize your new solid state drive
After successfully transferring your data to the solid state drive (SSD), it’s important to test and optimize its performance to ensure optimal functionality. Follow these steps to test and optimize your new SSD:
- Check the drive capacity: Verify that the SSD is recognized by your operating system and displays the correct capacity. Open File Explorer and navigate to “This PC” (or “My Computer”) to view the available storage space on the SSD.
- Run a benchmark test: Use benchmarking software, such as CrystalDiskMark or AS SSD, to evaluate the read and write speeds of your SSD. Compare the results with the manufacturer’s specifications to ensure your SSD is performing as expected.
- Enable TRIM: TRIM is a feature that helps maintain SSD performance by optimizing data storage and clearing unused space. Ensure that TRIM is enabled on your SSD. You can typically enable it through the operating system’s settings or via manufacturer-specific software.
- Update SSD firmware: Check if there are any firmware updates available for your SSD. Firmware updates can address bugs, improve performance, and introduce new features. Visit the manufacturer’s website and follow the instructions to update the firmware if necessary.
- Enable AHCI mode: Verify that your computer’s BIOS is set to AHCI (Advanced Host Controller Interface) mode. AHCI mode is optimized for SSD performance and can maximize the benefits of your new drive. Access the BIOS settings and make the necessary changes if AHCI mode is not already enabled.
- Adjust power settings: Optimize the power settings of your operating system to ensure a balanced approach between performance and power conservation. Choose a power plan that allows for the SSD to operate at its maximum potential without sacrificing energy efficiency.
- Manage temporary files: Regularly clean up temporary files accumulated on your SSD to free up storage space and maintain its performance. You can use built-in disk cleanup utilities in your operating system or third-party software to remove unnecessary files.
- Regularly update your operating system: Keep your operating system up to date with the latest patches and updates. These updates often include performance improvements and bug fixes that can benefit your SSD’s performance.
By following these steps, you will test and optimize your new solid state drive to ensure it is delivering the maximum performance and efficiency. Regularly monitoring and maintaining your SSD will help prolong its lifespan and provide you with a consistently smooth computing experience.
Congratulations! You have successfully installed and optimized a solid state drive on your eMachines ET1331G-03W desktop. Enjoy the improved speed and performance of your computer!
Conclusion
Congratulations on successfully completing the installation of a solid state drive (SSD) on your eMachines ET1331G-03W desktop! By upgrading to an SSD, you have significantly improved the performance and speed of your computer. The installation process may have seemed daunting at first, but by following the step-by-step instructions in this guide, you were able to navigate through each stage with ease.
Starting with gathering the necessary tools and materials, preparing your computer, and backing up your data, you ensured that the installation process would go smoothly. Choosing the right SSD and installing it into your computer’s drive bay, connecting it to the power supply, and installing the operating system were crucial steps that paved the way for a faster and more efficient computing experience.
With everything set up, you then transferred your data to the SSD and tested its performance. By running benchmark tests, enabling TRIM, updating firmware, and optimizing power settings, you were able to ensure that your SSD operates at its maximum potential.
Remember to take regular maintenance steps, such as managing temporary files, updating your operating system, and managing power settings, to keep your SSD performing optimally in the long run.
Now that you have successfully completed the installation and optimization of your new SSD, enjoy the benefits it brings to your computing experience. You can expect faster boot times, quicker application load speeds, and smoother multitasking capabilities. Your eMachines ET1331G-03W desktop is now equipped to handle even the most demanding tasks with ease.
Thank you for following this guide. We hope it has been helpful in guiding you through the process of installing and optimizing your SSD. Should you encounter any issues or have any questions, refer to the documentation provided by the SSD manufacturer or seek assistance from technical support.
Wishing you many productive and enjoyable hours with your newly upgraded eMachines ET1331G-03W desktop!