Introduction
Welcome to our guide on how to move files from a hard drive to a solid-state drive (SSD). As technology continues to evolve, SSDs have become increasingly popular due to their faster speeds, improved performance, and reliability compared to traditional hard drives. Whether you’re upgrading your computer or simply looking to improve its performance, transferring your files from a hard drive to an SSD is a crucial step in the process.
In this guide, we will walk you through the process of moving your files from a hard drive to an SSD, providing you with step-by-step instructions and valuable tips along the way. We will discuss the key differences between hard drives and SSDs, help you select the right SSD for your needs, and guide you through the various methods for transferring your files.
It’s important to note that moving files from a hard drive to an SSD can involve some technical aspects, but don’t worry! We will break down the process into simple and easy-to-understand steps, ensuring that anyone, regardless of their technical expertise, can successfully complete the transfer.
Before we dive into the methods and tools for file transfer, it’s vital to emphasize the importance of backing up your files. Moving files from one drive to another always carries a risk of data loss, accidental deletion, or corruption. Thus, we strongly recommend creating a backup of your files on an external storage device or cloud storage service.
Now that you have a brief overview of what this guide will cover, let’s get started by understanding the fundamental differences between hard drives and SSDs.
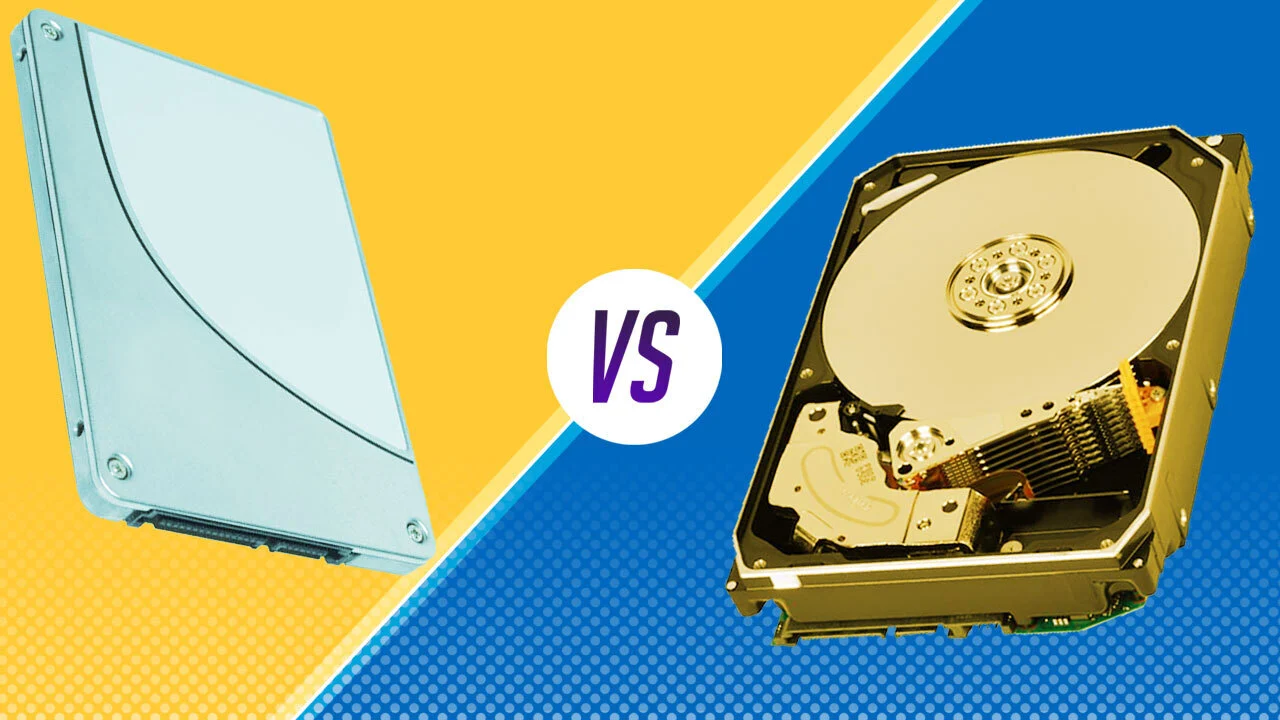
Understanding the Difference Between Hard Drives and Solid State Drives
Before we proceed with transferring files from a hard drive to an SSD, it’s essential to have a clear understanding of the differences between these two storage mediums.
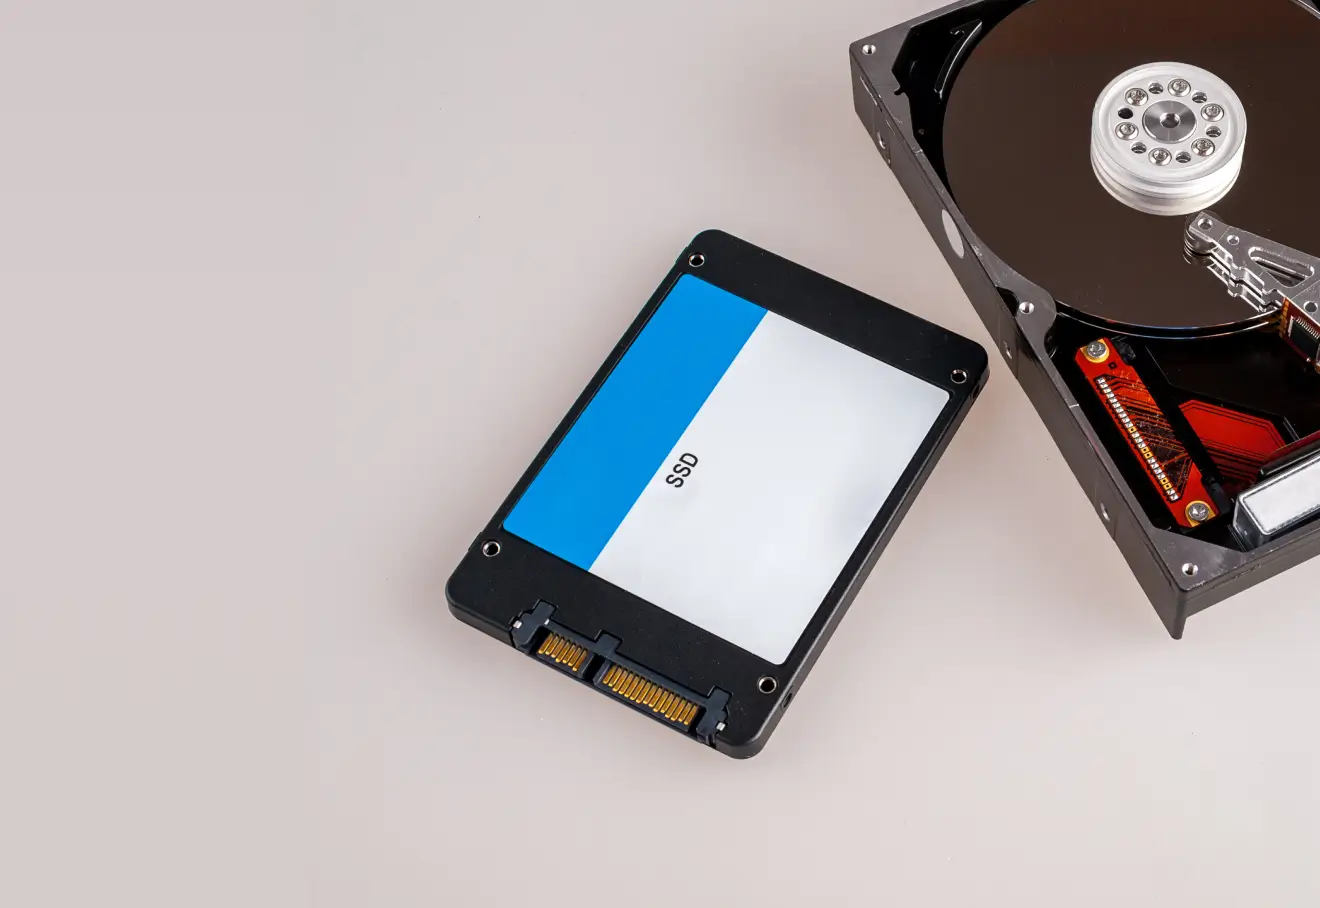
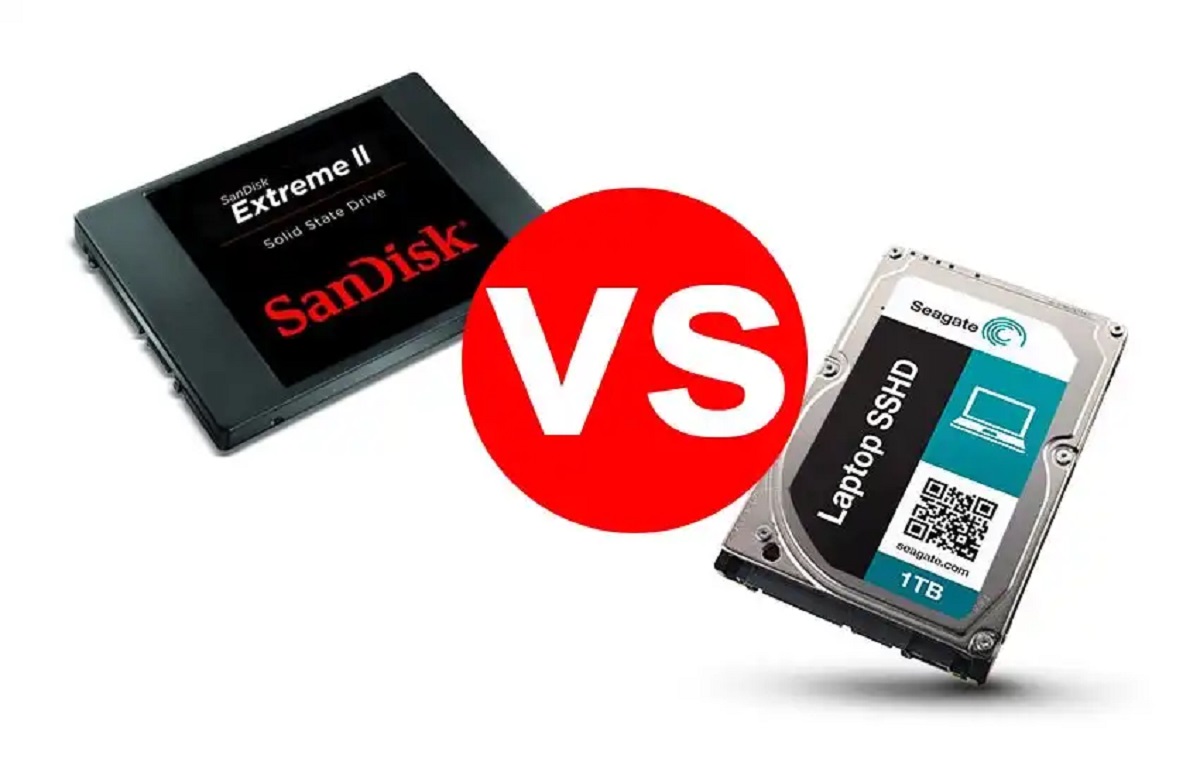
A hard drive, also known as a hard disk drive (HDD), has been the standard storage device for many years. It consists of a spinning magnetic disk and an armature that reads and writes data onto the disk. Hard drives offer large storage capacities at a relatively affordable price, making them popular for storing large files such as videos, games, and multimedia content.
On the other hand, a solid-state drive (SSD) is a newer technology that uses flash memory to store data. SSDs do not have any mechanical parts, unlike hard drives. This absence of moving parts allows SSDs to access and transfer data significantly faster, resulting in improved overall system performance. Additionally, SSDs are more durable and resistant to physical shocks, making them ideal for laptops and portable devices.
One key advantage of SSDs over hard drives is their faster read and write speeds. This means that your computer can boot up faster, applications can load more quickly, and files can be accessed and transferred at a much higher speed. This speed boost can greatly enhance your overall computing experience, particularly when working with large files or resource-intensive programs.
However, it’s important to note that SSDs generally have smaller storage capacities compared to hard drives and can be more expensive. While hard drives can offer several terabytes of storage space, SSDs typically range from 120GB to 2TB. As a result, it’s common to use an SSD as the primary drive for the operating system and frequently accessed applications, while using a secondary hard drive for long-term storage.
In the next section, we will discuss how to select the right SSD for your needs, considering factors such as storage capacity, performance, and budget. A well-informed choice will ensure that you maximize the benefits of upgrading to an SSD while meeting your specific requirements.
Selecting the Right Solid State Drive for Your Needs
Now that you understand the differences between hard drives and solid-state drives (SSDs), it’s time to choose the right SSD for your needs. When it comes to selecting an SSD, there are a few key factors to consider:
- Storage Capacity: Determine how much storage space you require. SSDs come in various capacities, ranging from 120GB to several terabytes. Consider your current and future storage needs, keeping in mind that the operating system and frequently used applications will be installed on this drive.
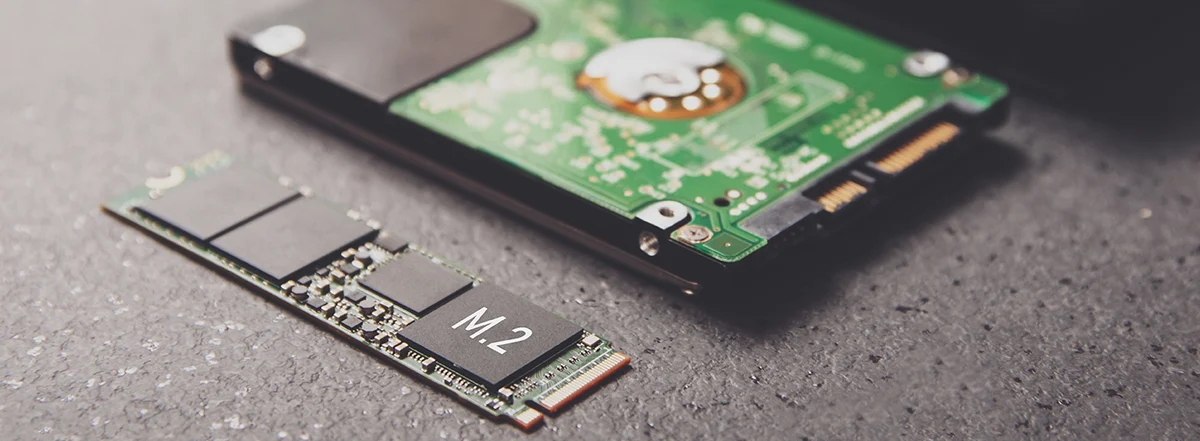
- Form Factor: Check the physical dimensions of the SSD and ensure that it is compatible with your computer. The most common form factors for SSDs are 2.5-inch, M.2, and PCIe.
- Performance: Look for SSDs with high read and write speeds. This will greatly impact the overall speed and responsiveness of your system. Consider SSDs that support the NVMe (Non-Volatile Memory Express) protocol for even faster performance.
- Endurance and Reliability: Consider the durability and reliability of the SSD. Look for SSDs with a high TBW (Terabytes Written) rating, which indicates the total amount of data that can be written to the drive over its lifetime. Additionally, consider SSDs with built-in features like TRIM support for maintaining performance over time.
- Price: Set a budget for your SSD purchase. Keep in mind that SSDs are generally more expensive than hard drives, but the performance benefits are worth the investment. Look for SSDs that provide a balance between performance and price.
Research and compare different SSD models from reputable manufacturers, reading reviews and considering professional opinions. Once you’ve identified the right SSD for your needs, make your purchase and prepare for the file transfer process.
In the next section, we will discuss the importance of backing up your files before the transfer and explore different methods of file backup.
Backing Up Your Files Before the Transfer
Before you embark on the process of transferring files from your hard drive to a solid-state drive (SSD), it is crucial to back up your files to ensure their safety and prevent any potential data loss. While the transfer process is generally safe, unforeseen circumstances can occur, such as power interruptions or accidental deletions. Here are some steps to follow when backing up your files:
- Identify Essential Files: Take some time to identify the files that are important to you. These may include documents, photos, videos, music, and any other files that you cannot afford to lose.
- Choose a Backup Method: Consider the different backup methods available to you. You can opt for an external hard drive, a network-attached storage (NAS) device, a cloud storage service, or a combination of these options. Evaluate the pros and cons of each method and select the one that best suits your needs and preferences.
- Create Multiple Backups: It is always a good idea to create multiple backups of your files to provide redundancy and further protect against data loss. You can follow the 3-2-1 backup rule, which recommends having at least three copies of your data, stored on two different types of media, with one copy kept offsite. This ensures that you have multiple layers of protection for your important files.
- Organize and Clean Up: Before transferring files, it is a good practice to organize and clean up your files. Delete any unnecessary or duplicate files to save space on both your hard drive and the backup storage. This step not only makes the transfer process faster but also helps declutter your files for better organization.
- Perform the Backup: Now that you are ready to back up your files, follow the specific instructions for your chosen backup method. This may involve connecting an external hard drive and manually copying files, configuring a cloud storage service, or using backup software. Ensure that the backup process is successful and verify the integrity of your backup files.
Remember that the backup process may take some time depending on the size of your files and the speed of your storage devices. It is worth investing the time and effort to ensure that your important files are safely backed up before proceeding with the file transfer.
Once your files are securely backed up, you are ready to proceed with transferring them to your new SSD. In the next sections, we will discuss different methods and tools that you can use to transfer your files.
Transferring Files Using Manual Copy and Paste Method
One of the simplest and most straightforward methods for transferring files from a hard drive to a solid-state drive (SSD) is the manual copy and paste method. This method involves copying your files from the hard drive and pasting them onto the SSD. Here’s how you can transfer your files using this method:
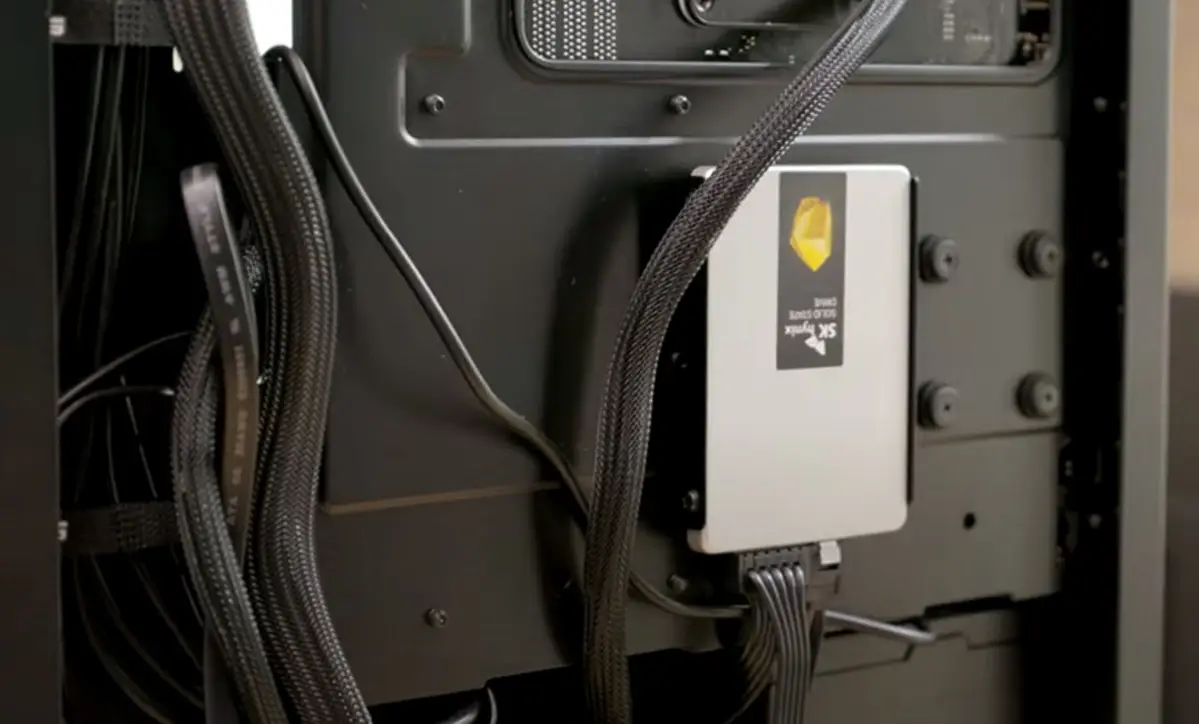
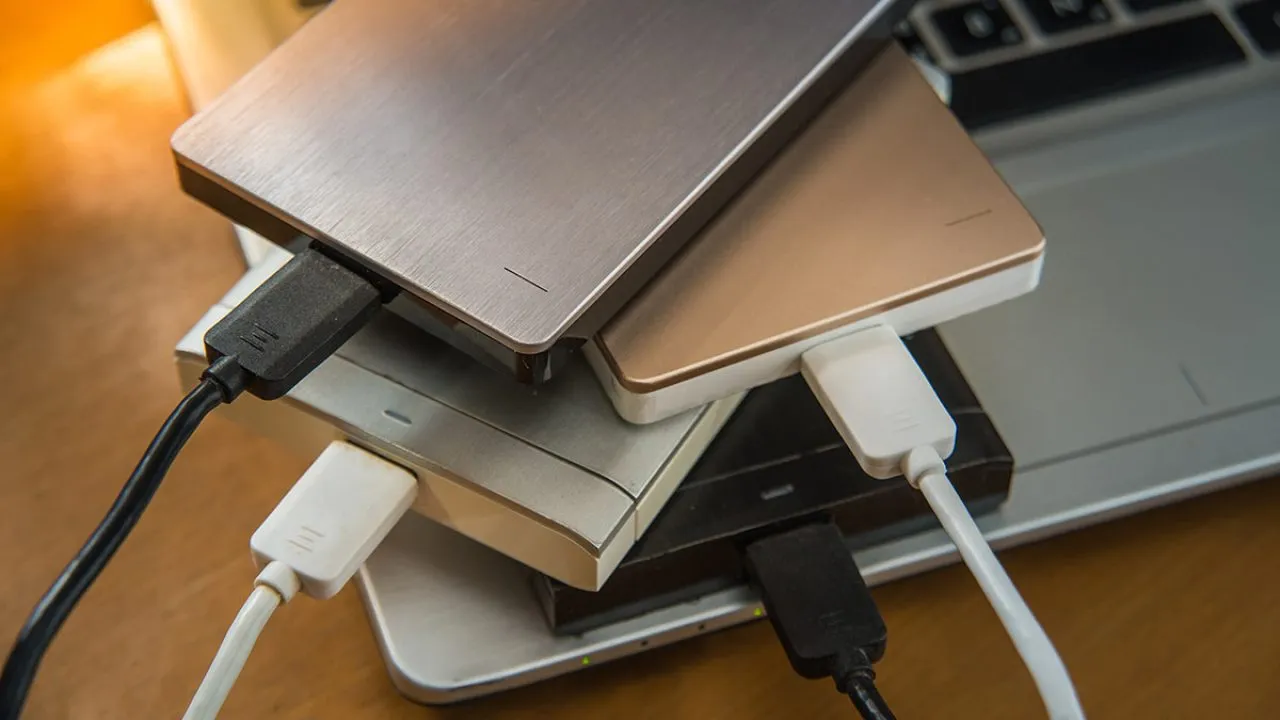
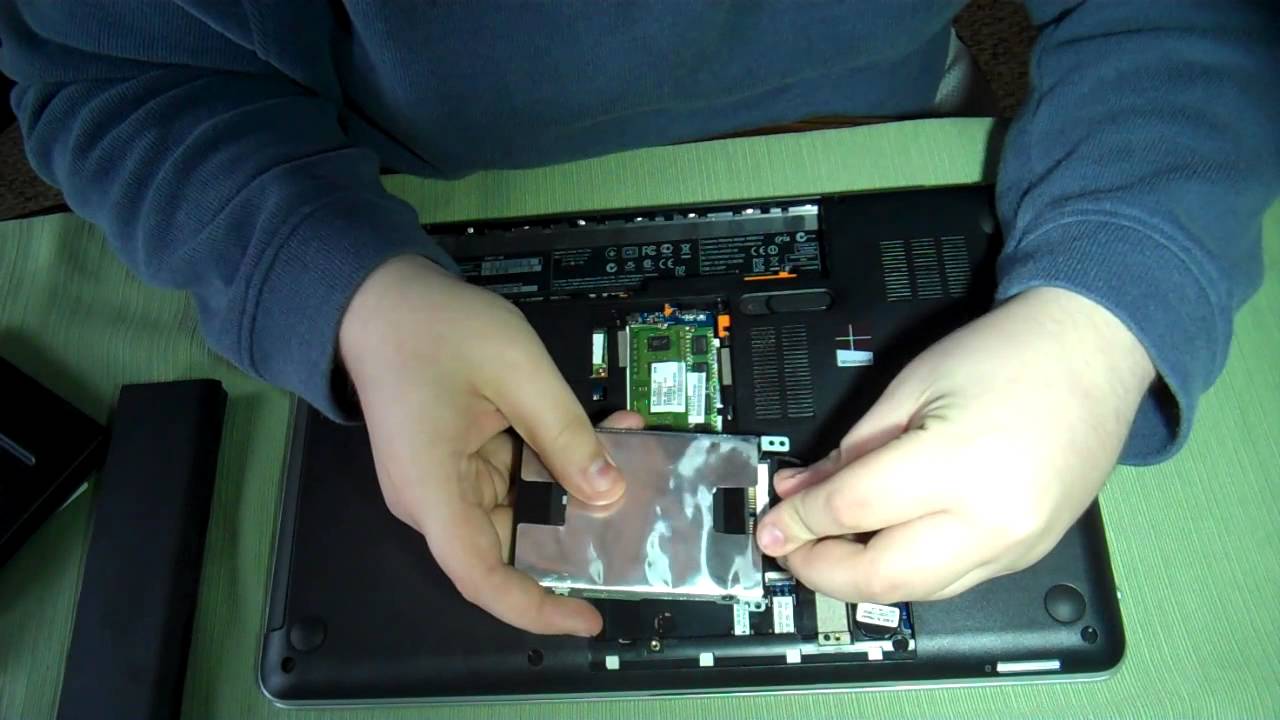
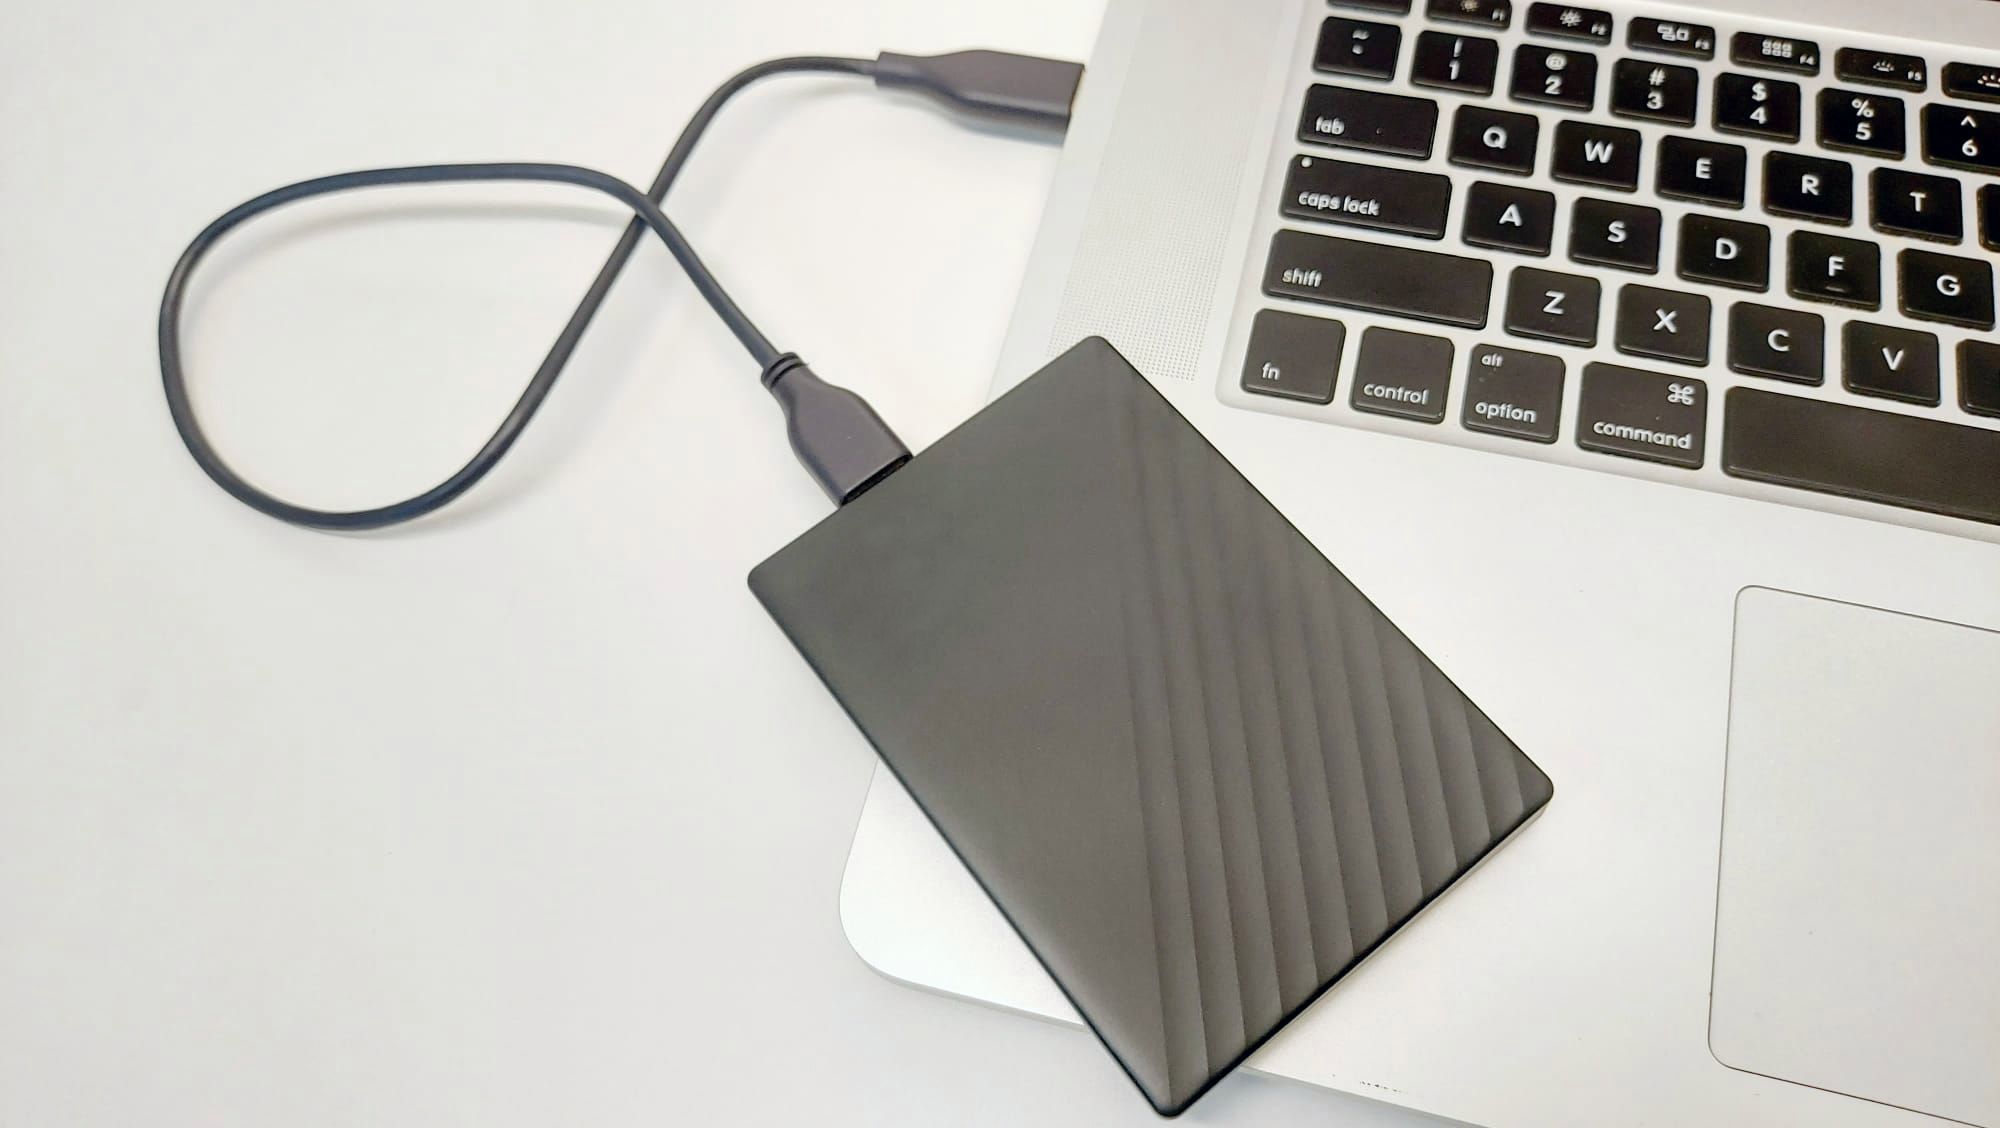
- Connect the SSD: Start by connecting your SSD to your computer. You can do this by using an external enclosure or connecting the SSD directly to an available SATA port on your motherboard, depending on the type of SSD you have.
- Identify the Source Files: Open File Explorer (Windows) or Finder (Mac) and navigate to the location of your files on the hard drive. This could be your Documents folder, Pictures folder, or any other location where your files are stored.
- Select the Files: Select the files and folders that you want to transfer to the SSD. You can click and drag to select multiple files or use the Ctrl or Command key to select specific files.
- Copy the Files: Right-click on the selected files and choose the “Copy” option from the context menu. Alternatively, you can use the Ctrl+C (Windows) or Command+C (Mac) keyboard shortcut.
- Paste the Files: Navigate to the location on the SSD where you want to transfer the files. Right-click on an empty space in the destination folder and choose the “Paste” option from the context menu. Alternatively, you can use the Ctrl+V (Windows) or Command+V (Mac) keyboard shortcut.
- Monitor the Transfer: Depending on the size of the files and the speed of your drives, the transfer process may take some time. Monitor the progress of the transfer and ensure that all files are successfully copied to the SSD.
- Verify the Files: Once the transfer is complete, double-check the files on the SSD to ensure that all important data has been successfully transferred.
The manual copy and paste method is relatively simple and does not require any additional software or technical expertise. However, it might not be the most efficient method for transferring a large number of files or large file sizes. In such cases, you may consider using alternative methods, which we will explore in the following sections.
Now that you have successfully transferred your files using the manual copy and paste method, it’s important to ensure that the transfer was error-free. In the next section, we will discuss how to use built-in Windows tools to verify the successful transfer of files.
Using Built-in Windows Tools for File Migration
Windows provides built-in tools that can assist you in transferring files from a hard drive to a solid-state drive (SSD) with ease. These tools are specifically designed to simplify the file migration process and offer additional features to ensure a successful transfer. Here are two commonly used built-in Windows tools for file migration:
- File History: File History is a backup tool available in Windows 10 and later versions. It allows you to automatically back up your files to an external drive or network location. While its primary purpose is for backup, you can also use File History to migrate files from a hard drive to an SSD. Simply connect your SSD, enable File History, and select the folders you want to include in the backup. Once the backup is complete, disconnect the external drive and connect it to the new computer. Open File History on the new computer and restore the backed-up files to the SSD.
- Robocopy: Robocopy is a command-line tool that enables advanced file copy operations on Windows. It offers a wide range of options for customizing the file transfer process. Using Robocopy, you can easily mirror or synchronize files between different locations, including from a hard drive to an SSD. Open Command Prompt and use the Robocopy command followed by the source and destination directories to initiate the transfer. Robocopy provides detailed information about the files being copied, the progress of the transfer, and any errors encountered during the process.
Both File History and Robocopy are powerful tools that can help simplify the file migration process. They provide additional features like file versioning, error handling, and customization options for more control over the transfer. However, it’s important to familiarize yourself with the specific instructions and functionalities of these tools before using them.
While these built-in tools offer convenience and reliability, there are also third-party software options available that provide more advanced features and a user-friendly interface for file migration. In the next section, we will explore using third-party software for transferring files from a hard drive to an SSD.
Using Third-Party Software for File Transfer
In addition to the built-in tools provided by Windows, there are several third-party software options available that can facilitate the transfer of files from a hard drive to a solid-state drive (SSD). These software solutions often offer a more user-friendly interface, enhanced features, and faster transfer speeds. Here are a few popular third-party software options for file transfer:
- Acronis True Image: Acronis True Image is a comprehensive backup and recovery software that allows you to clone your entire hard drive to an SSD. It creates a complete image of your hard drive and transfers everything, including the operating system, applications, and data, to the SSD. Acronis True Image ensures a seamless experience and eliminates the need for manual file selection.
- Macrium Reflect: Macrium Reflect is another powerful disk cloning and imaging software that enables easy and efficient file migration. It offers features like differential and incremental backups, disk imaging, and rapid delta cloning, ensuring fast and reliable transfers to the SSD. Macrium Reflect also provides options for resizing partitions and aligning the SSD for optimal performance.
- Samsung Data Migration: If you’re using a Samsung SSD, Samsung Data Migration is a handy tool specifically designed for transferring files from a hard drive to a Samsung SSD. It simplifies the migration process by automatically selecting the necessary files and partitions. Samsung Data Migration ensures a seamless transfer without the need for manual file selection or complex configurations.
When using third-party software for file transfer, ensure that you download the latest version from a reputable source and follow the provided instructions carefully. It’s also important to check for compatibility with your specific SSD model and ensure that your source hard drive has enough space to accommodate the transfer.
Using third-party software can offer greater flexibility, efficiency, and convenience when transferring files to an SSD. These tools often provide additional features such as scheduled backups, disk health monitoring, and encryption for enhanced data security. However, it’s worth noting that some software options may require a paid license for full functionality.
Now that you have explored the options for file transfer using third-party software, it’s important to address any common issues or challenges that may arise during the transfer process. In the next section, we will discuss troubleshooting tips for a smooth file transfer experience.
Troubleshooting Common Issues During the Transfer
While transferring files from a hard drive to a solid-state drive (SSD) is generally a straightforward process, there can be some common issues that you might encounter. Here are some troubleshooting tips to help you address these issues and ensure a smooth file transfer:
- Inadequate Storage Space: Ensure that there is enough free space on your SSD to accommodate the files you want to transfer. If the SSD is running low on space, consider deleting unnecessary files or freeing up space before starting the transfer.
- Compatibility Issues: Verify that your SSD is compatible with your computer and operating system. Check the manufacturer’s specifications and ensure that the necessary drivers or firmware updates are installed. If there are compatibility issues, consult the manufacturer’s support or consider using a different SSD.
- File Read/Write Errors: If you encounter file read or write errors during the transfer, it could indicate a problem with the source hard drive or the target SSD. Run a disk check utility or use diagnostic tools to identify and fix any disk errors before attempting the transfer again.
- Sudden Power Loss: Power loss during the file transfer process can lead to data corruption or incomplete transfers. Connect your computer to an uninterruptible power supply (UPS) or ensure that you have a stable power source to prevent such issues. Consider using a file transfer method that supports automatic resumption of interrupted transfers.
- Insufficient Privileges: If you encounter “Access Denied” or permissions-related errors, ensure that you have administrative privileges on both the source and destination drives. Right-click on the source drive and go to “Properties” to check if you have the necessary permissions. If not, adjust the permissions accordingly.
If you encounter any other issues during the file transfer process, consult the documentation provided by your SSD manufacturer or seek assistance from their support team. Additionally, make sure to back up your files regularly and maintain a backup of your data to mitigate any potential risks of data loss or corruption.
By following these troubleshooting tips, you can address common issues and ensure a successful transfer of files from your hard drive to the SSD. Now that you have completed the file transfer, it’s important to verify the integrity and completeness of your transferred files.
Verifying the Successful Transfer of Files
Once you have completed the transfer of files from your hard drive to the solid-state drive (SSD), it is crucial to verify the integrity and completeness of the transferred files. Verifying the successful transfer ensures that your data is intact and can be accessed properly on the new SSD. Here are some steps to help you verify the transfer:
- Open and Access Files: Begin by opening and accessing a sample of files from different folders on your SSD. Check if the files open without any errors and ensure that the data appears correct. It is advisable to check files of different types, such as documents, images, videos, and software files, to ensure that all file types were transferred successfully.
- Compare File Sizes and Properties: Compare the file sizes and properties of a few transferred files on both the hard drive and the SSD. Verify that the file sizes match and that the properties, such as creation date, modification date, and file type, are consistent. Any significant discrepancies may indicate a problem with the transfer.
- Test Application Functionality: If you have transferred applications to the new SSD, test their functionality to ensure they launch and perform as expected. Open the transferred applications and perform typical tasks to ensure they are working correctly. If you encounter any issues, consider reinstalling the application or restoring it from your backup.
- Verify System Boot: Restart your computer and verify that it boots properly from the SSD. Check the boot time and overall system responsiveness to ensure that the SSD is functioning as expected. If there are any boot issues or performance problems, consult the manufacturer’s documentation or seek technical support.
- Check Data Corruption: Run a reliable file integrity checking tool, such as checksum or hash verification, on a sample of transferred files. This helps in identifying any data corruption that may have occurred during the transfer. If any files fail the integrity check, attempt to transfer them again or restore them from your backup.
By following these verification steps, you can ensure that your files are successfully transferred and accessible on the new SSD. Keep in mind that a successful transfer does not guarantee the safety of your data. It is always recommended to maintain regular backups of your files to mitigate the risk of data loss.
Congratulations! You have successfully transferred your files from the hard drive to the SSD and verified their integrity. Enjoy the improved performance and faster access times that the SSD offers. Don’t forget to keep your files backed up regularly and perform hardware maintenance to prolong the lifespan of your SSD.
Conclusion
Transferring files from a hard drive to a solid-state drive (SSD) is a crucial step in upgrading your computer or improving its performance. Throughout this guide, we discussed various aspects of the file transfer process and provided step-by-step instructions to help you successfully accomplish the task.
We started by understanding the differences between hard drives and SSDs, highlighting the advantages of SSDs in terms of speed, performance, and durability. We then explored the important factors to consider when selecting the right SSD for your needs, such as storage capacity, form factor, performance, endurance, and price.
Before proceeding with the transfer, we emphasized the importance of backing up your files to prevent any potential data loss. We discussed different backup methods and provided recommendations on organizing and cleaning up your files to optimize the transfer process.
We then delved into various methods for transferring files, including the manual copy and paste method, built-in Windows tools like File History and Robocopy, and third-party software options such as Acronis True Image and Samsung Data Migration.
To ensure a smooth transfer, we addressed common issues that may arise during the process and provided troubleshooting tips to overcome these challenges. Additionally, we highlighted the significance of verifying the successful transfer of files by accessing and testing them, comparing file sizes and properties, testing application functionality, checking system boot, and checking for data corruption.
In conclusion, transferring files from a hard drive to an SSD is an essential step in optimizing your computer’s performance. By following the steps outlined in this guide, you can successfully complete the transfer and enjoy the benefits of improved speed, responsiveness, and reliability offered by SSDs.
Remember to regularly back up your files, maintain your SSD, and keep a backup of your data to ensure the safety and accessibility of your files at all times. With these best practices in place, you can confidently embrace the power of SSD technology and enhance your computing experience.