Introduction
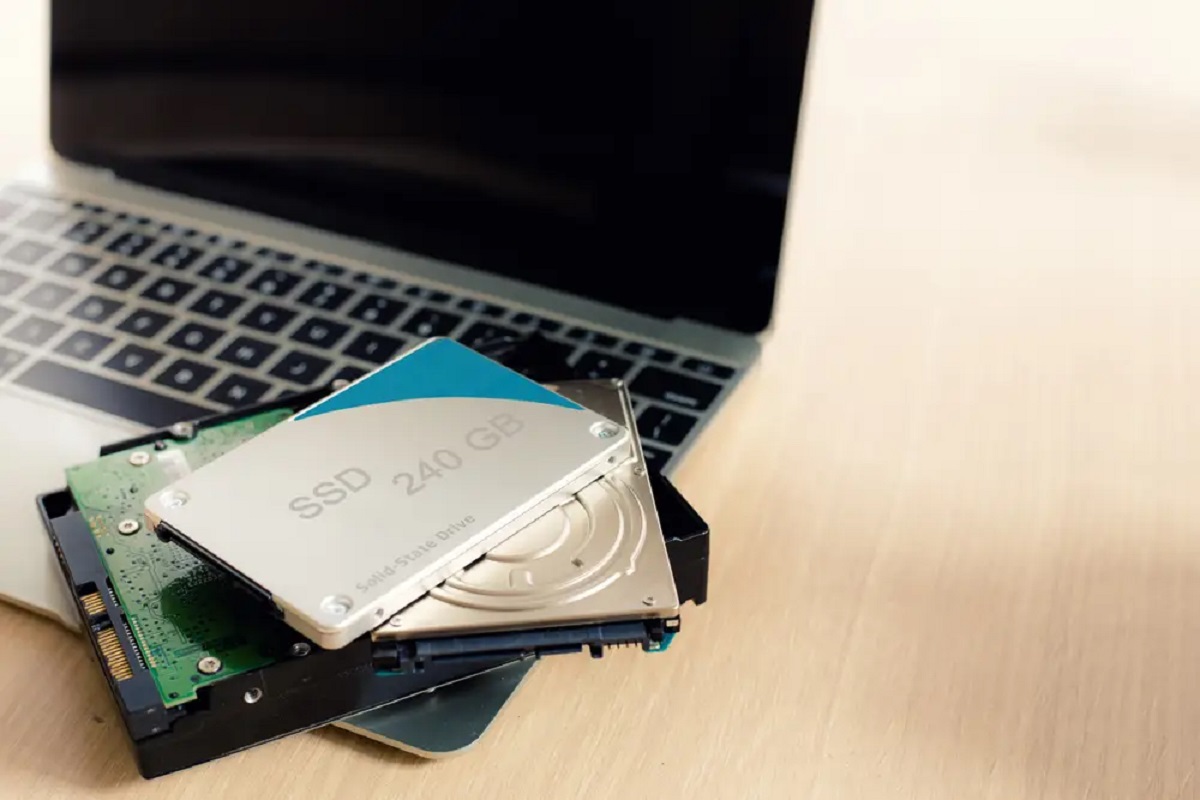
Welcome to the world of data migration! Whether you’ve upgraded to a new computer or simply need to make more space on your solid-state drive (SSD), moving data from your SSD to a hard drive can be a valuable task. Understanding how to transfer your data effectively and efficiently is essential to ensure a seamless transition.
In this article, we will explore various methods to move data from a solid-state drive (SSD) to a hard drive. Whether you prefer a manual file transfer or want to use specialized software, we’ve got you covered. We will discuss the tools needed for the data transfer process, as well as tips for a successful outcome.
Before diving into the different data transfer options, let’s take a moment to understand the primary devices involved: solid-state drives and hard drives.
Understanding the differences between these two storage mediums is crucial as it will help you make an informed decision on how to proceed with the data transfer.
So, join us as we embark on this journey of transferring data from a solid-state drive to a hard drive. By the end of this article, you’ll have all the necessary knowledge and tools to make your data migration a breeze.
Understanding Solid State Drives (SSDs)
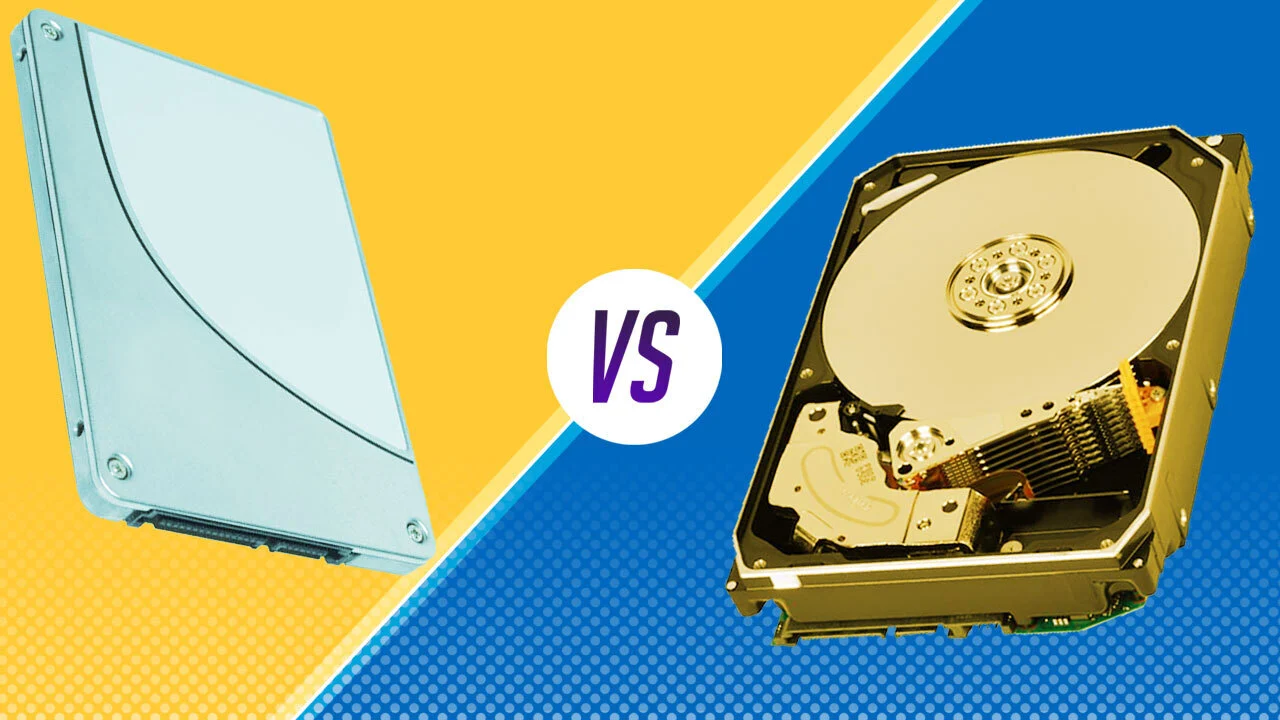
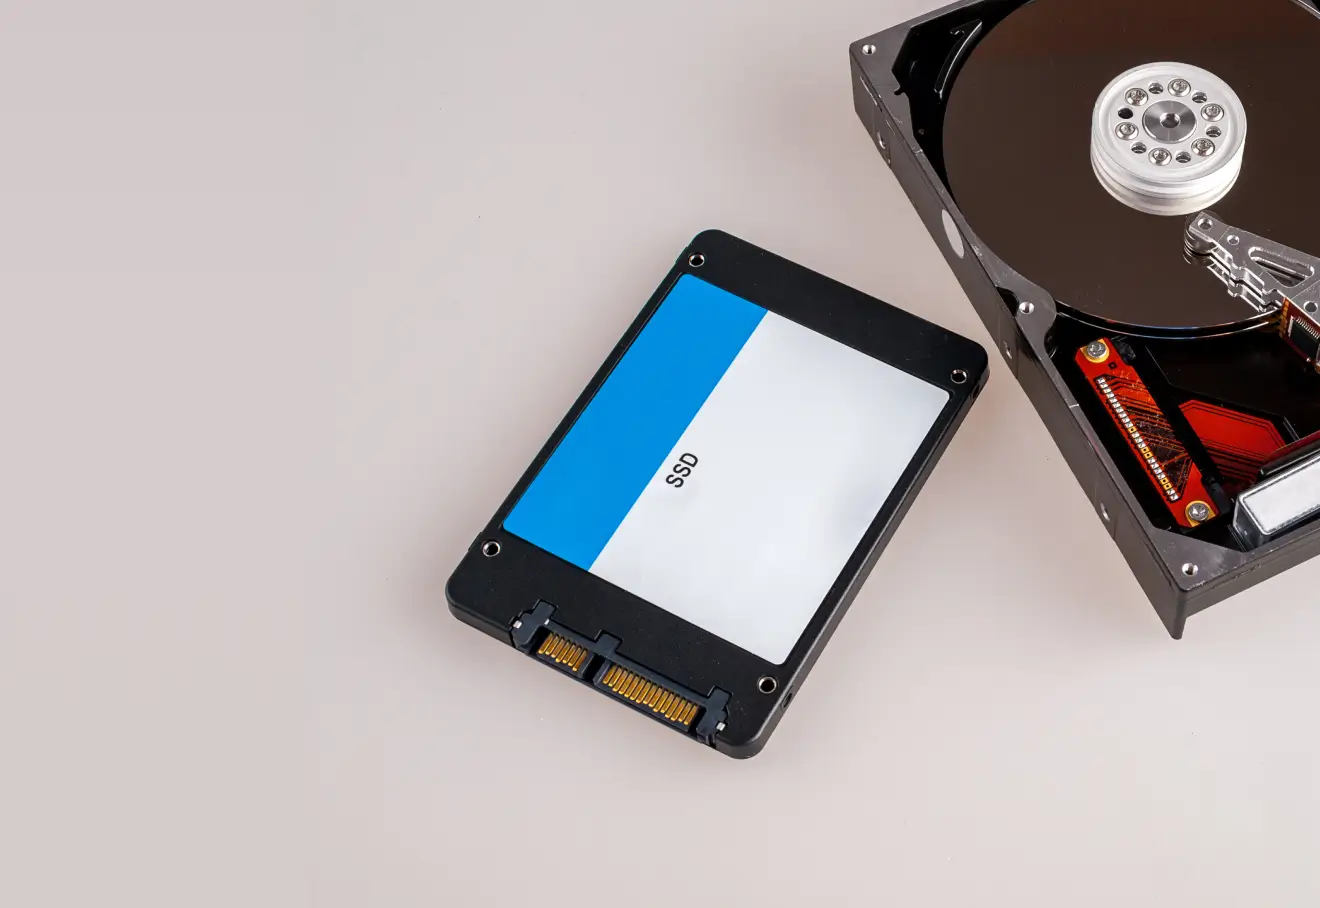
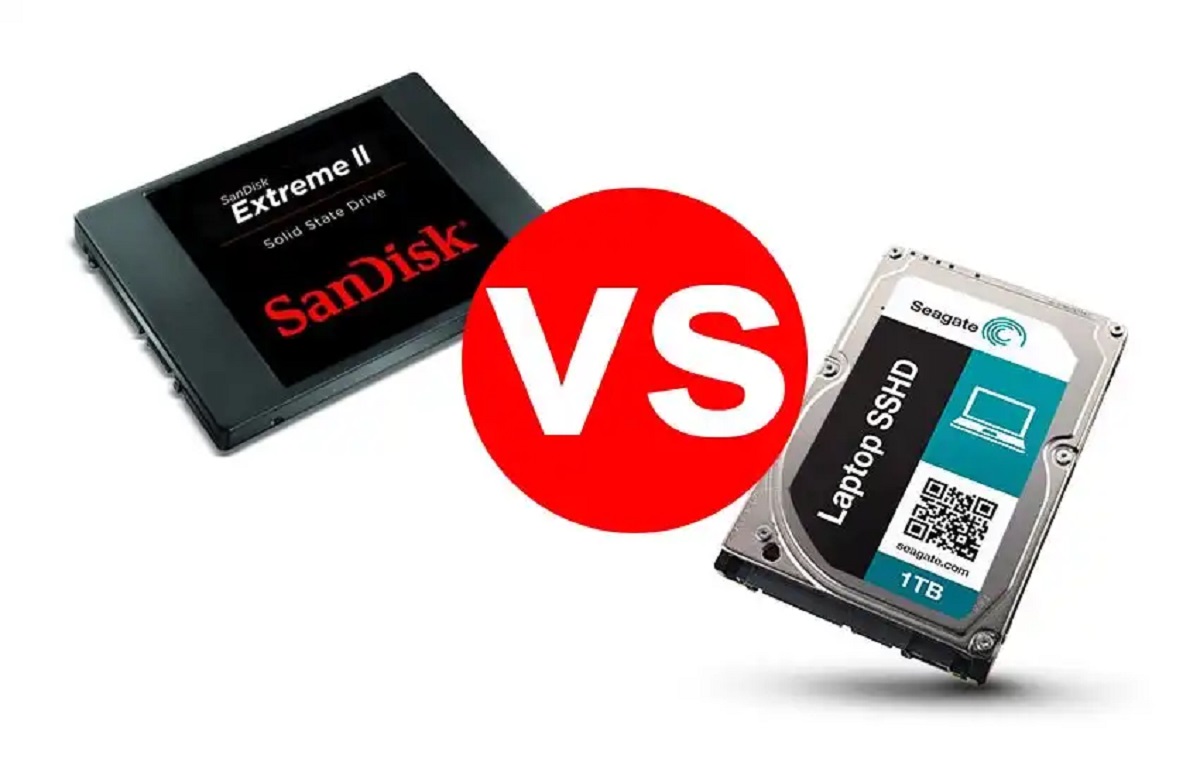
Solid-state drives (SSDs) have revolutionized the world of computer storage. Unlike traditional hard drives, which use spinning disks and magnetic platters to store data, SSDs utilize flash memory to store information. This fundamental difference provides several advantages over traditional hard drives.
One key advantage of SSDs is their speed. Since there are no moving parts involved, accessing and retrieving data from an SSD is significantly faster than from a traditional hard drive. This speed boost translates into quicker boot times, faster program launches, and improved overall system performance.
Additionally, SSDs are more durable than hard drives. With no spinning disks or read/write heads, SSDs are less susceptible to physical damage from drops or shocks. This makes them an excellent choice for portable devices like laptops.
Furthermore, SSDs are much more power-efficient compared to hard drives. They consume less energy, which translates to longer battery life for portable devices and lower electricity bills for desktop computers.
Despite these advantages, SSDs have a downside: their limited storage capacity. Due to the higher cost per gigabyte compared to hard drives, SSDs typically offer lower capacities. This limitation may lead to insufficient storage space, particularly for users with large media libraries or extensive file collections.
Another factor to consider when transferring data from an SSD is the file system compatibility. While most SSDs use the standard file systems supported by modern operating systems (such as Windows NTFS or macOS HFS+), it’s important to ensure compatibility between the SSD and the target hard drive’s file system to avoid any issues during the data transfer process.
Understanding the basics of solid-state drives will help you make informed decisions regarding the data transfer process. Now that we’ve explored SSDs in detail, let’s move on to understanding hard drives in the next section.
Understanding Hard Drives
Hard drives have been the standard storage solution for computers for decades. These devices utilize magnetism to store and retrieve data, employing rotating platters and read/write heads to access information.
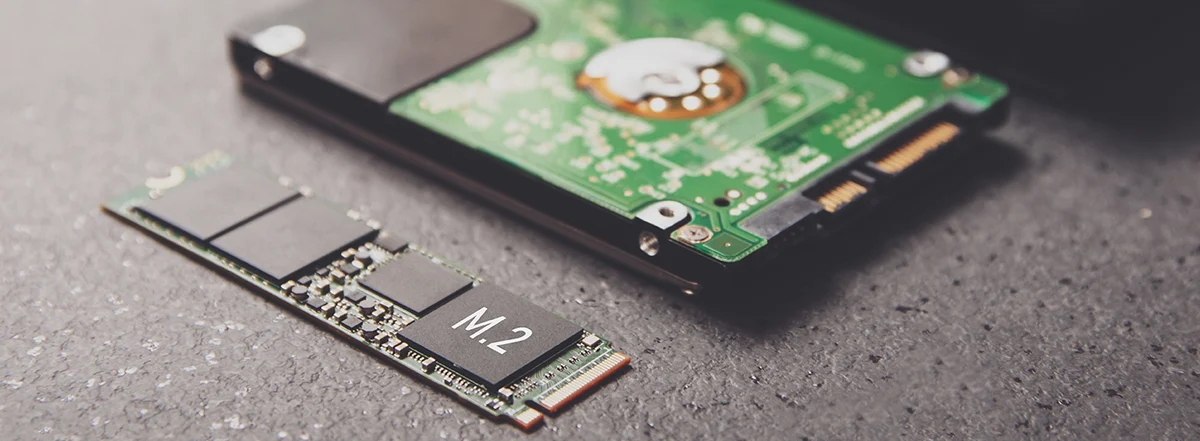
Hard drives come in various sizes, typically ranging from 2.5 inches for laptops to 3.5 inches for desktop computers. They offer a range of storage capacities, with options that can accommodate large amounts of data, making them an ideal choice for users with extensive storage needs.
One of the key advantages of hard drives is their cost-effectiveness. In terms of dollar per gigabyte, hard drives are more affordable compared to solid-state drives (SSDs). This affordability makes hard drives an attractive option for users who require a large amount of storage space without breaking the bank.
Another advantage of hard drives is their compatibility with both older and newer computers. Hard drives typically use standard file systems supported by various operating systems, allowing for easy plug-and-play functionality.
One notable downside of hard drives is their mechanical nature. The presence of moving parts, such as spinning disks and read/write heads, makes them more vulnerable to physical damage. Frequent drops or shocks can lead to data loss or drive failure, making it crucial to handle hard drives with care.
In terms of speed, hard drives are generally slower than solid-state drives. The mechanical nature of the read/write process introduces latency, resulting in slightly slower data access times. However, for everyday tasks such as document editing or web browsing, the speed difference may not be noticeable.
It’s also worth noting that hard drives produce more noise and generate more heat compared to SSDs. The rotating platters and moving parts contribute to the audible hum and increased temperature, which may impact the overall user experience.
Now that we have a clear understanding of hard drives, including their advantages and limitations, let’s move forward and explore the tools needed for an efficient data transfer process.
Tools Needed for Data Transfer
Before you begin the data transfer process from your solid-state drive (SSD) to a hard drive, it’s important to gather the necessary tools to ensure a smooth and successful transfer.
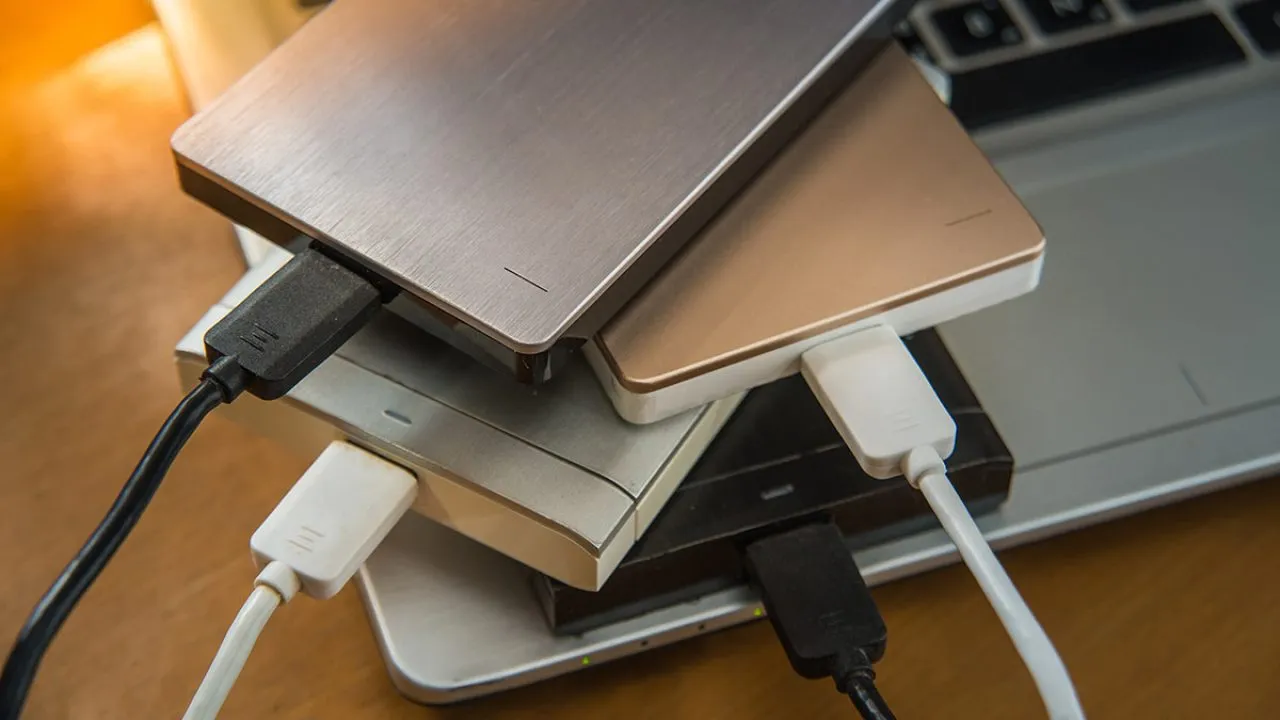
1. External Hard Drive: You will need an external hard drive with sufficient storage capacity to accommodate the data from your SSD. This external hard drive will serve as the destination for your transferred data.
2. USB Cable or External Enclosure: If you are using an external hard drive as the destination for your data, you will need a USB cable to connect it to your computer. Alternatively, you can use an external enclosure that allows you to connect your hard drive directly to your computer via USB.
3. Backup Software: Depending on the method you choose for the data transfer, you may require backup software. This software will help facilitate the transfer process and ensure that your data is transferred accurately and securely.
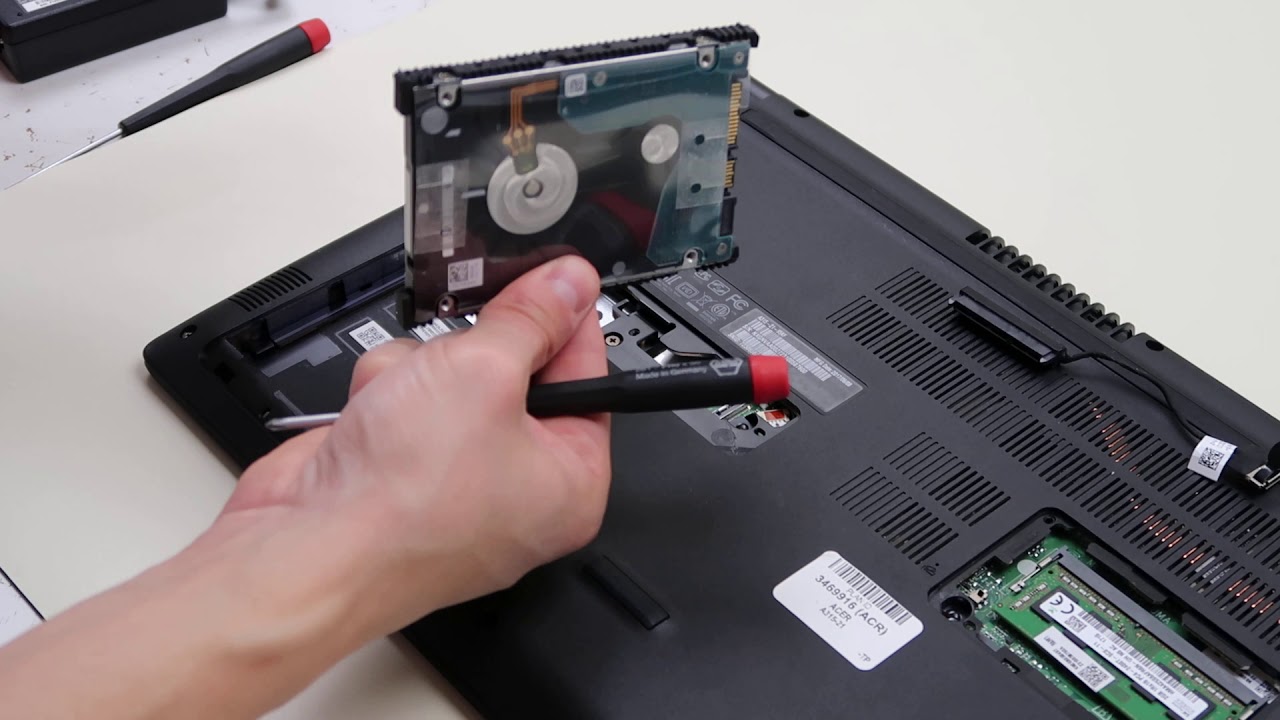
4. Screwdriver (if using an external enclosure): If you opt to use an external enclosure, you may need a screwdriver to open and securely fasten your hard drive inside the enclosure.
5. Data Transfer Cable (if using an external enclosure): Some external enclosures require specific data transfer cables to connect your hard drive to your computer. Ensure that you have the correct cable for your enclosure.
6. Data Transfer Software (if using cloning): If you choose to clone your SSD onto the hard drive, you will need data transfer software designed specifically for this purpose. There are various reliable options available online.
7. Antistatic Wrist Strap (optional): To prevent electrostatic discharge that can damage your SSD or hard drive during the transfer process, you may consider using an antistatic wrist strap. This is particularly important when handling the internal components of your computer.
By gathering these essential tools, you will be well-equipped to handle the data transfer process. In the next section, we will explore various methods to transfer your data, ranging from manual file transfer to utilizing specialized software.
Option 1: Manual File Transfer
One of the simplest and most straightforward methods to transfer your data from a solid-state drive (SSD) to a hard drive is through manual file transfer. With this method, you can manually copy and paste your files and folders from your SSD to the destination hard drive.
To begin the manual file transfer process, follow these steps:
- Connect the hard drive to your computer using a USB cable or an external enclosure.
- Open the file explorer on your computer and navigate to the SSD.
- Select the files and folders that you want to transfer to the hard drive.
- Right-click on the selected items and choose “Copy.”
- Navigate to the hard drive in the file explorer.
- Right-click in the destination folder on the hard drive and choose “Paste.”
- Wait for the files to finish copying to the hard drive.
It’s important to note that manual file transfer is best suited for transferring a smaller amount of data. If you have a large amount of data or want to transfer your entire system, it is recommended to consider other methods like cloning the drive or using backup software.
This method gives you full control over the files and folders you want to transfer and allows you to organize them as desired on the destination hard drive. However, it may be time-consuming, especially if you have a significant amount of data. Additionally, you will need to reinstall any programs or applications manually on the hard drive after the transfer.
Now that we’ve explored the manual file transfer option, let’s move on to Option 2: using backup software to transfer your data.
Option 2: Using Backup Software
If you have a large amount of data or prefer a more automated and efficient method, using backup software is an excellent option to transfer your data from a solid-state drive (SSD) to a hard drive. Backup software provides a streamlined approach and offers additional features such as scheduling backups and restoring specific files or folders.
Follow these steps to transfer your data using backup software:
- Install a reliable backup software program on your computer. There are several reputable options available, such as Acronis True Image, Macrium Reflect, or EaseUS Todo Backup.
- Connect the hard drive, acting as the destination for your data, to your computer using a USB cable or an external enclosure.
- Open the backup software and follow the instructions to set up a backup job.
- Select the SSD as the source drive and the hard drive as the destination drive for the backup.
- Choose the files and folders you want to transfer to the hard drive.
- Adjust any additional settings as per your preference, such as compression level or encryption.
- Start the backup process and wait for it to complete. This may take some time, depending on the amount of data being transferred.
- Once the backup is finished, disconnect the hard drive from your computer and verify that the transferred data is intact.
Using backup software provides numerous advantages, such as ensuring the integrity of your data during the transfer process, reducing the risk of data loss, and allowing you to restore specific files or folders if needed. Additionally, backup software often offers features like incremental or differential backups, which can further simplify future data transfers or updates.
Now that you’re familiar with using backup software to transfer your data, let’s explore Option 3: cloning the drive as an alternative method.
Option 3: Cloning the Drive
If you want to transfer everything from your solid-state drive (SSD) to a hard drive, including the operating system, applications, and files, cloning the drive is an ideal option. Cloning creates an exact copy of the SSD onto the hard drive, ensuring a seamless transition without the need to reinstall programs or manually transfer files.
Here’s how you can clone your SSD to a hard drive:
- Connect the hard drive, acting as the destination drive, to your computer using a USB cable or an external enclosure.
- Download and install reliable cloning software such as Clonezilla, EaseUS Partition Master, or Macrium Reflect.
- Open the cloning software and select the option to clone a disk or drive.
- Choose the SSD as the source drive and the hard drive as the destination drive for the cloning process.
- Verify that the cloning software has detected the correct source and destination drives.
- Configure any additional settings as needed, such as partition resizing or disk alignment. The software’s default settings are generally suitable for most scenarios.
- Start the cloning process and wait for it to complete. This may take some time, depending on the size of the SSD and the speed of your computer.
- Once the cloning is finished, disconnect the hard drive from your computer and ensure that the cloned data is accessible.
Cloning the drive provides a hassle-free method to transfer not only your data but also the entire system configuration, including the operating system and installed applications. It allows for a seamless transition, as the hard drive becomes an exact replica of your previous SSD.
It’s important to note that before initiating the cloning process, you should make sure that the hard drive’s capacity is equal to or larger than the SSD’s capacity to accommodate all the data. Additionally, double-check that the partition structure and file system of the hard drive are compatible with the cloned data to avoid any potential compatibility issues.
Now that we’ve explored cloning the drive as an option, let’s move on to Option 4: transferring the data using an external enclosure.
Option 4: Transferring Using an External Enclosure
If you want a flexible and portable method to transfer data from your solid-state drive (SSD) to a hard drive, using an external enclosure is an excellent choice. An external enclosure allows you to connect your SSD to your computer via USB or other supported interfaces, making it easy to transfer data without the need for additional software or complicated setups.
Here’s how you can transfer data using an external enclosure:
- Obtain an external enclosure that is compatible with your SSD and hard drive. Ensure that the enclosure supports the appropriate interface (e.g., USB 3.0, SATA, or Thunderbolt) to establish a connection between the drives and your computer.
- Open the external enclosure and insert your SSD into the designated slot or tray within the enclosure.
- Secure the SSD in place using any screws or brackets provided with the enclosure.
- Connect the enclosure to your computer using the appropriate cable or interface.
- Power on the enclosure and wait for your computer to recognize the SSD as a separate storage device.
- Open the file explorer on your computer and navigate to the SSD.
- Select the files and folders you want to transfer to the hard drive.
- Right-click on the selected items and choose “Copy.”
- Navigate to the hard drive in the file explorer.
- Right-click in the destination folder on the hard drive and choose “Paste.”
- Wait for the files to finish copying to the hard drive.
- Once the transfer is complete, safely disconnect the external enclosure and remove the SSD from it.
Using an external enclosure provides the advantage of portability and versatility. You can easily connect and disconnect the SSD from different computers or devices, making it a convenient option for data transfer on the go.
It’s crucial to ensure that the external enclosure you choose is compatible with your SSD’s physical dimensions and interface. Additionally, verify that the enclosure supports the appropriate power requirements and transfer speeds to optimize the data transfer process.
Now that we’ve explored Option 4, which involves transferring data using an external enclosure, let’s move on to the next section for tips to ensure a successful data transfer.
Tips for a Successful Data Transfer
Transferring data from a solid-state drive (SSD) to a hard drive can be a crucial task, and ensuring a successful transfer is paramount. To help you navigate the process with ease, here are some valuable tips to keep in mind:
- Backup Your Data: Before initiating any data transfer, it is highly recommended to create a backup of your important files and documents. This provides an extra layer of protection in case of any unexpected errors or issues during the transfer process.
- Free Up Space: Clear out any unnecessary files and applications from your SSD before starting the transfer. This will help optimize the process and make sure you transfer only the essential data.
- Organize Your Files: Take some time to organize and consolidate your files and folders on the SSD. This will make it easier to select and transfer specific data to the hard drive, saving you time and effort.
- Ensure Sufficient Space: Check the available storage space on your hard drive to ensure it can accommodate all the data from your SSD. If necessary, consider using a larger or additional hard drive for the transfer.
- Verify Compatibility: Confirm that the file system and partition structure of the hard drive are compatible with the data you are transferring. This will help avoid any potential conflicts or issues.
- Use Reliable Tools: Whether you choose manual file transfer, backup software, cloning software, or an external enclosure, make sure to use reliable and trusted tools for the data transfer. This will help minimize the risk of data corruption or loss.
- Monitor the Transfer Process: Keep an eye on the transfer process to ensure it proceeds smoothly. If you encounter any errors or interruptions, address them promptly to avoid data loss or incomplete transfers.
- Test the Transferred Data: Once the transfer is complete, validate the data on the hard drive to ensure it is intact and accessible. Open some files and folders to verify their contents and functionality.
- Perform a Final Check: Before concluding the data transfer process, double-check that all your important files have been successfully transferred and are accessible on the hard drive.
By following these tips, you can increase the chances of a successful and seamless data transfer from your SSD to a hard drive. Remember to approach the process with caution, patience, and attention to detail to ensure a reliable and accurate transfer.
Now that we have covered tips for a successful data transfer, let’s wrap up the article and summarize our key points.
Conclusion
Transferring data from a solid-state drive (SSD) to a hard drive is a valuable task that allows you to free up space, optimize storage, and ensure seamless data accessibility. In this article, we explored various methods for data transfer, including manual file transfer, using backup software, cloning the drive, and utilizing an external enclosure.
We started by understanding the differences between SSDs and hard drives, highlighting their unique features and advantages. We then discussed the necessary tools for a successful data transfer, including an external hard drive, USB cables or enclosures, backup software, and cloning software.
Next, we explored the step-by-step processes for each data transfer option, emphasizing the importance of caution and attention to detail throughout. We highlighted the benefits and considerations of each method, assisting you in choosing the most suitable approach based on your specific needs.
To enhance your data transfer experience, we provided valuable tips such as backing up your data, organizing files, ensuring compatibility, and using reliable tools. Following these tips will help minimize potential risks and ensure a smooth and successful transfer of your important files and data.
Remember, whether you opt for manual file transfer, backup software, cloning the drive, or using an external enclosure, it is essential to verify the accuracy and accessibility of transferred data on the hard drive before concluding the transfer process.
By applying the knowledge, tools, and tips outlined in this article, you can confidently proceed with transferring your data from an SSD to a hard drive, streamlining your storage and optimizing your computer’s performance.
Now that you possess the necessary knowledge and guidance, it’s time to embark on your data transfer journey. Good luck!