Introduction
Welcome to our step-by-step guide on how to install a solid state drive (SSD) in a Toshiba Satellite S55 B5280 laptop. Upgrading your laptop’s hard drive to an SSD can greatly improve its performance, providing faster boot times, quicker file transfers, and overall smoother operation. Whether you’re a tech-savvy individual or a novice looking to delve into the world of DIY computer upgrades, this guide will walk you through the process effortlessly.
Before we begin, it’s important to note that the specific steps and tools required may vary slightly depending on your laptop model. However, the overall process is similar and can be applied to most laptops. In this guide, we’ll focus on the Toshiba Satellite S55 B5280, but you can adapt the steps to suit your specific laptop model.
Installing an SSD involves opening up your laptop, so it’s essential to approach this task with caution and care. Make sure to back up all your important data before starting, as there is a slight risk of data loss during the process. Additionally, ensure you have the necessary tools and materials ready before embarking on the installation.
Are you ready to give your Toshiba Satellite S55 B5280 a performance boost? Let’s dive in and get started with the installation process!
Step 1: Gather the necessary tools and materials
Before you begin the installation process, it’s important to ensure you have all the necessary tools and materials at hand. Here’s a list of items you’ll need:
- SSD: Choose a compatible SSD for your Toshiba Satellite S55 B5280. Consider the storage capacity that suits your needs.
- Screwdriver: Most laptops require a Phillips-head screwdriver for opening the case and securing the SSD.
- Static wristband: To prevent static electricity from damaging sensitive components, it’s advisable to wear an anti-static wristband.
- Microfiber cloth: This will be handy for cleaning the laptop’s case and removing any dust or debris.
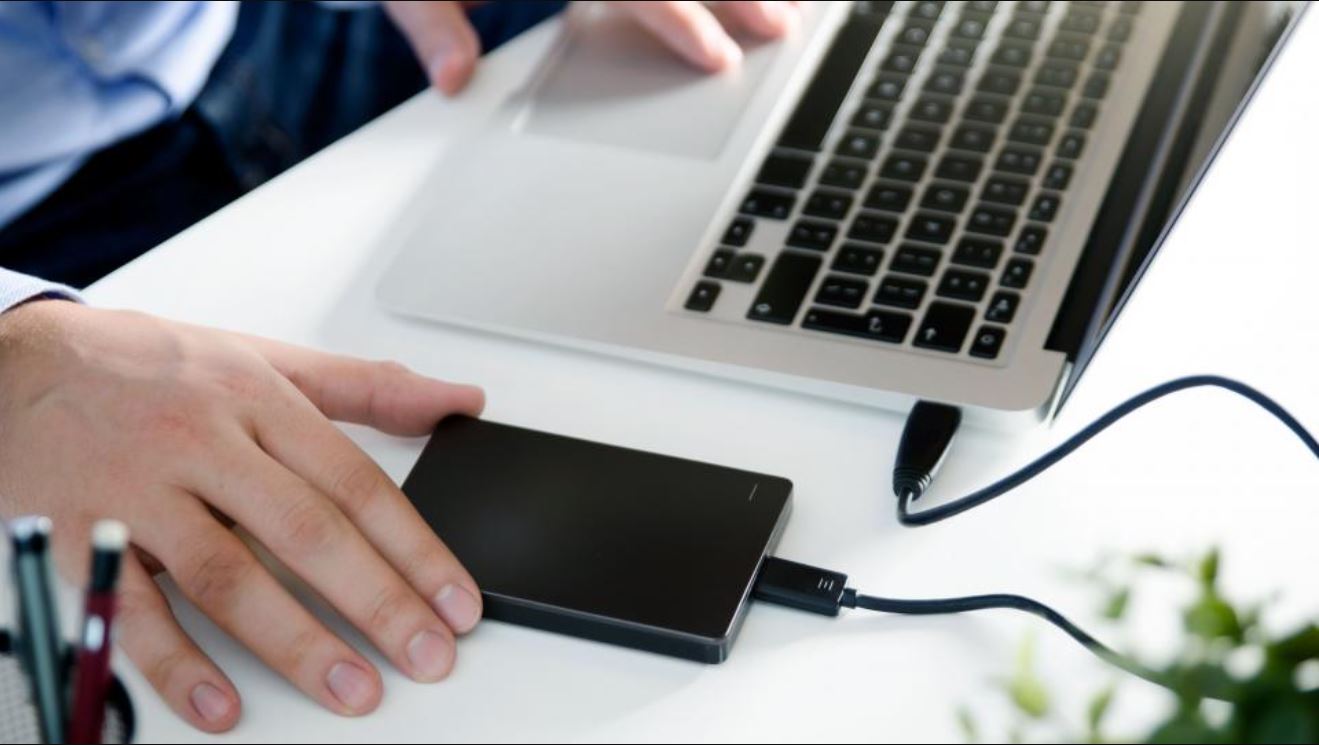
- External storage: Have an external hard drive or USB flash drive ready to back up your important data before proceeding.
- External hard drive enclosure (optional): If you want to transfer data from your old hard drive to the new SSD, an external hard drive enclosure can facilitate the process.
Ensure that you have a comfortable and well-lit workspace. It’s also a good idea to consult your laptop’s user manual or check the manufacturer’s website for any specific instructions or recommendations related to the installation of an SSD.
Once you have gathered all the necessary tools and materials, you’re ready to move on to the next step.
Step 2: Prepare the laptop
Before diving into the installation process, it’s important to prepare your Toshiba Satellite S55 B5280 for the SSD upgrade. Here are the steps to follow:
- Power off the laptop: Make sure your laptop is completely powered off before proceeding. Disconnect the power cord and remove the battery if possible.
- Find a suitable work surface: Choose a clean, well-lit, and static-free area to work on. This will help prevent damage to the internal components.
- Gently clean the laptop: Use a microfiber cloth to wipe down the laptop’s exterior surfaces and remove any dust or debris. Pay special attention to the areas around the keyboard and vents.
- Discharge any static electricity: To protect your laptop’s sensitive components from static electricity, it’s recommended to wear an anti-static wristband or ground yourself by touching a metal object before proceeding.
By following these steps, you are ensuring that your laptop is well-prepared for the installation process. Taking these precautions helps minimize the risk of damage and ensures a smooth and successful upgrade.
Once you have prepared your Toshiba Satellite S55 B5280, you’re ready to move on to the next step, which involves opening the laptop’s case.
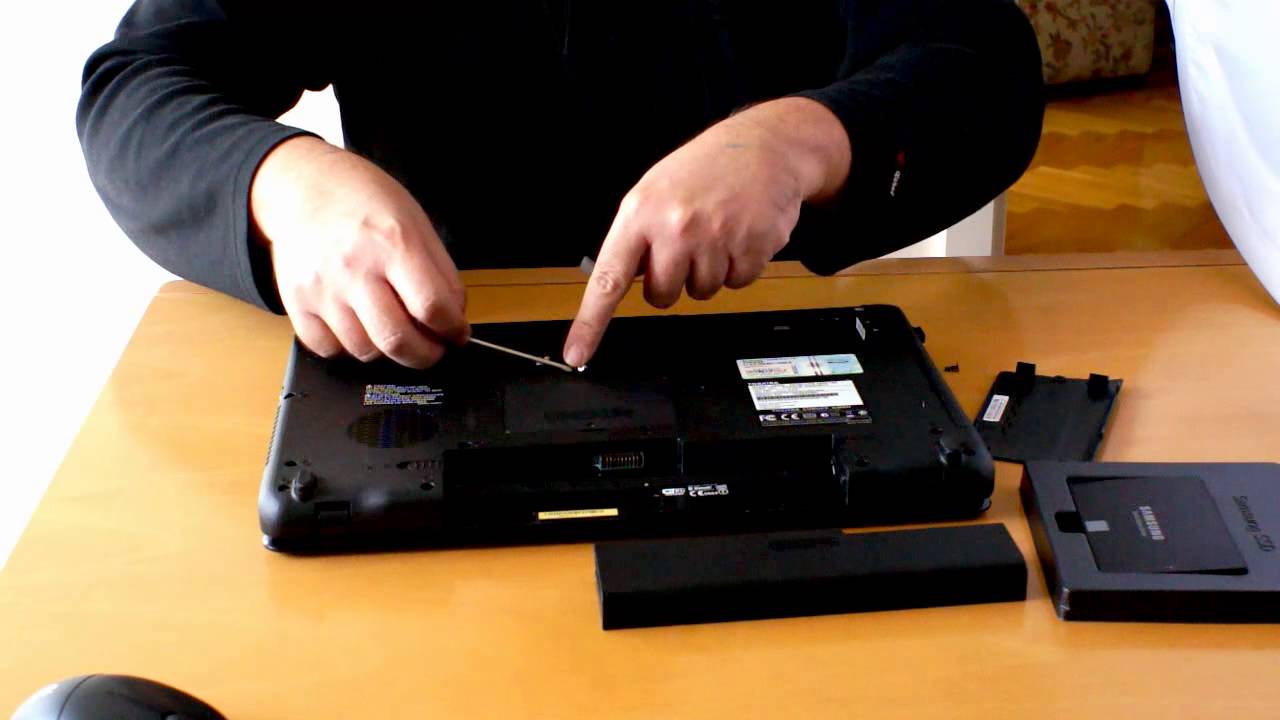
Step 3: Open the laptop’s case
Now that you have prepared your Toshiba Satellite S55 B5280, it’s time to open the laptop’s case to access the internal components. Follow these steps to safely open the case:
- Locate the screws: Look for screws or fasteners on the bottom of the laptop that secure the case. They are usually marked with a small icon that resembles a keyboard or a cylinder.
- Remove the screws: Use a Phillips-head screwdriver to carefully remove the screws. Keep them in a safe place to avoid misplacing them.
- Release the latches: Some laptops have latches or clips that secure the case. Gently slide a plastic opening tool or a credit card along the edges of the laptop to release these latches.
- Lift the case: Once the screws and latches are released, carefully lift the laptop’s case from the bottom. Start with one corner and gradually work your way around the edges until the case is completely detached.
While opening the laptop’s case, be cautious and gentle to avoid damaging any internal components. Take note of any cables or connections that may be attached to the case and handle them with care.
Once the case is open, you will have clear access to the internal components, including the existing hard drive. Moving on to the next step, we will locate and disconnect the existing hard drive.
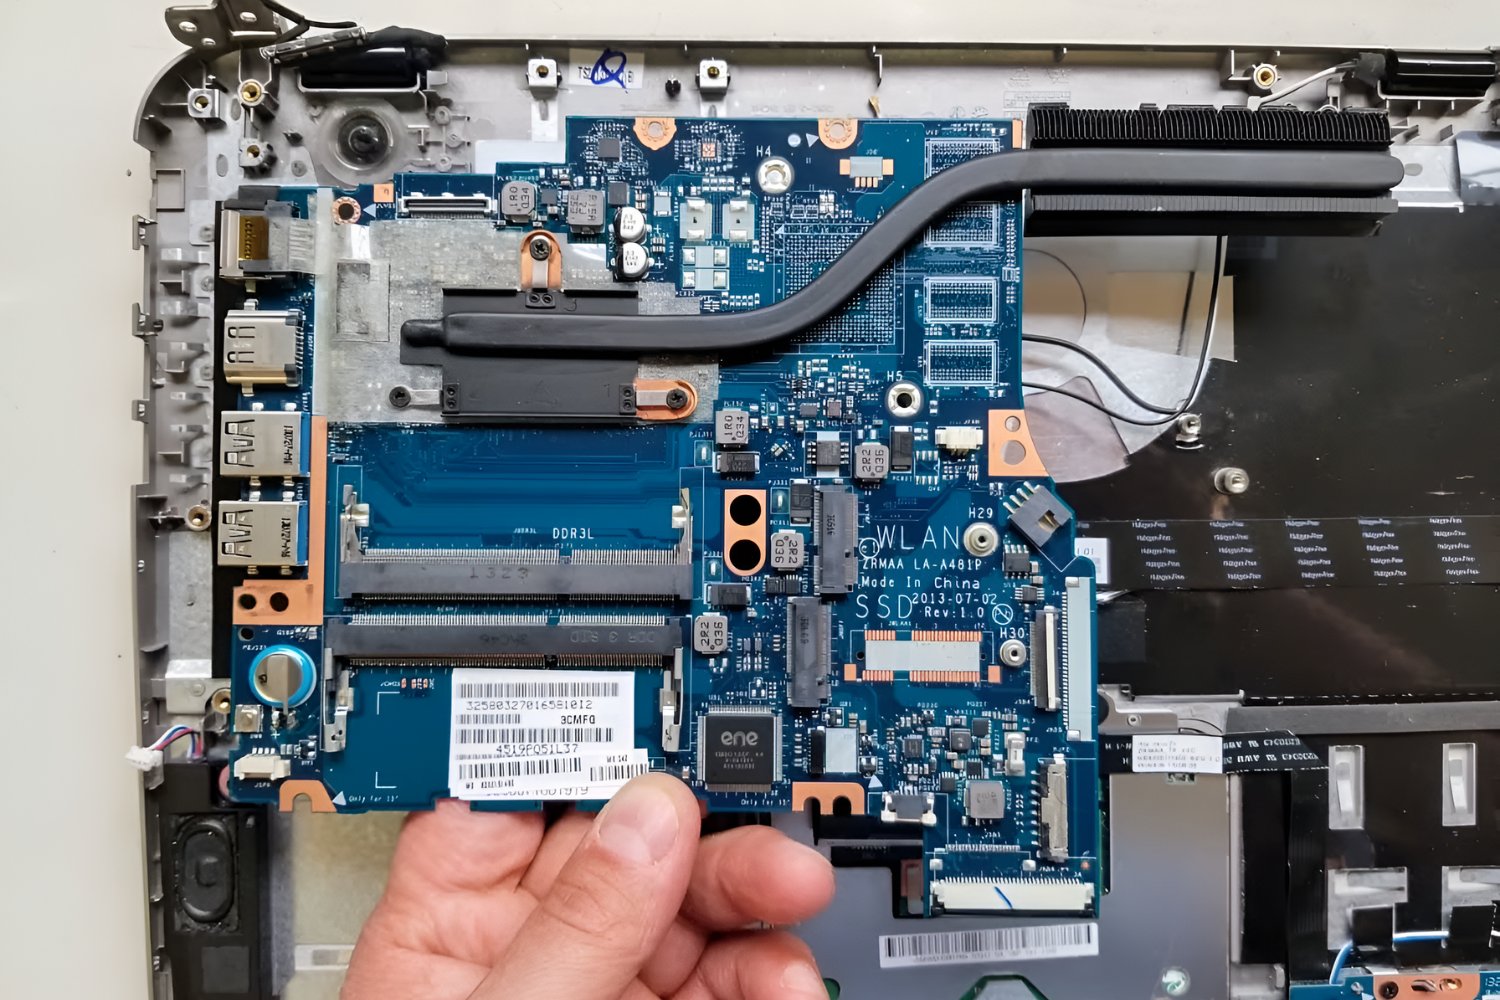
Step 4: Locate the existing hard drive
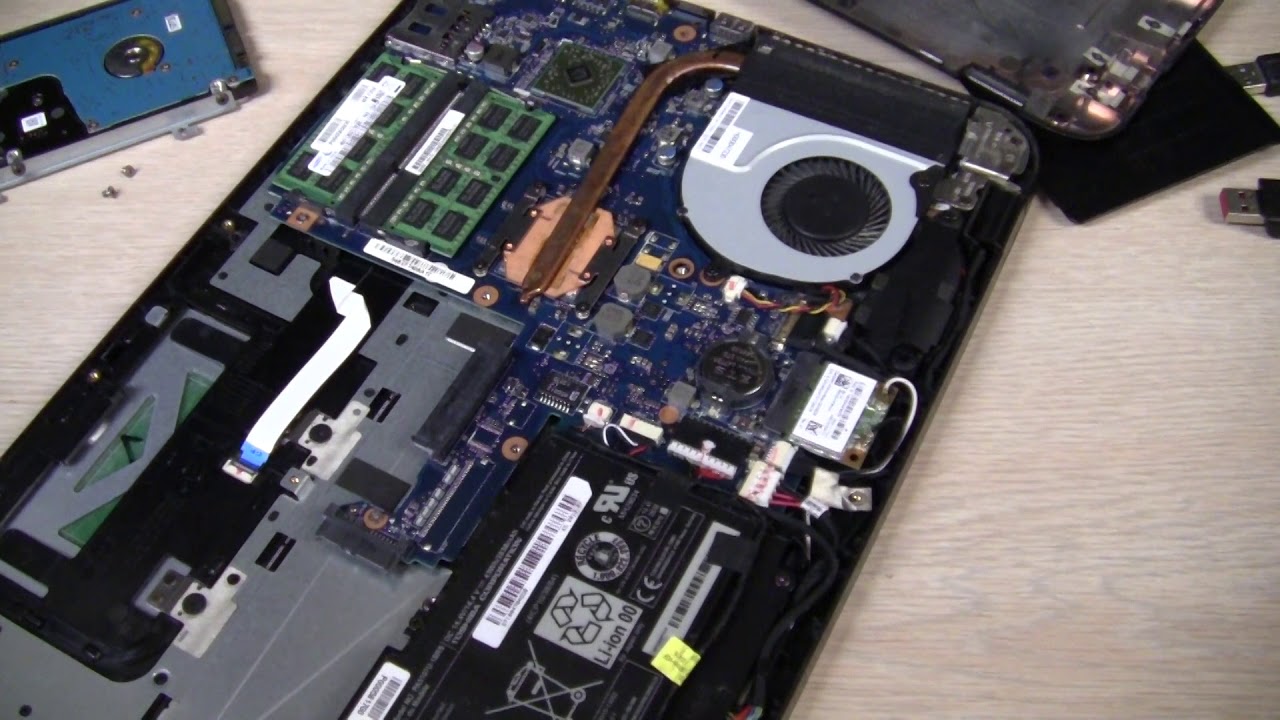
With the laptop’s case open, it’s time to locate the existing hard drive in your Toshiba Satellite S55 B5280. Follow these steps to find the hard drive:
- Identify the storage area: Look for the area inside the laptop where the hard drive is typically located. In most cases, it is situated towards the bottom and may be accessed by removing a protective cover or bracket.
- Refer to the laptop’s manual: If you’re unsure about the precise location of the hard drive, consult the laptop’s manual or visit the manufacturer’s website for detailed instructions specific to your model.
- Observe the connections: Locate the data and power connections on the existing hard drive. These are usually thin cables connected to the drive’s ports. Take note of how they are positioned for later reconnection.
- Inspect the mounting mechanism: Examine how the hard drive is mounted in the laptop. It may utilize screws, brackets, or trays to secure it in place. You will need to remove these to swap out the drive.
Take your time to ensure you have correctly identified the existing hard drive. Familiarize yourself with its location, connections, and mounting mechanism before proceeding to the next step.
Now that you have located the existing hard drive, we will move on to the next step, which involves disconnecting and removing it from the laptop.
Step 5: Disconnect and remove the existing hard drive
Now that you have located the existing hard drive in your Toshiba Satellite S55 B5280, it’s time to disconnect and remove it. Follow these steps to safely complete this process:
- Disconnect the data and power cables: Gently detach the data and power cables connected to the existing hard drive. Take note of their orientation and the ports they are connected to. If the cables are held in place by clips or locks, carefully release them before disconnecting.
- Remove any additional screws or brackets: In some cases, there may be screws or brackets securing the hard drive in place. Use a screwdriver to carefully remove these and set them aside.
- Slide out the existing hard drive: After disconnecting the cables and removing any securing mechanisms, carefully slide out the existing hard drive from its slot. Ensure you maintain a gentle and steady grip to prevent any damage.
- Keep the hard drive in a safe place: Once removed, place the existing hard drive in an anti-static bag or on a soft and static-free surface. This will help protect it from any potential damage.
Double-check that all connections and securing mechanisms have been properly removed before pulling out the existing hard drive. Take your time and handle the hard drive with care to prevent any accidental drops or shocks.
With the existing hard drive removed, we can now move on to the next step, which involves preparing the solid-state drive for installation.
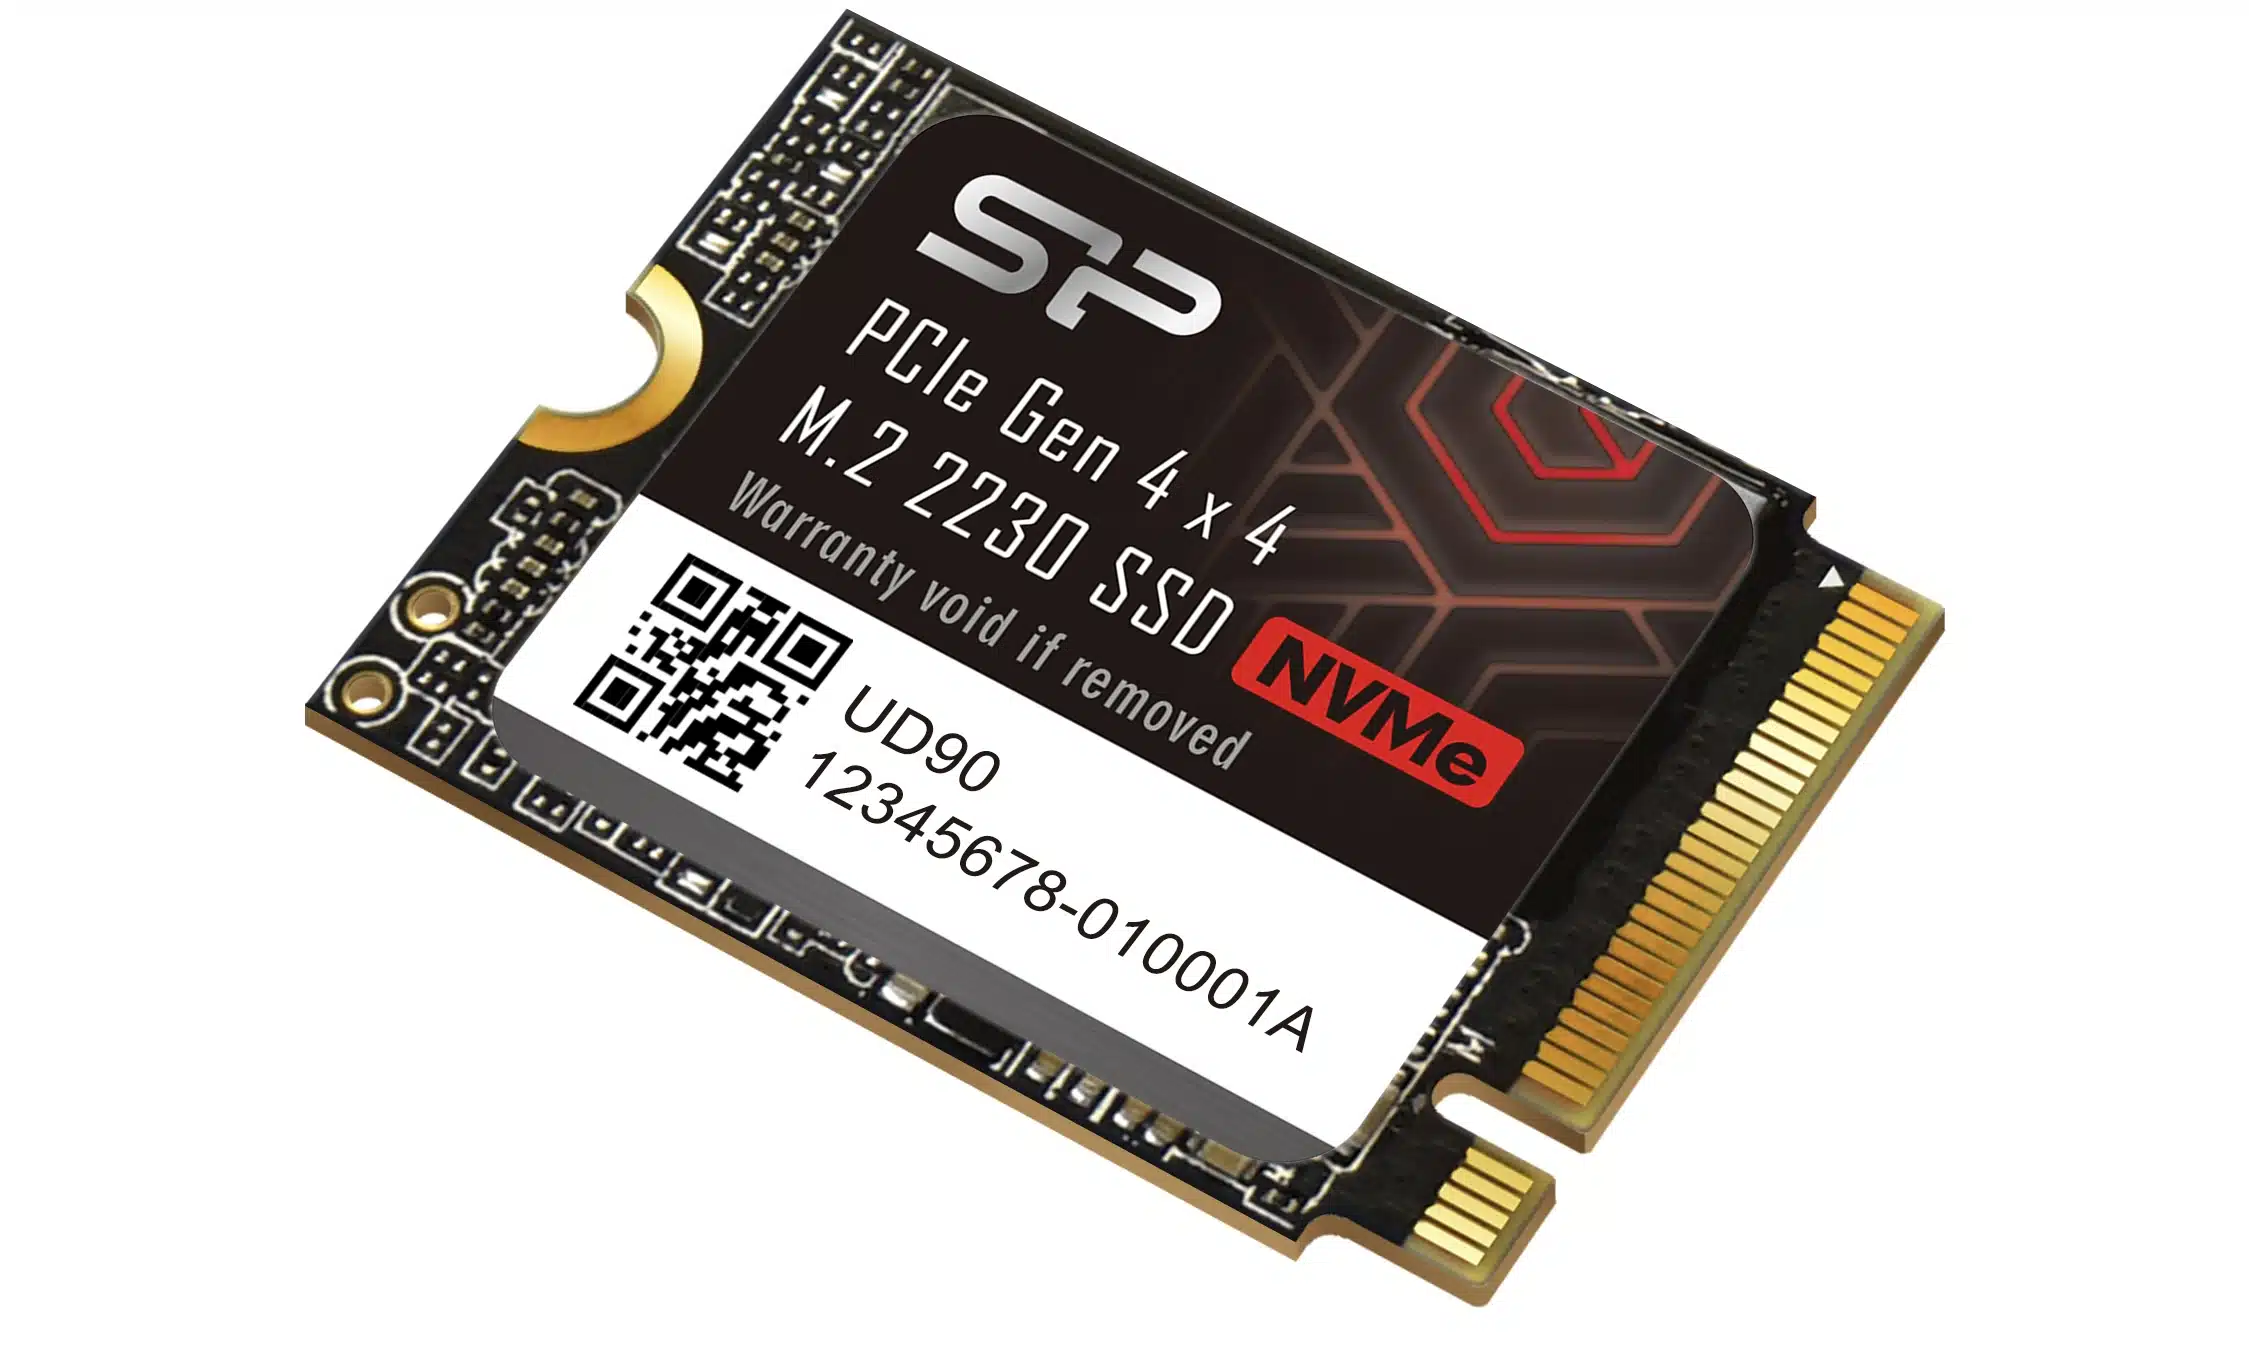
Step 6: Prepare the solid-state drive for installation
Now that you have removed the existing hard drive from your Toshiba Satellite S55 B5280, it’s time to prepare the solid-state drive (SSD) for installation. Follow these steps to ensure the SSD is ready to be installed:
- Check for compatibility: Ensure that the SSD you have purchased is compatible with your laptop model. Refer to the manufacturer’s specifications or consult the laptop’s manual for any specific requirements.
- Handle the SSD with care: SSDs are sensitive to static electricity, so avoid touching the gold connectors. Handle the SSD by its edges or use an anti-static wristband to minimize the risk of damage.
- Remove protective coverings: If your SSD has any protective coverings or stickers, carefully peel them off before installation.
- Inspect the mounting mechanism: Take note of how the SSD will be installed in your laptop. Some SSDs may require screws or brackets, while others may have a slot or connector specifically designed for them.
- Set jumpers (if applicable): Depending on your specific SSD model, you may need to set jumpers or switches to configure its operation. Refer to the manufacturer’s instructions for guidance.
By carefully preparing the SSD for installation, you ensure a smooth and trouble-free upgrade process. Remember to handle the SSD with care and follow the manufacturer’s instructions to guarantee optimal performance.
With the SSD prepared, we’re now ready to move on to the next step—installing the solid-state drive into your Toshiba Satellite S55 B5280.
Step 7: Install the solid-state drive into the laptop
With the solid-state drive (SSD) prepared, it’s time to install it into your Toshiba Satellite S55 B5280. Follow these steps to ensure a successful installation:
- Locate the slot or connection point: Identify the slot or connection point where the SSD will be installed. Refer to your laptop’s manual or the manufacturer’s instructions for specific guidance.
- Align the SSD correctly: Carefully align the SSD with the slot or connector, ensuring that the gold connectors on the SSD align with the corresponding pins inside the slot.
- Push the SSD firmly into place: Apply gentle pressure and firmly push the SSD into the slot or connector until it is securely seated. Ensure that it is properly aligned and does not wobble or shift.
- Secure the SSD: If necessary, use screws or brackets to secure the SSD in place. Refer to your laptop’s manual for specific instructions on how to secure the SSD.
Take your time during the installation process, as improper alignment or insufficient seating can cause connection issues or damage to the SSD. Ensure that the SSD is firmly and securely installed before proceeding to the next step.
Congratulations! You have now successfully installed the solid-state drive into your Toshiba Satellite S55 B5280. In the next step, we will connect the necessary cables and secure the SSD in its place.
Step 8: Connect the cables and secure the solid-state drive in place
Now that you have installed the solid-state drive (SSD) into your Toshiba Satellite S55 B5280, it’s time to connect the necessary cables and secure the SSD in its place. Follow these steps for a secure and reliable connection:
- Connect the data cable: Take the data cable that was previously connected to the existing hard drive and attach it to the corresponding port on the SSD. Ensure that the connection is snug and secure.
- Connect the power cable: Locate the power cable that was previously connected to the existing hard drive and plug it into the power port on the SSD. Ensure that the connection is secure.
- Secure the SSD: If the SSD requires screws or brackets to secure it in place, use the appropriate tools to fasten it tightly. This will prevent any movement or vibrations that could potentially damage the SSD or disrupt its performance.
Double-check that all connections are properly seated and firmly connected. The data cable and power cable should be securely attached to the SSD to establish a reliable connection. Make sure to handle the cables and SSD with care, ensuring that they are gently guided into place without exerting excessive force.
Now that you have connected the necessary cables and secured the solid-state drive in its place, we’re one step closer to completing the installation process. In the next step, we will close the laptop’s case.
Step 9: Close the laptop’s case
After installing the solid-state drive (SSD) and connecting the necessary cables, it’s time to close your Toshiba Satellite S55 B5280’s case. Follow these steps to securely close the case:
- Align the case: Hold the top and bottom halves of the laptop’s case together and align them properly. Ensure that all the edges and corners are in their correct positions.
- Press the case together: Apply gentle pressure to firmly press the case halves together. Start by aligning one corner and gradually move along the edges. Ensure that the case is securely snapped or screwed back into place.
- Reinsert the screws: Using a Phillips-head screwdriver, reinsert the screws that were removed earlier to secure the case. Make sure to tighten them properly, but avoid over-tightening, as it may damage the threads or strip the screws.
Take your time to ensure that the case is closed securely and each screw is properly tightened. The laptop’s case should feel stable and there should be no gaps or loose sections when the process is completed.
By closing the laptop’s case carefully, you are protecting the internal components and ensuring that they are properly aligned and secured. With the case closed, we’re almost ready to power on the laptop and configure the solid-state drive.
Step 10: Power on the laptop and configure the solid-state drive
With the laptop’s case closed and the solid-state drive (SSD) installed, it’s time to power on your Toshiba Satellite S55 B5280 and configure the SSD. Follow these steps to complete the installation process:
- Reconnect the power cord: Plug in the power cord and ensure it is connected securely to a power source.
- Insert the battery (if applicable): If you had removed the laptop’s battery earlier, reinsert it and ensure it is properly seated. Note that not all laptop models have removable batteries.
- Power on the laptop: Press the power button to turn on your Toshiba Satellite S55 B5280. The laptop should boot up and enter the operating system.
- Enter the BIOS (if required): Depending on your laptop, you may need to access the BIOS settings to configure the SSD. Consult the user manual or manufacturer’s website for instructions on how to enter the BIOS.
- Verify SSD recognition: Once you access the BIOS, check if the SSD is recognized. It should be listed among the storage devices. If not, ensure all connections are secure and recheck the installation steps.
- Set the SSD as the boot drive (if desired): If you want to use the SSD as the primary boot drive, navigate to the boot options in the BIOS and select the SSD as the first boot device.
- Save and exit the BIOS: After configuring the SSD settings, save the changes and exit the BIOS. Follow the on-screen instructions to restart the laptop.
Once your Toshiba Satellite S55 B5280 restarts, it should now be running on the SSD. You can enjoy the improved performance, faster boot times, and smoother operation that an SSD offers.
Remember to reinstall any necessary software or transfer your data from the backup you created earlier. Take the time to verify that everything is working correctly on your laptop with the newly installed SSD.
Congratulations! You have successfully installed and configured a solid-state drive in your Toshiba Satellite S55 B5280. Enjoy the enhanced performance and productivity that the SSD brings to your laptop.
Conclusion
Congratulations on successfully installing a solid-state drive (SSD) in your Toshiba Satellite S55 B5280! Through this step-by-step guide, you have learned how to upgrade your laptop’s hard drive and enjoy improved performance. By replacing your traditional hard drive with an SSD, you can experience faster boot times, quicker file transfers, and an overall smoother operation.
Throughout the installation process, we covered various steps, including gathering the necessary tools and materials, preparing the laptop, opening the case, locating and removing the existing hard drive, preparing the SSD, installing the SSD, connecting cables and securing the drive in place, closing the laptop’s case, and configuring the SSD. Following each step carefully ensures a successful and seamless upgrade.
Remember to handle all components with care, take necessary precautions to avoid static electricity, and consult your laptop’s manual for any model-specific instructions. It’s crucial to back up your important data before starting the installation process to prevent any data loss.
Once you have successfully installed and configured the SSD, you can enjoy the benefits of its improved performance. The faster boot times and improved responsiveness of your Toshiba Satellite S55 B5280 will enhance your overall computing experience.
We hope this guide has been helpful in guiding you through the installation process. By following these steps, you have taken a bold step towards optimizing your laptop’s performance and extending its lifespan. If you encounter any issues or require further assistance, don’t hesitate to consult technical support or seek guidance from professionals.
Thank you for choosing to upgrade your Toshiba Satellite S55 B5280 with a solid-state drive. Enjoy the enhanced speed and efficiency of your laptop!