Introduction
Switching from a traditional hard drive to a solid-state drive (SSD) can significantly improve the performance and speed of your computer. SSDs use flash memory technology, making them faster and more reliable compared to traditional hard drives, which use spinning disks.
With an SSD, your computer can boot up faster, applications will load quickly, and file transfers will be seamless. The transition from a hard drive to an SSD may seem daunting, but with the right tools and guidance, it can be a smooth process.
In this article, we will guide you through the steps to switch from a hard drive to an SSD. We will cover everything from backing up your data to physically installing the SSD and configuring the settings for optimal performance.
Before we dive into the details, it is essential to note that switching to an SSD will require cloning your existing hard drive. This process creates an exact copy of your hard drive, including the operating system, applications, and files, onto the new SSD. By cloning, you can seamlessly transition to the new drive without reinstalling everything from scratch.
However, before embarking on this journey, it is crucial to back up your data. While the chances of data loss during the cloning process are minimal, it is always best to have a backup as a safety precaution. Now that we’ve covered the basics, let’s proceed to the first step: backing up your hard drive.
Backup Your Hard Drive
Before you start the process of switching from a hard drive to an SSD, it is essential to back up all your data. This step acts as a safety net to ensure that your files are protected. Even though the chances of data loss during the cloning process are minimal, it is always better to be safe than sorry.
There are several methods you can use to back up your hard drive:
- External Hard Drive: Using an external hard drive is one of the most common and reliable methods. Simply connect the external drive to your computer, copy and paste all your important files and folders onto the drive. Make sure to organize the backup in a way that is easy to navigate and find files when needed.
- Cloud Storage: Another popular option is to back up your data using cloud storage services such as Google Drive, Dropbox, or OneDrive. These services offer a certain amount of free storage, and you can upgrade to a paid plan if needed. Upload your important files and folders to the cloud, ensuring that they are securely stored and accessible from any device with an internet connection.
- Clonezilla: If you prefer a more advanced method, you can use Clonezilla, an open-source and free disk cloning software. Clonezilla allows you to create an exact image of your hard drive, including the operating system, applications, and files. This method is especially useful if you want a complete and comprehensive backup.
Whichever method you choose, make sure to double-check that all your important files and folders are backed up successfully. Take your time to verify the integrity of the backups to avoid any potential data loss.
Once you have successfully backed up your hard drive, you can proceed with confidence knowing that your data is safe. With the backup in place, you are ready to move on to the next step, which involves selecting the right SSD for your needs.
Selecting the right SSD
When it comes to selecting an SSD for your computer, there are a few key factors to consider. Choosing the right SSD will ensure optimal performance and compatibility with your system. Here are some important points to keep in mind:
- Capacity:
- The capacity of the SSD refers to the amount of storage space it offers. Consider your storage needs and the size of your existing hard drive when determining the capacity of the SSD. It’s a good idea to choose an SSD with slightly more storage space than your current hard drive to accommodate future data growth.
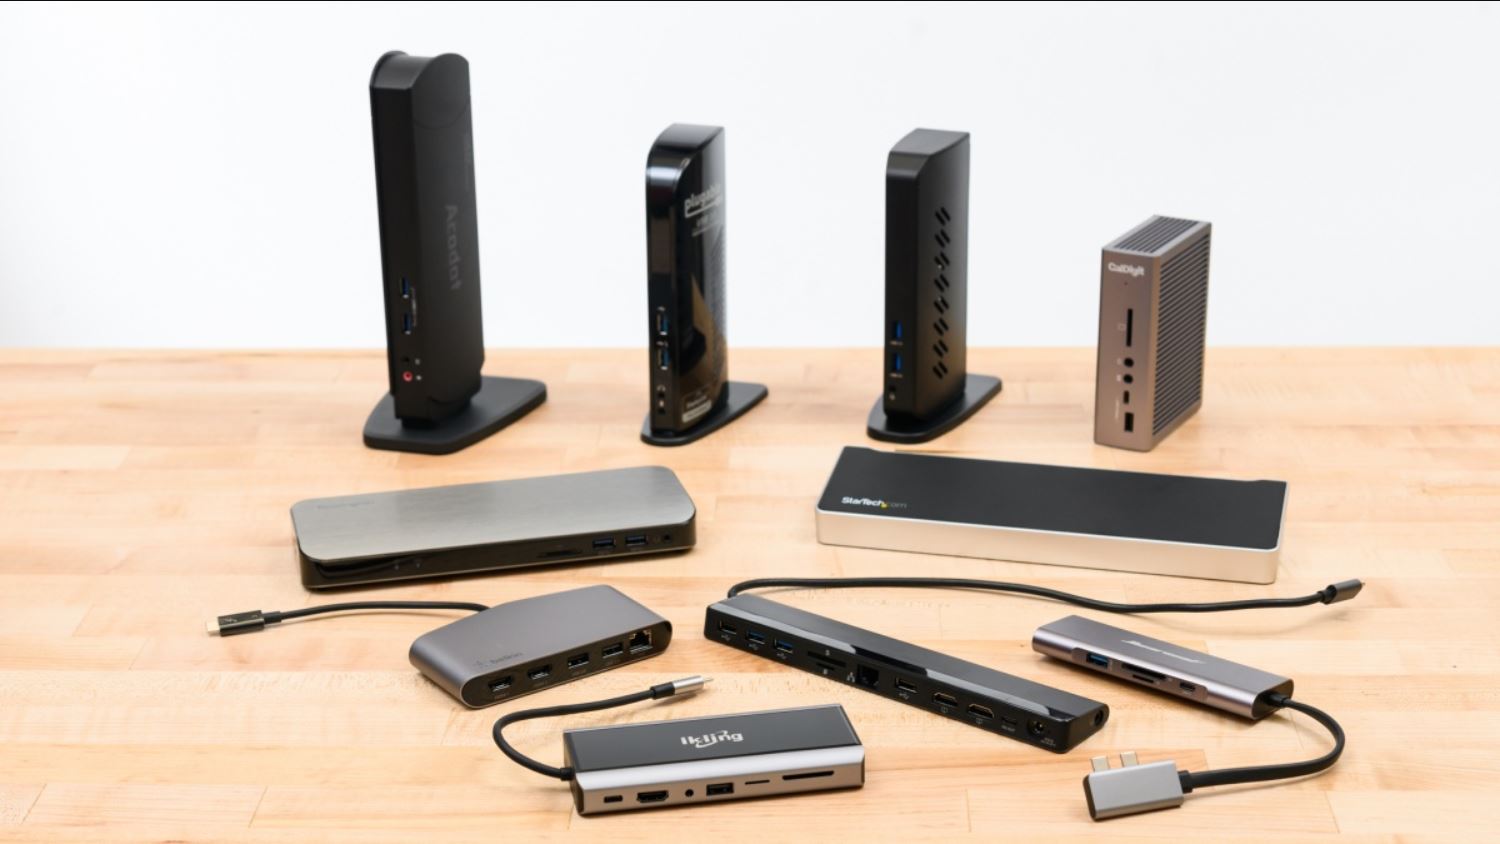
- Interface:
- The interface of the SSD determines how it connects to your computer. The most common interfaces are SATA (Serial Advanced Technology Attachment) and PCIe (Peripheral Component Interconnect Express). SATA SSDs are widely compatible with most computers, while PCIe SSDs offer faster speeds but may require a motherboard with PCIe slots.
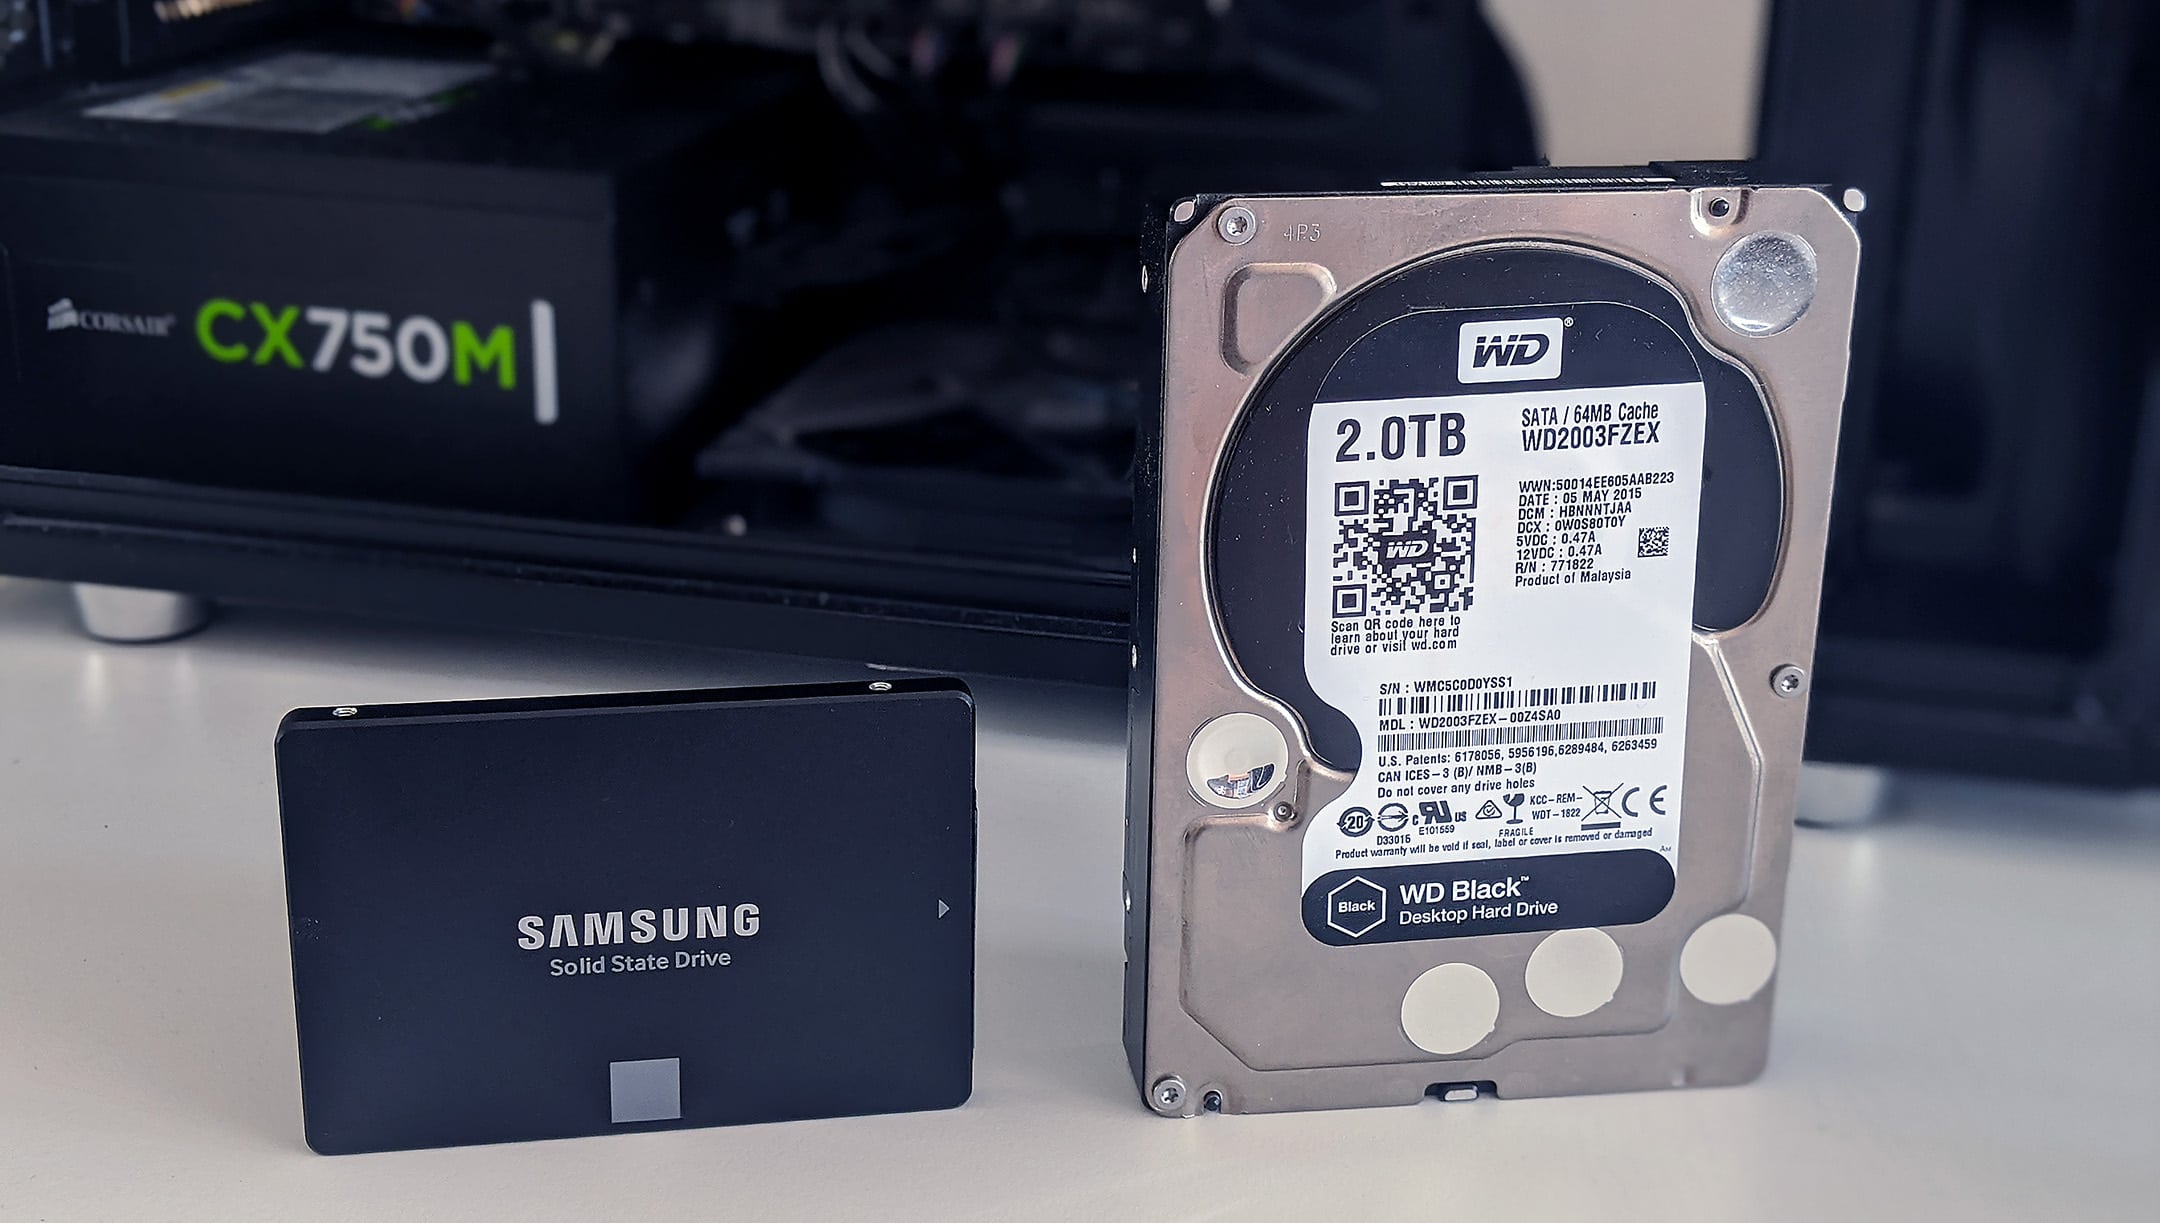
- Form Factor:
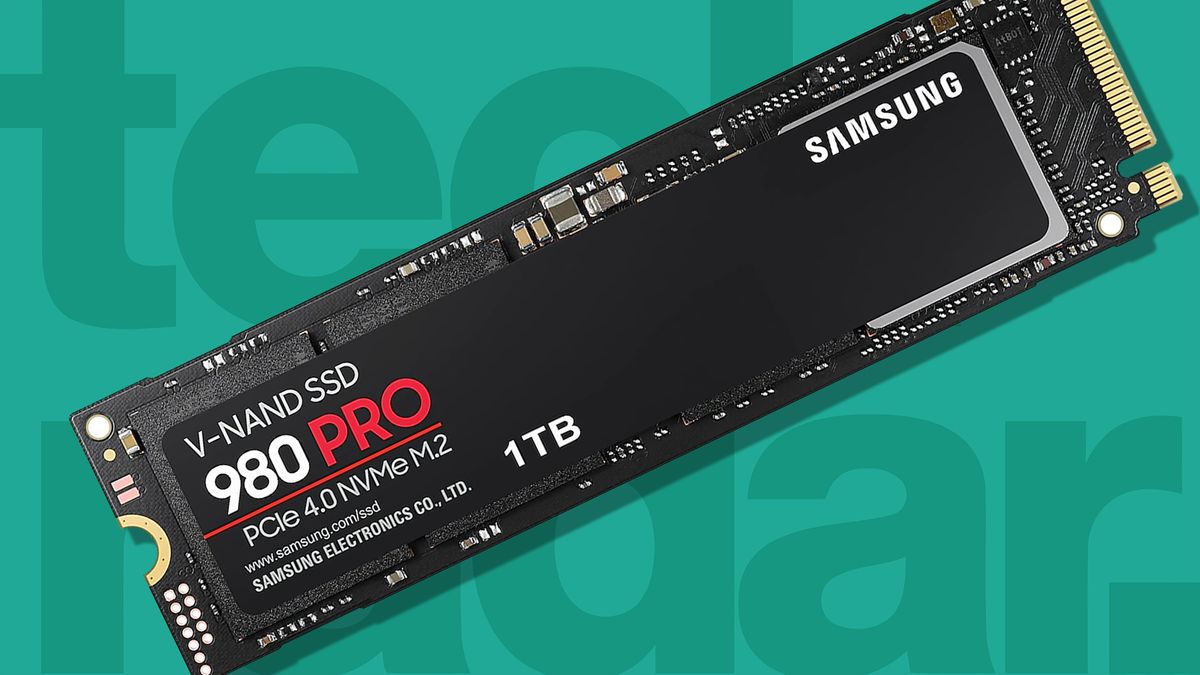
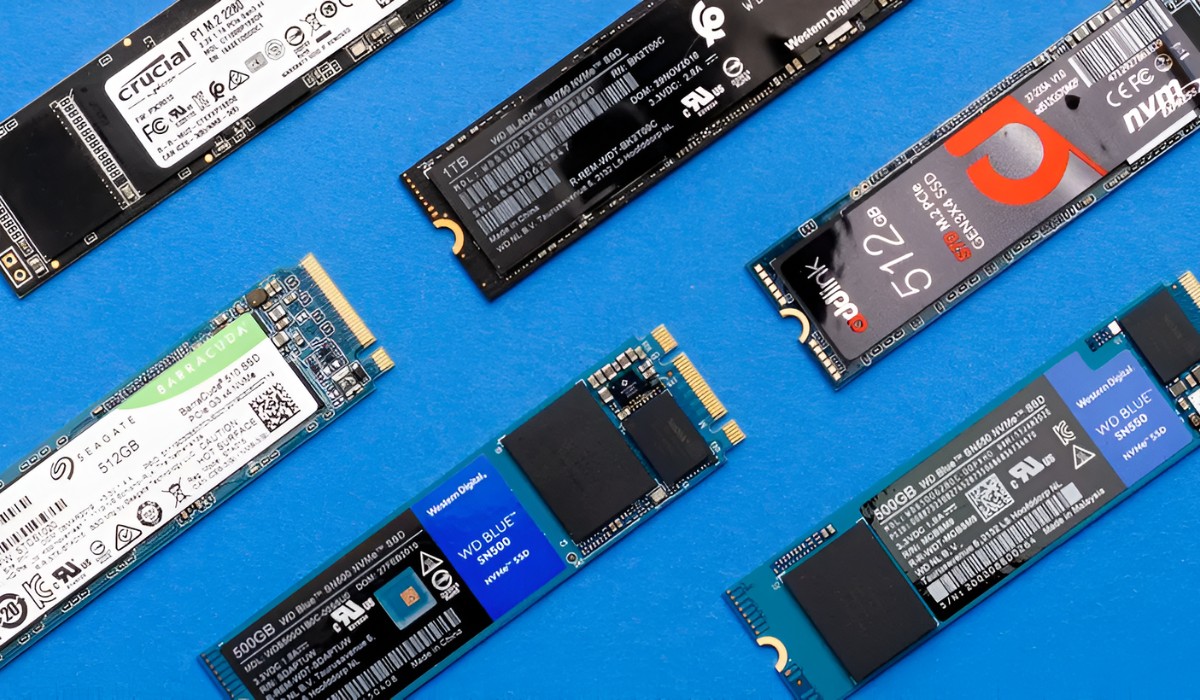
- The form factor of the SSD refers to its physical size and shape. The two main form factors are 2.5-inch and M.2. The 2.5-inch form factor is commonly used in laptops and desktops, while M.2 SSDs are smaller and more suitable for compact devices. Check the form factor supported by your computer before purchasing an SSD.
- Speed and Performance:
- The speed and performance of the SSD are crucial for a smooth computing experience. Look for SSDs that offer high read and write speeds to ensure faster boot times and application loading. Consider the technology used in the SSD, such as TLC (Triple-Level Cell) or MLC (Multi-Level Cell), to gauge its performance and durability.
- Price and Brand:
- Compare prices and read reviews from reputable brands to determine the best SSD for your budget. Popular brands such as Samsung, Crucial, WD, and Kingston are known for producing reliable and high-performing SSDs. Consider the warranty offered by the brand to protect your investment.
It is important to research and thoroughly assess your requirements before purchasing an SSD. Taking these factors into account will help you make an informed decision and select an SSD that meets your needs. Once you have chosen the right SSD, you can proceed to the next step and prepare your computer for the switch.
Preparing your computer for the switch
Before you can install the new SSD and clone your hard drive, you need to prepare your computer for the switch. This involves a few essential steps to ensure a smooth transition and minimize any potential issues:
- Update your operating system: Check for any available updates for your operating system and install them. This ensures compatibility with the new hardware and helps prevent any conflicts during the switch.
- Update your firmware and drivers: Visit the manufacturer’s website for your computer’s motherboard, graphics card, and other important components, and download the latest firmware and drivers. This will ensure that your hardware is up to date and optimized for the new SSD.
- Uninstall unnecessary programs: Take this opportunity to clean up your computer by uninstalling any unnecessary programs or files. This will not only free up storage space on your hard drive, but also make the cloning process faster and more efficient.
- Disable encryption and security features: If you have any encryption software or security features enabled on your hard drive, such as BitLocker or Secure Boot, temporarily disable them. These can interfere with the cloning process and may cause errors. Remember to re-enable them once the switch is complete.
- Disconnect unnecessary peripherals: Remove any unnecessary peripherals, such as external hard drives, printers, and USB devices, from your computer. This helps avoid any potential conflicts and ensures a smoother cloning process.
- Ensure adequate power supply: Make sure your computer is connected to a stable power source during the switch. An interrupted power supply can cause data loss or hardware damage. It’s always a good idea to use a surge protector to protect against power surges.
By following these preparation steps, you will create an optimal environment for the switch from a hard drive to an SSD. With your computer ready, you can now proceed to the next step and clone your hard drive onto the new SSD.
Cloning your hard drive to the SSD
Cloning your hard drive is a crucial step in the process of switching from a traditional hard drive to an SSD. This process involves creating an exact copy of your existing hard drive, including the operating system, applications, and files, onto the new SSD. Cloning allows for a seamless transition without the need to reinstall everything from scratch.
To clone your hard drive to the SSD, you can use various software tools available. Here is a general outline of the process:
- Choose a cloning software: Research and select a reliable cloning software that supports your specific operating system and hardware. Popular options include Clonezilla, Macrium Reflect, and Acronis True Image. Download and install the chosen software onto your computer.
- Connect the SSD: Install the new SSD into your computer by following the manufacturer’s instructions. This may involve removing the existing hard drive, connecting the SSD to an available SATA or PCIe slot, and securing it in place. Make sure your computer is powered off and disconnected from any power source during this process.
- Launch the cloning software: Open the cloning software and follow the prompts to initiate the cloning process. Select your existing hard drive as the source drive and the new SSD as the destination drive. Ensure that you have enough storage space on the SSD to accommodate all the data from your hard drive.
- Configure the cloning settings: Before starting the cloning process, you may have the option to adjust certain settings. These settings may include aligning partitions, resizing partitions, or excluding certain files or folders from the cloning process. Review the options and make any necessary changes according to your preferences.
- Start the cloning process: Once all the settings are configured, start the cloning process. This may take some time, depending on the size of your hard drive and the speed of your computer. It is normal for the process to take several hours, so be patient and avoid interrupting the process.
- Verify the clone: After the cloning process is complete, verify that the clone was successful by checking the SSD. Ensure that all the data, including the operating system and files, from the original hard drive is present on the SSD. Double-check that the SSD is bootable by restarting your computer and selecting the SSD as the boot drive in the BIOS settings.
Once you have confirmed that the cloning process was successful, you can proceed to the next step, which involves physically installing the SSD into your computer.
Installing the SSD physically
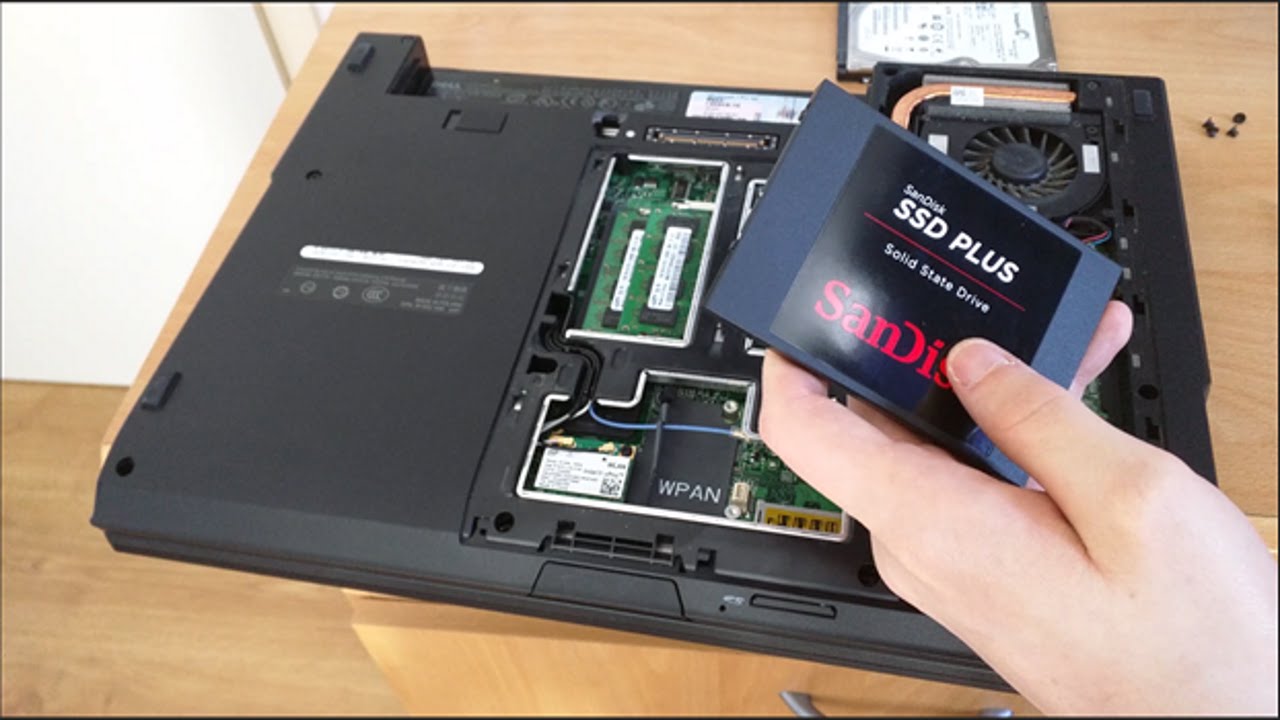
Now that the clone of your hard drive is safely stored on the new SSD, it’s time to physically install the SSD into your computer. This step involves opening your computer case, connecting the SSD to the appropriate ports, and securing it in place. Follow these steps to ensure a successful installation:
- Prepare your tools and workspace: Gather the necessary tools, such as a screwdriver, and find a clean and well-lit workspace. Make sure to ground yourself before handling any computer components to prevent static electricity damage.
- Power down and unplug your computer: Shut down your computer and unplug it from the power source. This is a crucial safety precaution to avoid any electrical shock or damage to the components.
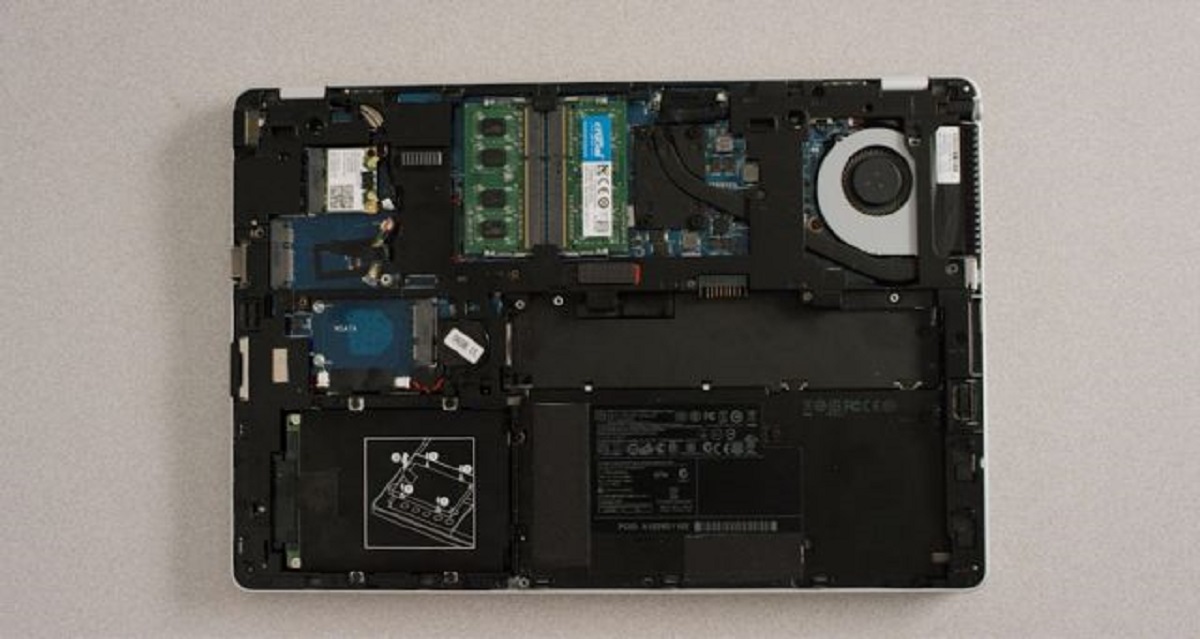
- Open your computer case: Depending on the type of computer case you have, you may need to remove some screws or slide off a side panel to access the internal components. Consult your computer’s manual or look for guides specific to your model for detailed instructions.
- Locate the SATA or PCIe ports: Identify the SATA or PCIe ports on your motherboard. These are the ports where you will connect the SSD. SATA ports are typically rectangular in shape, while PCIe slots are longer and may have a plastic clip at one end.
- Connect the SSD: If you are using a 2.5-inch SSD, connect one end of a SATA cable to the SSD and the other end to an available SATA port on the motherboard. If you are using an M.2 SSD, locate the M.2 slot on the motherboard and insert the SSD at an angle, then gently push it down until it is securely in place.
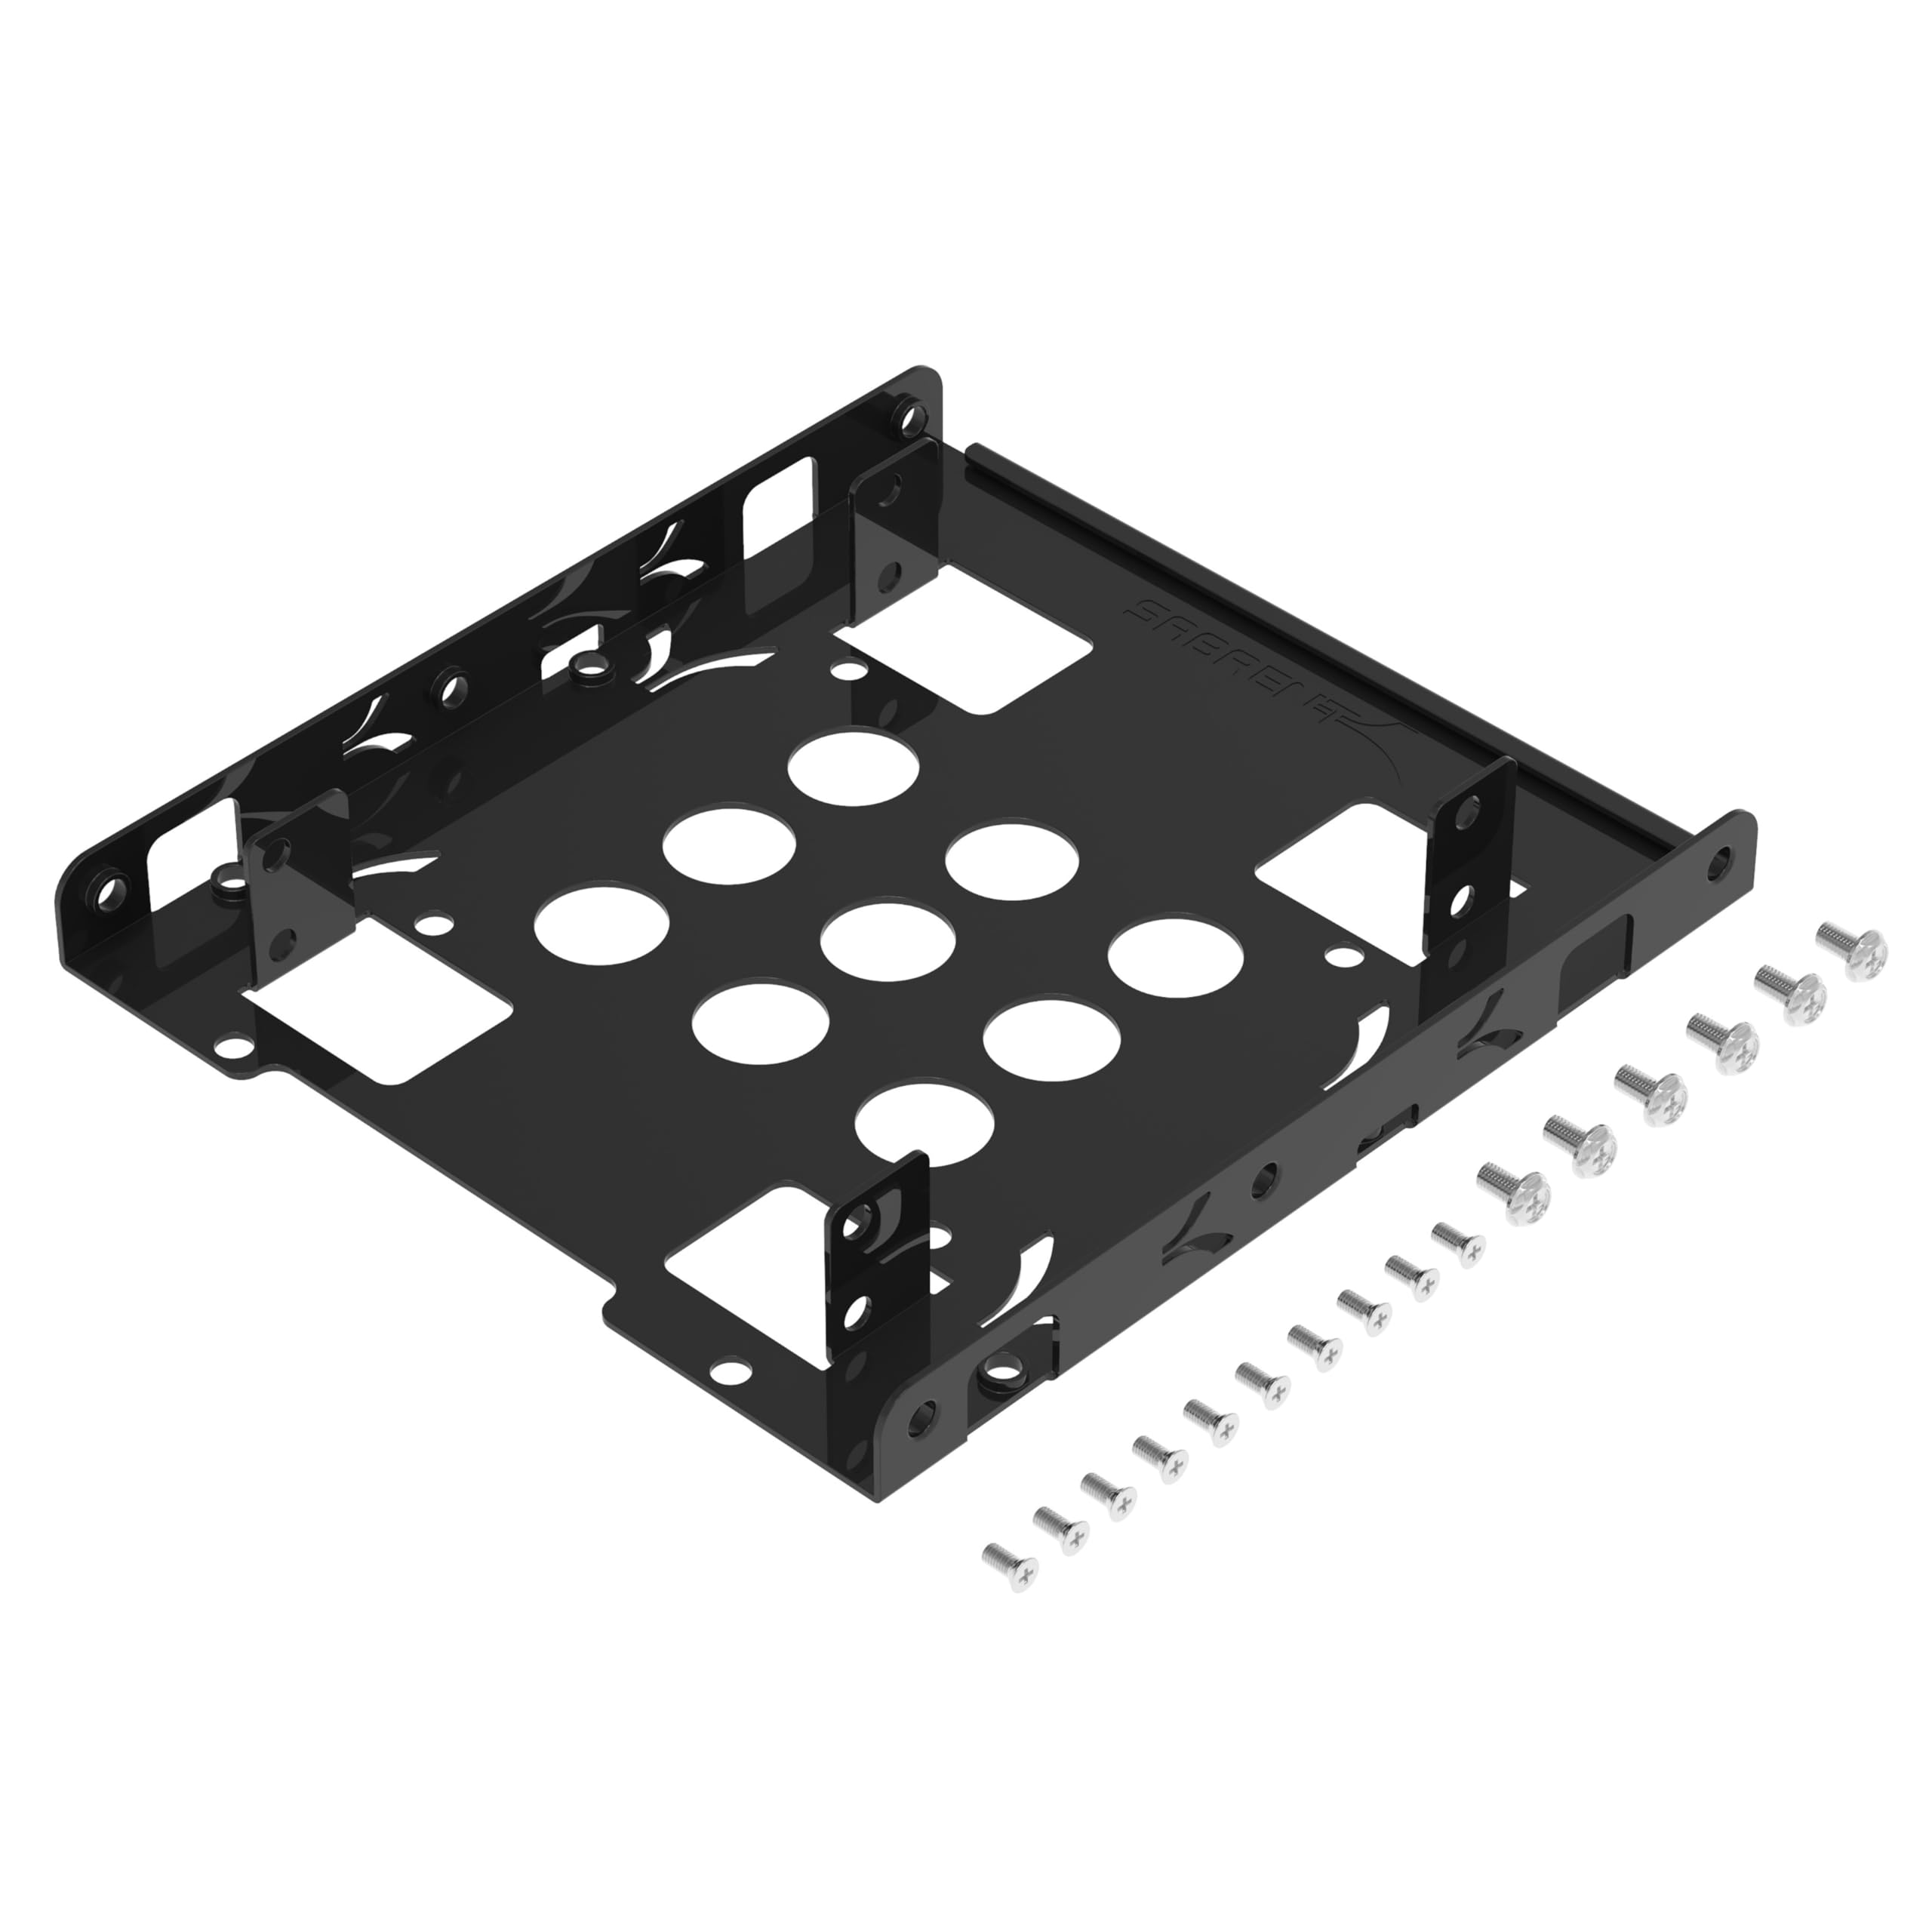
- Secure the SSD: Once the SSD is connected, use screws or brackets to secure it in place. If you are installing a 2.5-inch SSD, you may need to use mounting brackets or secure it with screws in the mounting holes provided. If you are installing an M.2 SSD, double-check if there are any additional screws or clips required to secure it properly.
- Close your computer case: Carefully put the side panel back on or reattach any screws to secure the computer case. Make sure all the connections are snug and there are no loose cables obstructing any airflow.
- Reconnect and power up your computer: Plug in the power cord and any peripheral devices that you disconnected earlier. Power up your computer and enter the BIOS settings by pressing the designated function key (e.g., F2 or Del) during the boot process. Verify that the SSD is recognized and set it as the primary boot device if necessary.
Once you have successfully installed the SSD into your computer, you are ready to boot up and configure your new SSD, which we will cover in the next section.
Booting up and configuring your new SSD
Now that you have physically installed the new SSD into your computer, it’s time to boot up and configure it. This step involves verifying that the SSD is recognized by your system, setting it as the primary boot device, and configuring any necessary settings for optimal performance.
- Power on your computer: Press the power button to start your computer. As it boots up, pay attention to the screen for any messages or prompts that indicate the SSD has been recognized by your system.
- Enter the BIOS settings: During the boot process, you may need to press a specific key (such as F2 or Del) to access the BIOS settings. Refer to your computer’s manual or look for on-screen prompts to enter the BIOS.
- Verify the SSD is recognized: Within the BIOS settings, navigate to the section that displays the connected storage devices (e.g., “Storage” or “Boot” menu). Ensure that the SSD is listed and detected by your system. If it is not showing up, double-check the connections and ensure that it is properly installed.
- Set the SSD as the primary boot device: In the BIOS settings, locate the boot order or boot priority settings. Adjust the settings to set the SSD as the primary boot device. This ensures that your computer will boot from the SSD and take advantage of its faster speed.
- Save and exit the BIOS: After making any necessary changes, save the settings and exit the BIOS. Your computer will reboot, and it should now boot from the SSD.
- Confirm the SSD is functioning: Once your computer has booted up, open the operating system and check that the SSD is functioning correctly. Verify that you can access all your files and applications without any issues.
- Optimize SSD settings (optional): If desired, you can further optimize the settings of your new SSD for better performance. This may include enabling TRIM support, adjusting power settings, or updating the SSD firmware. Consult the manufacturer’s instructions or documentation for specific steps on optimizing your SSD.
By booting up and configuring your new SSD correctly, you will ensure that your computer is utilizing the full potential of the SSD’s speed and performance. With the SSD functioning properly, you can proceed to finalize the transition from the hard drive to the SSD.
Finalizing the transition
Congratulations! You have successfully switched from a hard drive to an SSD. While the physical installation and configuration are complete, there are a few final steps to take in order to finalize the transition and ensure a smooth experience with your new SSD.
- Formatting the old hard drive (optional): If you no longer need the old hard drive or want to repurpose it, you can format it to free up storage space. However, ensure that you have backed up any important data before proceeding.
- Verifying data integrity: Take some time to go through your files and applications stored on the new SSD. Make sure everything is intact and functioning as expected. If you encounter any issues, double-check the cloning process or seek technical assistance.
- Removing the old hard drive (optional): If you have no use for the old hard drive, you can remove it from your computer. This will free up physical space and potentially improve airflow within the case. Follow proper guidelines and procedures for removing and disposing of the old hard drive.
- Regularly backup your SSD: It is crucial to establish a regular backup routine for your SSD to protect your data against any unforeseen issues or failures. Use an external hard drive or cloud storage to regularly backup your important files and folders.
- Monitor SSD health: Keep an eye on the health and performance of your SSD. Many SSD manufacturers provide specific software or utilities to monitor the drive’s health and provide firmware updates. Regularly check for updates and maintain the SSD to ensure longevity and optimal performance.
- Enjoy the benefits of your new SSD: With the transition complete, you can now enjoy the numerous benefits of an SSD, including faster boot times, quick application launches, and improved overall system responsiveness. Take advantage of the speed and efficiency that the SSD brings to your computing experience.
By finalizing the transition and following these steps, you will maximize the performance and lifespan of your new SSD. Enjoy the enhanced computing experience and the seamless operations that come with the improved speed and reliability of your SSD.
Conclusion
Switching from a hard drive to an SSD can greatly enhance the performance and speed of your computer. By following the steps outlined in this guide, you can successfully make the transition and start enjoying the benefits of improved efficiency and responsiveness.
First, ensure that you back up all your important data before proceeding with the cloning process. This is an essential step in safeguarding your files and preventing any potential data loss. Selecting the right SSD is also crucial, considering factors such as capacity, interface, form factor, speed, and price.
Preparing your computer for the switch involves updating your operating system, firmware, and drivers, as well as disabling encryption and security features. Cloning your hard drive with reliable software enables you to create an exact copy of your existing data onto the new SSD.
After physically installing the SSD, booting up your computer and configuring the SSD within the BIOS settings will ensure that it functions as the primary boot device. Finalize the transition by formatting the old hard drive, verifying data integrity, and performing regular backups of your new SSD.
With the transition complete, you can now enjoy the improved speed, performance, and reliability that an SSD brings to your computing experience. Remember to monitor the health of your SSD regularly and perform necessary maintenance to optimize its longevity and performance.
By following these steps, you have successfully switched from a hard drive to an SSD and unlocked a world of enhanced computing power. Enjoy the benefits and efficiency of your new SSD as you embark on a faster and more streamlined digital journey.