Introduction
Welcome to the world of solid-state drives (SSDs), where speed and performance reign supreme. If you’re tired of waiting for your computer to boot up or applications to load, then it’s time to consider changing your boot drive to an SSD. In this article, we will explore the benefits of using an SSD as your boot drive and guide you through the step-by-step process of making the switch.
Gone are the days of traditional hard disk drives (HDDs) struggling to keep up with the demands of modern computing. SSDs utilize a different storage technology that provides faster read and write speeds, resulting in significantly improved performance. By changing your boot drive to an SSD, you can experience quicker start-up times, faster application launches, and seamless multitasking.
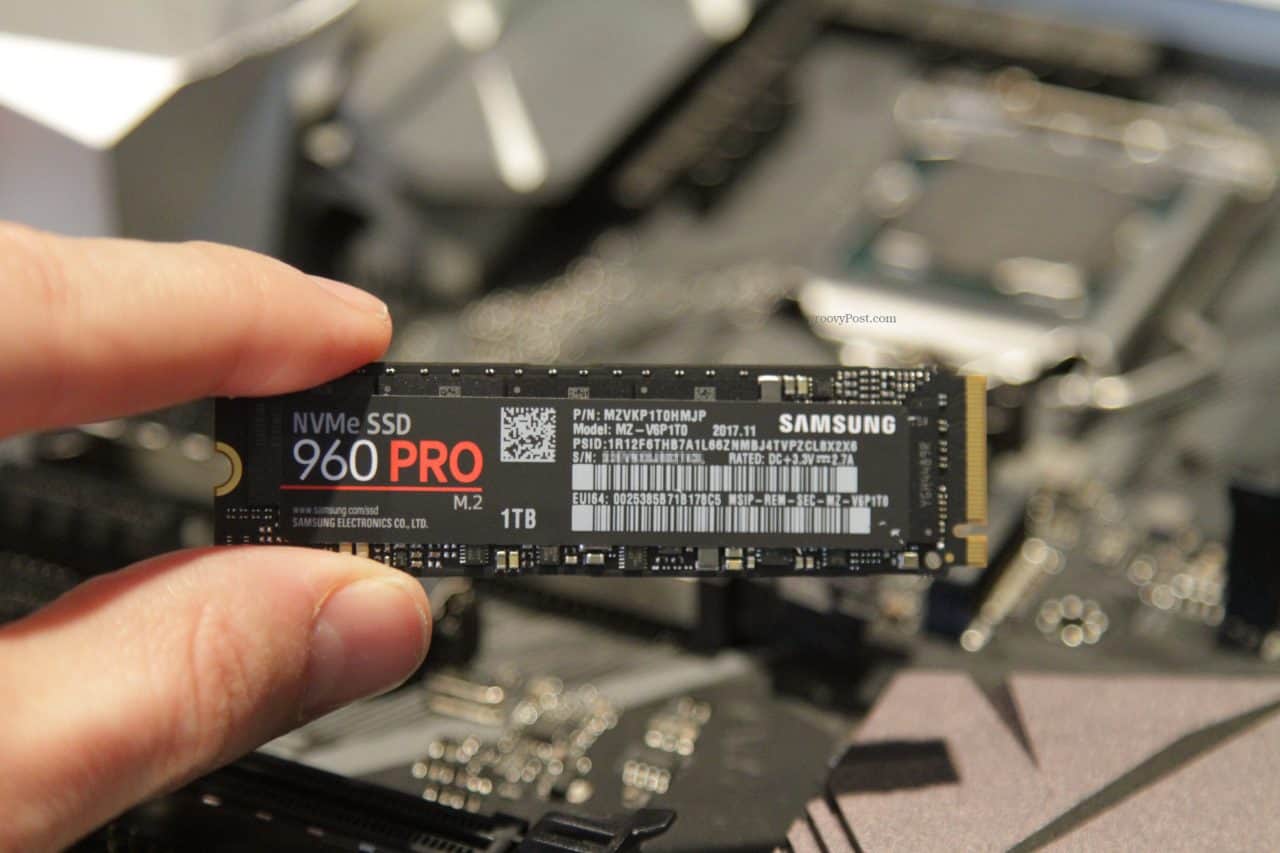
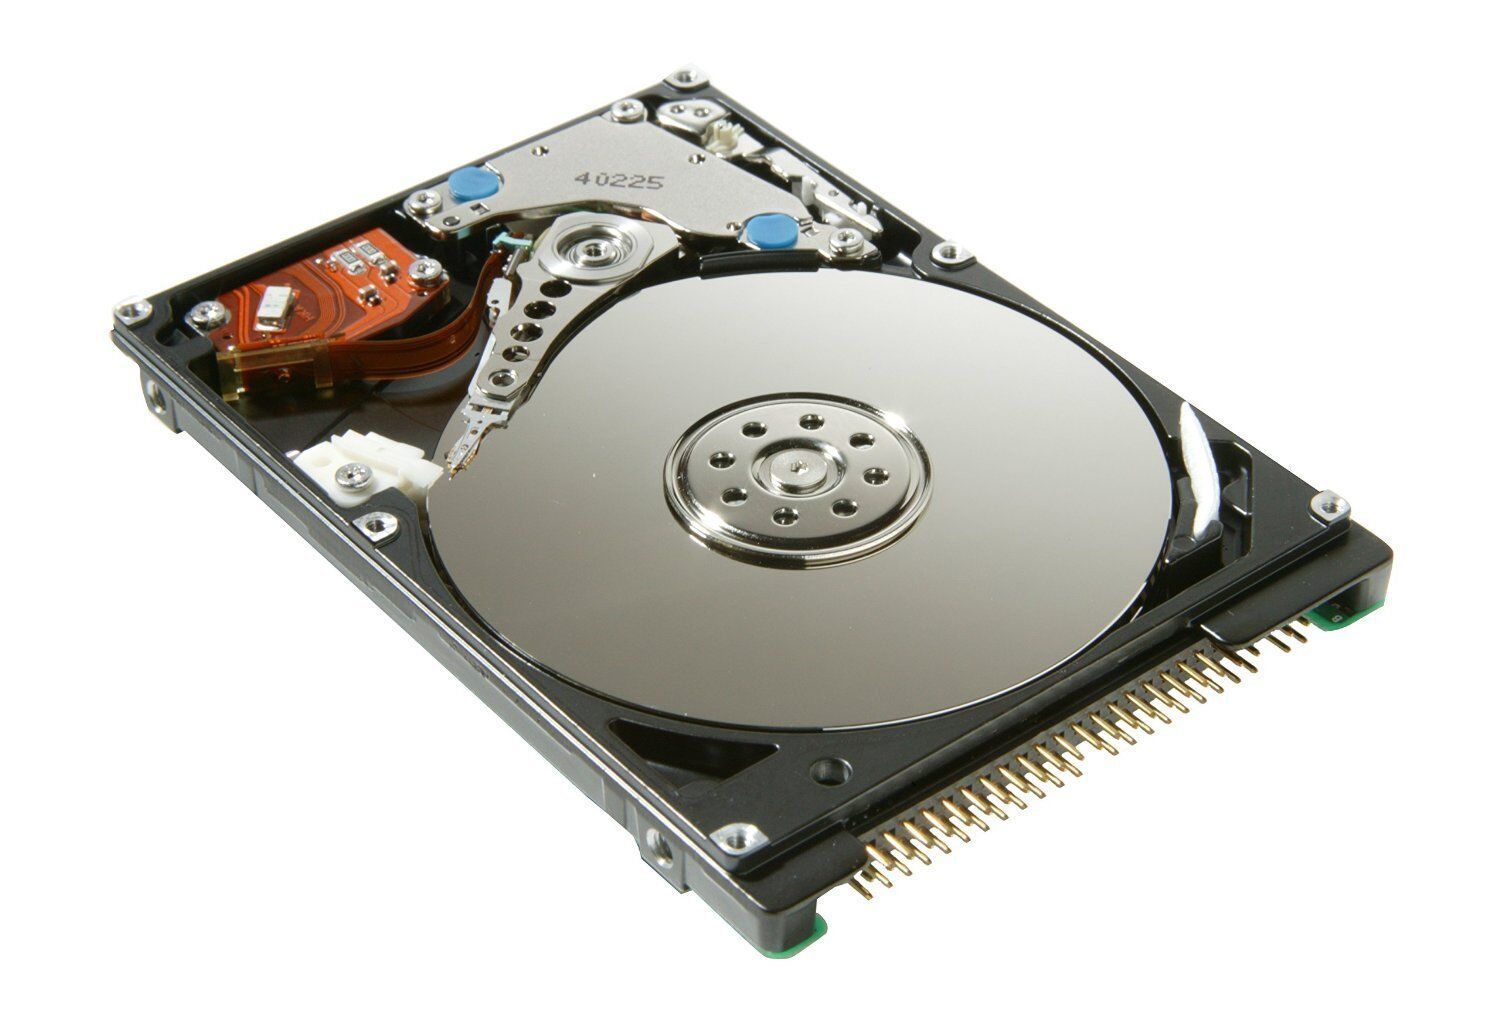
One of the main advantages of SSDs is their ability to access data instantly, thanks to their lack of moving parts. Unlike HDDs, which rely on spinning platters and moving read/write heads, SSDs store data electronically on flash memory chips. This allows for almost instantaneous access to your files, reducing the waiting time and increasing overall system responsiveness.
Another benefit of switching to an SSD as your boot drive is the stability it provides. Since SSDs don’t have moving parts, they are more resistant to physical damage caused by drops or shocks. This makes them ideal for laptop users who are constantly on the move and need a reliable storage solution.
Additionally, SSDs are silent performers. Without the spinning noise associated with HDDs, your computer will run quietly and without distraction. This can greatly improve the overall user experience, especially during tasks that require focus and concentration.
In the following sections, we will delve into the process of preparing your SSD, cloning your current drive, physically installing the SSD, changing your boot drive in the BIOS, and testing your new SSD. We’ll also provide troubleshooting tips to help resolve any issues that may arise along the way. By the end of this guide, you’ll be enjoying the benefits of a lightning-fast SSD boot drive and wondering why you didn’t make the switch sooner.
Why You Should Consider Changing Your Boot Drive to SSD
If you’re still on the fence about whether or not to change your boot drive to an SSD, let’s explore some compelling reasons that might sway your decision.
Speed is undoubtedly the main advantage of using an SSD as your boot drive. Compared to traditional hard disk drives, which rely on mechanical components to read and write data, SSDs excel in speed and performance. With an SSD, you can expect significantly faster boot times, reduced application loading times, and smoother overall system operation. These time-saving benefits are especially noticeable if you’re used to waiting for your computer to fully boot up or for your favorite applications to launch.
Not only do SSDs offer speed, but they also enhance your computer’s multitasking capabilities. With a traditional HDD, you may experience a noticeable slowdown when running multiple programs simultaneously. However, SSDs handle multitasking with ease, allowing you to switch between applications seamlessly and without any lag. This can be a game-changer if you rely on your computer for resource-intensive tasks such as video editing, graphic design, or gaming.
Another crucial advantage of SSDs is their reliability and durability. Since they lack moving parts, SSDs are more resistant to physical damage caused by accidental drops or shocks. This makes them an excellent choice for laptop users who are constantly on the go. Additionally, the absence of moving parts means SSDs operate silently, eliminating the noisy hum associated with traditional HDDs. If you value a quiet work environment or enjoy media consumption without distractions, an SSD is the way to go.
Energy efficiency is yet another benefit of SSDs. Their power consumption is significantly lower compared to HDDs, which can help extend your laptop’s battery life. This can be especially advantageous when working on the go or in situations where access to a power source is limited. By using an SSD as your boot drive, you can enjoy increased productivity while reducing your carbon footprint.
Finally, SSDs offer improved data security. Traditional HDDs are more susceptible to data corruption due to physical wear and tear over time. In contrast, SSDs are better equipped to safeguard your valuable files from corruption and ensure their integrity. This added peace of mind can be particularly beneficial if you store important documents, creative projects, or sensitive information on your computer.
With all these advantages in mind, it’s clear why changing your boot drive to an SSD is a worthwhile investment. In the next sections, we will walk you through the necessary steps to make the switch, so you can start enjoying the increased speed, reliability, and efficiency that an SSD brings to your computing experience.
Preparing Your SSD
Before you can start the process of changing your boot drive to an SSD, there are a few steps you need to take to ensure a smooth transition. Let’s dive into the preparations you should make:
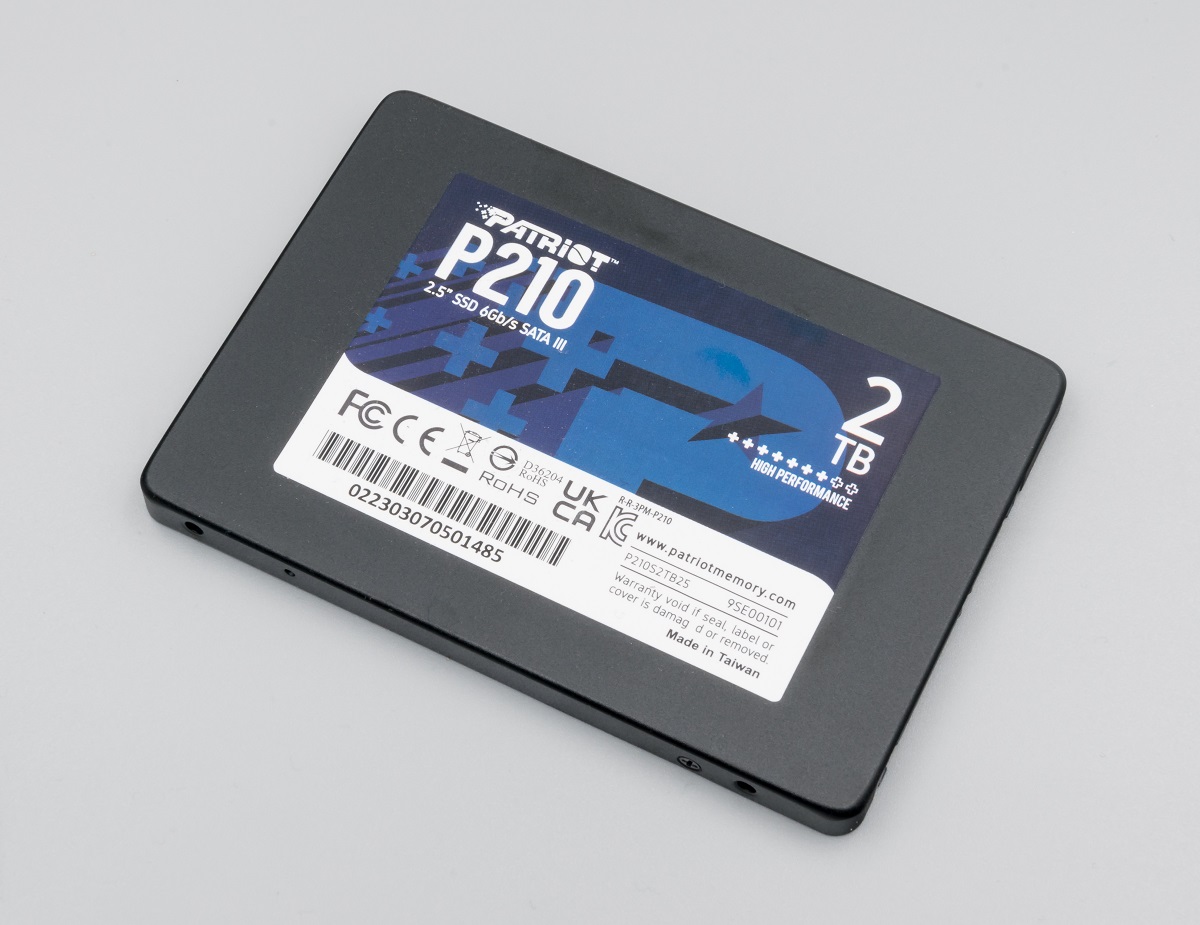
1. Choose the Right SSD: The first step is to select the SSD that best suits your needs. Consider factors such as storage capacity, speed, and budget. It’s recommended to choose an SSD with enough space to accommodate your operating system, applications, and frequently accessed files.
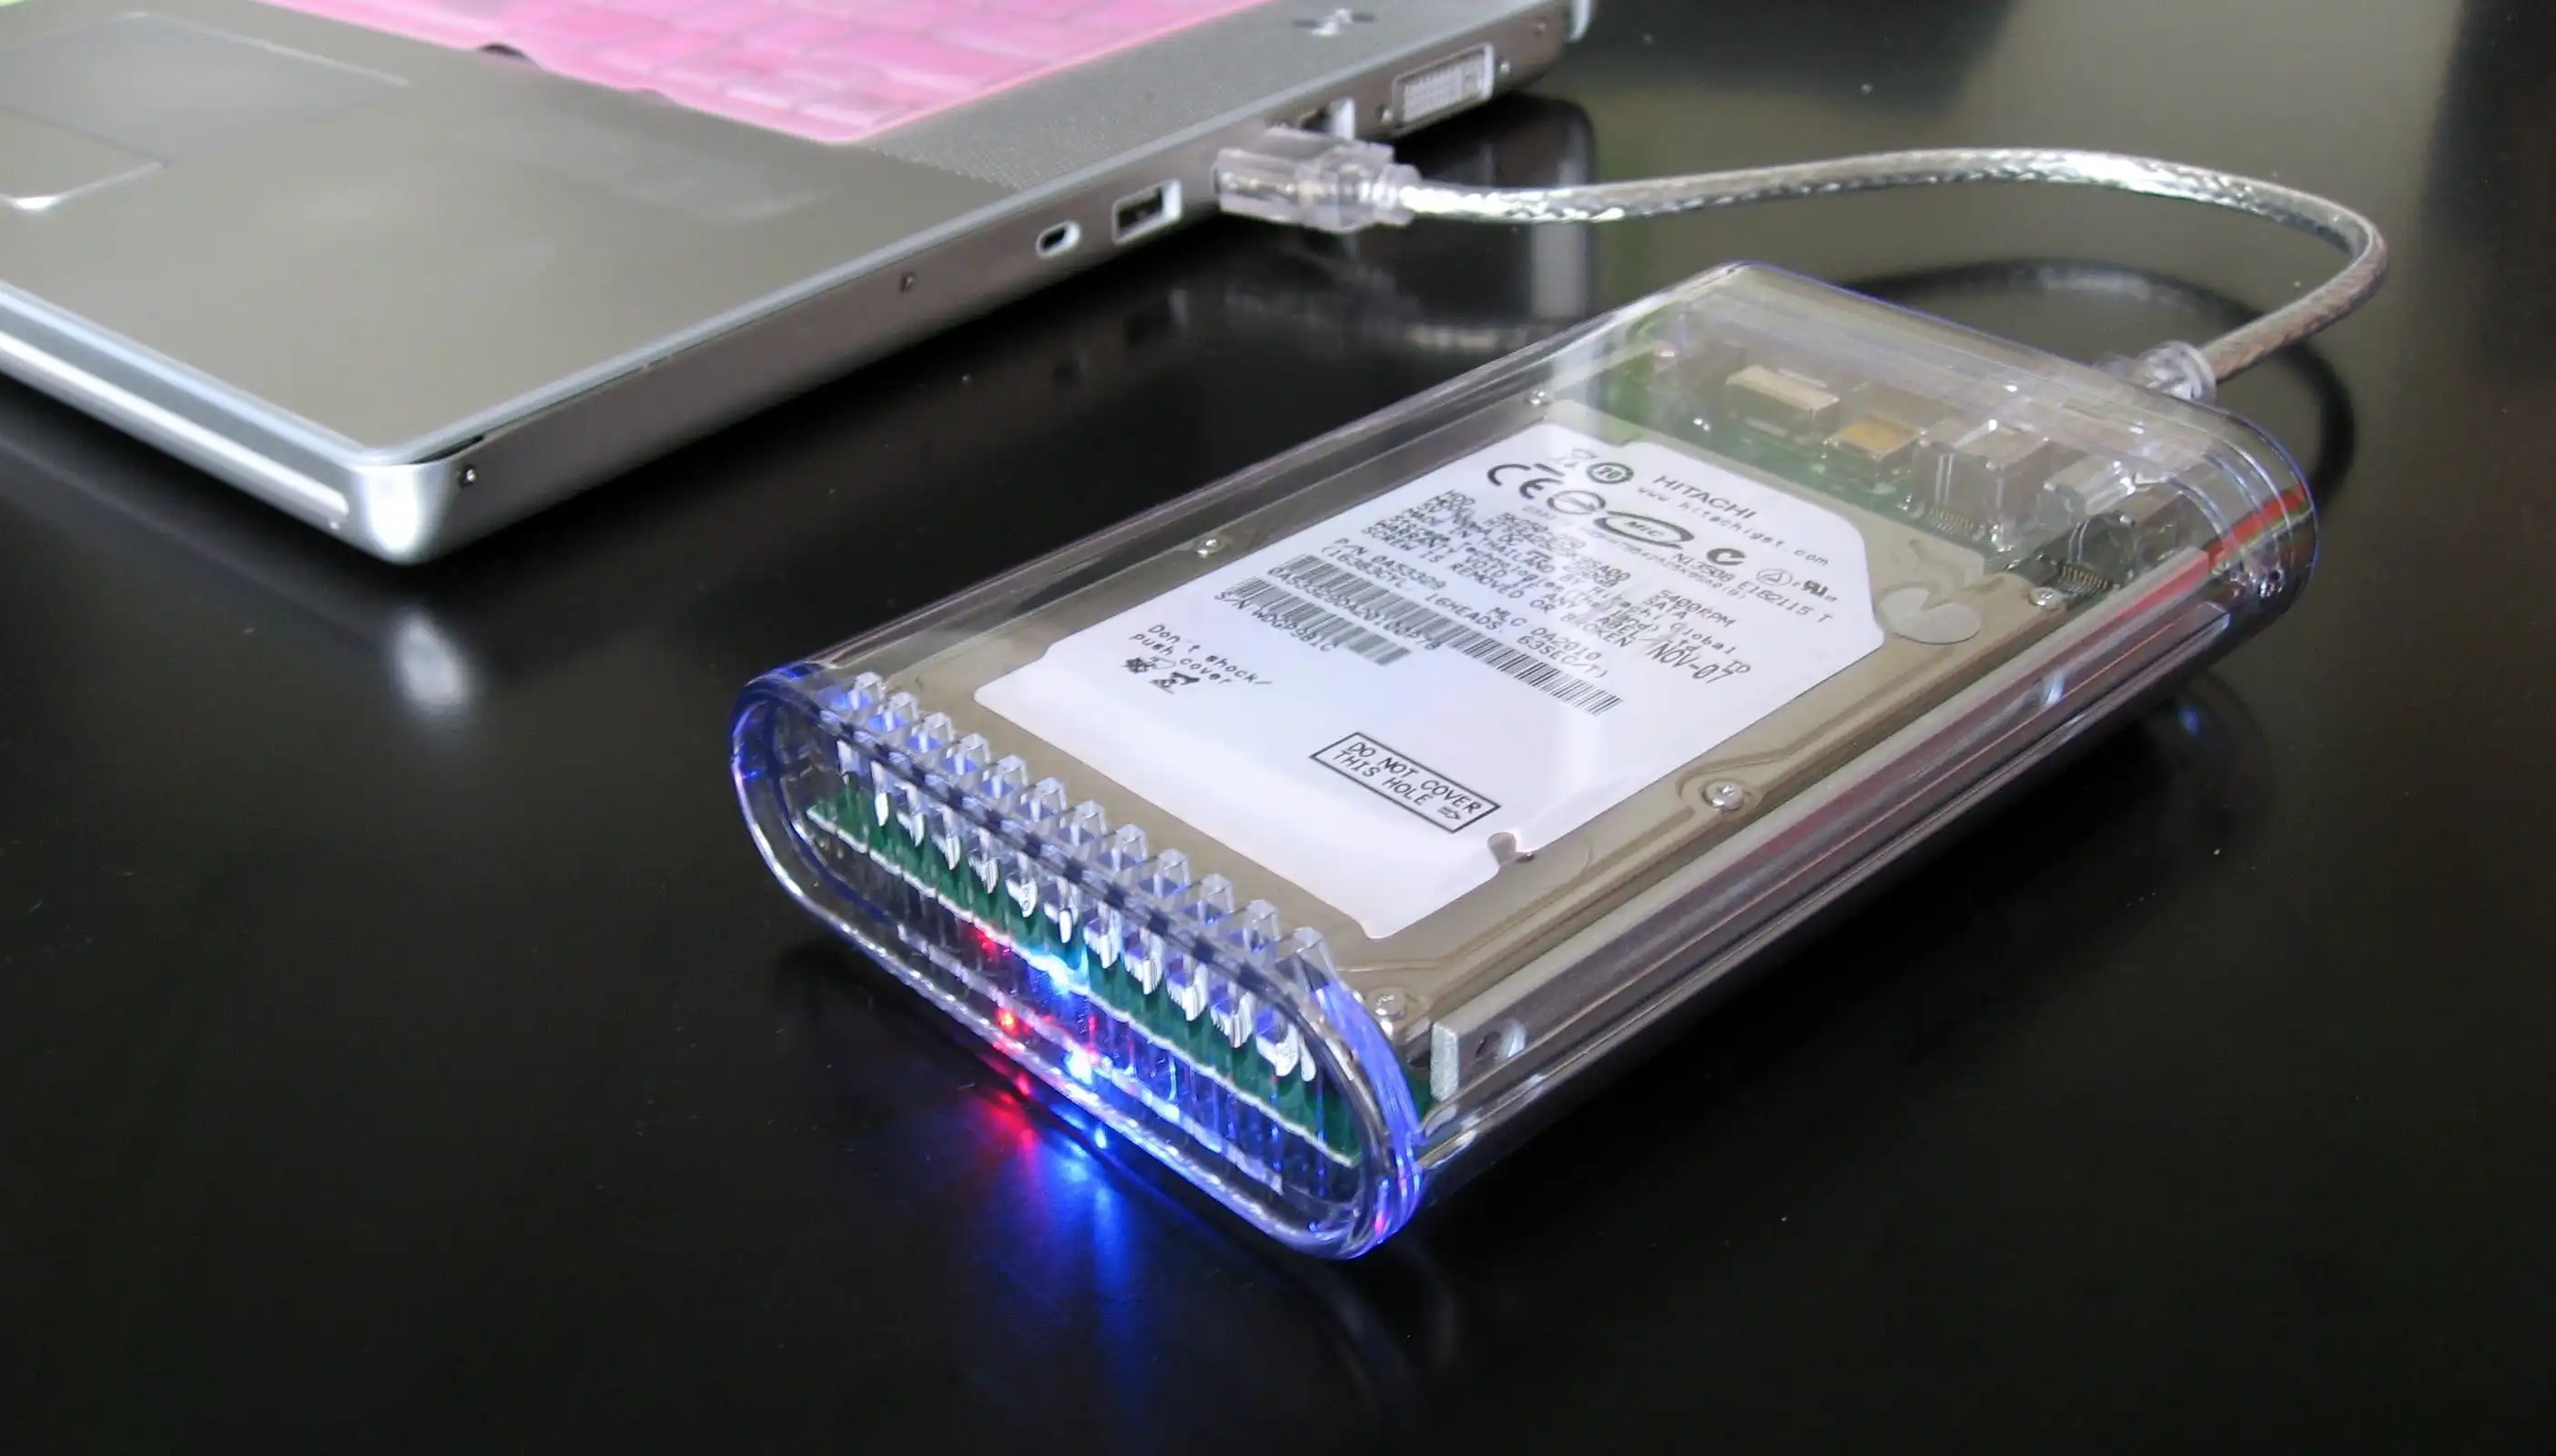
2. Backup Your Data: It’s crucial to back up all your important files and data before proceeding. This ensures that you have a copy of your data in case of any unforeseen issues during the cloning or installation process. You can use external hard drives, cloud storage services, or disk cloning software for this purpose.
3. Check Compatibility: Ensure that your computer’s hardware and operating system support SSDs. Confirm if your motherboard has available SATA ports and if it supports the SATA revision required by your chosen SSD. Additionally, check if your operating system requires any specific drivers for SSDs.
4. Update Firmware: Visit the manufacturer’s website for your SSD and check if there are any firmware updates available. Firmware updates can optimize performance and address any known issues, ensuring optimal functionality of your SSD.
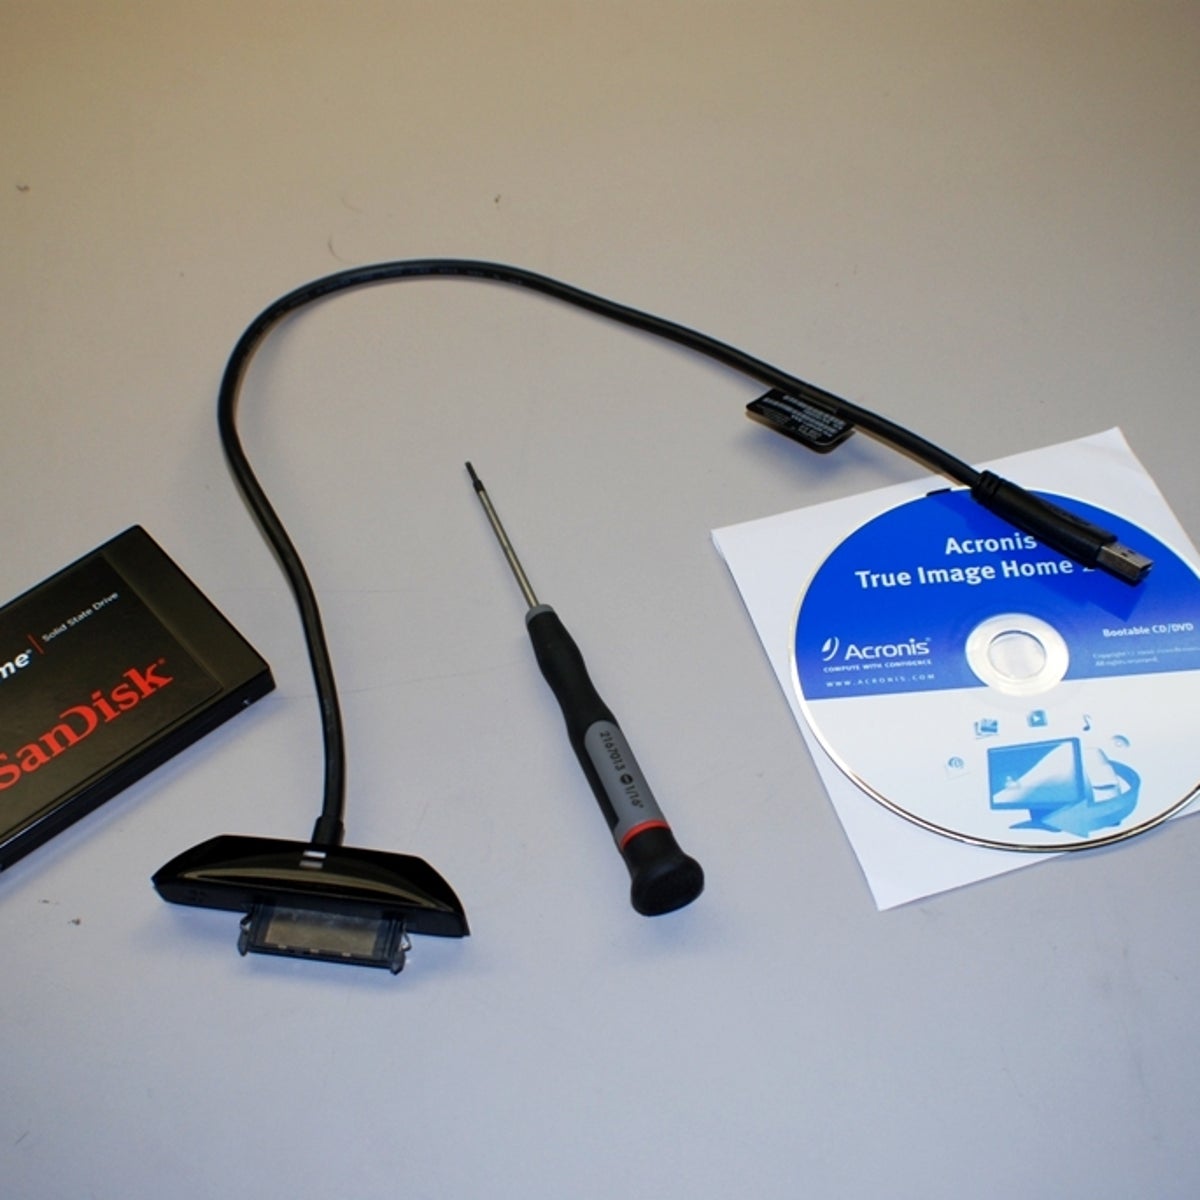
5. Prepare Cloning Software: To clone your existing drive to the SSD, you will need cloning software. There are various free and paid options available, such as Clonezilla, Macrium Reflect, and Acronis True Image. Install and familiarize yourself with the chosen software before proceeding.
6. Gather Necessary Tools: You may require specific tools to physically install the SSD in your system. These tools typically include a screwdriver or small wrench to remove screws and secure the SSD in place. Consult the documentation of your computer or refer to online resources for specific instructions regarding your device.
7. Clean Up Your Existing Drive: Before initiating the cloning process, it’s a good idea to clean up your existing drive and remove unnecessary files and programs. This helps reduce the size of the data to be cloned, making the process faster and more efficient.
By completing these preparation steps, you’ll be ready to move on to the next phase of changing your boot drive to an SSD. Taking the time to properly prepare will help ensure a smooth and successful transition, allowing you to start enjoying the benefits of improved performance and speed that an SSD brings to your computer.
Cloning Your Current Drive
Now that you have prepared your SSD and backed up your data, it’s time to clone your current drive. Cloning involves creating an exact copy of your existing drive and transferring it to the SSD. Here are the steps to follow:
1. Choose Cloning Software: Launch the cloning software you previously installed. Select the option to clone your drive and choose the source drive (your current hard drive) and the destination drive (your SSD). Make sure to double-check the drive letters to avoid any mistakes.
2. Select Cloning Options: Depending on the software you are using, you may have additional options to customize the cloning process. Take a moment to review and adjust any settings according to your preferences. It is recommended to choose the option to clone all partitions and the boot sector to ensure a successful booting process.
3. Start the Cloning Process: Once you have reviewed the settings, start the cloning process. This may take some time depending on the size of the data being cloned and the speed of your drives. Be patient and avoid interrupting the process to prevent any data corruption or errors.
4. Verify the Cloned Drive: Once the cloning process is complete, verify that the cloned drive has copied all the necessary data from your current drive. Make sure that all partitions, files, and folders are present and accessible on the SSD. It is also a good idea to compare the total storage capacity of the cloned drive with the original drive to ensure an accurate copy.
5. Disconnect the Source Drive: After successfully cloning the drive, shut down your computer and disconnect the source drive (your current hard drive). This ensures that your system boots from the newly cloned SSD when you restart your computer.
By following these steps, you can successfully clone your current drive to your SSD. Cloning allows you to transfer all your files, settings, and even the operating system to the SSD, ensuring a seamless transition without the need to reinstall everything from scratch. Once the cloning process is complete, you’re one step closer to experiencing the speed and performance benefits offered by an SSD boot drive.
Physically Installing Your SSD
Now that you have cloned your current drive onto the SSD, it’s time to physically install it into your computer. Here are the steps to follow:
1. Power Off Your Computer: Before working on the internal components of your computer, make sure to power it off completely and unplug the power cord. This ensures your safety and prevents any damage to the system.
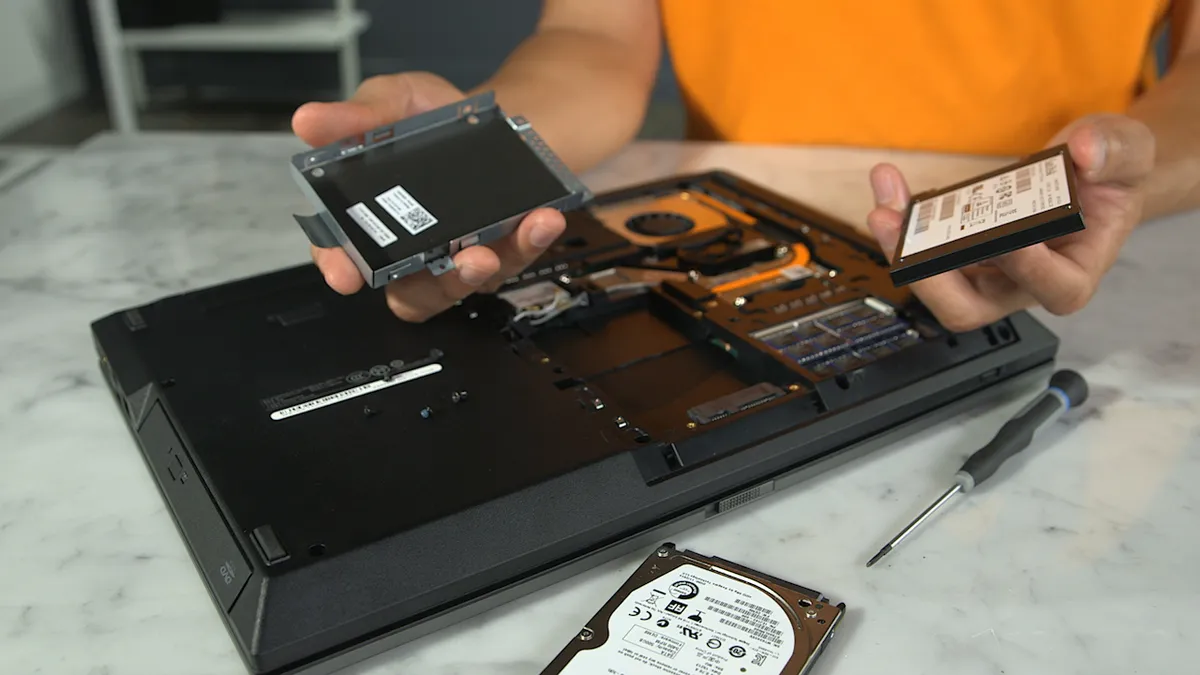
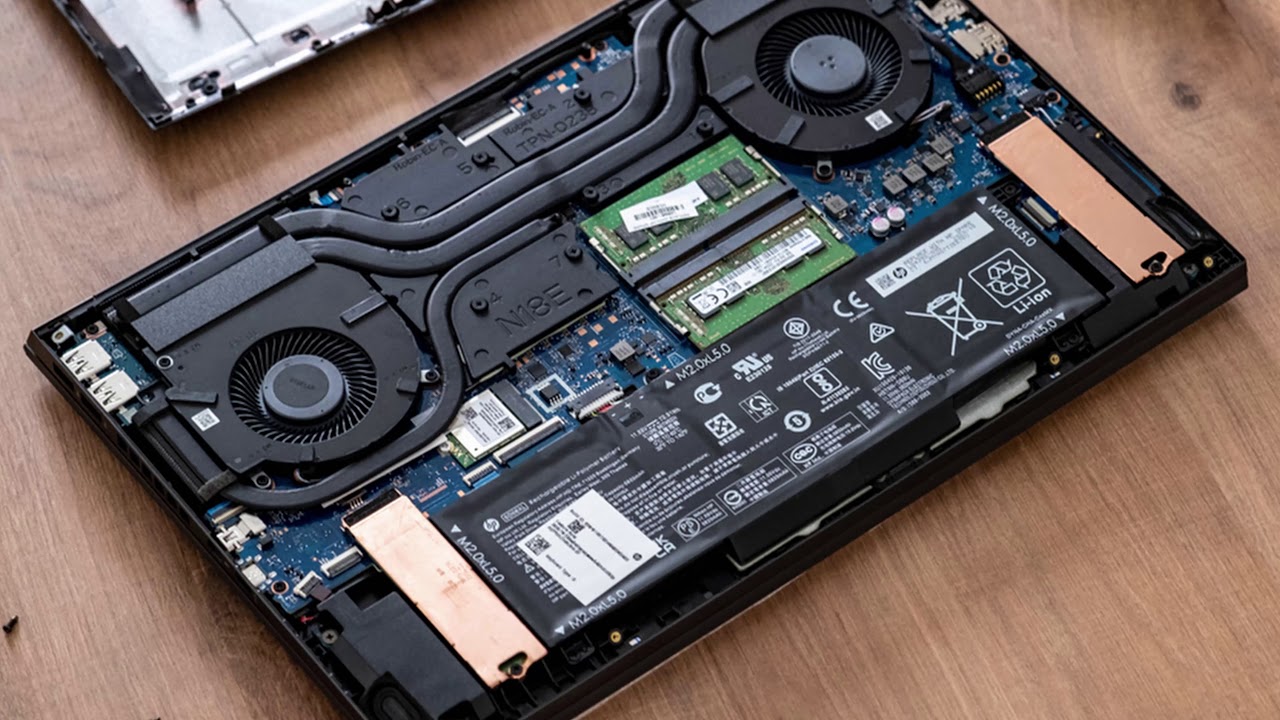
2. Identify the Mounting Location: Determine the location where you will be installing the SSD in your computer. Most desktop computers have dedicated slots for hard drives, usually found in the storage drive bays. Laptops may require removing the back panel to access the drive bay or drive cavity.
3. Remove the Existing Drive (if applicable): If you are replacing your current drive with the SSD, carefully disconnect the cables (usually SATA and power cables) from the existing drive. Unscrew any mounting screws or brackets holding the drive in place and gently remove it from the drive bay.
4. Prepare the SSD for Installation: If your SSD has an exposed circuit board, handle it with care and avoid touching any of the electronic components. Check if your SSD requires any additional mounting brackets or adapters to fit into the drive bay. Follow the manufacturer’s instructions for any specific recommendations.
5. Install the SSD: Align the SSD with the mounting holes in the drive bay and insert it firmly. Use the mounting screws or brackets to secure the SSD in place. Be careful not to overtighten the screws, as it may damage the drive.
6. Connect Cables: Connect the SATA data cable and power cable to the SSD. The SATA data cable should be connected to the corresponding SATA port on the motherboard, while the power cable should be connected to an available power connector from the power supply unit (PSU).
7. Secure and Reassemble: Ensure that all cables are securely connected and tucked away neatly to avoid any interference with other components. If you had to remove any panels or covers, carefully reassemble them before moving on to the next step.
8. Power On Your Computer: Plug in the power cord and turn on your computer. If everything was done correctly, your system should detect the newly installed SSD during the boot process. The SSD should appear as a new drive in the operating system once it has fully loaded.
By following these steps, you can successfully install the SSD into your computer. It’s important to handle the components with care and to ensure proper connections to avoid any damage to the SSD or other internal components. With the SSD physically installed, you’re now ready to proceed to the next step of changing your boot drive in the BIOS and optimizing your system for optimal performance.
Changing Your Boot Drive in BIOS
After physically installing your SSD, you need to change the boot drive in the BIOS to ensure that your computer recognizes and boots from the SSD. Follow these steps to make the necessary changes:
1. Access the BIOS: Restart your computer and enter the BIOS settings. The key to access the BIOS may vary depending on your computer’s manufacturer. Common keys include Del, F2, F12, or Esc. Refer to the user manual or search online for the specific key for your system.
2. Navigate to the Boot Options: Once you’re in the BIOS settings, navigate to the “Boot” or “Boot Options” section. The exact location may differ depending on your motherboard manufacturer and BIOS version.
3. Change Boot Priority: In the Boot Options section, locate the “Boot Priority” or “Boot Order” setting. Select the option to change the boot priority or order. Move the SSD to the top of the list, ensuring that it becomes the first boot device.
4. Save and Exit: Save the changes you made to the boot priority and exit the BIOS settings. Typically, you can do this by pressing the F10 key and then confirming the save and exit option. The computer will restart, and the system should now boot from the SSD.
5. Verify Boot Drive: After your computer restarts, check if the system successfully boots from the SSD. You can confirm this by checking the boot time and observing if the operating system loads from the SSD. Additionally, you can verify the boot drive in the operating system by checking the system information or the disk management utility.
It’s important to note that the steps for changing the boot drive in the BIOS may vary slightly depending on your system’s configuration and BIOS version. Always refer to the user manual or the manufacturer’s support website for detailed instructions specific to your computer.
By correctly changing the boot drive in the BIOS, you ensure that your computer prioritizes and boots from the SSD. This final step in the process brings you one step closer to enjoying the lightning-fast performance of your new boot drive.
Testing Your New SSD
Now that you have changed your boot drive to the SSD, it’s crucial to test its performance and ensure everything is functioning properly. By running a few tests, you can verify that the SSD is operating at its full potential. Here are some methods to test your new SSD:
1. Boot Time: One of the easiest ways to gauge the SSD’s performance is by measuring the boot time. Restart your computer and time how long it takes for your system to fully boot up. Compare this with the boot time of your previous drive. The SSD should provide a noticeable improvement, resulting in quicker startup times.
2. Software Load Times: Launch various applications or software that you frequently use and observe how quickly they load. Applications that used to take a significant amount of time to open should now open almost instantaneously. Test a range of programs, including resource-intensive ones, to assess the overall performance of your SSD.
3. File Transfer Speed: Copy a large file or a folder containing multiple files from one location to another on your SSD. Observe the transfer speed and compare it to your previous drive. SSDs typically offer faster read and write speeds, resulting in faster file transfers. Ensure that the transfer speeds match or exceed the specifications provided by the manufacturer.
4. Benchmarking Software: Utilize benchmarking software to assess the performance of your SSD. Popular benchmarking tools like CrystalDiskMark or AS SSD Benchmark measure read and write speeds, random access times, and sequential read/write performance. Compare the results to the SSD’s advertised specifications to ensure they align closely.
5. System Optimization: Take advantage of the features that your SSD manufacturer offers to optimize performance. Check their website for any specific software or firmware updates designed to enhance your SSD’s operation. Install any recommended software and follow the instructions provided to get the most out of your SSD.
By performing these tests, you can verify that your new SSD is functioning as expected and enjoying the benefits of faster boot times, quicker application loading, and improved overall system responsiveness. If you encounter any performance issues or discrepancies, double-check the installation steps and consult the manufacturer’s support resources for assistance.
Testing your SSD ensures that you can fully enjoy the advantages it brings to your computer’s performance. By verifying its capabilities, you can rest assured knowing that your new boot drive is living up to its potential and providing you with a seamless and efficient computing experience.
Troubleshooting Tips
While changing your boot drive to an SSD is a relatively straightforward process, issues may occasionally arise. Here are some troubleshooting tips to help you address any potential problems:
1. Check Connections: Double-check all cable connections, including the SATA data and power cables. Ensure they are securely plugged in, and there are no loose connections. Reconnect or replace any faulty cables if necessary.
2. Update Drivers: Ensure that you have the latest drivers installed for your SSD. Visit the manufacturer’s website and download the latest drivers specific to your model. Installing up-to-date drivers can help resolve compatibility issues and improve overall performance.
3. Verify BIOS Settings: Revisit the BIOS settings and confirm that the SSD is recognized and set as the primary boot device. If the SSD is not detected, make sure it is properly connected and try restarting the computer.
4. Check Disk Management: Open the Disk Management utility in your operating system to confirm that the SSD is recognized and has been allocated a drive letter. If the SSD appears as unallocated or uninitialized, you may need to format and partition it correctly.
5. Run Diagnostic Software: Some SSD manufacturers provide diagnostic software that can help identify and resolve potential issues. Download and run the diagnostic software for your specific SSD model to identify any underlying problems.
6. Perform Firmware Updates: Check if there are any firmware updates available for your SSD. Firmware updates often contain bug fixes and optimizations that can address performance or compatibility issues. Follow the manufacturer’s instructions to download and install the latest firmware.
7. Seek Technical Support: If you have exhausted all troubleshooting steps and are still experiencing problems, reach out to the SSD manufacturer’s technical support team. They can provide specific guidance and assistance tailored to your situation.
Remember to always consult the manufacturer’s documentation, support resources, and online forums for assistance with any specific issues you encounter. Taking the time to troubleshoot and resolve any roadblocks ensures a smooth transition and allows you to fully enjoy the benefits of your new SSD.
Conclusion
Congratulations! You have successfully changed your boot drive to an SSD, unlocking a world of improved performance and speed for your computer. By following the steps outlined in this guide, you have significantly reduced boot times, enhanced application loading, and experienced the benefits of reliable and silent operation.
Switching to an SSD as your boot drive is a worthwhile investment that pays dividends in terms of increased productivity and a smoother computing experience. The speed and responsiveness of an SSD allow you to accomplish tasks more efficiently and effortlessly.
Remember to take the time to properly prepare your SSD, clone your current drive, physically install the SSD, change the boot drive in the BIOS, and test your new SSD. These steps ensure a seamless transition and verify that your SSD is operating optimally.
However, should you encounter any issues along the way, follow the troubleshooting tips provided to identify and address potential problems. The goal is to ensure that your new SSD is functioning properly and delivering the performance you expect.
Now that you have successfully upgraded your boot drive to an SSD, take some time to explore and enjoy the improved speed and performance of your computer. Whether you’re a gamer, a creative professional, or a casual user, the benefits of an SSD will enhance your computing experience.
Thank you for following this guide, and we hope it has been helpful in your journey to switch to an SSD boot drive.Embrace the power of SSD and experience a new level of efficiency and speed in your computing tasks. Happy computing!