Introduction
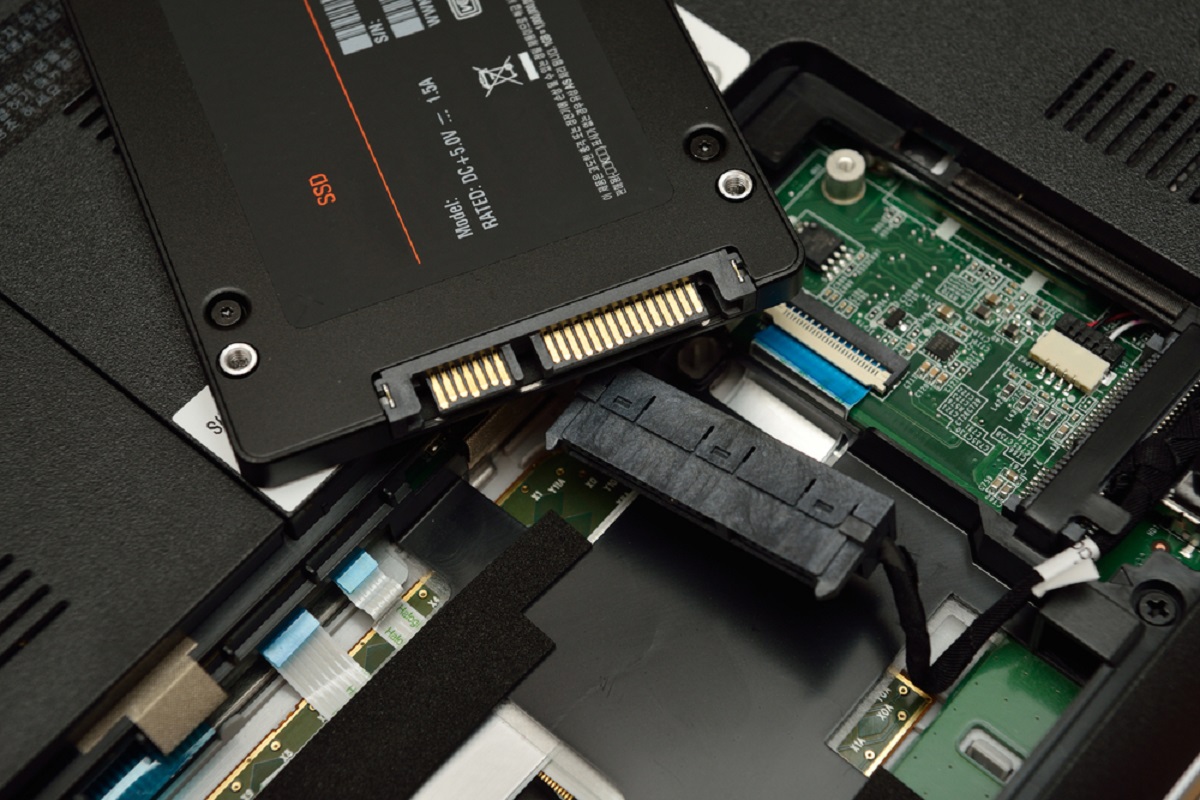
Welcome to our guide on how to install Linux on an SSD! Solid State Drives (SSDs) have become increasingly popular due to their faster read and write speeds compared to traditional Hard Disk Drives (HDDs). Installing Linux on an SSD can significantly enhance your system’s performance, providing faster boot times and improved overall responsiveness.
Linux is a versatile operating system known for its stability, security, and customization options. With a wide range of Linux distributions to choose from, you have the freedom to find one that suits your needs and preferences. In this guide, we will walk you through the process of installing Linux on an SSD.
Before we dive into the installation process, it is essential to understand the importance of selecting the right Linux distribution that aligns with your requirements. Various distributions cater to different skill levels, user interfaces, software availability, and hardware compatibility. The choice of distribution can greatly impact your overall experience.
Once you have chosen the right Linux distribution, you need to prepare for the installation. This involves backing up your data, ensuring sufficient space on your SSD, and organizing any necessary installation media, such as a bootable USB drive. These preparatory steps are crucial to avoid data loss and ensure a smooth installation process.
In this guide, we will cover the steps involved in creating a bootable USB drive with the Linux distribution of your choice. This USB drive will serve as the installation media, allowing you to boot into the Linux installer and proceed with the installation.
The actual installation process consists of partitioning the SSD, configuring the installation settings, and completing the installation. We will guide you through each step, ensuring that you understand the choices and options available during the installation.
Once the installation is complete, we will explain how to set up the bootloader, a crucial component that enables you to choose between Linux and other operating systems installed on your machine during startup.
To maximize the performance benefits of your SSD, we will also provide tips on optimizing Linux for SSD usage. This includes enabling TRIM support, adjusting swap space, and ensuring that any unnecessary write operations are minimized.
By the end of this guide, you will have a fully functional installation of Linux on your SSD, optimized for enhanced performance. So, let’s get started with choosing the right Linux distribution for your needs!
Choosing the Right Linux Distribution
When it comes to Linux, one of its greatest strengths is the wide variety of distributions available. Each distribution comes with its own philosophy, software selection, user interface, and target audience. To ensure a successful installation on your SSD, it is crucial to choose the right Linux distribution that aligns with your needs and preferences.
If you are new to Linux or prefer a user-friendly experience, Ubuntu is an excellent choice. It offers a sleek and intuitive interface along with a vast community and extensive software availability. Ubuntu is known for its stability and ease of use, making it a great option for beginners.
If you are looking for the utmost security and privacy, consider distributions like Debian or Fedora. These distributions focus on strict adherence to open-source principles, along with regular security updates and a robust community support system.
If you prefer a lightweight and customizable experience, distributions like Arch Linux or Manjaro might be more suitable. Arch Linux provides a minimal base system that allows you to build your ideal environment from the ground up, while Manjaro provides a user-friendly version of Arch Linux with pre-configured settings and additional software.
For those interested in the gaming world, you might find SteamOS or Pop!_OS appealing. SteamOS is specifically designed to run Steam games and transform your system into a dedicated gaming console. Pop!_OS, on the other hand, offers excellent gaming support as well as a beautiful desktop environment.
If you have older hardware or prefer a lightweight distribution, consider Lubuntu or Xubuntu. These distributions utilize lightweight desktop environments, consuming fewer system resources while still providing essential functionality for everyday use.
Once you have identified your requirements and considered these options, research the selected distribution thoroughly. Evaluate factors such as community support, software availability, stability, and ease of use. Reading reviews and consulting Linux forums can provide valuable insights from users who have already installed the distribution on SSDs.
Remember that you can always try different distributions using Live USBs before committing to an installation. This allows you to test the distribution’s performance, software compatibility, and overall feel before making a final decision.
Choosing the right Linux distribution is a critical step toward a successful installation on your SSD. By selecting a distribution that meets your needs and preferences, you can ensure a smooth and enjoyable Linux experience on your SSD-powered system.
Preparing for Installation
Before diving into the installation process, there are several essential steps to take in order to ensure a smooth and successful installation of Linux on your SSD. By preparing properly, you can avoid data loss and potential installation problems.
The first step is to back up any important data on your computer. While installing Linux on the SSD itself won’t necessarily delete any existing data, it’s always a good idea to have a backup of your files, just in case. This can be done by either backing up your data to an external storage device or using cloud services for added convenience.
Next, make sure to check the storage capacity of your SSD. Ensure that it has enough free space to accommodate the Linux distribution and any additional software or files you plan to install. It’s recommended to have at least 20-30 GB of free space on your SSD for a comfortable Linux installation.
Additionally, make a note of any custom settings or configurations you have on your current operating system, as you may want to replicate them during the Linux installation. These could include specific network settings, software configurations, or other personal preferences that you want to carry over to your Linux environment.
Once you have backed up your data and checked your SSD’s capacity, it’s time to gather the necessary installation media. Most Linux distributions can be installed using a bootable USB drive. To create a bootable USB drive, you will need a USB stick with sufficient storage capacity (at least 4 GB) and access to a computer with internet connectivity.
Visit the official website of your chosen Linux distribution and navigate to the downloads section. Here, you will find the necessary ISO image file that you need to download. These ISO images contain the complete installation files for the Linux distribution.
Once the ISO file is downloaded, you will need to create a bootable USB drive using specialized software. There are various tools available that can help you accomplish this, such as Rufus, Etcher, or UNetbootin. Follow the instructions provided by the software of your choice to create the bootable USB drive using the downloaded ISO file.
With the bootable USB drive ready, you have successfully prepared for the Linux installation. In the next step, we will guide you through the process of installing Linux on your SSD, beginning with the partitioning of the drive.
Creating a Bootable USB Drive
A bootable USB drive is an essential tool for installing Linux on your SSD. It allows you to boot into the Linux installer and proceed with the installation process. Creating a bootable USB drive is relatively straightforward and requires a few simple steps.
The first step is to acquire a USB stick with a sufficient storage capacity. A USB stick with at least 4 GB of space should be enough for most Linux distributions, but it’s always better to check the official requirements of your chosen distribution.
Next, you need to download the ISO image file of the Linux distribution you wish to install. Visit the official website of the distribution and navigate to the downloads section. Make sure to choose the correct version and architecture (32-bit or 64-bit) that aligns with your system’s specifications.
Once you have downloaded the ISO file, you will need specialized software to create a bootable USB drive. There are several tools available for different operating systems that can accomplish this task, such as Rufus (for Windows), Etcher (for Windows, macOS, and Linux), or UNetbootin (for Windows and Linux).
Open your chosen software and select the USB drive you want to use for the installation. Be careful to choose the correct drive, as all data on the selected drive will be erased during the process. If you have any important data on the USB drive, make sure to back it up before proceeding.
Next, navigate to the ISO file you downloaded and select it as the source for the bootable USB drive. Confirm the settings and let the software create the bootable USB drive. This process may take a few minutes depending on the speed of your computer and the size of the ISO file.
Once the bootable USB drive has been created, you’re ready to proceed with the installation of Linux on your SSD. Make sure your computer is powered off and insert the bootable USB drive into a USB port.
Before turning on your computer, you may need to change the boot order in the BIOS settings to prioritize booting from the USB drive. Consult your computer’s manual or search online for instructions specific to your device on how to access the BIOS settings.
After changing the boot order, save the changes and exit the BIOS settings. Restart your computer, and it should now boot from the USB drive, launching the Linux installer.
With a bootable USB drive in hand, you’re well-prepared to install Linux on your SSD. In the next section, we will guide you through the installation process, starting with partitioning the SSD.
Installing Linux on SSD
Now that you have a bootable USB drive with your chosen Linux distribution, you’re ready to proceed with installing Linux on your SSD. Follow these steps to ensure a successful installation:
- Power on your computer and ensure that the bootable USB drive is inserted.
- You will see the boot screen with options to boot from different devices. Select the USB drive as the boot device.
- The Linux installer should now launch, presenting you with the installation options.
- Choose the language, keyboard layout, and other regional settings that apply to you.
- Next, you will come to the installation type selection screen. Here, choose the option to install Linux alongside your existing operating system, replace it, or select manual partitioning if you prefer a more customized setup.
- If you choose to install alongside your existing operating system, the installer will automatically set up the partitions and install Linux on the SSD. Proceed with the on-screen instructions to complete the installation.
- If you choose to replace your existing operating system, be cautious as this will erase all data on the SSD. Make sure you have backed up any important data before proceeding.
- If you choose manual partitioning, you can create custom partitions on your SSD. This option is suitable for advanced users who have specific partitioning requirements. Create the necessary partitions and proceed with the installation.
- During the installation process, you will be prompted to choose a username and password for your new Linux system. Provide the necessary information and continue.
- Depending on your chosen distribution and installation settings, additional software may be offered for installation. Review the options and select the software you want to install, if any.
- Once the installation is complete, you will be prompted to restart your computer.
After rebooting, you should now see a boot menu where you can select either Linux or your existing operating system to start. Select Linux to boot into your newly installed system.
Congratulations! You have successfully installed Linux on your SSD. Take some time to explore your new Linux environment and customize it according to your preferences. Install any additional software or packages you may need, and transfer back your backed-up data to your SSD.
In the next section, we will guide you through setting up the bootloader, which allows you to choose between Linux and other operating systems during startup.
Partitioning the SSD
Partitioning the SSD is a crucial step in the installation process to allocate the storage space effectively on your SSD for the Linux system and other important files. Here’s how you can partition your SSD:
- During the installation process, you will reach the partitioning step where you can configure the storage for your Linux installation.
- Choose the option for manual partitioning if it’s available, as this provides more control over the partitioning process.
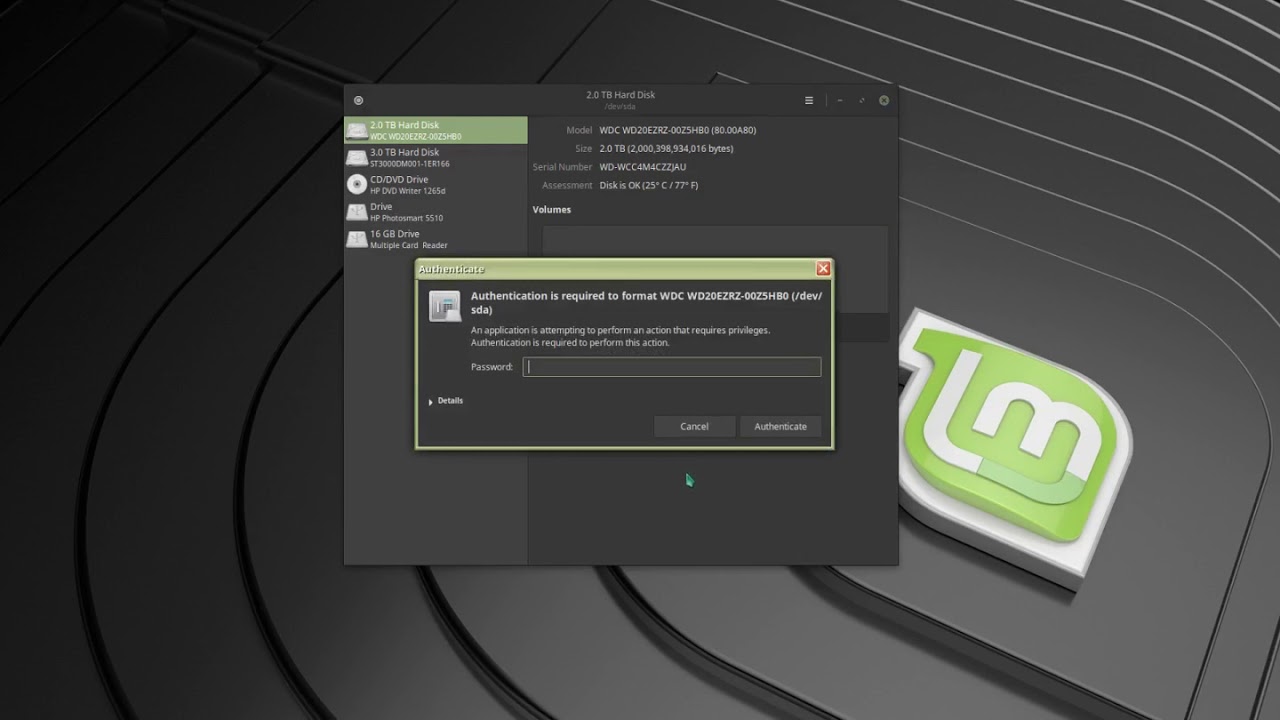
- You will see a list of available drives. Identify your SSD, which is usually labeled with its storage capacity (e.g., 120GB, 256GB).
- Select the SSD and proceed to create the necessary partitions.
- Typically, you will need at least two partitions: one for the root file system (“/”) and one for the swap space.
- The root partition (“/”) is where the Linux operating system and most of your files will be stored. Allocate a reasonable amount of space for this partition based on your needs and the size of your SSD. The recommended minimum size for the root partition is around 20-30GB, but you can allocate more space if desired.
- The swap partition is used as virtual memory when the system requires extra RAM. The size of the swap partition usually depends on the amount of RAM installed on your system. As a general guideline, allocate a swap partition size slightly larger than your system’s RAM (e.g., if you have 8GB of RAM, allocate around 10GB for the swap partition).
- If you have additional partitions, such as a separate partition for /home directory or other specific needs, create those partitions as well.
- Ensure that the file system type is set correctly for each partition. The commonly used file system for Linux is ext4, which offers good performance and reliability.
- Once you have finished configuring the partitions, review your settings to ensure they meet your requirements.
- Proceed with the installation process, and the Linux installer will set up the partitions on your SSD accordingly.
- After the installation is complete, your SSD will be properly partitioned and ready to use with the Linux system.
Properly partitioning your SSD is essential in order to utilize its storage capacity efficiently and ensure smooth performance of your Linux system. By following these steps, you can allocate the necessary space for your root file system and swap partition, enabling your Linux installation to function effectively on your SSD.
Configuring the Installation
Configuring the installation settings allows you to customize various aspects of your Linux system, ensuring it best suits your needs and preferences. Follow these steps to configure the installation during the installation process:
- Once you have partitioned your SSD, you will come across the installation configuration options.
- Select your preferred language, keyboard layout, and time zone.
- Provide the necessary information, such as your username and password, which will be used to log in to your Linux system.
- Choose the software or package groups you want to install. Most distributions offer predefined package groups for common usage scenarios, such as office software, multimedia applications, or development tools.
- Configure your network settings. If you are connected to the internet, your system may detect and configure network connectivity automatically. However, if you require specific network settings, such as a static IP address, you can input those details manually.
- Set up any necessary user accounts or additional user privileges, such as administrative access.
- During the installation process, the installer may prompt you for any additional settings or configurations specific to your chosen distribution.
- Review all the configuration settings to ensure they align with your requirements.
- Once you are satisfied with the configuration settings, proceed with the installation by following the on-screen instructions.
- As the installation progresses, the configured settings will be applied, and your Linux system will be installed on your SSD.
Configuring the installation allows you to tailor your Linux system to your specific needs and preferences. By selecting the appropriate language, keyboard layout, time zone, and software packages, you can ensure that your system is set up exactly how you want it.
Additionally, configuring your network settings and user accounts during the installation process saves time by ensuring you have a functional and personalized Linux environment right from the start.
Once the installation is complete and the configurations are applied, proceed to the next section to complete the installation and begin using your Linux system on your SSD.
Completing the Installation
After configuring the installation settings, you’re almost done with the installation process. Follow these steps to complete the installation of Linux on your SSD:
- Once the installation process is finished, you will be prompted to restart your computer.
- Before restarting, make sure to remove the bootable USB drive from your computer.
- After restarting, your system will boot into the newly installed Linux environment on your SSD.
- You may be prompted to log in using the username and password you provided during the installation process.
- Once you have successfully logged in, you will be greeted with the desktop environment of your Linux distribution.
- Take a moment to familiarize yourself with the Linux interface and explore the available applications and features.
- Ensure that basic functionalities, such as internet connectivity, sound, and display, are working as expected.
- If you encounter any issues, consult the documentation or the community forums for troubleshooting steps specific to your chosen Linux distribution.
- Now that the installation is complete, consider updating your system to ensure you have the latest security patches and software updates. Most Linux distributions provide built-in update managers or command-line tools for this purpose.
- At this point, you can start customizing your Linux system by installing additional software, configuring settings, and personalizing the desktop environment to your liking.
- Transfer any backed-up data back to your SSD and set up any necessary software or applications you require for your workflow.
Congratulations! You have successfully completed the installation of Linux on your SSD. By following these steps, you now have a fully functional Linux system running on your SSD, providing faster boot times and improved overall performance.
Take the time to explore your new Linux environment and enjoy the benefits of using an SSD-powered system. If you have any additional questions or encounter any difficulties, consult the documentation or seek help from the Linux community.
Now that you have a working Linux installation, it’s important to set up the bootloader to enable you to choose between Linux and any other operating systems installed on your machine. We will cover how to set up the bootloader in the next section.
Setting Up the Bootloader
Setting up the bootloader is an essential step after installing Linux on your SSD. The bootloader allows you to choose between different operating systems installed on your machine during startup. Follow these steps to set up the bootloader:
- Boot into your Linux system on the SSD.
- Open a terminal or command-line interface.
- Depending on your chosen distribution, you may need to install a bootloader if it is not already installed. Common bootloaders for Linux include GRUB (Grand Unified Bootloader) and systemd-boot.
- To install or update GRUB, use the appropriate package manager for your distribution. For example, on Ubuntu-based systems, you can use the following command:
sudo apt-get install grub2 - During the installation process, you will be prompted to select the installation location for the bootloader. Choose the SSD where you installed Linux.
- Once the bootloader is installed, you need to update its configuration. Use the following command to update the GRUB configuration:
sudo update-grub - If you are using systemd-boot, the configuration file is located at
/boot/loader/entries/. Edit the appropriate configuration file to set up the boot entries for each operating system. - Reboot your system to test the bootloader setup.
- During startup, you should see the bootloader menu with the option to select between Linux and any other operating systems installed on your machine.
- Select the desired operating system to boot into it.
Setting up the bootloader is important to ensure that you can easily switch between Linux and any other operating systems on your machine. It provides you with flexibility and convenience, allowing you to choose the system you want to use without any hassle.
If you encounter any issues during the bootloader setup or require further customization, consult the documentation or seek assistance from the Linux community specific to your chosen distribution. They will provide more detailed instructions and troubleshooting steps to help you set up the bootloader successfully.
With the bootloader set up, you now have full control over which operating system to boot into, making your SSD-powered Linux system a versatile and efficient choice for your daily computing needs.
Optimizing Linux for SSD
To maximize the performance and longevity of your SSD when running Linux, it’s important to implement some optimizations specific to solid state drives. These optimizations will help improve the overall speed and efficiency of your system. Follow these steps to optimize Linux for your SSD:
- Enable TRIM: TRIM is a feature that allows the operating system to inform the SSD which blocks of data are no longer in use. This improves performance and helps maintain the longevity of the SSD. Most modern Linux distributions enable TRIM by default, but you can verify its status by running the command
sudo systemctl status fstrim.timerin the terminal. If it’s not enabled, you can enable it by runningsudo systemctl enable fstrim.timer. - Adjust swap space: By default, Linux allocates a portion of the SSD as swap space, which is used as virtual memory when the RAM is fully utilized. Depending on your system’s memory capacity and your usage patterns, you may need to adjust the size of the swap partition. You can do this by modifying the
/etc/fstabfile and specifying the desired swap space size, or by creating a swap file instead. - Minimize unnecessary write operations: SSDs have a limited number of write cycles, so minimizing unnecessary write operations can help extend their lifespan. Consider moving temporary files and browser caches to a RAM disk or a separate HDD if you have one. You can also disable unnecessary logging services and limit the use of heavy disk-write applications to reduce unnecessary wear on the SSD.
- Enable file system optimizations: Some file systems, such as ext4, have built-in optimizations for SSDs. Consider using the recommended file system for your chosen Linux distribution. If you are using ext4, you can enable additional SSD-specific optimizations by adding the
discardoption to the/etc/fstabfile for your SSD partitions. - Regularly update your system: Keeping your Linux system up to date with the latest software updates and security patches is crucial for optimal performance and security. Regularly check for system updates using the package manager provided by your distribution.
By implementing these optimizations, you can enhance the performance and lifespan of your SSD running Linux. Remember that the specific optimization techniques may vary depending on your chosen Linux distribution and the file system it uses.
Always be cautious when making changes to your system configurations. If you are unsure about any optimizations or require more detailed instructions, consult the documentation or seek advice from the Linux community specific to your distribution. They will provide accurate guidance tailored to your needs.
With your Linux system optimized for SSD usage, you can enjoy a fast and efficient computing experience while prolonging the lifespan of your SSD.
Conclusion
Congratulations on successfully installing Linux on your SSD! By following the steps outlined in this guide, you have set up a fast, reliable, and efficient operating system on your solid state drive. Linux offers a wide range of distributions to choose from, each with its own unique features and customization options. Assessing your needs and preferences beforehand allows you to select the most suitable distribution.
Throughout the installation process, you learned about partitioning the SSD, configuring the installation settings, and setting up the bootloader. These steps ensure a smooth and personalized Linux experience on your SSD. Additionally, optimizing Linux for SSD usage helps improve performance and extend the lifespan of your solid state drive.
Remember to regularly update your Linux system to benefit from the latest software updates and security patches. Stay engaged with the Linux community to gain valuable insights, troubleshoot any issues, and discover new possibilities for your SSD-powered Linux environment.
With Linux installed on your SSD, you can enjoy faster boot times, improved system responsiveness, and a seamless computing experience. Take this opportunity to explore the vast world of Linux applications, customization options, and open-source software.
Thank you for choosing Linux and utilizing the power of your SSD. Happy computing!