Common Reasons Why SSD is Not Detected
Having a solid-state drive (SSD) not detected can be a frustrating experience, especially if you rely on it for your data storage needs. There are several common reasons why an SSD may not be detected by your computer. Understanding these reasons can help you troubleshoot and resolve the issue. Here are some possible explanations:
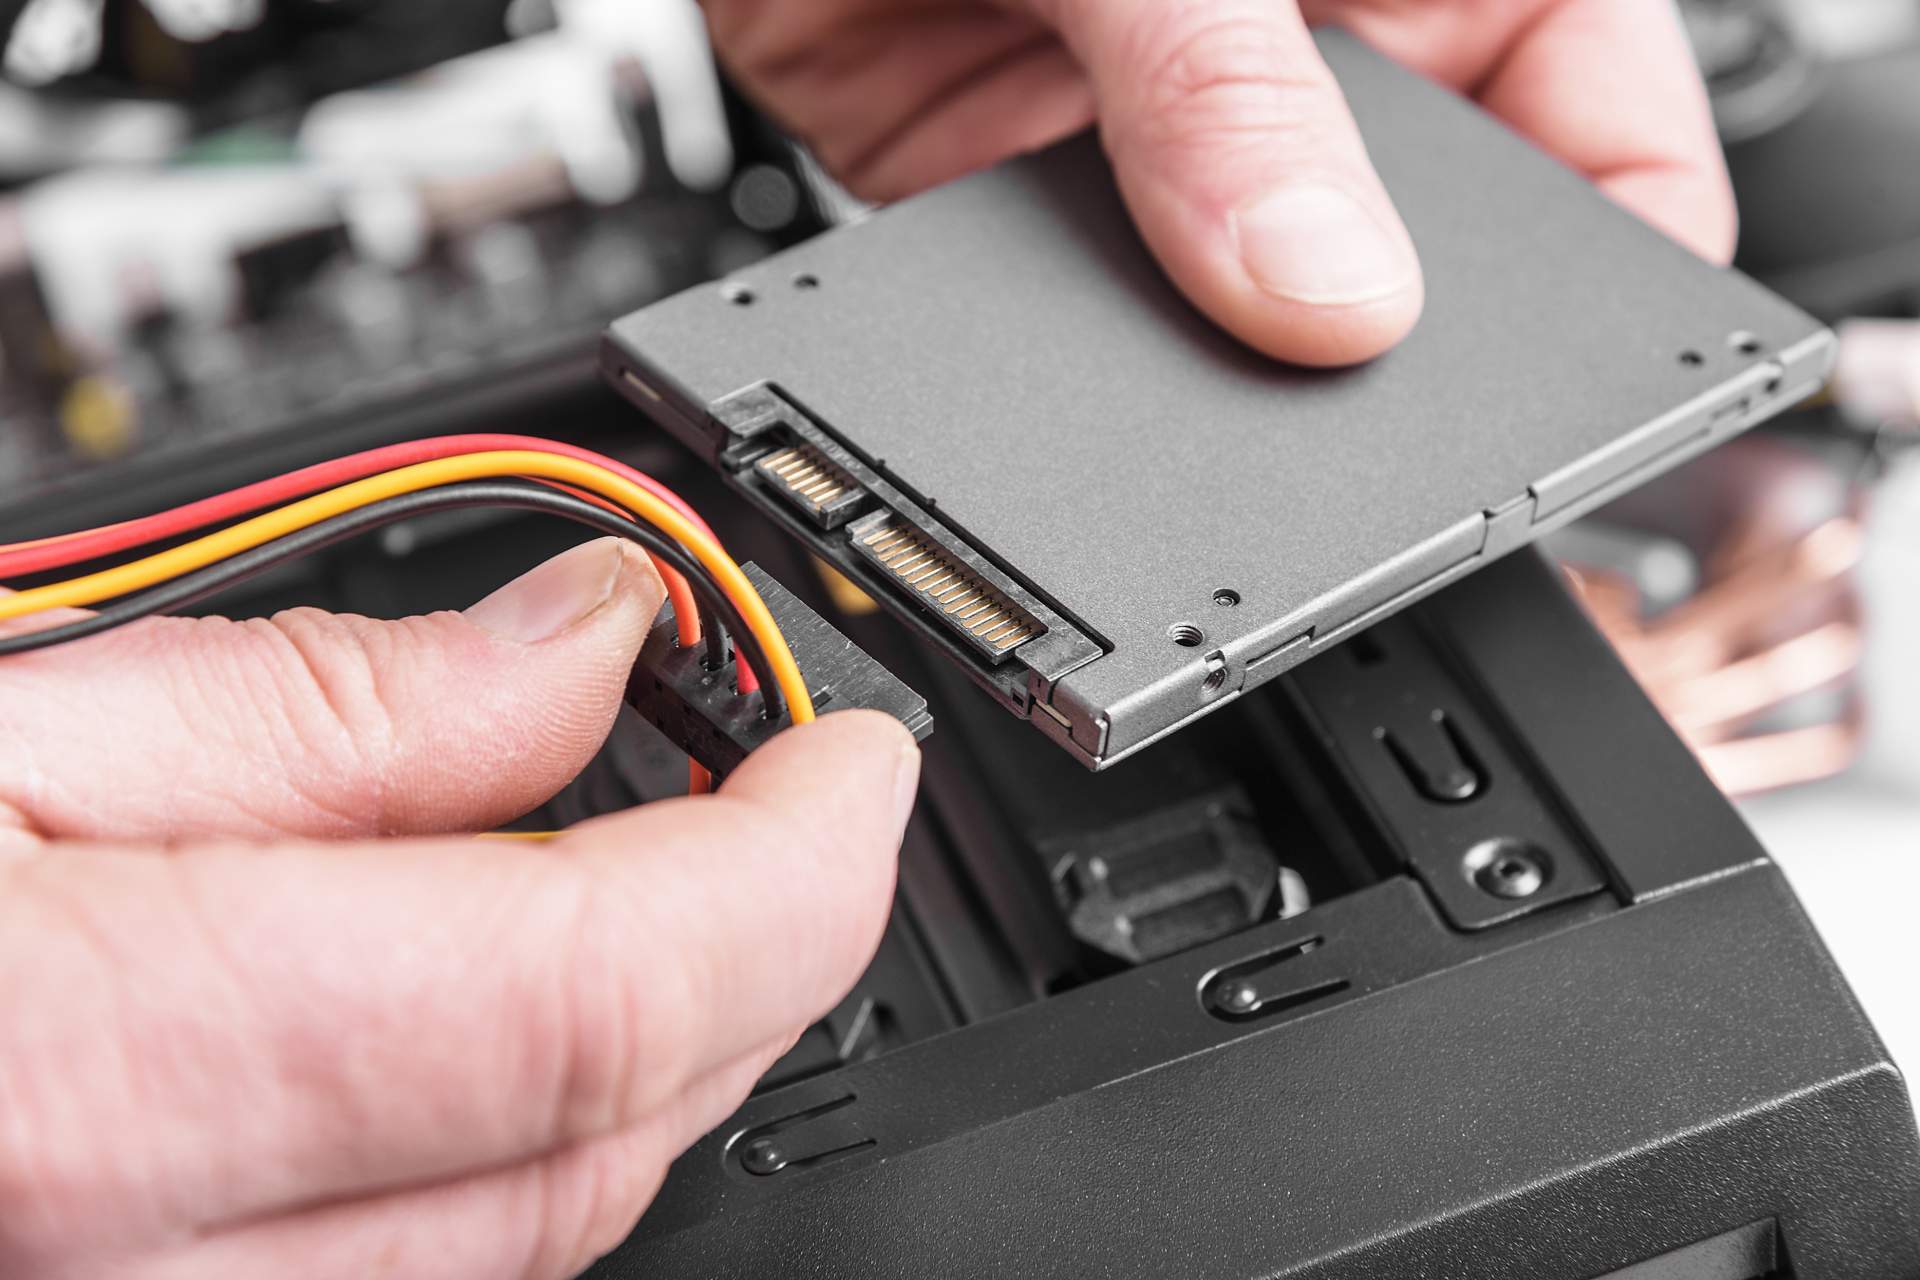
- Faulty Connections: Loose or faulty connections between the SSD and the motherboard can lead to detection issues. It is important to ensure that the SSD is properly connected to the SATA port and power cable.
- Outdated Firmware: Outdated firmware can prevent the system from recognizing the SSD. Manufacturers often release firmware updates to improve compatibility and performance, so it is crucial to keep your SSD firmware up to date.
- Uninitialized SSD: If the SSD is new or has been recently formatted, it may not be initialized, which can cause it to go undetected. Initialization is necessary for the operating system to recognize the drive.
- Outdated Drivers: Not having the latest drivers for the SSD controller can lead to compatibility issues and result in the SSD not being detected. It is important to regularly update drivers to ensure optimal performance.
- Faulty SATA Ports or Cables: Defective SATA ports or cables can prevent the SSD from being detected. Switching to a different SATA port or using a different cable can help determine if the issue lies with the hardware.
- Conflicts with Other Devices: Sometimes, conflicts with other connected devices, such as hard drives or peripherals, can prevent the SSD from being detected. Disconnecting unnecessary devices and checking for conflicts may solve the problem.
- Incorrect BIOS Settings: Improper BIOS settings can cause SSD detection issues. Resetting the BIOS settings to default or ensuring that the SSD settings are properly configured can help resolve this problem.
- Hardware Malfunction: In rare cases, the SSD itself may be faulty or damaged, resulting in detection issues. Testing the SSD on another computer or consulting with a professional can help determine if this is the cause.
These are some of the common reasons why an SSD may not be detected by the system. By identifying the underlying cause, you can take the necessary steps to resolve the issue and ensure that your SSD functions properly. In the following sections, we will explore potential solutions to address these problems.
Solutions to Try When SSD is Not Detected
If your solid-state drive (SSD) is not being detected by your computer, there are several steps you can take to resolve the issue. Try the following solutions to troubleshoot and fix the problem:
- Check the SSD Connections: Ensure that the SSD is properly connected to both the SATA port on the motherboard and the power cable. Sometimes, loose or faulty connections can result in detection issues.
- Update the SSD Firmware: Visit the manufacturer’s website and check for any available firmware updates for your SSD model. Updating the firmware can improve compatibility and enhance the drive’s performance, potentially resolving detection problems.
- Use Disk Management to Initialize SSD: If the SSD is new or has been recently formatted, it may need to be initialized for the operating system to recognize it. Open Disk Management on your computer and follow the instructions to initialize the SSD.
- Update Drivers for the SSD Controller: Ensure that you have the latest drivers installed for the SSD controller. Visit the manufacturer’s website or use a driver update tool to identify and install any available driver updates.
- Swap SATA Ports and Cables: Sometimes, faulty SATA ports or cables can cause SSD detection issues. Try connecting the SSD to a different SATA port or use a different cable to see if that resolves the problem.
- Check for Conflicts with Other Devices: Disconnect any unnecessary devices connected to your computer, such as external hard drives or peripherals, and check if the SSD is detected. Conflicts with other devices can sometimes interfere with proper SSD detection.
- Reset BIOS Settings: Improper BIOS settings can cause the SSD to go undetected. Access the BIOS settings and restore them to default. Also, ensure that the SSD settings are correctly configured, such as enabling AHCI mode.
- Test the SSD on Another Computer: Connect the SSD to another computer and check if it is detected. If the SSD is not detected on multiple systems, it might indicate a hardware malfunction.
- Consult Professional Assistance: If none of the above solutions work, it is recommended to seek help from a professional technician or contact the SSD manufacturer’s support for further assistance.
By following these solutions, you can increase the chances of resolving the issue with your SSD not being detected. Remember to try each solution step by step and test the SSD after each attempt to determine if the problem has been resolved.
Solution 1: Check the SSD Connections
One of the primary causes of an SSD not being detected is loose or faulty connections. It is essential to ensure that the SSD is properly connected to both the SATA port on the motherboard and the power cable. Follow these steps to check the SSD connections:
- Turn off your computer: Before working on the internal components, it is crucial to shut down your computer and unplug it from the power source.
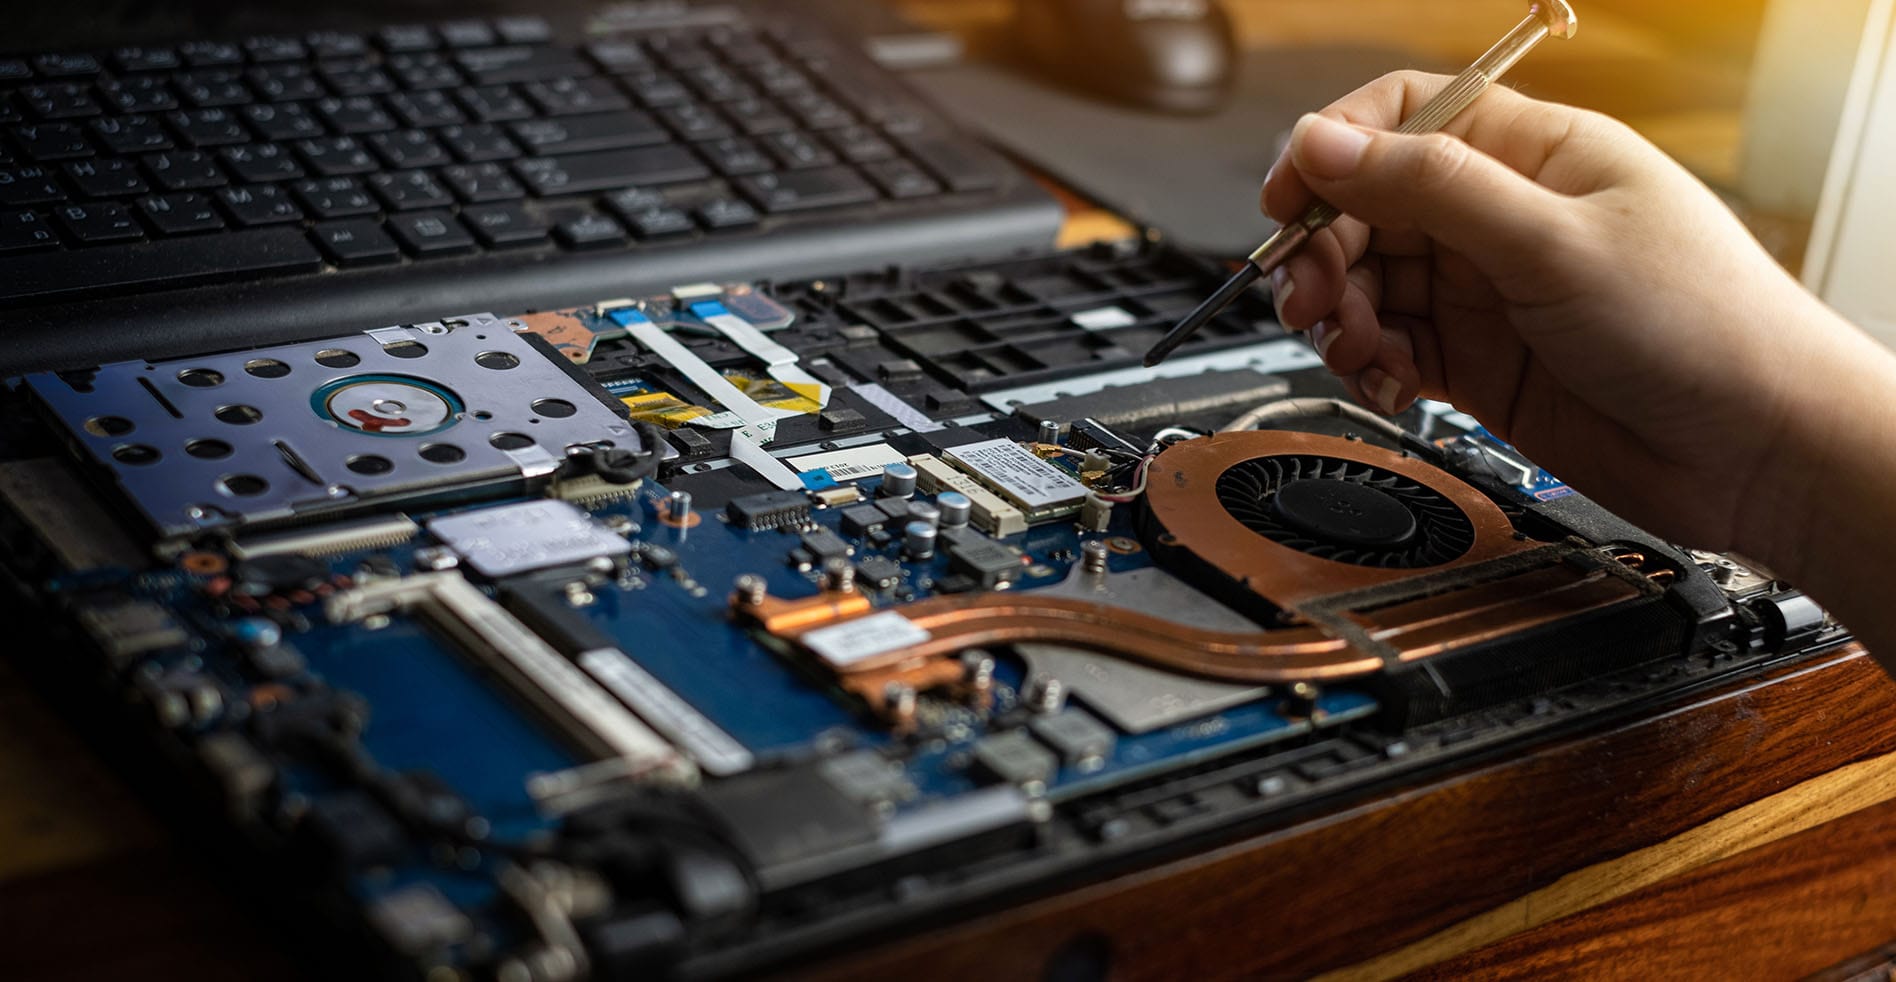
- Open your computer case: Depending on your computer model, you may need to remove screws or use latches to access the motherboard and other internal components. Refer to your computer’s manual for instructions on opening the case.
- Locate the SSD and cables: Locate the SSD inside your computer case, usually attached to a drive bay. Identify the SATA port on the motherboard where the SSD is connected and the power cable connected to the SSD.
- Check the SATA connection: Ensure that the SATA cable connecting the SSD to the SATA port on the motherboard is securely plugged in. Gently push the cable into the port to make sure it is properly seated.
- Inspect the power connection: Verify that the power cable is firmly connected to the SSD. If the power cable has multiple connectors, try using a different one to ensure that the power is properly supplied to the SSD.
- Tighten any loose screws: If the SSD is secured to a drive bay using screws, check if any screws are loose. Tighten them carefully to ensure a secure connection.
- Close your computer case: Once you have confirmed that the SSD connections are secure, carefully close your computer case and fasten any screws or latches.
- Power on your computer: Plug in your computer and power it on. Check if the SSD is now being detected by the system.
Checking the SSD connections is a crucial first step in resolving any detection issues. Loose or faulty connections can often be the reason behind the problem. By following these steps and ensuring a secure connection between the SSD and the motherboard, you increase the chances of successfully detecting the SSD.
Solution 2: Update the SSD Firmware
Outdated firmware can be a common cause of SSD detection issues. Manufacturers regularly release firmware updates to improve compatibility, fix bugs, and enhance the performance and stability of the SSD. Follow these steps to update the firmware on your SSD:
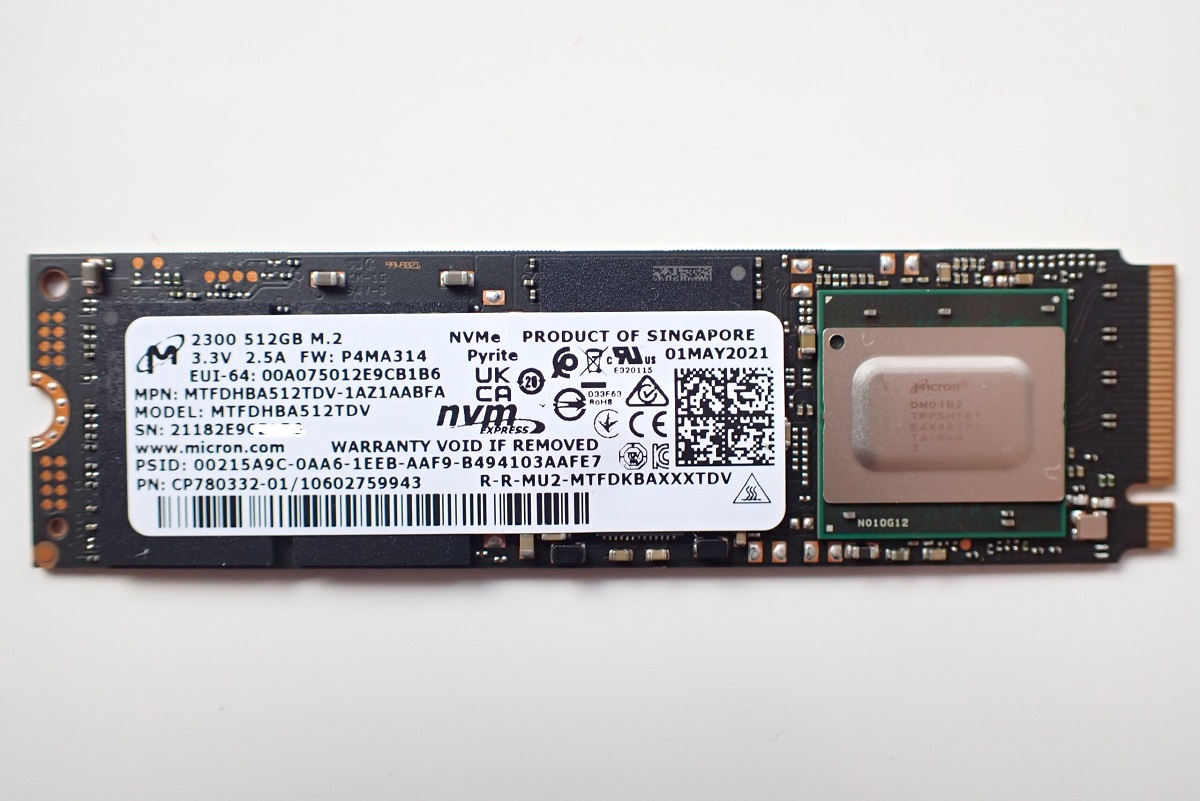
- Identify the SSD model: Determine the exact model of your SSD. This information can usually be found on the SSD label or in the computer’s BIOS settings.
- Visit the manufacturer’s website: Go to the official website of your SSD’s manufacturer. Look for the “Support” or “Downloads” section where you can find firmware updates.
- Find the firmware update: Locate the firmware update specific to your SSD model. Download the latest version available. Ensure that you download the appropriate firmware update for your operating system.
- Back up your data: Before proceeding with the firmware update, it is recommended to backup any important data on your SSD. Firmware updates generally do not delete data, but it is always better to be safe and prepared.
- Run the firmware update tool: Open the firmware update tool provided by the manufacturer. Follow the instructions provided in the tool to initiate the update process.
- Proceed with caution: During the firmware update, it is crucial to refrain from interrupting the process or turning off your computer. Be patient and let the update complete without any interruptions.
- Restart your computer: After the firmware update is complete, restart your computer to ensure that the updated firmware is applied correctly.
- Check SSD detection: Once your computer restarts, check if the SSD is now being detected by the system. If the firmware update was successful, the SSD should now be recognized.
Updating the SSD firmware can often resolve detection issues by ensuring compatibility and improving overall performance. Remember to always download firmware updates from the official manufacturer’s website to minimize the risk of encountering compatibility issues or unintentional firmware modifications.
Solution 3: Use Disk Management to Initialize SSD
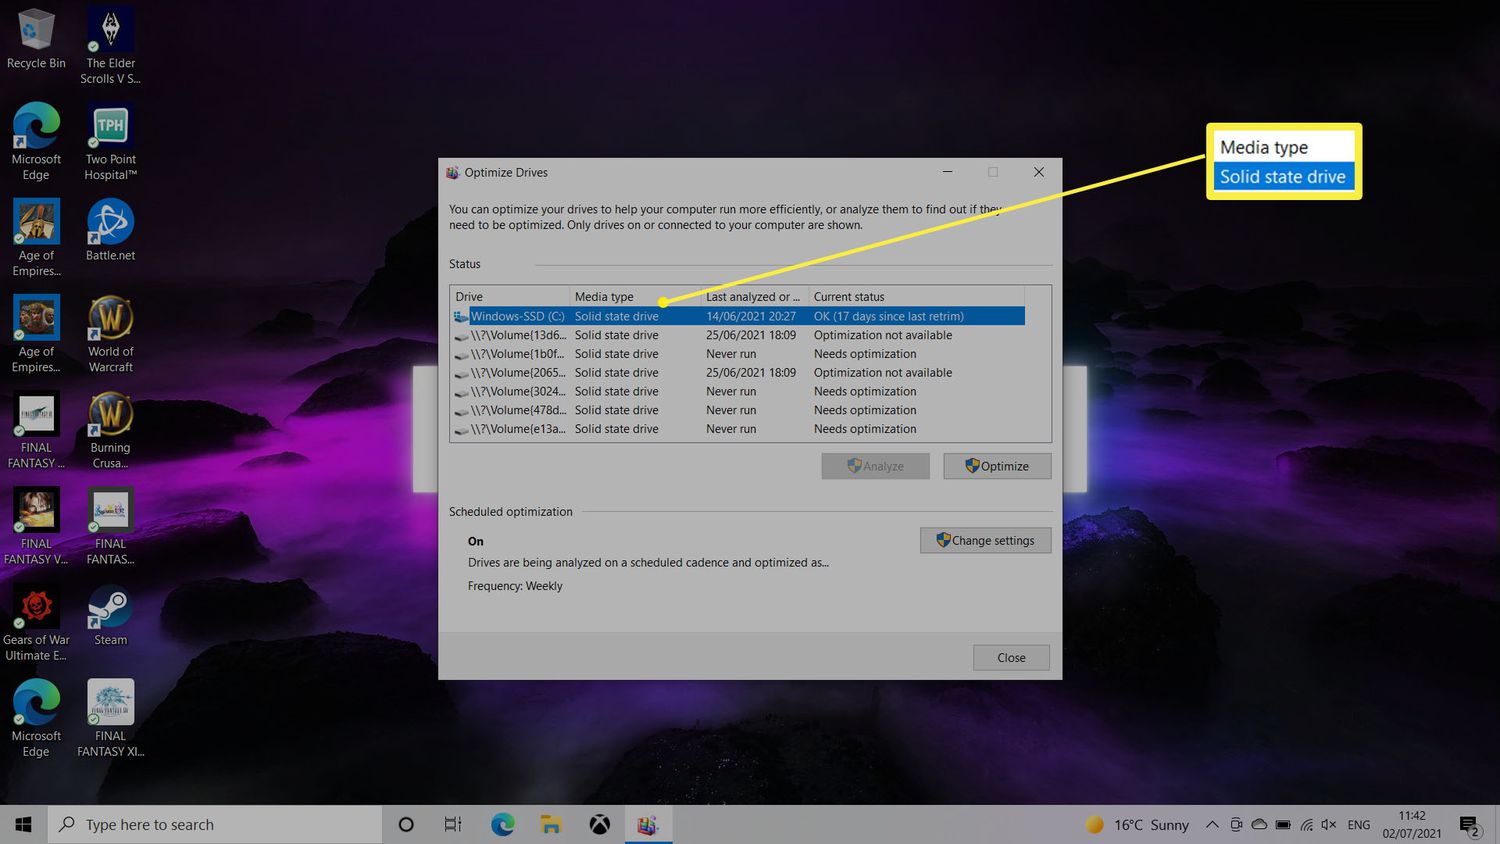
If your SSD is new or has been recently formatted, it may require initialization in order for the operating system to recognize it. Disk Management is a built-in tool in Windows that allows you to manage your disk partitions. Here are the steps to initialize your SSD using Disk Management:
- Press Win + R: Press the Windows key and the “R” key simultaneously on your keyboard to open the Run dialog box.
- Type “diskmgmt.msc”: In the Run dialog box, enter “diskmgmt.msc” and click OK. This will open the Disk Management tool.
- Locate the uninitialized SSD: In the Disk Management window, locate the SSD that is not detected. It should be listed as “Unknown” or “Not initialized.”
- Right-click on the SSD: Right-click on the SSD and select “Initialize Disk” from the context menu. Ensure that the correct disk is selected.
- Select the partition style: Choose the partition style that fits your needs. The options are usually MBR (Master Boot Record) or GPT (GUID Partition Table).
- Initialize the SSD: After selecting the partition style, click OK to initialize the SSD. This process may take a few moments.
- Create a new partition: Once the SSD is initialized, right-click on the “Unallocated” space and select “New Simple Volume” from the context menu.
- Follow the on-screen instructions: In the New Simple Volume Wizard, follow the on-screen instructions to create a new partition on the SSD, assign a drive letter, and format it with your preferred file system.
- Complete the process: Once the new partition is created and formatted, click Finish to complete the process.
- Check SSD detection: After initializing and creating the partition, check if the SSD is now being detected by your system. It should now appear in File Explorer and be accessible for use.
Using Disk Management to initialize your SSD can help resolve detection issues and ensure that it is properly recognized by your operating system. By following these steps, you can initialize your SSD and make it accessible for storing your data.
Solution 4: Update Drivers for the SSD Controller
Outdated or incompatible drivers for the SSD controller can often lead to detection issues. It is crucial to have the latest drivers installed to ensure proper communication between the SSD and the operating system. Follow these steps to update the drivers for the SSD controller:
- Identify the SSD controller: Determine the specific SSD controller model. You can usually find this information in the device manager or on the manufacturer’s website.
- Visit the manufacturer’s website: Go to the official website of the SSD controller manufacturer. Look for the “Support” or “Downloads” section where you can find driver updates.
- Find the driver update: Locate the driver update specific to your SSD controller model. Download the latest version available. Ensure that you download the appropriate driver update for your operating system.
- Uninstall the existing driver: Open the Device Manager by right-clicking on the Start menu and selecting “Device Manager.” Expand the “Disk drives” category, right-click on your SSD, and select “Uninstall device.” Follow the prompts to uninstall the driver.
- Install the new driver: Run the downloaded driver setup file and follow the on-screen instructions to install the updated driver for the SSD controller. Make sure to select the correct driver version for your operating system.
- Restart your computer: After the driver installation is complete, restart your computer to let the changes take effect.
- Check SSD detection: Once your computer restarts, check if the SSD is now being detected by the system. If the driver update was successful, the SSD should now be recognized.
Updating the drivers for the SSD controller can often resolve detection issues caused by compatibility or obsolete drivers. Keeping your drivers up to date ensures optimal SSD performance and compatibility with the operating system. By following these steps, you can update the drivers for your SSD controller and improve the chances of your SSD being detected by the system.
Solution 5: Swap SATA ports and cables
Faulty SATA ports or cables can sometimes be the cause of an SSD not being detected. By swapping the SATA ports and cables, you can determine if the issue lies with the specific port or cable. Follow these steps to swap SATA ports and cables:
- Power off your computer: Make sure to shut down your computer properly and unplug it from the power source.
- Open your computer case: Depending on your computer model, remove screws or release latches to open the case. Refer to your computer’s manual for specific instructions.
- Identify the current SATA port and cable: Locate the SATA port on the motherboard where the SSD is currently connected. Note the SATA cable connected to the SSD.
- Swap the SATA cable: Disconnect the SATA cable from the SSD and the motherboard. Replace it with a different SATA cable that you know is working properly, such as one from another device or a spare SATA cable.
- Swap the SATA port: Disconnect the SATA cable from the current SATA port on the motherboard. Plug it into a different SATA port. Choose a port that is known to be working fine.
- Secure connections: Ensure that the swapped SATA cable is securely connected to both the SSD and the motherboard, and the swapped SATA port is securely connected to the cable.
- Close your computer case: Carefully close the computer case and secure any screws or latches that hold it in place.
- Power on your computer: Plug in your computer and power it on. Check if the SSD is now being detected after swapping the SATA port and cable.
Swapping SATA ports and cables allows you to identify if the issue is related to a faulty port or cable. By using known working ones, you can rule out any problems with the original port or cable. If the SSD is now being detected, it indicates that the previous port or cable was the cause of the issue.
Solution 6: Check for Conflicts with Other Devices
Conflicts with other connected devices can sometimes prevent an SSD from being detected. It is important to check for any conflicts and remove unnecessary devices to resolve the issue. Follow these steps to check for conflicts with other devices causing SSD detection problems:
- Power off your computer: Shut down your computer properly and unplug it from the power source.
- Open your computer case: Depending on your computer model, remove screws or release latches to open the case. Refer to your computer’s manual for specific instructions.
- Identify connected devices: Take note of all the devices connected to your computer, such as external hard drives, USB devices, and peripheral devices like printers or scanners.
- Disconnect unnecessary devices: Start by disconnecting any unnecessary devices that are not currently in use. This includes devices like external hard drives or USB devices that are not required for the computer to function.
- Restart your computer: Plug in your computer and power it on. Check if the SSD is now being detected after disconnecting unnecessary devices.
- Check Device Manager: Open the Device Manager by right-clicking on the Start menu and selecting “Device Manager.” Look for any devices marked with a yellow exclamation mark or showing any signs of conflict.
- Resolve conflicts: If you find any conflicts in the Device Manager, right-click on the conflicting device and select “Uninstall device.” Restart your computer and check if the SSD is now being detected.
- Reconnect devices one by one: If the SSD is detected after disconnecting unnecessary devices, reconnect them one by one, restarting the computer after each reconnection. This will help identify if any specific device is causing the conflict.
- Remove conflicting devices: If a specific device is causing conflicts and preventing the SSD from being detected, remove or replace it to resolve the issue.
- Close your computer case: Carefully close the computer case and secure any screws or latches that hold it in place.
Checking for conflicts with other devices can help pinpoint the source of the SSD detection issue. By disconnecting unnecessary devices and resolving conflicts, you can ensure that the SSD is being detected without any interference from conflicting devices.
Solution 7: Reset BIOS Settings
Improper BIOS settings can sometimes cause SSD detection issues. Resetting the BIOS settings to default can help resolve these problems. Follow these steps to reset the BIOS settings:
- Power off your computer: Shut down your computer properly and unplug it from the power source.
- Open your computer case: Depending on your computer model, remove screws or release latches to open the case. Refer to your computer’s manual for specific instructions.
- Locate the CMOS battery: Find the CMOS battery on the motherboard. It is usually a small, round battery. Consult your computer’s manual if you’re unsure of its location.
- Remove the CMOS battery: Use a small screwdriver or your fingers to carefully remove the CMOS battery from its holder. Wait for about 5 minutes to allow the residual charge to dissipate.
- Reset the BIOS jumper: On some motherboards, there is a BIOS reset jumper. Consult your computer’s manual for the location of this jumper and the instructions on how to reset it. Move the jumper to the reset position and leave it there for a few seconds before moving it back to its original position.
- Reinsert the CMOS battery: Place the CMOS battery back into its holder on the motherboard.
- Close your computer case: Carefully close the computer case and secure any screws or latches that hold it in place.
- Power on your computer: Plug in your computer and power it on. The BIOS settings will be reset to their default values.
- Access BIOS settings: During the boot process, press the key indicated on the screen (such as F2 or Del) to access the BIOS settings.
- Restore default BIOS settings: In the BIOS settings, locate the option to restore or load default settings. Select this option to restore the default BIOS settings.
- Save and exit: Save the changes and exit the BIOS settings. Your computer will restart.
- Check SSD detection: After your computer restarts, check if the SSD is now being detected. Resetting the BIOS settings may have resolved any issues that were hindering the detection of the SSD.
Resetting the BIOS settings to default can help resolve BIOS configuration problems that could be preventing the SSD from being detected. By following these steps, you can reset the BIOS settings and improve the chances of your SSD being recognized by the system.
Solution 8: Test the SSD on Another Computer
If your SSD is still not being detected after trying the previous solutions, it may be necessary to test the drive on another computer. By doing so, you can determine if the issue lies with the SSD itself or with the computer’s configuration. Follow these steps to test the SSD on another computer:
- Select another computer: Choose a computer that you have access to and that is compatible with your SSD. Ensure that the computer’s operating system and hardware are compatible with the SSD.
- Power off both computers: Properly shut down both computers and unplug them from their power sources.
- Remove the SSD from the original computer: Open the case of the original computer and disconnect the SSD from its SATA port and power cable. Remove the SSD carefully and place it in an anti-static bag or another protective container.
- Install the SSD in the other computer: Open the case of the other computer and locate an available SATA port. Connect the SSD to this port and use the appropriate power cable to provide power to the drive.
- Close the case of the other computer: Carefully close the case of the other computer and secure any screws or latches that hold it in place.
- Power on the other computer: Plug in the other computer and power it on. Allow it to boot up and check if the SSD is detected in the system.
- Check SSD detection: If the SSD is detected in the other computer, it indicates that the SSD is functioning properly. The issue likely lies with the original computer’s configuration or hardware.
- Further troubleshoot the original computer: If the SSD is still not being detected on the other computer, there may be an issue with the SSD itself. Consider seeking professional assistance or contacting the SSD manufacturer’s support for further guidance.
- Restore the original computer: Once you have completed testing the SSD on the other computer, restore the SSD to its original computer by removing it from the second computer and reconnecting it to its original SATA port and power cable.
- Power on the original computer: Plug in the original computer and power it on. Check if the SSD is now being detected. You can also try implementing the previous solutions again, in case the SSD detection issues were related to the original computer’s configuration.
Testing the SSD on another computer can help you determine if the issue lies with the SSD itself or with the original computer’s configuration. By following these steps, you can gather valuable information to guide you in further troubleshooting and resolving the SSD detection problem.
Solution 9: Consult Professional Assistance
If you have tried the previous solutions and your SSD is still not being detected, it may be time to seek professional assistance. Consulting with a professional technician or contacting the SSD manufacturer’s support can provide you with expert guidance and support. Here are some steps to follow when seeking professional assistance:
- Collect information: Compile all relevant information about your SSD, including the make and model, any error messages you encountered, and the steps you have already taken to troubleshoot the issue.
- Visit a trusted technician: Seek assistance from a professional technician who specializes in computer hardware and SSD-related issues. Ask for recommendations from friends, colleagues, or online communities to ensure you’re contacting a reputable professional.
- Explain the issue: Provide a clear and detailed explanation of the problem you are facing with the SSD. Mention the steps you have already taken and any error messages that have appeared.
- Follow the technician’s advice: Listen carefully to the technician’s recommendations and instructions. They may ask you to bring in your computer or the SSD for further diagnosis and testing.
- Contact the manufacturer’s support: If you prefer, reach out to the SSD manufacturer’s support team through their website or customer service hotline. Explain your situation and provide any necessary information they may request.
- Follow the manufacturer’s instructions: The support team may provide specific steps or troubleshooting procedures for you to follow. Make sure to carefully follow their instructions and provide them with any requested information or diagnostic results.
- Consider warranty and repair options: If the SSD is still under warranty, inquire about the repair or replacement options available to you. The manufacturer’s support team or the professional technician can guide you through this process.
- Document interactions and findings: Keep a record of all interactions with the technician or manufacturer’s support team, including any troubleshooting steps or solutions provided. This documentation can be useful for future reference or warranty claims.
- Follow through with recommended actions: Once you have received professional advice or guidance, take the necessary actions to resolve the SSD detection issue. This may include performing repairs, replacement, or any other recommended solutions.
Consulting professional assistance ensures that you receive expert advice tailored to your specific situation. They can provide you with further insights and solutions that may not be available through general troubleshooting steps. By seeking professional assistance, you increase your chances of resolving the SSD detection problem and getting your SSD functioning properly.
Conclusion
Experiencing an SSD not being detected can be a frustrating issue. However, by following the solutions outlined in this guide, you can troubleshoot and resolve the problem. Common reasons for an SSD not being detected include faulty connections, outdated firmware, uninitialized drives, outdated drivers, faulty SATA ports or cables, conflicts with other devices, improper BIOS settings, hardware malfunctions, or compatibility issues.
Firstly, checking the SSD connections, updating the firmware, and using Disk Management to initialize the drive are essential initial steps. Updating the drivers for the SSD controller, swapping SATA ports and cables, and checking for conflicts with other devices can address compatibility issues and ensure proper detection. Resetting the BIOS settings may resolve configuration problems, while testing the SSD on another computer can help identify if the issue lies with the SSD or the original computer.
If all else fails, consulting professional assistance or reaching out to the manufacturer’s support can provide expert guidance and further troubleshooting options. Remember to document your steps, maintain records of interactions, and consider warranty and repair options if applicable.
By following these solutions and seeking help when needed, you can increase the chances of resolving the SSD detection problem and getting your SSD back in working order.