Introduction
Having a solid state drive (SSD) in your computer is a great way to improve performance and speed up your system. However, just like any other storage device, SSDs can encounter issues that may affect their functionality over time. One of the effective ways to identify and resolve these issues is by running a disk check on your solid state drive.
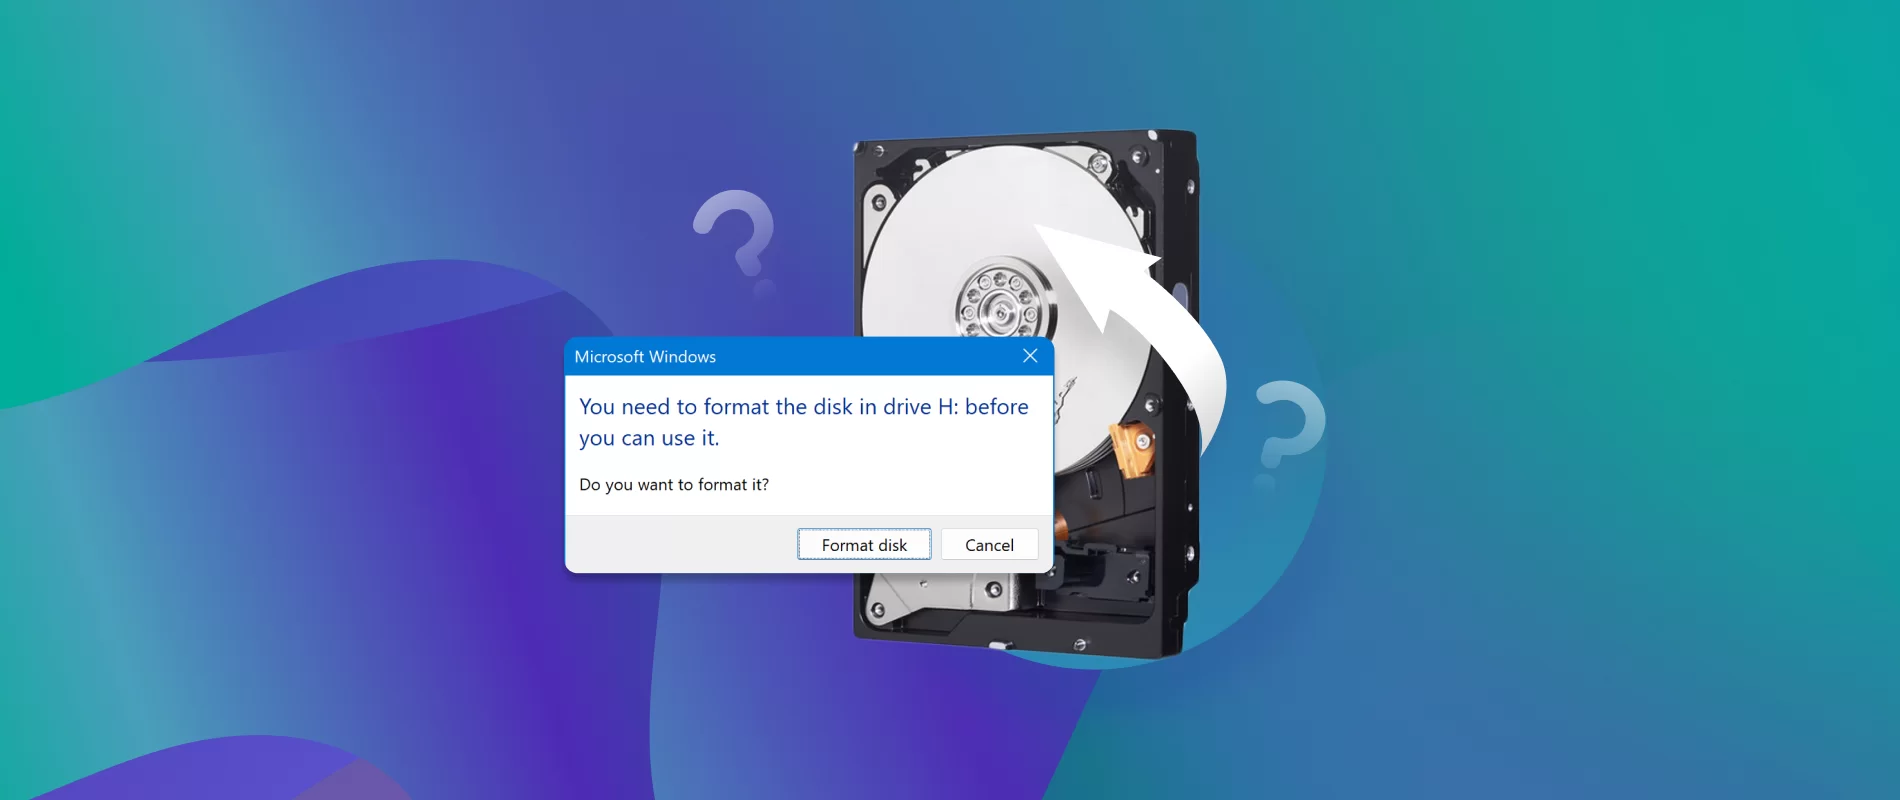
A disk check, also known as a file system check or a chkdsk command in the Windows operating system, is a utility that scans the file system for errors and fixes them if necessary. While SSDs are generally more resistant to physical failures compared to traditional hard drives, they can still develop logical errors that could impact their overall performance.
In this article, we will explore the reasons why you should run a disk check on your solid state drive and provide a step-by-step guide on how to do it. We will also discuss the precautions you should take before running a disk check and provide some tips for troubleshooting common issues that may arise during the process. By following these guidelines, you can ensure the optimal functioning of your solid state drive and maintain its longevity.
Whether you are experiencing slow performance, system crashes, or unusual behavior with your SSD, running a disk check can help identify underlying issues and fix any file system errors that may be causing the problem. So, let’s dive in and see how you can perform a disk check on your solid state drive to keep it running smoothly.
Why should you run a disk check on a solid state drive?
Running a disk check on your solid state drive (SSD) is a crucial step in maintaining its performance and longevity. Despite their robust nature, SSDs can experience issues over time that may require attention. Here are some reasons why you should consider running a disk check on your SSD:
- Identify and fix file system errors: Over time, files on your SSD can become fragmented or corrupted, leading to file system errors. These errors can result in slow performance, system crashes, and even data loss. By running a disk check, you can identify and fix these errors, ensuring that your SSD operates efficiently.
- Optimize SSD performance: SSDs rely on an internal controller chip to manage data storage and retrieval. However, this controller can encounter issues due to power outages, improper shut down, or hardware malfunctions. These issues can affect the SSD’s performance. Running a disk check can help resolve any underlying problems and optimize the performance of your SSD.
- Detect bad sectors: Bad sectors are physical areas on the SSD where data cannot be written or read properly. While SSDs are typically more resilient to bad sectors than hard drives, they can still occur. Running a disk check allows you to identify and isolate any bad sectors, preventing them from causing further damage to your SSD and ensuring the integrity of your data.
- Prevent data loss: Like all storage devices, SSDs are susceptible to data loss. By performing regular disk checks, you can proactively identify and fix any problematic areas before they lead to irreversible data loss. This can include recovering lost files or repairing damaged file systems, giving you peace of mind knowing that your data is safe.
- Prolong SSD lifespan: By identifying and resolving errors or issues early on, you can extend the lifespan of your solid state drive. Regularly running a disk check helps maintain the health of your SSD, reducing the likelihood of sudden failures and the need for costly replacements.
Overall, running a disk check on your solid state drive is an effective preventive measure to ensure optimal performance, data integrity, and the longevity of your SSD. Without regular maintenance and error detection, the performance of your SSD may degrade over time, impacting your system’s speed and potentially risking the loss of your valuable data. Taking the time to perform regular disk checks on your SSD is a small investment that can yield significant long-term benefits.
Precautions to take before running a disk check on a solid state drive
Before running a disk check on your solid state drive (SSD), it’s important to take some precautions to ensure a smooth and safe process. While disk checks are generally safe for SSDs, following these guidelines will help minimize any potential risks and maximize the effectiveness of the check. Here are some precautions to consider before running a disk check on your SSD:
- Backup your data: Before initiating a disk check, it is always a good practice to create a backup of your important data. While disk checks are designed to fix errors and maintain the integrity of your files, there is a slight risk of data loss or corruption during the process. Having a recent backup ensures that you can restore your data in the event of any unforeseen issues.
- Close all open programs: To prevent any potential conflicts or interruptions, make sure to close all running programs and save your work before initiating a disk check. Running a disk check requires exclusive access to your SSD, so closing open programs will ensure that the check runs smoothly without any interference.
- Check for firmware updates: It’s a good idea to check if there are any firmware updates available for your SSD before running a disk check. Manufacturers often release firmware updates to improve compatibility, performance, and stability. Updating your SSD’s firmware can help address any known issues and enhance the success of the disk check process.
- Disable write caching: Write caching is a technique used by the operating system to improve performance. However, during a disk check, it’s recommended to disable write caching to ensure that all changes to the file system are written immediately to the disk. This helps in accurately detecting and fixing any errors in the file system.
- Use the correct disk check command: Different operating systems have different commands to run a disk check. Make sure to use the correct command specific to your operating system. For Windows users, the chkdsk command is commonly used, while macOS users can utilize the fsck command. Using the correct command will ensure that the disk check is performed accurately on your solid state drive.
By taking these precautions before running a disk check on your solid state drive, you can minimize the risks and potential issues that may arise during the process. Following these guidelines will help ensure the safety of your data, optimize the effectiveness of the disk check, and maintain the overall health and performance of your SSD.
Step-by-step guide to running a disk check on a solid state drive
Running a disk check on your solid state drive (SSD) can help identify and resolve any file system errors, optimize performance, and ensure the longevity of your SSD. Follow these step-by-step instructions to perform a disk check on your SSD:
- Backup your data: Before proceeding with any disk check, it is crucial to create a backup of your important data. While disk checks are generally safe, there is a small risk of data loss or corruption during the process. Having a backup ensures that your data is protected.
- Close all programs: Close all running programs to prevent any conflicts or interruptions during the disk check. Saving your work and closing applications ensures that the disk check runs smoothly without any interference.
-
Open Command Prompt (Windows) or Terminal (macOS): On Windows, press the
Windows Key + R, type “cmd” (without quotes), and press Enter to open the Command Prompt. On macOS, pressCommand + Spaceto open Spotlight Search, type “Terminal” (without quotes), and press Enter to open Terminal. - Run Command Prompt/Terminal as Administrator: Right-click on Command Prompt (Windows) or Terminal (macOS) and select “Run as administrator” to run the program with administrative privileges. This is necessary to perform a disk check.
-
Type the disk check command: In the Command Prompt or Terminal, type the appropriate command for your operating system. For Windows, type
chkdsk /f /rfollowed by the drive letter of your SSD (e.g.,chkdsk /f /r C:). For macOS, typefsck -fyfollowed by the drive identifier (e.g.,fsck -fy /dev/disk0). Press Enter to run the command. - Confirm disk check: You may be prompted to confirm the disk check by typing “Y” (for Yes) and pressing Enter. Follow the on-screen instructions to proceed.
- Wait for the disk check to complete: The disk check process may take some time, depending on the size and speed of your SSD. Do not interrupt the process and allow it to complete. You will see progress indicators and information about any errors or issues that are detected.
- Review and resolve issues: Once the disk check is complete, review the results for any errors or issues. If any problems were found, the disk check will attempt to repair them automatically. If manual intervention is required, follow the on-screen instructions or seek further assistance.
- Restart your computer: After the disk check is complete and any repairs have been made, restart your computer to allow the changes to take effect. This will ensure that your SSD is functioning optimally.
By following these step-by-step instructions, you can successfully run a disk check on your solid state drive and address any file system errors or issues that may be affecting its performance. Regularly performing these disk checks will help maintain the health and longevity of your SSD.
Common issues and troubleshooting tips
While running a disk check on a solid state drive (SSD) is generally a straightforward process, there may be instances where you encounter issues or challenges. Here are some common problems that may arise during a disk check and troubleshooting tips to resolve them:
- Freezing or unresponsive system: Sometimes, initiating a disk check may cause your system to freeze or become unresponsive. In such cases, try restarting your computer and running the disk check again. This can help resolve any temporary conflicts or issues that may have occurred.
- Cannot access the drive during the check: If you receive an error message stating that the drive is in use and cannot be accessed during the disk check, make sure all programs and windows are closed. Additionally, disable any third-party disk management software or security programs that may be actively scanning the drive. This will allow the disk check to proceed without interruptions.
- Slow progress or prolonged disk check: Depending on the size of your SSD and the extent of file system errors, the disk check process can take some time. However, if the progress seems excessively slow or the disk check appears to be stuck, it could indicate a problem. In this case, consider restarting your computer and running the disk check again to see if the issue resolves.
-
Disk check fails to fix errors: In rare cases, the disk check may detect errors but fail to fix them automatically. If this happens, you can try running the disk check with additional command options like
/scanor/spotfix(Windows) or using the-lflag (macOS). These options can provide more thorough error detection and repair capabilities. - Persistent issues after disk check: If you continue to experience performance issues or encounter errors even after running a disk check, consider updating your SSD’s firmware. Manufacturers often release firmware updates that address known issues and can provide enhanced stability and compatibility.
If you encounter any other specific issues or error messages during the disk check process, consult the documentation or support resources provided by your operating system or SSD manufacturer. They can provide more specific troubleshooting steps or guidance tailored to your situation.
Remember, regular disk checks are essential for maintaining the health and optimal performance of your solid state drive. Keep an eye out for any unusual behavior or performance issues with your SSD, and address them promptly by running a disk check and following the troubleshooting tips mentioned above.
Conclusion
Running a disk check on your solid state drive (SSD) is a vital maintenance step to ensure optimal performance, data integrity, and longevity of your storage device. By following the step-by-step guide provided in this article, you can effectively identify and resolve file system errors, optimize the performance of your SSD, and prevent potential data loss.
A disk check helps to identify and fix file system errors, detect bad sectors, and optimize the overall performance of your SSD. By taking precautions such as backing up your data, closing all programs, and disabling write caching, you can minimize the risks and maximize the effectiveness of your disk check.
In the event of encountering common issues during the disk check process, troubleshooting tips such as restarting the computer, ensuring the drive is not in use, and updating SSD firmware can help resolve them. However, if problems persist, consulting the documentation or support resources provided by your operating system or SSD manufacturer will provide specific guidance tailored to your situation.
Remember, regular disk checks are essential for maintaining the health and performance of your solid state drive. By proactively addressing file system errors and maintaining the integrity of your data, you can prolong the lifespan of your SSD and ensure its peak performance.
As technology continues to advance and SSDs become more prevalent, it is important to stay informed about best practices for maintaining these devices. By incorporating regular disk checks into your SSD maintenance routine, you can maximize the durability and efficiency of your solid state drive, ultimately enhancing your overall computing experience.