Introduction
Welcome to this guide on how to configure your SSD in the BIOS. Solid State Drives (SSDs) have become increasingly popular due to their faster performance and durability compared to traditional hard disk drives. By properly configuring your SSD in the BIOS, you can optimize its performance and ensure it functions at its full potential.
In this article, we will provide a step-by-step guide to help you understand the necessary settings and configurations required to get the most out of your SSD. Whether you’re building a new computer or upgrading your existing system, this guide will assist you in accessing your BIOS and ensuring your SSD is properly configured.
We’ll cover essential topics such as enabling AHCI mode, configuring boot order, updating firmware, checking drive status, changing SATA ports, and enabling SSD optimization. These settings will not only improve the performance of your SSD but also enhance your overall system responsiveness and reduce boot times.
It’s important to note that accessing and configuring the BIOS can be a delicate process, and any incorrect changes may cause system instability or data loss. Therefore, it’s advisable to proceed with caution and consult your motherboard or computer manufacturer’s documentation for specific instructions related to your system’s BIOS.
Before we dive into the steps, it’s essential to understand how SSDs work and why they are advantageous compared to traditional hard drives. Understanding the underlying technology will give you a better grasp of why certain configurations are necessary and how they impact your overall system performance.
Understanding SSDs
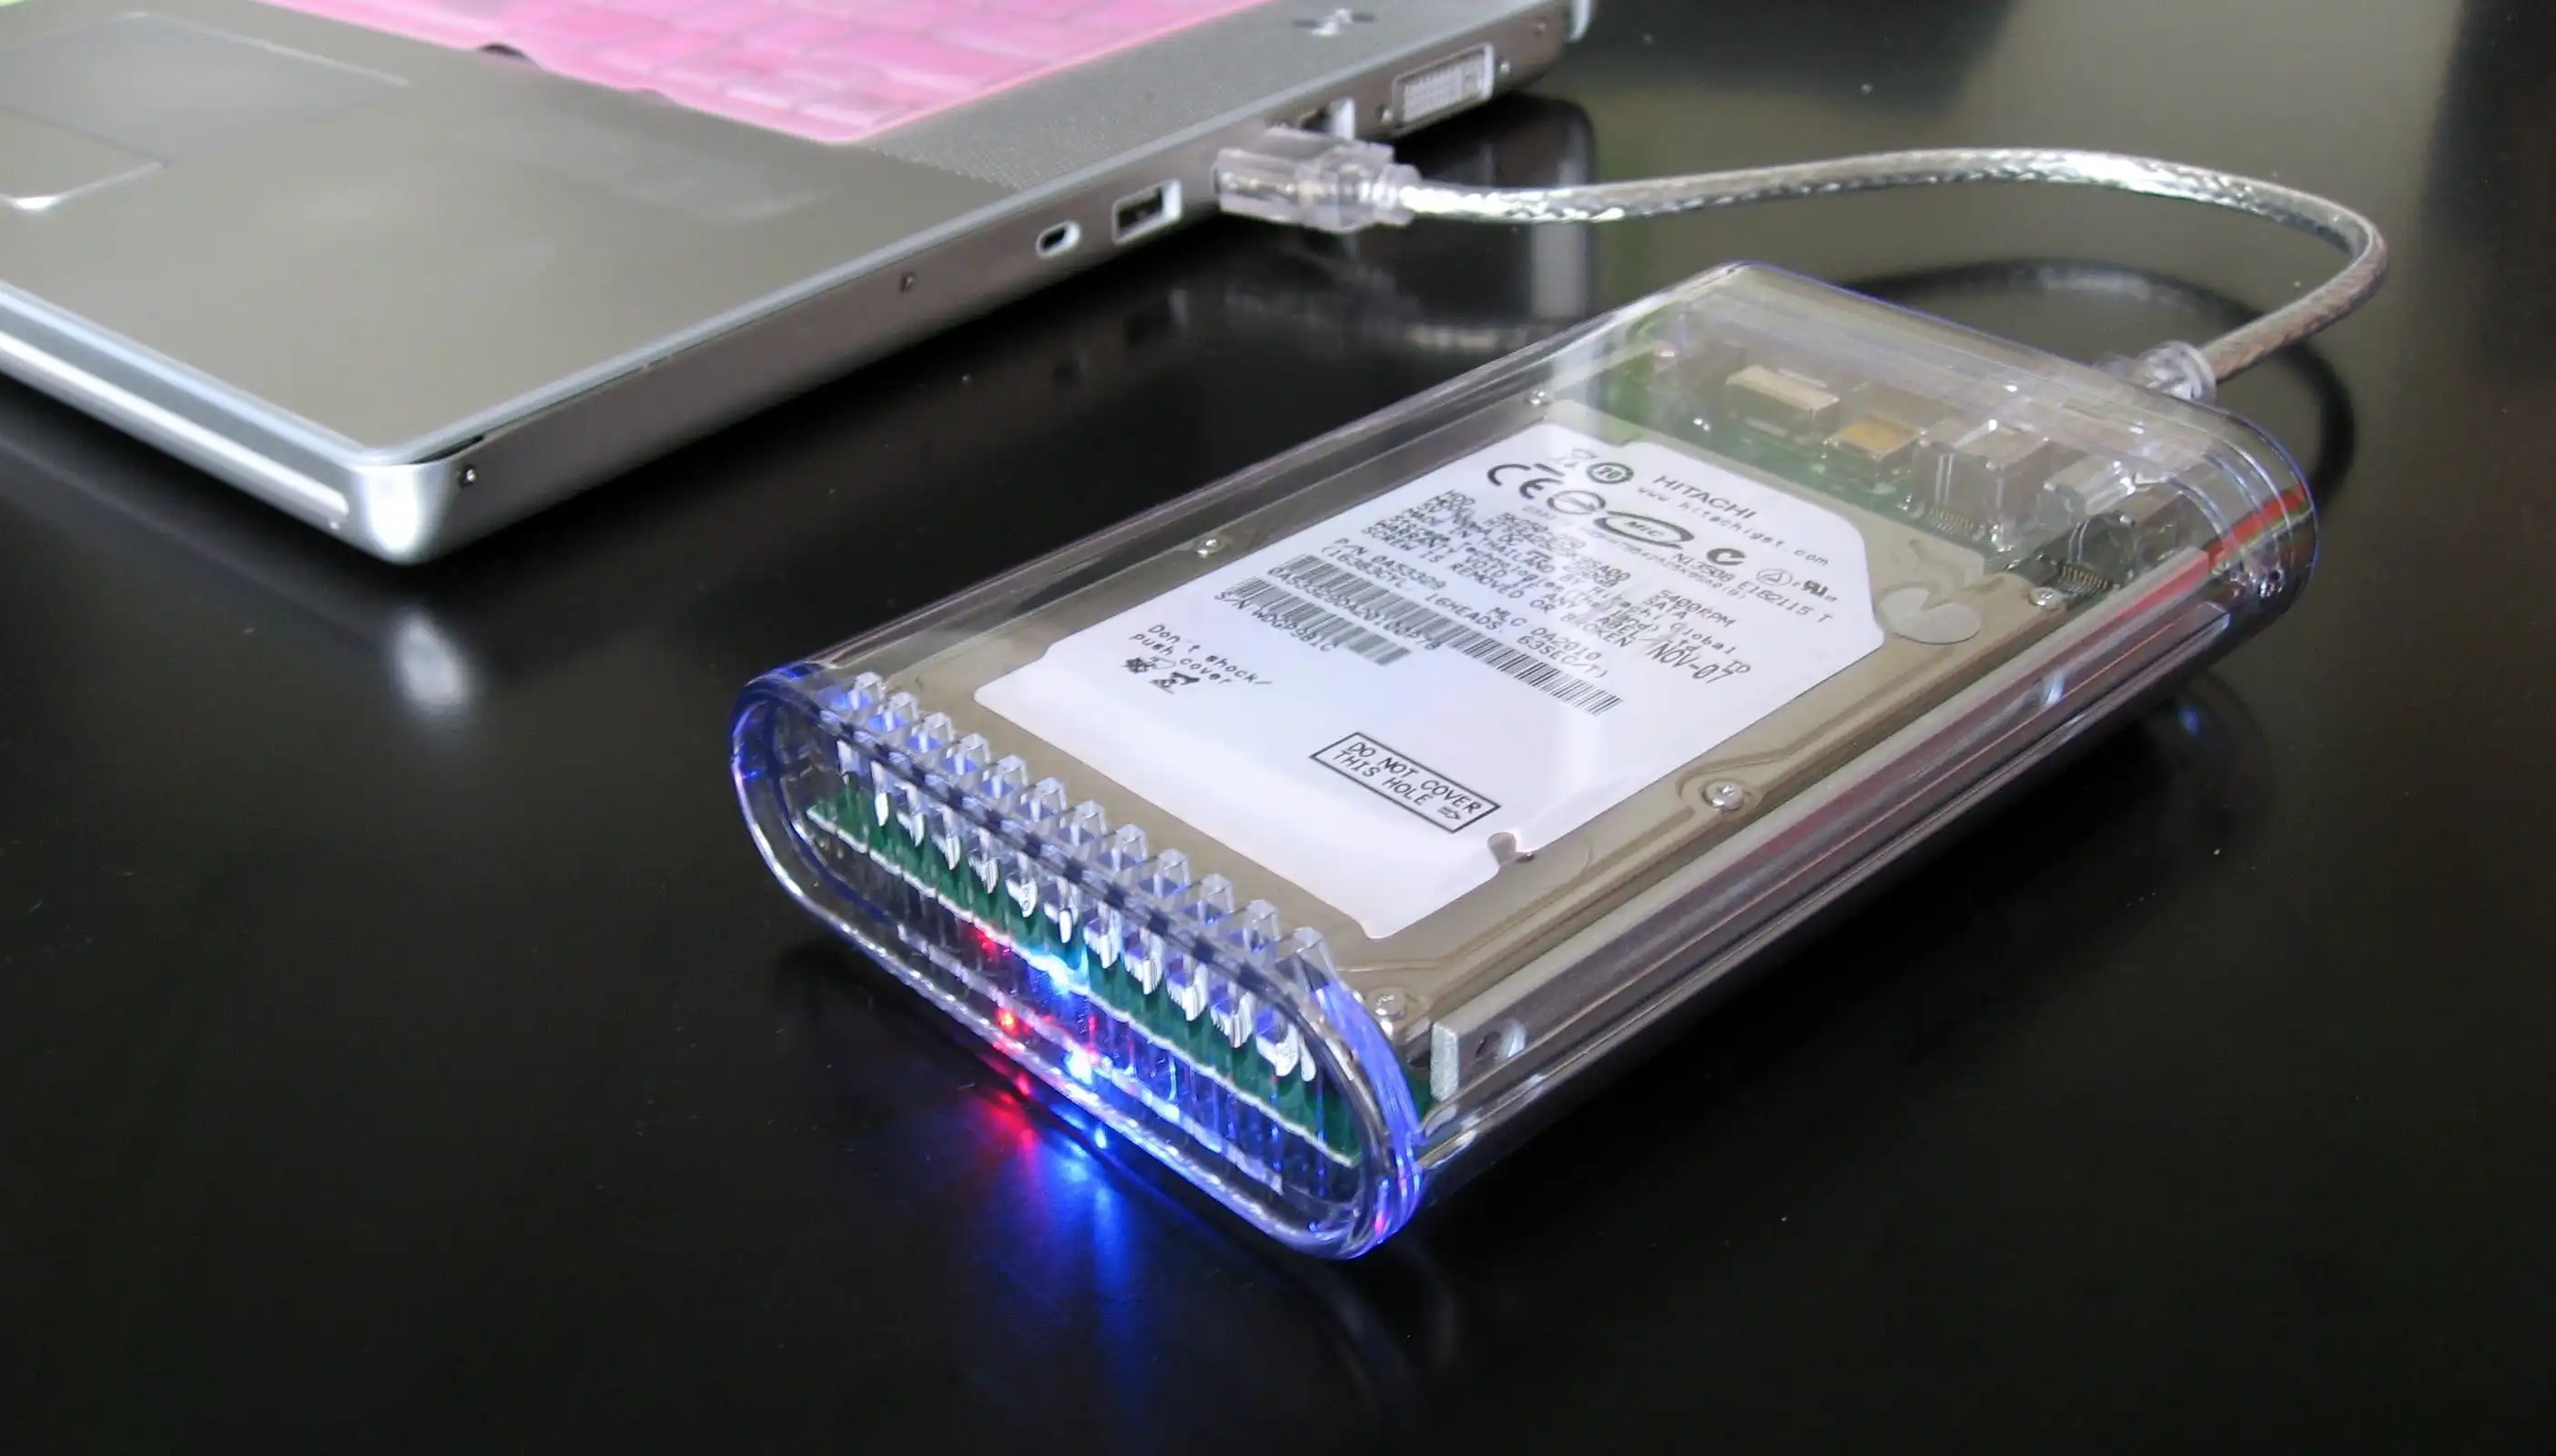
Solid State Drives (SSDs) are storage devices that use flash memory to store data. Unlike traditional hard disk drives (HDDs), which rely on spinning disks and mechanical components, SSDs have no moving parts. This design allows SSDs to deliver faster read and write speeds, resulting in improved overall system performance.
One of the key advantages of SSDs is their ability to access data almost instantly. With no moving parts, reading and writing data on an SSD is much faster compared to an HDD. This speed boost translates into significantly reduced boot times, faster application load times, and improved overall system responsiveness.
Additionally, SSDs are more durable than HDDs. Since there are no spinning disks, they are less susceptible to physical damage from drops or vibrations. This makes them an ideal choice for laptops and portable devices where durability is crucial.
Another important aspect of SSDs is their reliability. Unlike HDDs, which can develop bad sectors over time, SSDs have a lower failure rate. They also have a longer lifespan, thanks to wear-leveling algorithms that distribute data evenly across the memory cells, preventing excessive wear on any single cell.
It’s worth noting that the capacity of SSDs has been increasing over the years, and they are now available in a range of sizes to suit various needs. From small capacities suitable for laptops and ultrabooks to larger capacities suitable for desktop computers and data-intensive applications, SSDs provide ample storage options for all types of users.
When it comes to installation, SSDs can be used as a primary drive to install the operating system and applications, or as a secondary drive for storage purposes. Regardless of how you choose to use your SSD, configuring it correctly in the BIOS is critical to ensure optimal performance and compatibility with your system.
Now that you have a better understanding of what SSDs are and their advantages over HDDs, let’s move on to the steps required to configure your SSD in the BIOS.
Accessing the BIOS
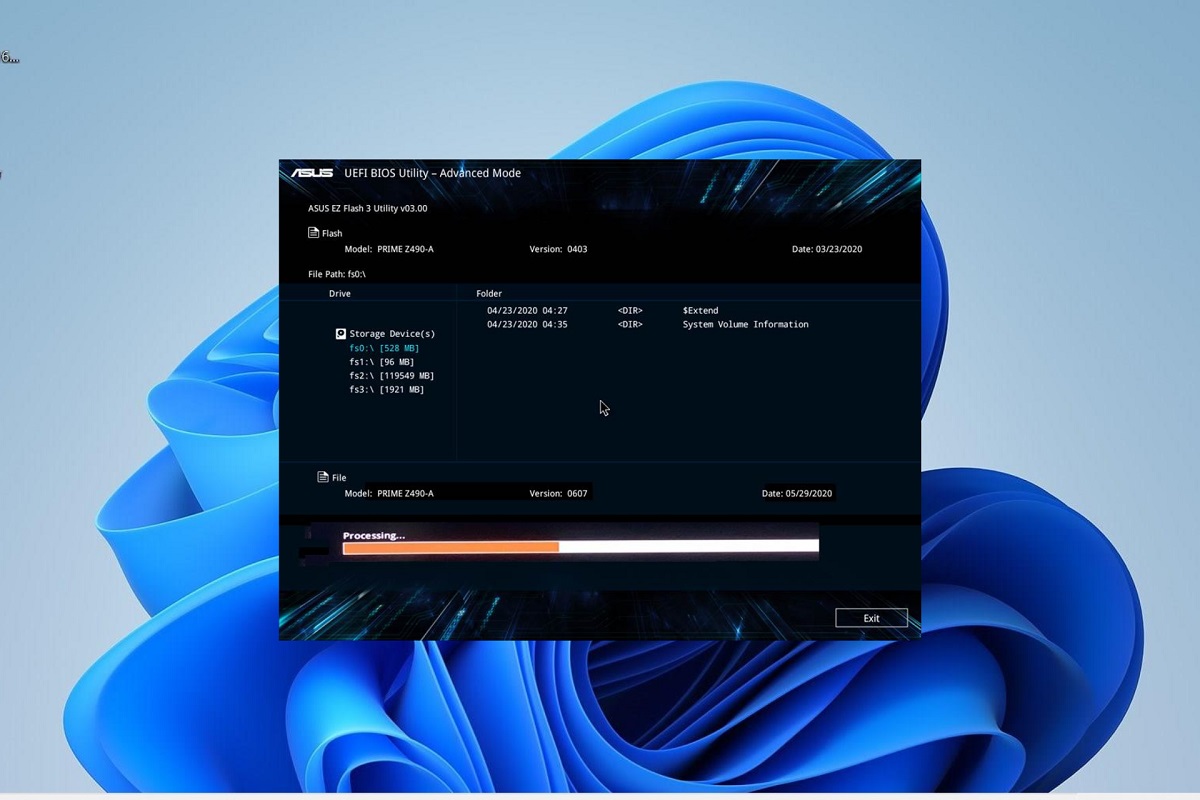
To configure your SSD in the BIOS, you first need to access the BIOS setup utility. The BIOS (Basic Input/Output System) is a firmware that is built into your computer’s motherboard and controls various hardware settings, including storage devices.
The exact method of accessing the BIOS may vary depending on your computer manufacturer and model. However, the most common way is to restart your computer and press a specific key or key combination during the boot process. Common keys used to access the BIOS include “F2,” “Del,” “Esc,” or “F10.”
As soon as your computer starts, keep an eye out for the manufacturer’s logo or a message indicating which key to press to enter the BIOS. Once identified, quickly press the designated key or key combination before the operating system begins to load.
Alternatively, some computers may offer a “UEFI Firmware Settings” option within the operating system’s advanced startup menu. You can access this menu by holding down the Shift key while clicking on the “Restart” option in the Start menu. From there, navigate to the “Troubleshoot” > “Advanced options” > “UEFI Firmware Settings” to enter the BIOS.
Upon entering the BIOS setup utility, you’ll be greeted with a simple interface that provides access to various settings. It’s important to be cautious while making changes in the BIOS, as incorrect settings can lead to system instability or failure to boot.
During this step, it’s recommended to consult the documentation provided by your computer or motherboard manufacturer. They often provide detailed instructions specific to your system on how to navigate through the BIOS and locate the necessary settings for configuring storage devices.
In the next section, we will explore the steps required to enable AHCI mode, a crucial setting that unlocks the full potential of your SSD’s performance.
Enabling AHCI Mode
AHCI (Advanced Host Controller Interface) is a mode that allows your computer’s storage devices, including SSDs, to operate at their full potential. By default, some systems may be set to IDE (Integrated Drive Electronics) mode, which limits the capabilities and performance of your SSD. Enabling AHCI mode is essential to unleash the maximum speed and features of your SSD.
To enable AHCI mode, follow these steps:
- Access the BIOS setup utility by restarting your computer and pressing the designated key or key combination as mentioned in the previous section.
- Navigate through the BIOS settings using the arrow keys on your keyboard or by following the on-screen prompts.
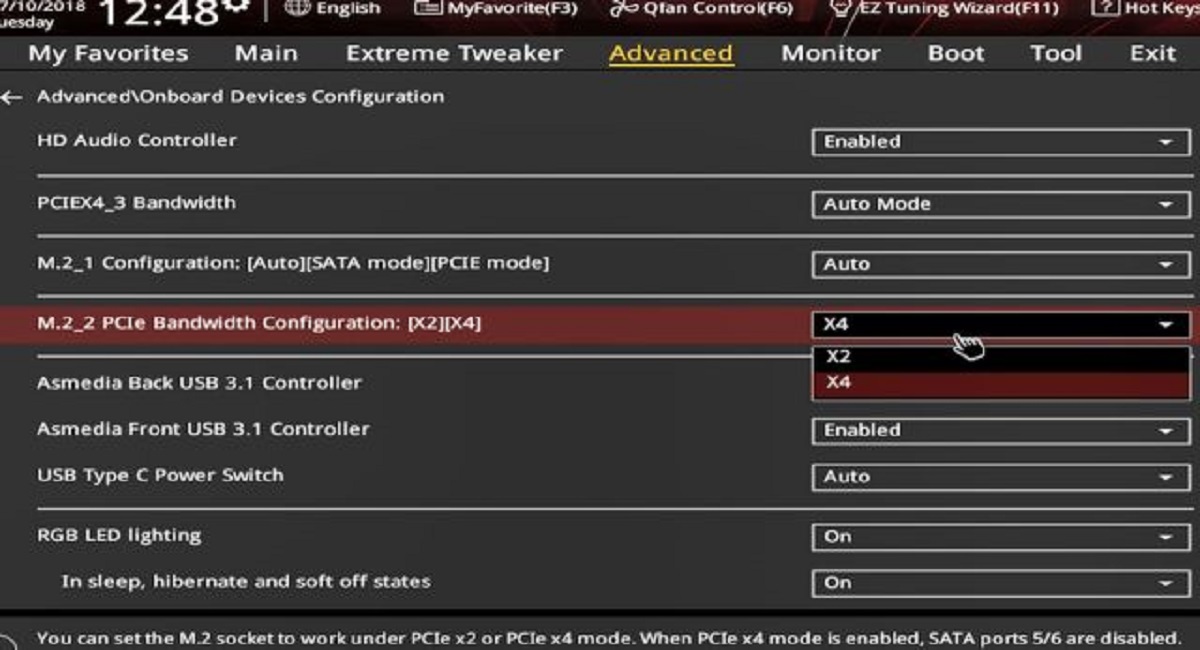
- Look for a section related to storage or SATA (Serial ATA) configuration. The exact location and naming may vary depending on your motherboard manufacturer.
- Within the storage or SATA configuration section, locate the mode options. You may find options such as AHCI, IDE, or RAID.
- Select the AHCI mode option and save the changes. Different BIOS versions might have different ways of saving the changes, but typically, you can press the F10 key to save and exit the BIOS.
- Restart your computer to apply the changes.
Once your computer restarts, it will detect the SSD as an AHCI device and take advantage of its enhanced features. The AHCI mode enables advanced features like Native Command Queuing (NCQ), hot-plugging, and power management, resulting in improved performance and efficiency.
It’s important to note that enabling AHCI mode after installing the operating system may require additional steps, such as updating drivers or modifying the Windows registry. Before making any changes, ensure that you have a full backup of your data and refer to the documentation provided by your motherboard or computer manufacturer for specific instructions.
With AHCI mode enabled, your SSD will now function optimally. In the next section, we will discuss the importance of configuring the boot order to ensure your computer recognizes the SSD as the primary boot device.
Configuring Boot Order
Configuring the boot order in the BIOS is essential to ensure that your computer recognizes the SSD as the primary boot device. By setting the SSD as the first boot option, you can optimize the boot time and allow your system to start up quickly.
To configure the boot order, follow these steps:
- Access the BIOS setup utility by restarting your computer and pressing the designated key or key combination as mentioned earlier.
- Navigate to the “Boot” or “Boot Order” section in the BIOS settings. The exact location and naming may vary depending on your motherboard manufacturer.
- Within the boot section, you will see a list of available boot devices. Look for the entry that represents your SSD.
- Using the arrow keys on your keyboard, move the SSD to the top of the boot order list. This will make it the first device that the computer tries to boot from.
- Save the changes and exit the BIOS. Typically, you can press the F10 key to save and exit.
- Restart your computer to apply the changes.
With the boot order configured correctly, your computer will prioritize booting from the SSD, resulting in faster startup times. It’s worth noting that if you have multiple storage devices, such as additional HDDs or external drives, you can arrange the boot order to include them as well.
Configuring the boot order is crucial, especially when you’re installing a fresh operating system or migrating your existing system to the SSD. By ensuring that the SSD is the first boot option, you guarantee that the system boots from the high-speed drive, taking full advantage of its performance benefits.
Now that you’ve configured the boot order, it’s important to keep your SSD’s firmware up to date to ensure optimal functionality. In the next section, we will discuss the process of updating the firmware on your SSD.
Updating Firmware
Updating the firmware of your SSD is an important step to ensure that it has the latest features, bug fixes, and performance enhancements. Firmware is the software embedded in the hardware of the SSD, and updating it can address any potential issues and improve overall stability and functionality.
Here are the steps to update the firmware of your SSD:
- Visit the website of your SSD manufacturer and navigate to the support or downloads section. Look for firmware updates specifically designed for your SSD model.
- Download the firmware update file that matches your SSD model and save it to a location on your computer.
- Before proceeding with the firmware update, ensure that your SSD is connected to your computer and recognized by the system. It’s recommended to disconnect any other drives to prevent accidental firmware updates.
- Run the firmware update tool provided by the SSD manufacturer. This tool will guide you through the firmware update process.
- Follow the on-screen instructions provided by the firmware update tool to initiate and complete the firmware update. The process may take several minutes, and your computer may restart multiple times.
- Once the firmware update is successfully completed, your SSD will have the latest firmware version installed.
It’s important to note that firmware updates can carry risks, and if not performed correctly, they can lead to data loss or render the SSD inoperable. Therefore, it’s crucial to follow the manufacturer’s instructions precisely and ensure that your SSD has a stable power supply during the update process.
Regularly checking for firmware updates and keeping your SSD firmware up to date is recommended to maintain optimal performance and compatibility with your system. It’s also a good idea to periodically visit the SSD manufacturer’s website or subscribe to their newsletter for any important firmware updates and announcements.
Now that you’ve updated the firmware of your SSD, it’s essential to regularly check its health and performance. In the next section, we will explore how to check the drive status of your SSD to ensure its proper functioning.
Checking Drive Status
Checking the drive status of your SSD is important to monitor its health, detect any potential issues, and ensure optimal performance. Fortunately, there are various tools and methods available to check the status of your SSD.
One of the commonly used tools is the SSD management software provided by the SSD manufacturer. These software utilities offer comprehensive insights into the drive’s health, performance metrics, and other important information. They may also provide features such as firmware updates, secure erasing, and over-provisioning adjustments.
To check the drive status using the manufacturer’s software, follow these steps:
- Visit the SSD manufacturer’s website and navigate to the support or downloads section.
- Download and install the SSD management software designed for your specific SSD model.
- Launch the software and navigate to the drive status or health section.
- Review the information provided, which may include details such as overall health, remaining lifespan, and any potential issues.
- Make a note of any recommendations or actions suggested by the software, such as updating firmware or performing maintenance tasks.
Apart from manufacturer-provided software, there are also third-party tools available that offer similar functionality for monitoring the health and performance of your SSD. These tools can provide detailed statistics and SMART (Self-Monitoring, Analysis, and Reporting Technology) attributes of your SSD, allowing you to analyze its overall condition.
Additionally, some operating systems have built-in tools or features that can help you check the drive status. For example, on Windows, you can use the “Optimize Drives” feature or third-party utilities such as CrystalDiskInfo. On macOS, you can use the “Disk Utility” or third-party software like DriveDx.
Regularly checking the drive status of your SSD can help you identify any potential issues early on and take appropriate action. It’s recommended to check the drive status periodically, especially after firmware updates or system changes, to ensure your SSD continues to perform optimally.
In the next section, we will discuss how changing the SATA port for your SSD can sometimes improve performance or resolve compatibility issues.
Changing SATA Port
Changing the SATA port that your SSD is connected to can sometimes improve its performance or resolve compatibility issues. This can be particularly helpful if you’re experiencing slow transfer speeds or encountering any issues with your SSD.
To change the SATA port for your SSD, follow these steps:
- Shut down your computer and disconnect the power cable.
- Open your computer case to gain access to the internal components. Refer to the manufacturer’s documentation for instructions specific to your computer model.
- Locate the SATA ports on your motherboard. They are typically grouped together near the edge of the motherboard and are labeled SATA1, SATA2, etc.
- Identify the current SATA port to which your SSD is connected.
- Disconnect the SATA cable from the current port on the motherboard and the SSD.
- Choose a different SATA port on the motherboard.
- Connect the SATA cable to the newly chosen port on both the motherboard and the SSD.
- Ensure that the cable is securely connected and that there are no loose connections.
- Close the computer case and reconnect the power cable.
- Start your computer and check if the SSD is detected properly.
Changing the SATA port can resolve issues related to faulty ports or improve performance if the new port supports a higher transfer rate. It is recommended to consult your motherboard’s documentation for information on the supported SATA ports and any specific considerations for port usage.
If changing the SATA port does not resolve the issue or improve performance, there may be other factors affecting your SSD. In such cases, it’s advisable to consult the SSD manufacturer’s support or seek assistance from a professional technician.
In the next section, we will discuss how to enable SSD optimization to further enhance its performance and lifespan.
Enabling SSD Optimization
Enabling SSD optimization settings can further enhance the performance and lifespan of your SSD. These settings are specifically designed to take advantage of the unique characteristics of SSDs and ensure they perform at their best. By enabling SSD optimization, you can maximize the efficiency of your SSD and prolong its lifespan.
Here are some key optimization settings to consider:
- TRIM: TRIM is a command that helps maintain the performance of your SSD by allowing the operating system to inform the SSD which data blocks are no longer in use. Enabling TRIM helps prevent performance degradation over time and keeps your SSD operating at its best.
- AHCI Mode: As mentioned earlier, enabling AHCI mode is crucial to unleash the full potential of your SSD. AHCI mode enables features like Native Command Queuing (NCQ) and improves the overall performance of your SSD.
- Power Management: SSDs consume less power compared to traditional hard drives. Enabling power management settings specific to SSDs can further optimize power usage and improve energy efficiency.
- Over-provisioning: Over-provisioning refers to allocating a portion of your SSD’s total capacity to enhance its performance and longevity. This extra space is reserved for background operations like wear-leveling and garbage collection. Enabling over-provisioning can improve the overall lifespan and performance of your SSD.
To enable these SSD optimization settings, follow these general steps:
- Access the BIOS setup utility as described earlier.
- Navigate to the appropriate settings related to SATA configuration or drive management.
- Enable TRIM support, AHCI mode, and any other specific optimization settings available in your BIOS.
- Save the changes and exit the BIOS.
It’s worth noting that the availability and location of these settings may vary depending on your motherboard manufacturer and BIOS version. Therefore, it’s recommended to consult the documentation provided by your motherboard manufacturer for specific instructions and to ensure compatibility with your SSD.
Enabling SSD optimization settings will ensure that your SSD operates efficiently, delivers optimal performance, and remains reliable over time. Regularly checking and updating these settings, along with firmware updates, can help maintain the health and performance of your SSD.
With the SSD optimization settings in place, you can fully enjoy the speed and reliability benefits that SSDs offer.
Conclusion
Configuring your SSD in the BIOS is a crucial step to optimize its performance, ensure compatibility, and enhance your overall system responsiveness. By following the steps outlined in this guide, you can unlock the full potential of your SSD and enjoy faster boot times, improved application load times, and increased data transfer speeds.
Understanding SSDs and their advantages over traditional hard drives is the foundation for successful configuration. Enabling AHCI mode, configuring the boot order, updating firmware, checking drive status, changing the SATA port, and enabling SSD optimization are all important steps in the process.
Remember to exercise caution while making changes in the BIOS and always consult your motherboard or computer manufacturer’s documentation for specific instructions related to your system.
Regularly monitoring the health and performance of your SSD, along with keeping its firmware up to date, will ensure that it continues to function optimally for years to come. Additionally, enabling SSD optimization settings and taking advantage of features such as TRIM, AHCI mode, and over-provisioning will further enhance the performance and lifespan of your SSD.
As technology continues to evolve, SSDs are becoming increasingly popular due to their speed, durability, and reliability. With the proper configuration and optimization, you can harness the power of your SSD and experience the benefits it brings to your computing experience.
We hope that this guide has provided you with valuable insights and instructions to configure your SSD in the BIOS effectively. Enjoy the improved performance and responsiveness that your optimized SSD brings to your computing tasks and applications.