Introduction
When it comes to wiping a Seagate external hard drive, there are important steps to follow to ensure that your data is securely erased and your hard drive is ready for a fresh start. Whether you want to sell your Seagate external hard drive, repurpose it, or simply clear it of any sensitive information, wiping the drive is essential.
Seagate is a renowned brand known for its high-quality external hard drives that provide reliable storage solutions. These drives store a vast amount of personal files, documents, photos, videos, and more. However, it’s important to note that deleting files from your Seagate hard drive using the traditional methods such as dragging them to the trash bin or using the delete key may not completely remove the data from the drive.
This guide will walk you through the step-by-step process of securely wiping your Seagate external hard drive, ensuring that all your files and data are permanently erased and unrecoverable. Before we begin, it’s crucial to emphasize the importance of backing up your data. Wiping a hard drive means all data will be permanently deleted, so backing up your important files is crucial to avoid losing any valuable information.
Additionally, this guide will focus on wiping a Seagate external hard drive on both Mac and Windows operating systems, providing you with solutions regardless of the type of computer you use.
So, if you’re ready to wipe your Seagate external hard drive and start anew, let’s dive into the step-by-step process to ensure a thorough and secure erasure of your data.
Step 1: Back up your data
Before you begin the process of wiping your Seagate external hard drive, it is essential to back up any important data or files that you want to keep. This step ensures that you have a copy of your files in case anything goes wrong or if you need to access them in the future.
There are several methods to back up your data, depending on your preferences and available resources:
1. Cloud Storage: Utilize cloud storage services such as Google Drive, Dropbox, or Microsoft OneDrive to upload your files and keep them securely stored online. This allows you to access your files from any device with an internet connection.
2. External Hard Drive: You can also back up your files by transferring them to another external hard drive. Connect a secondary external hard drive to your computer and copy the files from your Seagate external hard drive to the new drive.
3. Network Attached Storage (NAS): If you have access to a NAS device, you can create a backup of your files on the network storage device. This option is especially useful if you want to back up multiple computers or devices in a centralized location.
4. Local Transfer: Alternatively, you can back up your files by transferring them to your computer’s internal hard drive or another storage device connected directly to your computer, such as a USB flash drive.
Choose the method that suits your needs best and take the time to ensure that all your important files and data are safely backed up. Once you have completed the backup process, you can move on to the next step of securely wiping your Seagate external hard drive.
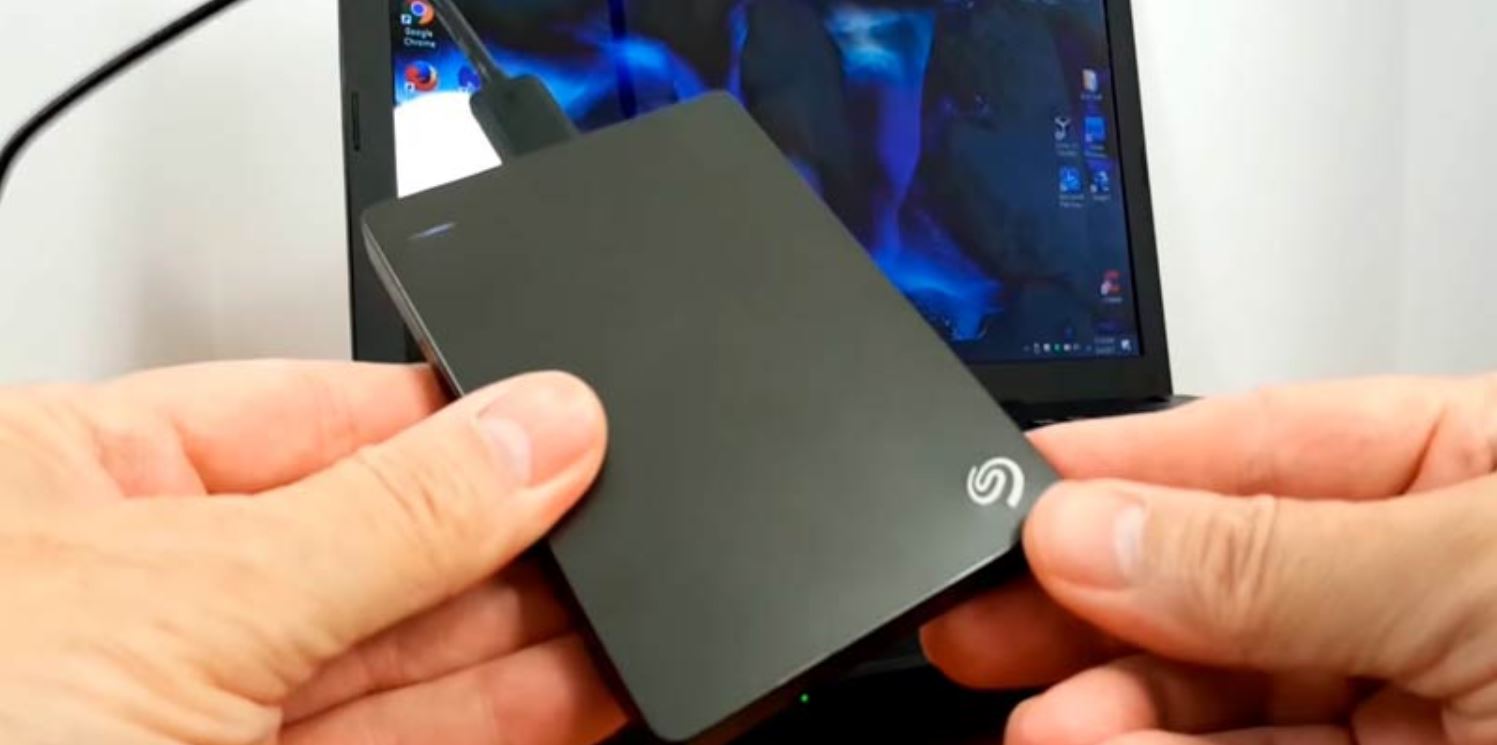
Step 2: Disconnect the Seagate external hard drive
Before proceeding with wiping your Seagate external hard drive, it’s crucial to disconnect it properly to avoid any potential data loss or damage. Follow these steps to safely disconnect your Seagate external hard drive:
- Save and close any files or applications that are currently open on your Seagate external hard drive.
- If you’re using a Mac computer, locate the Seagate external hard drive icon on your desktop or in the Finder’s sidebar. If you’re using a Windows PC, open File Explorer and find the Seagate drive listed under “This PC” or “My Computer”.
- Right-click on the Seagate external hard drive icon and select “Eject” or “Disconnect” to safely remove it from your computer.
- Wait for the confirmation message that it is safe to disconnect the drive. This message may vary depending on your operating system.
- Once you receive the confirmation, gently unplug the USB cable or disconnect the connection between your computer and the Seagate external hard drive.
By disconnecting your Seagate external hard drive properly, you reduce the risk of data corruption and ensure that the drive is ready for the next steps in the wiping process. Remember to handle the hard drive with care and avoid sudden movements or impacts to prevent any potential damage.
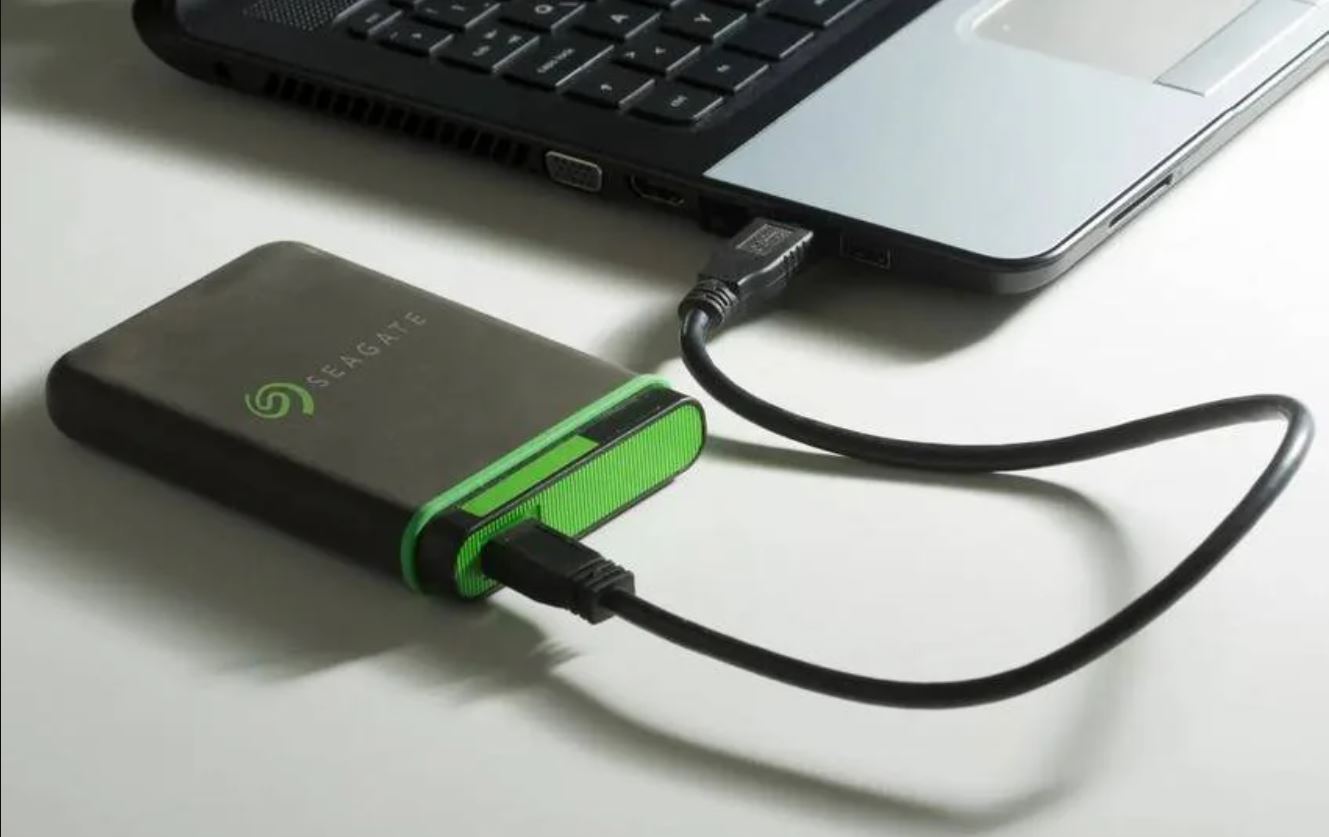
Step 3: Connect the Seagate external hard drive to your computer
Now that you have safely disconnected your Seagate external hard drive, it’s time to connect it to your computer in preparation for the wiping process. Follow these steps to ensure a proper connection:
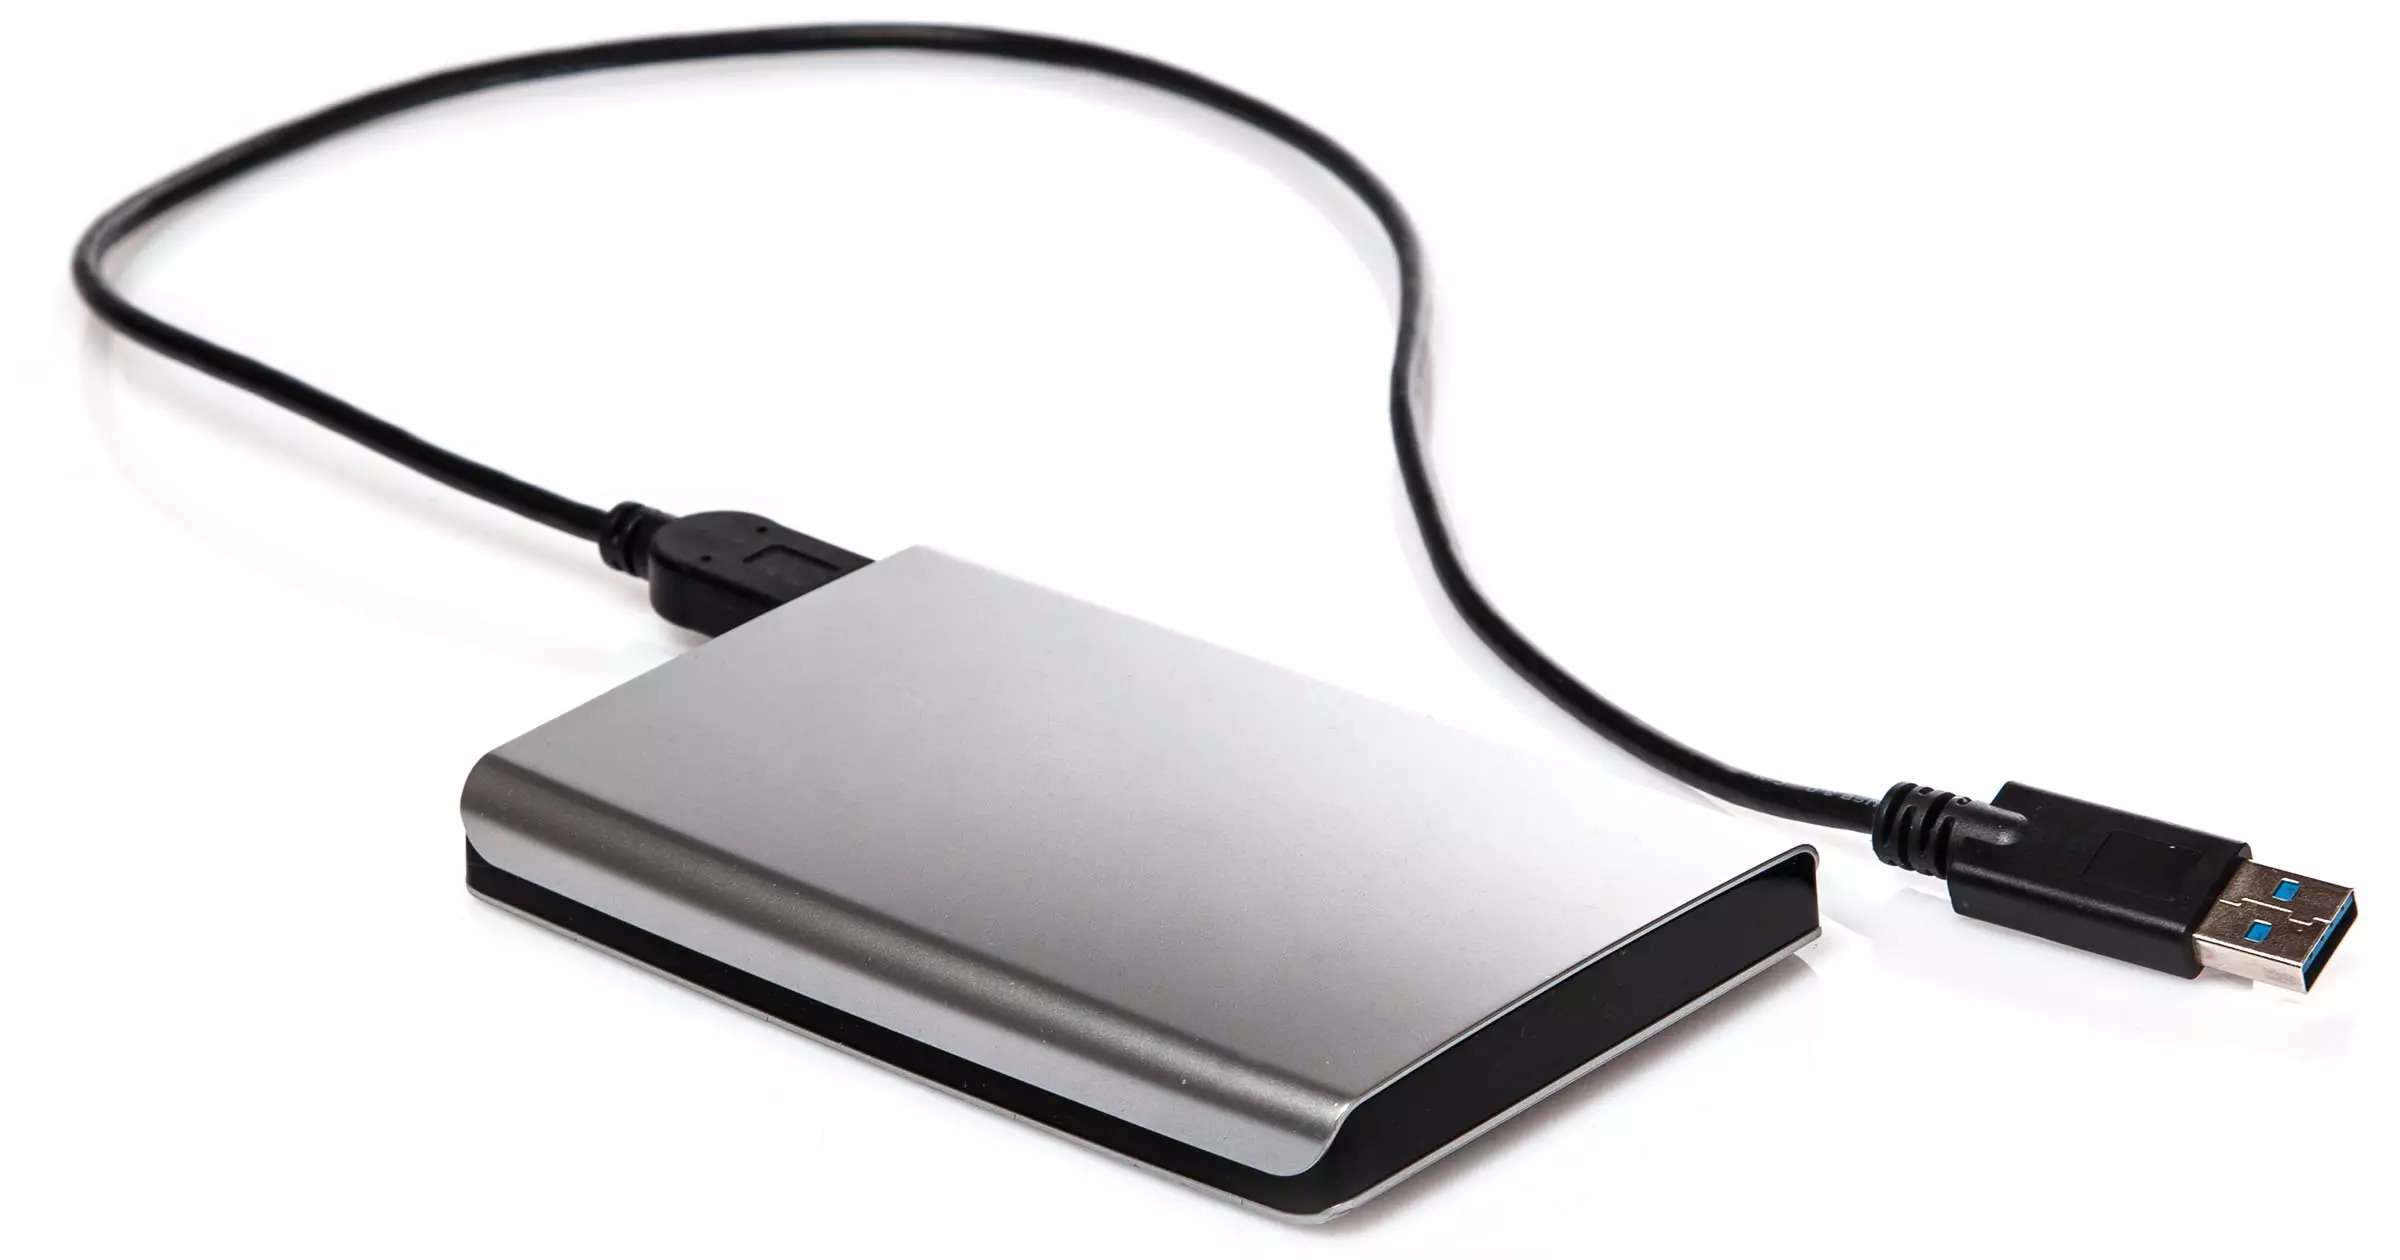
- Locate the USB cable that came with your Seagate external hard drive.
- Connect one end of the USB cable to the appropriate port on your Seagate external hard drive.
- Connect the other end of the USB cable to an available USB port on your computer. Make sure to use a USB port that is functioning correctly.
- Ensure that the connection is secure and that the cable is firmly plugged in.
- Depending on your operating system, your computer may automatically recognize and initialize the Seagate external hard drive. If prompted, follow the on-screen instructions to install any necessary drivers or software.
- Wait for your computer to recognize the Seagate external hard drive and assign it a drive letter or mount it as a connected device.
- Once your computer has successfully recognized the Seagate external hard drive, you are now ready to proceed with the next steps of the wiping process.
It’s important to note that if your Seagate external hard drive requires external power, make sure it is properly connected and powered on before connecting it to your computer.
By following these steps, you have established a secure connection between your Seagate external hard drive and your computer, ensuring a smooth and seamless wiping process.
Step 4: Access the Disk Utility on Mac or Device Manager on Windows
In order to proceed with wiping your Seagate external hard drive, you need to access either the Disk Utility on Mac or the Device Manager on Windows. These tools allow you to manage and configure your storage devices. Here’s how to access them:
Mac:
- Click on the “Finder” icon located in the Dock, which is typically found at the bottom of your screen.
- In the Finder menu, click “Applications” and then choose “Utilities”.
- Within the Utilities folder, double-click on “Disk Utility” to open it.
Windows:
- Right-click on the “Start” button located at the bottom left corner of the screen.
- In the pop-up menu, select “Device Manager”.
- Within the Device Manager window, expand the category named “Disk Drives” by clicking the arrow next to it.
- Locate and double-click on the entry that represents your Seagate external hard drive.
Once you have successfully accessed the Disk Utility on Mac or the Device Manager on Windows, you are ready to proceed with the next steps to wipe your Seagate external hard drive. These tools provide the necessary functionalities to manage and perform operations on your storage devices.
It’s worth mentioning that the precise steps to access the Disk Utility or the Device Manager may vary slightly depending on your specific operating system version. However, the general instructions provided above should guide you in the right direction.
By accessing the Disk Utility on Mac or the Device Manager on Windows, you have taken the crucial initial step towards wiping your Seagate external hard drive effectively and securely.
Step 5: Select the Seagate external hard drive
After accessing the Disk Utility on Mac or the Device Manager on Windows, the next step in the process of wiping your Seagate external hard drive is to select the specific drive that you want to erase. Here’s how to do it:
Mac:
- In the Disk Utility window, you will see a list of drives and volumes on the left-hand side. Locate your Seagate external hard drive in this list.
- Click once on the Seagate external hard drive to select it. Make sure you are selecting the correct drive to avoid accidentally wiping the wrong device.
Windows:
- In the Device Manager window, under the category “Disk Drives”, you will find a list of connected drives. Look for your Seagate external hard drive in this list.
- Double-click on the entry representing your Seagate external hard drive to open its properties.
By selecting your Seagate external hard drive, you are indicating to the Disk Utility on Mac or the Device Manager on Windows that this is the specific device that you want to perform operations on, including erasing or formatting.
It’s crucial to double-check that you have selected the correct drive before proceeding to the next steps, as erasing the wrong drive can lead to permanent data loss. Take an extra moment to verify that you have chosen the appropriate Seagate external hard drive.
Once you have successfully selected the Seagate external hard drive, you are now ready to move on to the subsequent steps in the process of securely wiping your drive.
Step 6: Erase the Seagate external hard drive
Now that you have selected the Seagate external hard drive, it’s time to proceed with the actual erasure process. This step will permanently delete all data from your Seagate external hard drive. Here’s how to erase the drive:
Mac:
- In the Disk Utility window, make sure the “Erase” tab is selected.
- Choose the desired format for the erased drive. The most commonly used format is “Mac OS Extended (Journaled)”.
- Provide a name for the newly erased drive.
- Verify that the selected drive is indeed your Seagate external hard drive.
- Double-check all the erasure settings to ensure they align with your preferences.
- Click on the “Erase” button to initiate the erasure process. Confirm the operation if prompted.
- Wait for the erasure process to complete. This may take some time depending on the size of your Seagate external hard drive.
Windows:
- In the properties window of your Seagate external hard drive, navigate to the “Policies” tab.
- Under the “Removal policy” section, select the option for “Better performance”.
- Click the “OK” button to save the changes.
- Open the File Explorer and locate your Seagate external hard drive.
- Right-click on the drive and select the “Format” option.
- Choose the desired file system for the newly formatted drive. The most commonly used file system for Windows is NTFS.
- Provide a volume label or name for the drive.
- Make sure the “Quick Format” option is selected.
- Click on the “Start” button to begin the erasure process. Confirm the operation if prompted.
- Wait for the formatting process to complete. This may take some time depending on the size of your Seagate external hard drive.
By following these steps, you will initiate the erasure process on your Seagate external hard drive, ensuring that all data stored on it is permanently removed. It’s important to note that this process is irreversible, so double-check that you have selected the correct drive and have backed up any important data before proceeding.
Once the erasure process is complete, you can move on to the next steps to format and finalize the wiping process on your Seagate external hard drive.
Step 7: Confirm the erase operation
After initiating the erasure process on your Seagate external hard drive, it is important to confirm the operation to ensure that the drive is securely wiped. This step provides a final opportunity to review your selected options and proceed with the erasure process. Here’s how to confirm the erase operation:
Mac:
- Once the erasure process is complete, a notification message will appear confirming the successful erasure of your Seagate external hard drive.
- Review the message to ensure that the operation was completed without any errors or issues.
Windows:
- As the formatting process finishes, a confirmation message will appear indicating the successful completion of the erasure on your Seagate external hard drive.
- Carefully read through the message to verify that the format operation was successful and without any errors.
By confirming the erase operation, you are acknowledging that the erasure process on your Seagate external hard drive has been carried out according to your selected settings. It is crucial to carefully review the confirmation message to ensure that there were no unexpected errors or complications during the process.
After confirming the erase operation, you are now one step closer to securing your Seagate external hard drive by permanently removing all data from it. However, there is still one more step remaining in the process, which is formatting the drive to prepare it for future use.
Proceed to the next step to learn how to format your Seagate external hard drive for optimal performance and usability.
Step 8: Format the Seagate external hard drive
After successfully erasing your Seagate external hard drive, the next step is to format it. Formatting the drive prepares it for future use and ensures compatibility with your operating system. Here’s how to format the Seagate external hard drive:
Mac:
- In the Disk Utility window, select your Seagate external hard drive from the left-hand side.
- Click on the “Erase” tab at the top of the Disk Utility window.
- Choose the desired format for the drive. For Mac compatibility, select “Mac OS Extended (Journaled)”.
- Provide a name for the newly formatted drive.
- Double-check the formatting settings to ensure they meet your requirements.
- Click on the “Erase” button to initiate the formatting process.
- Wait for the formatting process to complete. The duration may vary based on the size of your Seagate external hard drive.
Windows:
- Open File Explorer and locate your Seagate external hard drive.
- Right-click on the drive and select the “Format” option.
- Choose the desired file system for the drive. For Windows compatibility, select NTFS.
- Provide a volume label or name for the drive.
- Ensure that the “Quick Format” option is selected.
- Click on the “Start” button to begin the formatting process.
- Wait for the formatting process to complete. The duration will depend on the size of your Seagate external hard drive.
Formatting your Seagate external hard drive ensures that it is ready for use and compatible with your system. During the formatting process, all previous partitions and file systems on the drive will be replaced, resulting in a clean and fresh storage space.
Once the formatting process is complete, you can proceed to the final step to safely eject and disconnect your Seagate external hard drive.
Step 9: Eject and disconnect the Seagate external hard drive
After formatting your Seagate external hard drive, it is important to eject and disconnect it properly to ensure data integrity and preserve the health of the drive. Here is how to safely eject and disconnect your Seagate external hard drive:
- On a Mac, you can either right-click on the Seagate external hard drive icon on your desktop or go to the Finder and locate the Seagate drive in the sidebar. Select the drive, and click on the “Eject” button next to its name. Alternatively, you can drag the drive icon to the trash bin.
- On a Windows PC, open File Explorer, locate your Seagate external hard drive, right-click on the drive, and select “Eject” from the context menu.
- Wait for the confirmation message that it is safe to remove the drive.
- Once you receive the confirmation, gently unplug the USB cable or disconnect the connection between your computer and the Seagate external hard drive.
It is crucial to follow these steps and properly eject your Seagate external hard drive before physically disconnecting it to avoid any potential data corruption. Ejecting ensures that all data has been written to the drive and that it is safe to remove.
Once you have safely ejected and physically disconnected your Seagate external hard drive, you have completed the process of wiping, formatting, and disconnecting the drive. Your Seagate external hard drive is now ready for a fresh start, whether it is repurposed, sold, or used for a new set of data.
Remember that before starting this process, backing up your data is essential to ensure that you have a copy of any important files. Additionally, be cautious and double-check your actions at each step to avoid any unintended consequences or data loss.
Congratulations on successfully wiping and preparing your Seagate external hard drive for future use!
Conclusion
Wiping a Seagate external hard drive is a crucial step to ensure the security and privacy of your data. By following the step-by-step guide outlined above, you have learned how to safely and securely erase your Seagate external hard drive.
Remember that before you begin the wiping process, it is essential to back up your important data to avoid permanent loss. Safeguarding your files and documents ensures that you can easily restore them to a new device or access them whenever necessary.
Throughout the guide, you learned how to disconnect and connect your Seagate external hard drive, access Disk Utility on Mac or Device Manager on Windows, select the correct drive for erasure, confirm the erase operation, format the drive, and finally, eject and disconnect the drive properly.
By carefully following each step, you have completed the process required to wipe and prepare your Seagate external hard drive for reuse, sale, or repurposing. The wiped drive is now ready for a fresh start, providing secure storage for your future data.
It is worth noting that wiping a hard drive is a permanent action, and once the data is erased, it cannot be recovered. Therefore, exercise caution and double-check your actions at each step to avoid unintentional data loss.
We hope that this guide has provided you with the necessary knowledge and confidence to securely wipe your Seagate external hard drive. By implementing these steps, you have taken an important step towards protecting your privacy and ensuring the integrity of your data.
Remember, whenever you need to wipe a Seagate external hard drive, refer back to this guide and follow the steps to achieve a secure and successful erasure process.