Introduction
External hard drives have become an essential tool for storing and transferring large amounts of data. Whether you need to back up your important files, store multimedia content, or carry your work with you on the go, an external hard drive offers the convenience and reliability you need. Understanding how to access your external hard drive is crucial to ensure seamless file management and data transfers.
In this article, we will guide you through the process of accessing an external hard drive on different operating systems, including Windows, Mac, and Linux. We will cover the steps to connect your external hard drive and provide detailed instructions on how to access it on each specific platform.
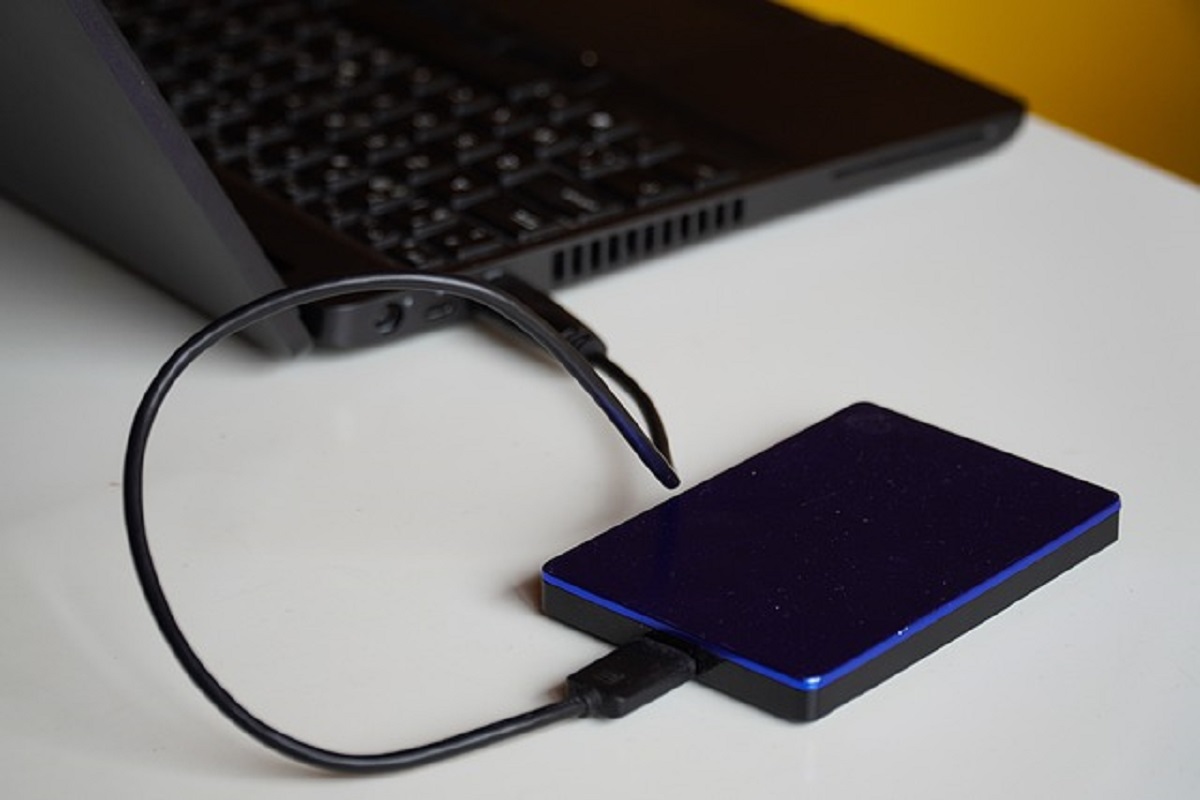
Before we dive into the technicalities, let’s take a moment to understand what an external hard drive is. Unlike internal hard drives that are installed inside your computer or laptop, an external hard drive is a portable storage device that can be easily connected to a computer using a USB or Thunderbolt cable. They come in various storage capacities, ranging from a few hundred gigabytes to several terabytes, making them ideal for different storage needs. External hard drives are compatible with most operating systems and can be used for both personal and professional purposes.
So, whether you’re a student, a photographer, a video editor, or simply someone who needs extra storage space, accessing an external hard drive is a skill worth mastering. So, let’s get started and learn how to connect and access your external hard drive on Windows, Mac, and Linux systems.
Understanding External Hard Drives
Before we delve into accessing external hard drives, it’s essential to have a solid understanding of what they are and how they function. An external hard drive is a portable storage device that is separate from your computer’s internal hard drive. It provides additional storage space and allows you to store and manage files and data conveniently.
External hard drives come in various sizes and capacities, ranging from a few hundred gigabytes to multiple terabytes. They utilize the same technology as internal hard drives, but they are enclosed in a separate casing with an external interface (usually USB or Thunderbolt) that allows them to be easily connected to a computer or other device.
One of the key advantages of external hard drives is their portability. You can easily disconnect them from one computer and connect them to another, providing flexibility and convenience for file transfers, backups, and sharing data between multiple devices. Additionally, external hard drives can be powered through the USB or Thunderbolt connection, eliminating the need for an external power source.
External hard drives serve a variety of purposes. They are commonly used for backup and storage of important files, such as documents, photos, videos, and music. They provide a reliable and secure backup solution for protecting your data in case of computer failure or accidental deletion. Furthermore, they are frequently used by professionals, such as photographers, videographers, and graphic designers, to store and transport large media files.
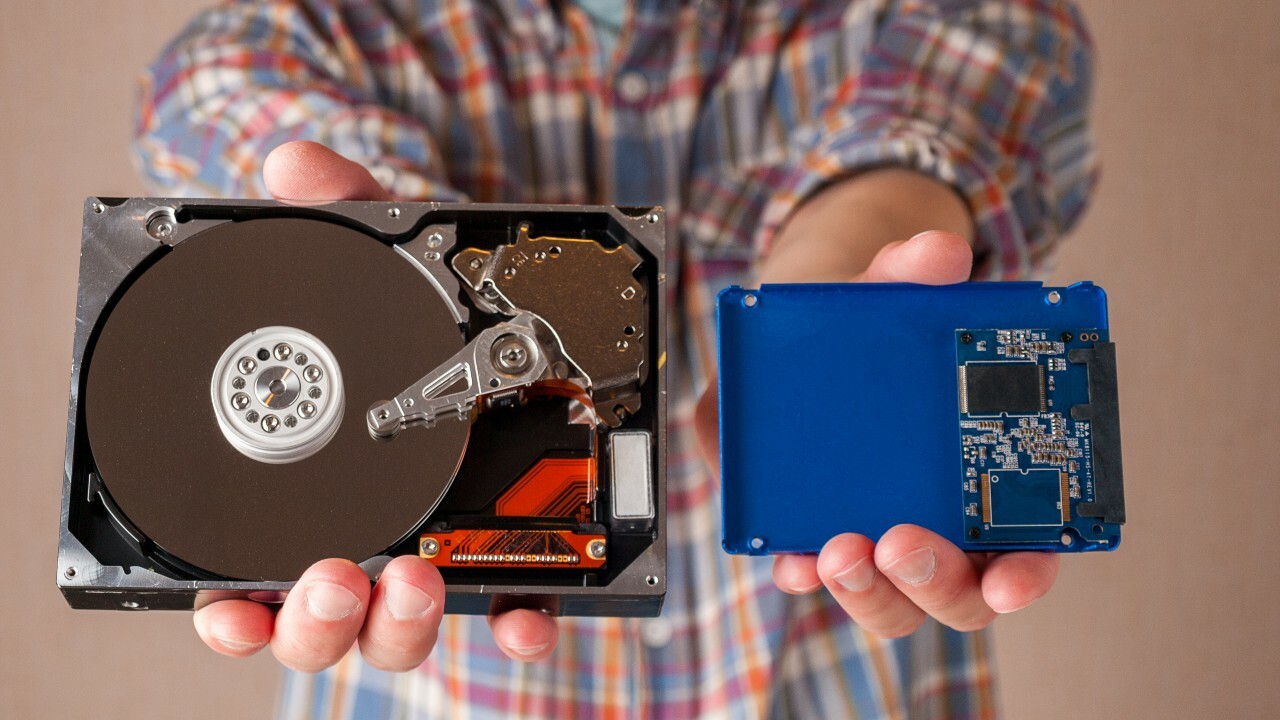
When choosing an external hard drive, it’s important to consider factors such as storage capacity, transfer speed, durability, and compatibility with your computer’s operating system. The market offers a wide range of options, including traditional HDDs (hard disk drives) and SSDs (solid-state drives), each with its own advantages and disadvantages. HDDs tend to provide higher storage capacities at a lower cost, while SSDs offer faster data transfer speeds and enhanced durability due to having no moving parts.
In summary, external hard drives are valuable tools for expanding storage space, facilitating data backups, and enabling easy file transfers. They come in different capacities and offer a portable and convenient way to store and manage your important files and data. Now that we have a better understanding of external hard drives, let’s move on to the next section and learn how to connect and access them on various operating systems.
Connecting the External Hard Drive
Now that you have a good understanding of external hard drives, let’s move on to the process of connecting them to your computer or laptop. Connecting an external hard drive is a simple and straightforward process that only requires a few steps.
1. Start by locating the USB port or Thunderbolt port on your computer. Most computers have multiple USB ports, so you can choose any available port to connect your external hard drive. For Thunderbolt connections, ensure that you have a Thunderbolt port compatible with your external hard drive.
2. Take the USB or Thunderbolt cable that came with your external hard drive and connect one end to the external hard drive itself. Make sure it is securely plugged in.
3. Take the other end of the cable and plug it into the corresponding USB or Thunderbolt port on your computer. Again, ensure that the connection is secure.
4. Once connected, your computer should recognize the external hard drive and automatically install the necessary drivers. If your operating system prompts you to install any specific software or drivers, follow the on-screen instructions to complete the installation process.
5. After successfully connecting and installing the drivers, you should see the external hard drive appear as a new storage device on your computer. Depending on your operating system, it may show up as a new drive letter (such as E: or F:) or as a mounted volume.
That’s it! Your external hard drive is now connected and ready to be accessed. It’s important to note that some external hard drives require an external power source, especially for larger capacity drives. In such cases, ensure that the power adapter is connected and the drive is receiving power.
Remember to always properly disconnect your external hard drive from your computer before physically removing it. This can usually be done by right-clicking on the drive icon in your file explorer and selecting the “Eject” or “Safely Remove” option. This will ensure that all data is written and that it is safe to unplug the device.
Now that you know how to connect your external hard drive, let’s proceed to the next section and explore how to access it on various operating systems.
Accessing the External Hard Drive on Windows
Once you have successfully connected your external hard drive to your Windows computer, accessing it is a simple process. Here’s how you can access your external hard drive on Windows:
1. Open the File Explorer by clicking on the folder icon in your taskbar or by pressing the Windows key + E shortcut on your keyboard.
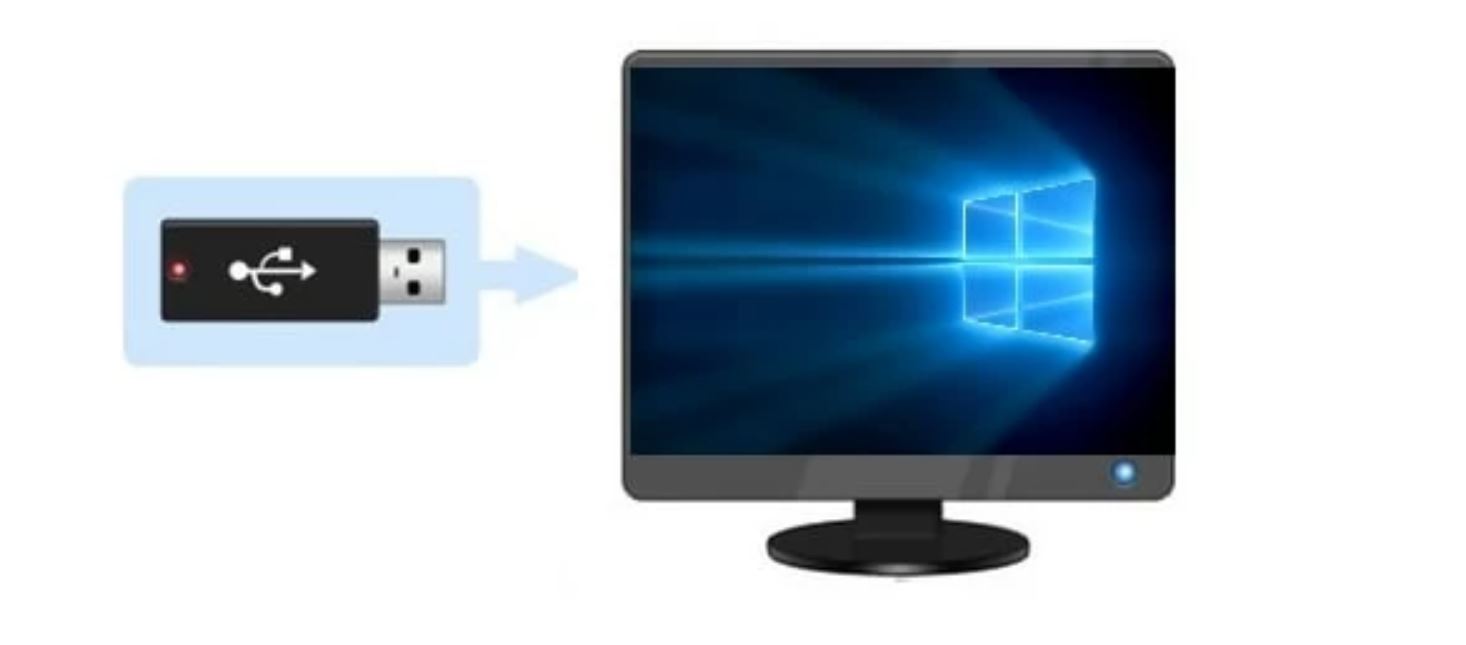
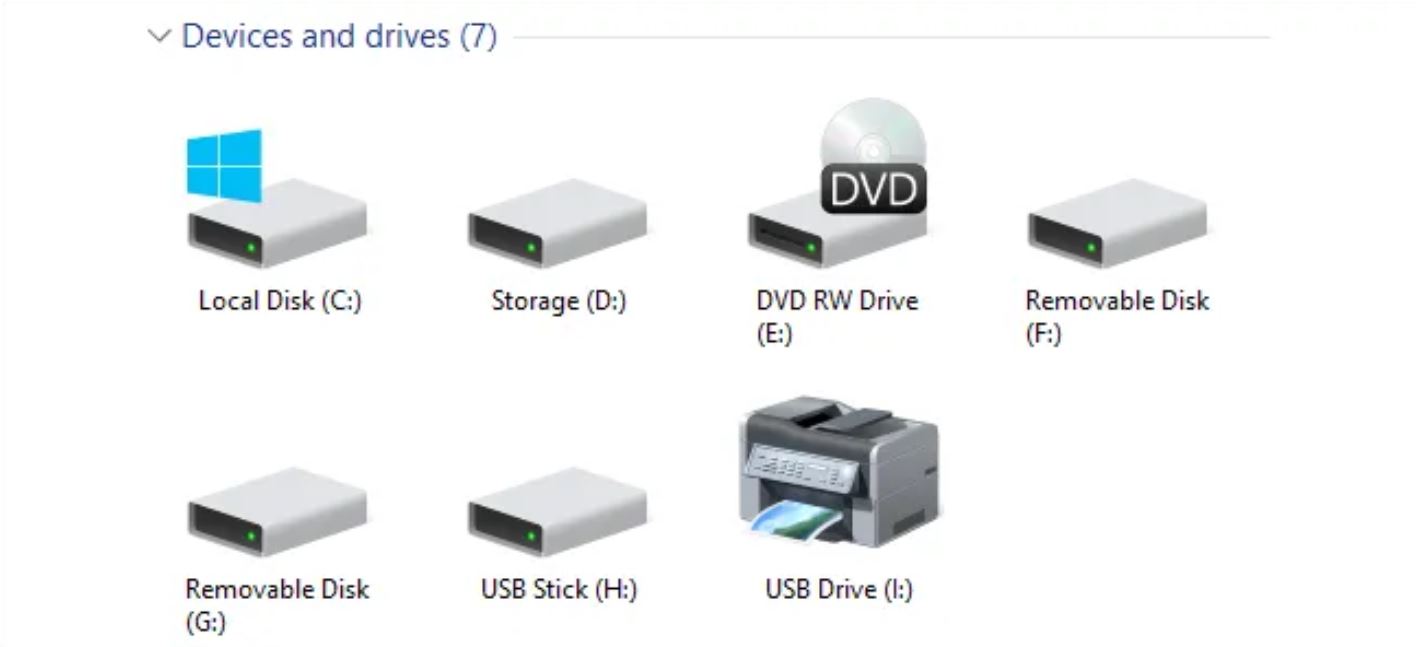
2. In the File Explorer, you will see a list of drives and folders on the left-hand side. Look for your external hard drive under the “Devices and drives” section. It will be labeled with its assigned drive letter (such as E: or F:) or with the name you assigned to it.
3. Click on the external hard drive’s icon or label to open it. You will now be able to view and access the files and folders stored on your external hard drive, just like you would with any other drive on your computer.
4. To copy or move files to and from your external hard drive, simply navigate to the files or folders you want to transfer and use the standard file management techniques, such as dragging and dropping or using the copy and paste functions.
5. If you are finished using the external hard drive, remember to properly eject it from your computer before disconnecting it. Right-click on the drive’s icon in the File Explorer and select the “Eject” or “Safely Remove” option. This ensures that all data has been written and that it is safe to unplug the device.
It’s worth noting that Windows also provides additional features for managing your external hard drive, such as formatting, partitioning, and setting up automatic backups. These features can be accessed through the Disk Management tool or the Control Panel’s “Backup and Restore” options.
With these simple steps, you can easily access and manage your external hard drive on Windows. Now, let’s move on to the next section and discover how to access your external hard drive on a Mac system.
Accessing the External Hard Drive on Mac
If you’re using a Mac computer, accessing your external hard drive is a straightforward process. macOS provides a user-friendly interface that allows you to easily access and manage your external storage. Follow these steps to access your external hard drive on a Mac:
1. Connect your external hard drive to your Mac using the provided USB or Thunderbolt cable. Ensure that the connection is secure.
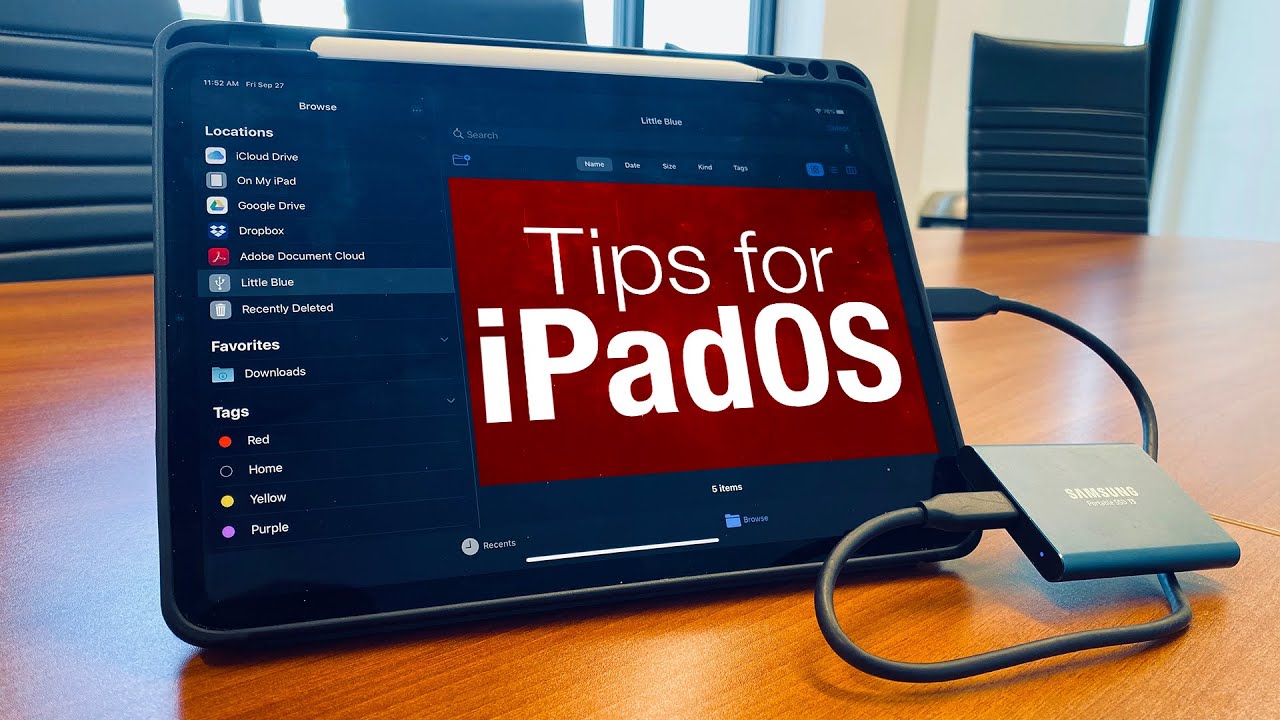
2. By default, your Mac should automatically detect the external hard drive and mount it on the desktop or in the Finder. You will see the external hard drive’s icon appear on your desktop as well as in the Finder sidebar.
3. To access the contents of the external hard drive, simply double-click on its icon on the desktop or click on it in the Finder sidebar. This will open a new Finder window displaying the files and folders stored on the external hard drive.
4. You can now browse, view, and manage the files and folders on your external hard drive, just like you would with any other storage device on your Mac.
5. To transfer files to or from the external hard drive, you can simply drag and drop them between the external hard drive’s Finder window and your Mac’s internal storage.
6. Once you’re done working with the external hard drive, it’s important to properly eject it from your Mac before disconnecting it physically. You can do this by either right-clicking on the drive’s icon on the desktop and selecting “Eject” or by using the eject button next to the drive’s name in the Finder sidebar. This ensures that all data has been written and that it is safe to unplug the device.
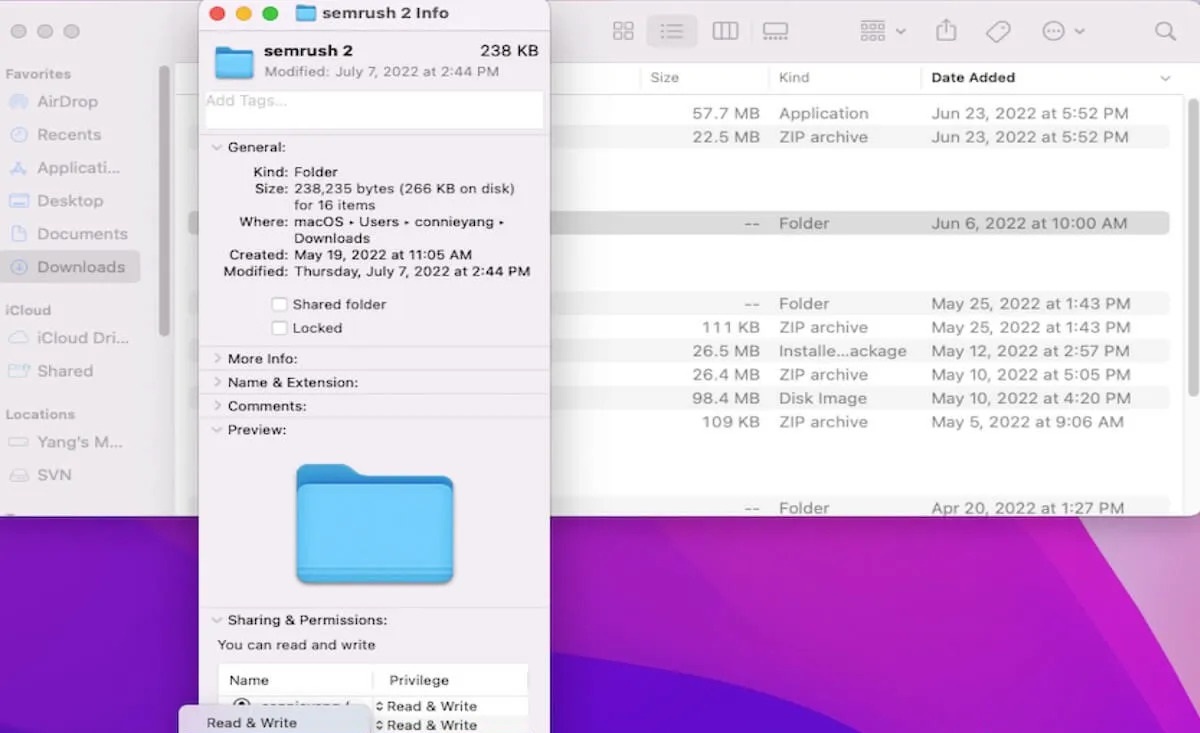
It’s worth mentioning that on Mac, you also have the option to format your external hard drive to a specific file system format, such as APFS or HFS+. This can be done using the Disk Utility application, which is found in the Utilities folder under Applications. Formatting your external hard drive is useful if you want to use it exclusively with your Mac or if you’re experiencing any compatibility issues.
With these simple steps, you can easily access your external hard drive on a Mac and seamlessly manage your files and folders. Now, let’s move on to the next section and explore accessing an external hard drive on a Linux system.
Accessing the External Hard Drive on Linux
Accessing an external hard drive on a Linux system is a straightforward process, thanks to the native support for external storage devices. Here’s how you can access your external hard drive on Linux:
1. Connect your external hard drive to your Linux computer using the provided USB cable. Ensure that the connection is secure.
2. Once connected, most Linux distributions will automatically detect and mount the external hard drive. You will typically find its icon or label on your desktop or in the file manager’s sidebar.
3. Double-click on the icon or label of the external hard drive to open the file manager and access its contents. You will now be able to view and manage the files and folders stored on the external hard drive, just like any other storage device on your Linux system.
4. To transfer files to or from the external hard drive, simply drag and drop them between the file manager and your Linux system’s internal storage or other connected storage devices.
5. Once you’ve finished using the external hard drive, it’s important to safely eject it from your Linux system before physically disconnecting it. Right-click on the drive’s icon or label in the file manager and select the “Eject” or “Safely Remove” option. This ensures that any pending write operations are completed and that it is safe to unplug the device.
Linux also provides additional options for managing your external hard drive. You can use the Terminal to manually mount and unmount the drive, format it using various file systems like ext4 or NTFS, and set up automated backup or synchronization processes using commands or specialized applications.
It’s worth noting that different Linux distributions may have slightly different user interfaces or file managers, but the overall process of accessing an external hard drive remains the same. If, for any reason, your external hard drive is not automatically detected and mounted, you can use the disk management utilities available in your specific Linux distribution to manually mount the drive and access its contents.
With these steps, accessing your external hard drive on Linux becomes a hassle-free process, allowing you to seamlessly manage your files and folders. Now that we have covered accessing external hard drives on Windows, Mac, and Linux systems, let’s move on to the next section and discuss troubleshooting common issues.
Troubleshooting and Common Issues
While connecting and accessing an external hard drive is usually a smooth process, there can be some common issues that you may encounter. Here are a few troubleshooting tips for resolving these issues:
1. Device not recognized: If your computer or operating system does not recognize the external hard drive, try connecting it to a different USB or Thunderbolt port. If that doesn’t work, try connecting the drive to a different computer to check if the issue is with the drive or the computer. Also, ensure that the cables are properly connected and not damaged.
2. Driver installation issues: In some cases, you may need to manually install drivers or software provided by the manufacturer for your external hard drive to work properly. Visit the manufacturer’s website and download the latest drivers or software for your specific model and operating system.
3. Data corruption or errors: If you encounter errors or data corruption on your external hard drive, try running disk repair or scanning utilities provided by your operating system. These tools can help identify and fix any file system errors or inconsistencies. It is also a good practice to regularly back up your data to avoid significant data loss.
4. Power issues: Some larger capacity external hard drives require external power sources. Ensure that the power adapter is properly connected to the drive and receiving power. If the power source is working correctly, the drive should be detected and accessible.
5. Compatibility issues: Ensure that your external hard drive is compatible with your operating system. Different file systems, such as NTFS, FAT32, or exFAT, may have compatibility limitations on certain operating systems. If you’re experiencing compatibility issues, consider formatting the drive to a file system that is compatible with your operating system.
6. Physical damage: If your external hard drive is physically damaged or making unusual noises, it may indicate a hardware issue. In such cases, it is recommended to contact the manufacturer or a professional data recovery service for assistance.
Remember, it’s always a good idea to regularly back up your external hard drive to avoid data loss in case of any unexpected issues. Additionally, keeping the firmware and drivers of your external hard drive up-to-date can help prevent compatibility and performance issues.
By following these troubleshooting tips, you can address common issues that may arise when connecting and accessing your external hard drive. With your external hard drive functioning smoothly, you can enjoy seamless file management and data transfers. Now, let’s wrap up our article in the next section.
Conclusion
Accessing an external hard drive is a fundamental skill that allows you to expand your storage capacity, back up important files, and easily transfer data between devices. Whether you’re using a Windows computer, a Mac, or a Linux system, the process of connecting and accessing an external hard drive is remarkably simple.
In this article, we explored the steps of connecting and accessing an external hard drive on different operating systems. We discussed the fundamentals of external hard drives, including their portability, storage capacities, and compatibility with various operating systems. We then provided detailed instructions on accessing external hard drives on Windows, Mac, and Linux systems, including troubleshooting common issues that may arise.
By following our guidance, you can handle external hard drives with confidence, efficiently managing your files, and ensuring the safety of your important data. Remember to always properly eject the external hard drive from your computer before physically disconnecting it to prevent any data loss or corruption.
Whether you’re a student, a professional, or someone who needs extra storage space, mastering the art of accessing an external hard drive is a valuable skill that will enhance your productivity and data management capabilities. So go ahead, connect your external hard drive, and experience the convenience and flexibility it brings to your digital life.
Thank you for joining us on this journey of understanding and accessing external hard drives. We hope that this article has provided you with the knowledge and confidence to seamlessly connect and access your external hard drive on any operating system.