Introduction
Transferring files from your Mac to an external hard drive is a crucial task to ensure the safety and storage of your important data. Whether you’re freeing up space on your Mac or creating backups for your files, having a reliable external hard drive can provide you with the extra storage and security that you need.
In this step-by-step guide, we will walk you through the process of transferring files from your Mac to an external hard drive. We will cover everything from connecting the hard drive to your Mac to safely ejecting it once the transfer is complete.
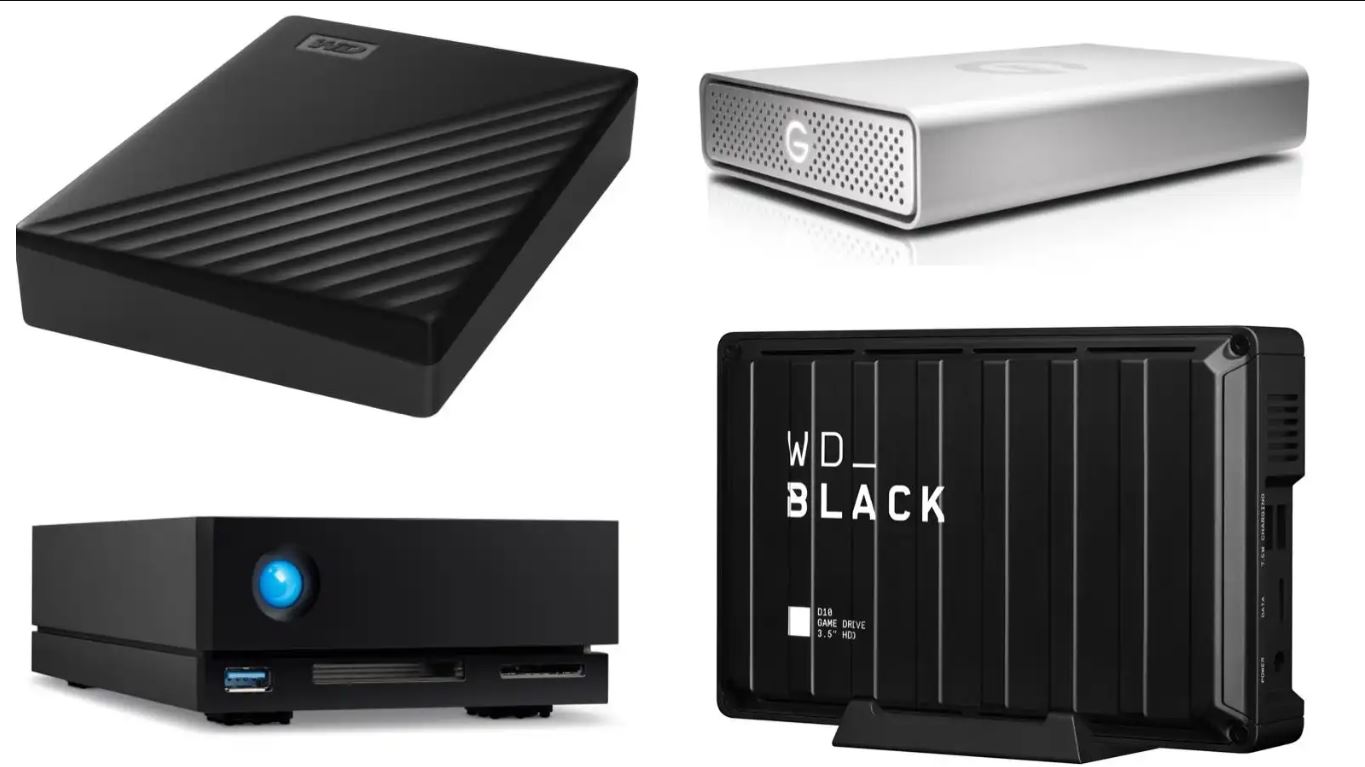
Before we begin, it is essential to ensure that you have a compatible external hard drive that is formatted correctly for your Mac. Most external hard drives are formatted using the exFAT or FAT32 file system, which is compatible with both Mac and Windows operating systems. Additionally, make sure that your Mac has enough free space to accommodate the files you want to transfer.
Now let’s dive into the step-by-step process of transferring files from your Mac to an external hard drive, so you can safely store and manage your valuable data.
Step 1: Connect the external hard drive to your Mac
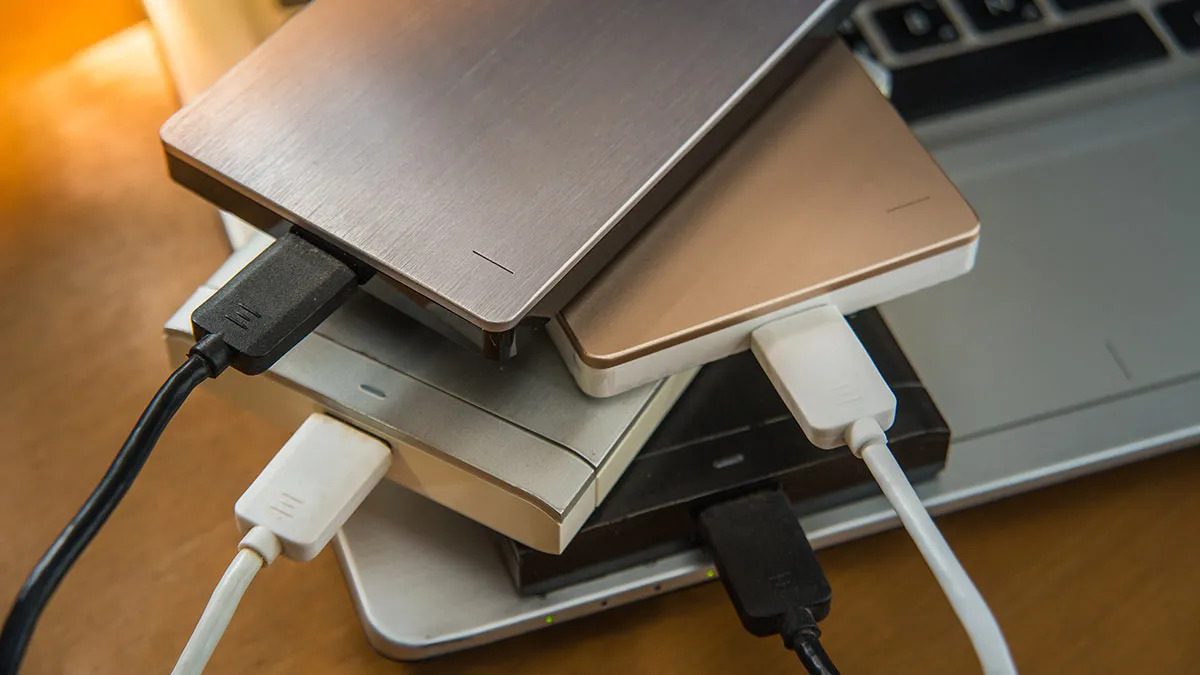
The first step in transferring files from your Mac to an external hard drive is to establish a physical connection between the two devices. Here’s how to do it:
- Locate an available USB or Thunderbolt port on your Mac. The type of port will depend on the specific model of your Mac.
- Take the appropriate cable for your external hard drive (usually USB or Thunderbolt) and connect one end to the port on your Mac.
- Take the other end of the cable and connect it to the corresponding port on your external hard drive.
- Ensure a secure connection by firmly plugging in both ends of the cable.
Once you have established the connection, your Mac should recognize the external hard drive. It may appear on your desktop or in the Finder sidebar. If it doesn’t show up automatically, you can manually check for the drive’s presence in the Finder.
Now that your external hard drive is physically connected to your Mac, you are ready to proceed to the next step of the file transfer process. In the following steps, we will guide you through selecting and copying the specific files you want to transfer to the external hard drive.
Step 2: Open Finder and locate the files you want to transfer
Once you have successfully connected the external hard drive to your Mac, it’s time to locate the files that you want to transfer. The Finder application on your Mac allows you to easily navigate and access your files. Follow these steps to find the files you want to transfer:
- Click on the Finder icon in the Dock or open a new Finder window from the menu bar by clicking on File and selecting New Finder Window.
- In the Finder window, you will see a list of locations on the left-hand side. These locations include your Mac’s internal storage, external devices, and network locations.
- Navigate through the available locations to find the files you want to transfer. You can click on the different folders and drives to explore their contents.
- If you know the specific file or folder you want to transfer, you can use the search bar at the top-right corner of the Finder window to search for it by name.
- Once you have found the files you want to transfer, you can leave the Finder window open for easy access in the next steps.
It’s essential to take your time to locate the correct files before proceeding to the next steps. Double-check to ensure that you are selecting the right files and not accidentally transferring unwanted files.
With the files you want to transfer readily accessible, it’s time to move on to the next step and select the files and folders for the transfer process.
Step 3: Select the files and folders you want to transfer
Now that you have located the files you want to transfer in the Finder window, it’s time to select them for the transfer process. Follow these steps to select the specific files and folders:
- In the Finder window, navigate to the location where your files are located.
- To select individual files, click on them one by one while holding down the Command key on your keyboard. You will see a checkmark appear on the selected files.
- To select multiple files that are adjacent to each other, click on the first file, hold down the Shift key, and then click on the last file. All files between the first and last file will be selected.
- To select multiple files that are not adjacent to each other, hold down the Command key and click on each file you want to select.
- If you want to select all files in a folder, you can press Command + A on your keyboard. This will select all files and folders within the current location.
- Once you have selected the desired files and folders, you can proceed to the next step and copy them to the external hard drive.
Remember to double-check your selection to make sure you have chosen the correct files and folders. It is essential to be attentive during the selection process to avoid transferring unnecessary or sensitive files.
Now that you have selected the files and folders you want to transfer, let’s move on to the next step and copy them to the external hard drive.
Step 4: Copy the selected files to the external hard drive
Once you have selected the files and folders you want to transfer, it’s time to copy them to the external hard drive. Follow these steps to complete the copying process:
- In the Finder window, make sure that the external hard drive is visible in the sidebar or on the desktop. It will usually be listed under the “Devices” section with its name.
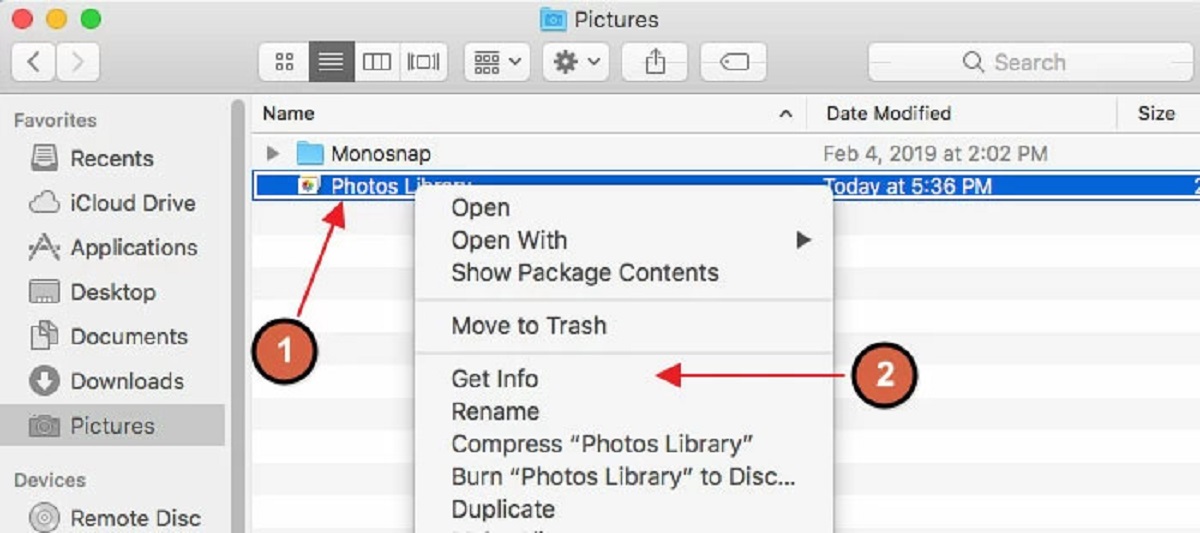
- Click and drag the selected files and folders from their current location in the Finder window to the external hard drive’s location in the sidebar or on the desktop. You can also right-click on the selected files and choose “Copy” from the context menu, then navigate to the external hard drive and right-click again, choosing “Paste item.”
- As the files are being copied, you will see a progress bar indicating the transfer process. The time it takes to copy the files will depend on their size and the speed of your devices.
- Ensure that the copying process is fully completed before proceeding to the next step. You can monitor the progress by keeping an eye on the progress bar or checking the status of the transfer in the Finder window.
It’s important not to interrupt the copying process to prevent data corruption or file loss. Avoid disconnecting the external hard drive or shutting down your Mac until the transfer is complete.
Congratulations! You have successfully copied the selected files and folders from your Mac to the external hard drive. Now, let’s move on to the next step to ensure a safe ejection of the external hard drive.
Step 5: Monitor the transfer progress
While the files are being copied from your Mac to the external hard drive, it’s important to monitor the transfer progress to ensure it completes successfully. Following these steps will help you keep an eye on the transfer:
- Look for a progress bar that appears when you start copying the files. This bar indicates the overall progress of the transfer and gives you an estimate of the time remaining.
- If you are copying a large number of files or files of significant size, the transfer may take some time. Patience is crucial during this process, and it’s advisable to avoid interrupting or closing any windows related to the transfer.
- You can view the transfer progress more explicitly by opening a new Finder window and selecting the external hard drive from the sidebar. The window will display the files being copied and the remaining time for the transfer.
- You can also click on the progress bar itself to view a detailed breakdown of the files being transferred, their sizes, and the transfer rate.
- While monitoring the transfer progress, be sure to keep your Mac powered on and connected to the external hard drive until the transfer is complete.
By monitoring the transfer progress, you can ensure that all files are successfully copied to the external hard drive without any interruptions or errors. Once the transfer is complete, you can proceed to the next step to safely eject the external hard drive from your Mac.
Step 6: Eject the external hard drive safely
After successfully transferring your files to the external hard drive, it is important to safely eject the drive from your Mac to avoid data corruption or loss. Follow these steps to ensure the safe ejection of the external hard drive:
- Make sure all file transfers to the external hard drive are complete before ejecting it. You can refer to the progress bar or the Finder window to confirm that the transfer process has finished.
- Locate the external hard drive in the Finder sidebar or on the desktop. It will be listed under the “Devices” section with its name.
- Right-click (or Control-click) on the external hard drive and select “Eject” from the context menu. Alternatively, you can also drag the hard drive icon to the Trash bin in the Dock.
- Wait for the system to safely eject the external hard drive. You will receive a notification or see the icon disappear from the desktop and Finder sidebar.
- Once the external hard drive has been successfully ejected, you can disconnect the cable from your Mac and the hard drive itself.
It is important to note that abruptly disconnecting the external hard drive without properly ejecting it can result in data loss or damage to the drive. By following these steps to safely eject the drive, you ensure that all file operations are appropriately finalized and that your data remains intact.
By completing Step 6, you have successfully transferred your files from your Mac to the external hard drive and safely ejected the drive. You can now use the external hard drive to access your files on other devices or keep them as a backup for your Mac.
Conclusion
Transferring files from your Mac to an external hard drive is a straightforward process that ensures the safety and availability of your important data. By following the six steps outlined in this guide, you can easily and securely transfer your files for various purposes, such as creating backups, freeing up storage space, or accessing files on other devices.
We started by connecting the external hard drive to your Mac, establishing a physical connection that allows for data transfer. Next, we opened the Finder application to locate the files you wanted to transfer. Once the files were identified, we selected them and prepared for the copying process.
In Step 4, we copied the selected files from your Mac to the external hard drive, closely monitoring the transfer progress to ensure a successful completion. Finally, in Step 6, we safely ejected the external hard drive from your Mac to protect your data from any potential corruption or loss.
Remember, it is essential to validate that the transfer process is complete before disconnecting the external hard drive to avoid any potential data loss. Safely ejecting the drive ensures that all file operations are finalized and the data remains intact.
With the transfer complete, you can now access the files on the external hard drive, use them as a backup, or transfer them to other devices as needed. Having a reliable external hard drive for data storage provides peace of mind, knowing that your valuable files are secure and accessible whenever you need them.
By following these steps, you can confidently transfer your files from your Mac to an external hard drive, enabling efficient file management and data protection. Utilize this guide whenever you need to transfer files, and you’ll have a seamless process at your fingertips.