Introduction
Welcome to the world of external hard drives! If you’ve recently purchased an external hard drive for your PC, congratulations on making a smart investment. External hard drives offer additional storage space and can be a convenient way to back up important files or transfer data from one device to another.
In this guide, we’ll walk you through the process of using an external hard drive on your PC. Whether you’re a seasoned computer user or a complete beginner, we’ve got you covered with step-by-step instructions to help you get started.
Before we dive into the details, it’s important to note that the instructions provided here are general and may vary slightly depending on your specific hardware and operating system. We recommend consulting the user manual or official documentation provided by the manufacturer of your external hard drive for more detailed instructions tailored to your device.
Now, let’s get started on unlocking the potential of your new external hard drive and explore the various ways you can make the most of it!
Step 1: Connect the External Hard Drive to Your PC
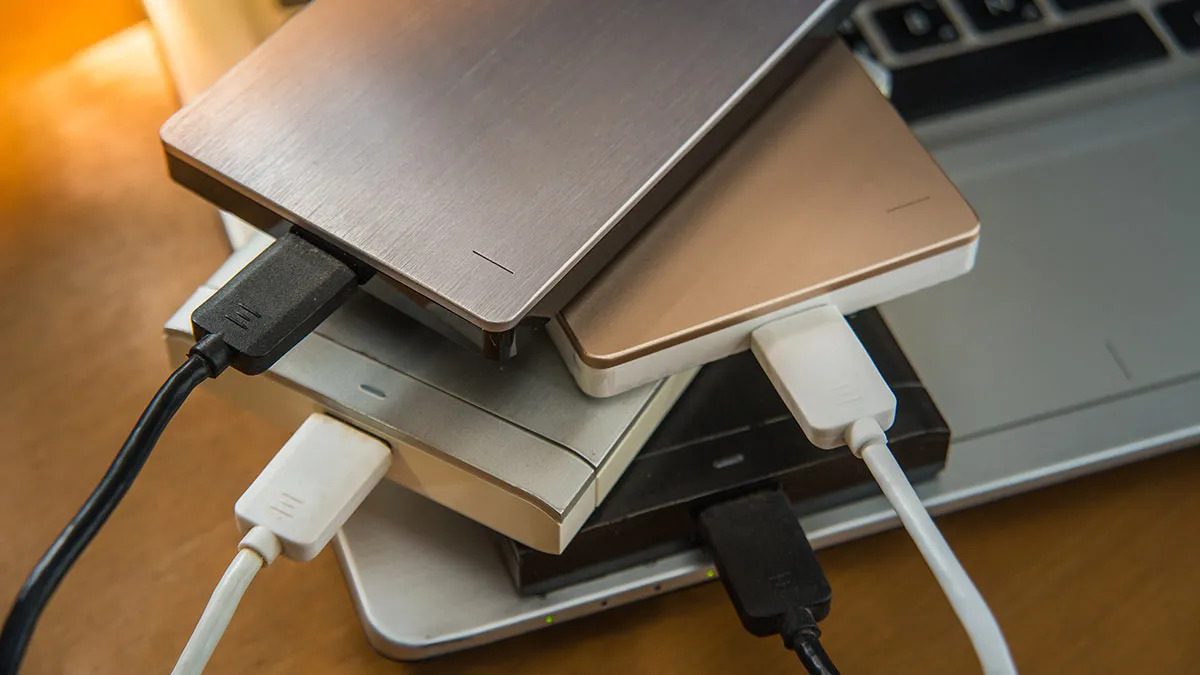
The first step in using an external hard drive on your PC is to physically connect it to your computer. Here’s how to do it:
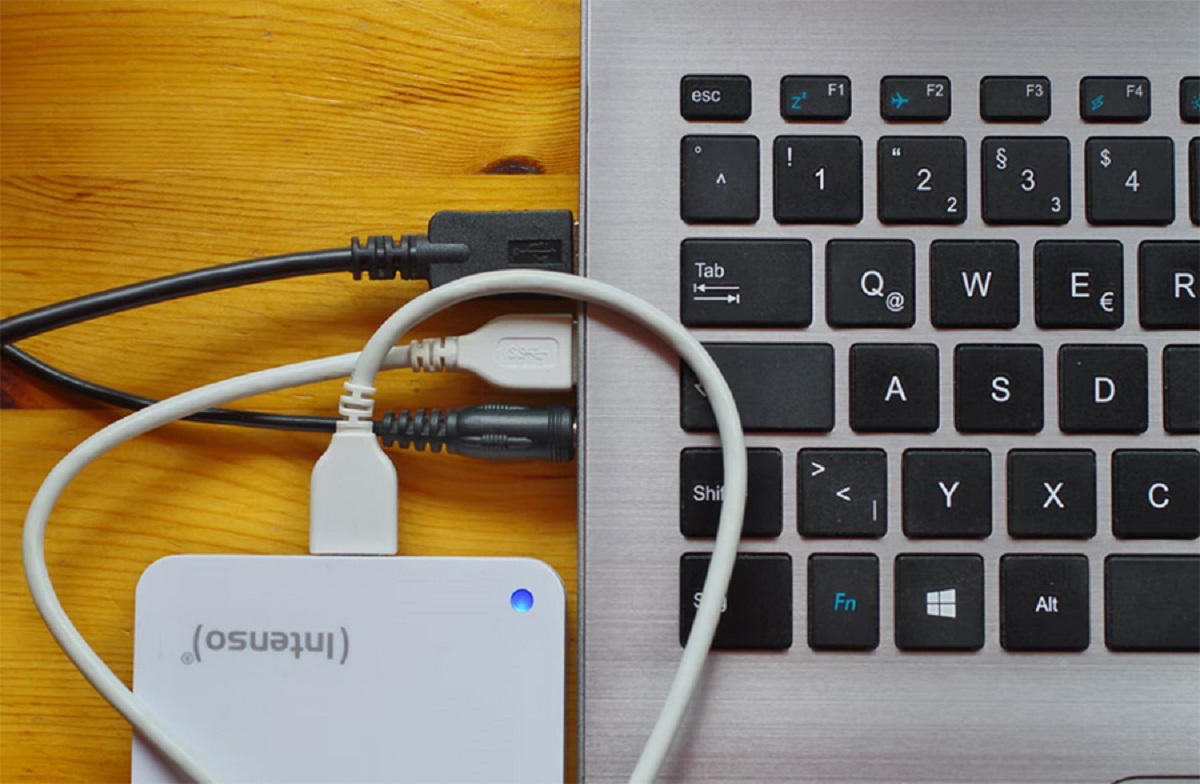
- Locate the USB port on your PC. It is usually found on the sides or back of the computer tower or on the side of a laptop.
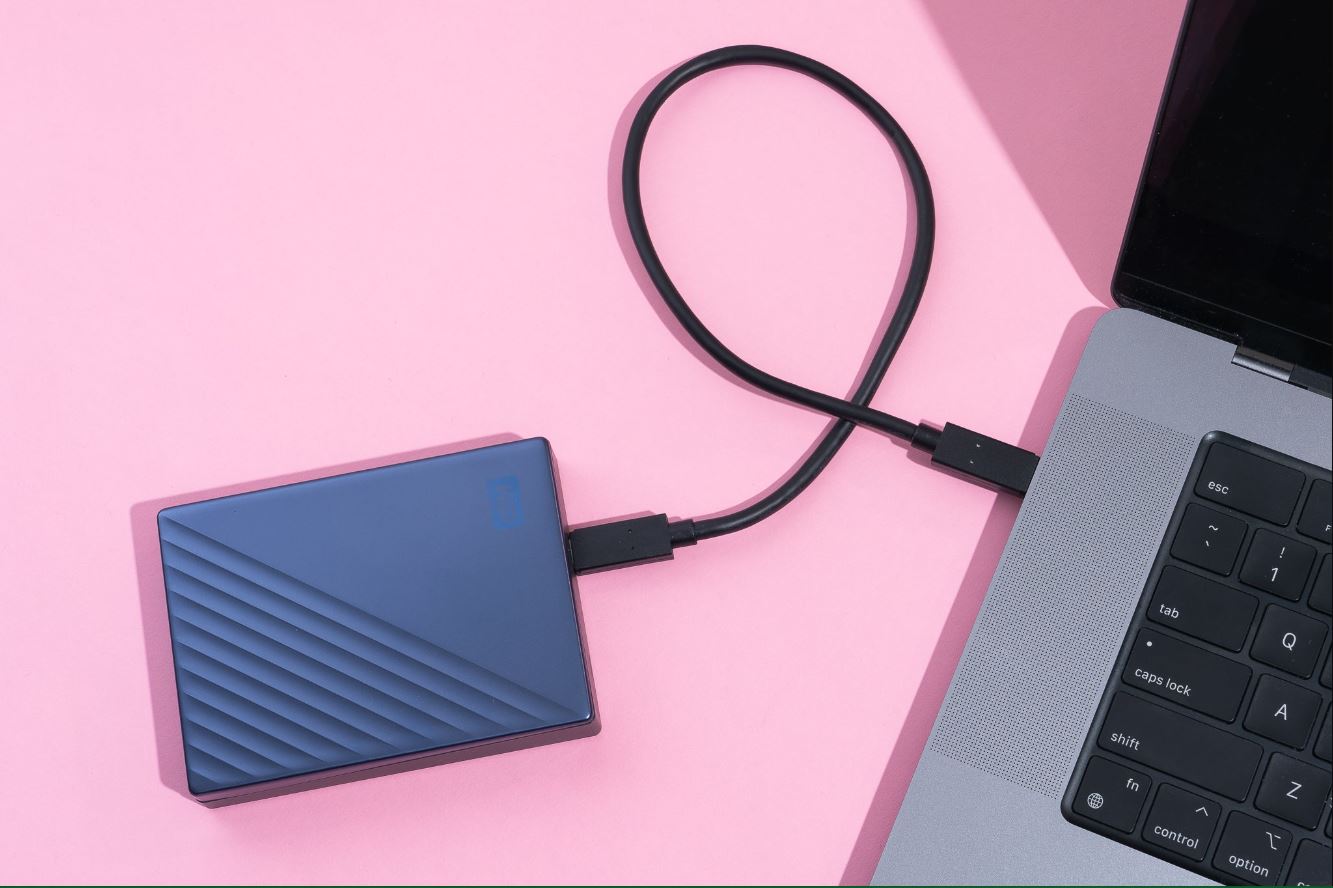
- Take the USB cable that came with your external hard drive and connect one end to the USB port on your PC.
- Take the other end of the USB cable and connect it to the USB port on your external hard drive. Make sure both ends are securely inserted.
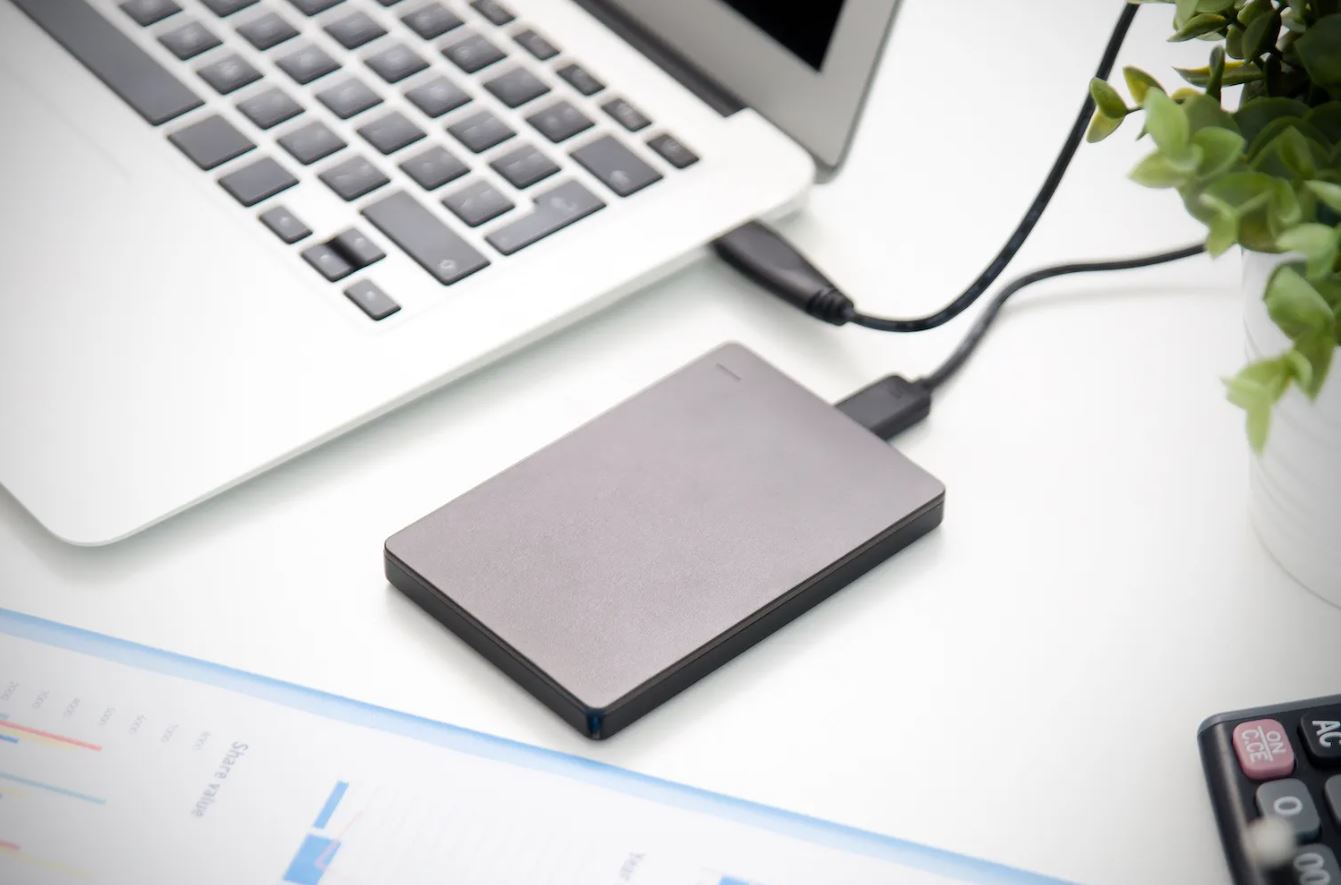
- Power on your external hard drive. It may have its own power switch or may be powered directly through the USB connection.
- Your computer will automatically detect the external hard drive and may prompt you with a notification or prompt indicating that a new device has been connected.
Once you have successfully connected the external hard drive to your PC, you are ready to move on to the next step.
Step 2: Format the External Hard Drive (if Necessary)
Before you can start using your external hard drive, you may need to format it. Formatting prepares the hard drive for use with your PC by creating a file system that your operating system can recognize. Here’s how to format your external hard drive:
- Open “File Explorer” on your PC. You can do this by clicking on the folder icon in the taskbar or by pressing the Windows key + E.
- In the left-hand navigation pane, locate and right-click on “This PC”. Then select “Manage” from the drop-down menu.
- In the “Computer Management” window, click on “Disk Management” under the “Storage” section.
- Locate your external hard drive in the list of disks. It should be labeled with the manufacturer’s name or the drive’s capacity.
- Right-click on the external hard drive and select “Format” from the context menu.
- In the format dialog box, you can choose the file system. For most users, the default file system, usually NTFS, is recommended. However, if you plan on using the external hard drive with both Windows and Mac computers, you may want to select exFAT for better compatibility.
- Give your external hard drive a name or leave it as the default name.
- Double-check all the formatting options and then click on the “OK” or “Format” button to start the formatting process.
- Be patient as the formatting may take a few minutes, depending on the size of your external hard drive.
Once the formatting is complete, your external hard drive is ready to be used with your PC. Remember that formatting will erase all the data on the external hard drive, so make sure to back up any important files before proceeding with the formatting process.
Step 3: Assign a Drive Letter to the External Hard Drive
After connecting and formatting your external hard drive, the next step is to assign a drive letter to it. A drive letter is a unique identifier that allows your operating system to recognize and access the external hard drive. Here’s how to assign a drive letter:
- Open “File Explorer” on your PC.
- In the left-hand navigation pane, locate and right-click on “This PC”. Then select “Manage” from the drop-down menu.
- In the “Computer Management” window, click on “Disk Management” under the “Storage” section.
- Locate your external hard drive in the list of disks. It should be labeled with the manufacturer’s name or the drive’s capacity.
- Right-click on the external hard drive and select “Change Drive Letter and Paths” from the context menu.
- In the “Change Drive Letter and Paths” window, click on the “Add” button.
- Choose a drive letter that is not already in use by another storage device or network drive.
- Click on the “OK” button to assign the selected drive letter to your external hard drive.
- You may receive a warning message stating that changing the drive letter could cause programs to no longer run. If you don’t have any programs installed on the external hard drive, you can safely proceed by clicking on the “Yes” button.
Once the drive letter is assigned, your PC will recognize the external hard drive with the chosen drive letter. You can now easily access your external hard drive and transfer files to and from it.
Step 4: Transfer Files to the External Hard Drive
Now that your external hard drive is connected, formatted, and assigned a drive letter, you’re ready to transfer files to it. Here’s how you can easily transfer files to your external hard drive:
- Open “File Explorer” on your PC.
- In the left-hand navigation pane, locate and click on the drive letter assigned to your external hard drive. It should appear under the “This PC” section.
- Your external hard drive will open, displaying its empty or existing file structure.
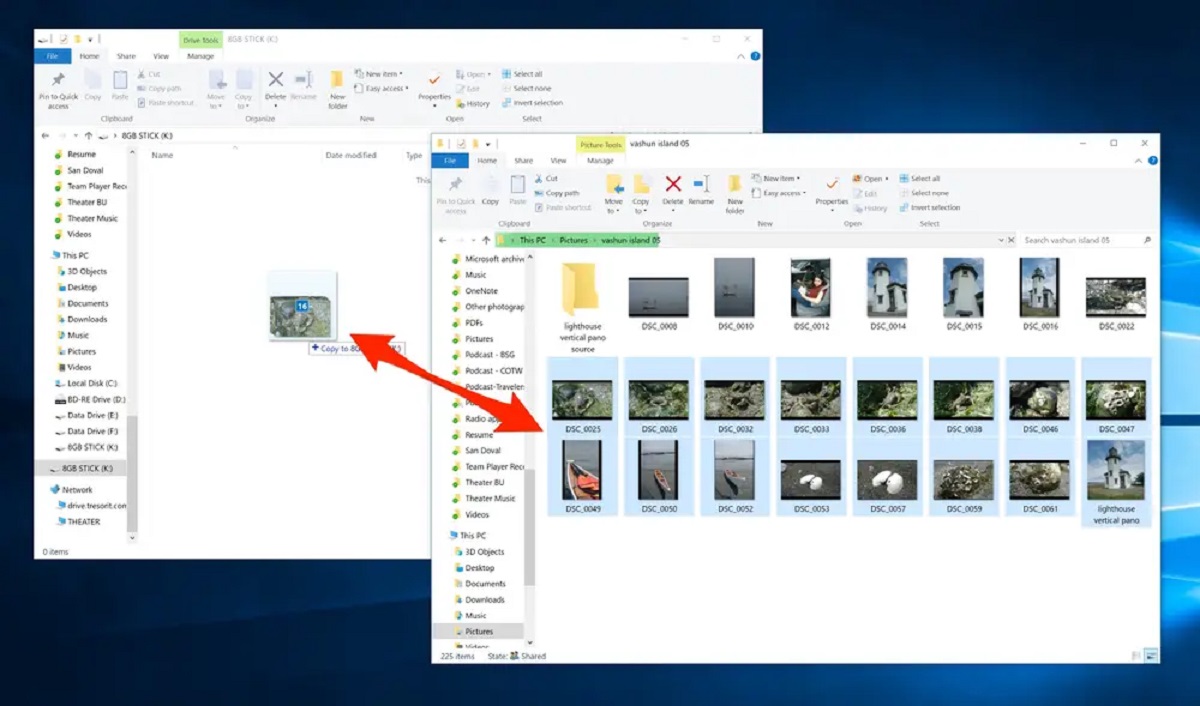
- Locate the files or folders you want to transfer to the external hard drive.
- Drag and drop the files or folders from their current location to the external hard drive window. You can also use the right-click menu and select “Copy” and then “Paste” in the external hard drive window.
- Depending on the size and number of files, the transfer process may take a few moments or longer. Be patient and wait for the transfer to complete.
- Once the files have been successfully transferred, you can safely eject the external hard drive from your PC.
Transferring files to the external hard drive gives you the flexibility to free up space on your PC’s internal storage or create backups of important data. You can organize files and folders on the external hard drive just like you would on your computer’s internal storage.
Remember to regularly backup your data to the external hard drive to ensure the safety of your files. Treat your external hard drive as a valuable asset and handle it with care to avoid any physical damage that could potentially lead to data loss.
Step 5: Safely Eject the External Hard Drive
Before disconnecting your external hard drive from your PC, it’s important to safely eject it to prevent data corruption and ensure all files are properly saved. Here’s how you can safely eject your external hard drive:
- Ensure all file transfers to and from the external hard drive are complete.
- Close any open files or applications that are accessing the external hard drive.
- Locate the system tray in the bottom-right corner of the Windows taskbar.
- Click on the icon that represents your external hard drive. It may be labeled with the manufacturer’s logo or the assigned drive letter.
- A menu will appear with options related to your external hard drive.
- Select the “Eject” or “Safely Remove Hardware” option.
- Wait for a notification or message indicating that it is safe to remove the external hard drive.
- Once you receive confirmation, you can safely disconnect the USB cable from your PC and the external hard drive.
By following these steps, you minimize the risk of data loss or damage to your external hard drive. Safely ejecting the external hard drive ensures that all files are properly saved, and the file system is closed before disconnecting it.
Remember, abruptly disconnecting the external hard drive without properly ejecting it can lead to data corruption or even physical damage to the drive. So, always make it a habit to safely eject your external hard drive before unplugging it from your PC.
Conclusion
Congratulations! You have successfully learned how to use an external hard drive on your PC. With the ability to connect, format, assign a drive letter, transfer files, and safely eject the external hard drive, you now have a valuable tool for expanding your storage space, backing up important data, and seamlessly transferring files between devices.
Remember to follow the proper steps outlined in this guide to ensure a smooth and error-free experience when using your external hard drive. Take care of your external hard drive by handling it with care, protecting it from physical damage, and regularly backing up your files.
Utilizing an external hard drive provides you with the flexibility to store and access a large amount of data, whether it’s documents, photos, videos, or music. By properly organizing and managing your files on the external hard drive, you can free up valuable space on your PC’s internal storage and keep your data safe.
If you encounter any issues or have specific questions related to your external hard drive model, be sure to consult the user manual or contact the manufacturer’s customer support for further assistance.
Now that you’re equipped with the knowledge of using an external hard drive on your PC, go ahead and make the most of this powerful storage solution!