Introduction
Welcome to this comprehensive guide on how to defrag your external hard drive in Windows 10. As the amount of data we store on our external drives increases, it’s crucial to ensure that they are running at peak performance. One of the key maintenance tasks for optimizing external hard drive performance is defragmentation.
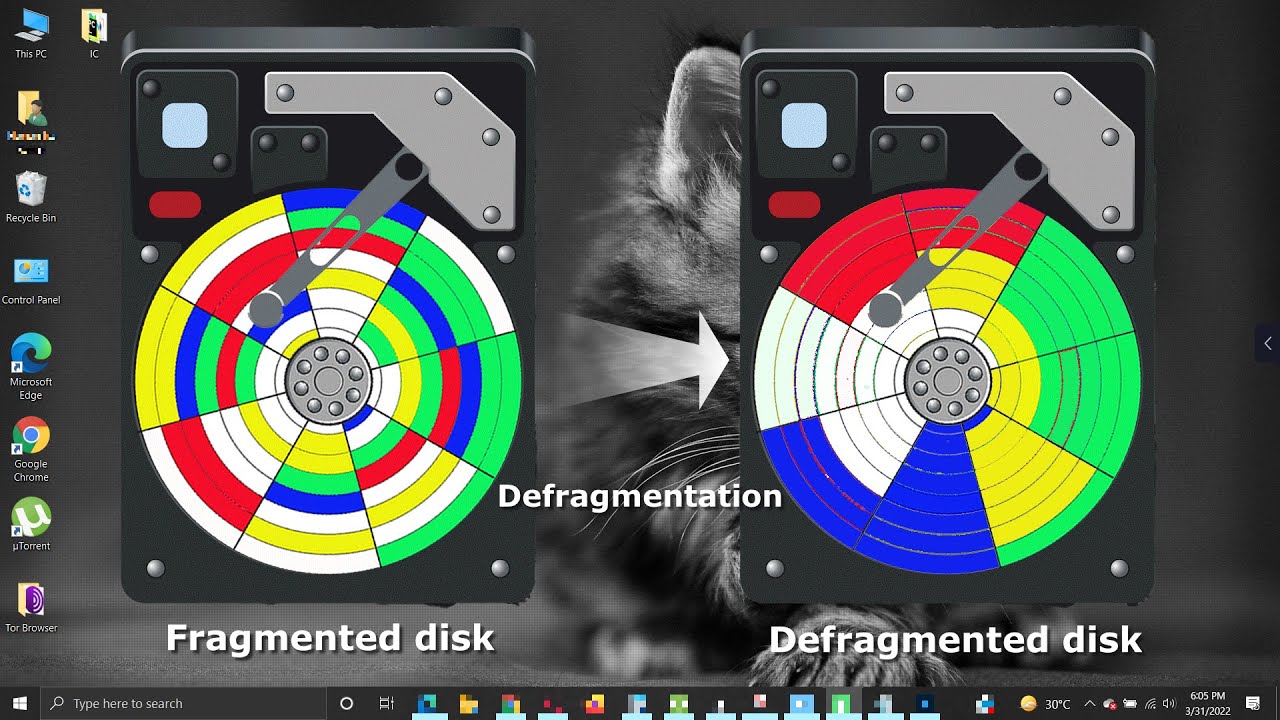
Fragmentation occurs when files on your hard drive are split into smaller pieces and stored in non-contiguous sectors. This happens over time as files are created, modified, and deleted. The fragmented data can cause slower read and write speeds, longer file access times, and overall decreased performance.
Defragmentation is the process of rearranging the fragmented data on your external hard drive to consolidate it into contiguous blocks. This helps improve file access times, enhances overall system performance, and increases the lifespan of your hard drive.
In this guide, we will explore why defragmentation is important for your external hard drive in Windows 10, how to check if your drive needs defragmentation, and step-by-step instructions on how to defrag your external hard drive using both Windows built-in tools and third-party defragmentation software.
Whether you use an external hard drive for storing important documents, media files, or backup purposes, knowing how to optimize its performance through defragmentation is essential.
So, let’s dive in and learn how to keep your external hard drive running smoothly and efficiently in Windows 10!
What is Fragmentation?
Fragmentation is a common phenomenon that occurs on hard drives, including external ones. It refers to the scattering or splitting of files into various locations on the storage medium. When you save or delete files over time, the data becomes fragmented and spread out across different sectors of the hard drive.
Fragmentation can occur in two forms: file fragmentation and free space fragmentation.
File fragmentation happens when a file is stored in non-contiguous clusters. As files are created, modified, or deleted, they may not fit into existing empty spaces, resulting in fragmentation. This means that the file is stored in different parts of the hard drive, and when you try to access it, the drive has to work harder to gather all the scattered pieces, causing slower read and write speeds.
On the other hand, free space fragmentation occurs when free space on the hard drive is divided into smaller, scattered chunks. This happens when files are deleted or resized, leaving behind empty spaces that are not contiguous. As new files are created, they are stored in these fragmented free spaces, which can lead to further fragmentation issues.
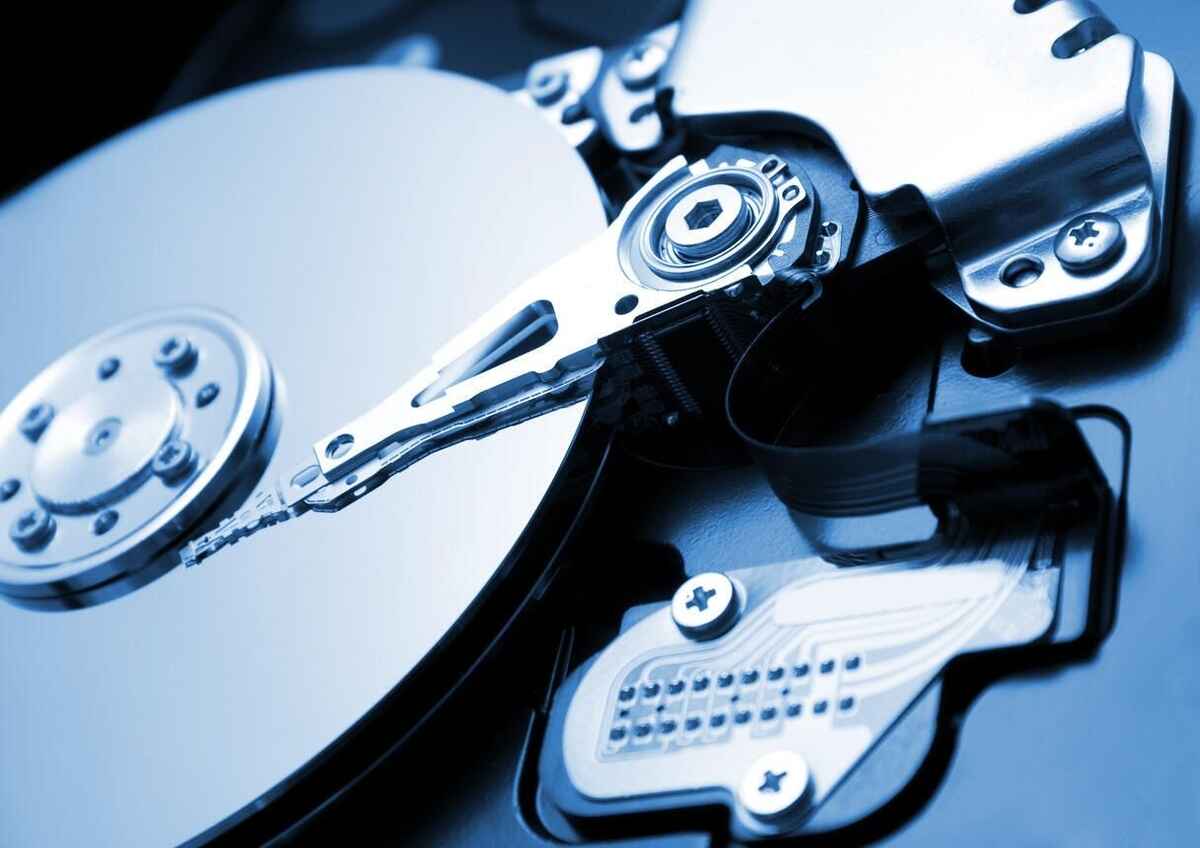
Both file fragmentation and free space fragmentation contribute to decreased performance and longer access times. When a file is stored in separate fragments, the hard drive’s read/write head has to jump between different locations to access all the pieces, slowing down the overall system performance.
Fragmentation can occur on both traditional hard disk drives (HDDs) and solid-state drives (SSDs), although the impact on SSDs is usually less pronounced due to their faster access times. However, it’s still important to address fragmentation issues on SSDs to maintain optimal performance.
Now that we understand what fragmentation is and how it can affect the performance of an external hard drive, let’s explore why defragmentation is crucial to ensure smooth, efficient operation.
Why is Defragmentation Important?
Defragmentation is an essential maintenance task for your external hard drive that offers several benefits in terms of performance and longevity. Here are some key reasons why defragmentation is important:
1. Improved File Access Speed: When files are fragmented across different parts of the hard drive, it takes longer for the drive to gather all the scattered pieces when you try to access the file. Defragmentation rearranges the data in a contiguous manner, reducing the time it takes to access files and improving overall system performance.
2. Enhanced Read/Write Performance: Fragmentation causes the read/write head of the hard drive to physically move around more to access scattered file segments. By defragmenting your external hard drive, you minimize the need for the read/write head to “seek” different areas of the drive, resulting in faster read and write speeds.
3. Reduced File Corruption and Errors: Fragmentation increases the risk of file corruption and errors. When files are split into multiple fragments, there is a higher chance of data loss or corruption if one of the fragments becomes damaged. Defragmentation decreases the likelihood of such errors by consolidating file fragments and reducing the risk of data loss.
4. Extended Lifespan of the Hard Drive: Fragmentation puts additional strain on the hard drive’s components as it requires more physical movement to access scattered file fragments. This can lead to increased wear and tear, potentially reducing the lifespan of your external hard drive. Defragmenting your drive regularly helps minimize this strain, resulting in a longer lifespan for your hardware.
5. Optimized Storage Space: Defragmentation not only improves performance but also optimize storage space. By consolidating file fragments and rearranging the data, you can potentially recover wasted space and make more efficient use of the available storage on your external hard drive.
Overall, defragmentation is a crucial process to maintain the performance, reliability, and lifespan of your external hard drive. Regularly defragmenting your drive helps ensure faster file access, improved read/write speeds, reduced data loss, and increased longevity for your valuable data storage device. In the following sections, we will explore how to check if your external hard drive needs defragmentation and the step-by-step process to defrag your drive in Windows 10 using both built-in tools and third-party software.
How to Check if your External Hard Drive Needs Defragmentation
Before proceeding with defragmenting your external hard drive, it’s important to determine whether it actually needs defragmentation. Windows provides a built-in tool that allows you to check the fragmentation status of your drives. Follow these steps to check if your external hard drive needs defragmentation:
1. Connect your external hard drive: Ensure that your external hard drive is properly connected to your Windows 10 computer.
2. Open File Explorer: Press the Windows key + E on your keyboard to open File Explorer.
3. Select your external hard drive: Locate your external hard drive under the “This PC” or “Computer” section in the left-hand pane of File Explorer. It is usually labeled with the assigned drive letter.
4. Right-click on your external hard drive: Right-click on the icon representing your external hard drive and select “Properties” from the context menu.
5. Access the “Tools” tab: In the Properties window, navigate to the “Tools” tab.
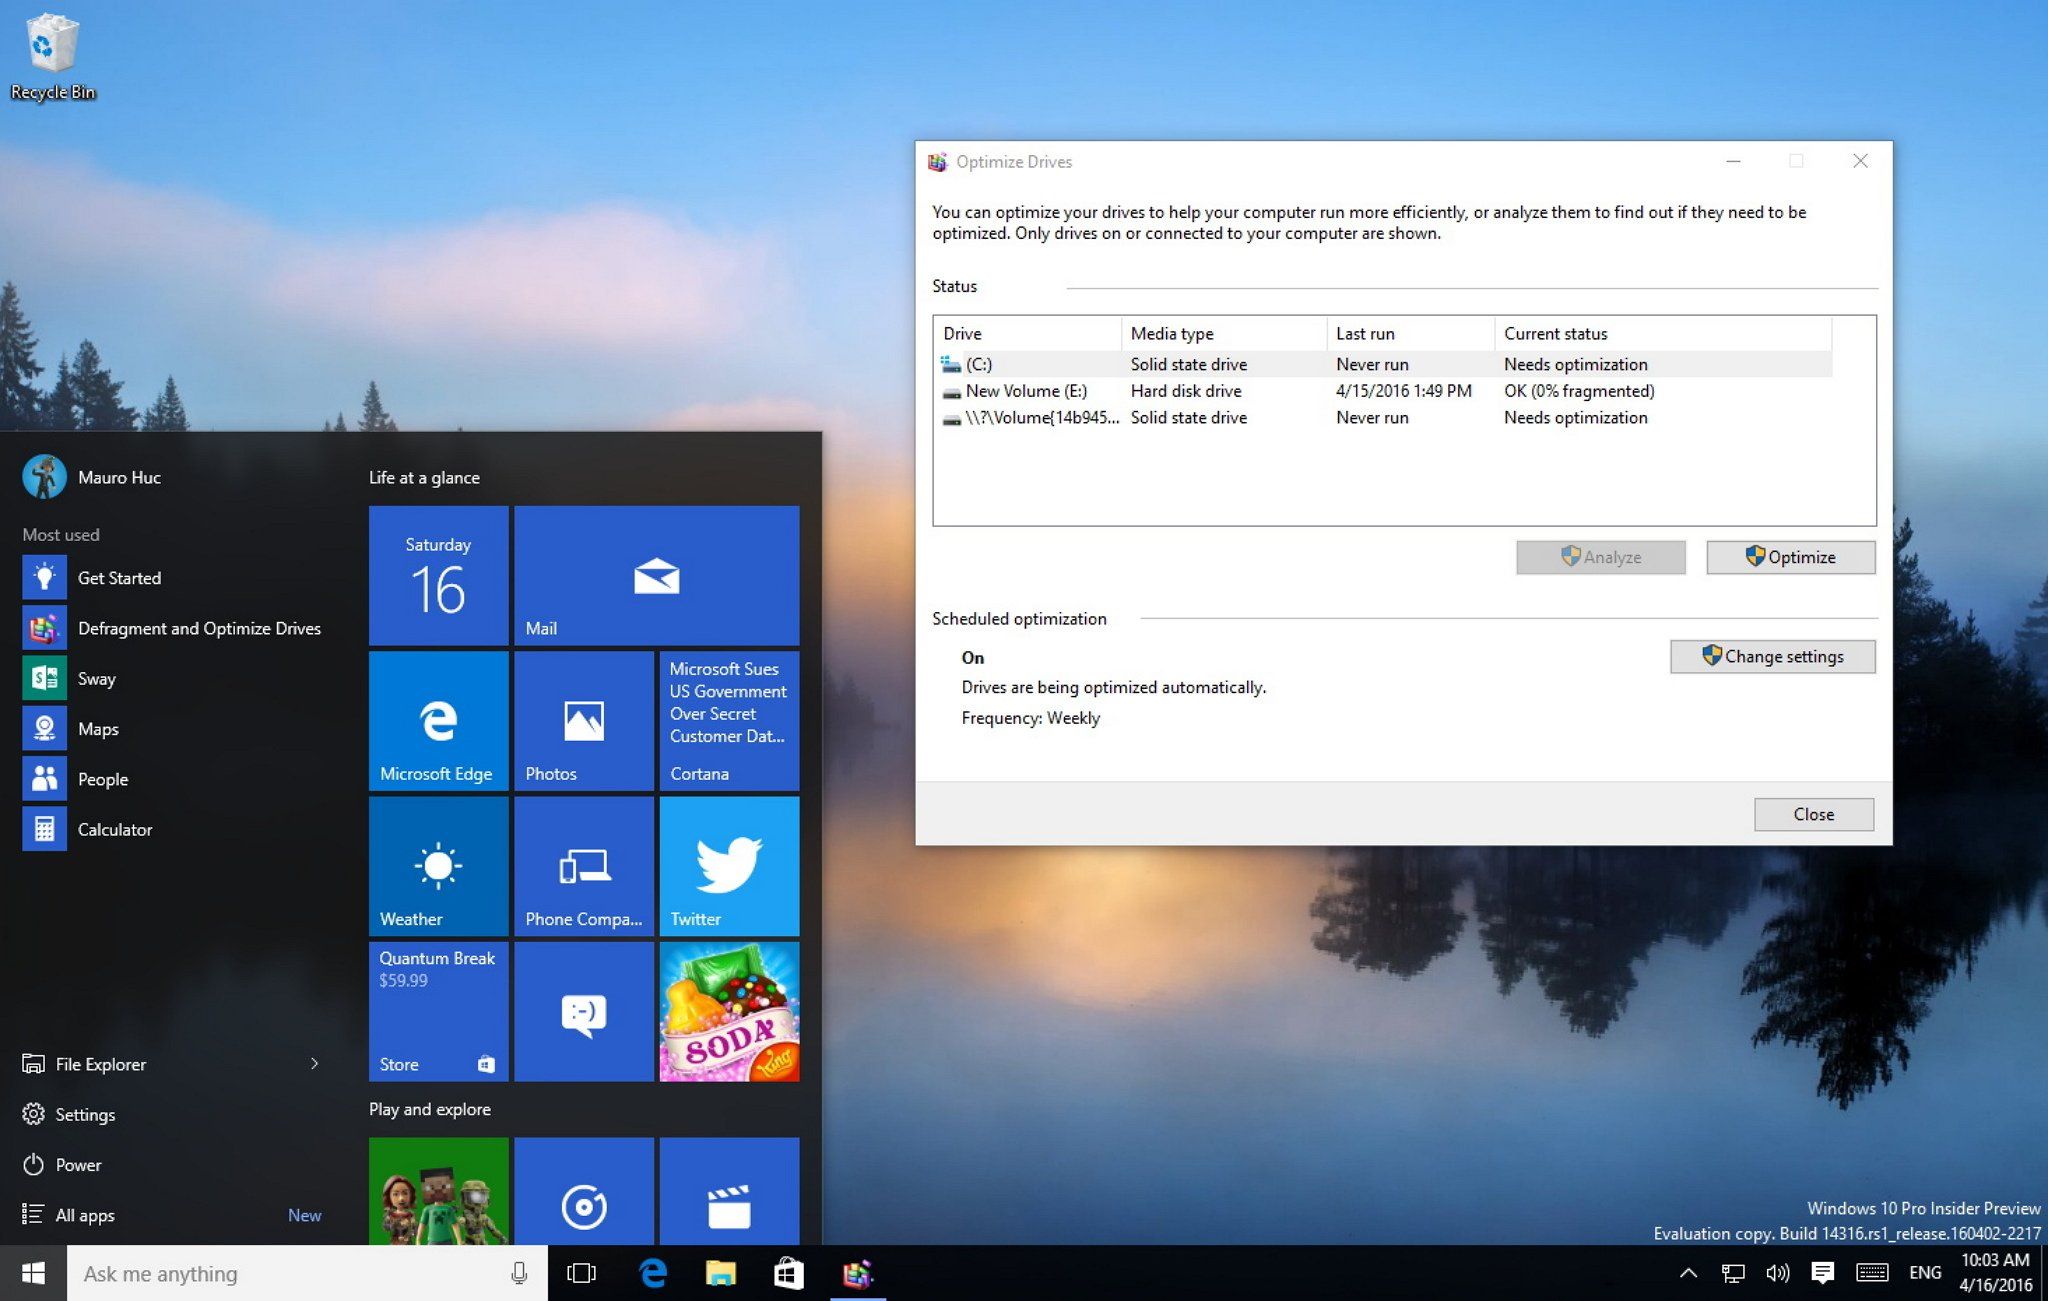
6. Click on “Optimize”: Under the “Optimize and defragment drive” section, click on the “Optimize” button.
7. Check the analysis results: Windows will analyze your external hard drive to determine its fragmentation level. This process may take a few moments. Once the analysis is complete, a new window will appear showing the status of your drive.
8. Review the fragmentation level: Look for the “Current status” column in the Optimize Drives window. If the fragmentation level is above 10%, it is recommended to proceed with defragmentation.
9. Close the Optimize Drives window: After reviewing the fragmentation level, you can close the Optimize Drives window.
By following these steps, you can easily determine whether your external hard drive requires defragmentation. If the fragmentation level is high, it’s advisable to proceed with defragmenting your drive to optimize its performance. In the next section, we will discuss the step-by-step process of defragmenting your external hard drive using both the built-in Windows tools and third-party defragmentation software.
Step-by-Step Guide to Defrag External Hard Drive in Windows 10
Now that you’re aware of the importance of defragmentation and have checked if your external hard drive needs defragmentation, let’s proceed with the step-by-step process of defragging your drive in Windows 10. There are two options available: using the built-in Windows tools or using third-party defragmentation software. Follow the instructions below based on your preferred method:
Option 1: Using Windows Built-in Tools
1. Connect your external hard drive: Ensure that your external hard drive is properly connected to your Windows 10 computer.
2. Open the “Optimize Drives” utility: Press the Windows key + R to open the Run dialog box. Type “dfrgui” and press Enter. The Optimize Drives utility will open.
3. Select your external hard drive: In the Optimize Drives window, select your external hard drive from the list of available drives.
4. Click “Optimize”: Click the “Optimize” button to begin the defragmentation process. Windows will start defragmenting your external hard drive, rearranging the fragmented data to improve performance. This process may take some time, depending on the size and fragmentation level of your drive.
5. Monitor the progress: You can monitor the progress of the defragmentation process in the Optimize Drives window. You can also close the window and continue working on your computer while the defragmentation is in progress.
6. View the results: Once the defragmentation is complete, the Optimize Drives window will display the “Current status” as “OK” for your external hard drive. This indicates that the drive is now optimized and running efficiently.
Option 2: Using Third-Party Defragmentation Software
1. Download and install third-party software: Choose a reputable third-party defragmentation software and download it from a trusted source. Follow the installation instructions provided by the software vendor.
2. Launch the software: Once installed, launch the third-party defragmentation software.
3. Select your external hard drive: In the software interface, select your external hard drive from the list of available drives.
4. Start the defragmentation process: Click the “Defrag” or “Start” button to initiate the defragmentation process. The software will begin rearranging the fragmented data on your external hard drive, optimizing its performance.
5. Monitor the progress: Depending on the software, you may have the option to monitor the progress of the defragmentation process. Some software may also provide additional features and customization options to further optimize your drive’s performance.
6. Completion and results: Once the defragmentation is complete, the software will display a message indicating that the process has finished successfully.
By following these step-by-step instructions, you can successfully defragment your external hard drive in Windows 10. Remember to regularly perform defragmentation to maintain optimal performance and keep your external hard drive running smoothly.
Option 1: Using Windows Built-in Tools
Windows 10 comes equipped with built-in tools to help you defragment your external hard drive efficiently. The “Optimize Drives” utility, previously known as Disk Defragmenter, allows you to defrag your drives easily. Here’s a step-by-step guide on how to use the built-in Windows tools to defrag your external hard drive:
1. Connect your external hard drive: Ensure that your external hard drive is properly connected to your Windows 10 computer.
2. Open the “Optimize Drives” utility: Press the Windows key + R to open the Run dialog box. Type “dfrgui” and press Enter. The Optimize Drives utility will open.
3. Select your external hard drive: In the Optimize Drives window, you will see a list of available drives. Locate and select your external hard drive from the list.
4. Click “Optimize”: Once your external hard drive is selected, click the “Optimize” button to begin the defragmentation process. Windows will start defragmenting your external hard drive, rearranging the fragmented data to improve performance. This process may take some time, depending on the size and fragmentation level of your drive.
5. Monitor the progress: You can monitor the progress of the defragmentation process in the Optimize Drives window. It will display the percentage of progress for the ongoing defragmentation task. You can also close the window and continue working on your computer while the defragmentation is in progress.
6. View the results: Once the defragmentation is complete, the Optimize Drives window will display the “Current status” as “OK” for your external hard drive. This indicates that the drive is now optimized and running efficiently.
Using the built-in Windows tools to defragment your external hard drive is a convenient and straightforward option. It offers a hassle-free way to improve the performance and overall efficiency of your drive.
However, it’s worth noting that the built-in tools may not provide advanced features or detailed customization options compared to third-party defragmentation software. If you require more control over the defragmentation process, or if your external hard drive has specific requirements, you may consider using third-party defragmentation software. We will explore this option in the next section.
Option 2: Using Third-Party Defragmentation Software
If you prefer more advanced features and customization options, or if you require specific defragmentation capabilities for your external hard drive, using third-party defragmentation software can be a viable option. Here’s a step-by-step guide on how to defrag your external hard drive using third-party defragmentation software:
1. Download and install third-party software: Choose a reputable third-party defragmentation software and download it from a trusted source. Ensure that the software is compatible with Windows 10. Follow the installation instructions provided by the software vendor.
2. Launch the software: Once the installation is complete, launch the third-party defragmentation software. It should be accessible from your desktop or the Start menu.
3. Select your external hard drive: In the software interface, you will typically see a list of available drives. Locate and select your external hard drive from the list.
4. Start the defragmentation process: Depending on the software, there may be a dedicated button or option to start the defragmentation. Click on “Defrag” or “Start” to initiate the process. The software will begin analyzing the fragmentation status of your external hard drive and then proceed with defragmentation.
5. Monitor the progress: Depending on the software, you may have the option to monitor the progress of the defragmentation process. It may display a progress bar or provide real-time updates on the fragmentation status. You can also see an estimated time remaining for the defragmentation.
6. Completion and results: Once the defragmentation is complete, the software will display a message indicating the success of the process. It may also provide details about the level of defragmentation achieved and any improvements in performance.
7. Customize settings (optional): Many third-party defragmentation software offers additional settings and options that allow you to customize the defragmentation process according to your specific needs. You can explore these options to further optimize your external hard drive’s performance.
Using third-party defragmentation software can provide advanced features, detailed analysis reports, and a higher degree of control over the defragmentation process. It can be particularly useful if you have specific requirements or if you want to fine-tune the defragmentation settings.
Remember to choose reputable and trusted third-party software to ensure the safety and effectiveness of the defragmentation process. Regularly performing defragmentation using either the built-in Windows tools or third-party software will help maintain the optimal performance and longevity of your external hard drive.
Tips to Optimize External Hard Drive Performance
In addition to defragmentation, there are several other steps you can take to optimize the performance of your external hard drive. Implementing these tips will help enhance the efficiency and longevity of your drive:
1. Regularly clean up and organize files: Remove unnecessary files, duplicates, and temporary files from your external hard drive. Organize your files into well-structured folders to improve file access times and make it easier to locate specific files.
2. Keep your external hard drive physically protected: Ensure your drive remains safe from physical damage by using protective cases or covers. Avoid dropping or subjecting it to extreme temperatures or moisture, as these can lead to hardware failure.
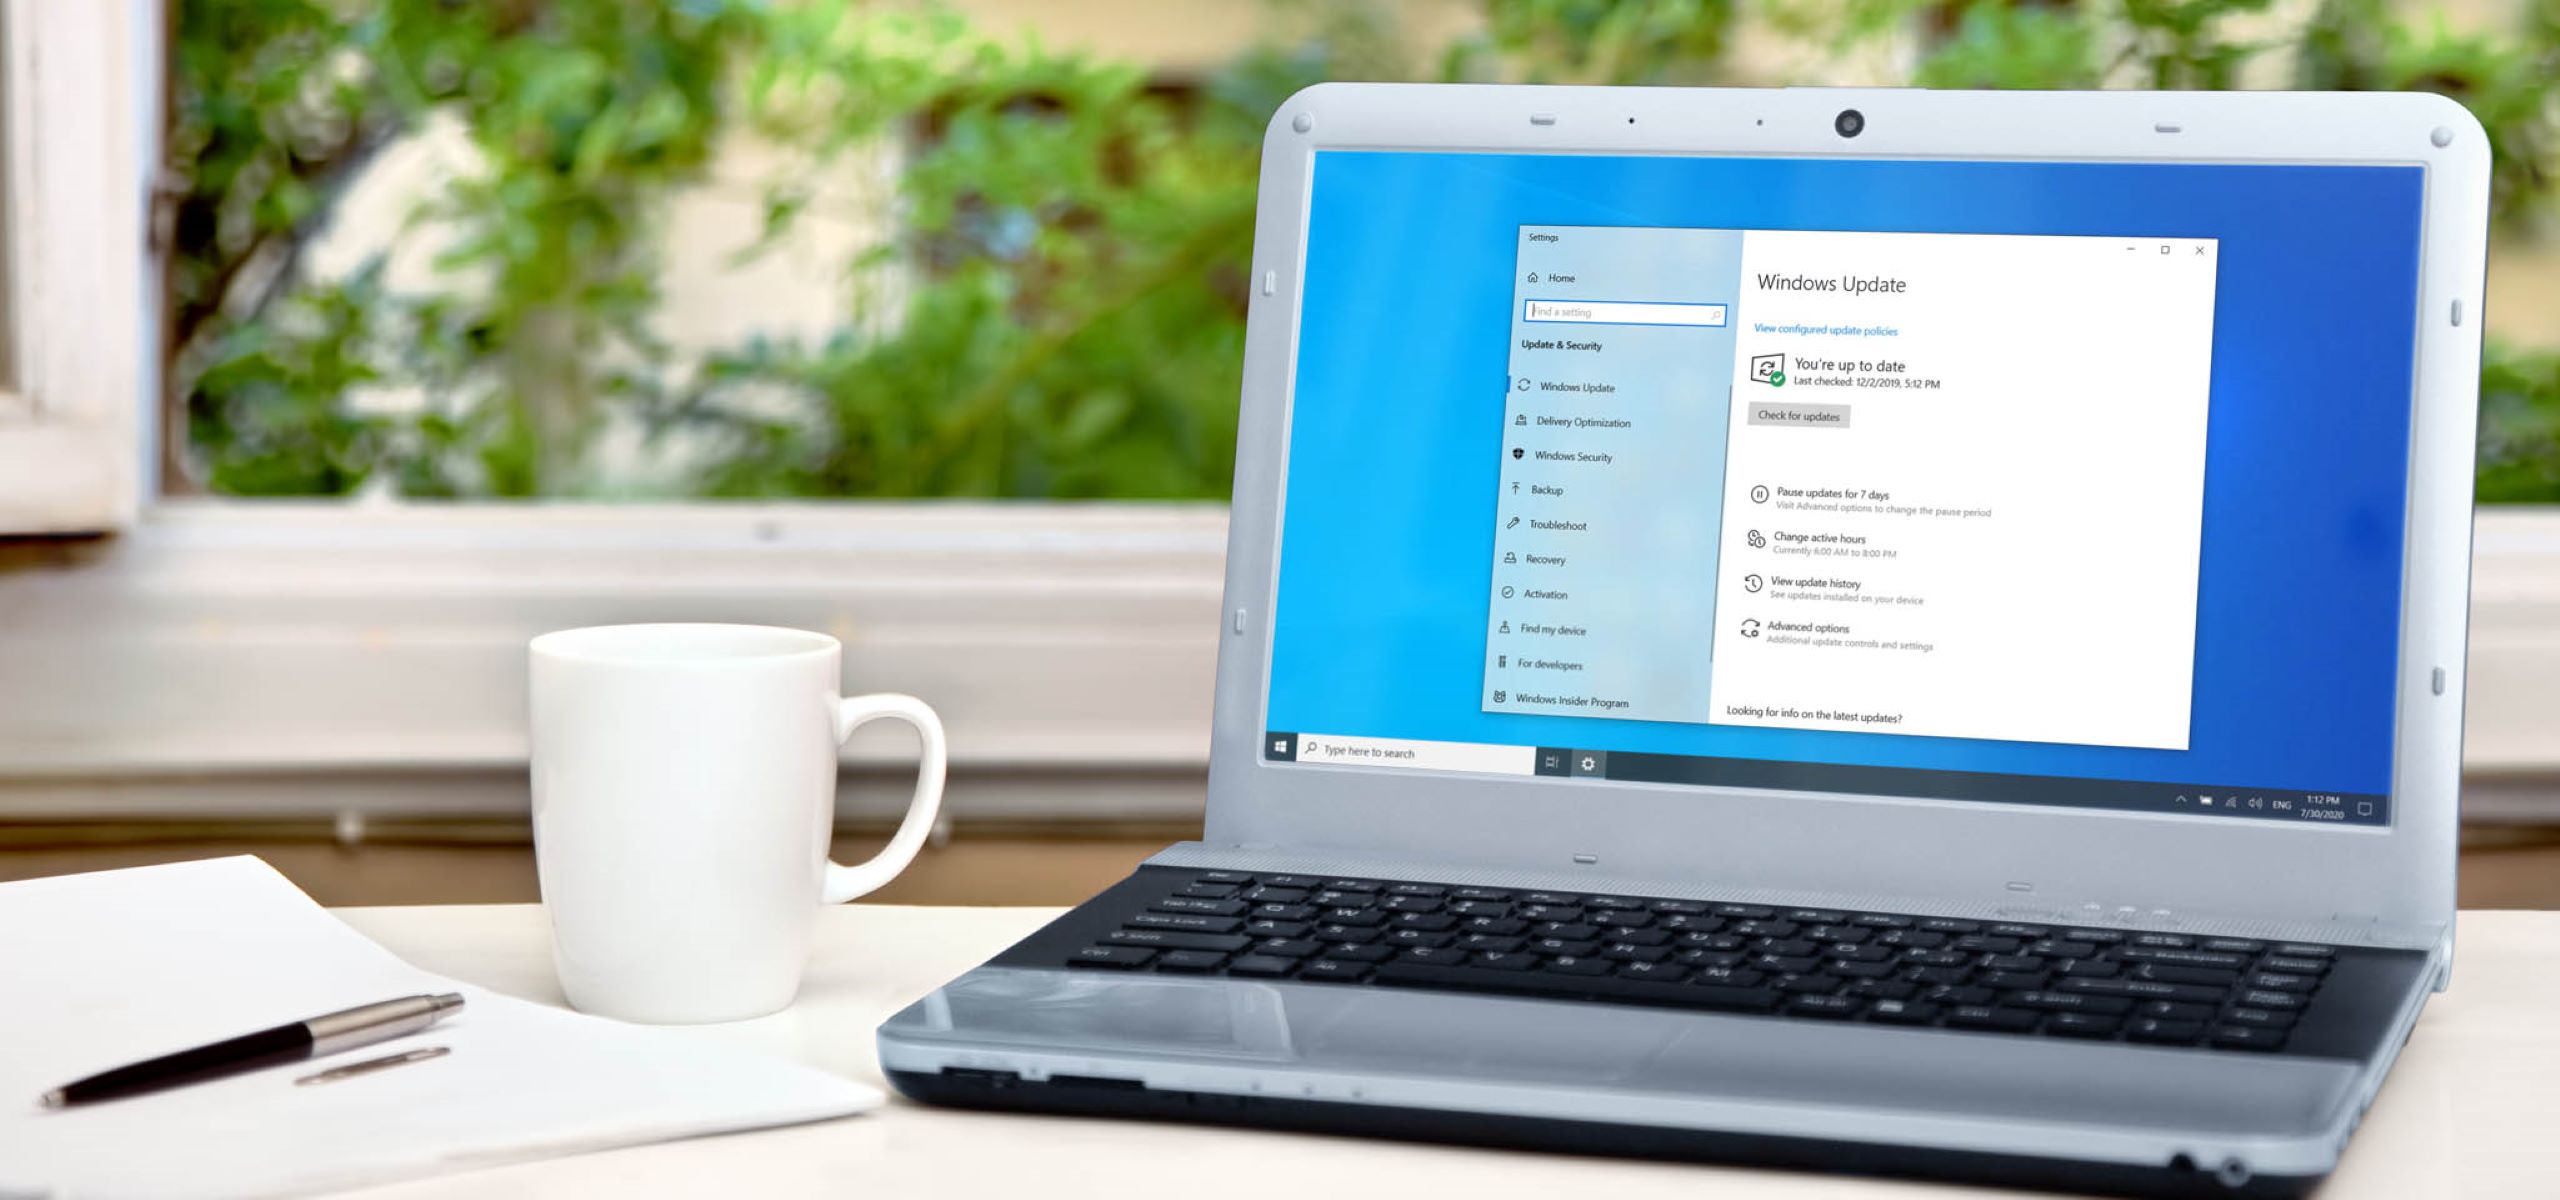
3. Keep your operating system and drivers up to date: Regularly update your Windows 10 operating system and external hard drive drivers to ensure compatibility and access to the latest performance optimizations.
4. Use high-quality USB cables and ports: To maintain a stable and reliable connection, use high-quality USB cables and connect your external hard drive to USB 3.0 or higher ports for faster data transfer speeds.
5. Limit background processes: Close unnecessary applications and processes running in the background to free up system resources and ensure optimal performance when accessing your external hard drive.
6. Optimize power settings: Adjust power settings on your computer to prevent your external hard drive from entering low-power modes or suspending during use. This will prevent interruptions and delays when accessing files.
7. Perform regular virus scans: Keep your external hard drive protected from malware and viruses by performing regular scans using reliable antivirus software. This will prevent any potential damage to your files and the drive itself.
8. Backup important data: Make it a habit to regularly back up your important files from your external hard drive to an alternate storage location. This will protect your data in case of accidental deletion, hardware failure, or other unforeseen events.
9. Consider investing in an SSD: If your budget allows, consider upgrading to a solid-state drive (SSD) for even faster and more reliable performance. SSDs have no moving parts and can significantly enhance the speed and responsiveness of your external storage.
10. Monitor drive health: Utilize drive monitoring tools to keep track of the health and performance of your external hard drive. This will allow you to identify any potential issues early on and take appropriate actions to prevent data loss or drive failure.
By following these tips, you can optimize the performance and lifespan of your external hard drive. Remember to incorporate these practices into your regular maintenance routine to ensure efficient data storage and retrieval.
Conclusion
Properly maintaining and optimizing your external hard drive is crucial for ensuring optimal performance, data accessibility, and longevity. Through defragmentation, you can rearrange the fragmented data on your drive, improve file access times, and enhance overall system efficiency.
In this guide, we explored the concept of fragmentation and its impact on your external hard drive. We discussed the importance of defragmentation in improving file access speed, enhancing read/write performance, reducing file corruption, and extending the lifespan of your hardware.
You learned how to check if your external hard drive needs defragmentation using the built-in Windows tools and how to initiate the defragmentation process step-by-step. We also provided an alternative option of using third-party defragmentation software, which offers advanced features and customization options.
Furthermore, we shared valuable tips to optimize the performance of your external hard drive. Practices such as regular file cleanup, physical protection, keeping software up to date, optimizing power settings, and considering an upgrade to an SSD can significantly enhance your storage experience.
By incorporating these maintenance routines and optimization tips into your regular workflow, you can ensure that your external hard drive operates at its peak performance, providing you with efficient and reliable storage for your valuable data.
Remember, taking care of your external hard drive is an ongoing process. Stay vigilant, perform regular maintenance tasks, and keep an eye on the health of your drive to prevent data loss and maximize its lifespan.