Introduction
Welcome to this guide on how to defrag Windows 10. In today’s digital age, having a well-functioning computer is crucial for both work and leisure. Over time, however, your computer’s hard drive can become fragmented, leading to slower performance and reduced efficiency. But fear not, as defragmenting your Windows 10 PC can help optimize its performance and improve overall speed.
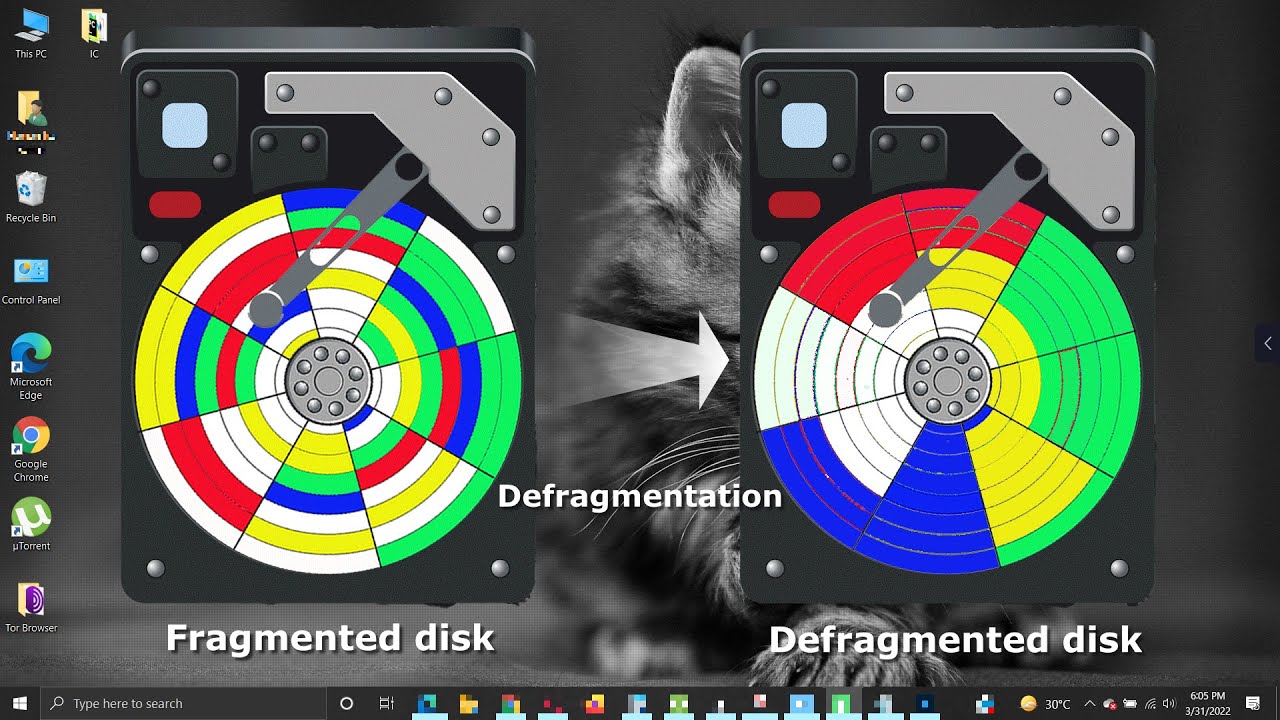
Defragmentation is the process of rearranging files on your hard drive to ensure they are stored in contiguous blocks. When files are stored in fragments, your computer takes longer to access them, resulting in slower performance. Defragmentation, therefore, helps organize and consolidate files, reducing the time it takes for your computer to read and write data.
In this article, we will explore why you should defrag your Windows 10 PC, how to check if your PC needs to be defragmented, and the steps to defrag using both the built-in Windows tool and third-party software. We will also provide tips to optimize your PC’s performance after defragmentation.
Whether you are experiencing a sluggish computer or simply want to maintain your PC’s performance, proper defragmentation is key. So, let’s dive in and learn how to defrag your Windows 10 PC effectively.
What is defragmentation?
Defragmentation is a process that reorganizes the data on your computer’s hard drive, making it easier and faster for your computer to access and read files. When you use your computer, files and data are constantly being created, modified, and deleted. This results in small chunks of data being scattered and stored in different locations on the hard drive.
Over time, as more and more files are saved and deleted, the hard drive becomes fragmented. This means that a single file may end up being stored in multiple non-contiguous locations on the hard drive. The operating system has to search and retrieve these fragmented files, which can lead to slower performance and longer loading times.
Defragmentation solves this problem by rearranging the fragmented files on the hard drive, placing them in contiguous blocks. By doing so, the computer can read and access files more efficiently, resulting in improved performance. It reduces the amount of time it takes for the hard drive to locate and retrieve files, leading to faster boot times, quicker application launches, and smoother overall performance.
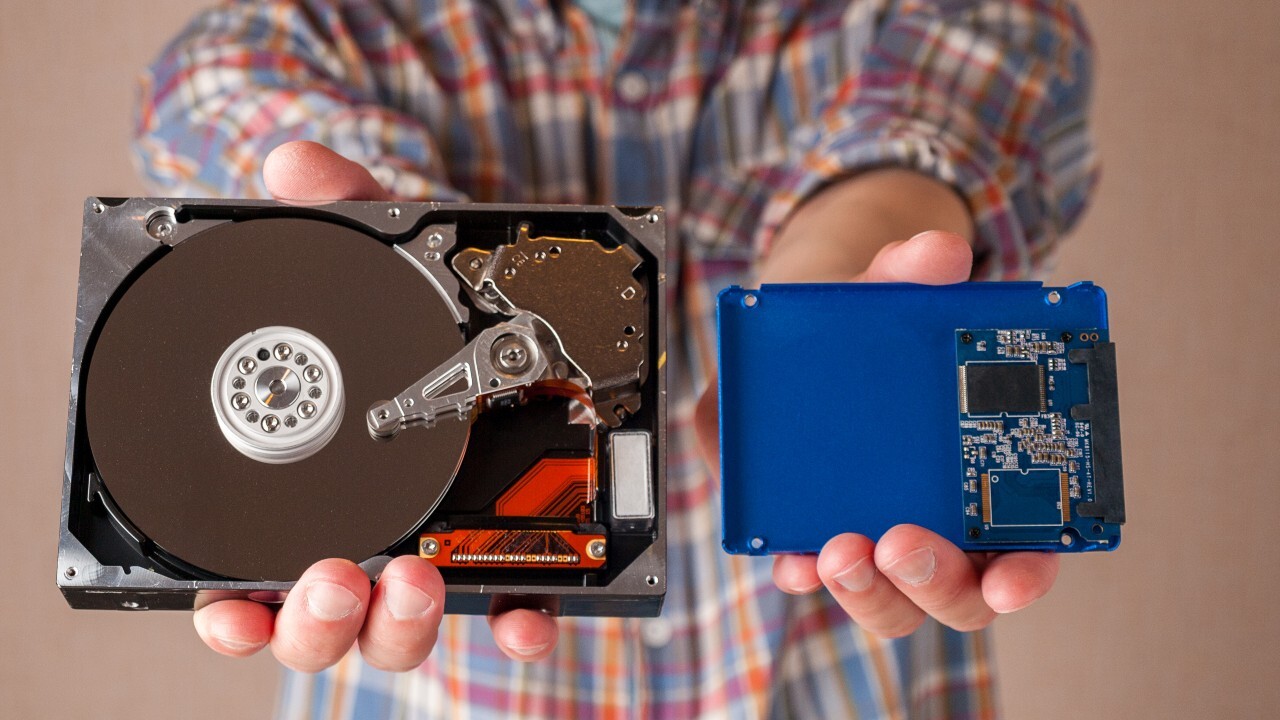
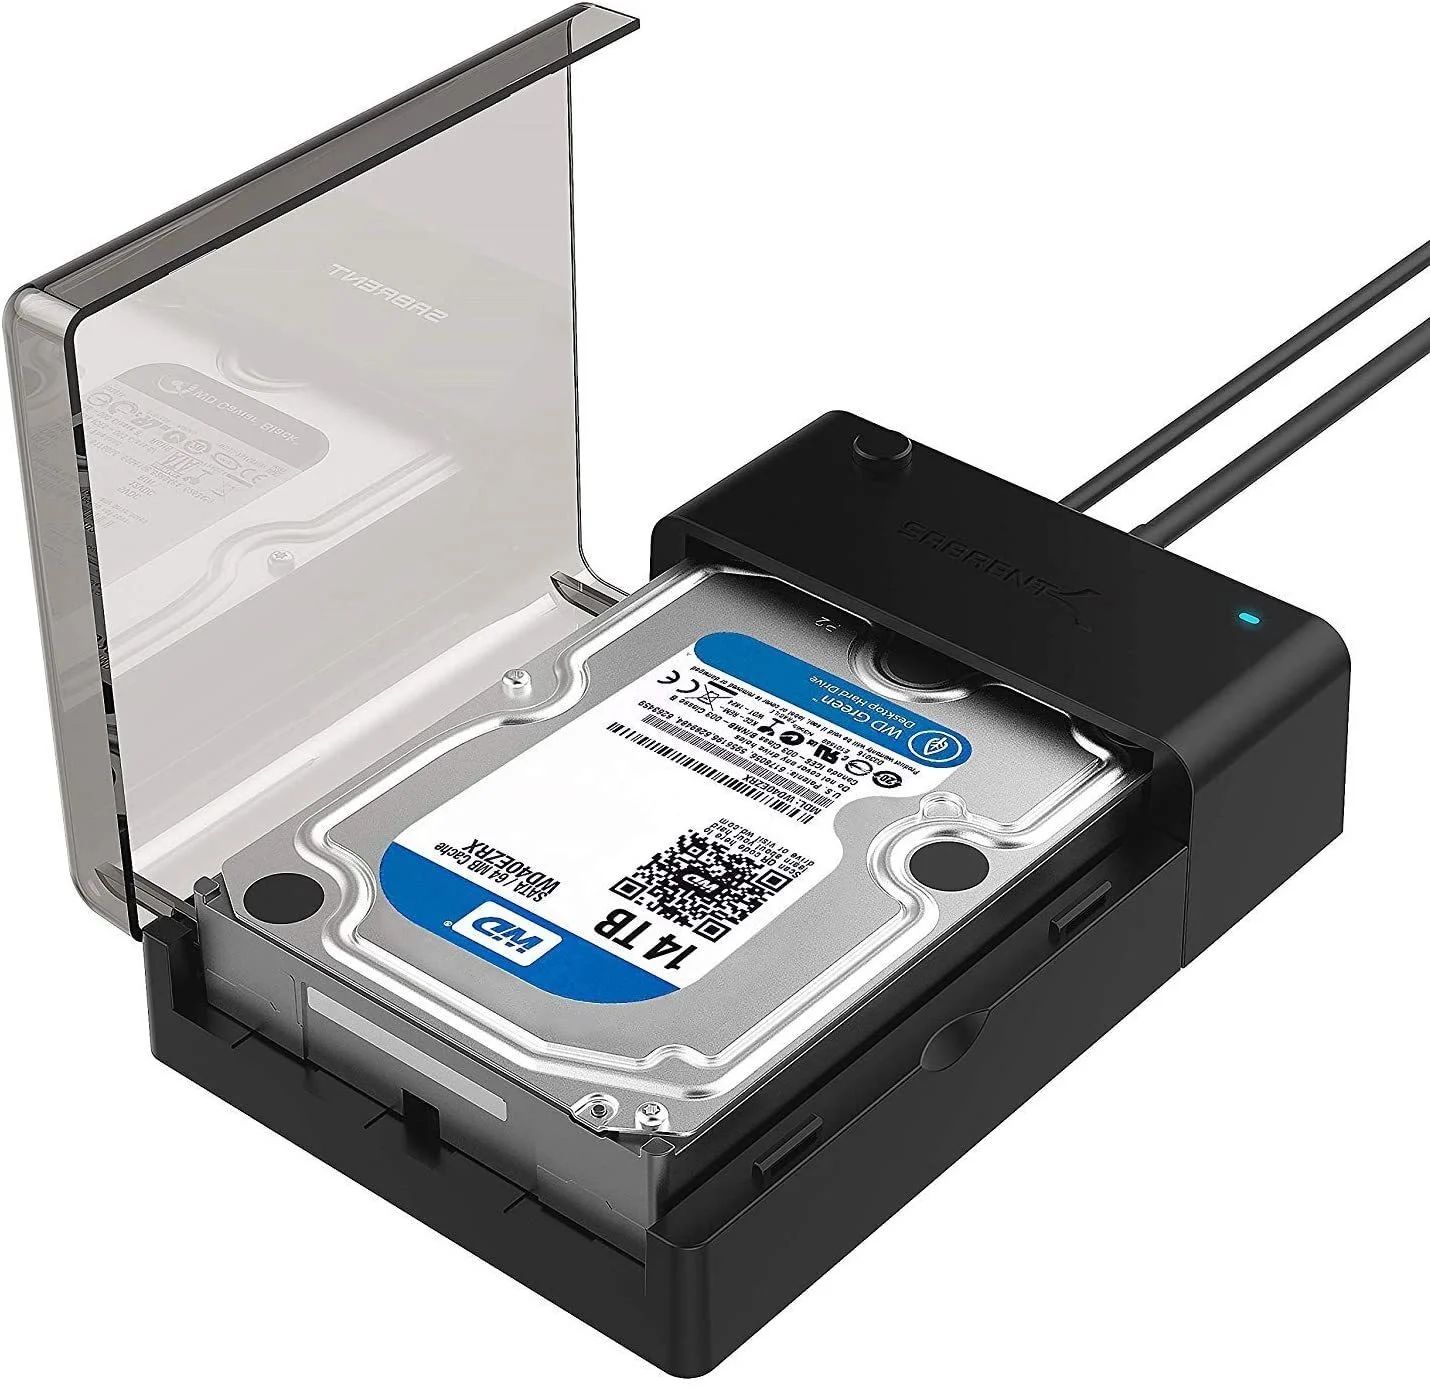
It’s important to note that defragmentation is primarily needed for traditional mechanical hard drives (HDD). Solid-state drives (SSD) do not require defragmentation, as they store data differently. In fact, defragmenting an SSD can actually reduce its lifespan. Windows 10 automatically detects if your drive is an HDD or SSD and performs the necessary optimization accordingly.
To summarize, defragmentation is the process of reorganizing the fragmented data on a hard drive, resulting in improved performance and faster access to files. By running regular defragmentation on your Windows 10 PC, you can ensure that your computer is operating efficiently and delivering optimal performance.
Why should you defrag your Windows 10 PC?
Defragmenting your Windows 10 PC offers several benefits that can greatly enhance your computer’s performance and overall user experience.
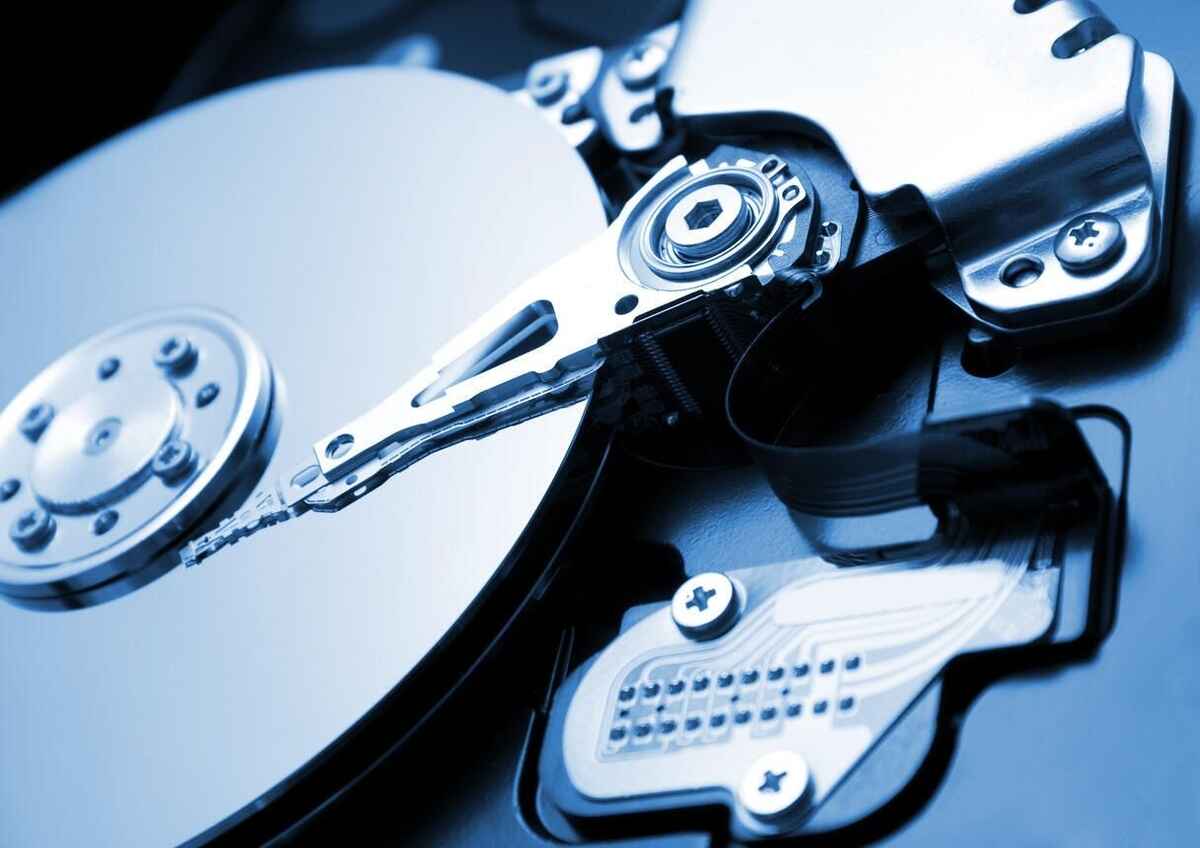
One of the main reasons to defrag your PC is to improve file access speed. When files are fragmented, the hard drive’s read/write head needs to move to different locations on the disk to retrieve all the parts of a file. This can result in slower load times for applications, documents, and other files. Defragmentation rearranges the fragmented files, placing them in contiguous blocks on the hard drive. As a result, your computer can access and load files faster.
Another advantage of defragmentation is that it frees up disk space. When files are fragmented, there are often gaps between the fragmented segments. These gaps can take up valuable space on your hard drive. Defragmentation consolidates the fragmented files and fills in the gaps, reclaiming disk space and allowing you to make the most of your storage capacity.
Furthermore, defragmentation can extend the lifespan of your hard drive. When files are scattered across the disk, it can cause the read/write head to work harder and move more frequently, potentially wearing out the drive faster. By defragmenting your PC regularly, you reduce the strain on the hard drive and increase its longevity.
In addition to these performance benefits, defragmentation can also help prevent data loss. When files are scattered and fragmented, they become more susceptible to corruption and errors. By defragmenting your PC, you decrease the chances of file corruption and increase the overall reliability of your system.
Overall, defragmenting your Windows 10 PC is essential for maintaining optimal performance, improving file access speed, freeing up disk space, extending the lifespan of your hard drive, and reducing the risk of data loss. By incorporating regular defragmentation into your computer maintenance routine, you can ensure that your PC operates smoothly and efficiently.
How to check if your PC needs to be defragmented?
Before defragmenting your Windows 10 PC, it’s important to determine whether or not it actually needs to be defragmented. Here are a few methods you can use to check if your PC requires defragmentation:
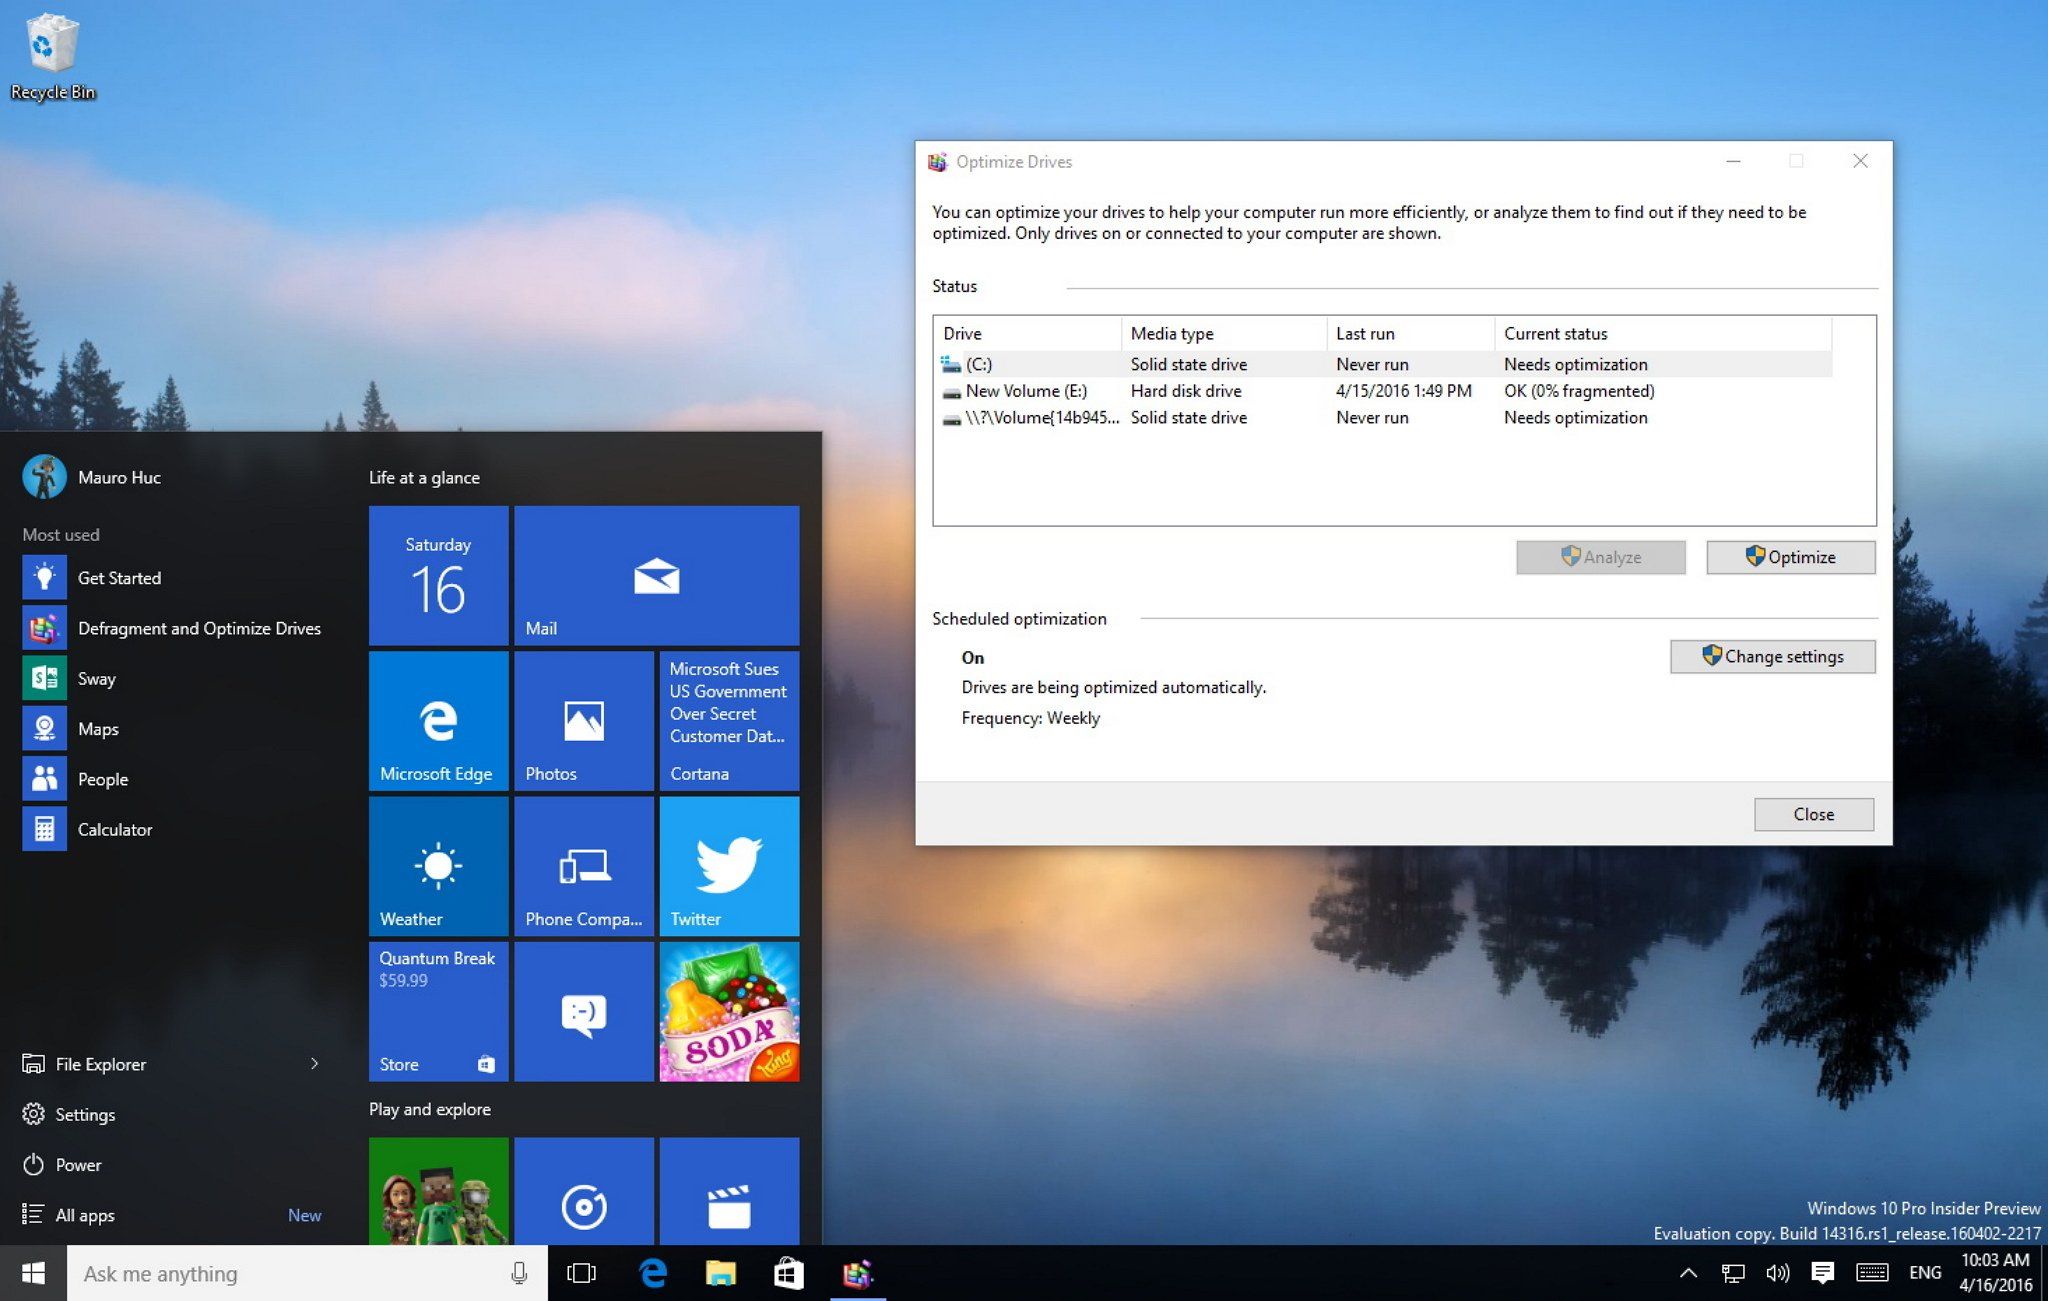
- Built-in Windows tool: Windows 10 comes with a built-in tool called “Optimize Drives” that can analyze and defragment your hard drive. To access this tool, press the Windows key + S, search for “Defragment and Optimize Drives,” and open the application. From there, select the desired drive and click on the “Analyze” button. The tool will evaluate the fragmentation level of the drive and provide a recommendation on whether or not it should be defragmented.
- File Explorer: Another way to determine if your PC needs defragmentation is by using File Explorer. Open File Explorer, right-click on the drive you want to check, and select “Properties.” In the properties window, go to the “Tools” tab and click on the “Optimize” button. This will launch the Optimize Drives tool and display the fragmentation status of the drive, indicating whether or not defragmentation is necessary.
- Third-party software: There are numerous third-party defragmentation software available that provide more advanced features and detailed analysis. These tools often offer real-time monitoring, scheduling options, and comprehensive reports on your drive’s fragmentation status. Some popular third-party defragmentation software options include Auslogics Disk Defrag, Defraggler, and O&O Defrag.
By using these methods, you can quickly and easily determine whether your Windows 10 PC needs to be defragmented. It’s recommended to check the fragmentation level of your drives regularly, especially if you notice a decrease in performance or longer load times for files and applications. Defragmentation is most effective when performed on a moderately fragmented drive, so it’s best not to wait until the fragmentation level becomes too severe.
How to defrag Windows 10 using the built-in defragmentation tool?
Windows 10 offers a built-in defragmentation tool called “Optimize Drives” that allows you to easily defragment your hard drives. Here’s a step-by-step guide on how to use this tool:
- Open the Optimize Drives tool: Press the Windows key + S, search for “Defragment and Optimize Drives,” and open the application.
- Select the drive: In the Optimize Drives window, you will see a list of available drives. Choose the drive you want to defrag (typically the system drive, usually labeled “C:”).
- Analyze the drive: Click on the “Analyze” button to evaluate the fragmentation level of the selected drive. The tool will determine if defragmentation is needed.
- Initiate the defragmentation process: If the drive is fragmented and requires defragmentation, click on the “Optimize” or “Defragment” button. Windows will start the defragmentation process. Note that this process may take some time, depending on the size and level of fragmentation of your drive.
- Monitor the progress: You can monitor the progress of the defragmentation process in the Optimize Drives window. It will display the status and the percentage of fragmentation remaining.
- Finish the defragmentation: Once the defragmentation process is complete, you will see a “Status” column indicating that the drive is “OK” and no further action is needed.
It’s important to note that the built-in defragmentation tool in Windows 10 automatically schedules periodic defragmentation for your drives. By default, the tool is set to run on a weekly basis. However, you can customize the schedule or disable it completely if you prefer to manually defragment your drives using the steps above.
Regularly defragmenting your Windows 10 PC using the built-in tool can help optimize performance, improve file access speed, and enhance the overall efficiency of your system. It’s recommended to defragment your drives periodically, especially if you notice a decrease in performance or if the Optimize Drives tool indicates a high level of fragmentation.
How to defrag Windows 10 using third-party software?
While Windows 10 comes with a built-in defragmentation tool, you may also consider using third-party defragmentation software that offers more advanced features and customization options. Here’s a simple guide on how to defrag Windows 10 using third-party software:
- Select a third-party defragmentation software: There are several reliable options available, such as Auslogics Disk Defrag, Defraggler, and O&O Defrag. Choose the software that best meets your needs and download it from a trusted source.
- Install and launch the software: Follow the installation instructions provided by the software and launch it once installed. Ensure that you have administrative privileges to make changes to your system.
- Select the drive: In the third-party software interface, you will see a list of drives connected to your computer. Choose the drive you want to defrag (usually the system drive, often labeled “C:”).
- Analyze the drive: Click on the “Analyze” or “Scan” button to assess the fragmentation level of the selected drive. The software will review the drive and determine if it needs defragmentation.
- Start the defragmentation process: If the software detects significant fragmentation on the drive, click on the “Defrag” or “Optimize” button to initiate the defragmentation process. Depending on the size and fragmentation level of the drive, this process may take some time.
- Monitor the progress: The third-party software will provide a visual representation of the defragmentation progress. You can usually see the percentage of fragmentation remaining and the areas being optimized.
- Finish the defragmentation: Once the defragmentation process is complete, the software will indicate that the drive is optimized and no further action is required.
It’s worth noting that third-party defragmentation software often provides additional features, such as real-time monitoring, scheduling options, and detailed reports on your drive’s fragmentation status. These features allow you to customize the defragmentation process and optimize it according to your preferences.
Regularly defragmenting your Windows 10 PC using third-party software can help improve performance, enhance file access speed, and maximize the efficiency of your system. Ensure you use reputable and trusted software from reliable sources to maintain the security and stability of your computer.
Tips to optimize your PC’s performance after defragmentation
After defragmenting your Windows 10 PC, there are several additional steps you can take to further optimize your system’s performance. Here are some tips to help you maximize the benefits of defragmentation:
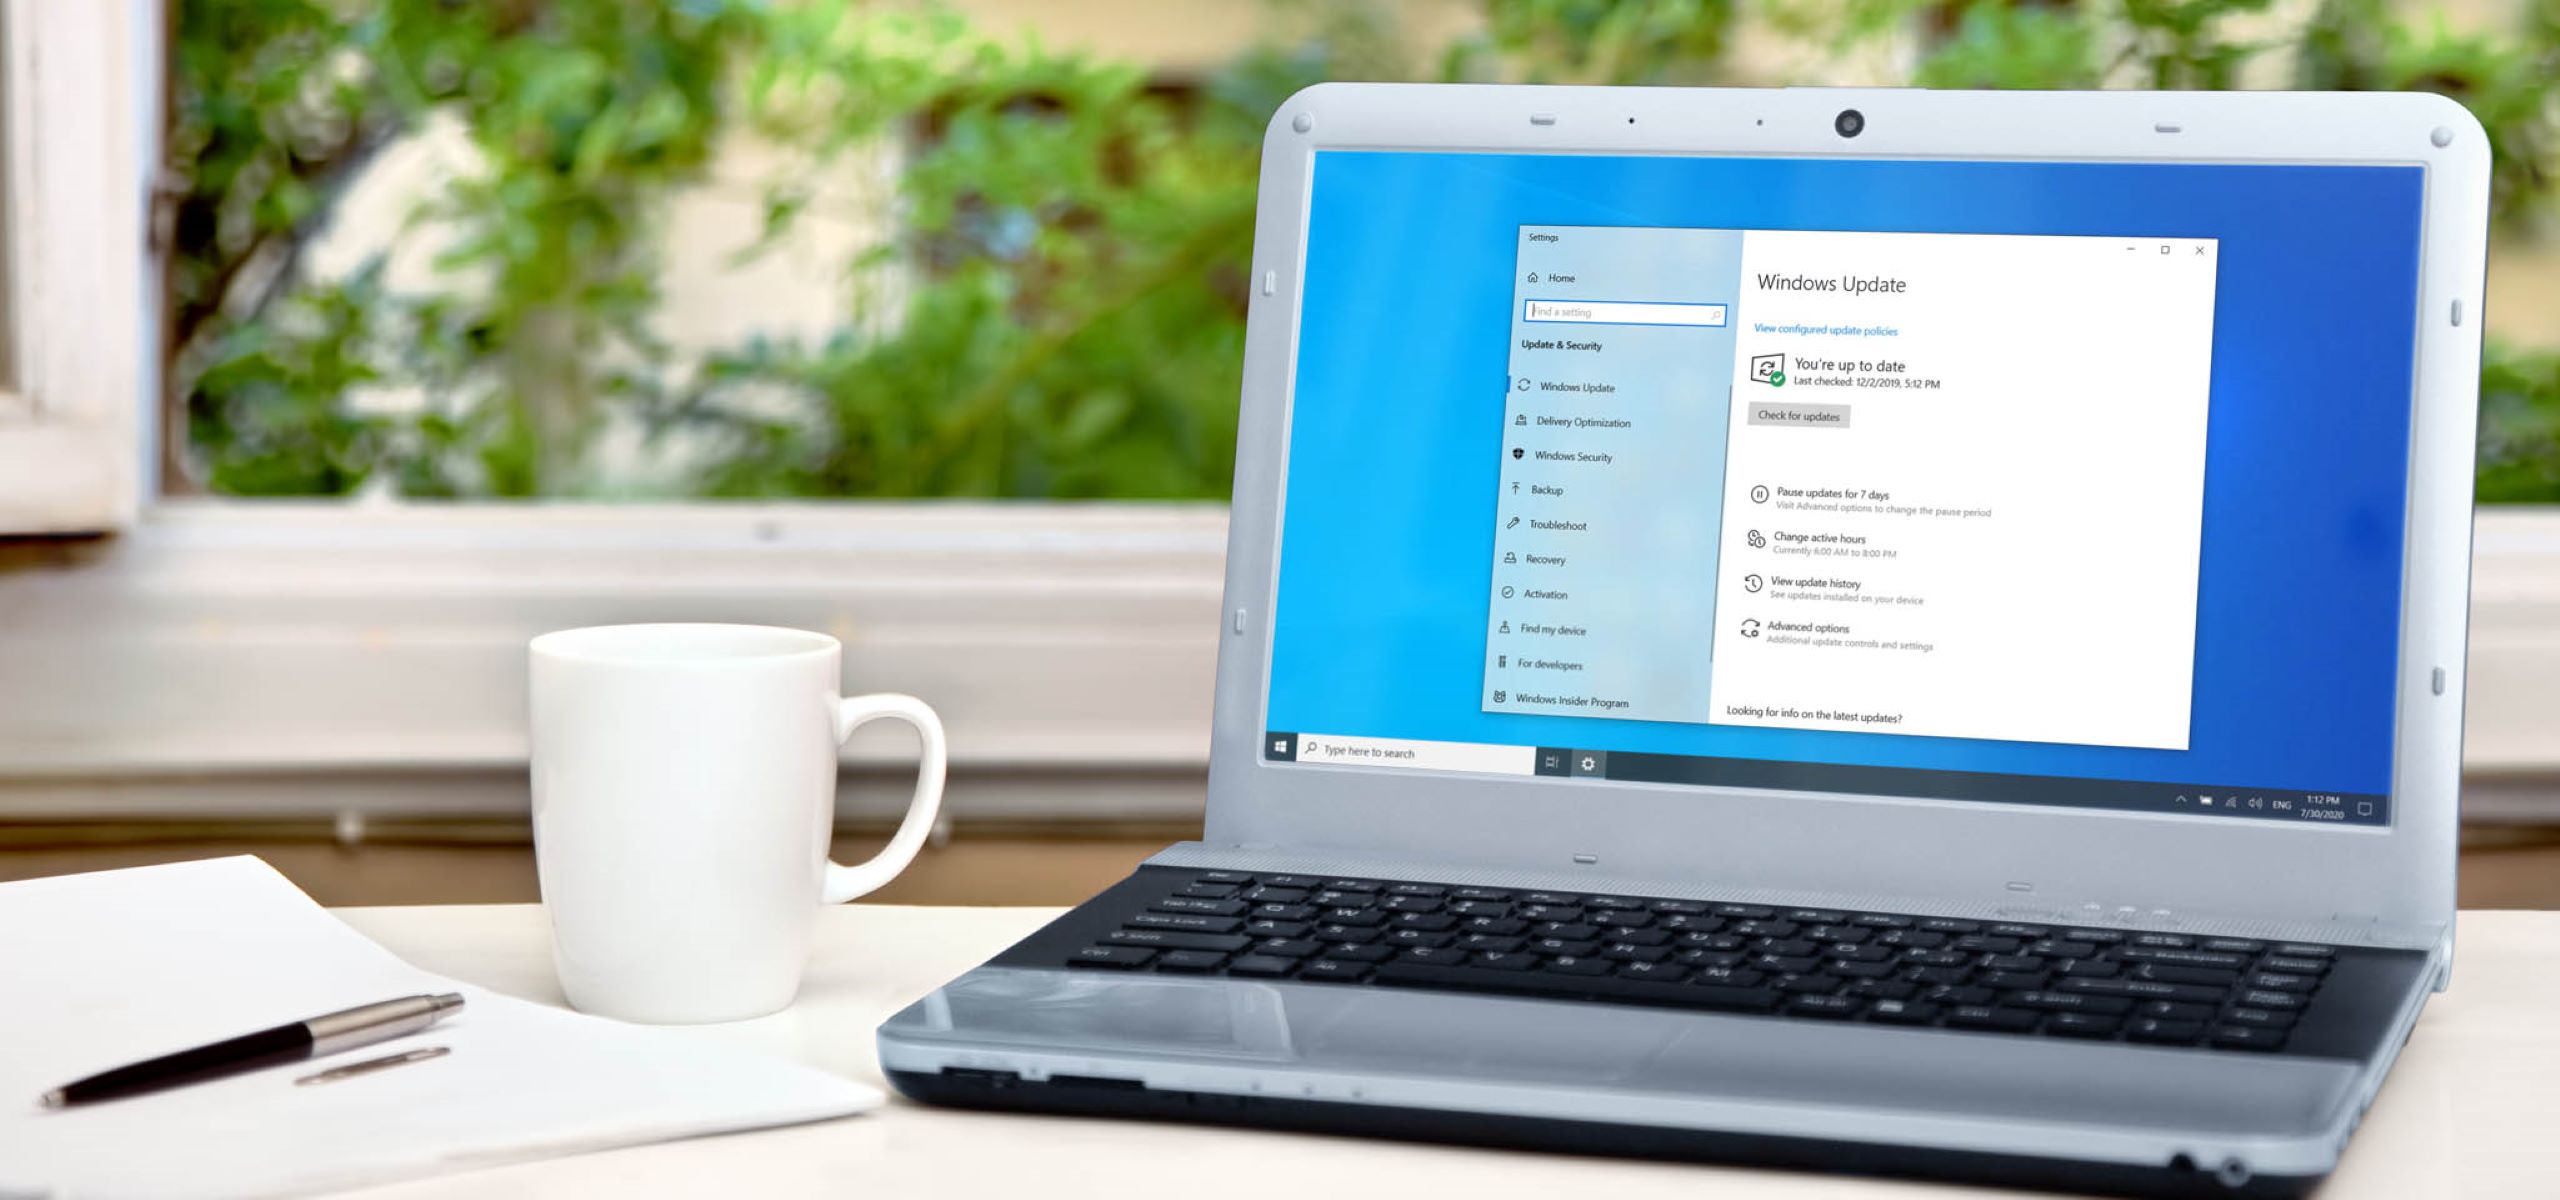
- Update your system: Keeping your Windows 10 operating system and all installed software up to date is essential for optimal performance. Regularly check for and install updates, as they often include bug fixes and performance improvements.
- Remove unnecessary files and programs: Take the opportunity to clean up your hard drive after defragmentation. Uninstall any programs that you no longer use and delete unnecessary files or folders to free up disk space. This can help improve overall system performance.
- Enable automatic maintenance: Windows 10 has a built-in feature called Automatic Maintenance that helps keep your PC running smoothly. Make sure this feature is enabled by going to “Control Panel > Security and Maintenance > Maintenance > Change maintenance settings” and check the box for “Allow scheduled maintenance to wake up my computer at the scheduled time.”
- Run regular disk cleanup: Windows 10 provides a Disk Cleanup tool that helps remove unnecessary files and free up disk space. Search for “Disk Cleanup” in the Start menu, select the drive you want to clean, and let the tool scan for temporary and unnecessary files. Check the items you want to delete and click “OK” to clean up your disk.
- Scan for malware: Malware can significantly impact your PC’s performance. Use a reliable antivirus or anti-malware program to scan your system for any potential threats and remove them promptly.
- Manage startup programs: Take control of the programs that launch automatically when your computer starts. Prevent unnecessary programs from running at startup to reduce system resource usage and improve boot time. Go to “Task Manager > Startup” and disable any programs that you don’t need to launch at startup.
- Restart your PC regularly: Restarting your computer helps clear temporary files, refresh system processes, and improve performance. Make it a habit to restart your PC at least once a week to keep it running smoothly.
By following these tips, you can further optimize your PC’s performance after defragmentation. Remember to perform these maintenance tasks regularly to keep your Windows 10 PC running efficiently and smoothly.
Conclusion
Defragmenting your Windows 10 PC can significantly improve its performance and enhance your overall user experience. By rearranging fragmented files on your hard drive, defragmentation reduces file access time, frees up disk space, and extends the lifespan of your hard drive. Whether you choose to use the built-in Windows defragmentation tool or opt for third-party software, regular defragmentation is essential for maintaining optimal performance.
Before defragmenting your PC, it’s important to check if it needs defragmentation using tools like the built-in “Optimize Drives” tool or third-party software. Analyzing the fragmentation level of your drives helps you determine when defragmentation is necessary.
After defragmentation, there are additional steps you can take to optimize your PC’s performance further. Keep your operating system and software up to date, remove unnecessary files and programs, enable automatic maintenance, and run regular disk cleanup. Scanning for malware, managing startup programs, and restarting your PC regularly are also beneficial practices.
Remember, maintaining a well-optimized PC not only improves performance but also ensures a smoother and more efficient computing experience. Make defragmentation and PC optimization a part of your regular computer maintenance routine to keep your Windows 10 PC running at its best.