Introduction
Over time, our hard disk drives accumulate a vast amount of data, documents, applications, and temporary files. These files can take up valuable space, slow down your computer’s performance, and make it difficult to find important documents when you need them. That’s why it’s essential to regularly clean out your hard drive and optimize its storage capacity.
Cleaning out your hard disk drive not only helps improve the performance of your computer but also ensures that you have enough space to store new files and applications. Whether you’re experiencing a slow computer or simply want to declutter your storage, the following steps will guide you through the process of cleaning out your hard drive effectively.
In this article, we will explore various methods for cleaning out your hard disk drive, including backing up your files, uninstalling unnecessary programs, deleting temporary files, clearing your browser’s cache, removing duplicate files, emptying the recycle bin, running disk cleanup tools, checking for and removing malware, defragmenting your hard drive, and considering the option of upgrading your hard drive or utilizing cloud storage. By following these steps, you can reclaim valuable disk space and optimize the performance of your computer.
It is important to note that the specific steps and tools mentioned in this article may vary depending on the operating system and version you are using. However, the overall process remains similar across different platforms, and you can adapt these suggestions to suit your needs.
Step 1: Back up your files
Before you begin the process of cleaning out your hard disk drive, it’s crucial to back up all your important files and data. This step ensures that you won’t accidentally lose any valuable information during the cleaning process.
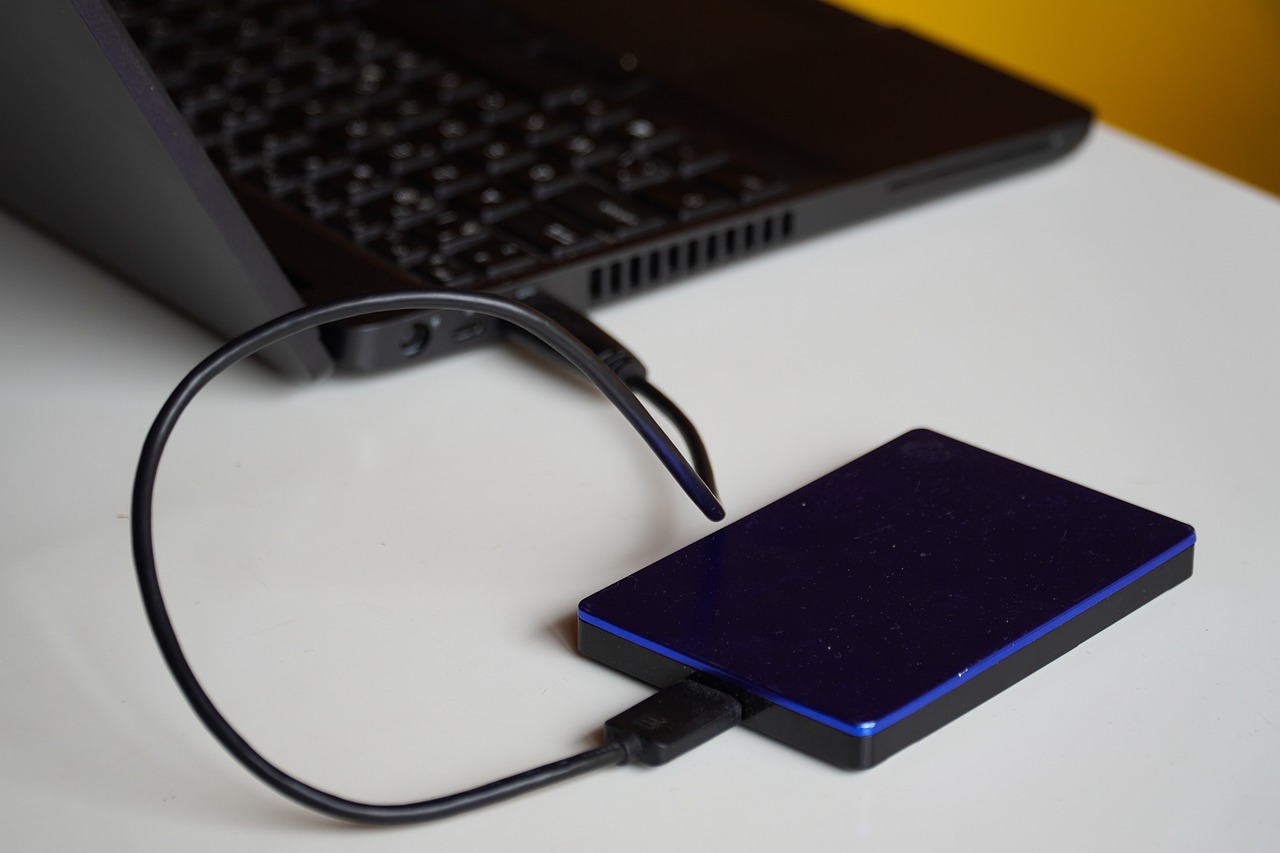
There are several methods you can use to back up your files. One common approach is to copy important files to an external hard drive or a USB flash drive. Simply connect the external device to your computer, locate the files or folders you want to back up, and drag them onto the external device.
Alternatively, you can take advantage of cloud storage services, such as Google Drive, Dropbox, or Microsoft OneDrive. These services allow you to store your files and access them from any device with an internet connection. They often provide a limited amount of free storage and the option to purchase additional space if needed.
Another effective backup method is to create system restore points or disk images. This allows you to restore your computer to a previous state if any issues arise during the cleaning process.
Remember to back up not only your documents but also any important settings, bookmarks, or emails that you may need. It’s better to be safe than sorry, so be thorough in your backup process.
Once you have successfully backed up all your files, you can proceed with confidence knowing that your important data is safe and secure.
Step 2: Uninstall unnecessary programs
As you clean out your hard disk drive, it’s essential to uninstall any unnecessary programs that are taking up valuable space. Over time, we tend to accumulate a multitude of applications that we no longer use or need. Removing these programs can free up significant amounts of storage and improve your computer’s performance.
To begin, open the Control Panel on your computer and navigate to the “Programs” or “Programs and Features” section. Here, you will find a list of all the installed programs on your computer.
Take some time to review the list and identify applications that you no longer use or need. Pay attention to programs that you may have installed unintentionally or that came pre-installed with your computer. These are often referred to as “bloatware” and can be safely removed without any impact on your computer’s functionality.
To uninstall a program, simply select it from the list and click on the “Uninstall” or “Remove” button. Follow the on-screen prompts to complete the uninstallation process. Be cautious when uninstalling programs and ensure that you’re only removing those that you are certain you no longer need.
In some cases, you may come across programs that cannot be uninstalled through the Control Panel. In such situations, you can use specialized uninstaller software to remove them. These tools help you thoroughly remove all traces of the program from your computer, including associated files and registry entries.
By uninstalling unnecessary programs, you not only free up valuable storage space on your hard disk drive but also streamline your computer’s performance, making it faster and more responsive.
Step 3: Delete temporary files
Temporary files are created by various programs and processes on your computer to store data temporarily. However, over time, these files can accumulate and take up significant space on your hard disk drive. Deleting these files is a crucial step in cleaning out your system and reclaiming valuable storage space.
To delete temporary files, you can utilize the built-in tool called Disk Cleanup, which is available on most Windows operating systems. To access Disk Cleanup, simply search for it in the Start menu or go to “My Computer”, right-click on your hard drive, and select “Properties”. In the Properties window, click on the “Disk Cleanup” button.
Once Disk Cleanup opens, it will scan your computer for temporary files and present you with a list of options to clean. These options may include temporary internet files, system temporary files, downloaded program files, and more. Select the categories you want to clean and click “OK” or “Delete Files” to start the process.
Another way to delete temporary files is by manually deleting them from specific folders on your computer. Some common locations where temporary files are stored include the “Temp” folder, which can be accessed by typing “%temp%” in the Run dialog box, and the “Prefetch” folder, located in the Windows directory.
It’s important to note that while deleting temporary files is generally safe, you should exercise caution and avoid deleting any files that you’re unsure about. It’s recommended to focus on removing temporary files that are older or are no longer needed by your system.
By regularly deleting temporary files, you can not only free up valuable space on your hard disk drive but also improve your computer’s overall performance and responsiveness.
Step 4: Clear your browser’s cache
As you browse the internet, your web browser stores temporary files, images, and other data in its cache. Over time, this cache can accumulate and take up a considerable amount of space on your hard disk drive. Clearing your browser’s cache is a straightforward yet effective way to free up storage and optimize your browsing experience.
The process of clearing the browser cache may vary slightly depending on the web browser you’re using. However, the general steps remain similar across different browsers.
In most browsers, you can access the browsing history and cache settings by clicking on the menu button (usually represented by three dots or three lines) and selecting the “History” or “Settings” option. From there, you should be able to find an option like “Clear browsing data” or “Clear cache.”
When clearing the browser cache, you typically have the option to choose what data you want to delete. You can select items such as cached images and files, cookies, browsing history, and more. It’s recommended to choose the option to clear the cache and any other data that you no longer need.
Once you’ve selected the desired options, click on the “Clear” or “Delete” button to initiate the process. Depending on the amount of data stored in your browser’s cache, clearing it may take a few moments.
Clearing your browser’s cache not only helps free up storage space on your hard disk drive but also improves your browsing speed and performance. It ensures that you’re accessing the most up-to-date version of websites and prevents any potential loading issues caused by cached data.
Remember to periodically clear your browser’s cache to keep your system optimized and enjoy a smoother browsing experience.
Step 5: Remove duplicate files
Duplicate files can accumulate on your hard disk drive over time, taking up valuable storage space and making it harder to locate and organize your files. Removing duplicate files is an important step in cleaning out your system and optimizing storage efficiency.
There are several methods you can use to identify and remove duplicate files. One way is to manually search for them by comparing file names and sizes. However, this method can be time-consuming and may not be feasible if you have a large number of files.
Alternatively, you can use specialized software that is designed to scan your hard disk drive and identify duplicate files. These programs use various algorithms and comparison methods to find files with identical content, regardless of their names.
Once you have identified the duplicate files, you can choose to delete them manually or use the software’s built-in feature to automatically remove them. It’s important to review the duplicate files before deleting them to ensure that you’re not removing any important files or crucial backups.
When removing duplicate files, it’s advisable to start with large files, such as videos or high-resolution images, as they tend to take up the most space. However, don’t forget to also pay attention to smaller files that may be duplicated across multiple folders.
By removing duplicate files, you not only free up valuable storage space on your hard disk drive but also organize your files more effectively. This makes it easier to locate important documents and improves the performance of your computer when searching for files.
It’s a good practice to periodically scan and remove duplicate files to ensure that your storage remains optimized and clutter-free.
Step 6: Empty the Recycle Bin
When you delete files and folders from your computer, they are typically moved to the Recycle Bin as a safety measure. The Recycle Bin acts as a temporary storage area for deleted items, allowing you to restore them if necessary. However, these files still take up space on your hard disk drive. Emptying the Recycle Bin is an essential step in the process of cleaning out your system and reclaiming storage space.
To empty the Recycle Bin, simply locate its icon on your desktop and double-click on it to open it. Inside the Recycle Bin, you’ll find a list of all the deleted items awaiting permanent deletion.
At the top of the Recycle Bin window, you should see an option to “Empty Recycle Bin” or a similar label. Click on this option to proceed with permanently deleting all the files and folders stored in the Recycle Bin.
Before emptying the Recycle Bin, make sure to review the contents to ensure that none of the deleted files are still needed. Once you empty the Recycle Bin, the deleted items cannot be recovered.
In addition, it’s worth noting that some deleted files may not appear in the Recycle Bin if they were deleted using the “Shift + Delete” command or bypassed the Recycle Bin for other reasons. Therefore, it’s important to exercise caution when deleting files, especially if they are critical or irreplaceable.
By regularly emptying the Recycle Bin, you not only free up storage space on your hard disk drive but also ensure that deleted files are permanently removed from your system. This helps to optimize your storage capacity and maintain a cleaner and more organized file structure.
Remember to empty the Recycle Bin periodically to keep your system running smoothly and efficiently.
Step 7: Run disk cleanup tools
Running disk cleanup tools is an effective way to remove unnecessary files and free up disk space on your hard drive. These tools identify and delete various types of files that are no longer needed, such as system temporary files, log files, and other remnants from software installations and updates.
Windows operating systems have a built-in disk cleanup tool called “Disk Cleanup” that you can use. To access it, simply search for “Disk Cleanup” in the Start menu or go to “My Computer”, right-click on your hard drive, and select “Properties”. In the Properties window, click on the “Disk Cleanup” button.
Upon opening Disk Cleanup, you will be presented with a list of file categories that you can select for cleanup. These categories may include “Temporary files”, “Recycle Bin”, “Windows Update Cleanup”, and more.
Select the file categories you want to clean up and click on the “OK” or “Delete Files” button to initiate the cleanup process. Depending on the amount of data to be cleaned up, the process may take a few moments.
In addition to the built-in Disk Cleanup tool, there are also third-party disk cleanup software available that offer more advanced cleaning options and customization features. These tools often provide a more thorough analysis of your system and can help you identify and remove additional unnecessary files.
Running disk cleanup tools on a regular basis helps to optimize your hard drive’s storage capacity and improve system performance. It clears out clutter and allows you to have more available space for essential files and applications.
Remember to schedule periodic disk cleanup sessions to keep your system optimized and running smoothly.
Step 8: Check for and remove malware
Malware, such as viruses, spyware, and adware, can not only compromise your privacy but also affect the performance and stability of your computer. As part of the process of cleaning out your hard disk drive, it’s crucial to check for and remove any malware that may have found its way onto your system.
To effectively detect and eliminate malware, it’s recommended to use reliable antivirus and anti-malware software. These programs are designed to scan your system for known malware signatures and behavior patterns.
Start by ensuring that your antivirus software is up-to-date. Open the antivirus program and initiate a full system scan. This may take some time depending on the size of your hard drive and the number of files on your computer.
If any malware is detected during the scan, follow the recommended actions provided by the antivirus software to either quarantine or remove the malicious files.
In addition to scanning for malware, it’s crucial to keep your operating system and other software up-to-date. Software updates often include security patches that address known vulnerabilities and help protect your system from malware attacks.
If you suspect that your computer is infected with malware but your antivirus scan does not detect any threats, you can also consider using reputable online malware scanners. These web-based tools can provide an additional layer of security and help identify any potential threats that may have been missed by your installed antivirus software.
Regularly checking for and removing malware helps to ensure the security and optimal performance of your computer. It safeguards your sensitive information and prevents malicious software from causing harm.
Make it a habit to run malware scans periodically and keep your antivirus software and operating system updated to stay protected against emerging threats.
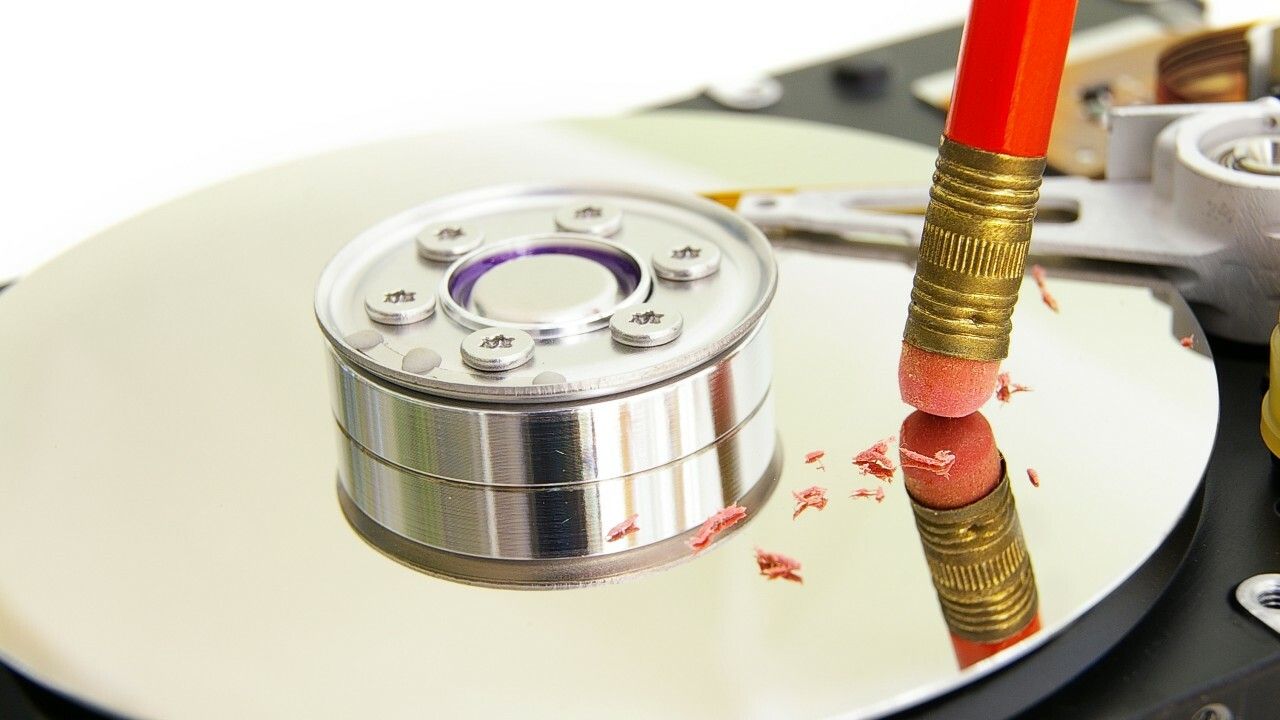
Step 9: Defragment your hard drive
Over time, the files on your hard drive can become fragmented. This means that different parts of a single file are stored in non-contiguous locations on the disk, which can slow down file access and overall system performance. Defragmenting your hard drive is an important step in optimizing its performance and improving file access times.
To defragment your hard drive, you can utilize the built-in disk defragmentation tool available on most Windows operating systems. To access this tool, simply search for “Disk Defragmenter” in the Start menu or go to “My Computer”, right-click on your hard drive, and select “Properties”. In the Properties window, click on the “Tools” tab, and then click on the “Optimize” button.
Once the disk defragmentation tool opens, you’ll have the option to select the drive you want to defragment. Choose your main hard drive (usually labeled as “C:”) and click on the “Optimize” or “Defragment disk” button.
The defragmentation process may take a while, especially if your hard drive is heavily fragmented. During the process, the tool will rearrange the scattered file fragments to create contiguous blocks of data, resulting in faster file access times.
It’s important to note that solid-state drives (SSDs) do not require defragmentation. In fact, defragmenting an SSD can actually reduce its lifespan. So, if you have an SSD, there is no need to defragment it.
Regularly defragmenting your hard drive helps to improve its overall performance and efficiency. It allows for faster file access and smoother system operation, contributing to a more responsive and enjoyable computing experience.
Consider scheduling periodic automatic defragmentation sessions or performing manual defragmentations when you notice a significant decrease in system performance.
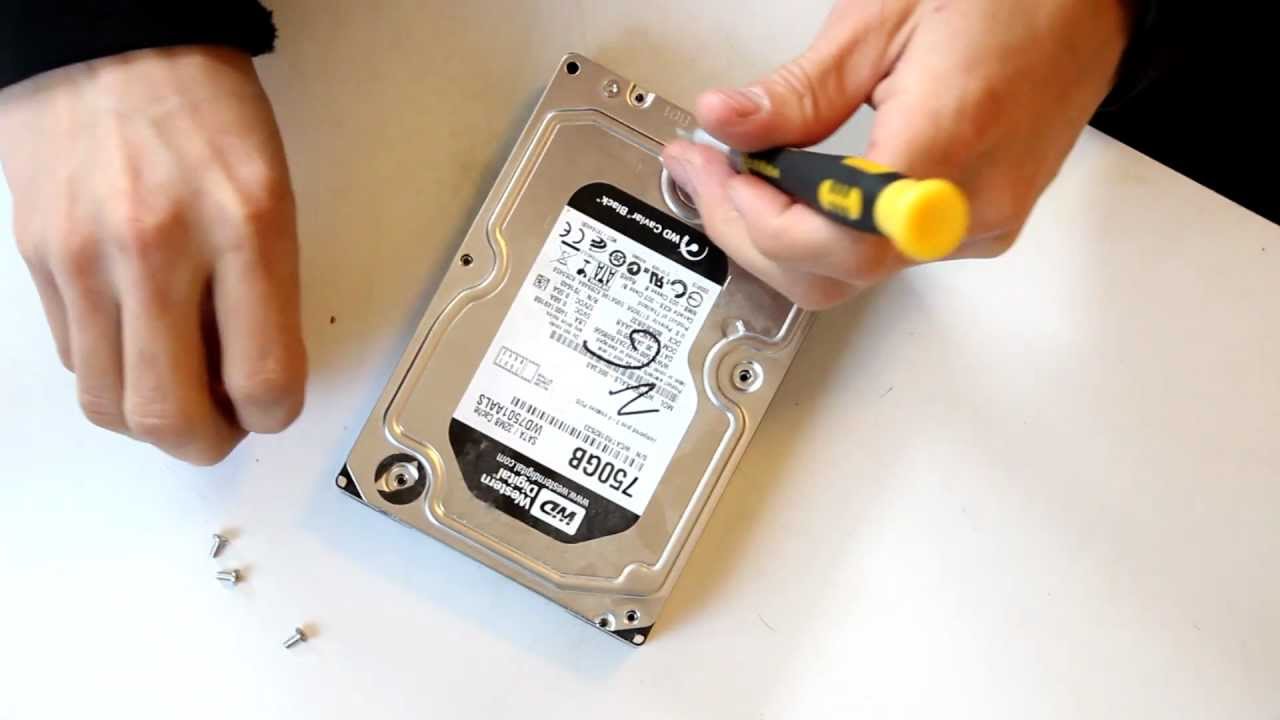
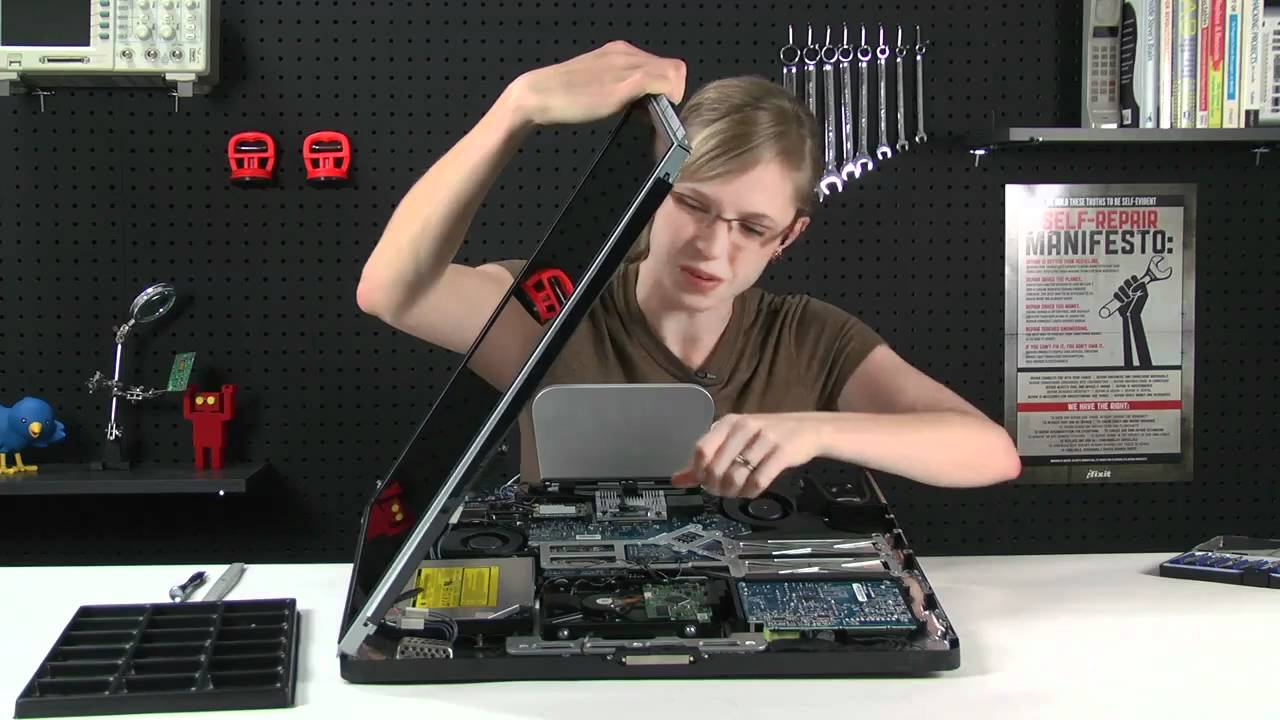
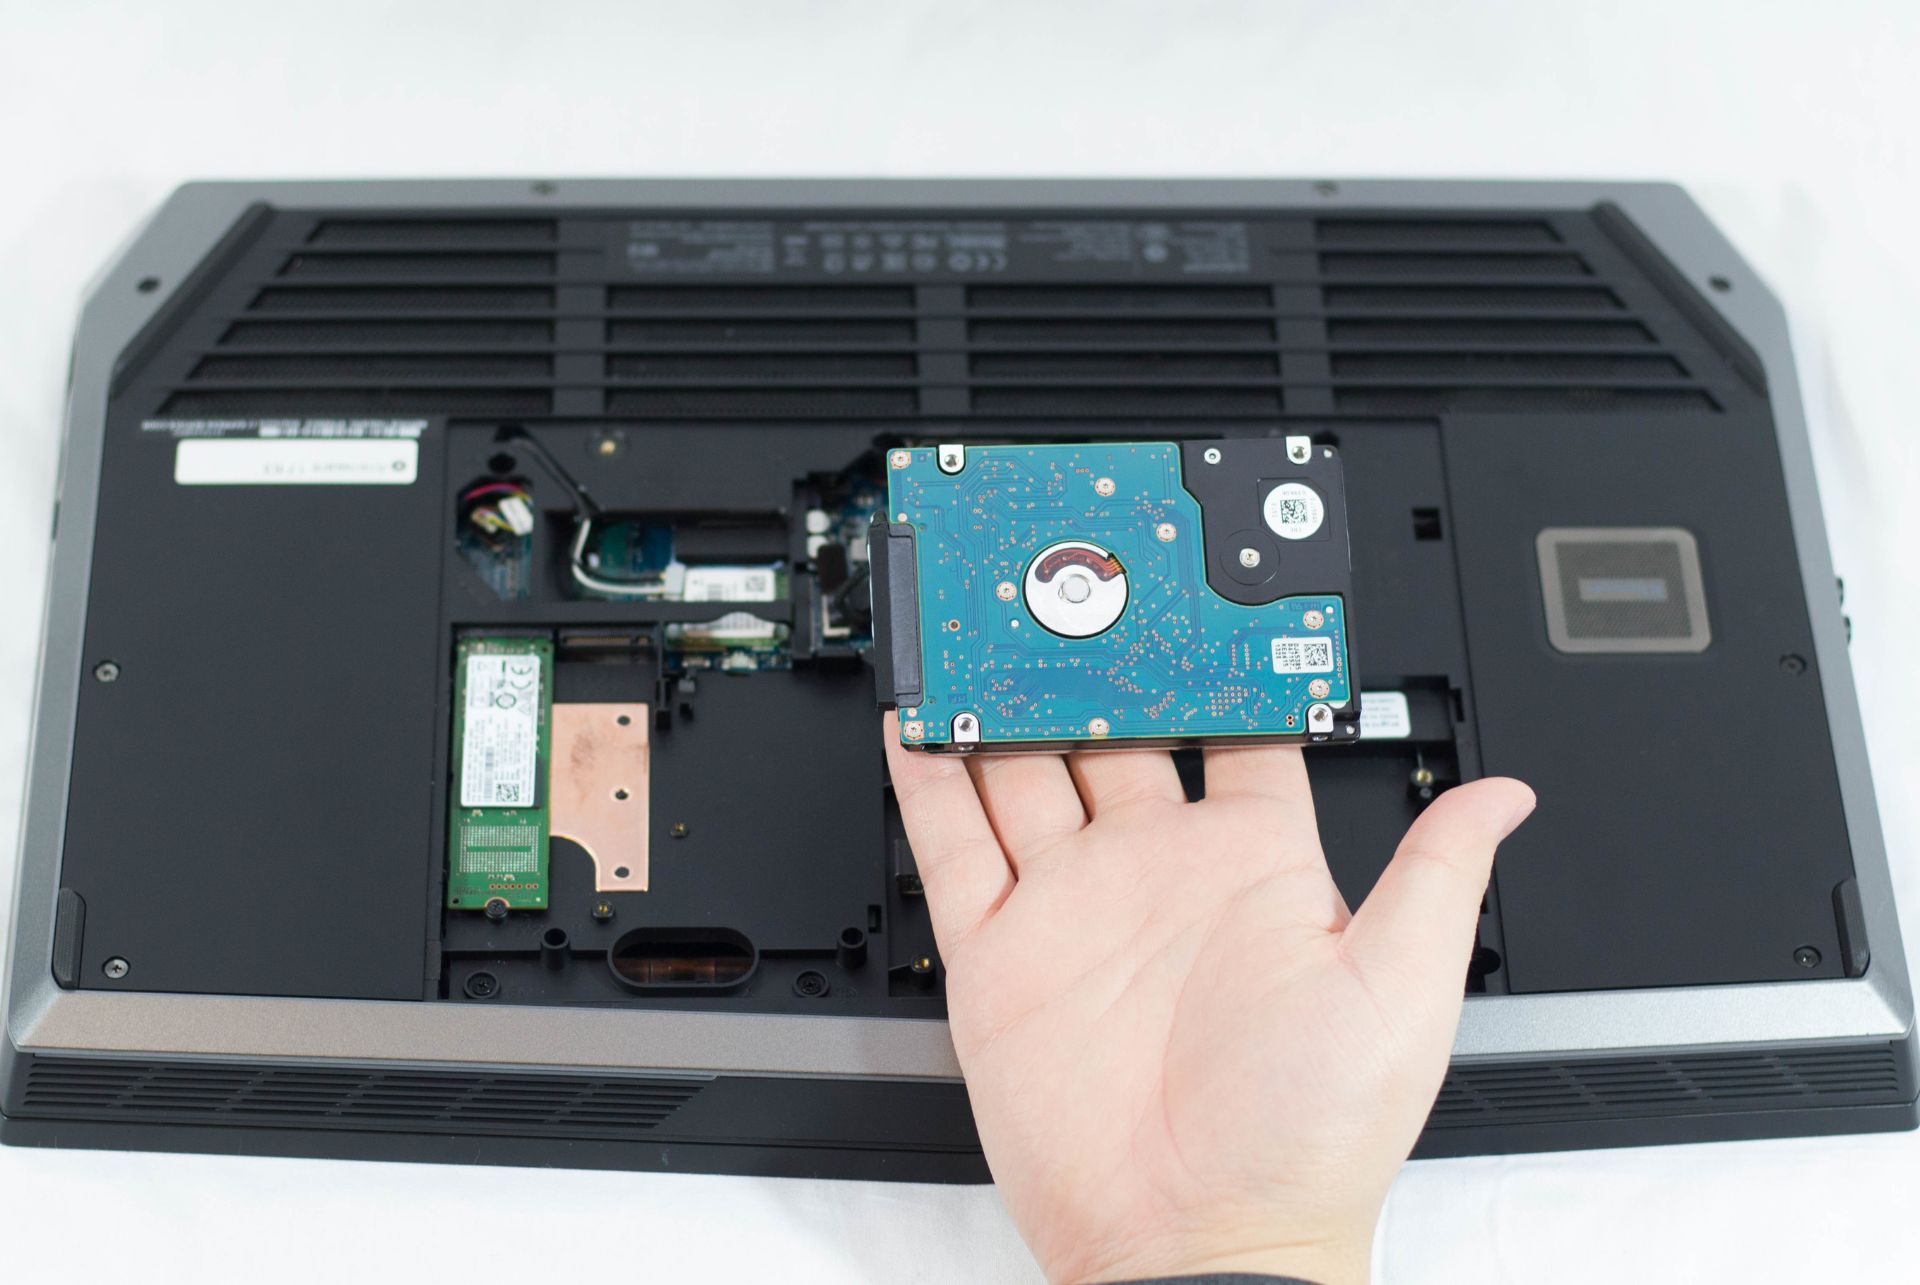
Step 10: Consider upgrading your hard drive or using cloud storage options
If you have followed the previous steps and still find that your hard disk drive is running out of space or not meeting your storage needs, it may be time to consider upgrading your hard drive or utilizing cloud storage options.
Upgrading your hard drive to a larger capacity drive can provide you with more space to store your files and applications. This option is especially beneficial if you have a lot of large multimedia files, such as videos or high-resolution images. Additionally, upgrading to a solid-state drive (SSD) can significantly improve your computer’s overall performance and speed.
Before upgrading your hard drive, it’s essential to make sure that your computer’s hardware and software support the new drive. Consult your computer’s manufacturer or a professional technician to ensure compatibility and receive guidance on the upgrade process.
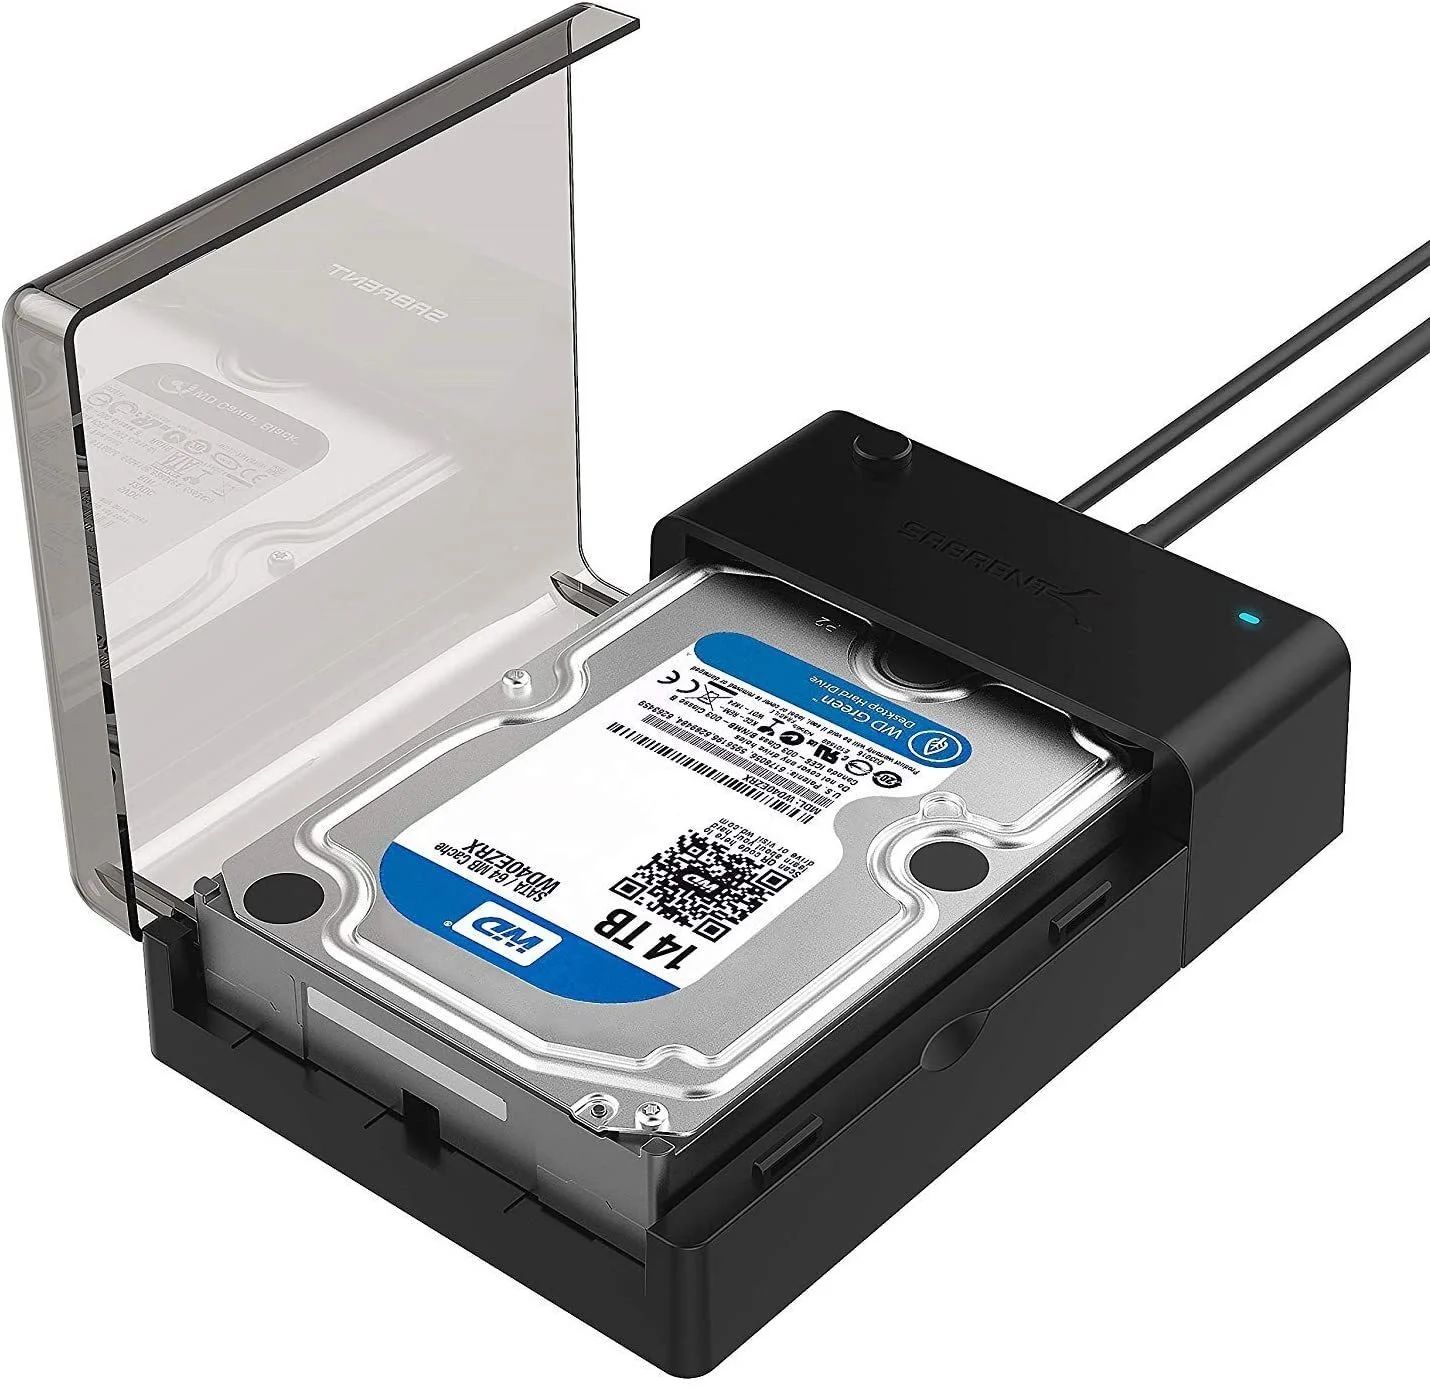
Alternatively, you can consider utilizing cloud storage options to offload some of your files and free up space on your hard drive. Cloud storage services, such as Google Drive, Dropbox, or Microsoft OneDrive, allow you to upload and store your files on remote servers accessible through an internet connection.
Cloud storage offers several advantages, including the ability to access your files from any device, automatic backups, and the flexibility to upgrade storage as needed. However, it’s important to consider the cost of these services and the security measures in place to protect your data.
When using cloud storage, it’s advisable to choose a reputable provider that employs strong encryption techniques and has a solid track record in data security.
By upgrading your hard drive or utilizing cloud storage options, you can expand your storage capacity and ensure that you have enough space to store your files and applications. Evaluate your needs and explore the available options to determine the best solution for you.
Remember to weigh the benefits and costs of each option and make an informed decision based on your specific requirements and budget.
Conclusion
Cleaning out your hard disk drive is an important task that should be performed regularly to maintain optimal performance and efficiency of your computer. By following the steps outlined in this guide, you can effectively free up valuable storage space, improve system performance, and keep your files organized.
Starting with backing up your files, uninstalling unnecessary programs, deleting temporary files, clearing your browser’s cache, removing duplicate files, emptying the Recycle Bin, running disk cleanup tools, checking for and removing malware, defragmenting your hard drive, and considering upgrading your hard drive or using cloud storage options, you can achieve a cleaner, more optimized system.
Remember to adapt these steps to suit your specific needs and operating system. Regular maintenance and periodic cleaning are key to ensuring that your hard disk drive remains clutter-free and runs smoothly.
Incorporate these steps into your routine maintenance practices, and you’ll be rewarded with a faster, more efficient computer and a hassle-free user experience.
Take the time to prioritize your files, streamline your software, and optimize your storage capacity. Your hard disk drive will thank you, and you’ll be able to fully enjoy the benefits of a clean and organized system.