Introduction
Welcome to this guide on how to reseat the internal hard disk drive for Alienware. If you’re experiencing issues with your Alienware computer’s hard disk drive, a simple reseating might be all it takes to resolve the problem. Whether you’re a tech-savvy enthusiast or a beginner, this guide will walk you through the step-by-step process of reseating the internal hard disk drive.
Alienware is a well-known brand when it comes to gaming laptops and desktops, and their machines are known for their performance and durability. However, like any electronic device, they can encounter issues over time. If you notice your Alienware computer freezing, crashing, or running slower than usual, it could be a sign that the internal hard disk drive needs to be reseated.
Reseating the hard disk drive refers to removing it from its current position and then reattaching it firmly and securely. This process ensures that the connections between the hard disk drive and the motherboard are stable and reliable. Loose connections can cause data transfer problems, leading to performance issues or even complete failure of the hard disk drive.
In the next section, we’ll explore why you might want to reseat the internal hard disk drive and understand the benefits it can provide for your Alienware computer.
What is a reseating of the internal hard disk drive?
A reseating of the internal hard disk drive involves removing the drive from its current position and then reinstalling it securely. This process ensures that the hard disk drive is properly connected to the motherboard, allowing for reliable data transmission and optimal performance.
Over time, due to various factors such as vibrations, temperature changes, and general wear and tear, the connections between the hard disk drive and the motherboard can become loose. This can lead to a range of issues, including slow performance, system crashes, or even complete failure of the hard disk drive.
By reseating the internal hard disk drive, you can eliminate potential problems caused by loose connections. The process involves opening your Alienware computer, locating the hard disk drive, removing it from its slot, and then reinstalling it securely. This ensures that the connections between the drive and the motherboard are tight and stable.
Reseating the internal hard disk drive is a relatively simple procedure that can be performed by both experienced users and beginners. However, it’s important to note that opening your computer may void your warranty, so if your computer is still covered by warranty, it’s advisable to contact your manufacturer or authorized service center for assistance.
Next, we’ll discuss why you might want to reseat the internal hard disk drive for your Alienware computer and the benefits it can provide.
Why would you want to reseat the internal hard disk drive?
If you’re experiencing performance issues or encountering errors with your Alienware computer, reseating the internal hard disk drive can be a valuable troubleshooting step. Here are some common reasons why you might want to reseat the internal hard disk drive:
- Improper connection: Over time, the connections between the hard disk drive and the motherboard can become loose. This can result in poor data transfer and cause performance issues such as slow boot times, application crashes, and system freezes. Reseating the hard disk drive helps ensure a secure and proper connection, minimizing these problems.
- Data corruption: Loose connections can also lead to data corruption and loss. If you’re experiencing file errors, missing files, or data that is unreadable or inaccessible, reseating the internal hard disk drive may help resolve these issues. By establishing a stable connection, you can prevent data corruption and ensure the integrity of your files.
- System crashes: A loose connection between the hard disk drive and the motherboard can result in intermittent power supply or disrupted data flow. This can cause system crashes and unexpected reboots. Reseating the internal hard disk drive can help stabilize the connection, reducing the likelihood of crashes and providing a more stable computing experience.
- Upgrading or replacing the hard disk drive: If you’re planning to upgrade your internal hard disk drive or replace it with a new one, reseating is necessary. By following the reseating process, you ensure that the new hard disk drive is properly installed and connected, allowing for smooth data transfer and optimal functioning.
It’s important to note that while reseating the internal hard disk drive can solve many issues related to loose connections, it may not resolve all hardware or software problems. If you have tried reseating the drive and are still experiencing issues with your Alienware computer, it may be necessary to seek further assistance from a professional technician or contact Alienware support for further guidance.
Next, we’ll explore the tools you’ll need to reseat the internal hard disk drive for your Alienware computer.
Tools needed for reseating the internal hard disk drive
Before you begin the process of reseating the internal hard disk drive for your Alienware computer, it’s important to gather the necessary tools. Having the right tools on hand will ensure a smooth and efficient reseating process. Here are the tools you’ll need:
- Screwdriver: You’ll typically need a Phillips screwdriver for removing and securing screws. Check the size of the screws on your Alienware computer to ensure you have the appropriate screwdriver.
- Anti-static wrist strap: This tool is optional but highly recommended. An anti-static wrist strap helps protect sensitive electronic components from static electricity. It grounds your body, preventing static discharge that can potentially damage the internal components of your computer.
- Anti-static mat or surface: Similarly, an anti-static mat or surface provides an additional layer of protection against static electricity. It’s a safe surface where you can place and work with the internal components without the risk of static damage.
- Small container or magnetic mat: To keep track of the screws and other small components that you’ll be removing, it’s helpful to have a small container or a magnetic mat. This ensures that the screws don’t get lost or misplaced during the reseating process.
- Clean, lint-free cloth: A clean, lint-free cloth is handy for wiping down surfaces and removing any dust or debris that may have accumulated. Keeping your computer components clean helps prevent any potential issues caused by dirt or dust particles.
- Optional: Plastic pry tools: Plastic pry tools can be useful for gently prying open the casing or releasing connectors. They help prevent damage to delicate components or scratching the surface of your computer.
By having these tools ready, you’ll be well-prepared to reseat the internal hard disk drive for your Alienware computer. It’s important to work in a well-lit and static-free environment to minimize the risk of equipment damage or static-related issues.
Now that you have the necessary tools, let’s move on to the step-by-step guide for reseating the internal hard disk drive.
Step-by-step guide to reseating the internal hard disk drive for Alienware
Reseating the internal hard disk drive for your Alienware computer may seem like a daunting task, but with the right instructions, it can be a straightforward process. Follow the steps below to reseat the internal hard disk drive:
- Power off your computer: Before you begin, make sure your computer is powered off and unplugged. This ensures your safety and prevents any potential damage to the internal components.
- Prepare your workspace: Find a clean and well-lit workspace where you can perform the reseating process. Use an anti-static mat, or at the very least, work on a non-static surface like a wooden table.
- Open the computer case: Depending on your Alienware model, you may need to remove screws or release latches to open the case. Refer to your computer’s manual or online resources for specific instructions on opening the case.
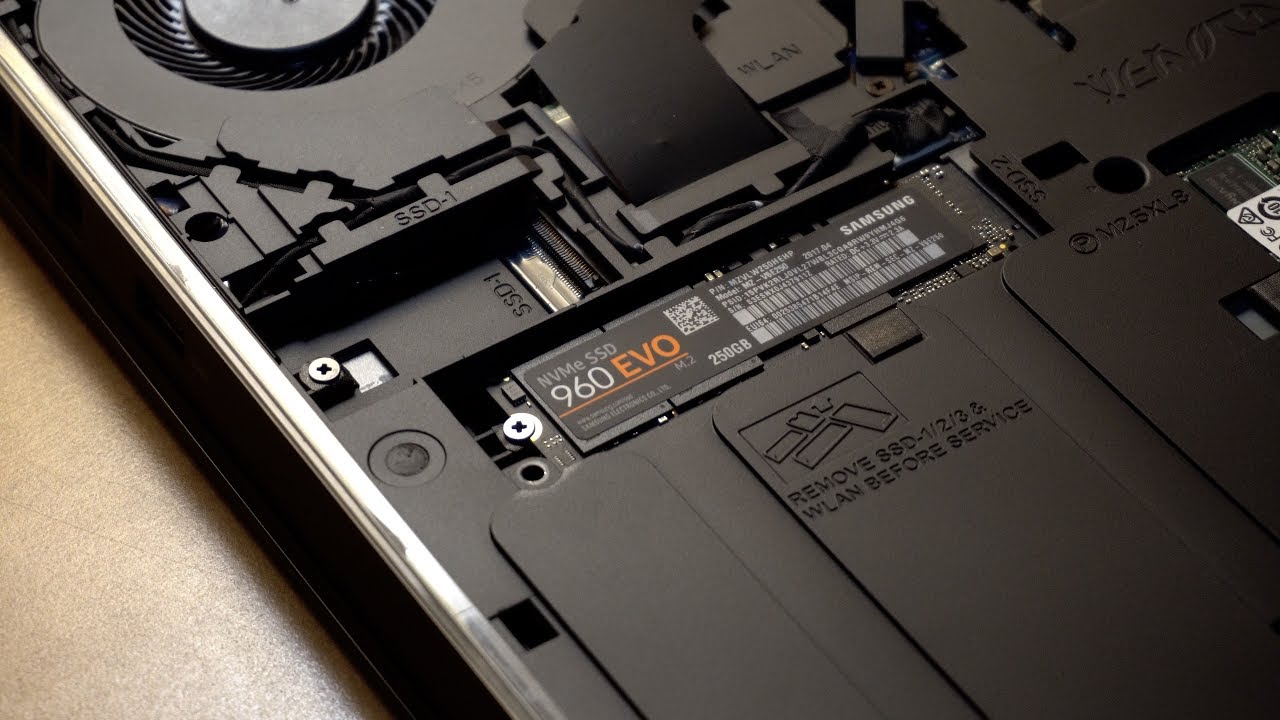
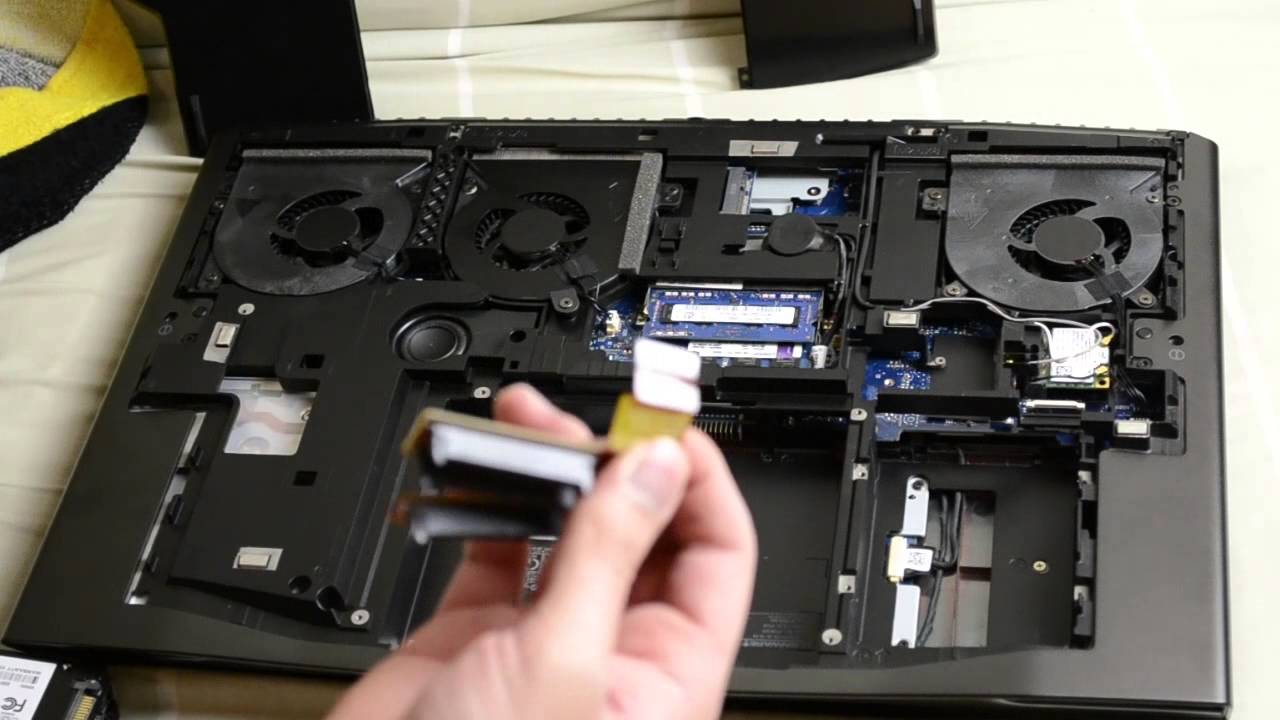
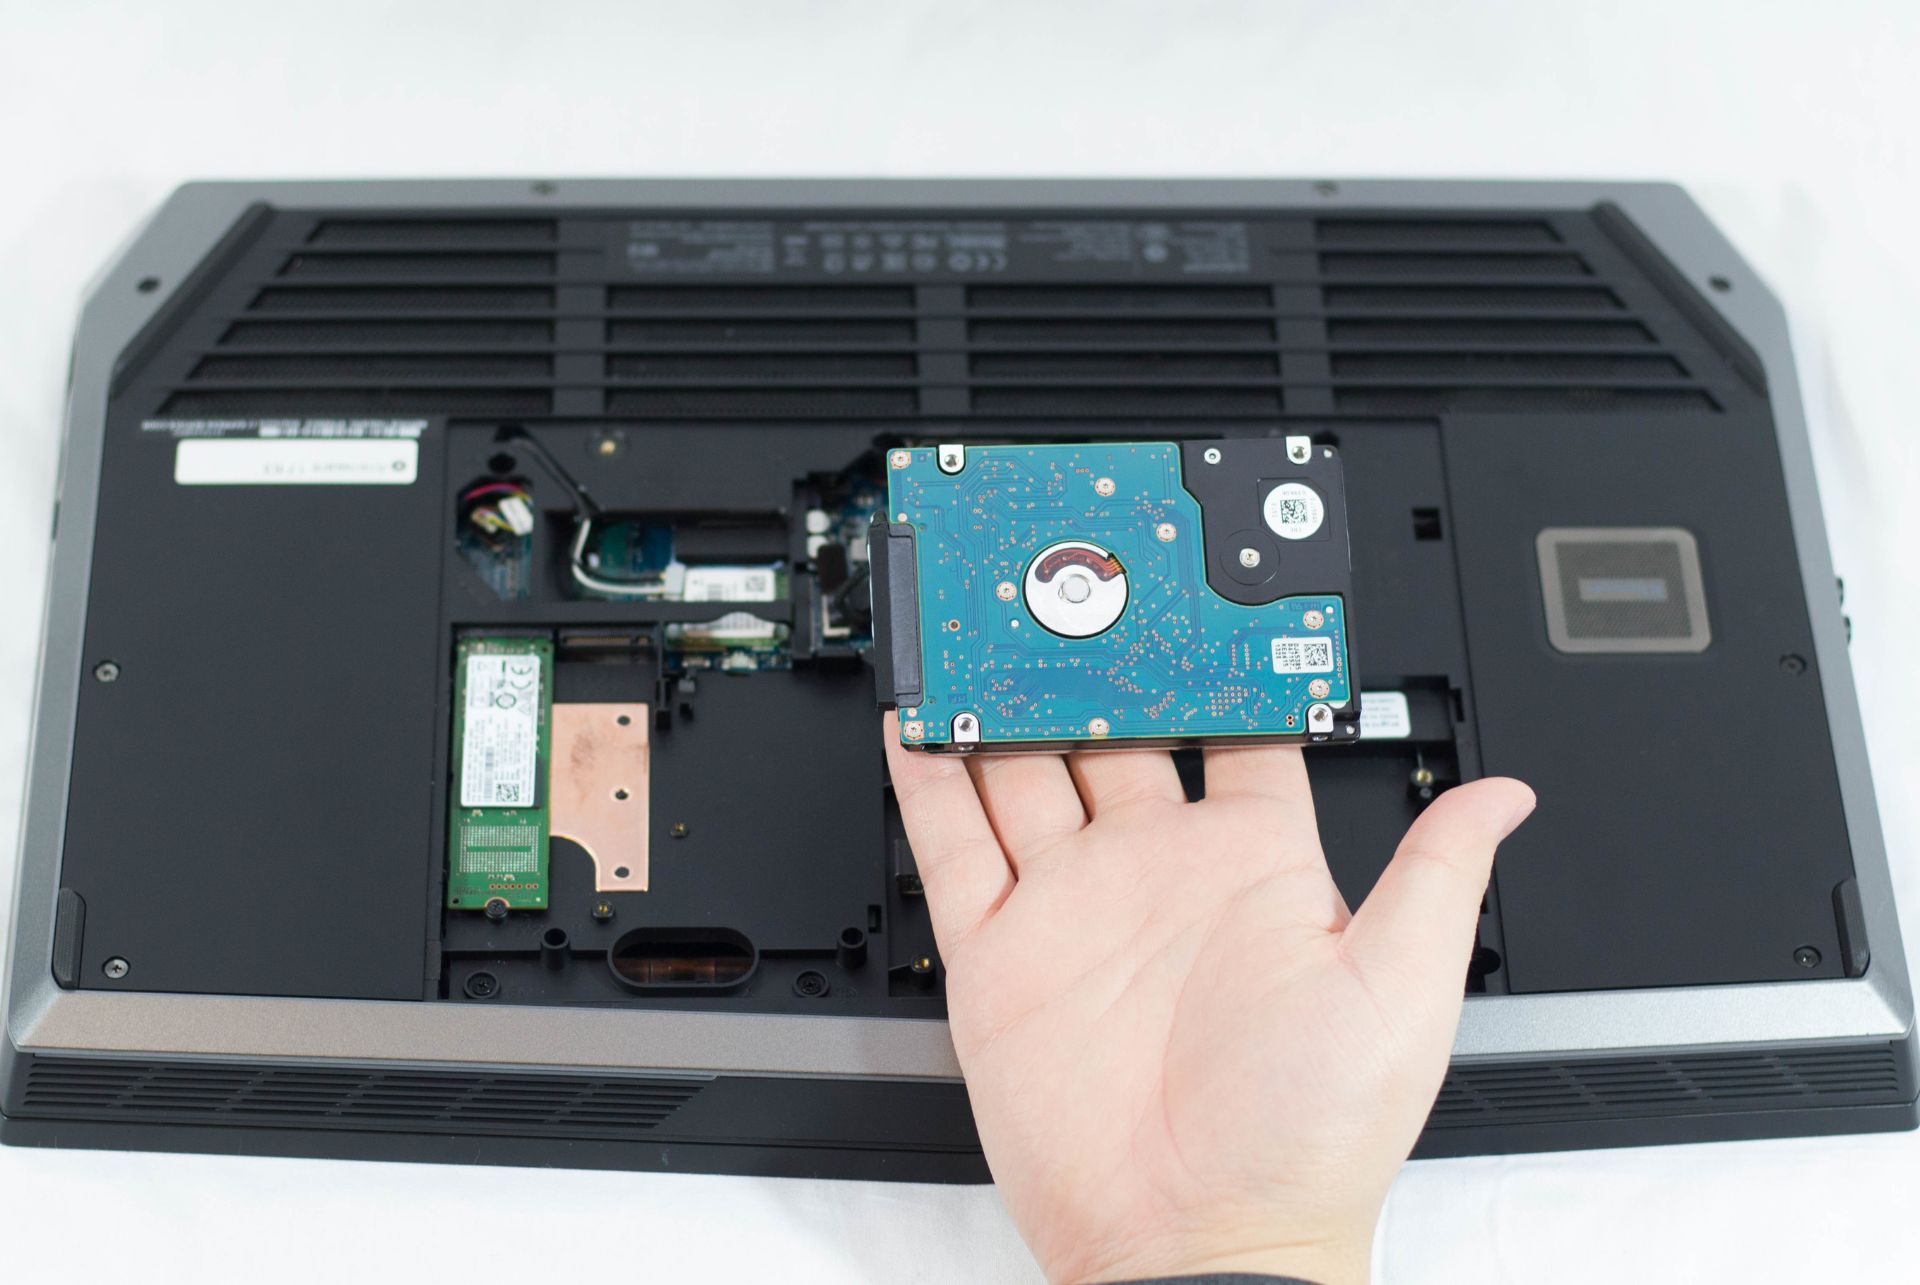
- Locate the hard disk drive: Once the case is open, locate the hard disk drive within your Alienware computer. It is usually a rectangular-shaped device secured with screws and connected to the motherboard with cables.
- Disconnect the cables: Gently disconnect the cables (SATA and power cables) from the hard disk drive. Take note of the orientation and position of the connectors to ensure correct reconnection later.
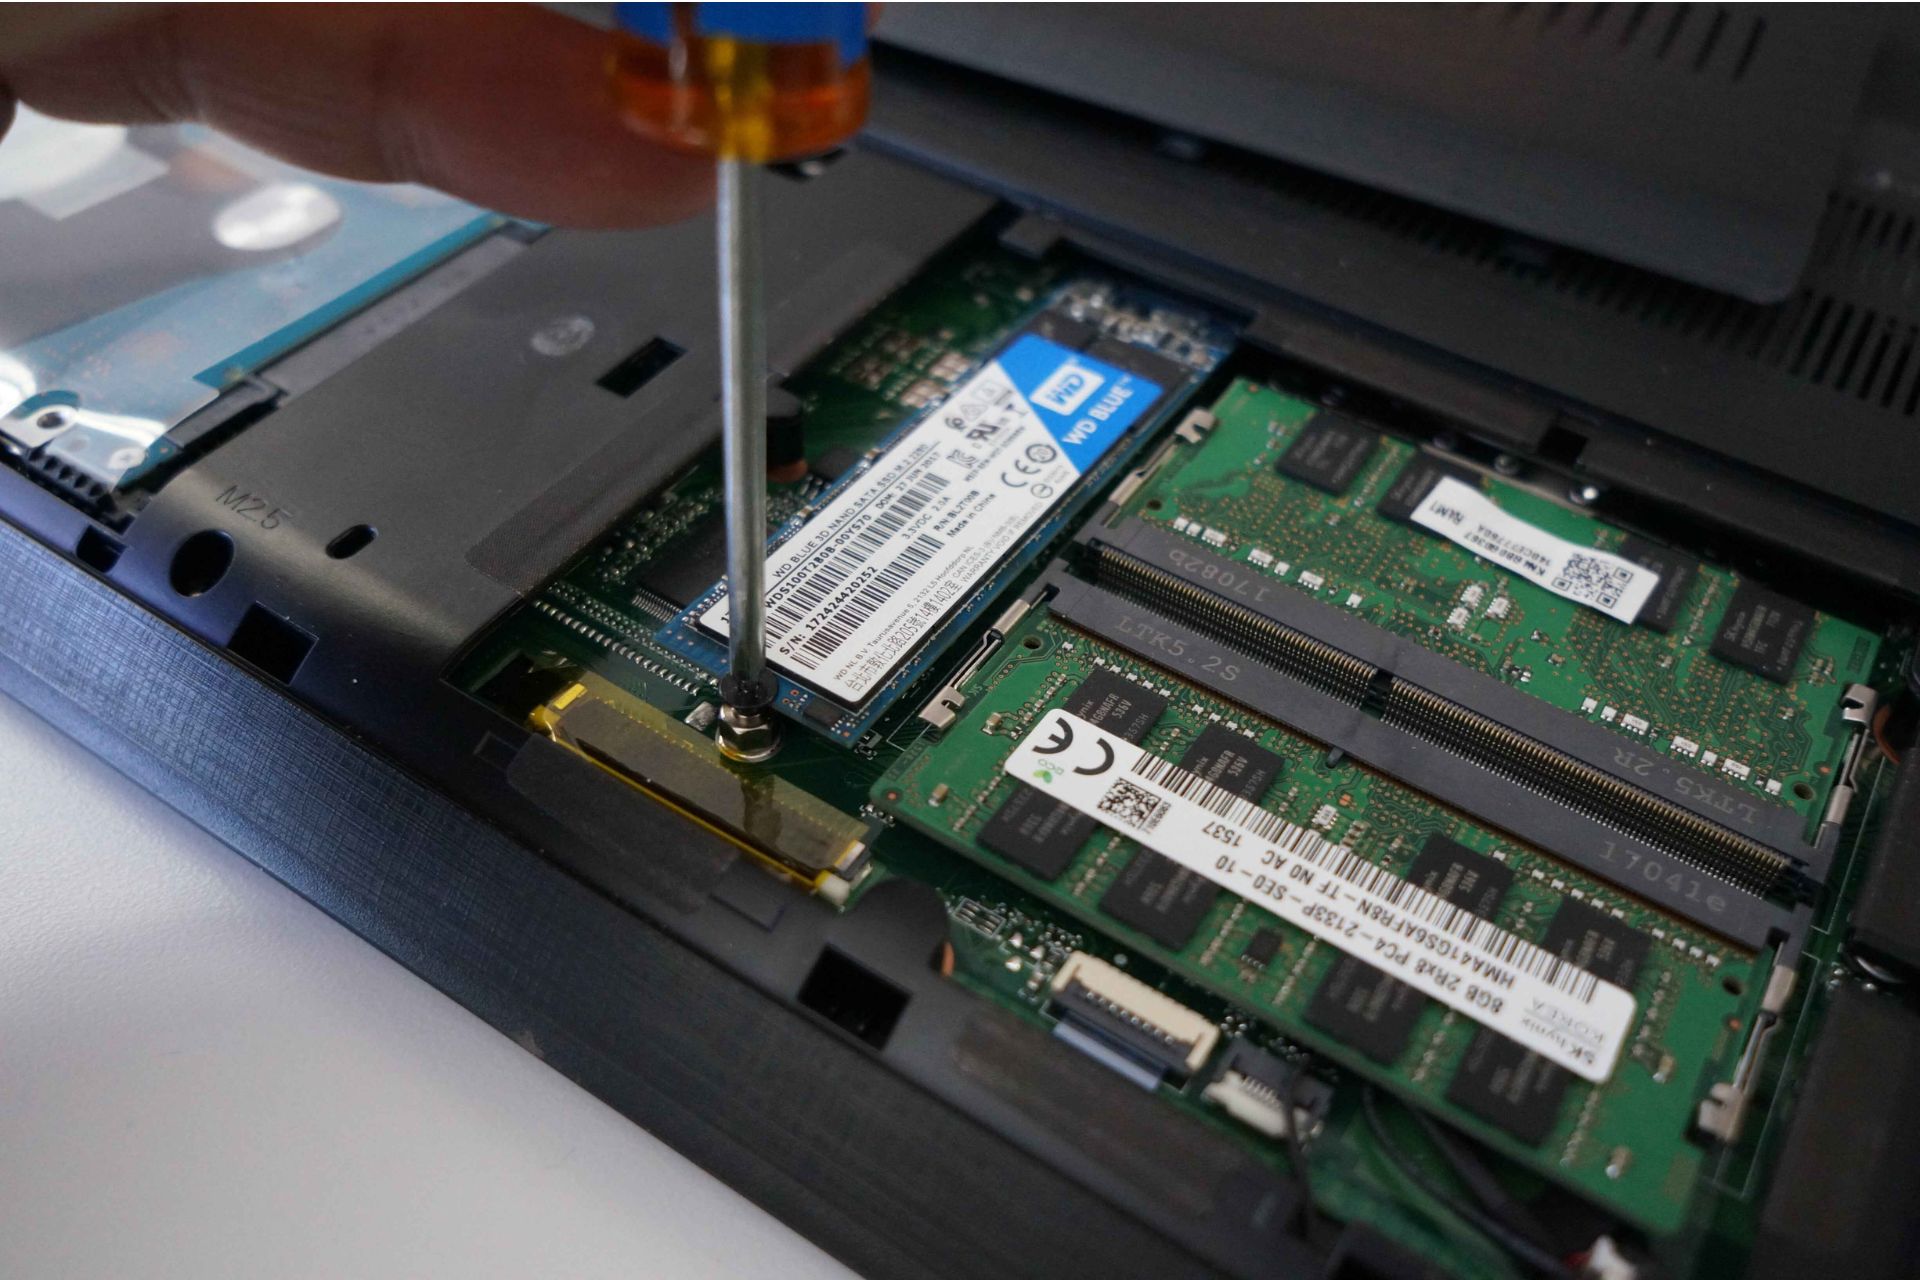
- Remove the screws: Use a Phillips screwdriver to remove the screws holding the hard disk drive in place. Set the screws aside in a safe container or on a magnetic mat to avoid misplacement.
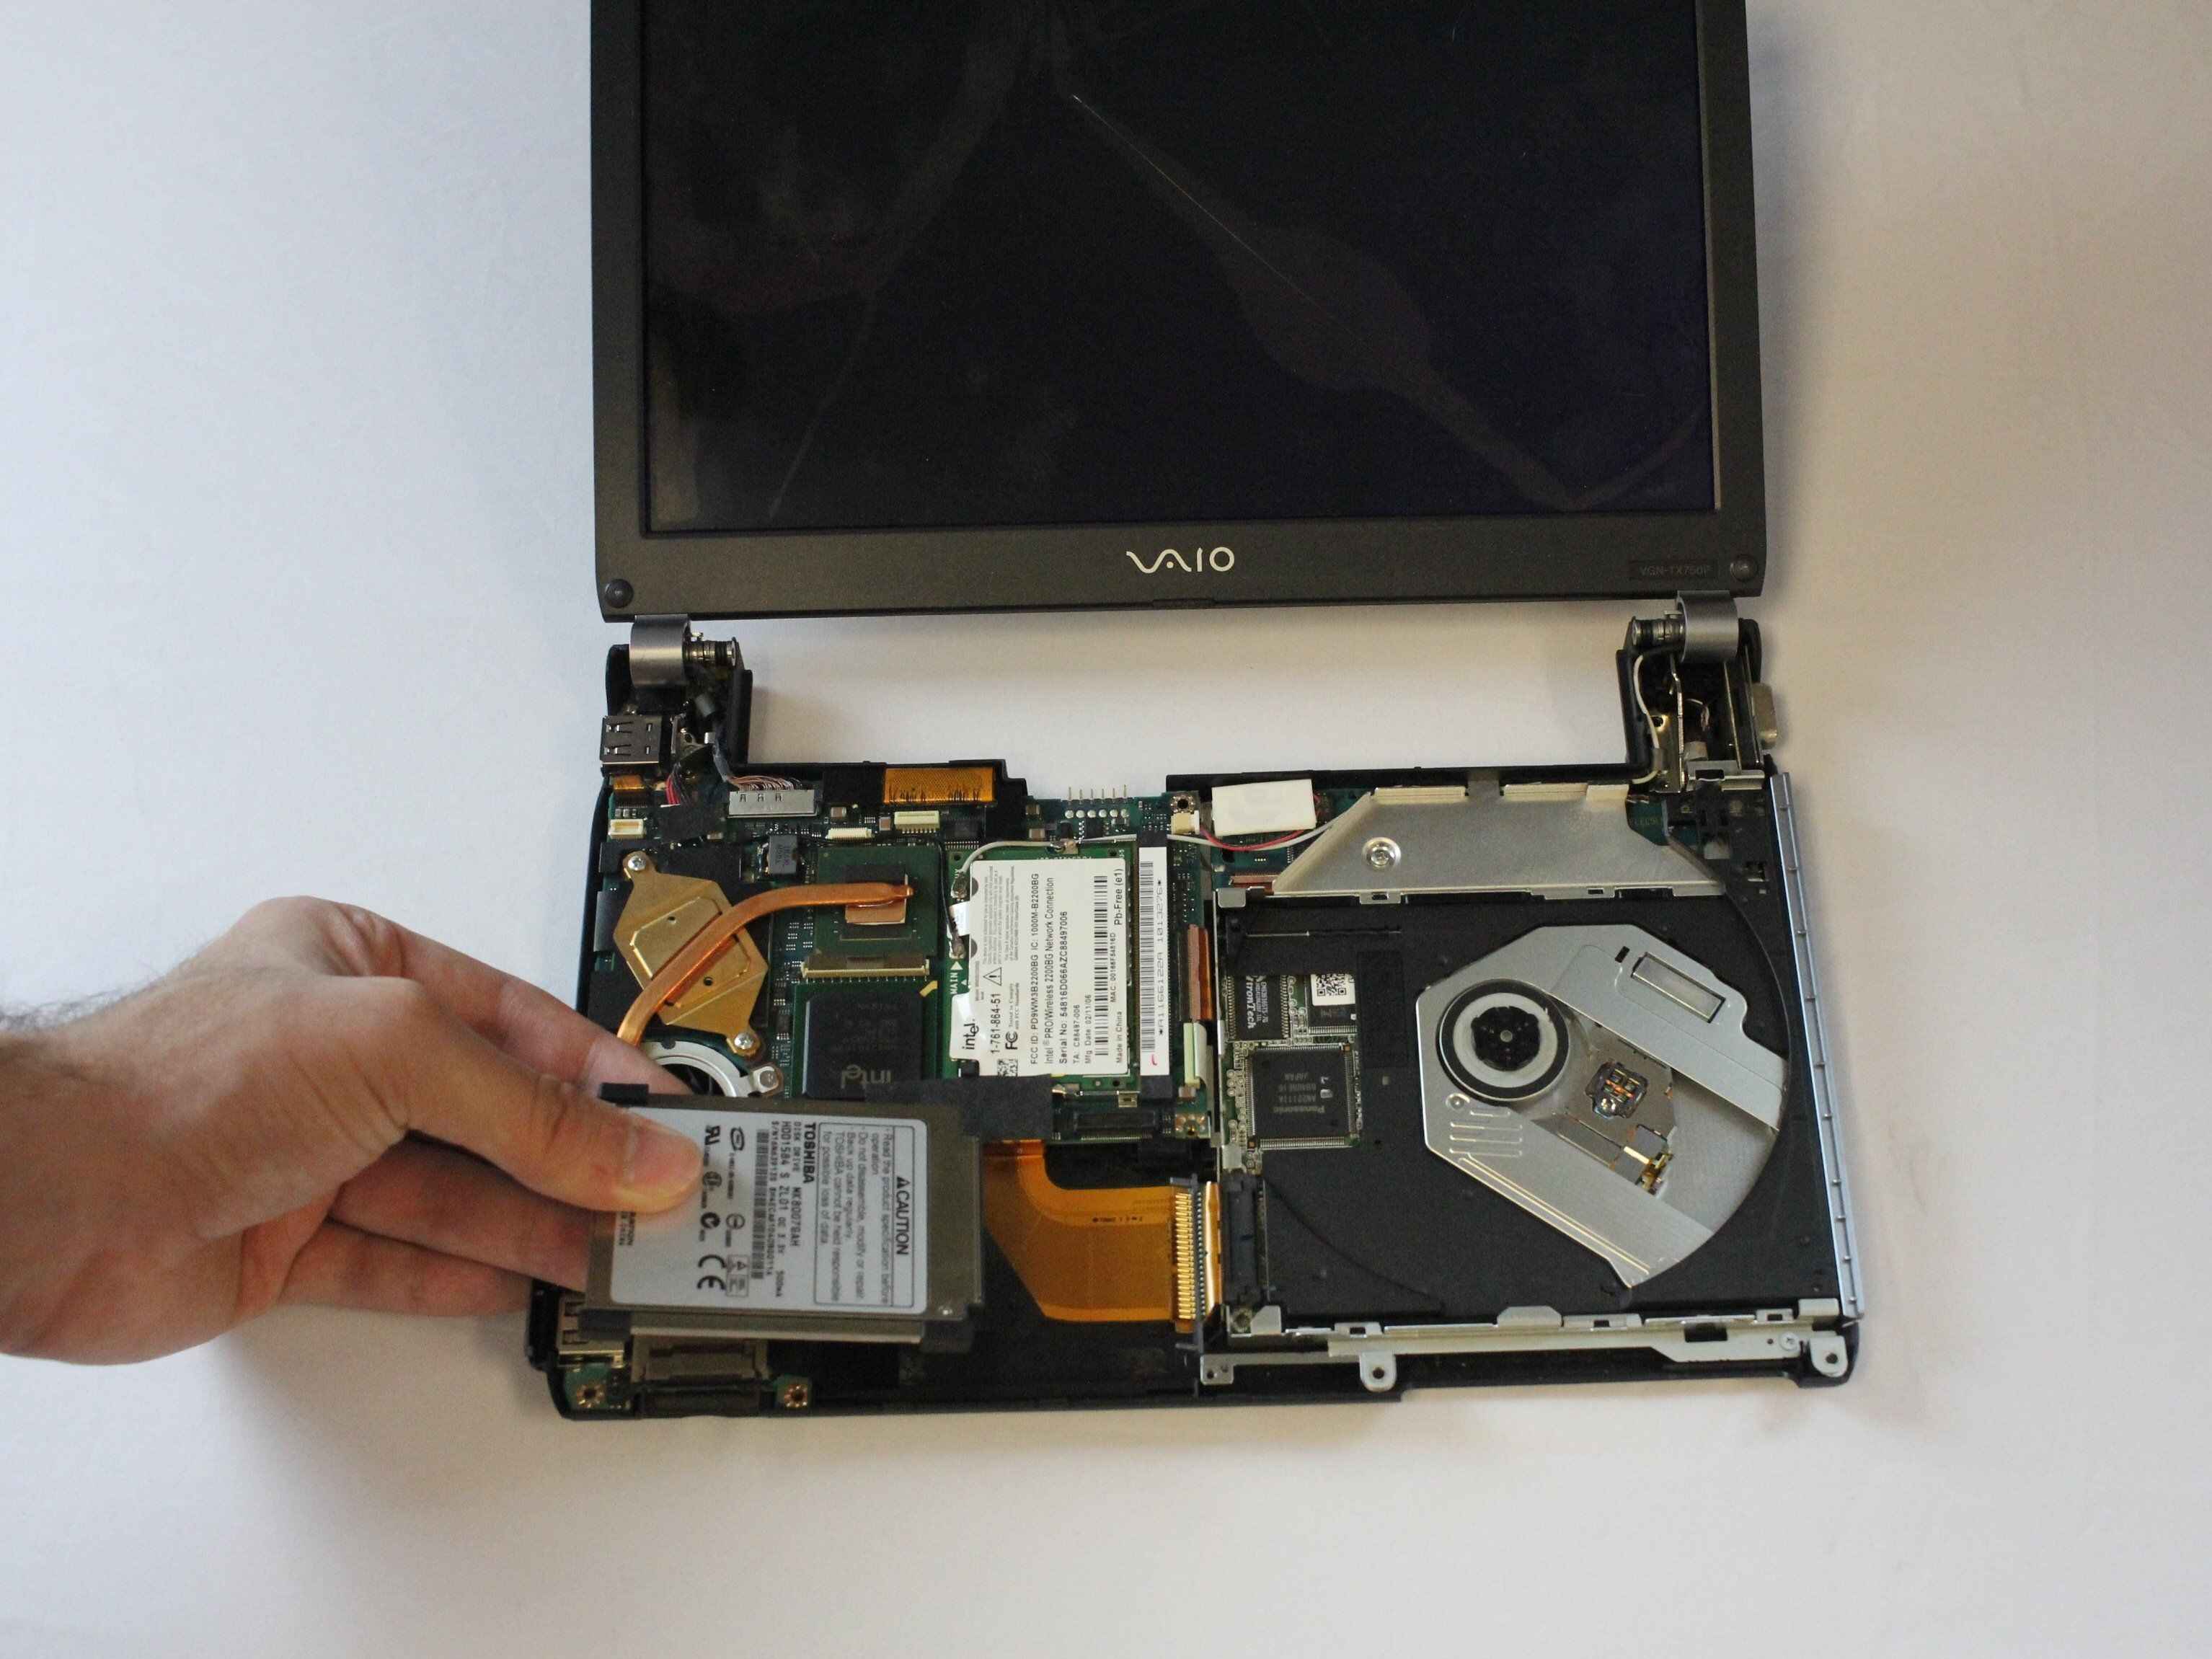
- Take out the hard disk drive: Carefully remove the hard disk drive from its slot by sliding it out or lifting it gently. Be mindful of any delicate connectors or components nearby.
- Reseat the hard disk drive: Set the hard disk drive back into the slot, ensuring it is aligned correctly. Gently push it in until it is securely seated in place. Make sure it is level and flush with the surrounding components.
- Secure the screws: Use the Phillips screwdriver to reattach the screws to secure the hard disk drive in place. Make sure the screws are tight, but be cautious not to overtighten.
- Reconnect the cables: Carefully reconnect the SATA and power cables to the hard disk drive, ensuring a snug and secure connection. Double-check the orientation and position of the connectors.
- Close the computer case: Once the hard disk drive is reseated and all cables are reconnected, carefully close the computer case. Secure it with screws or latches, following the instructions specific to your Alienware model.
- Power up your computer: Plug in your computer and power it on. Verify that the hard disk drive is recognized in the system BIOS or operating system.
By following these step-by-step instructions, you can successfully reseat the internal hard disk drive for your Alienware computer. Remember to take your time, be gentle with the components, and ensure proper connections. If you encounter any difficulties or have concerns, it’s always best to seek advice from a professional technician or contact Alienware support.
Now that you know how to reseat the internal hard disk drive, you can potentially resolve performance issues and enjoy a smoother computing experience with your Alienware computer.
Conclusion
Reseating the internal hard disk drive for your Alienware computer can be a simple yet effective solution to address performance issues and ensure a stable computing experience. By following the step-by-step guide provided in this article, you can confidently reseat the hard disk drive and establish secure connections with the motherboard.
A reseating process helps eliminate potential problems caused by loose connections, such as slow performance, system crashes, and data corruption. It can also be beneficial when upgrading or replacing the hard disk drive in your Alienware computer.
Remember to gather the necessary tools, such as a screwdriver, anti-static wrist strap, clean cloth, and container for screws. Work in a well-lit and static-free environment to minimize the risk of equipment damage. If you’re unsure or uncomfortable performing the reseating process, it’s recommended to seek assistance from a professional technician or contact Alienware support.
By reseating the internal hard disk drive, you can potentially resolve various issues and enjoy improved system performance. It’s a cost-effective troubleshooting step that can save you time and money compared to more complicated hardware repairs or replacements.
Thank you for reading this guide on how to reseat the internal hard disk drive for Alienware. We hope that this article has provided you with the knowledge and confidence to undertake the reseating process. Remember to always exercise caution and follow the manufacturer’s guidelines when working with sensitive computer components.
Enjoy a smooth and reliable computing experience with your Alienware computer!