Introduction
Welcome to our guide on how to mount an external hard drive on Windows 10! If you’re looking to expand your storage space or simply want to back up your important files, an external hard drive is a convenient solution. However, before you can start using it, you’ll need to properly mount it on your Windows 10 computer. In this article, we’ll walk you through the step-by-step process to ensure a hassle-free experience.
Mounting an external hard drive allows your computer to recognize and access the device as a separate storage unit. Once mounted, you’ll be able to transfer files, install programs, and perform other operations just like you would with an internal hard drive. Whether you’re using a USB, Thunderbolt, or SATA external hard drive, the process remains the same.
Windows 10 offers a built-in Disk Management tool that allows you to easily initialize, format, and assign a drive letter to your external hard drive. We’ll guide you through each of these steps, ensuring that your external hard drive is properly set up and ready to use.
Please note that the steps provided in this guide are specifically for Windows 10. If you’re using a different operating system, the process may vary slightly.
Now that you have a brief understanding of what mounting an external hard drive entails, let’s dive into the step-by-step instructions to get your drive up and running in no time.
Step 1: Connect the External Hard Drive to Your Computer
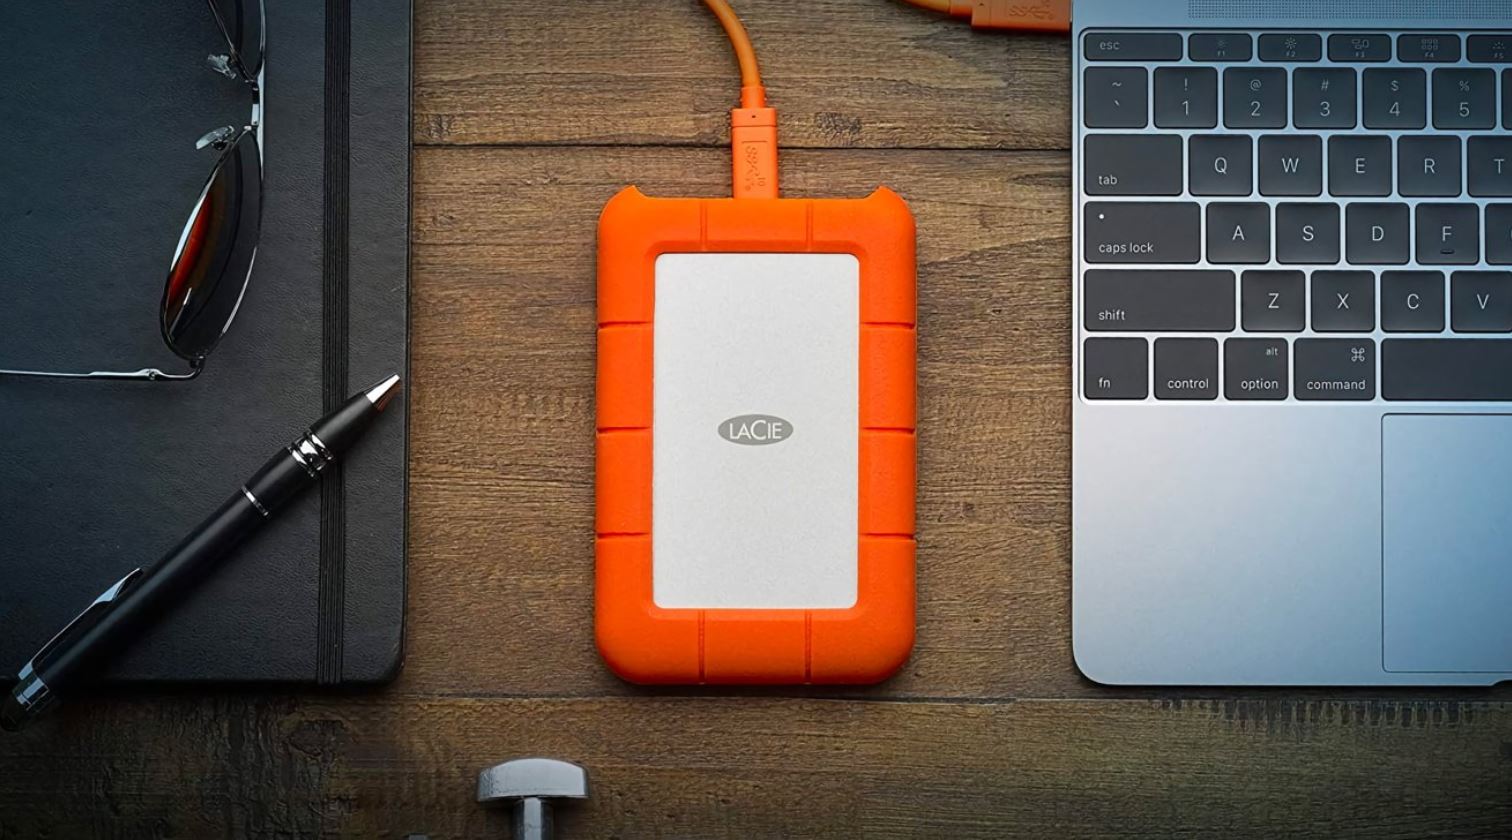
The first step in mounting an external hard drive on Windows 10 is to physically connect the device to your computer. Depending on the type of external hard drive you’re using, you may need to use a USB cable, Thunderbolt cable, or SATA cable to establish the connection.
Here’s a breakdown of the most common types of connections:
- USB: This is the most common connection type for external hard drives. Simply locate an available USB port on your computer and plug one end of the USB cable into the external hard drive and the other end into the computer.
- Thunderbolt: If your external hard drive supports Thunderbolt technology and your computer has a Thunderbolt port, you can use a Thunderbolt cable to connect the drive to your computer.
- SATA: Some external hard drives come with a SATA interface. To connect it to your computer, open your computer’s case, locate an available SATA port on your motherboard, and connect the drive using a SATA cable. Make sure to power off your computer and disconnect the power cable before opening the case.
Once you’ve connected the external hard drive to your computer, ensure that the connections are secure. If necessary, use any included power cables or adapters to provide power to the drive.
Your computer should automatically detect the presence of the external hard drive once it’s connected. However, if it doesn’t appear in File Explorer or Disk Management, try the following troubleshooting steps:
- Make sure the drive is properly connected and powered on.
- Try a different USB port or cable to rule out any issues with the connection.
- Restart your computer to refresh the USB ports and system configurations. It’s also a good idea to update your USB drivers to ensure compatibility.
Once the external hard drive is successfully connected and recognized by your computer, you’re ready to move on to the next step.
Step 2: Open Disk Management
After connecting the external hard drive to your computer, the next step is to open Disk Management. This is where you’ll be able to view and manage the connected drives on your system.
Here’s how you can access Disk Management:
- Right-click on the “Start” button located at the bottom-left corner of your screen. A context menu will appear.
- From the context menu, select “Disk Management.” This will open the Disk Management snap-in.
- Alternatively, you can press the “Windows + X” keys on your keyboard and choose “Disk Management” from the power user menu that appears.
Once Disk Management opens, you’ll see a list of all the drives connected to your computer, including the newly connected external hard drive. The drives will be listed along with their status, capacity, and other relevant details.
If your external hard drive appears in the list, you can proceed to the next steps. However, if the drive doesn’t appear in Disk Management, try the following troubleshooting steps:
- Refresh the Disk Management window by going to “Action” in the top menu bar and selecting “Refresh.”
- Ensure that the external hard drive is correctly connected and powered on.
- Try using a different USB port or cable to rule out any issues with the connection.
- Restart your computer to refresh the USB ports and system configurations.
If none of these steps resolve the issue and the drive still doesn’t appear in Disk Management, there may be a problem with either the drive or your computer’s USB ports. In such cases, it’s advisable to consult a professional or contact the manufacturer for further assistance.
Once you have successfully opened Disk Management and located your external hard drive, you’re ready to move on to the next step of initializing the drive.
Step 3: Initialize the External Hard Drive
After opening Disk Management and locating your external hard drive, the next step is to initialize the drive. Initializing the drive prepares it for use and allows Windows to recognize it as a valid storage device.
Follow the steps below to initialize the external hard drive:
- Right-click on the unallocated space of your external hard drive in Disk Management. Select “Initialize Disk” from the context menu.
- In the Initialize Disk window, you will see a list of disks available for initialization. Ensure that the correct disk (the one corresponding to your external hard drive) is selected.
- Choose the partition style for the drive. The two options are MBR (Master Boot Record) and GPT (GUID Partition Table). MBR is suitable for most drives, while GPT is recommended for drives larger than 2TB or for systems that require UEFI boot mode.
- Click on the “OK” button to start the initialization process. This will initialize the external hard drive and prepare it for partitioning.
Note: Initializing the drive will erase any existing data on it. If you have important data on the drive, make sure to back it up before proceeding with the initialization process.
Once the initialization process is complete, you will see that the status of the drive changes from “Unallocated” to “Basic” in Disk Management. Now you can proceed to create a new partition on the external hard drive.
If you encounter any issues during the initialization process, such as an error message or the inability to initialize the drive, try the following troubleshooting steps:
- Ensure that you have administrative privileges on your computer.
- Make sure the drive is properly connected and powered on.
- If you’re initializing a drive that has been previously used on a different operating system or computer, it might have a conflicting partition format. In such cases, you may need to delete the existing partitions on the drive before initializing it.
- If you’re still experiencing difficulties, it’s recommended to seek assistance from a computer technician or the manufacturer of the external hard drive.
Once you have successfully initialized the external hard drive, you’re ready to move on to the next step of creating a new partition.
Step 4: Create a New Partition
After initializing the external hard drive, the next step is to create a new partition on the drive. A partition is a logical division of a disk that acts as a separate storage unit. Creating a partition allows you to organize and manage the space on your external hard drive more efficiently.
Follow the steps below to create a new partition on your external hard drive:
- Right-click on the “Unallocated” space of your external hard drive in Disk Management. Select “New Simple Volume” from the context menu that appears.
- The New Simple Volume Wizard will open. Click “Next” to proceed.
- Specify the size for the new partition. By default, the maximum size available is already selected. If you want to create multiple partitions, you can adjust the size according to your preference.
- Select a drive letter to assign to the new partition. You can choose any available letter from the drop-down menu.
- Choose the file system format for the partition. The most commonly used file system for Windows is NTFS. If you plan to use the external hard drive on other operating systems, consider selecting exFAT for better compatibility.
- Provide a volume label, or you can leave it as the default name assigned by Windows.
- Check the “Perform a quick format” option if you want to speed up the formatting process. However, if you want to perform a more thorough format that checks for bad sectors, leave this option unchecked.
- Click “Next” to proceed.
- Review the summary of the new partition settings. If everything appears to be correct, click “Finish” to create the new partition on your external hard drive.
Once the new partition is created, you will see it listed in Disk Management with the assigned drive letter and the file system format. The partition is now ready to be used for storing files and data.
If you encounter any issues during the partition creation process or receive any error messages, try the following troubleshooting steps:
- Ensure that you have administrative privileges on your computer.
- Make sure the drive is properly connected and initialized.
- If you encounter formatting errors, it’s possible that the drive has bad sectors or other issues. In such cases, you may need to run disk repair tools or seek professional assistance.
Once you have successfully created a new partition on your external hard drive, you’re ready to move on to the next step of assigning a drive letter.
Step 5: Assign a Drive Letter
After creating a new partition on your external hard drive, the next step is to assign a drive letter to it. A drive letter serves as a unique identifier for the partition and allows you to easily access and manage it in the Windows file system.
Follow the steps below to assign a drive letter to the new partition:
- Open Disk Management if it’s not already open.
- Locate the newly created partition on your external hard drive.
- Right-click on the partition and select “Change Drive Letter and Paths” from the context menu.
- In the window that appears, click on the “Add” button.
- Select the “Assign the following drive letter” option.
- Choose a drive letter from the drop-down menu. You can select any available letter that you prefer.
- Click “OK” to assign the drive letter to the partition.
Once the drive letter is assigned, you will see it displayed next to the partition in Disk Management. The assigned drive letter will also appear in File Explorer, allowing you to easily access and manage the external hard drive.
If the option to assign a drive letter is grayed out or unavailable, try the following troubleshooting steps:
- Ensure that you have administrative privileges on your computer.
- Make sure the partition is properly created and formatted.
- If the partition is already assigned a drive letter but not showing up in File Explorer, you can try changing the drive letter to a different one to resolve any conflicts.
- If the issue persists, there may be a problem with the partition or the external hard drive itself. Consider consulting a professional or contacting the manufacturer for further assistance.
Once you have successfully assigned a drive letter to your new partition, you’re ready to move on to the next step of formatting the external hard drive.
Step 6: Format the External Hard Drive
After assigning a drive letter to the new partition on your external hard drive, the next step is to format the drive. Formatting prepares the drive for data storage by creating a file system and file structure. It ensures compatibility with the Windows operating system and provides a clean storage space for your files.
Follow the steps below to format the external hard drive:
- Open File Explorer on your Windows 10 computer.
- Locate the newly assigned drive letter for your external hard drive. You will see it listed under “This PC” or “Computer” section.
- Right-click on the drive letter and select “Format” from the context menu.
- In the Format window, you can choose the file system for your external hard drive. The most commonly used file system for Windows is NTFS, which supports larger file sizes, improved security, and other advanced features. Alternatively, you can choose exFAT for cross-platform compatibility or FAT32 for compatibility with older systems.
- Specify a volume label for your external hard drive. This is the name that will be displayed when you view the drive in File Explorer.
- Ensure that the “Quick Format” option is selected if you want to speed up the formatting process.
- Click on the “Start” button to initiate the formatting process.
- A warning message will appear stating that all data on the drive will be erased. Make sure you have a backup of any important files before proceeding.
- Click “OK” to confirm and begin the formatting process.
- Wait for the formatting process to complete. The duration will depend on the size of the external hard drive and the selected formatting options.
- Once the formatting is complete, you will see a message indicating that the format was successful.
After formatting, your external hard drive is now ready to be used for storing files and data. The drive will appear in File Explorer with the assigned drive letter and the new file system format.
If you encounter any issues during the formatting process or receive any error messages, try the following troubleshooting steps:
- Ensure that you have administrative privileges on your computer.
- Make sure the external hard drive is properly connected and assigned a drive letter.
- If the formatting process takes an unusually long time or displays error messages, there may be a problem with the drive. Try disconnecting and reconnecting the drive or using a different USB port. If the issue persists, contact the manufacturer for further assistance.
Once you have successfully formatted your external hard drive, it’s now ready to store and manage your files according to your needs.
Step 7: Eject and Safely Remove the External Hard Drive
After using your external hard drive, it’s important to properly eject and safely remove it from your computer to prevent data loss or corruption. This step ensures that any active processes are completed, and all data is written to the drive before it is disconnected.
Follow the steps below to eject and safely remove your external hard drive:
- Close any open files or programs that are using the external hard drive.
- Locate the external hard drive in File Explorer.
- Right-click on the drive and select “Eject” or “Safely Remove Hardware and Eject Media” from the context menu.
- A notification will appear, indicating that it is safe to remove the device. This means that all pending write operations have been completed, and it is now safe to disconnect the drive.
- Wait for the notification to disappear or for the indicator light on the external hard drive to stop flashing.
- Gently unplug the USB or power cable from the external hard drive, depending on the connection type.
It’s important to note that abruptly disconnecting the external hard drive without following the proper ejecting process can lead to data loss, file corruption, or even physical damage to the drive. Always make it a habit to safely remove the device before unplugging it.
If you encounter any issues during the ejecting process or the external hard drive fails to eject, try the following troubleshooting steps:
- Ensure that all files and programs are closed and no active processes are running that utilize the external hard drive.
- Try disconnecting and reconnecting the USB or power cable for the external hard drive.
- If the external hard drive still fails to eject, restart your computer and try the ejecting process again.
- If all else fails, you can safely remove the drive by shutting down your computer or putting it to sleep mode, ensuring that no activities are occurring on the drive, and then unplugging the device.
By following the proper procedure to eject and safely remove your external hard drive, you can minimize the risk of data loss or damage to the drive.
Conclusion
Congratulations! You have successfully learned how to mount an external hard drive on Windows 10. By following the step-by-step instructions in this guide, you can connect, initialize, create partitions, assign drive letters, format, and safely remove your external hard drive with ease.
Mounting an external hard drive allows you to expand your storage space, backup important files, and transfer data between different devices. Whether you’re using a USB, Thunderbolt, or SATA external hard drive, the process remains the same on Windows 10.
Remember to follow the proper procedures when connecting and disconnecting your external hard drive to avoid data loss or drive damage. Always ensure that the drive is properly initialized, partitioned, and formatted for optimal performance and compatibility.
If you encounter any issues during the mounting process or have specific requirements for your external hard drive, it is recommended to consult the manufacturer’s documentation or seek further assistance from a professional technician.
Now that you have the knowledge and skills to mount an external hard drive on Windows 10, you can take full advantage of the extra storage space and enhance your data management capabilities.


