Introduction
An external hard drive is a convenient and reliable storage solution for individuals who need to store and access large amounts of data. Whether you’re looking to free up some space or simply organizing your files, knowing how to delete files from your external hard drive is an essential skill.
In this guide, we will walk you through the step-by-step process of deleting files from your external hard drive. Whether you’re using a Windows computer or a Mac, the process is straightforward and can be completed in just a few minutes.
Before getting started, it’s important to understand that deleting files from an external hard drive is a permanent action. Once you delete a file, it will be removed from the hard drive and cannot be recovered unless you have a backup. Therefore, it’s crucial to double-check your selections before proceeding with the deletion process.
Additionally, it’s worth noting that the steps in this guide may vary slightly depending on your operating system and any specific software you have installed. However, the overall process remains similar across different platforms.
Now that we’ve covered the basics, let’s dive into the step-by-step instructions on how to delete files from your external hard drive.
Step 1: Connect your external hard drive to your computer
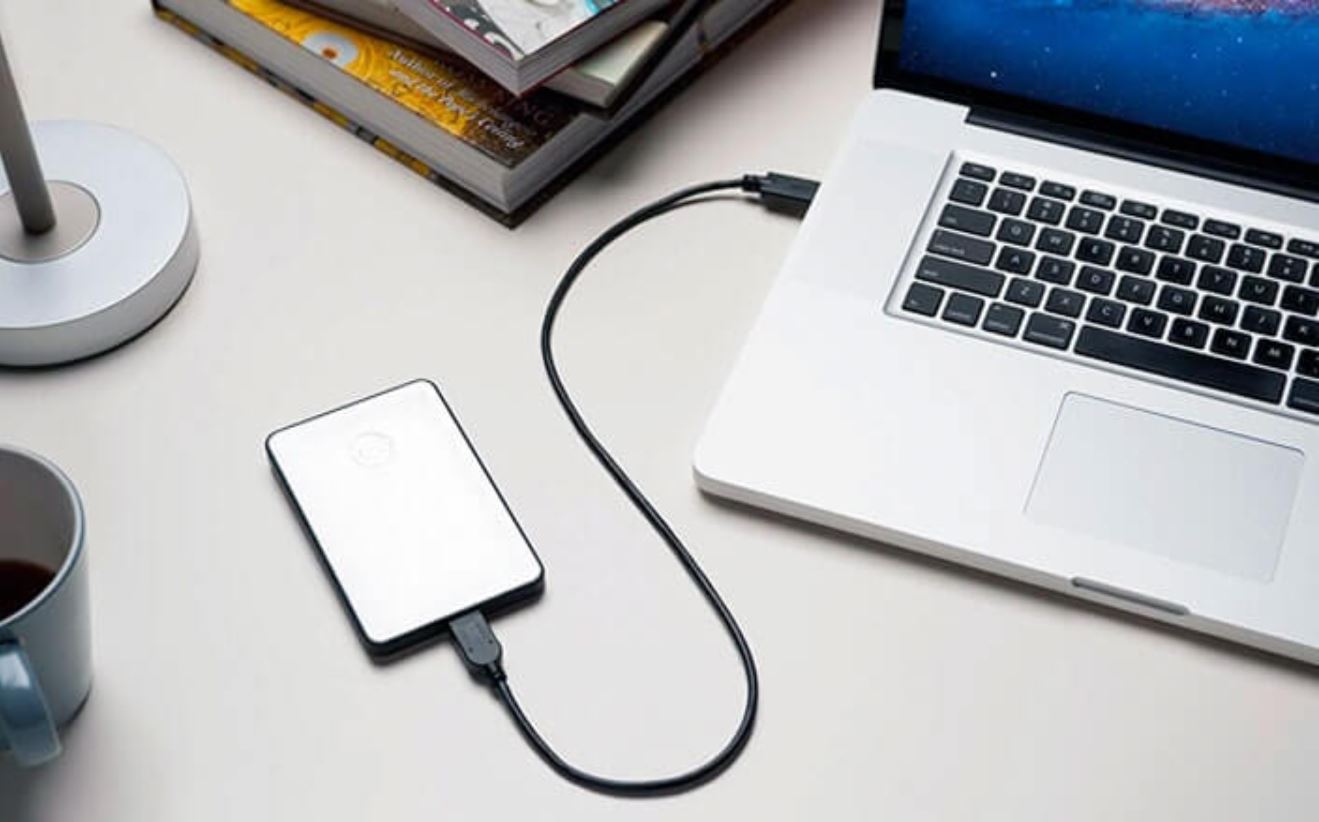
The first step in deleting files from your external hard drive is to ensure that it is properly connected to your computer. Depending on the type of external hard drive you have, this can be done in several ways.
If you have a portable external hard drive, it will usually connect to your computer through a USB cable. Simply locate the USB port on your computer and plug in the cable securely. Your computer will recognize the external hard drive and automatically install any necessary drivers.
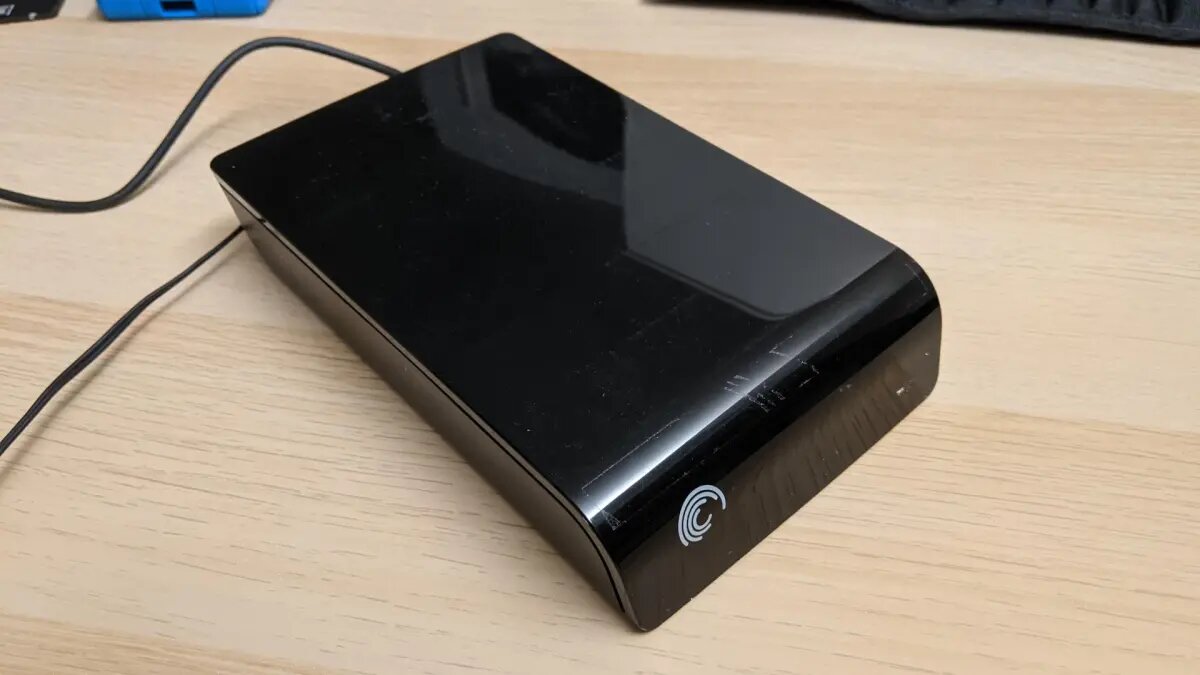
For those using a desktop computer, you may have an external hard drive that connects through an eSATA or Thunderbolt port. In this case, you’ll need to connect the respective cable to the appropriate port on your computer and ensure a secure connection.
Some external hard drives also offer wireless connectivity options, allowing you to connect to your computer over a Wi-Fi network or through Bluetooth. If your external hard drive supports this feature, consult the manufacturer’s instructions on how to establish a connection.
Once your external hard drive is connected to your computer, you can proceed to the next step in the process.
Step 2: Open File Explorer or Finder
After connecting your external hard drive to your computer, the next step is to open the file management system on your operating system. On Windows, this is called File Explorer, while on Mac, it is called Finder.
To open File Explorer on Windows, you can do one of the following:
- Click on the “Start” button in the bottom left corner of your screen, then click on “File Explorer”.
- Press the “Windows” key and the “E” key simultaneously.
On Mac, you can open Finder by:
- Clicking on the “Finder” icon in the dock, which is usually located at the bottom of your screen.
- Clicking on the “Go” menu in the menu bar at the top of your screen, then selecting “Finder”.
- Pressing the “Command” key and the “Space” key simultaneously to open Spotlight, then typing “Finder” and pressing “Enter”.
Once File Explorer or Finder is open, you will be able to see a list of drives and devices connected to your computer, including your external hard drive.
With File Explorer or Finder open, you’re ready to move on to the next step in the process of deleting files from your external hard drive.
Step 3: Locate your external hard drive
Once you have File Explorer (Windows) or Finder (Mac) open, the next step is to locate your external hard drive within the file management system. This will allow you to access the files stored on it and proceed with the deletion process.
In File Explorer (Windows), you can typically find your external hard drive listed under “This PC” or “Computer” in the left-hand panel. Look for a section labeled “Devices and drives” or a similar name. Your external hard drive will be listed with its assigned drive letter (such as “E:”, “F:”, or “G:”).
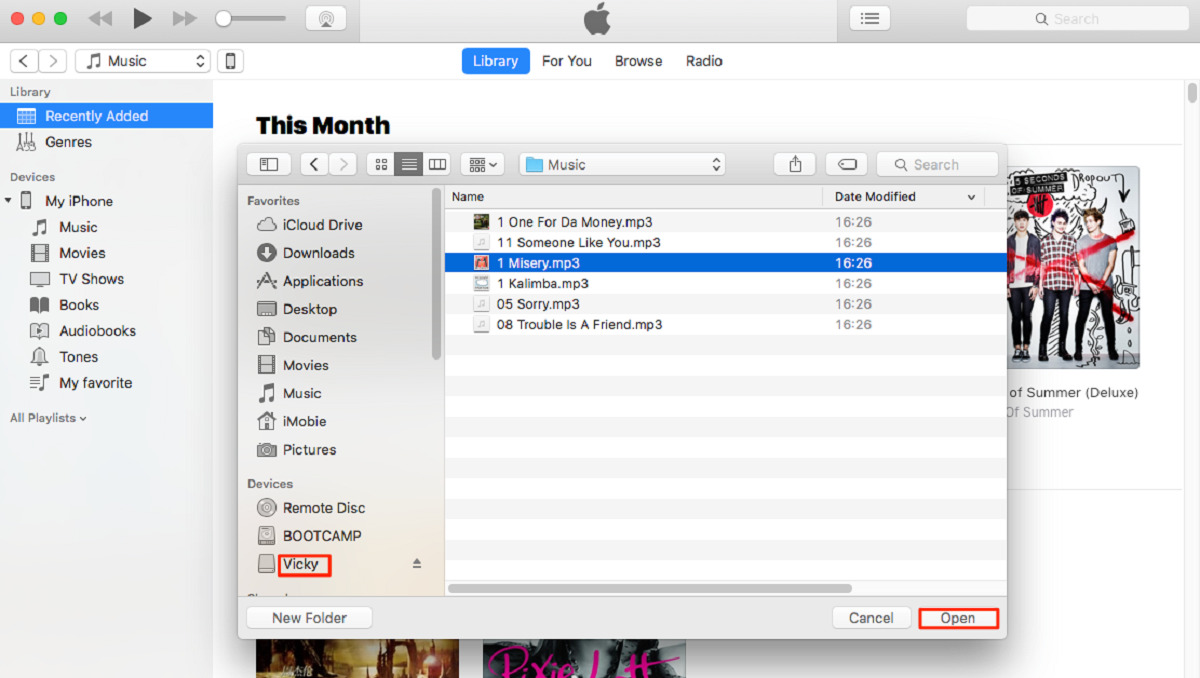
On a Mac, your external hard drive will usually appear under the “Devices” section in the left sidebar of Finder. It will be listed with its brand or model name, such as “Seagate Expansion” or “WD My Passport”.
If you’re having trouble locating your external hard drive, make sure it’s properly connected and powered on. You can also try disconnecting and reconnecting the USB cable or restarting your computer to see if that helps.
Once you have located your external hard drive, click on its icon or name to access its contents within File Explorer or Finder. This will allow you to proceed to the next step and select the files you want to delete.
Step 4: Select the files you want to delete
With your external hard drive open in File Explorer (Windows) or Finder (Mac), you are now ready to select the files you want to delete. This step allows you to choose which specific files or folders you no longer need and wish to remove from your external hard drive.
To select files on Windows, simply navigate to the location of the files you want to delete within your external hard drive. You can use the mouse to click on individual files while holding down the Ctrl key to select multiple files. Alternatively, you can click and drag the mouse to create a selection box and choose multiple files at once.
On a Mac, you can use similar methods to select files. Click and hold the Command key while clicking on individual files to select multiple files at once. You can also click and drag the mouse to create a selection box and choose multiple files simultaneously.
If you want to delete an entire folder and its contents, you can simply select the folder itself instead of individual files. This will automatically include all the files within the folder for deletion.
It’s important to double-check your selection before proceeding with the deletion. Make sure you are only selecting the files you want to delete and not any important or necessary files. Take your time to review your choices to avoid accidentally deleting any important data.
Once you have selected the files you want to delete, you are now ready to move on to the next step and permanently remove the chosen files from your external hard drive.
Step 5: Delete the selected files
After selecting the files you want to delete from your external hard drive, it’s time to proceed with the deletion process. Deleting files from your external hard drive will permanently remove them, so it’s essential to ensure that you have indeed selected the files you want to delete.
In File Explorer (Windows), you can right-click on the selected files and choose the “Delete” option from the context menu. Alternatively, you can press the “Delete” key on your keyboard to remove the selected files. A confirmation prompt may appear, asking if you are sure you want to delete the files. Click “Yes” to proceed with the deletion.
On a Mac using Finder, you can right-click on the selected files and choose the “Move to Trash” option from the context menu. Alternatively, you can press the “Command” and “Delete” keys on your keyboard to send the selected files to the Trash. Similarly, a confirmation prompt may appear, and you’ll need to confirm the deletion by clicking “OK” or “Move to Trash”.
Keep in mind that deleting large files or a significant number of files may take some time, depending on the speed of your external hard drive and computer. Patience is key during the deletion process, especially if you are deleting a substantial amount of data.
Once the files are successfully deleted, they are typically moved to the Trash or Recycle Bin on your system, depending on your operating system. However, they are not completely removed from your external hard drive or your computer until you empty the Trash or Recycle Bin, which we will cover in the next step.
Now that you have successfully deleted the selected files from your external hard drive, it’s time to proceed with emptying the Trash or Recycle Bin and permanently removing the files.
Step 6: Empty the Trash or Recycle Bin
After deleting files from your external hard drive, they are typically moved to the Trash (Mac) or Recycle Bin (Windows) on your computer. However, these files are not permanently removed from your external hard drive or computer until you empty the Trash or Recycle Bin.
To empty the Trash on a Mac, simply right-click on the Trash icon located at the end of the Dock and select “Empty Trash” from the context menu. Alternatively, you can click on the Trash icon to open it, and then click on the “Empty” button located at the top right corner of the window. Confirm the action when prompted.
On Windows, emptying the Recycle Bin is just as straightforward. Right-click on the Recycle Bin icon on your desktop and select “Empty Recycle Bin” from the context menu. A confirmation prompt may appear, and you’ll need to click “Yes” to permanently delete the files.
It’s important to note that once you empty the Trash or Recycle Bin, the files cannot be recovered. Therefore, double-check your selection before emptying the Trash or Recycle Bin to avoid accidental deletion of important files.
After confirming the emptying process, the selected files will be permanently removed from your external hard drive and all associated storage.
Now that you have emptied the Trash or Recycle Bin, you have successfully deleted and permanently removed the selected files from your external hard drive.
Step 7: Safely eject your external hard drive
Now that you have successfully deleted and removed the files from your external hard drive, it’s important to safely eject the drive from your computer. This ensures that all data is written and saved properly before disconnecting the device.
In order to safely eject your external hard drive, follow these steps:
On Windows:
- Locate the “Safely Remove Hardware and Eject Media” icon in the system tray, which is usually located in the bottom-right corner of your screen.
- Click on the icon to display a list of removable devices connected to your computer.
- Select your external hard drive from the list.
- A notification will appear, indicating that it is safe to remove the device. You can now safely disconnect your external hard drive from your computer.
On Mac:
- Locate the external hard drive icon on your desktop or in the Finder sidebar.
- Click and hold the mouse button on the drive icon and drag it to the Trash icon in the dock.
- Release the mouse button, and a contextual menu will appear.
- Select “Eject” from the contextual menu.
- Once the external hard drive icon disappears from your desktop, you can safely disconnect it from your computer.
By following these steps, you ensure that all data has been written and any active processes related to your external hard drive have completed. This helps prevent data corruption and ensures the safety of your files.
Remember, abruptly disconnecting your external hard drive without properly ejecting it can result in data loss or other issues. It’s always best to take a few extra seconds to eject the device safely.
With this final step completed, you have successfully finished the process of deleting files from your external hard drive and can now safely disconnect it from your computer.
Conclusion
Congratulations! You have successfully learned how to delete files from your external hard drive. By following the step-by-step process outlined in this guide, you can confidently remove unwanted files from your storage device and free up valuable space.
Remember, it’s important to double-check your selections before deleting any files from your external hard drive to avoid accidentally removing important data. Take your time during the selection process and ensure that you have chosen the files you no longer need.
Additionally, be aware that the steps may vary slightly depending on your operating system and specific software. However, the overall process remains similar, and the techniques provided can be adapted to most setups.
It’s crucial to note that once you delete files from your external hard drive, they are generally moved to the Trash or Recycle Bin on your computer. To permanently remove them, you need to empty the Trash or Recycle Bin.
Finally, before disconnecting your external hard drive, always remember to safely eject the device from your computer. This ensures that all data is properly saved and prevents any potential data corruption or loss.
Now that you possess the knowledge of how to delete files from your external hard drive, you can apply this skill whenever needed. Whether you’re organizing your files, freeing up space, or simply decluttering your external storage, you can confidently manage your data with ease.
Thank you for following this guide, and happy file management!