Introduction
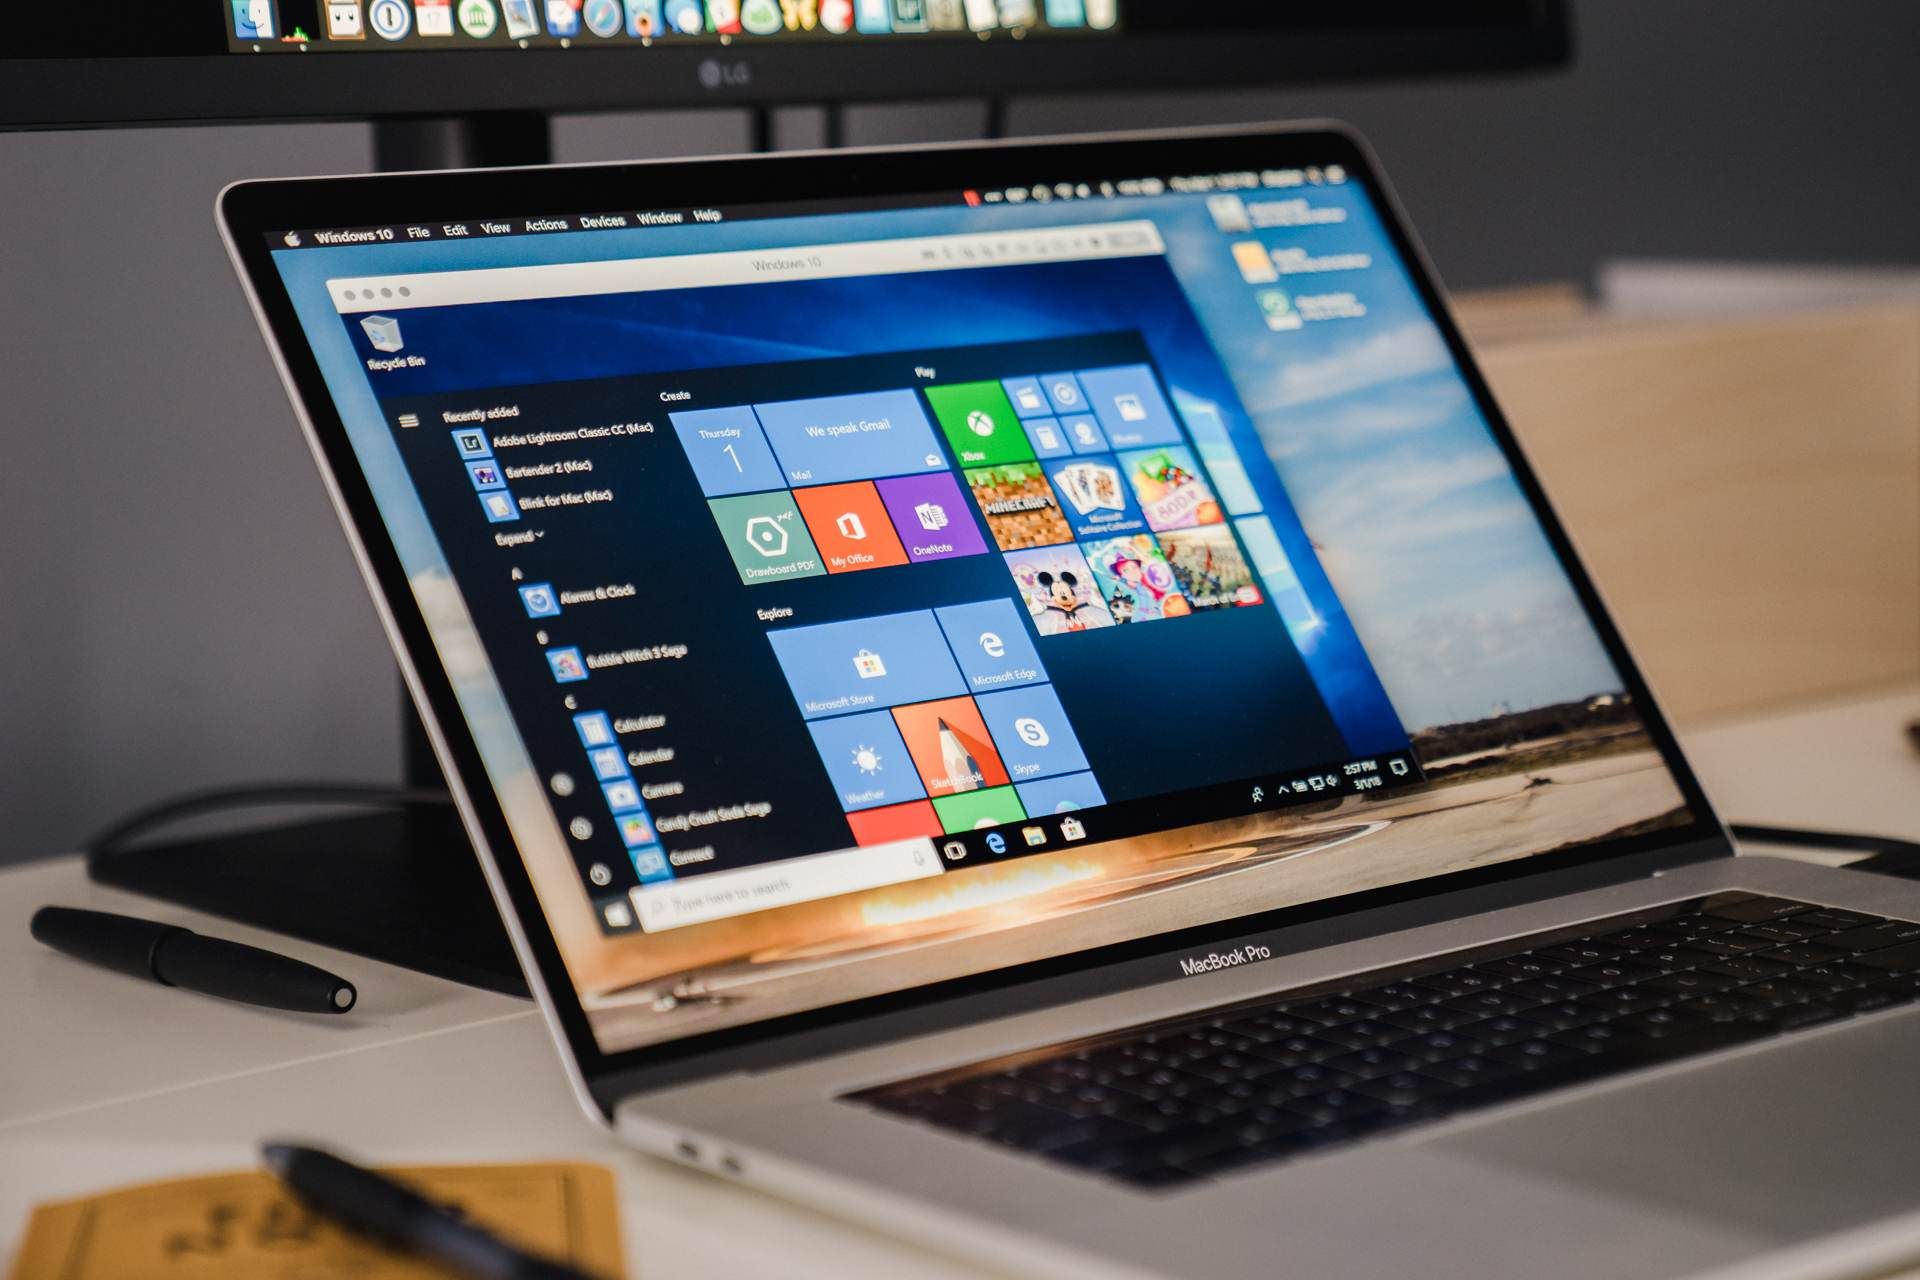
Welcome to this guide on how to install Windows Bootcamp on an external hard drive. Bootcamp is a utility developed by Apple that allows you to run Windows on your Mac. By default, Bootcamp installs Windows on your Mac’s internal hard drive. However, if you have limited storage space or want to keep your Windows installation separate, installing Bootcamp on an external hard drive is a great solution.
Installing Bootcamp on an external hard drive offers several advantages. Firstly, it helps free up valuable space on your Mac’s internal drive, allowing you to store more files and applications. Secondly, it provides flexibility by allowing you to connect the external hard drive to different computers and boot into Windows. This can be particularly useful if you frequently work on different Macs or need to use Windows for specific tasks.
In this guide, we will walk you through the process of installing Windows Bootcamp on an external hard drive step by step. We’ll cover everything from creating a bootable USB drive to configuring Windows on the external hard drive. By following these instructions, you’ll be able to have a fully functional Windows installation on your external hard drive.
Before we get started, there are a few prerequisites you’ll need to meet. Firstly, ensure that you have an external hard drive with sufficient storage capacity to accommodate the Windows installation. Additionally, you’ll need a copy of the Windows operating system as an ISO or installation disc, and a Mac running macOS 10.12 or later with the Bootcamp Assistant utility.
Now that you have an overview of what we’ll cover in this guide, let’s dive into the first step: creating a bootable USB drive.
Prerequisites
Before you begin the process of installing Windows Bootcamp on an external hard drive, there are a few prerequisites that you need to fulfill. These requirements ensure a smooth installation and ensure that you have everything you need to complete the process successfully.
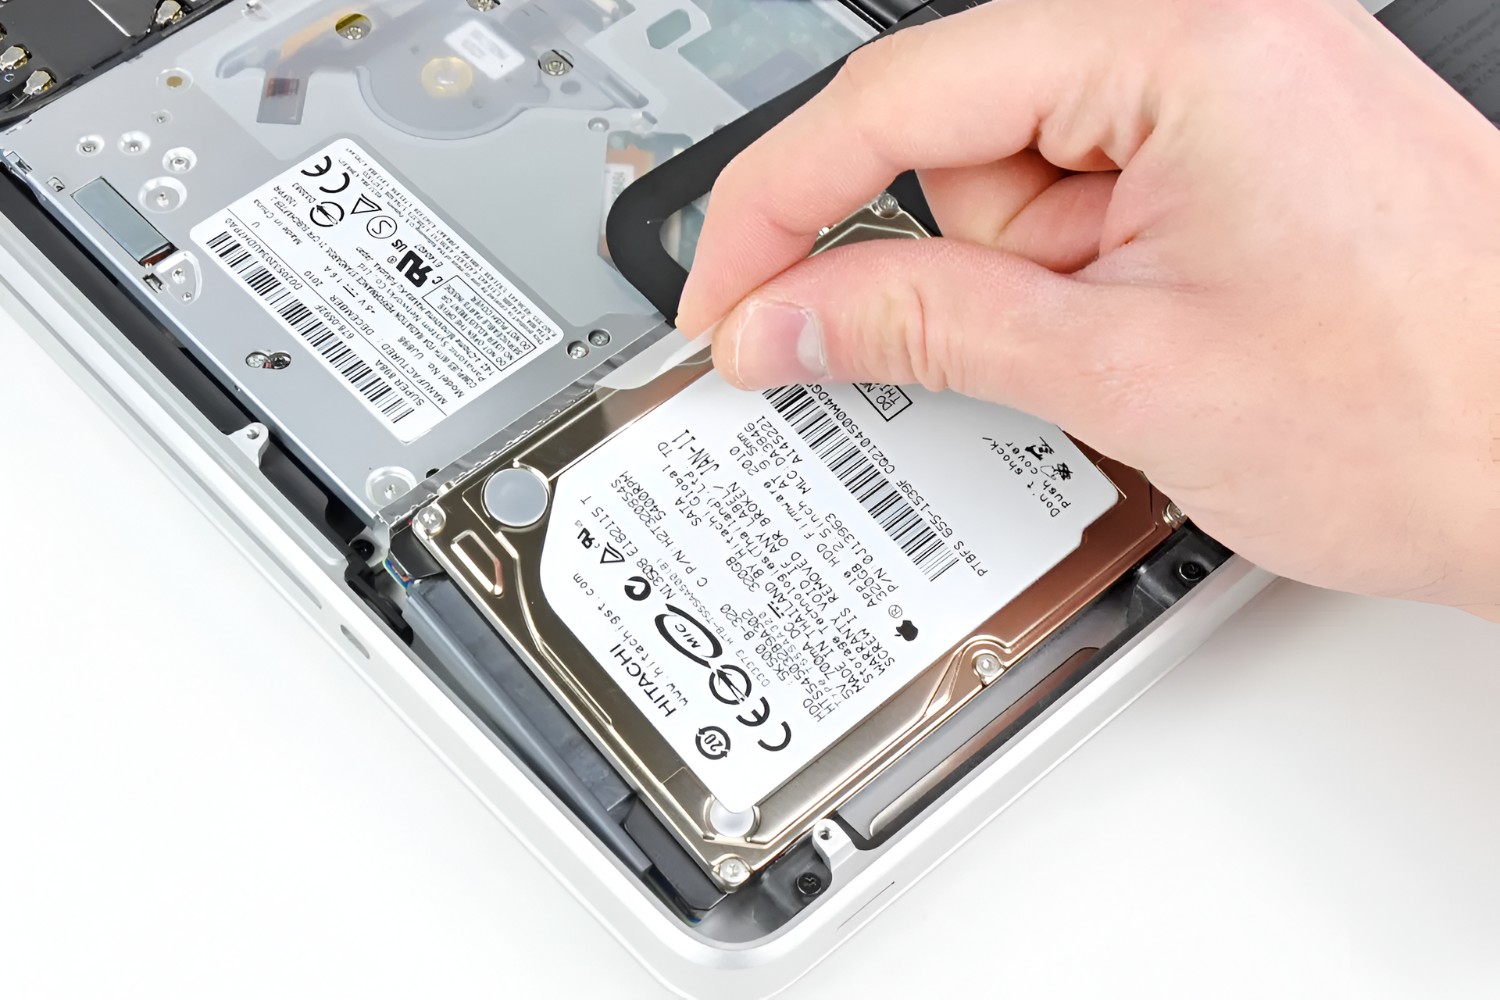
1. External Hard Drive: You’ll need an external hard drive with sufficient storage capacity to accommodate the Windows installation. The minimum recommended size is 64GB, but it’s recommended to have a larger capacity if you plan on installing additional software and files on your Windows installation.
2. Windows OS: You’ll need a copy of the Windows operating system as an ISO file or installation disc. You can obtain a copy by either purchasing it or downloading it from the official Microsoft website. Make sure you choose the version that is compatible with your Mac hardware.
3. Bootcamp Assistant: You need a Mac running macOS 10.12 or later with Bootcamp Assistant. Bootcamp Assistant is a built-in utility that simplifies the Windows installation process on Mac systems. You can find it in the “Utilities” folder, which is located within the “Applications” folder on your Mac.
4. Empty External Hard Drive: Ensure that the external hard drive you plan to use for the Windows installation is empty or doesn’t contain any important data. Formatting the drive during the installation process will erase all the data on it, so make sure to back up any essential files before proceeding.
5. Stable Internet Connection: A stable internet connection is necessary during the installation process. This is required to download the necessary Windows drivers and updates from Apple.
Now that you have all the prerequisites in place, you’re ready to proceed with the installation process. In the next section, we’ll guide you through creating a bootable USB drive, which is the first step in installing Windows Bootcamp on an external hard drive.
Step 1: Create a Bootable USB Drive
The first step in installing Windows Bootcamp on an external hard drive is to create a bootable USB drive. This USB drive will contain the necessary files to initiate the Windows installation process.
To create a bootable USB drive, follow these steps:
- Connect the USB drive to your Mac. Make sure it is formatted to exFAT or FAT32.
- Open Bootcamp Assistant. You can find it in the “Utilities” folder within the “Applications” folder on your Mac.
- In Bootcamp Assistant, select “Create a Windows 10 or later install disk” and click “Continue”.
- Browse and select the Windows ISO file or insert the Windows installation disc into your Mac.
- Choose the connected USB drive as the destination for the bootable USB drive.
- Bootcamp Assistant will start creating the bootable USB drive. This process may take some time, so be patient.
- Once the bootable USB drive is created, you can close Bootcamp Assistant.
Now you have a bootable USB drive ready for the Windows installation. Keep it plugged in as you proceed to the next steps.
Please note that you may need to download additional Apple software and drivers during the installation process. Make sure your Mac is connected to the internet to enable the download of any required updates.
In the next section, we’ll guide you through partitioning the external hard drive to prepare it for the Windows installation.
Step 2: Partition the External Hard Drive
After creating the bootable USB drive, the next step in installing Windows Bootcamp on an external hard drive is to partition the external hard drive. Partitioning allows you to divide the external hard drive into separate sections, with one section dedicated to the Windows installation.
Follow these steps to partition the external hard drive:
- Connect the external hard drive to your Mac if it’s not already connected.
- Open Disk Utility. You can find it in the “Utilities” folder within the “Applications” folder on your Mac.
- In Disk Utility, select your external hard drive from the list of available drives.
- Click on the “Partition” tab.
- Click the “+” button to add a new partition.
- Adjust the size of the new partition according to your preference. This will be the partition where Windows will be installed.
- Give the new partition a name and choose the format as “ExFAT” or “NTFS”. Note that if you choose “ExFAT”, the partition will be compatible with both Windows and macOS.
- Click the “Apply” button to create the partition.
- Wait for Disk Utility to finish partitioning the external hard drive.
- Once the partitioning is complete, you can close Disk Utility.
Now your external hard drive is partitioned and ready for the Windows installation. The newly created partition will appear as a separate drive when you boot into Windows.
In the next section, we’ll guide you through the process of installing Bootcamp on the external hard drive.
Step 3: Install Bootcamp on the External Hard Drive
With the bootable USB drive created and the external hard drive partitioned, the next step in installing Windows Bootcamp on an external hard drive is to actually install Bootcamp on the external hard drive itself.
Follow these steps to install Bootcamp on the external hard drive:
- Restart your Mac and hold down the Option key while it boots up. This will bring up the Startup Manager.
- Insert the bootable USB drive created in Step 1.
- In the Startup Manager, select the bootable USB drive and press Enter to boot from it.
- Windows installation will now begin. Select your language and click “Next”.
- Click “Install Now” to start the installation process.
- Accept the license terms and click “Next”.
- Select the “Custom: Install Windows only (advanced)” option.
- Choose the partition you created on the external hard drive for the Windows installation. Click “Next” to continue.
- Follow the on-screen prompts to complete the Windows installation process.
- Once the installation is complete, your Mac will reboot and boot into Windows.
During the installation process, your Mac may restart multiple times. Make sure to keep the bootable USB drive inserted until the installation is fully completed.
After the installation, you’ll be prompted to set up Windows by entering your desired settings, creating a user account, and connecting to a network.
In the next step, we’ll guide you through configuring Windows on the external hard drive.
Step 4: Configure Windows on the External Hard Drive
Once you have installed Bootcamp on the external hard drive, the next step is to configure Windows to optimize its performance and customize it to your preferences.
Follow these steps to configure Windows on the external hard drive:
- On your Mac, hold down the Option key while it restarts to bring up the Startup Manager.
- Choose the external hard drive with the Windows installation from the available options.
- Windows will now boot up on your Mac from the external hard drive.
- Follow the on-screen prompts to set up Windows, including selecting your region, language, and keyboard layout.
- Create a user account by providing a username and password.
- Connect to a network to enable internet access.
- Complete the initial setup process by following the on-screen instructions.
- Once you’re on the Windows desktop, install any necessary drivers provided by Apple. You can do this by opening the Bootcamp folder on the desktop and running the Bootcamp setup.
- Ensure that Windows is up to date by running Windows Update. Go to “Settings” > “Update & Security” > “Windows Update” and click “Check for updates”.
- Install any additional software or applications that you need for your Windows setup.
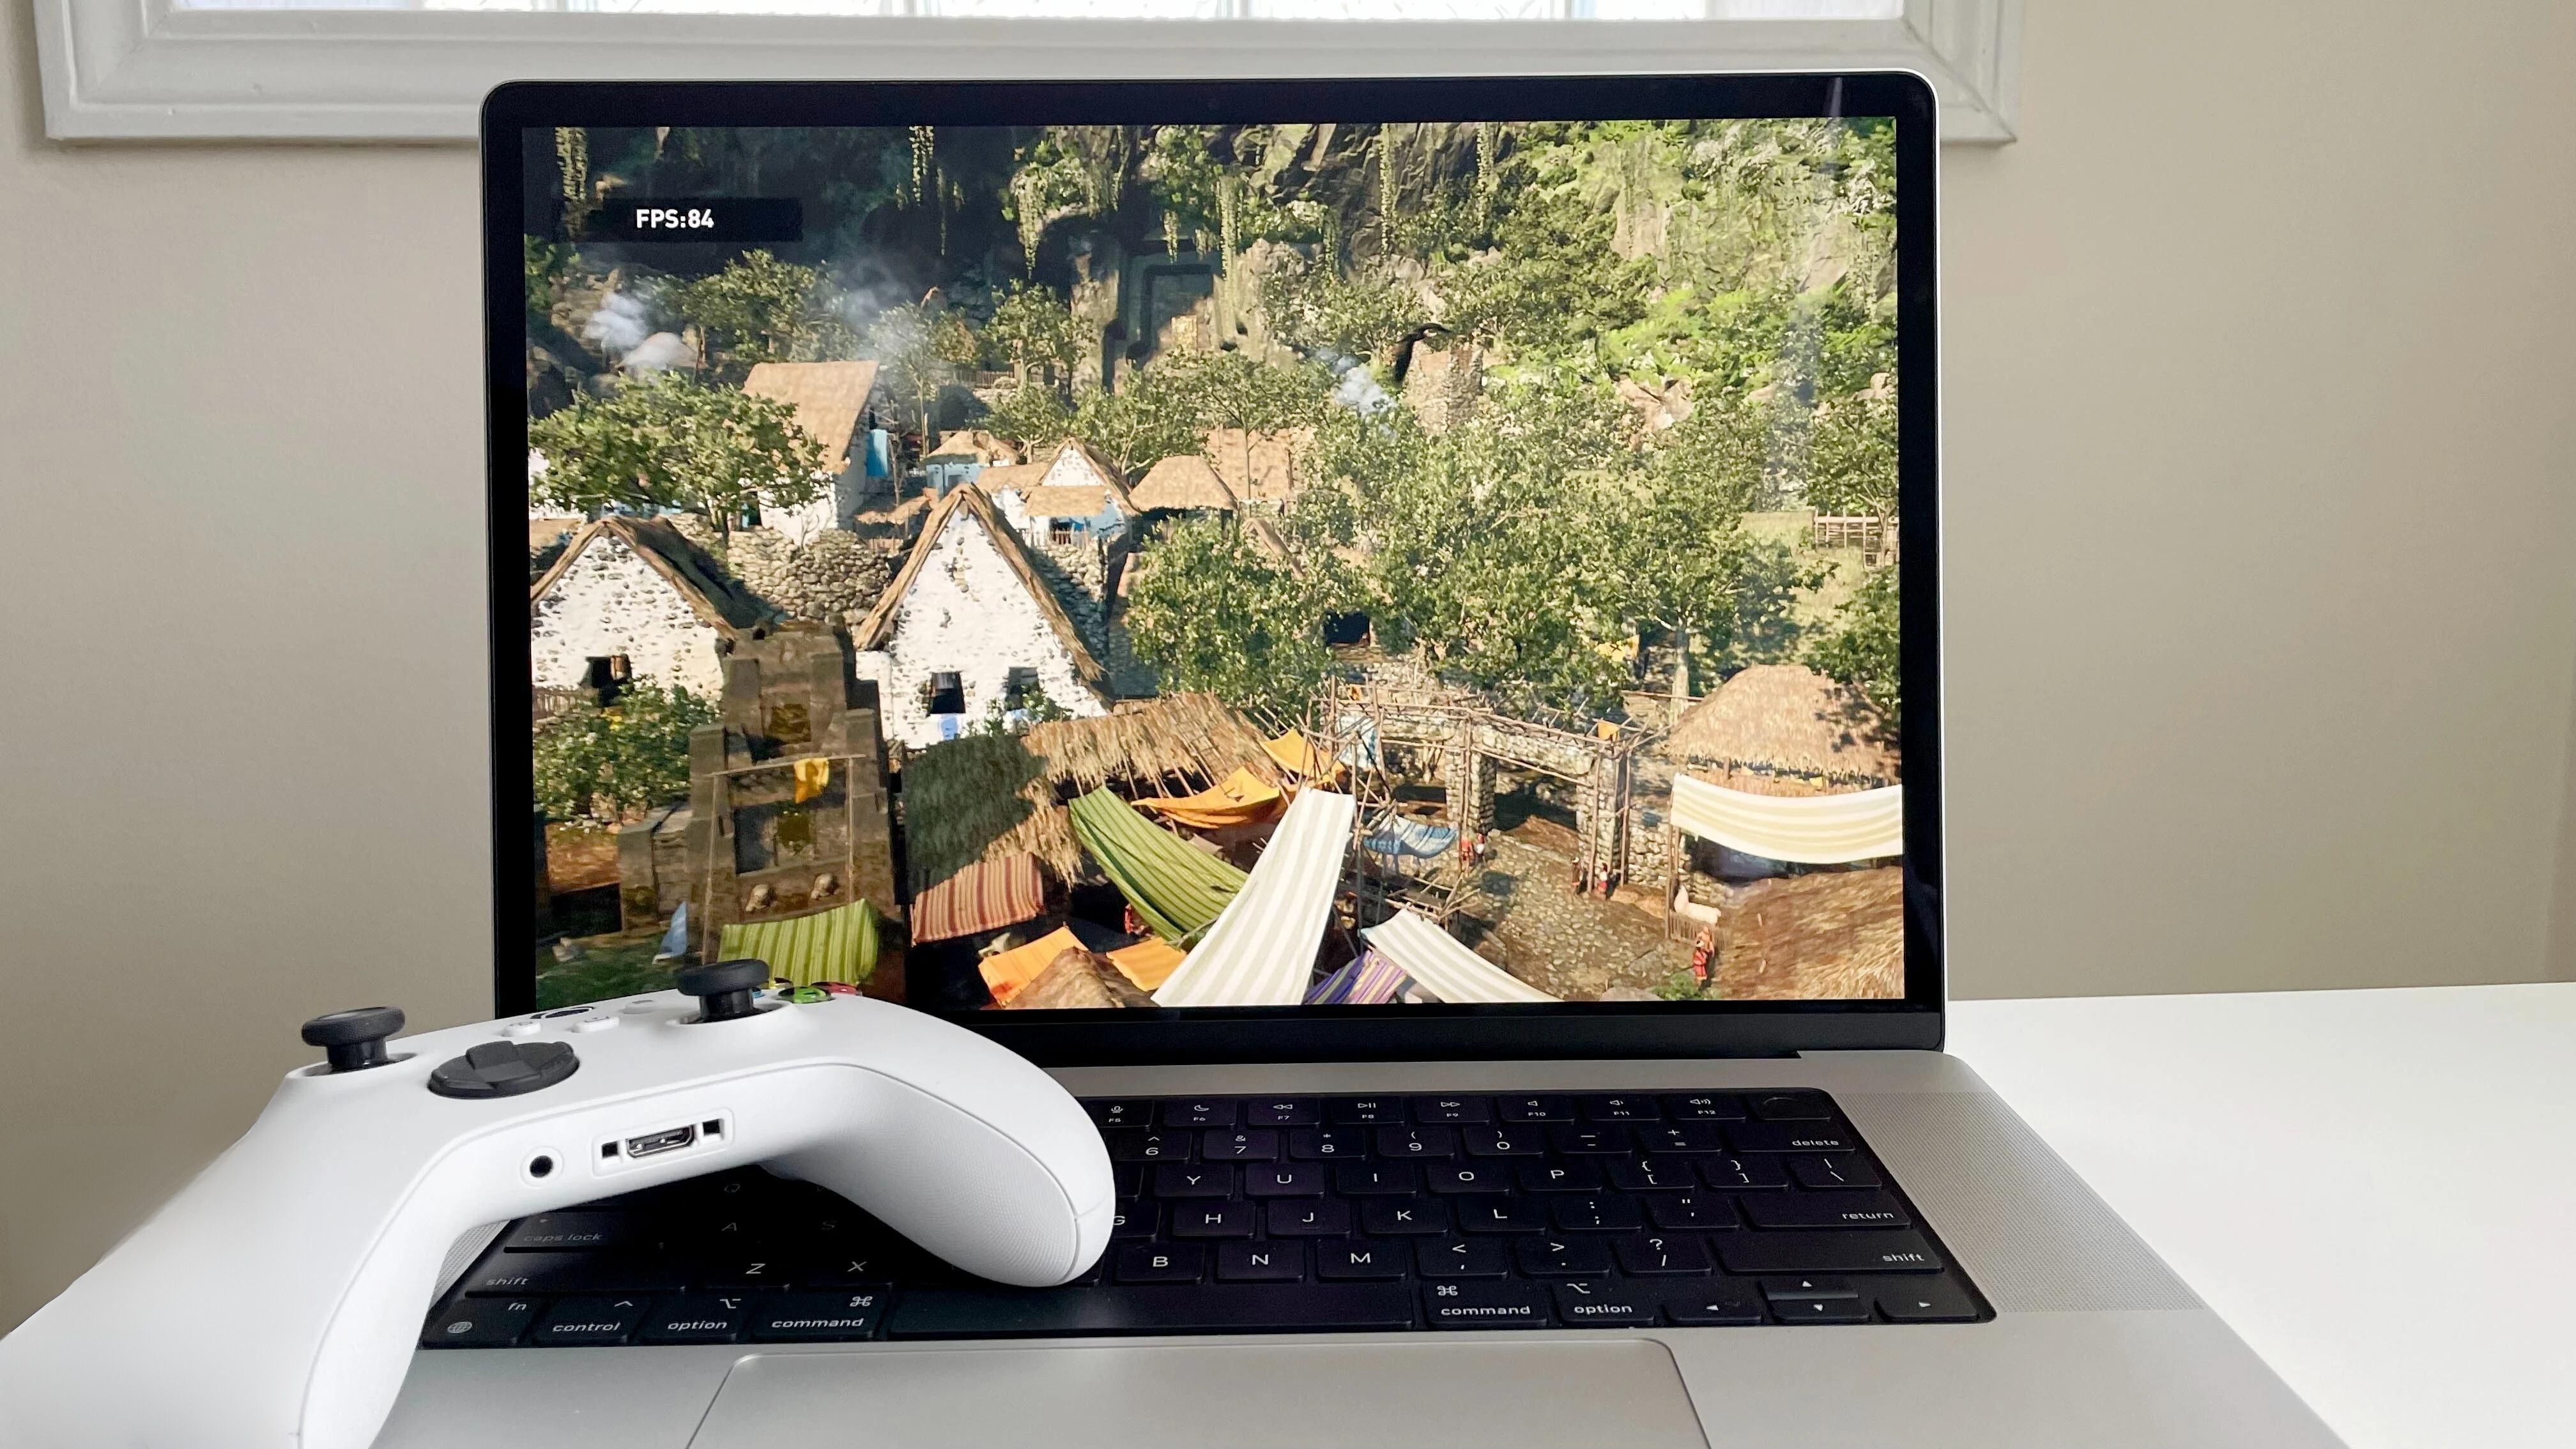
Now that you have configured and set up Windows on the external hard drive, you can start using it just like you would on a regular Windows computer. The external hard drive will contain your Windows installation, allowing you to run Windows applications and perform tasks specific to Windows.
In the next step, we’ll guide you through adjusting Bootcamp startup settings to easily switch between macOS and Windows on your Mac.
Step 5: Adjust Bootcamp Startup Settings
After configuring Windows on the external hard drive, it’s important to adjust the Bootcamp startup settings on your Mac. This will enable you to easily switch between macOS and Windows when starting up your computer.
Follow these steps to adjust the Bootcamp startup settings:
- Open the “System Preferences” on your Mac.
- Click on “Startup Disk.”
- Select the external hard drive with the Windows installation as the startup disk.
- Click on “Restart” to apply the changes.
- Your Mac will restart and boot into Windows by default.
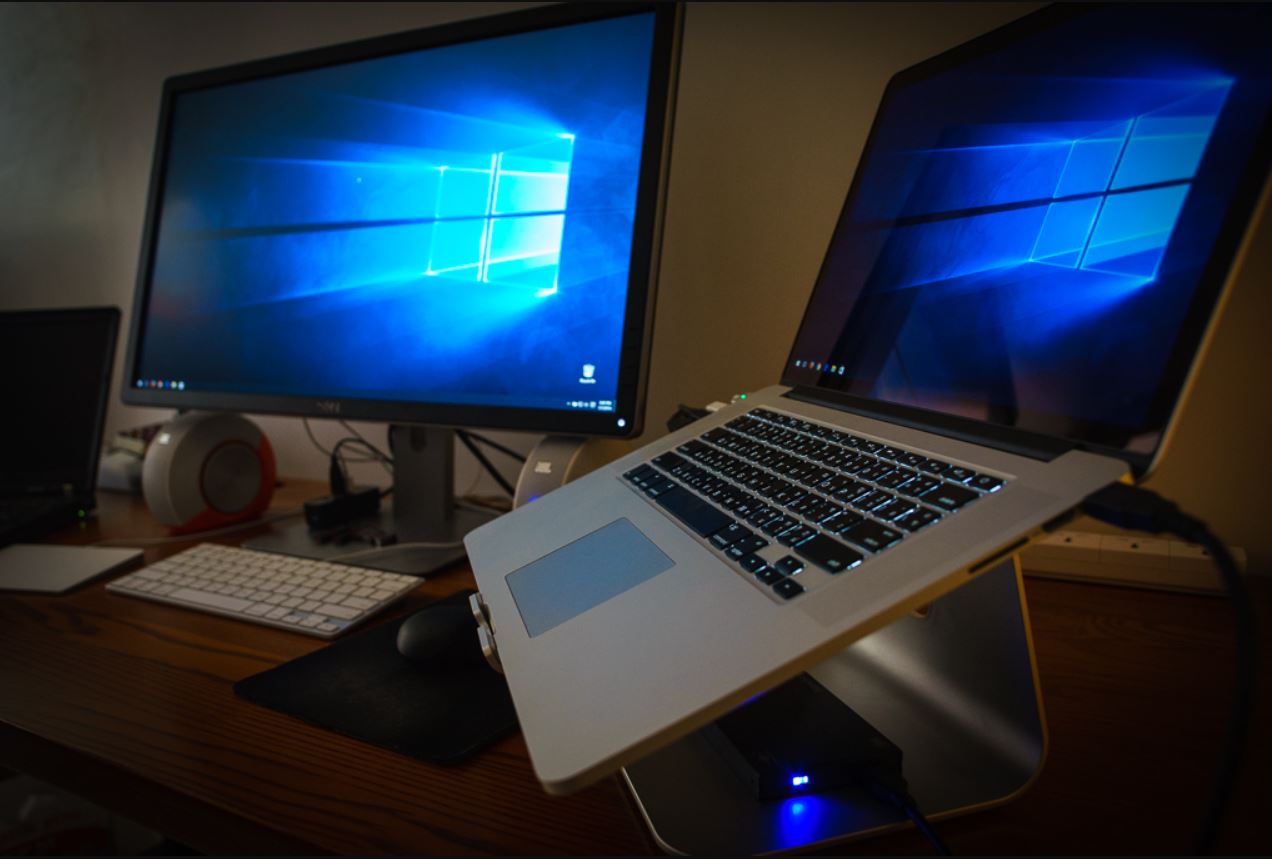
By adjusting the Bootcamp startup settings, you simplify the process of switching between macOS and Windows. If you want to boot into macOS instead, simply restart your Mac and hold down the Option key while it boots up. This will bring up the Startup Manager, where you can choose the macOS partition as the startup disk.
It’s important to note that when running Windows on an external hard drive, you need to keep the external hard drive connected to your Mac in order to access and run Windows. If you disconnect the external hard drive, your Mac will boot directly into macOS.
Congratulations! You have successfully installed and configured Windows Bootcamp on an external hard drive. Now you can enjoy the flexibility of having a separate Windows installation while keeping your Mac’s internal storage free.
Should you decide to remove Bootcamp from your external hard drive or make any changes to the partitioning, make sure to follow the appropriate steps and consult official documentation to avoid any data loss or complications.
We hope this guide has been helpful in assisting you with the installation of Windows Bootcamp on an external hard drive. If you have any further questions or encounter any issues, feel free to consult Apple’s support resources or search for online tutorials and forums for assistance.
Conclusion
Congratulations! You have successfully installed Windows Bootcamp on an external hard drive. This guide has walked you through each step, from creating a bootable USB drive to configuring Windows and adjusting the Bootcamp startup settings. By following these instructions, you now have the flexibility to run Windows on your Mac without taking up valuable internal storage.
Installing Bootcamp on an external hard drive offers several advantages. It allows you to free up space on your Mac’s internal drive, provides flexibility to use Windows on different computers, and enables you to easily switch between macOS and Windows with a simple adjustment of the Bootcamp startup settings.
Remember to keep the external hard drive connected to your Mac whenever you want to access and run Windows. Disconnecting the external hard drive will cause your Mac to boot directly into macOS.
If you ever decide to remove Bootcamp from your external hard drive or make changes to the partitioning, be sure to follow the appropriate steps and consult official documentation to avoid any data loss or complications.
We hope this guide has been informative and helpful in assisting you with the installation of Windows Bootcamp on an external hard drive. If you have any further questions or encounter any issues, be sure to consult Apple’s support resources or search for online tutorials and forums for assistance.
Enjoy the convenience and versatility of having Windows on your external hard drive and make the most out of your Mac’s performance and capabilities.