Macs are optimized for work processes, but they are also notorious for not having a very limited library of apps and even games. If you own a Mac and are troubled by its limitations, you can consider installing Windows on your machine. Here’s how to install Windows on Mac:
Before You Install Windows on Mac: Prerequisites
Compatible Devices
Generally, Mac models released from 2012 onwards are able to run Windows 10. Here’s a quick breakdown of which models are compatible:
- MacBook released from 2015 onwards
- Apple’s MacBook Air released from 2012 onwards
- MacBook Pro released from 2012 onwards
- Mac Mini released from 2012 onwards
- iMac released from 2012 onwards
- iMac Pro (all versions)
- Mac Pro released from 2013 onwards
Preparing Your Mac
Before you get started, ensure that you have at least 64 GB of free space before installing Windows using Boot Camp. However, Apple itself recommends having 128 GB of free disk space for the Boot Camp partition.
Additionally, before you install Windows on Mac, you have to back up your entire system first. This is an important step to keep your Mac safe in case something goes awry. Back up all your important files and data to an external storage or iCloud. You can also use the in-built Time Machine to perform your backups. Regardless of which method you choose, make sure to keep a safe copy of all your data before you start.
How to Install Windows on Mac With Boot Camp
Now that you’ve sufficiently prepared your Mac, it’s time to install Windows on Mac using Boot Camp. This is one of the easiest ways to install Windows on Mac. However, it can be a long and tedious process, so make sure you are able to spare the time to do so.
Step 1: Windows Disk Image
The first thing you need to do is obtain a Windows disk image ISO file from Microsoft. All you need is to follow these steps:

- Go to Microsoft’s website to download the Windows 10 Disc Image.
- Navigate to the menu where you can select the edition.
- Select Windows 10.
- Click on Confirm.
- Select your preferred installation language.
- Click on Confirm.
- Choose the 64-bit Download.
- Hit Save.
Wait for the download to finish on your Mac.
Step 2: Launch Boot Camp Assistant
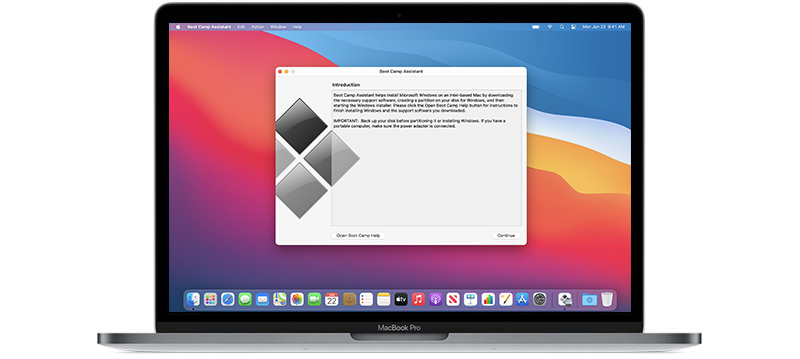
After downloading Boot Camp, it’s time to use the Boot Camp Assistant. The assistant will guide you through the installation process.
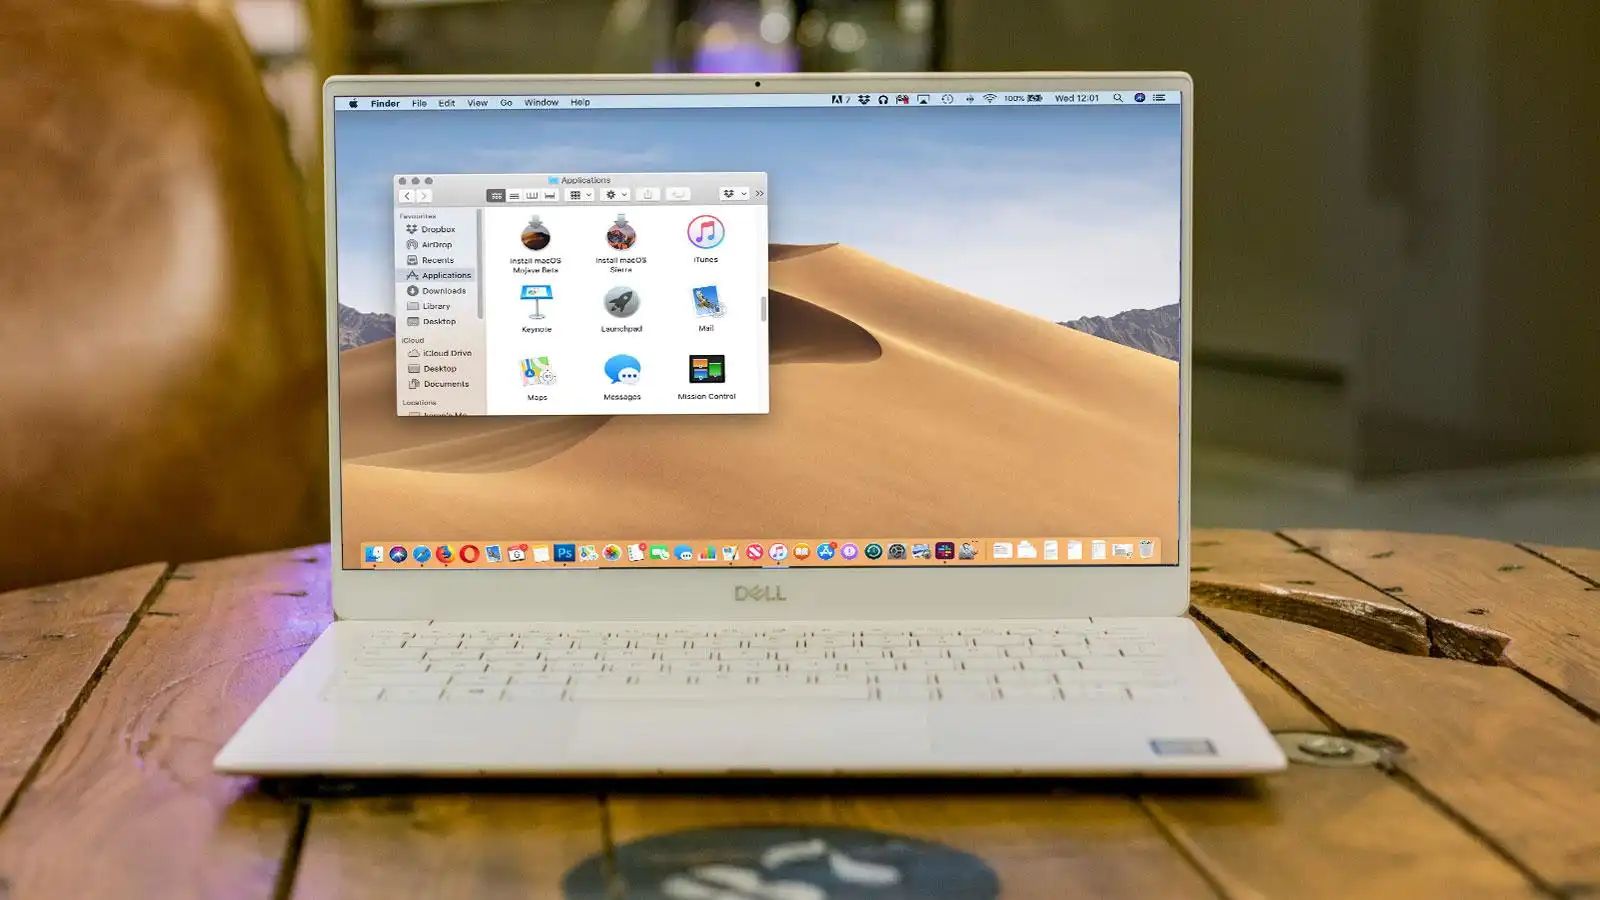
- To launch the Boot Camp assistant, go to Applications > Utilities folder.
- Afterward, click on Continue.
- Boot Camp will then search for your downloaded ISO file automatically.
- Afterward, you can proceed to follow the Boot Camp Assistant’s instructions.
Step 3: Make a Partition
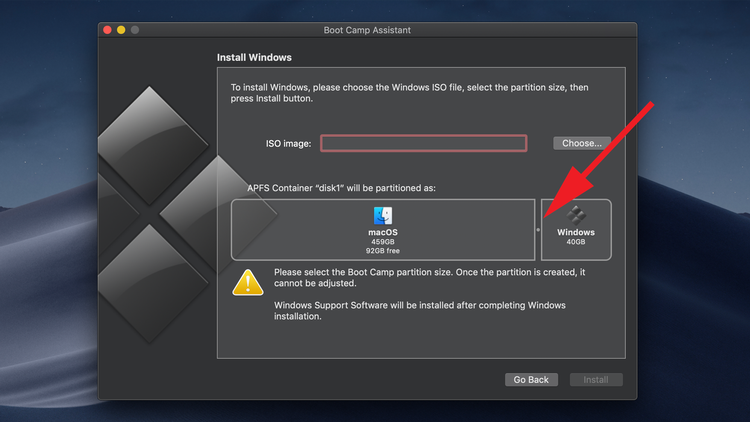
After using the Boot Camp Assistant, your Mac will restart to the Windows installer. The installer will ask you where you want to install Windows on Mac. In that section, just choose the Boot Camp partition then select Format.
However, note that this step is only necessary if you’re using a flash or optical drive. Otherwise, it will select and format the right partition automatically.
Step 4: Install Windows
Now, it’s finally time to install Windows on Mac. To do this, follow the on-screen instructions and perform the steps below:
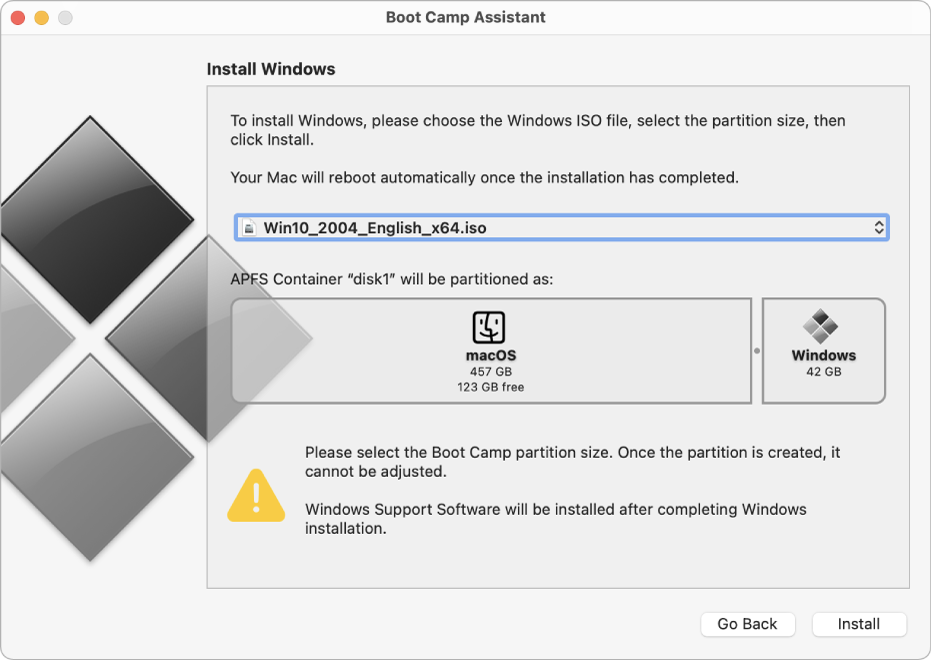
- Select the ISO file.
- Click Install.
- Key in your password and hit OK.
- The Windows Setup screen should pop up. Choose your preferred language.
- Hit Install Now.
- Type in the product key that you have. If you don’t have one, choose “I don’t have a product key.”
- Choose Windows 10 Pro or Windows Home.
- Click Next.
- Select Drive 0 Partition X: BOOTCAMP.
- Hit Next and Windows 10 should start installing.
- Afterward, a setup screen should pop up. Choose Use Express Settings or Customize Your Installation. Generally, we recommend customizing your installation to disable unnecessary switches.
- Afterward, create an account. Key in your preferred username and password.
- Hit Next.
- Decide whether you want to use Cortana (virtual assistant). This is optional.
Windows should boot so you can use it through Boot Camp. All you need to do now is to click Next on the Welcome to Boot Camp Installer box. Then, accept the terms and conditions and click Install. Click Finish when you’re done.
Step 5: Restart Your Computer
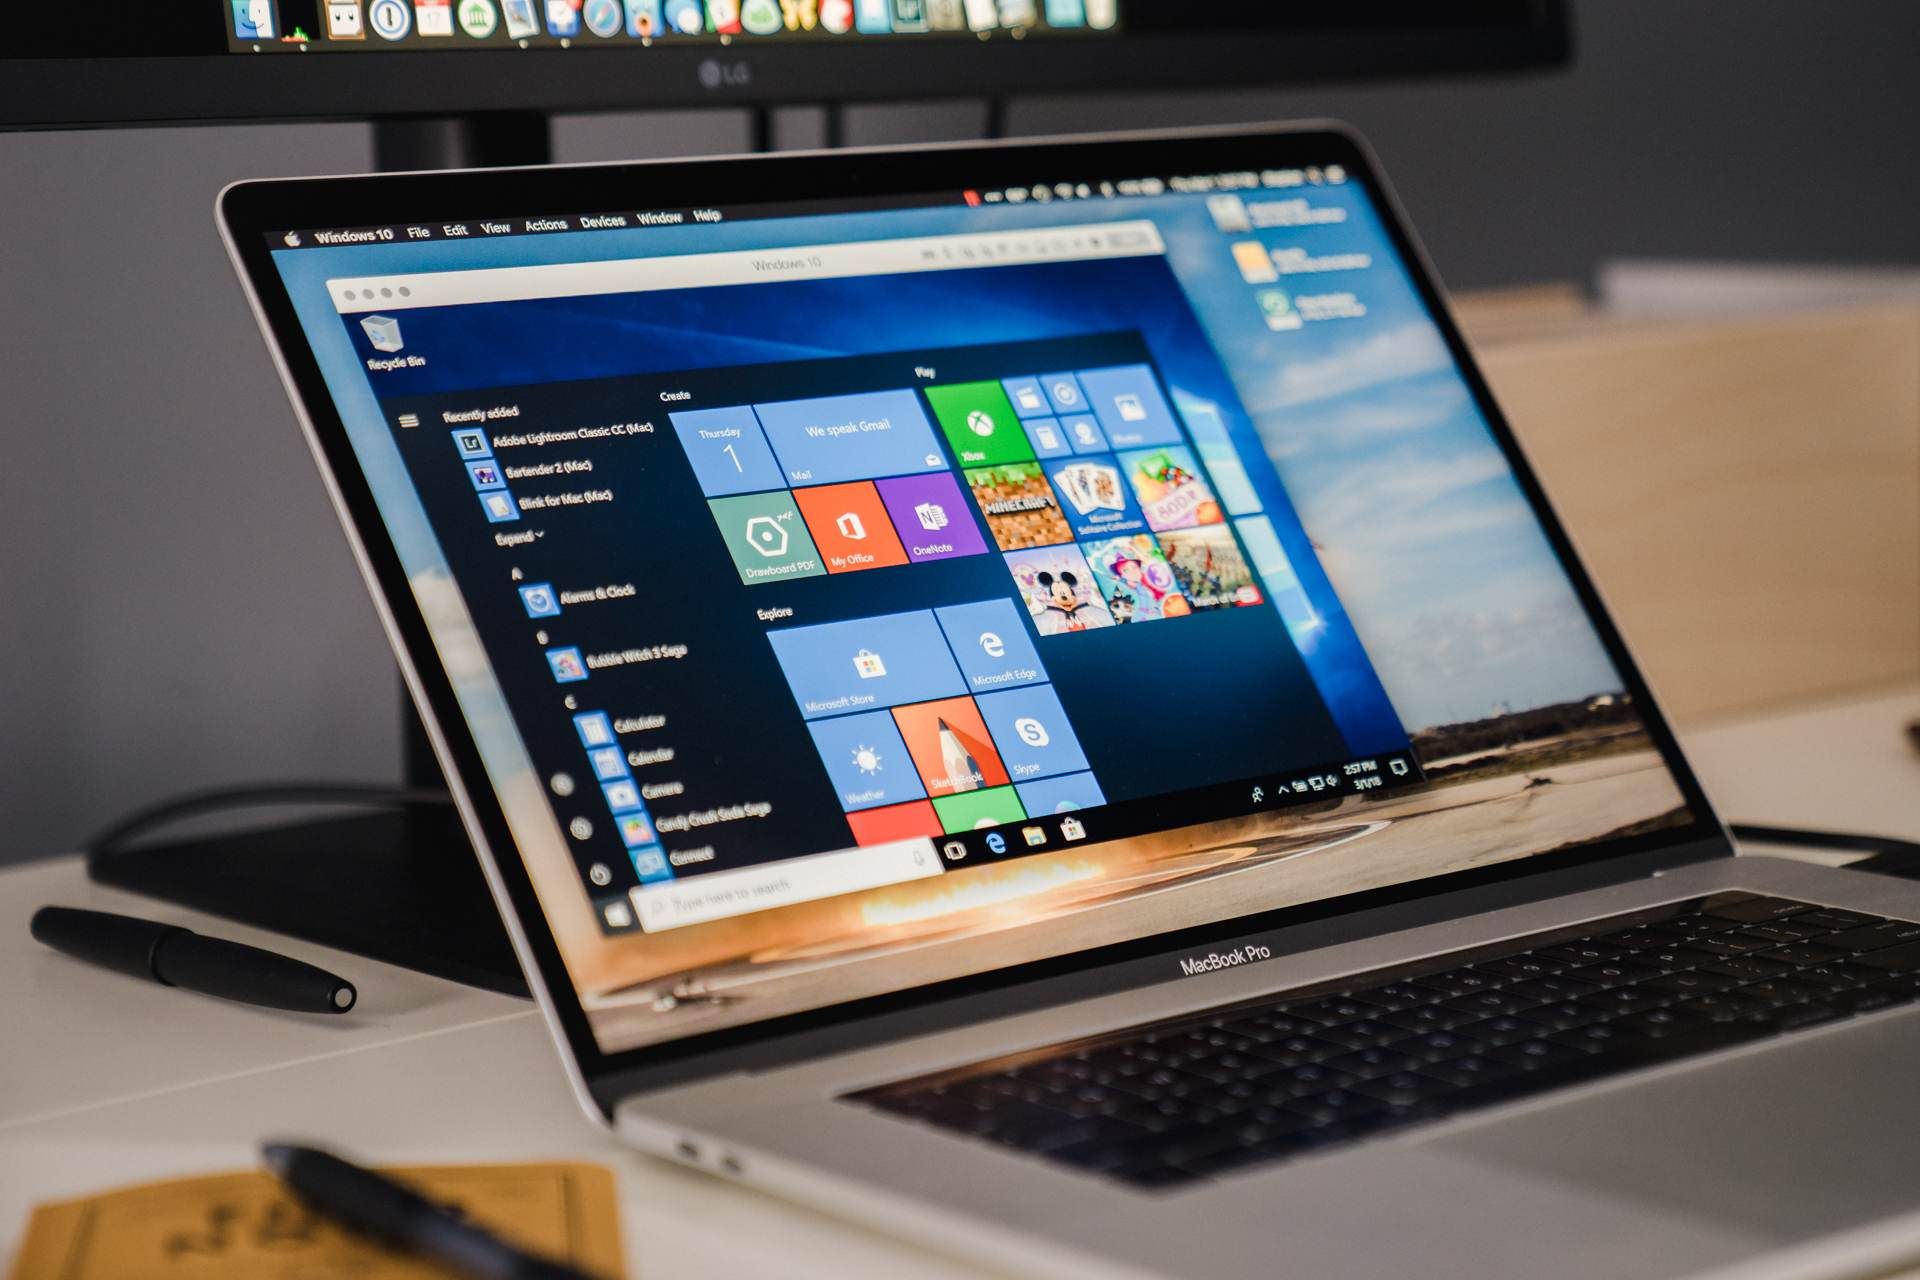
Once the above process is done, it’s time to restart your Mac. By default, this should automatically open macOS upon booting. However, you can access Windows while booting if you turn it on while holding the Option key. If you do, you’ll have the option to choose between booting Windows or macOS.
In this section, if you choose Windows, then your computer will turn on with Windows OS. However, do note that the keyboard functions differently between Windows and macOS. Hence, you’ll have to use the Command key as the Windows key instead. Moreover, the Option key on your keyboard should serve as the Alt key.
How to Remove Windows from Mac (Boot Camp Assistant)
Learning how to install Windows on Mac can be a very convenient skill. However, not everyone needs Windows on Mac all the time because not everyone needs to switch between operating systems. Some people might only need Windows on their Mac for a time. Hence, it’s not always worth what space it eats up on your hard disk. If, one day, you find yourself wanting to get rid of Windows on Mac, here’s how to do it:
- Boot your Mac into macOS.
- Open the Boot Camp Assistant.
- Hit Continue.
- Select the partition for Windows.
- An option that shows the Restore Disk to a Single Volume option should appear. Click Restore.
Afterward, Boot Camp Assistant should remove Windows from your Mac. With that, you will have successfully removed Windows on your Mac. However, note that this will also remove all the programs and files you previously installed on Windows. Be sure to back up your files and applications before deleting Windows on Mac.
Install Windows on Mac Without Boot Camp
You may not want to use Boot Camp to install Windows on Mac. If that’s the case for you, then we suggest using a virtual machine. These programs are a great alternative to Boot Camp and don’t require a partition. Instead, they act like emulators or separate apps that run Windows on your Mac.
Through the virtual machine, you can install Windows and its accompanying apps and software. It can also run while you’re using macOS and Mac-only apps. There’s no need to boot or reboot your system to switch between platforms.
However, virtual machines like these will usually cost money. For example, Parallels will cost you $79.99. There’s also a free virtual machine called VMware if you don’t want to shell out cash. However, it’s only free for personal use. If you want to use it commercially, you’ll need to fork out $149.
Install Windows on Mac With Parallels
If you opt to use Parallels, you’ll first need to purchase the software for $79.99. Afterward, you’ll find a beautifully designed program with a colorful UI. You can go with different routes to install Windows on Mac using Parallels at this point. That’s because you can use either an installer disk or ISO file, depending on your preference.
On the other hand, you can also connect a Windows PC to recreate it on your Mac. You can even duplicate Windows from a Boot Camp partition using this method if you already have Boot Camp. This is a very convenient feature if you only need to quickly check files and swap between operating systems.
The software should guide you through the process of how to install Windows on Mac. All you need is to choose the method you prefer. Afterward, you can adjust various settings according to what you want later on.
Install Windows on Mac With VMware Fusion
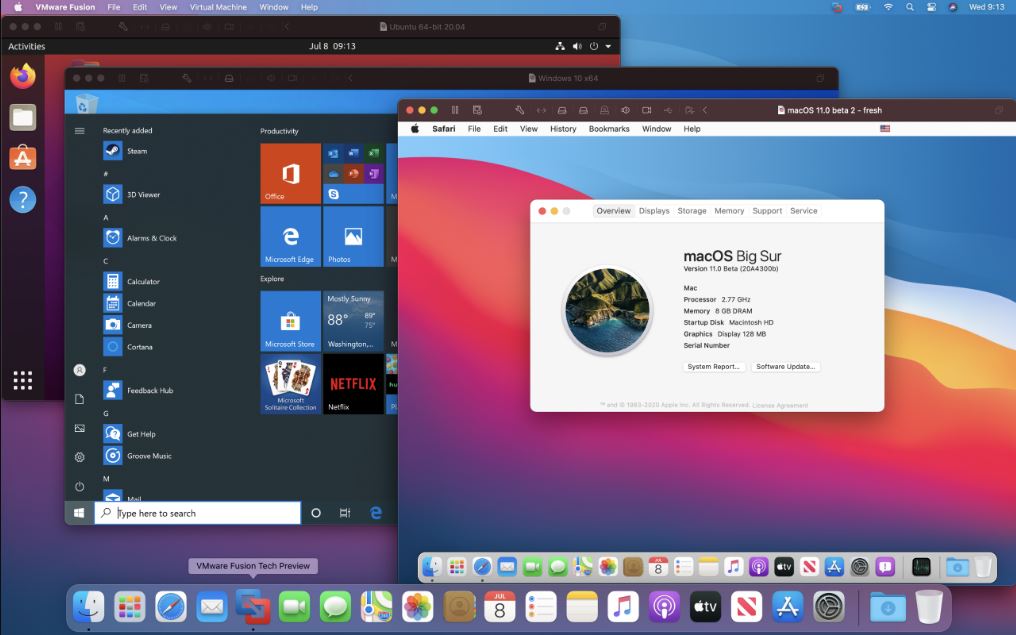
VMware is slightly less straightforward to use compared to Parallels. That’s because its display window has a lot of confusing settings for beginners.
Moreover, VMware has different licensing options. The basic Fusion 12 Player is free for personal use. However, if you want to install Windows on Mac for commercial purposes, it’s going to cost you $149. In addition, there’s also a pro version that costs $199 that has more extensive features. You can also upgrade to the pro version from previous versions for $79.
The Bottom Line
Learning how to install Windows on Mac is pretty easy for supported Mac computers. It’s the best way to make the most out of both operating systems without investing too much money. Of course, if you opt for a virtual machine, you may very well invest a little into the task. That’s because virtual machines like Parallels do cost money to download on macOS.
However, it’s far from how much you’ll spend if you choose to buy a separate Windows computer. On the other hand, installing Windows using Boot Camp costs nothing but storage space and a little time. Regardless of which method you choose, Mac users have the upper hand when it comes to OS flexibility.