Introduction
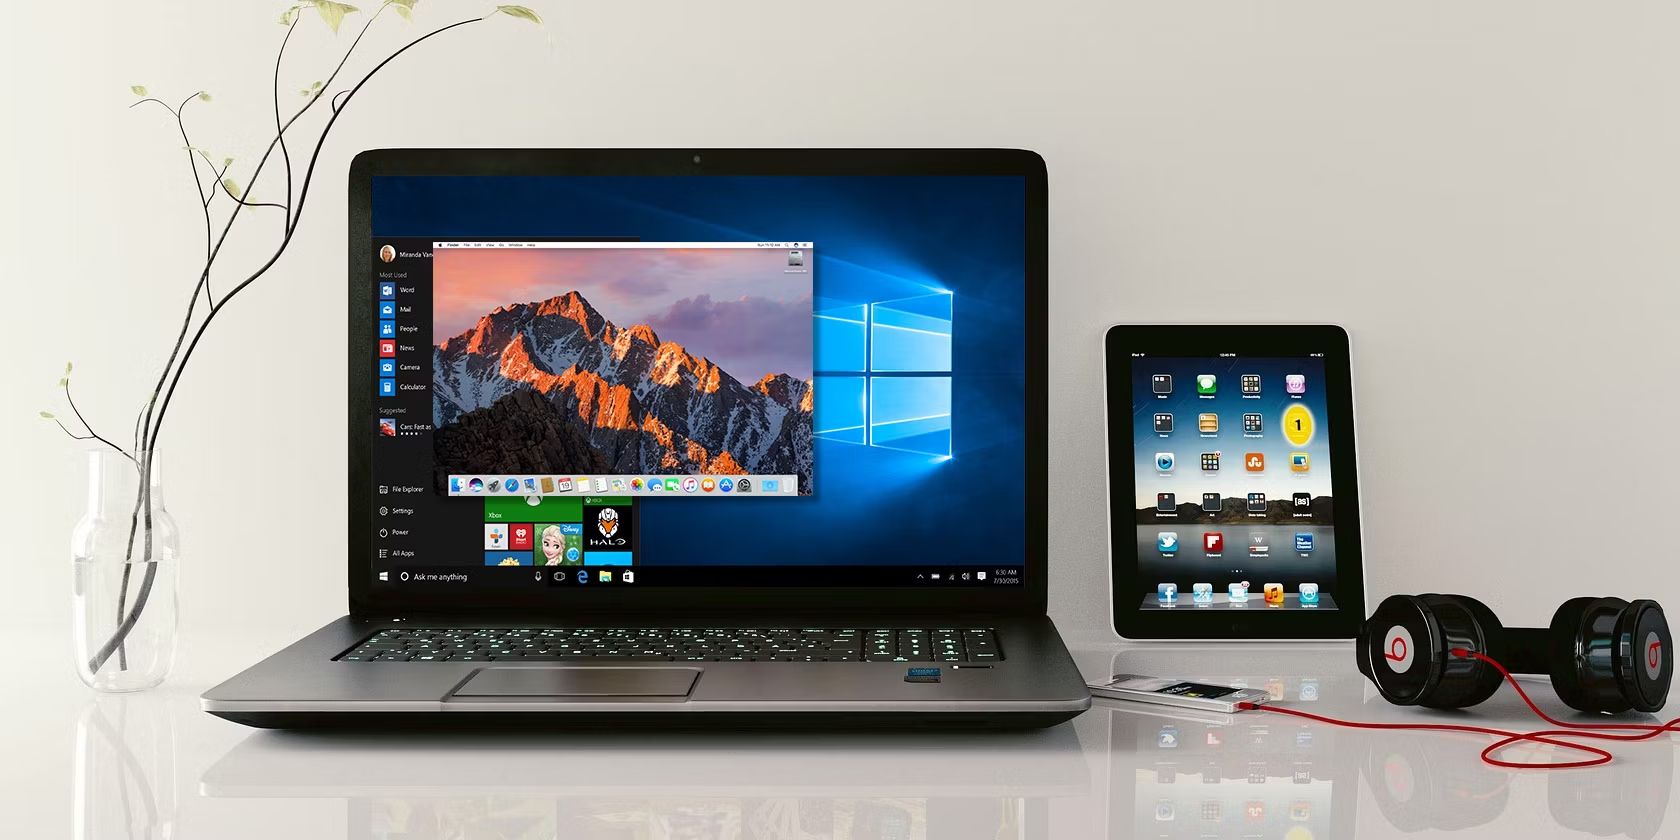
Are you a proud owner of a MacBook but find yourself in need of using Windows for certain applications or tasks? Perhaps you want to explore the vast library of Windows software or need to run Windows-specific programs for work or school. Well, you’re in luck! With the help of a few simple steps, you can easily download Windows on your MacBook and enjoy the best of both worlds.
Running Windows on a MacBook may seem like a complex process, but rest assured, it’s simpler than you might think. In this guide, we will walk you through the step-by-step process of downloading Windows on your MacBook, ensuring a smooth transition and hassle-free experience.
Before we begin, it’s important to note that this guide is specifically tailored for MacBook users. If you own a Mac desktop or an older MacBook model, the process might vary slightly. Additionally, make sure to backup all your important files and data to an external storage device or cloud service before proceeding.
Now, let’s dive right in and get started with the process of downloading Windows on your MacBook. By the end of this guide, you’ll have Windows up and running, ready to explore all the possibilities it has to offer.
Step 1: Check your macOS version
The first step in downloading Windows on your MacBook is to determine your macOS version. This is essential as it will dictate which version of Windows is compatible and ensure a smooth installation process. To check your macOS version, follow these simple steps:
- Click on the Apple menu located in the top-left corner of your screen.
- Select “About This Mac” from the drop-down menu.
- A new window will appear displaying information about your Mac. Look for the “Version” or “macOS” section.
- Note down the macOS version number, such as macOS Big Sur 11.2 or macOS Catalina 10.15.
Knowing your macOS version is crucial because different versions of Windows have specific compatibility requirements. For example, if you are running macOS Big Sur or a newer version, you can install Windows 10 using Apple’s Boot Camp Assistant. However, if you have an older macOS version like Mojave or High Sierra, you may need to follow alternative methods such as using virtualization software like Parallels Desktop or VMware Fusion.
Checking your macOS version is a necessary step to ensure that you choose the appropriate method for downloading Windows on your MacBook. Once you have determined your macOS version, you can proceed to the next step, where we will guide you in preparing your Mac for Windows installation.
Step 2: Prepare your Mac for Windows
Before diving into the process of downloading Windows on your MacBook, it’s important to prepare your Mac for the installation. This involves a few essential steps to ensure a seamless and successful Windows installation. Follow these steps to get your MacBook ready:
- Backup your data: It’s crucial to create a backup of all your important files and data before proceeding with the Windows installation. This will help prevent any potential data loss during the process.
- Update macOS: Make sure your MacBook is running on the latest version of macOS. Updating your operating system ensures compatibility with Windows and provides a stable environment for the installation.
- Free up disk space: Windows requires a significant amount of disk space for installation. Clean up your MacBook by removing unnecessary files and applications to free up space on your hard drive.
- Check hardware compatibility: Visit the Apple support website to verify if your specific MacBook model supports Windows installation. Different models may have varying compatibility requirements.
- Check for software updates: Update all your applications and software to their latest versions. This ensures compatibility and reduces the risk of any conflicts during the Windows installation process.
By following these preparation steps, you can minimize potential issues and ensure a smoother Windows installation experience. Taking the time to back up your data and optimize your MacBook not only prevents data loss but also creates a stable environment for Windows to run efficiently.
Now that you have properly prepared your MacBook for Windows installation, let’s move on to the next step, where we will guide you through creating a Windows installation media.
Step 3: Create a Windows installation media
Now that your MacBook is prepared, it’s time to create a Windows installation media. This media will act as a bootable drive to install Windows on your MacBook. Here’s how you can create a Windows installation media:
- Obtain a USB flash drive: You will need a USB flash drive with a minimum capacity of 8GB to create the Windows installation media. Make sure it’s empty or doesn’t contain any important data as it will be formatted during the process.
- Download the Windows ISO file: Visit the official Microsoft website and download the Windows ISO file corresponding to the version you want to install. Ensure that you choose the correct version that matches the compatibility requirements of your MacBook.
- Format the USB flash drive: Insert the USB flash drive into your MacBook and open the Disk Utility application. Select the USB drive from the list and click on “Erase”. Choose the MS-DOS (FAT) format and give it a suitable name.
- Create the Windows installation media: Next, open the Boot Camp Assistant (located in the Utilities folder) and follow the on-screen instructions. When prompted, select the Windows ISO file and the formatted USB flash drive as the destination.
- Wait for the process to complete: The Boot Camp Assistant will copy the necessary files to the USB flash drive and make it bootable. This may take some time, so be patient and let the process finish.
Once the Windows installation media creation is complete, you are ready to proceed to the next step. Having a bootable USB flash drive ensures that you can easily install Windows on your MacBook without any hassles. Take note of the USB flash drive as you will need it in the following steps.
In the next step, we will guide you through partitioning your Mac’s hard drive to allocate space for Windows.
Step 4: Partition your Mac’s hard drive
In order to install Windows on your MacBook, you will need to partition your Mac’s hard drive. This process involves dividing your existing hard drive space into separate sections, one for macOS and another for Windows. Follow these steps to partition your Mac’s hard drive:
- Open the Boot Camp Assistant: This application comes pre-installed on your MacBook and is located in the Utilities folder. Launch it by searching for “Boot Camp Assistant” in Spotlight or navigating through the Applications folder.
- Choose the partition size: The Boot Camp Assistant will prompt you to choose the size of the Windows partition. Use the slider to select the desired size, keeping in mind the disk space requirements of Windows and any other software or files you plan to install on it.
- Partition your hard drive: Once you’ve selected the partition size, click on the “Partition” button to initiate the partitioning process. Your Mac’s hard drive will be divided into two separate partitions, one for macOS and one for Windows. Be patient as this process may take some time.
- Restart your MacBook: After the partitioning is complete, the Boot Camp Assistant will prompt you to restart your MacBook. Make sure you’ve saved any important work before proceeding.
Partitioning your Mac’s hard drive allows you to allocate dedicated space for Windows, ensuring a smooth coexistence with macOS. It’s important to choose an appropriate partition size based on your requirements and available disk space. Keep in mind that once the partitioning process is complete, it cannot be easily reversed without erasing the entire disk, so plan accordingly.
Now that your Mac’s hard drive is partitioned, you’re ready to move on to the next step: installing Windows on your MacBook. We’ll guide you through the process in the next section.
Step 5: Install Windows on your Mac
With your MacBook’s hard drive partitioned, it’s time to install Windows on your Mac. Follow these steps to begin the installation process:
- Restart your MacBook: After partitioning, restart your MacBook. Hold down the Option (⌥) key as it boots up to enter the Startup Manager.
- Select the Windows installation media: You will see a list of available startup disks. Choose the USB flash drive you created in Step 3 by using the arrow keys to select it, then press Enter.
- Begin the Windows installation: Your MacBook will now boot from the Windows installation media. Follow the on-screen instructions to select your language, region, and other preferences. When prompted, choose the partition you created for Windows installation.
- Complete the installation: Continue following the instructions provided by the Windows installer. You may be required to enter your product key, create a username and password, and adjust additional settings. Wait for the installation to complete, and your MacBook will restart.
- Set up Windows: After restarting, your MacBook will boot into Windows. Follow the on-screen prompts to complete the initial Windows setup, including selecting your region, keyboard layout, and Wi-Fi network. Once finished, you’ll be greeted with the Windows desktop.
Congratulations! You have successfully installed Windows on your MacBook. You can now enjoy the functionality and versatility of both macOS and Windows on the same device. Keep in mind that you can switch between the two operating systems by restarting your MacBook and holding down the Option (⌥) key to access the Startup Manager.
In the next step, we will guide you through setting up Windows on your Mac and provide some additional tips to enhance your dual operating system experience.
Step 6: Set up Windows on your Mac
Now that you have successfully installed Windows on your MacBook, it’s time to set it up and make it fully functional. Follow these steps to complete the Windows setup on your Mac:
- Install necessary drivers: After booting into Windows, you may need to install additional drivers to ensure compatibility and optimal performance. Boot Camp Assistant will automatically open and guide you through the driver installation process. Make sure to download and install all available updates.
- Update Windows: Once the driver installation is complete, it is crucial to update Windows to the latest version. Go to the “Settings” menu, click on “Update & Security,” and select “Check for updates.” Install any available updates to enhance security, stability, and performance.
- Install essential software: Begin by installing your preferred antivirus software to protect your Windows environment. Additionally, consider installing essential productivity tools, web browsers, media players, and any other software you may need for your specific requirements.
- Transfer files and data: If you backed up your important files before installing Windows, you can now transfer them into your Windows environment. Connect your external storage device or access your cloud storage service to restore your files and data.
- Customize Windows settings: Personalize your Windows experience by adjusting settings according to your preferences. This includes changing display resolution, configuring power options, setting up wireless networks, and customizing themes and backgrounds.
Setting up Windows on your Mac allows you to fully utilize the features and functionality of the Windows operating system. Make sure to stay updated with the latest version of Windows and regularly check for software updates to keep your system secure and optimized.
By following these steps, you have successfully installed and set up Windows on your MacBook. Enjoy the dual operating system experience, switching seamlessly between macOS and Windows as per your needs.
In this guide, we have covered the entire process of downloading Windows on your MacBook, from checking your macOS version to setting up Windows. Now, you can make the most out of your MacBook by harnessing the power of both operating systems. Whether it’s for work, entertainment, or educational purposes, having Windows on your MacBook opens up a world of possibilities.
Conclusion
Congratulations! You have successfully downloaded and installed Windows on your MacBook, allowing you to enjoy the best of both worlds. By following the step-by-step process outlined in this guide, you have gained the ability to run Windows-specific applications and software on your Mac, expanding its functionality and versatility.
We began by checking your macOS version to ensure compatibility with the Windows version you wanted to install. Then, we guided you through the process of preparing your Mac for Windows installation, including backing up your data, updating your macOS, and freeing up disk space.
From there, we showed you how to create a Windows installation media using a USB flash drive. This bootable drive allowed you to initiate the installation process smoothly. We then moved on to partitioning your Mac’s hard drive, allocating dedicated space for Windows while preserving your macOS installation.
After partitioning, we guided you through the Windows installation process, from booting into the Windows installation media to completing the initial setup. Finally, we emphasized the importance of installing necessary drivers, updating Windows, and setting up software to enhance your Windows experience on your Mac.
Having Windows on your MacBook opens up a wide range of possibilities, from running Windows-specific software to accessing a vast library of applications. With careful preparation and following the steps outlined in this guide, you can seamlessly switch between macOS and Windows, enjoying the advantages of both operating systems.
Remember to keep your Windows installation updated and secure, regularly checking for updates and antivirus software. By maintaining both your macOS and Windows environments, you can ensure a smooth and reliable experience on your MacBook.
Thank you for choosing this guide to download Windows on your MacBook. We hope this has provided you with the knowledge and confidence to embark on this exciting journey. Enjoy exploring the vast realm of possibilities that await you with Windows on your Mac!