Introduction
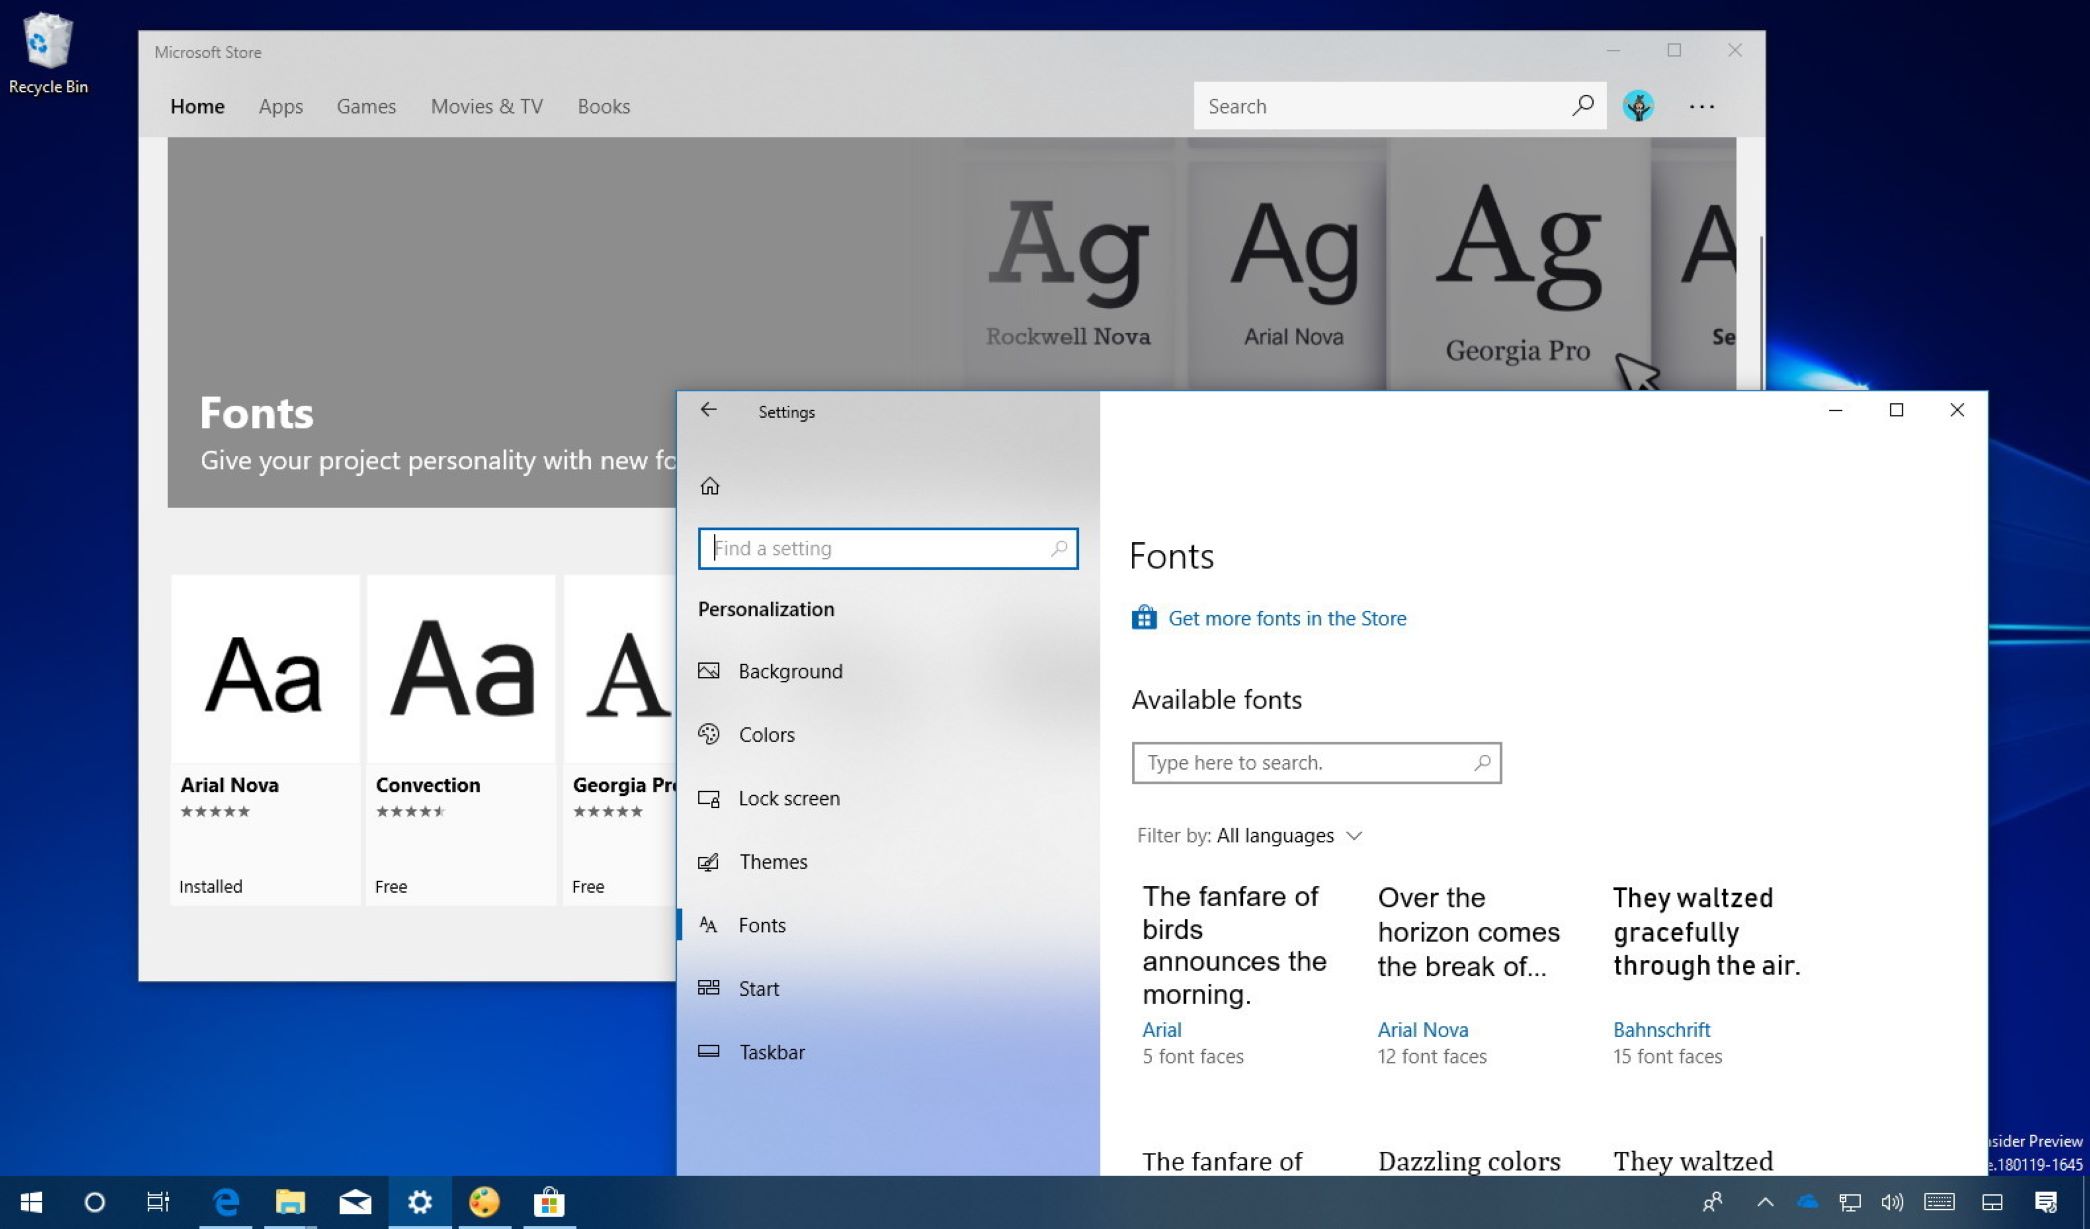
Welcome to our step-by-step guide on how to download fonts to Windows 10. Fonts play an essential role in enhancing the visual appeal of documents, presentations, and designs. By adding new fonts to your Windows 10 system, you can unleash your creativity and personalize your projects with a unique touch.
Windows 10 offers a simple and straightforward process to download and install fonts, giving you access to a wide range of options to choose from. Whether you’re looking for elegant script fonts, bold display fonts, or stylish handwritten fonts, there’s a vast collection available online.
In this article, we will walk you through the process of downloading and installing fonts on your Windows 10 computer. Whether you’re a graphic designer, a student working on a school project, or just someone looking to add a bit of flair to your everyday documents, this guide will help you navigate the world of fonts and make your Windows 10 experience even more delightful.
We’ll cover the basics of finding a reliable font website, selecting and downloading the font files, extracting the downloaded files, and finally, installing them on your Windows 10 system. By following these simple steps, you’ll be able to expand your font library and use them in various applications like Microsoft Word, PowerPoint, Photoshop, and many more.
Before we dive into the steps, make sure you have a stable internet connection and enough free disk space to download and store the font files. Additionally, it’s essential to validate the terms of use of any font you download, ensuring that you have the necessary rights and permissions to utilize it for your intended purposes.
Now, let’s get started with the first step: finding a reliable font website that offers a diverse selection of fonts for you to choose from.
Step 1: Find a reliable font website
The first step in downloading fonts to Windows 10 is finding a reliable font website. With countless websites offering free and paid font downloads, it’s crucial to choose a reputable source to ensure the fonts you download are safe, legally obtained, and of high quality.
Here are some tips to help you find a reliable font website:
- Research well-known websites: Start by searching for well-known font websites that have a good reputation. Websites like Google Fonts, DaFont, Font Squirrel, and Behance are popular choices that offer a wide range of fonts.
- Read user reviews: Take the time to read user reviews and feedback regarding the website’s font collection, download process, and overall user experience. It will give you insights into the quality and reliability of the fonts available.
- Check licensing information: Make sure to verify the licensing information for the fonts you plan to download. Fonts may have different licensing restrictions, such as personal use only, commercial use allowed, or attribution requirements. Choose fonts that align with your specific needs and adhere to copyright laws.
- Explore font categories: Look for font websites that offer a diverse range of font categories, including serif, sans-serif, script, display, and decorative fonts. This will give you more options to choose from and cater to different design styles and preferences.
- Consider paid options: While there are many free font websites available, consider exploring paid font options as well. Paid fonts often come with additional features, a wider selection, and better support from the font creators.
Remember, it’s vital to be cautious when downloading fonts from unknown sources. Some websites may contain malware or low-quality fonts that could potentially harm your computer or affect the performance of your design software. Stick to reputable font websites to ensure a safe and reliable experience.
Once you’ve identified a reliable font website, you can proceed to the next step, which is selecting and downloading the font files. Let’s move on to Step 2!
Step 2: Select and download the font
Now that you have found a reliable font website, it’s time to choose and download the font files that catch your interest. Most font websites offer a simple and intuitive interface, making it easy for you to browse and select the fonts you want.
Here’s how you can select and download fonts:
- Browse font categories: Explore the different font categories available on the website. You can usually find categories like serif, sans-serif, script, display, and more. Clicking on a category will display a list of fonts within that category, allowing you to narrow down your search.
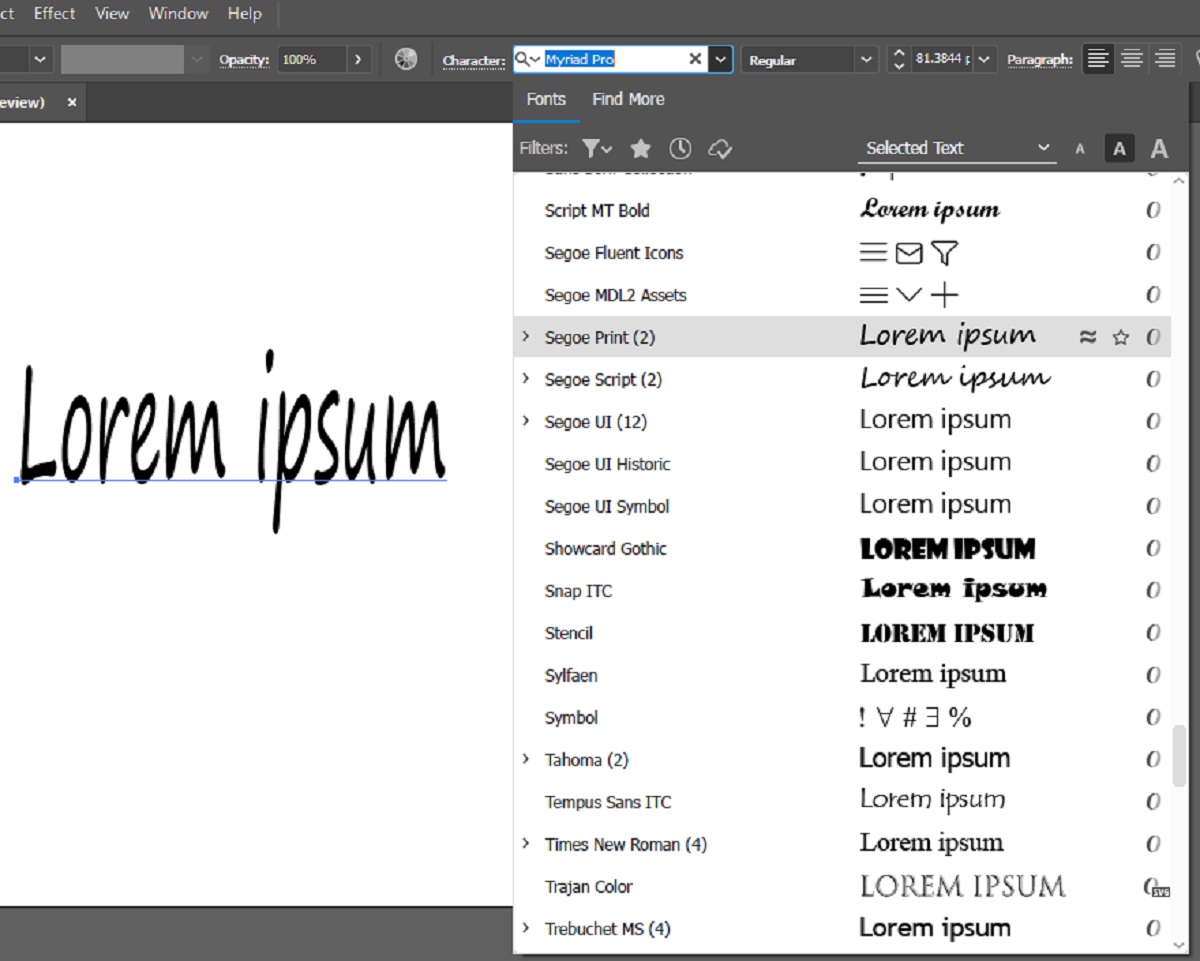
- Preview the fonts: Before making a final decision, take advantage of the font preview feature provided by the website. This allows you to see how the font looks in various styles, sizes, and letter combinations. Pay attention to readability, aesthetics, and whether the font suits your intended use.
- Select the font: Once you have found a font that you love, click on it to access more information and download options. Some font websites offer multiple file formats, such as TrueType (.ttf), OpenType (.otf), or Web Font (.woff), so choose the one that is compatible with your software and design needs.
- Download the font file: After selecting the desired font format, click on the download button provided on the website. Your browser will begin downloading the font file to your computer. Depending on the size of the font file and your internet speed, the download process may take a few seconds to a few minutes.
It’s important to note that some font websites may require you to create an account or provide an email address to download fonts. This is a common practice, as it allows the website to keep track of your downloads and provide you with updates on new font releases or licensing information.
Once the font file is downloaded, you can move on to the next step, which is extracting the downloaded file. We’ll cover that process in Step 3 below.
Step 3: Extract the downloaded file
After successfully downloading the font file to your computer, the next step is to extract the downloaded file. Font files are typically compressed in a ZIP format to reduce file size and make the downloading process faster. Extracting the font file will allow you to access the actual font files that you can install on your Windows 10 system.
Follow these steps to extract the downloaded font file:
- Locate the downloaded font file: Open the folder or directory where your downloaded font file is saved. The file will usually have a .zip extension.
- Extract the font file: Right-click on the font file and select “Extract All” or “Extract Here” from the context menu. This will start the extraction process and create a new folder containing the font files.
- Access the font files: Once the extraction is complete, open the newly created folder. You will find one or more font files with extensions like .ttf or .otf. These are the actual font files that you will install on your Windows 10 system.
It’s important to note that if the font file you downloaded is not in a compressed ZIP format, you can directly skip the extraction process and move on to the next step, which is installing the font on your Windows 10 system.
By extracting the font files, you ensure that they are ready for installation and accessible within your system’s fonts library. Now that you have successfully extracted the font files, let’s proceed to the next step: installing the font to Windows 10.
Step 4: Install the font to Windows 10
With the extracted font files in hand, it’s time to install them on your Windows 10 system. Windows 10 provides a straightforward process to install new fonts, allowing you to use them in various applications such as Microsoft Word, PowerPoint, Photoshop, and more.
Follow these steps to install the font on your Windows 10 computer:
- Open the font file location: Locate the folder containing the extracted font files. You can keep this folder open for easy access during the font installation process.
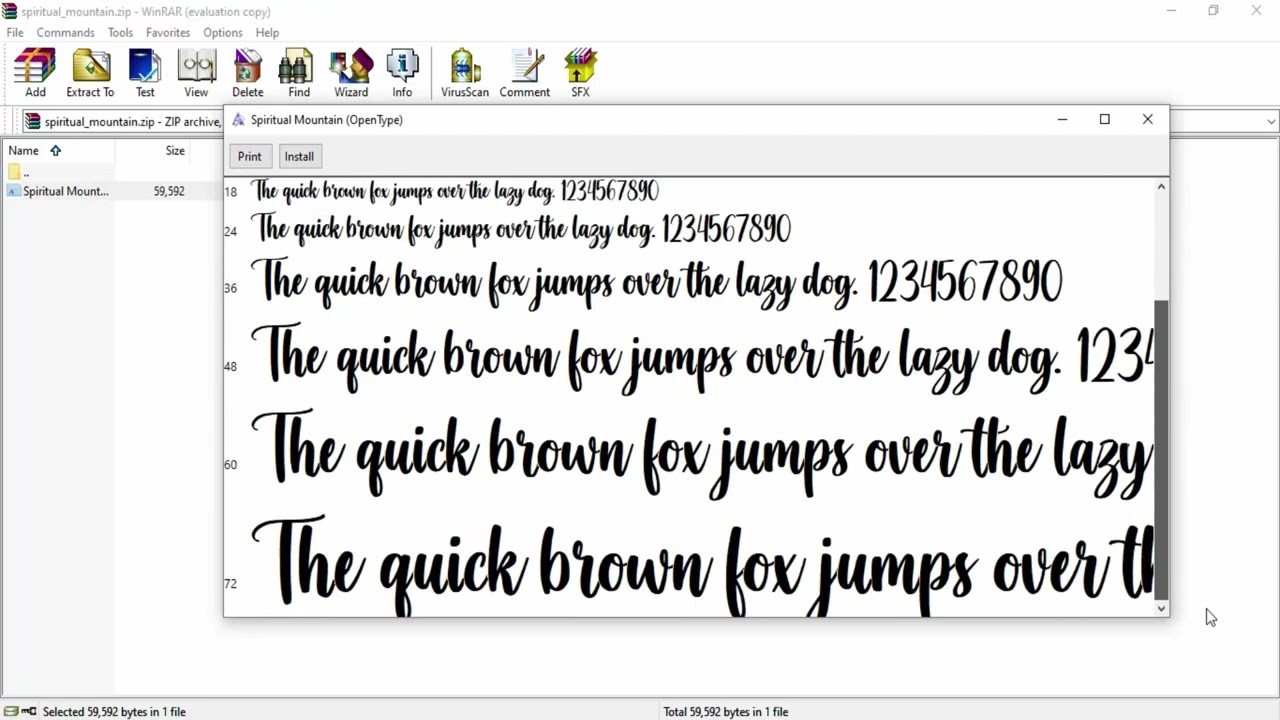
- Install the font: Right-click on the font file (.ttf or .otf) and select “Install” from the context menu. Alternatively, you can double-click on the font file to open a preview window and click the “Install” button at the top.
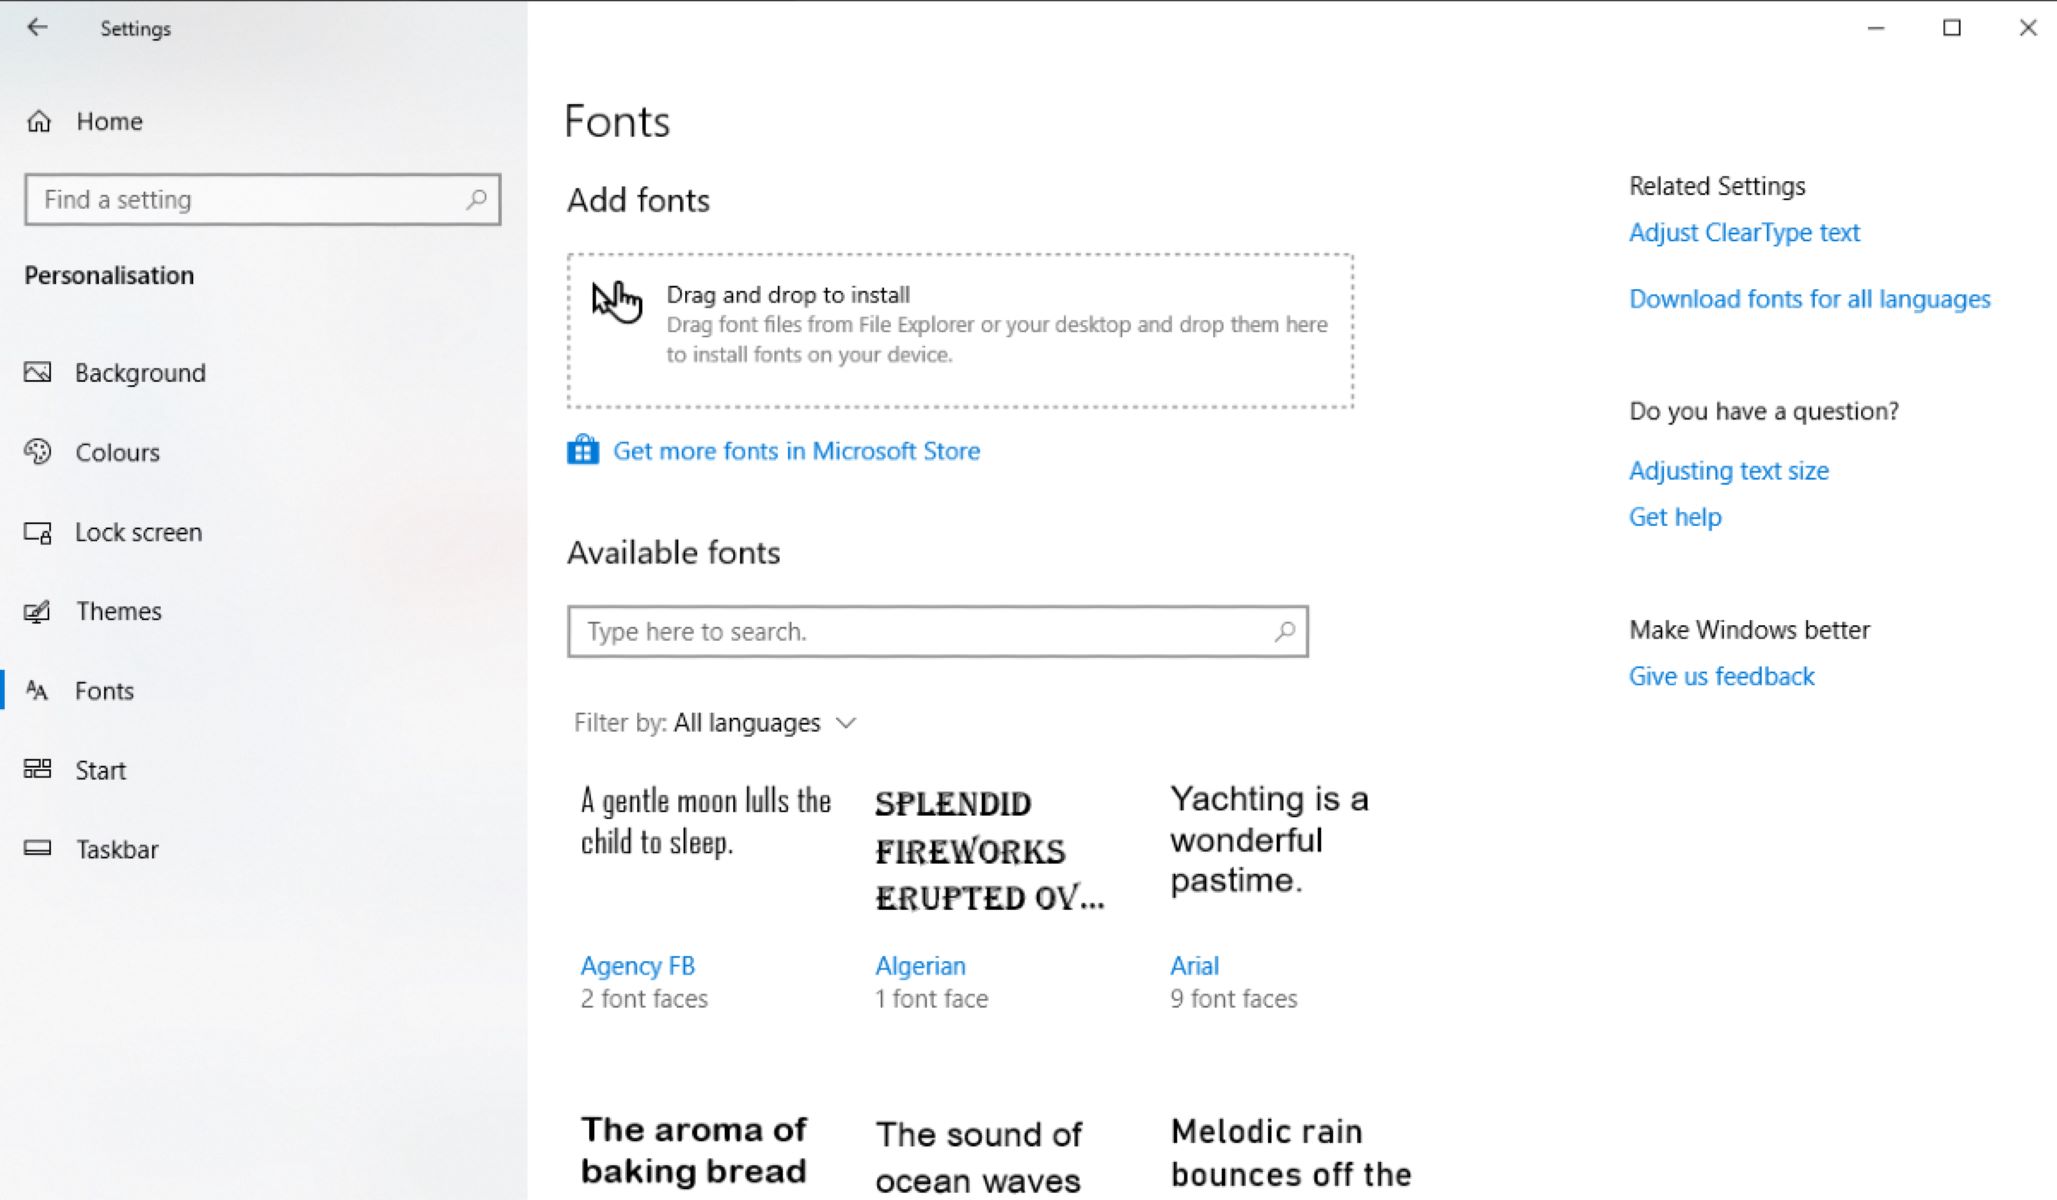
- Confirmation of font installation: Windows 10 will install the font and display a confirmation message once the installation is complete. You can also check if the font is successfully installed by navigating to the Fonts folder in Windows 10. To do this, press the Windows key + R to open the Run dialog box, type “fonts” (without quotes), and hit Enter. The Fonts folder will open, and you should see the newly installed font listed.
Repeat the above steps for each font file you want to install on your Windows 10 system. Don’t hesitate to install multiple fonts at once to expand your font collection and have more design options available.
Keep in mind that some font files may have different font styles included, such as bold, italic, or different weights. By installing these font files, you will have access to these variations, allowing you to experiment with different styles in your designs.
Now that you have successfully installed the font(s) on your Windows 10 system, let’s move on to the final step: confirming the font installation.
Step 5: Confirm the font installation
After installing the font(s) on your Windows 10 system, it’s essential to confirm that the font installation was successful. This step ensures that the newly installed font is recognized and accessible by your computer and various applications.
Here’s how you can confirm the font installation:
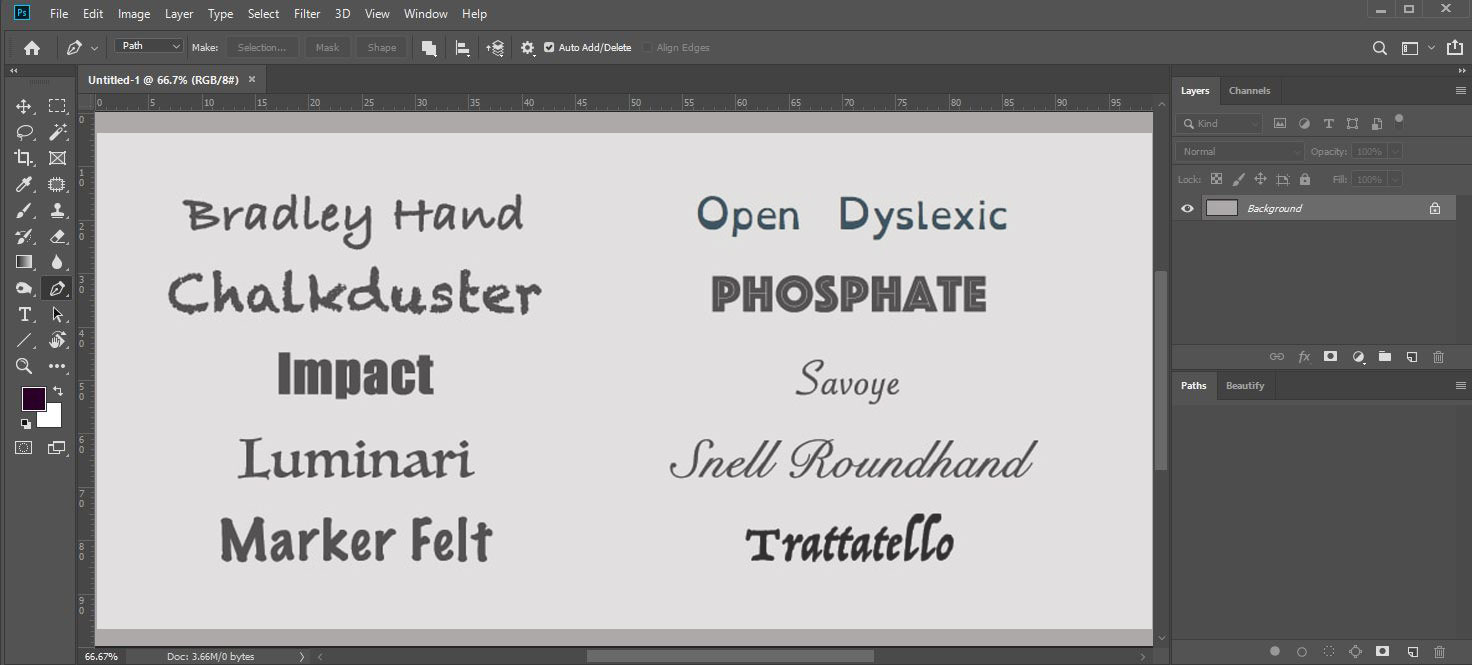
- Open an application: Launch any application that allows you to work with fonts, such as Microsoft Word, PowerPoint, or Photoshop.
- Select the installed font: In the application, navigate to the font selection menu or font settings. Look for the recently installed font(s) in the list of available fonts. The font name should match the one you installed in the previous step.
- Apply the font: Select the installed font and apply it to a text element within the application. This can be done by highlighting the text and choosing the font from the font selection menu or font settings.
- Verify appearance: Once the font is applied, check that the text appears correctly in the chosen font style. Ensure that the font is legible, displays the desired characters, and retains its intended design.
By following these steps, you can verify that the newly installed font is functioning correctly and can be used effectively in your projects. If you encounter any issues, such as the font not appearing in the font selection menu or the text not displaying correctly, try restarting the application or your computer to refresh the font cache.
Additionally, keep in mind that certain applications, especially older versions, may not recognize newly installed fonts immediately. In such cases, closing and reopening the application may be necessary to properly utilize the newly installed fonts.
Congratulations! You have successfully confirmed the font installation on your Windows 10 system. Now you can unleash your creativity and incorporate the newly installed fonts into your designs, presentations, documents, and more.
In this guide, we have covered the step-by-step process of downloading fonts to Windows 10. From finding a reliable font website to selecting, downloading, extracting, installing, and confirming the font installation, you now have the knowledge and tools to expand your font library and enhance your creative projects.
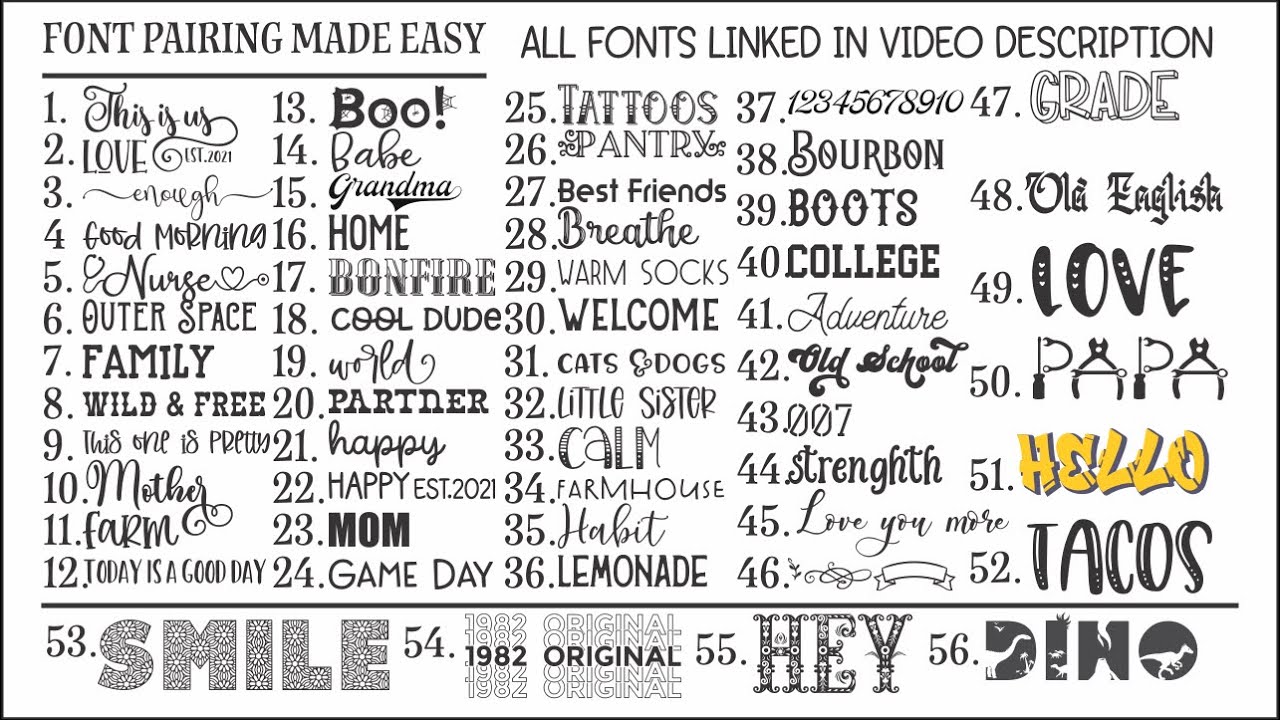
Remember to explore different font options, experiment with combining fonts, and unleash your imagination to create visually stunning and captivating designs. Enjoy the process of discovering new fonts and making your Windows 10 experience even more personalized and exciting!
Conclusion
Downloading fonts to Windows 10 is a simple and rewarding process that allows you to expand your creative horizons and personalize your projects. By following the steps outlined in this guide, you can easily find, download, extract, install, and confirm the font installation on your Windows 10 system.
Remember to choose reliable font websites that offer a diverse collection of fonts and adhere to licensing requirements. Take the time to explore different font categories and preview the fonts before making your selection.
Once you have downloaded the font files, extract them to access the actual font files (.ttf or .otf). Installing the font onto your Windows 10 system is as easy as right-clicking on the font file and selecting “Install”. Confirm the font installation by applying the font to a text element in an application and verifying its appearance.
With the newly installed fonts at your disposal, you can now bring a unique touch to your documents, designs, and presentations. Experiment with different font styles, weights, and combinations to create visually appealing and engaging content.
Always be mindful of licensing restrictions and copyright laws when using downloaded fonts. Ensure that you have the necessary permissions to use the fonts for your intended purposes, whether it is personal use or commercial projects.
Keep exploring new font websites, staying updated with the latest font releases, and broadening your font library. The world of typography offers a wealth of options to cater to different design styles and preferences.
We hope this guide has provided you with the knowledge and confidence to download fonts to your Windows 10 system. Embrace your creativity, have fun with fonts, and bring your projects to life with the perfect typography!