While the default fonts on both Windows and Mac are serviceable, they’re not always enough to make beautiful documents. Sometimes, you need something better, especially if you’re into the art of graphic designs. Here’s how to install fonts on any of your operating devices:
How To Download Fonts

Before you install new fonts, it’s important to know where to download font files. There are numerous websites you can choose from online that offer both free and premium fonts. Once you find a font you like, the only matter you need to concern yourself with is properly downloading it.
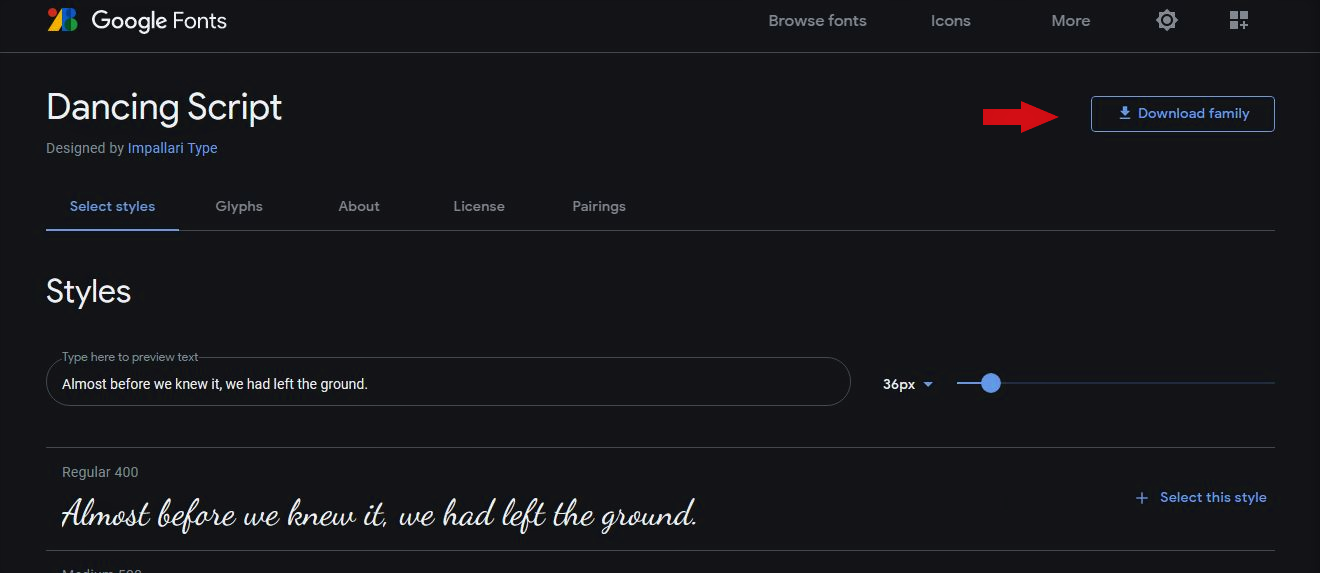
However, this in itself might be confusing if this is your first time. Hence, we’ll provide you with an example using Google Fonts. Firstly, click on the link to Google Fonts and browse through their library of fonts. You can also narrow down your search using Google’s filters to browse your options by category, font properties, type, and more.
Google Fonts
If you have a specific font in mind, you can use the search bar to enter its name. However, there’s no guarantee that Google Fonts will have the font you want because some only come from specific sources.
Once you find your desired font, you can click on the font name. Afterward, you’ll be redirected to its corresponding page. Then, click on the upper-right button that says Download family. This will download all font styles belonging to the same family as a ZIP file. Afterward, just wait for the file to finish downloading and follow the steps for Windows or Mac below.
- How To Install Fonts On Windows 10
- How To Install Fonts Through The Microsoft Store (Windows 10)
- How To Install Fonts On Windows 8
- How To Install Fonts On Windows 7
- How To Install Fonts On Windows Vista
- How To Install Fonts On Windows XP
- How To Install Fonts On Mac
- How To Install Fonts On iOS
- How To Install Fonts On Android
How To Install Fonts On Windows 10
If you’re using a Windows 10 PC, here’s a step-by-step on how to install fonts on your device.
- Download your desired font as a .zip file through your website of choice.
- Open the Downloads folder.
- Open the .zip file.
- Open the unzipped font folder to view the font files within the family.
- Right-click on each one font file and choose Install from the dropdown menu. Repeat this step for all the fonts you want to install on your PC.

Afterward, you should find your font installed on your device. You can repeat these steps for every font folder and file you want. Just remember to download the fonts you need from a trusted source and you’re good to go.
How To Install Fonts Through The Microsoft Store (Windows 10)
Many fonts exist are available on various font-dedicated websites such as Google Fonts. However, people don’t always have to source fonts from websites online. In fact, they can download fonts directly from the Microsoft Store. If that sounds like a better alternative for you, then here’s how to install fonts from the Microsoft Store.
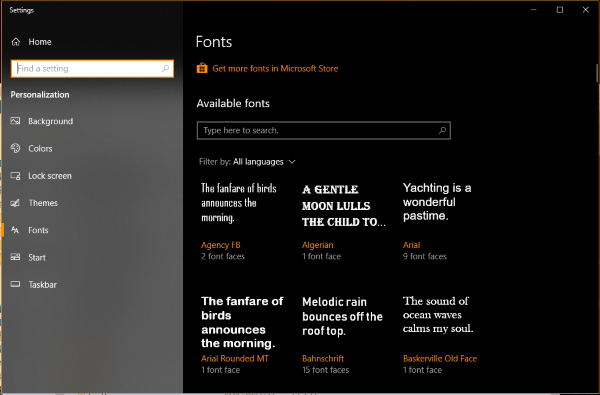
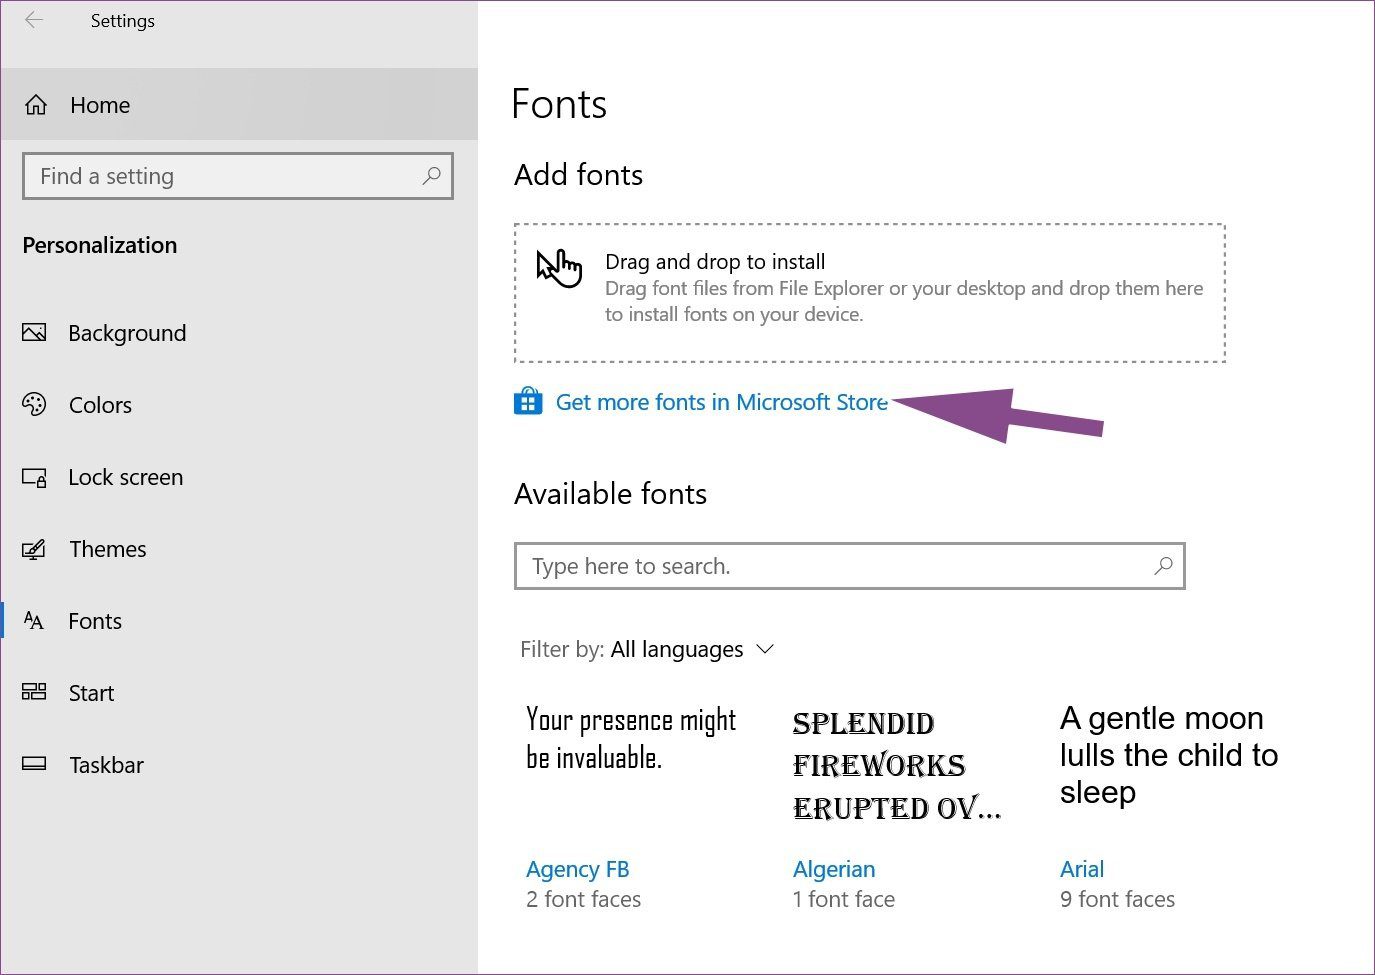
- Open the Settings menu on Windows 10.
- Select Personalization.
- Navigate to the Fonts tab.
- Click on the link that says Get More Fonts in Microsoft Store.
- Download the font you want like you would an app.
- Note: this should automatically install the font, so it should immediately show in the Settings menu.
- Depending on the font, it may be downloaded as a .zip file. If so, choose Extract All after right-clicking on the file. Afterward, follow the instructions and save them into the right folder.
- Once extracted, right-click on the file from the folder it’s saved in.
- Hit Install.
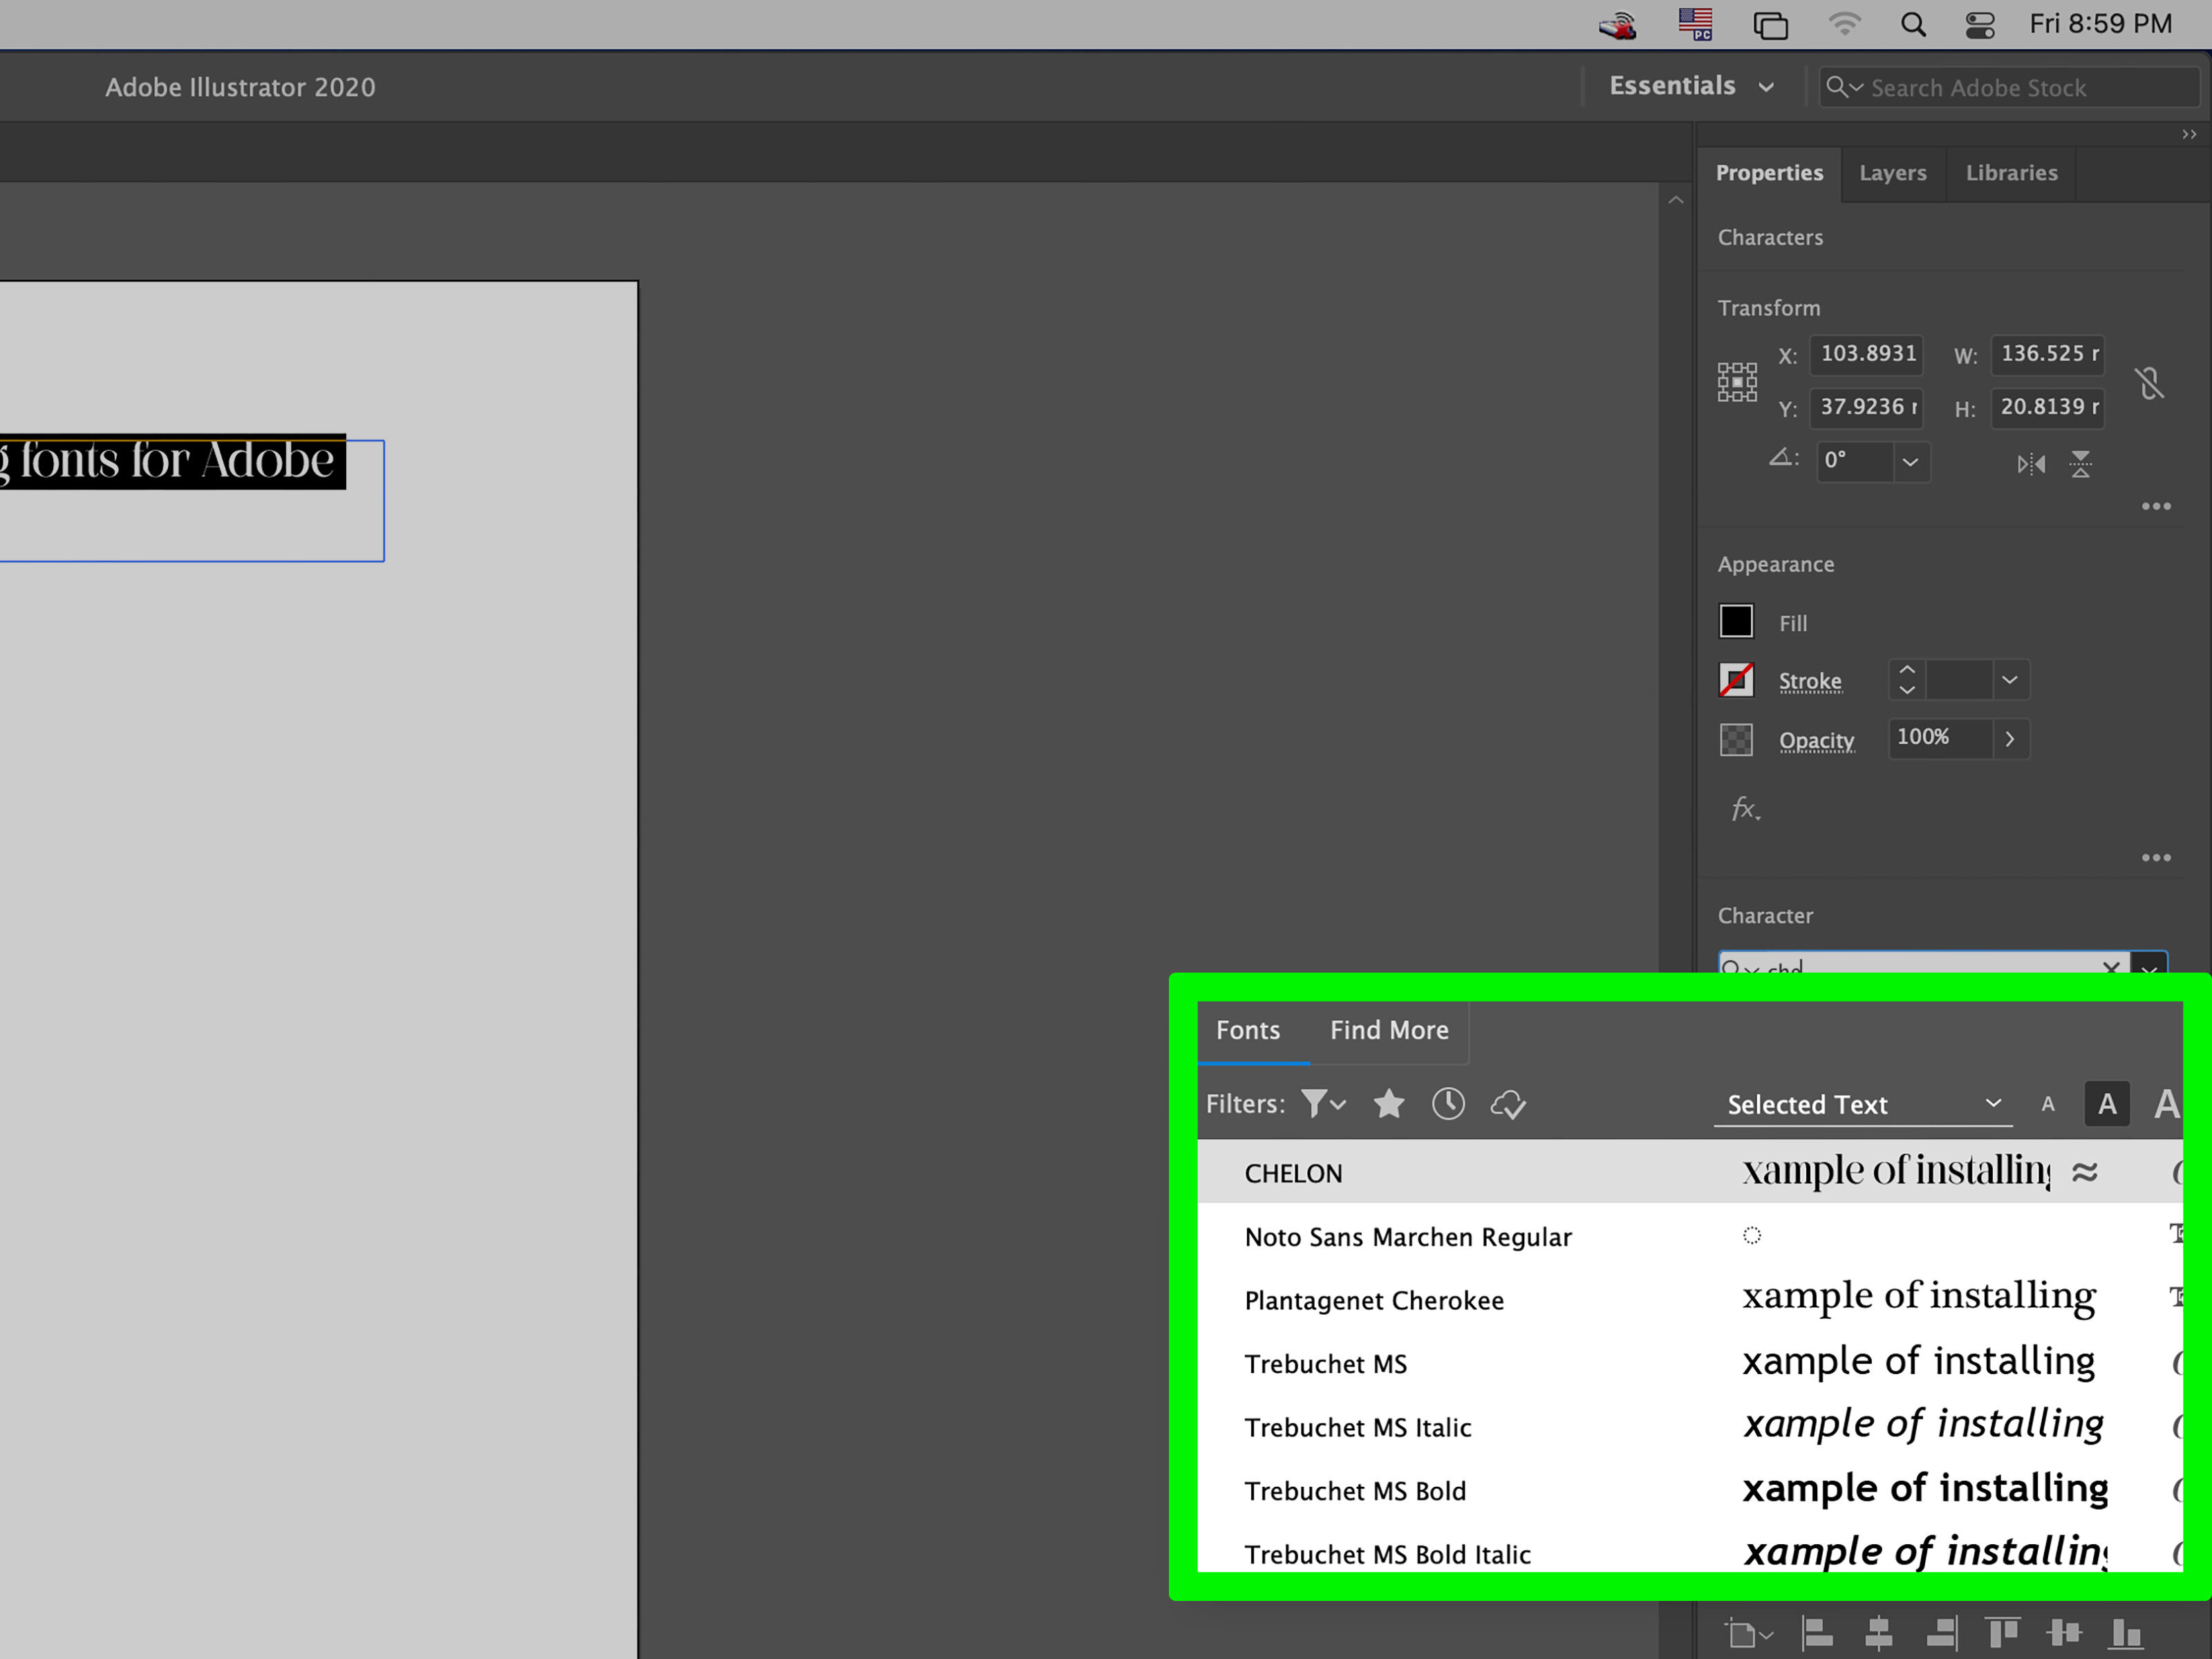
Once you’ve installed the fonts, you should be able to use them in various programs. To check if it’s working properly, you can simply open Microsoft Word and look for it in the fonts dropdown. Note that you can install both TrueType (.ttf) and OpenType (.otf) fonts.
How To Install Fonts On Windows 8
- Download your desired fonts from Google Fonts or another website.
- Unzip the downloaded folder.
- Lookup the Fonts Folder in the start menu’s search.
- Open the Fonts folder.
- Drag the unzipped fonts to the Fonts folder to automatically install them. Do this for each font file you want installed on your device.
Your desired font should be successfully installed on Windows 8. You can check if it’s been properly integrated into your apps by opening Microsoft Word and searching for the font.
How To Install Fonts On Windows 7
- Download the fonts you want from a trusted font website.
- Once downloaded, unzip the files through Windows Explorer.
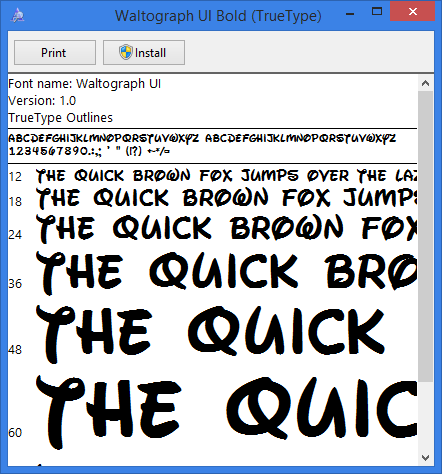
- Right-click a font file to bring up a pop-up menu.
- Select Install for each.
Afterward, you should find the font available on your PC. To check, open any old document with Microsoft Word and search for the font in the fonts menu.
How To Install Fonts On Windows Vista
- Download the fonts you want from the website.
- Open the Downloads folder from Windows Explorer.
- Unzip the font folders you downloaded.
- Go to the Start Menu > Control Panel > Appearance and Personalization > Fonts.
- Hit File > Install New Font.
- Go to the folder that contains your unzipped font files and choose the font files to be installed.
- Click Install.
Afterward, you should find all the fonts you need on Windows Vista. Like any other Windows version, you can check if they work through Microsoft Word. On the other hand, you can also use other programs that recognize system fonts to do this.
How To Install Fonts On Windows XP
- Download the fonts you want from a trusted font website.
- Open Windows Explorer and navigate to the Downloads folder.
- Unzip the font files you want to install.
- Go to the Start Menu > Control Panel > Appearance and Themes > See Also > Fonts.
- Select File Menu > Install New Font.
- Go to the folder that has your unzipped font files.
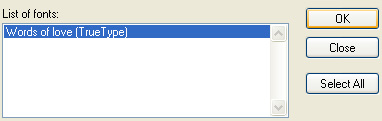
- Select your chosen fonts.
- Click OK.
Congratulations, you’ve learned how to install fonts successfully on Windows XP. Do note that you can download fonts as long as they’re compatible with your OS. Moreover, you can also check whether they’re working properly on software running system fonts. This includes Microsoft Word, Microsoft Excel, or any other similar program.
How To Install Fonts On Mac
If you’re on a Mac, here’s how to install fonts on macOS.

- Download the font you want from a trusted font website.
- Go to the folder where your downloaded .zip file is.
- Unzip the file and open the enclosed folder.
- Click on each font folder to open their files.
- Once opened, you should see a preview of the font in every letter and character.
- Hit the Install Font button on the lower-right.
- Wait for the installation to finish.
- Repeat these steps for each font folder and font file you find in the unzipped folder.
Afterward, you should have been able to install the fonts you want. You can download as many fonts as you want as long as they’re free to acquire. However, you can also download premium fonts by paying the asking price on the website. Just remember to follow the use cases for your font and whether you can use it commercially or not.
How To Install Fonts On iOS
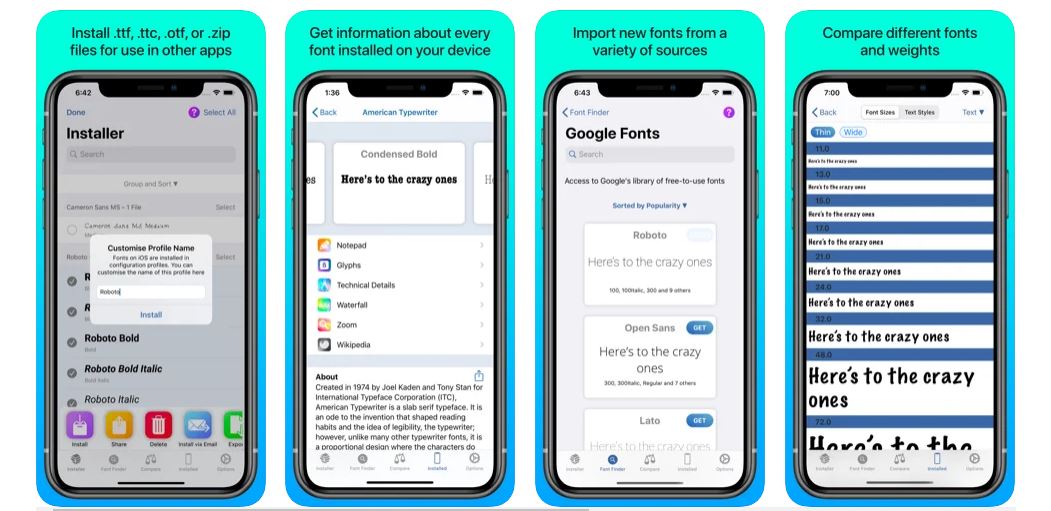
- Download iFont from the App Store.
- Launch the app and select the installer tab, then tap Import.
- A Google Drive menu should open. Afterward, choose the font file you want from a local folder or browse cloud folders like iCloud, Google Drive, etc.
- Go back to the Installer tab in iFont.
- Tap the Select button next to the font file you want.
- Press Install.
- Tap Allow on the pop-up.
- Open the Settings menu and tap Profile Downloaded > Install.
- Key in your passcode and hit Done.
- Tap Install on the top-right.
- Select Install at the bottom of the screen.
After taking these steps, you should be able to use the newly downloaded fonts. However, note that you can only use it in apps if they recognize system fonts. Moreover, any open apps before the installation is finished should be closed before they can recognize new fonts. Hence, you have to restart the app before you can use any new fonts you install.
To manage your downloaded fonts, you can navigate to Settings > General > Profile. Note that with iFont, you can download TrueType (.ttf), OpenType (.otf), and TrueType Collection (.ttc) font files.
How To Install Fonts On Android
Android phones are a little trickier than iOS devices because there are numerous overlays from different manufacturers. Not all manufacturers allow you to install third-party fonts but many others do. For example, if you’re using a vanilla Android version (such as those found in Pixel phones), you’re out of luck. That’s because those phones don’t provide font downloads as options.
On the other hand, phones from companies like HTC, Samsung, or LG will allow 3rd-party fonts. Hence, this method may or may not work for you depending on your brand. With that in mind, if your phone’s compatible, here’s how to install fonts on Android devices.

- Install the iFont app from the Google Play Store.
- Go to Settings > Security > App Installation > Unknown source installations.
- Choose iFont > Allow.
- Open iFont and select the font you want. You can do so through the Recommended tab or the Find tab.
- Choose a font and hit Download.
- Once the download is finished, tap Set.
- (Optional) Go through the instructions.
- If your smartphone didn’t immediately change fonts, go to Settings > Display > Font. Then manually change the system font to your downloaded font.
Do note that the above method doesn’t always work for all Android devices. Moreover, some complications may arise depending on whether your phone is rooted or not.
Conclusion
Learning how to install fonts on any operating system is easy. All you need is to download the fonts from a trusted source and install them on your system. Once you download your desired fonts, you can finally beautify any documents as you please.