Introduction
Welcome to the world of using Windows on your Mac! Whether you’re a Mac enthusiast curious about exploring the Windows ecosystem or a professional who needs to run specific Windows software, this guide will walk you through the process of installing and using Windows on your Mac.
Gone are the days when Mac users had to sacrifice the ability to run Windows applications. With the advent of Apple’s Boot Camp, it has become incredibly easy to install Windows on a Mac and enjoy the best of both operating systems.
In this comprehensive guide, we will show you how to use Boot Camp Assistant to install Windows on your Mac, choose the best Windows version for your needs, create a Windows installation USB drive, and navigate the setup process.
We will also cover how to take advantage of Windows features on your Mac and share some troubleshooting tips for common issues you may encounter along the way.
Keep in mind that while running Windows on your Mac is incredibly convenient, it does require some technical know-how. However, with this guide, we aim to provide step-by-step instructions and make the process as straightforward as possible.
So, whether you need to run specific software, test websites on different operating systems, or simply want to explore the Windows world from the comfort of your Mac, let’s dive in and make Windows on Mac a reality!
Installing Windows on Mac
Are you ready to install Windows on your Mac? Follow the step-by-step process outlined below to get started.
Using Boot Camp Assistant:
The first step in installing Windows on your Mac is to use the built-in Boot Camp Assistant, which simplifies the process by providing a user-friendly interface:
- Launch Boot Camp Assistant, which can be found in the Utilities folder.
- Click “Continue” and choose the ISO file for the Windows version you want to install. If you don’t have the ISO file yet, we’ll cover how to download it in the next section.
- Choose the desired partition size for Windows. Keep in mind that you need enough free space on your hard drive to accommodate Windows and any applications you plan to use.
- Click “Install” and wait for Boot Camp Assistant to partition your drive and create a Windows installation USB drive.
Choosing the Windows version:
Before proceeding with the installation, you need to decide which version of Windows you want to install. Consider your specific needs and compatibility requirements with the software you plan to use.
Downloading the Windows ISO file:
To install Windows on your Mac, you will need a Windows ISO file. Here’s how to obtain it:
- Visit the official Microsoft website or authorized resellers to purchase a copy of Windows, or if you already have a license key, proceed to the next step.
- Follow the instructions provided to download the appropriate Windows ISO file.
Make sure to choose the correct version and architecture (32-bit or 64-bit) that corresponds to your license key or preferred Windows edition.
Creating a Windows installation USB drive:
Once you have the Windows ISO file, you need to create a bootable USB drive for installation:
- Insert a USB drive with at least 8GB of storage capacity into your Mac.
- Open Disk Utility from the Utilities folder and format the USB drive as “MS-DOS (FAT)” with the “Master Boot Record” partition scheme.
- Open Boot Camp Assistant and choose the “Create a Windows 10 or later version install disk” option. Follow the on-screen prompts to select the Windows ISO file and the USB drive as the destination.
- Boot Camp Assistant will create the bootable USB drive for Windows installation.
Now that you have a bootable Windows installation USB drive, you’re ready to proceed with the installation.
Using Boot Camp Assistant
Boot Camp Assistant is a powerful tool provided by Apple that simplifies the process of installing Windows on your Mac. Once you have created a bootable Windows installation USB drive, follow these steps to use Boot Camp Assistant for a seamless installation:
- Connect the bootable USB drive to your Mac.
- Open Boot Camp Assistant from the Applications/Utilities folder.
- Click “Continue” on the introductory screen.
- Boot Camp Assistant will automatically detect the Windows ISO file and the USB drive. If not, manually select them by clicking the relevant options.
- Choose the Windows partition size by dragging the divider between the macOS and Windows sections. Make sure to allocate enough space for Windows while leaving sufficient room for your macOS setup.
- Click “Install” to proceed.
- Boot Camp Assistant will partition your Mac’s hard drive and prepare it for the Windows installation.
- Your Mac will restart, and you will see the Windows installation screen.
- Follow the on-screen instructions to select your desired language, region, and keyboard layout.
- When prompted, choose the partition labeled “BOOTCAMP” or the name you assigned during the partitioning process.
- Format the BOOTCAMP partition as NTFS, and continue with the installation.
- Windows will install, and your Mac will restart several times throughout the process.
- After the installation is complete, you will be asked to select your region again.
- Proceed with the remaining setup options, such as creating a user account and configuring network settings.
- Once the setup is finished, you will land on the Windows desktop.
Congratulations! You have successfully installed Windows on your Mac using Boot Camp Assistant. Now, you can start enjoying the benefits of both operating systems and switch between them as needed.
Note that Boot Camp Assistant also installs Boot Camp drivers, which are essential for proper hardware functionality on Windows. We’ll cover more on that in the next section.
Choosing the Windows version
When it comes to choosing the Windows version for your Mac, it’s important to consider your specific requirements and compatibility with the software you plan to use. Here are some factors to keep in mind:
1. Windows 10:
Windows 10 is the latest version of Microsoft’s operating system and offers the most up-to-date features and security enhancements. It is recommended for most users who want to take advantage of the latest Windows updates and compatibility with modern software.
2. Windows 8.1:
If you have specific software or hardware requirements that are compatible with Windows 8.1 but not with Windows 10, you may consider installing this version. However, be aware that Windows 8.1 is an older iteration and may not receive regular updates and support as Windows 10 does.
3. Windows 7:
If you have legacy software or specific hardware that only works with Windows 7, you may opt for this version. However, it’s important to note that Windows 7 reached its end of support in January 2020, which means it no longer receives security updates. As a result, using Windows 7 can pose a security risk.
Compatibility:
Before making a decision, check the compatibility of your software and hardware with the Windows version you intend to install. Visit the official websites of the software vendors or hardware manufacturers to ensure that they provide drivers and updates for the chosen Windows version.
License:
Make sure you have a valid license for the Windows version you plan to install. You can purchase a license from Microsoft’s official website or authorized resellers. Keep in mind that using an illegitimate or pirated copy of Windows is illegal and may pose security risks.
Choosing the right Windows version will ensure that you have the best experience and compatibility with your Mac hardware and software needs. Take the time to evaluate your requirements and make an informed decision before proceeding with the installation.
Downloading the Windows ISO file
In order to install Windows on your Mac, you will need to obtain the Windows ISO file. This file contains all the necessary installation files and allows you to create a bootable USB drive for the installation process. Here’s how you can download the Windows ISO file:
- Visit the official Microsoft website or authorized resellers to purchase a copy of Windows. Alternatively, if you already have a license key, proceed to the next step.
- Follow the instructions provided on the website or from the reseller to download the Windows ISO file. Make sure to select the edition and version that matches your license key or desired Windows edition.
- Choose the language and architecture (32-bit or 64-bit) that best suits your needs. The 64-bit version is recommended for better performance and compatibility with modern software.
- Click the download button and save the ISO file to a location on your Mac’s storage.
- The download process may take some time, depending on your internet connection speed, so be patient and ensure a stable connection.
Once the download is complete, you will have the Windows ISO file ready to create a bootable USB drive for installation.
Note that downloading the Windows ISO file from unofficial or unauthorized sources may pose security risks or result in an invalid or corrupted ISO file. It is always recommended to obtain the ISO file directly from Microsoft or trusted resellers to ensure authenticity and reliability.
Make sure to keep the downloaded ISO file in a safe location, as you may need it for future installations or repairs. It is also a good practice to verify the integrity of the downloaded ISO file using checksum verification tools provided by Microsoft or other reliable sources.
With the Windows ISO file in hand, you are now ready to proceed with the creation of a bootable USB drive using Boot Camp Assistant, as we’ll discuss in the next section.
Creating a Windows Installation USB Drive
Once you have downloaded the Windows ISO file, the next step is to create a bootable USB drive for the installation. This USB drive will contain all the necessary files to install Windows on your Mac. Here’s how you can create a Windows installation USB drive:
- Insert a USB drive with at least 8GB of storage capacity into your Mac.
- Open Disk Utility from the Applications folder, then go to Utilities.
- Select the USB drive from the list of available drives.
- Click on the “Erase” button in the toolbar.
- Choose “MS-DOS (FAT)” as the format and “Master Boot Record” as the scheme.
- Click “Erase” to format the USB drive.
- Now, open Boot Camp Assistant, which can be found in the Utilities folder.
- In the Boot Camp Assistant window, check the box that says “Create a Windows 10 or later version install disk” and click “Continue”.
- Boot Camp Assistant will prompt you to locate the Windows ISO file. Click “Choose” and navigate to the location where you saved the downloaded ISO file.
- Select the USB drive you formatted earlier as the destination for the Windows installation files.
- Click “Continue” and Boot Camp Assistant will start creating the bootable USB drive. This process may take several minutes.
- Once the process is complete, Boot Camp Assistant will display a message indicating that the bootable USB drive has been created.
Now, you have a bootable USB drive ready for the Windows installation. Make sure to keep it in a safe place for future installations or repairs.
Creating a bootable USB drive ensures that you have a reliable and portable installation medium for your Windows OS. This method allows you to install Windows on multiple Mac computers without the need to re-download the ISO file each time.
With the bootable USB drive prepared, you can now proceed to the next step, which involves partitioning your Mac’s hard drive and installing Windows using Boot Camp Assistant.
Partitioning the Mac Hard Drive
Before installing Windows on your Mac using Boot Camp Assistant, you need to partition your Mac’s hard drive. This process divides the storage space into separate sections, allowing you to install Windows on a dedicated partition. Here’s how you can partition the Mac hard drive:
- Open Boot Camp Assistant from the Applications/Utilities folder.
- Click “Continue” and select the “Partition Disk” option.
- You will see a visual representation of your Mac’s hard drive, with a slider dividing it into macOS and Windows sections.
- Drag the slider to adjust the partition sizes, allocating enough space for Windows while leaving sufficient room for macOS and your personal files.
- Once you’re satisfied with the partition sizes, click the “Install” button.
- Boot Camp Assistant will prompt you to enter your administrator password. Provide the password and click “OK”.
- Wait as Boot Camp Assistant creates the partitions and prepares the Mac’s hard drive for installation.
- Once the partitioning process is complete, your Mac will automatically restart.
Partitioning the hard drive ensures that each operating system has its dedicated space, isolating the macOS environment from the Windows installation. This separation allows you to easily switch between the two operating systems without any conflicts.
Note that once you’ve partitioned your Mac’s hard drive, the macOS partition will remain intact, while the newly created Windows partition will be used during the installation process.
It’s important to allocate enough space for your Windows installation, considering the size of the operating system itself, as well as any applications or files you plan to use on the Windows side. It’s recommended to have at least 40-50 GB of free space for a comfortable Windows experience.
Once the hard drive is partitioned, you are ready to proceed with the actual installation of Windows on your Mac using Boot Camp Assistant. We’ll cover the installation process in detail in the next section.
Installing Windows
Now that you have partitioned your Mac’s hard drive, it’s time to proceed with the installation of Windows using Boot Camp Assistant. Follow the steps below to install Windows on your Mac:
- Restart your Mac.
- While it is starting up, hold down the Option (⌥) key on your keyboard.
- A menu will appear with the available startup disks. Select the disk labeled “Windows” or “BOOTCAMP” (or the name you assigned during the partitioning process).
- Press Enter or click the arrow button to start the Windows installation process.
- Windows will begin loading files and present you with the language, time, and currency format options. Choose your preferences and click “Next”.
- Click “Install Now” to begin the installation.
- Enter the product key when prompted. This key should have been provided with your purchase of Windows or can be found in the confirmation email for a digital purchase.
- Read and accept the license terms, then click “Next”.
- Select the type of installation you want. If you’re installing Windows for the first time on this partition, select “Custom: Install Windows only (advanced)”.
- Choose the partition labeled “BOOTCAMP” or the name you assigned during the partitioning process.
- Click “Next” to start the installation process.
- Windows will now copy files, install features, and update settings. Your Mac will restart multiple times during this process.
- Follow the on-screen prompts to personalize Windows, such as creating a user account and setting up Wi-Fi.
- Once the installation is complete, you will be greeted with the Windows desktop screen.
Congratulations! You have successfully installed Windows on your Mac. Now, you can enjoy the capabilities and features of both operating systems. Remember to install the necessary Boot Camp drivers to ensure optimal functionality, as we’ll discuss in the next section.
It’s essential to note that during the installation process, your Mac will restart several times. Make sure to follow the on-screen instructions and be patient throughout the process.
In the next section, we’ll walk you through the steps of setting up Windows on your Mac and installing the Boot Camp drivers for optimal performance.
Setting up Windows on Mac
After successfully installing Windows on your Mac, it’s time to configure and set up the Windows operating system. Follow the steps below to complete the setup process:
- On the Windows desktop, select your region and preferred language settings.
- Click “Next” to proceed.
- Review and accept the license terms and agreements.
- Click “Next” to continue.
- Create a user account by entering your desired username and password.
- Choose whether to use Microsoft’s personalized recommendations and settings.
- Configure the settings according to your preferences and click “Next”.
- Connect to a Wi-Fi network by selecting your network from the available options. Enter the password if required.
- Click “Next” to proceed.
- Windows will now finalize the setup and apply the changes made.
- Once the setup is complete, you will be taken to the Windows desktop.
At this point, you have successfully set up Windows on your Mac. However, it is important to note that some essential drivers for Mac hardware are not automatically installed during the Windows setup process. These drivers are necessary for optimal performance and functionality on your Mac.
To ensure your Mac hardware works smoothly and efficiently on Windows, you need to install the Boot Camp drivers. These drivers include support for features such as keyboard, trackpad, audio, graphics, and more.
In the next section, we’ll cover how to install the Boot Camp drivers on your Mac after the Windows setup.
By following these steps, you will have a fully functional Windows operating system on your Mac. You can now enjoy the benefits of both macOS and Windows and switch between the two at your convenience.
Installing Boot Camp Drivers
After setting up Windows on your Mac, it’s important to install the Boot Camp drivers to ensure that your Mac hardware functions optimally in the Windows environment. The Boot Camp drivers provide essential support for features such as keyboard, trackpad, audio, graphics, and more. Follow the steps below to install the Boot Camp drivers:
- On the Windows desktop, open File Explorer.
- Navigate to the USB drive that was created during the Boot Camp Assistant process.
- Inside the USB drive, locate and open the “Boot Camp” folder.
- Run the “setup.exe” file to start the Boot Camp driver installation process.
- Follow the on-screen prompts and click “Next” to proceed with the installation.
- Review and accept the license agreement for the Boot Camp drivers.
- Choose the destination folder where the drivers will be installed or leave the default location.
- Click “Install” to begin the installation process.
- Wait for the installation to complete. Your screen may flicker and drivers will be installed for various components of your Mac hardware.
- Once the installation is finished, restart your computer.
- After the restart, your Mac hardware should now be fully functional in the Windows environment.
By following these steps, you will have successfully installed the Boot Camp drivers, enabling full support for your Mac hardware in the Windows operating system. It’s important to keep the Boot Camp drivers up to date by periodically checking for updates using the Apple Software Update utility on the Windows side.
Having the Boot Camp drivers installed ensures a seamless experience when using Windows on your Mac. You can now enjoy the full functionality of your Mac’s keyboard, trackpad, audio, graphics, and other hardware features while using Windows.
In the next section, we’ll explore how you can switch between macOS and Windows on your Mac using Boot Camp.
Switching between macOS and Windows
One of the great advantages of using Boot Camp to run Windows on your Mac is the ability to switch between macOS and Windows easily. Here’s how you can switch between the two operating systems:
- To switch from macOS to Windows, click the Apple menu in the top-left corner of the screen and select “Restart”.
- As the Mac restarts, hold down the Option (⌥) key on your keyboard until you see the startup disk selection screen.
- Select the disk labeled “Windows” or “BOOTCAMP” (or the name you assigned during the installation process).
- Press Enter or click the arrow button to start your Mac in Windows.
- To switch from Windows to macOS, click the Start button in the lower-left corner of the screen or press the Windows key on your keyboard.
- Click the Power button in the Start menu, then choose “Restart” or “Shut down”.
- As the computer restarts, hold down the Option (⌥) key until the startup disk selection screen appears.
- Select the disk labeled “macOS” or “Macintosh HD”.
- Press Enter or click the arrow button to start your Mac in macOS.
Switching between macOS and Windows allows you to take advantage of the capabilities and software available in both operating systems. Whether you need to use specific Windows applications or enjoy the seamless user experience of macOS, Boot Camp provides the flexibility to easily transition between the two environments.
Keep in mind that when you switch between macOS and Windows, your computer will restart, so make sure to save any open files or work in progress before initiating the switch.
With the ability to switch between macOS and Windows, you can get the best of both worlds on your Mac. Enjoy the familiarity and productivity of macOS while seamlessly switching to Windows when needed.
In the next section, we’ll explore some of the features and advantages of using Windows on your Mac.
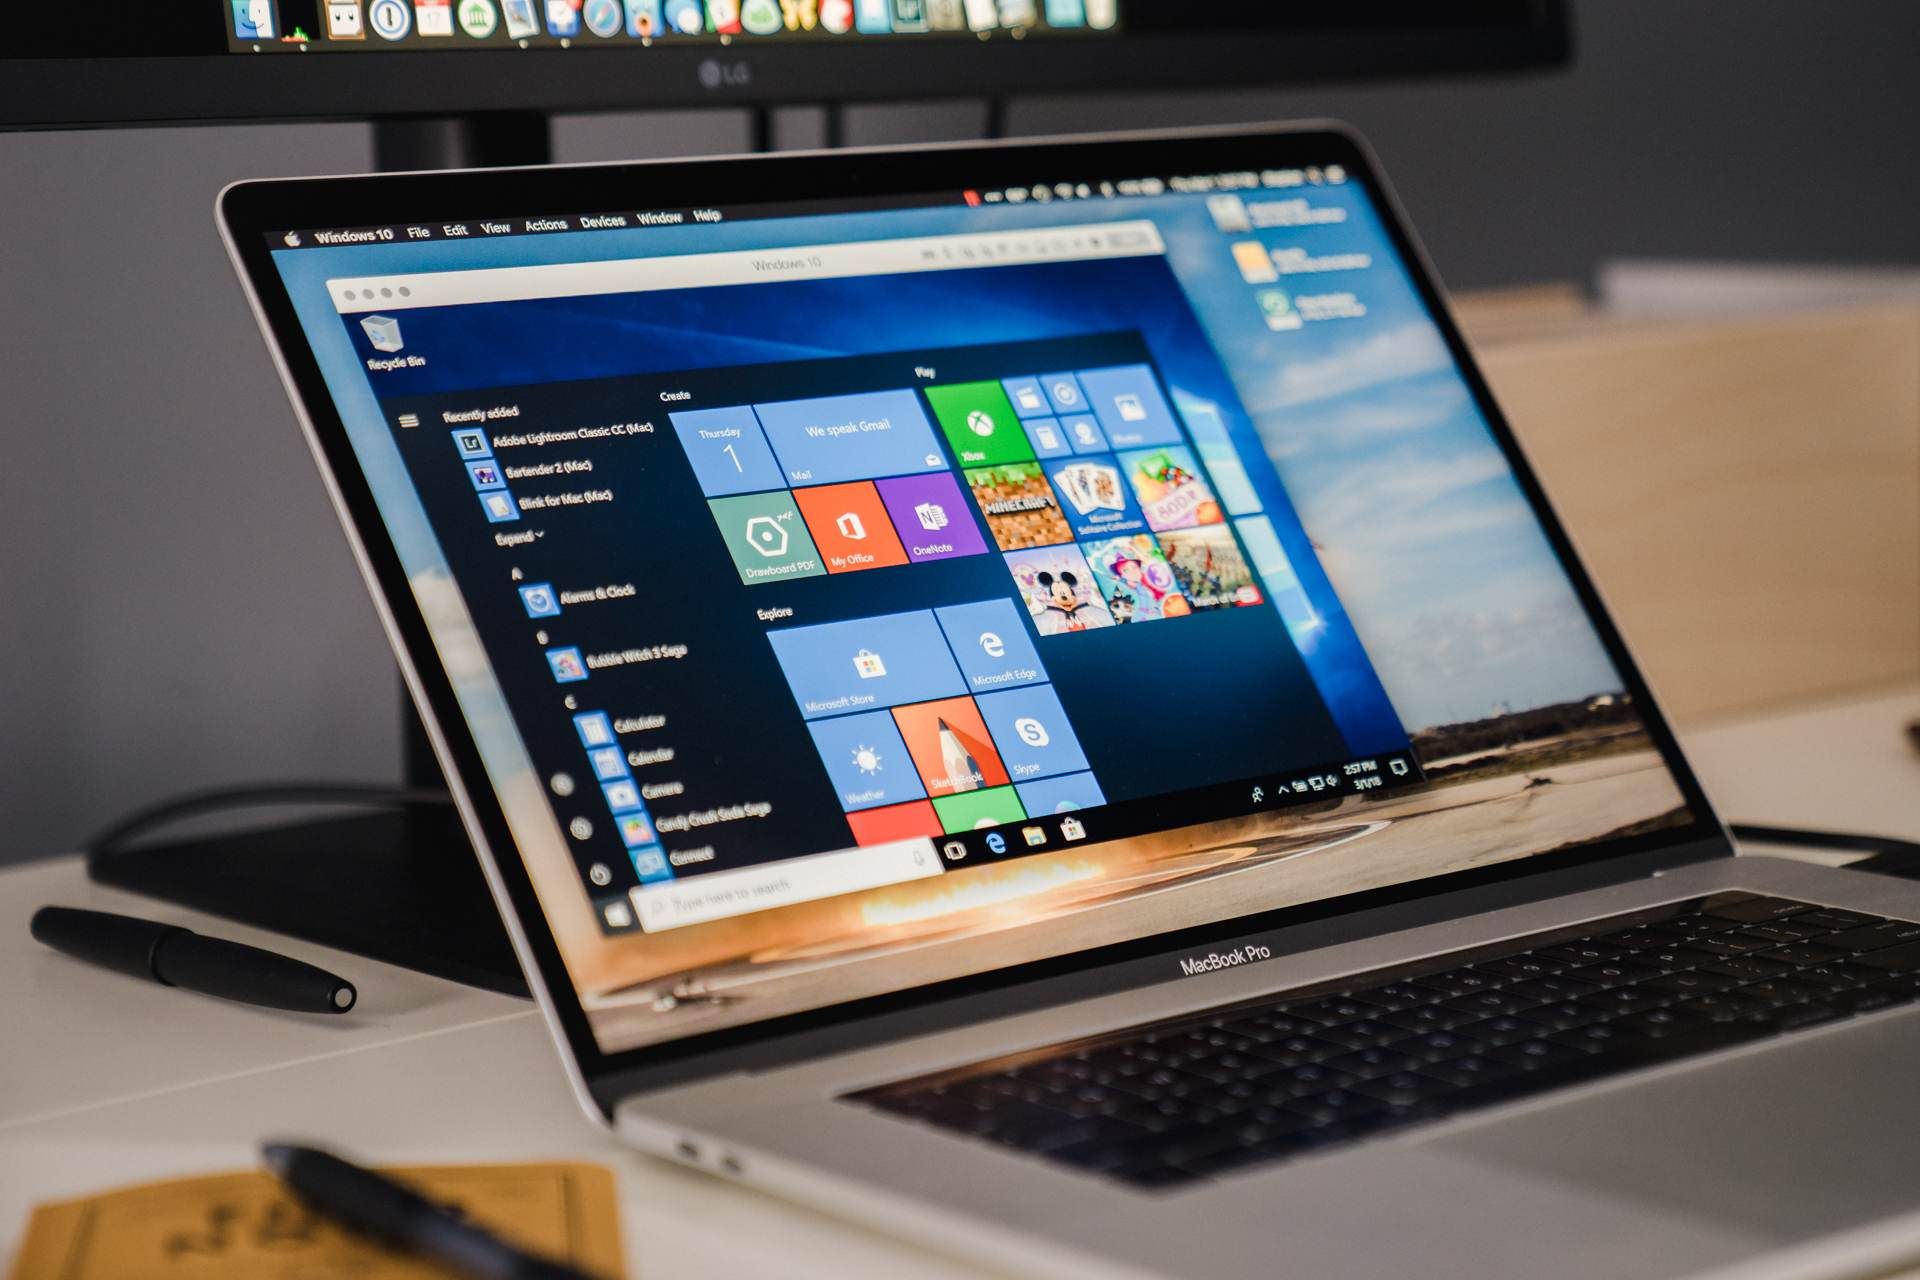
Using Windows on Mac
Now that you have Windows installed on your Mac, it’s time to explore the features and advantages of using Windows on your Mac system. Here are some key points to consider:
1. Access to Windows Software:
With Windows running on your Mac, you have access to a vast library of software specifically designed for the Windows operating system. This opens up a world of possibilities, whether you need to use industry-specific applications, productivity tools, or even popular Windows-exclusive games.
2. Seamless Integration:
The Boot Camp software allows for seamless integration between macOS and Windows. This means you can easily share files, access shared folders, and even run macOS applications while using Windows. This integration enhances the versatility and productivity of your Mac system.
3. Compatibility:
If you encounter compatibility issues with specific software or hardware that is only compatible with Windows, running Windows on your Mac provides a solution. You can ensure compatibility by accessing the required software or drivers within the Windows operating system.
4. Gaming Performance:
If you’re a gaming enthusiast, Windows on Mac offers better compatibility and performance for Windows-based games. Many game developers optimize their titles for Windows, and with Boot Camp, you can take full advantage of your Mac’s hardware capabilities for an immersive gaming experience.
5. Versatility for Developers and Testing:
For developers, running Windows on a Mac allows testing and development of software across multiple platforms. Whether building web applications, testing software compatibility, or exploring different development environments, having Windows on your Mac system expands your possibilities.
6. Data Security and Backup:
Having Windows installed on a separate partition ensures that your macOS and Windows environments remain separate. This separation can enhance data security and minimize the risk of data corruption or loss. It’s always a good practice to regularly back up important files on both operating systems individually.
Using Windows on your Mac provides a versatile and dynamic computing experience. Whether for work or play, having access to both macOS and Windows allows you to take full advantage of the capabilities and software offerings of both operating systems.
In the next section, we’ll provide some troubleshooting tips for common issues you may encounter when using Windows on your Mac.
Taking Advantage of Windows Features
With Windows installed on your Mac, you have access to a wide range of features and capabilities that can enhance your computing experience. Let’s explore some of the key Windows features that you can take advantage of:
1. Microsoft Office Suite:
Windows provides seamless integration with the Microsoft Office suite, including applications like Word, Excel, PowerPoint, and Outlook. These productivity tools are widely used in various industries and offer powerful features for document creation, data analysis, presentations, and email management.
2. Gaming and Entertainment:
Windows has long been a popular platform for gaming and entertainment. With access to the extensive library of Windows games and compatibility with game controllers, you can enjoy a wide range of gaming experiences on your Mac. Additionally, Windows supports popular streaming services and multimedia applications for a rich entertainment experience.
3. Virtualization and Emulation:
Windows on Mac opens up opportunities for virtualization and emulation. Using virtualization software like Parallels Desktop or VMware Fusion, you can run both macOS and Windows simultaneously, making it easy to switch between the two operating systems. Emulation software allows you to run older Windows applications or games that may not be compatible with newer versions of Windows.
4. Customizability and Personalization:
Windows offers extensive customization options, allowing you to personalize your desktop, taskbar, and Start menu to suit your preferences. You can choose from various themes, colors, and backgrounds to create a visually appealing and personalized environment.
5. Windows Security Features:
Windows provides built-in security features, such as Windows Defender antivirus software and Windows Firewall, to protect your system from malware and unauthorized access. It’s essential to keep these security features up to date to ensure the safety of your data and privacy.
6. Software and Device Compatibility:
Windows is widely supported by software developers and hardware manufacturers, offering broad compatibility with a wide range of applications and devices. Whether you need to use specific industry-related software, hardware peripherals, or specialized tools, Windows provides the necessary compatibility and support.
By taking advantage of the features and capabilities that Windows offers, you can maximize the functionality of your Mac system and explore a broader range of software and applications.
Next, let’s dive into some common issues and troubleshooting tips to help you resolve any potential challenges while using Windows on your Mac.
Troubleshooting Common Issues
While running Windows on your Mac can provide a great experience, you may occasionally encounter some common issues. Here are a few troubleshooting tips to help you resolve these issues:
1. Device Compatibility:
If you’re experiencing issues with hardware devices not working correctly in Windows, make sure you have installed the necessary Boot Camp drivers. These drivers provide support for Mac hardware in Windows. Update the Boot Camp drivers to their latest versions by using the Apple Software Update utility on the Windows side.
2. Internet Connection Problems:
If you’re having trouble connecting to the internet in Windows, check your network settings, ensure the correct Wi-Fi network is selected, and enter the correct password if required. Additionally, verify that your Mac’s Wi-Fi hardware is enabled and functioning correctly.
3. Performance and Speed:
If Windows is running slowly on your Mac, it could be due to multiple factors such as insufficient system resources or outdated hardware. Make sure your Mac meets the minimum system requirements for running Windows and consider using performance optimization tools to clean up unnecessary files and improve overall system performance.
4. Software Compatibility:
If certain Windows software or applications are not working correctly or crashing, make sure you have the latest updates installed for both Windows and the specific software. Additionally, check with the software vendor for any known compatibility issues or updates specific to running the software on a Mac system.
5. Boot Camp Assistant Issues:
If you’re encountering problems with Boot Camp Assistant or the Windows installation process, ensure you have followed the correct installation steps and have the necessary prerequisites in place. If you continue to experience issues, visit the Apple support website or consult the Boot Camp documentation for further guidance.
6. Data Backup and Recovery:
It’s always a good practice to regularly back up important files on both the macOS and Windows sides. If you are experiencing data-related issues, such as file corruption or accidental deletion, having a recent backup can help you restore lost data and minimize disruptions.
If you encounter persistent issues that you’re unable to resolve, consider seeking assistance from the Apple support community, Apple Support website, or contacting Apple directly for further assistance.
By following these troubleshooting tips, you can navigate any issues that may arise while using Windows on your Mac and ensure a smooth and enjoyable experience.
In the next section, we’ll conclude our guide to using Windows on your Mac and summarize the key points discussed.
Conclusion
Congratulations! You have reached the end of our comprehensive guide to using Windows on your Mac. We hope this guide has provided you with the necessary information and steps to successfully install, set up, and utilize Windows on your Mac using Boot Camp. By following the instructions outlined in this guide, you can benefit from both macOS and Windows on your Mac system.
From installing Windows using Boot Camp Assistant to partitioning your hard drive, creating a bootable USB drive, and installing Boot Camp drivers, you now have the knowledge and tools to seamlessly switch between macOS and Windows, take advantage of Windows-specific features and software, and troubleshoot common issues that may arise during the process.
Remember to keep the Boot Camp drivers up to date and run regular software updates to ensure the security and performance of your Windows installation. Additionally, maintaining regular backups of your important files on both macOS and Windows sides is recommended to prevent data loss and facilitate easy recovery in case of unforeseen events.
Whether you’re using Windows for specific software needs, gaming, development, or simply exploring the Windows ecosystem on your Mac, we hope this guide has been helpful in making the most of your dual-operating system setup.
If you encounter any challenges or have further questions, don’t hesitate to consult the Apple support community, browse the Apple Support website, or reach out to Apple support for assistance.
Thank you for choosing our guide to using Windows on your Mac. We wish you a productive and enjoyable experience as you navigate between macOS and Windows on your versatile Mac system!