Introduction
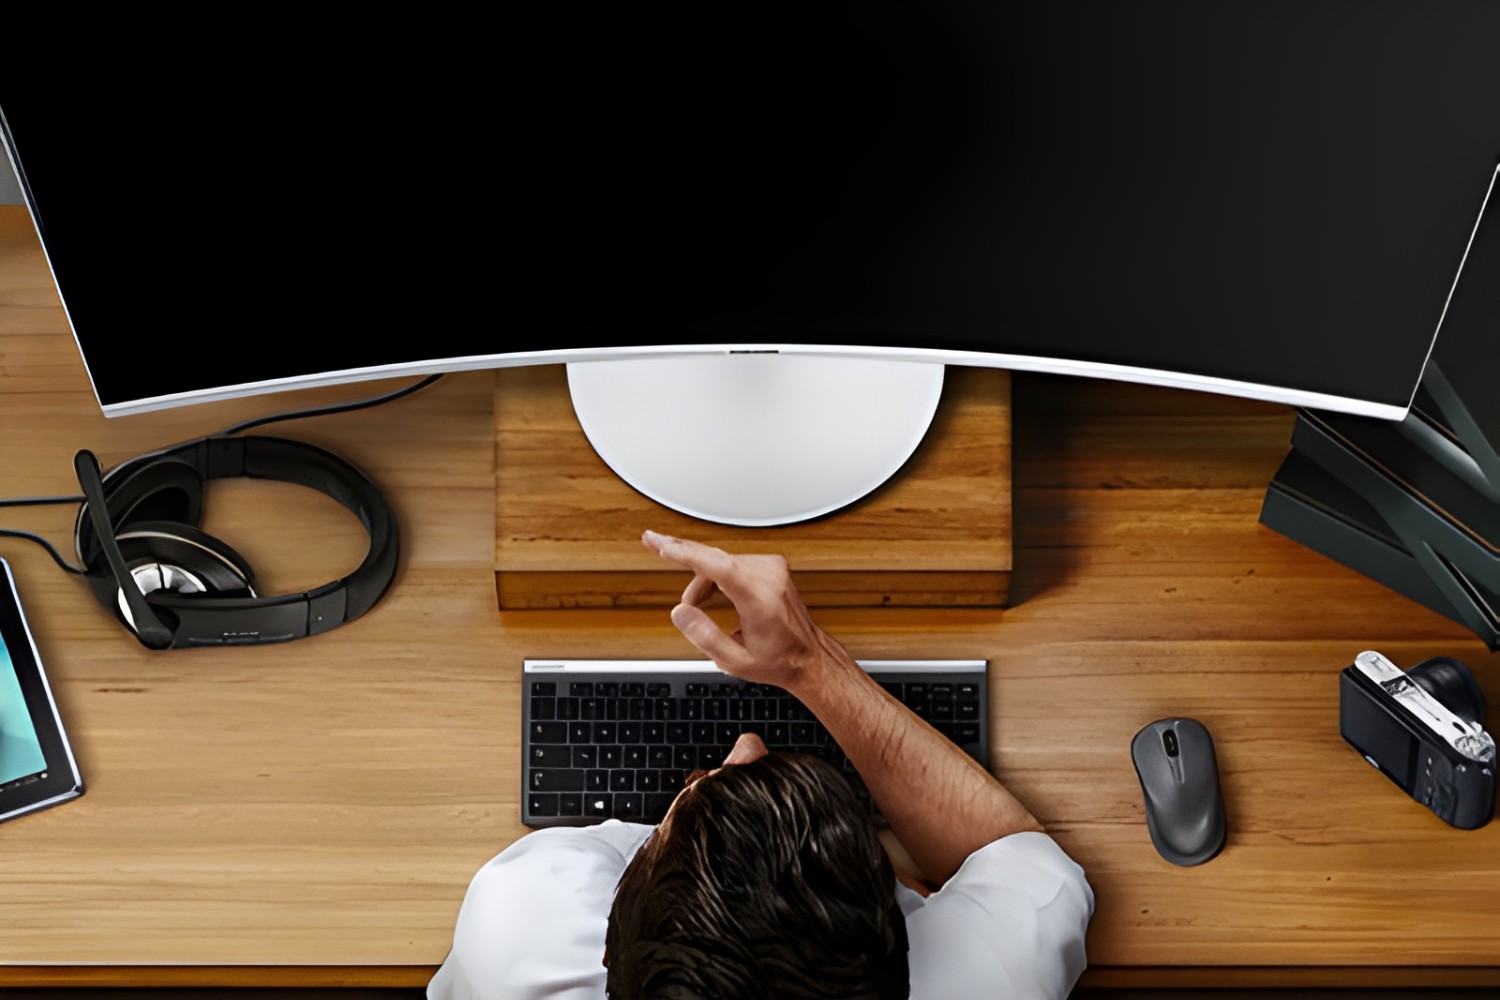
A growing number of Mac users are turning to ultrawide monitors as a way to enhance their productivity and gaming experience. With their expansive screen real estate and immersive aspect ratio, ultrawide monitors provide a wider field of view, allowing users to simultaneously view multiple windows, applications, and documents. They are particularly useful for content creators, web developers, designers, and professionals who require a spacious workspace.
However, using an ultrawide monitor with a Mac may require some adjustments and optimization to ensure a seamless and productive experience. In this article, we will explore the different aspects of using an ultrawide monitor with a Mac, including choosing the right monitor, setting it up, adjusting display settings, optimizing app and window management, and customizing your workflow. We will also discuss common issues that may arise and provide troubleshooting tips.
Whether you’re a Mac enthusiast or a professional seeking to maximize your productivity, this guide will help you harness the full potential of an ultrawide monitor with your Mac. So, let’s dive in and explore the world of ultrawide monitors and Mac compatibility!
Choosing the Right Ultrawide Monitor for Your Mac
When it comes to selecting an ultrawide monitor for your Mac, there are several factors to consider to ensure compatibility and optimal performance.
The first consideration is the resolution. The most common ultrawide resolution is 3440×1440, also known as 1440p or WQHD. This resolution provides a balance between screen real estate and sharpness. However, if you require more immersive visuals, you may opt for a higher resolution, such as 3840×1600 (4K ultrawide), which offers greater detail.
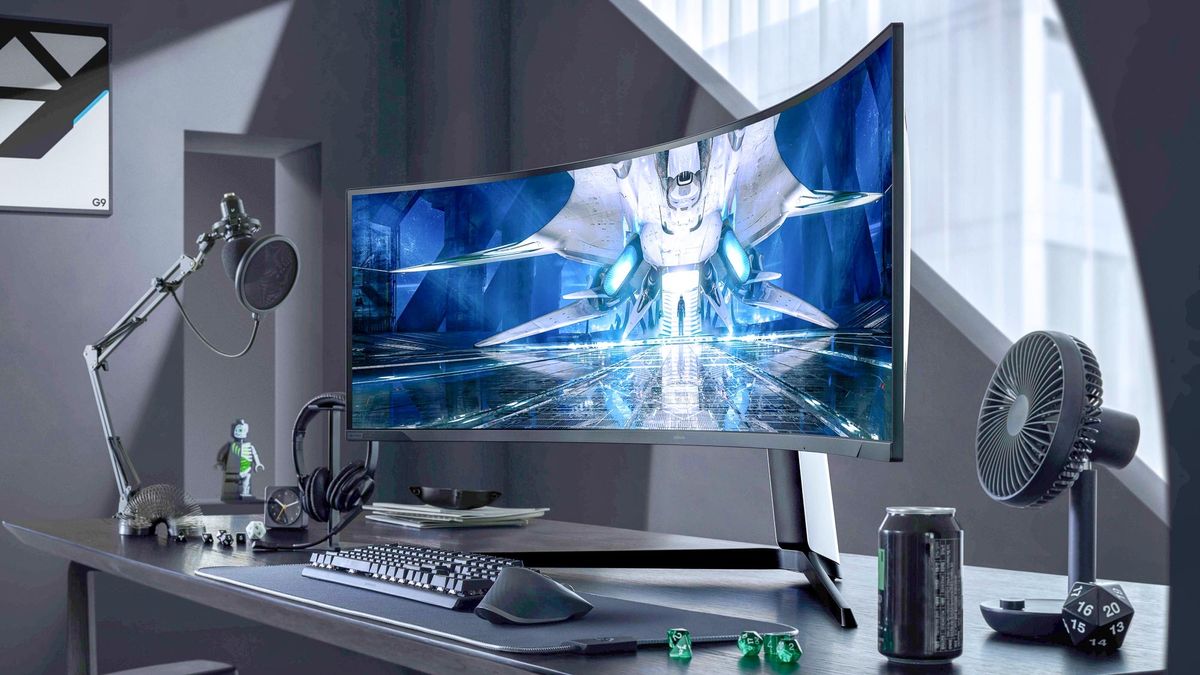
Another important aspect to consider is the aspect ratio. Most ultrawide monitors have a 21:9 aspect ratio, providing a wider field of view compared to standard monitors. However, there are newer ultrawide models with a 32:9 aspect ratio, known as dual ultrawide or super ultrawide monitors. These monitors can be beneficial for tasks that require extensive multitasking, but keep in mind that they require more desk space.
It’s also crucial to consider the connectivity options of the ultrawide monitor. Ensure that the monitor has compatible ports, such as HDMI or DisplayPort, that are supported by your Mac model. Additionally, if you plan to connect multiple devices, look for monitors with built-in USB hubs or Thunderbolt 3 ports for seamless connectivity.
Next, consider the panel type. The most common panel types for ultrawide monitors are IPS (In-Plane Switching), VA (Vertical Alignment), and TN (Twisted Nematic). Each panel type has its strengths and weaknesses, so it’s essential to consider factors such as color accuracy, contrast ratio, and response time based on your specific needs.
Ergonomics is another critical aspect to consider. Look for monitors that offer adjustable stands, allowing you to tilt, swivel, and adjust the height to find a comfortable viewing position. Some monitors also feature VESA mount compatibility, enabling you to mount the monitor on a monitor arm for enhanced flexibility.
Lastly, take into account the overall design and aesthetic of the monitor. Consider factors such as bezel size, color accuracy, and any additional features like built-in speakers or HDR support that may enhance your viewing experience.
By considering these factors and choosing an ultrawide monitor that aligns with your specific needs, you can ensure a seamless integration with your Mac and enjoy the benefits of an expanded workspace.
Setting Up your Ultrawide Monitor with Your Mac
Once you have chosen the right ultrawide monitor for your Mac, it’s time to set it up and configure the necessary settings to ensure a smooth experience. Here are the steps to set up your ultrawide monitor with your Mac:
- Start by connecting your ultrawide monitor to your Mac using the appropriate cable (HDMI, DisplayPort, Thunderbolt, etc.). Ensure that both ends of the cable are securely plugged in.
- Power on your ultrawide monitor and switch to the appropriate input source. Most monitors have a dedicated input button or menu option to select the correct input.
- On your Mac, go to the Apple menu and select “System Preferences.”
- In the System Preferences window, click on “Displays.”
- You will see a window with multiple tabs. Go to the “Arrangement” tab.
- In the Arrangement tab, you will see a graphical representation of your displays. Drag the small white rectangle (representing your Mac display) and position it to match the physical placement of your ultrawide monitor. This step ensures that the displays are correctly aligned.
- Below the graphical representation, you will find display options for your ultrawide monitor. Adjust the settings according to your preferences. You can change the resolution, refresh rate, brightness, and other display-specific settings here.
- Close the System Preferences window and your ultrawide monitor should be set up and ready to use with your Mac.
Additionally, some ultrawide monitors come with software or drivers that may need to be installed on your Mac for additional features or customization options. Check the manufacturer’s website or user manual for any specific instructions regarding software installation.
If you encounter any issues during the setup process, such as the display not being detected or the resolution being incorrect, try disconnecting and reconnecting the cable or restarting your Mac. If the problem persists, refer to the troubleshooting section of this guide for solutions.
Setting up your ultrawide monitor with your Mac is a straightforward process that can greatly enhance your workflow and productivity. Follow these steps, and you’ll be ready to make the most of your expanded screen real estate.
Adjusting Display Settings on Your Mac
After setting up your ultrawide monitor with your Mac, it’s essential to adjust the display settings to optimize the viewing experience and ensure that content appears correctly on the screen. Here are some key display settings that you can adjust on your Mac:
- Resolution: To change the resolution, go to the Apple menu, select “System Preferences,” and then click on “Displays.” In the Displays window, navigate to the “Display” tab and adjust the resolution slider to your desired setting. Keep in mind that higher resolutions may require more system resources.
- Scaling: If the content appears too small or too large on your ultrawide monitor, you can adjust the scaling. In the same “Display” tab, look for the “Scaled” option and choose a scaling level that suits your preference.
- Refresh Rate: Some ultrawide monitors support higher refresh rates, which can result in smoother motion and reduced eye strain. To change the refresh rate, go to the “Display” tab, press and hold the “Option” key, then click on the “Scaled” button. This will reveal additional refresh rate options.
- Color Calibration: For accurate color representation, you can calibrate your ultrawide monitor using the built-in display calibration tool on your Mac. Go to the Apple menu, select “System Preferences,” and then click on “Displays.” In the Displays window, navigate to the “Color” tab and follow the on-screen instructions to calibrate your monitor.
- Night Shift: Night Shift is a feature that adjusts the color temperature of your display to reduce blue light exposure, which can help improve sleep quality. To enable Night Shift, go to the Apple menu, select “System Preferences,” and then click on “Displays.” In the Displays window, navigate to the “Night Shift” tab and customize the schedule and intensity according to your preference.
- Screen Saver: Set up a screen saver to prevent image retention on your ultrawide monitor when it’s idle for an extended period. Go to the Apple menu, select “System Preferences,” and then click on “Desktop & Screen Saver.” In the Screen Saver tab, choose a screen saver and adjust the duration before it activates.
By adjusting these display settings, you can personalize your ultrawide monitor’s appearance and ensure optimal viewing comfort. Experiment with different settings to find the configuration that suits your needs and enhances your overall Mac experience.
Optimizing App and Window Management on Your Ultrawide Monitor
One of the key advantages of using an ultrawide monitor with your Mac is the ability to simultaneously view and manage multiple applications and windows. Here are some tips for optimizing app and window management on your ultrawide monitor:
- Split-Screen and Multitasking: Take advantage of built-in macOS features like Split View to divide your screen into two or more windows. To enter Split View, click and hold the green maximize button on a window, then drag it to the left or right side of the screen. Alternatively, you can swipe up with four fingers on your trackpad to access Mission Control and drag windows to different spaces.
- Window Snapping: For precise window positioning and alignment, consider using third-party applications like Magnet or BetterSnapTool. These tools allow you to snap windows to predefined areas, such as top, bottom, left, or right halves of the screen.
- Virtual Desktops: macOS offers a feature called Spaces, which allows you to create multiple virtual desktops. You can assign different applications and windows to each desktop, providing a more organized and clutter-free workspace. To access Spaces, swipe up with four fingers on your trackpad or press the Mission Control key.
- Hot Corners: Hot corners are customizable shortcuts that trigger specific actions when you move your cursor to a designated corner of the screen. You can configure hot corners to activate Mission Control, show the desktop, launch Exposé, or perform other tasks. To configure hot corners, go to the Apple menu, select “System Preferences,” and then click on “Mission Control.”
- Keyboard Shortcuts: Familiarize yourself with commonly used keyboard shortcuts to switch between applications, move windows, and navigate through your Mac. Shortcuts like Command+Tab for app switching and Command+` (backtick) for window switching can significantly streamline your workflow on your ultrawide monitor.
- Use Exposé: Exposé is a macOS feature that provides a visual overview of all open windows, making it easier to locate and access specific applications or documents. To activate Exposé, press the F3 key on your keyboard or perform a three-finger swipe downward on your trackpad.
By implementing these app and window management techniques, you can maximize your productivity on an ultrawide monitor and efficiently organize your workspaces, making multitasking a breeze.
Taking Advantage of Split Screen and Multitasking Features on Your Mac
MacOS offers a range of split-screen and multitasking features that allow you to make the most of your ultrawide monitor’s expansive screen real estate. By leveraging these features, you can enhance your productivity and seamlessly manage multiple applications and tasks simultaneously.
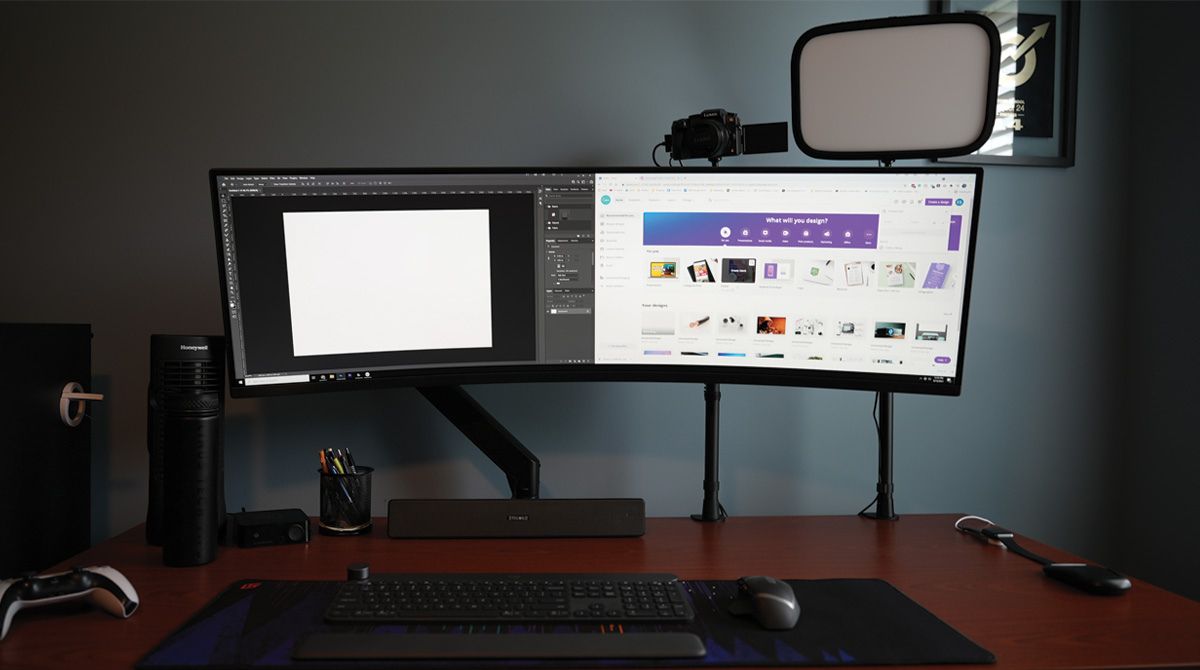
One of the most useful features for multitasking on a Mac is Split View. Split View enables you to divide your screen into two separate windows, each displaying a different application or document. To activate Split View, click and hold the green maximize button on a window, then drag it to the left or right side of the screen. The other half of the screen will display your other open windows, allowing you to select the application or document you want to appear alongside the first window.
Split View is particularly handy for activities such as comparing documents side by side, referencing information while writing, or working with multiple applications simultaneously. To exit Split View, simply click and hold the green maximize button once more, or swipe left or right with four fingers on your trackpad.
In addition to Split View, macOS also provides other multitasking features, such as Mission Control and Exposé. Mission Control gives you an overview of all your open windows, allowing you to navigate between applications and spaces effortlessly. To access Mission Control, swipe up with four fingers on your trackpad or press the Mission Control key.
Exposé offers a visual representation of all open windows, allowing you to quickly locate and switch between them. To activate Exposé, press the F3 key on your keyboard or perform a three-finger swipe downward on your trackpad. You can also configure hot corners to trigger Exposé, making it even more convenient to access.
Keyboard shortcuts are another valuable tool for multitasking on your Mac. Learning common shortcuts like Command+Tab to switch between applications or Command+` (backtick) to cycle through windows can significantly improve your workflow and speed up navigation.
By taking advantage of these split-screen and multitasking features, you can effectively utilize the vast workspace provided by your ultrawide monitor. Whether you need to compare documents, work on multiple projects simultaneously, or reference information while writing, these features will help you efficiently manage your workflow and boost your productivity on your Mac.
Adjusting the Dock and Menu Bar for Your Ultrawide Display
When using an ultrawide display with your Mac, it’s essential to make adjustments to the Dock and Menu Bar to optimize your workflow and take advantage of the additional screen real estate. Here are some tips for adjusting the Dock and Menu Bar for your ultrawide display:
- Dock Placement: By default, the Dock is positioned at the bottom of the screen. However, on an ultrawide display, you may find it more convenient to move the Dock to the side of the screen, either to the left or right. To do this, simply click and hold on the vertical separator line of the Dock, then drag it to the desired side of the screen. This allows you to gain additional vertical space for your applications and windows.
- Dock Size: Adjusting the size of the Dock can also be beneficial on an ultrawide display. You can resize the Dock by moving the cursor over the vertical separator line until it turns into a double-sided arrow, then click and drag to increase or decrease the size. Finding the right size for your workflow and display preferences can enhance usability and visual balance.
- Auto-Hide: If you prefer to have more screen space without the Dock visible, you can enable the Auto-Hide feature. With Auto-Hide enabled, the Dock will automatically retract and only appear when you move the cursor to the edge of the screen where it’s placed. To enable Auto-Hide, go to the Apple menu, select “System Preferences,” and then click on “Dock.” Check the box next to “Automatically hide and show the Dock” to activate the feature.
- Menu Bar Placement: Similar to the Dock, you can choose to move the Menu Bar to a different side of the screen on your ultrawide display. To do this, go to the Apple menu, select “System Preferences,” and then click on “Displays.” In the Display window, click on the “Arrangement” tab and drag the white bar representing the Menu Bar to the desired side of the screen.
- Additional Menu Bar Icons: Having more screen real estate on an ultrawide display allows you to accommodate additional Menu Bar icons. Customizing the Menu Bar with useful icons such as battery status, Wi-Fi signal strength, and system controls can provide quick access to important information. To add or remove Menu Bar icons, go to the Apple menu, select “System Preferences,” and then click on “Dock & Menu Bar.” From there, you can customize which icons are displayed on the Menu Bar.
By adjusting the Dock and Menu Bar settings on your ultrawide display, you can optimize your workflow, gain more screen space, and customize the interface to suit your preferences and work style. Experiment with different configurations to find the setup that enhances your productivity and maximizes the potential of your ultrawide monitor.
Customizing Your Ultrawide Monitor for a More Productive Workflow
Customizing your ultrawide monitor can greatly enhance your productivity and improve your overall workflow. By making adjustments and utilizing specific features, you can create a setup that perfectly suits your needs. Here are some customization options to consider:
- Screen Layout: Take advantage of your ultrawide monitor’s expansive space by arranging your applications and windows in a way that maximizes productivity. Experiment with different screen layouts, such as dedicating one side of the screen to a primary task while reserving the other side for reference materials or communication tools.
- Window Management Tools: Consider using third-party window management applications like Divvy or Spectacle to automate window resizing and positioning. These tools offer customizable shortcuts and preset grids, making it easier to organize and manage your windows on an ultrawide display.
- Multiple Workspaces: macOS allows you to create multiple workspaces or virtual desktops, providing an organized way to separate different tasks and applications. Utilize spaces to create dedicated workspaces for different projects or types of work, enabling you to switch between them seamlessly using gestures or keyboard shortcuts.
- Custom Keyboard Shortcuts: macOS allows you to create custom keyboard shortcuts for specific actions or frequently used applications. By assigning shortcuts to commonly used tasks, you can save time and streamline your workflow. To set up custom shortcuts, go to the Apple menu, select “System Preferences,” and then click on “Keyboard.”
- Color Calibration: Properly calibrating your monitor’s color accuracy ensures that you see accurate and consistent colors. Utilize macOS’s built-in color calibration tool or third-party calibration devices to adjust color settings and achieve optimal display performance for your specific needs.
- Background and Desktop Organization: Customize your desktop background, organize files into folders, and use stacks to keep your desktop clutter-free. A clean and visually appealing desktop environment can contribute to a more organized and focused workflow.
- Notification Management: Adjust your notification settings to minimize distractions and interruptions. macOS gives you control over which apps send notifications and how they appear. Fine-tune these settings to ensure that important notifications don’t get lost in the noise of your workday.
By customizing your ultrawide monitor to align with your workflow and preferences, you can create an optimized working environment that promotes productivity and efficiency. Experiment with different settings, applications, and organization techniques to discover the setup that works best for you on your ultrawide monitor.
Troubleshooting Common Issues with Ultrawide Monitors on Mac
Using an ultrawide monitor with your Mac can bring numerous benefits, but like any technology, issues may arise. Here are some common problems you may encounter when using an ultrawide monitor with your Mac, along with troubleshooting tips:
- Unsupported Resolutions: If your Mac doesn’t display the native resolution of your ultrawide monitor, go to the Apple menu, select “System Preferences,” and then click on “Displays.” In the Display tab, press and hold the “Option” key and click on the “Scaled” button to access additional resolution options. If the native resolution is still unavailable, check for driver or firmware updates for your monitor.
- Screen Flickering: If you notice screen flickering on your ultrawide monitor, try adjusting the refresh rate. Open the Display preferences, select your ultrawide monitor, and set the refresh rate to its maximum supported value. If the issue persists, ensure that your cables are securely connected and consider trying a different cable or port.
- Cursor Misalignment: Sometimes, the OS X cursor might not align correctly with your ultrawide monitor. Restarting your Mac can often resolve this issue. If the problem persists, try adjusting the arrangement of your displays in the System Preferences under the Display tab. Additionally, check for and install any available software updates for your Mac.
- Application Compatibility: Some applications may not fully support ultrawide resolutions or aspect ratios, resulting in distorted or improperly displayed content. In such cases, check the application’s settings or preferences for display options. You can also try running the application in a windowed mode instead of fullscreen to maintain proper scaling.
- Audio Output Selection: If you experience audio issues when using an HDMI or DisplayPort connection, macOS may default to an incorrect audio output source. To fix this, go to the Apple menu, select “System Preferences,” and then click on “Sound.” In the Output tab, choose the correct audio output device for your ultrawide monitor.
If you encounter persistent issues that cannot be resolved through these troubleshooting steps, consult the user manual or support resources provided by the manufacturer of your ultrawide monitor. They may have additional troubleshooting steps or specific recommendations for use with Mac computers.
Remember, each ultrawide monitor may have its own unique quirks and compatibility factors, so it’s essential to stay up to date with the latest software updates and take advantage of support resources to ensure the best performance and compatibility with your Mac.
Conclusion
Using an ultrawide monitor with your Mac can revolutionize your workflow and productivity by providing an expansive and immersive workspace. By following the steps outlined in this guide, you can ensure a seamless integration between your Mac and ultrawide monitor, from choosing the right monitor to adjusting settings and optimizing your apps and windows.
Choosing the appropriate ultrawide monitor involves considering factors such as resolution, aspect ratio, connectivity options, panel type, and ergonomics. Once you have selected the right monitor, setting it up and configuring display settings will allow you to make the most of its capabilities.
Optimizing app and window management on your ultrawide monitor enhances multitasking and maximizes your productivity. Split-screen features, virtual desktops, and shortcuts enable efficient organization and navigation of applications and tasks.
Customizing the Dock, Menu Bar, and other elements of your Mac OS interface for your ultrawide display ensures a personalized and efficient workflow. Adjusting the placement, size, and auto-hide settings of the Dock and Menu Bar, as well as adding or removing icons, enhances usability and visual balance.
Lastly, troubleshooting common issues that may arise with ultrawide monitors on a Mac allows you to address any technical difficulties. Resolving problems related to resolutions, flickering, cursor misalignment, application compatibility, and audio output selection ensures a smooth and uninterrupted experience.
By incorporating these tips and techniques into your daily workflow, you can fully unlock the potential of your ultrawide monitor and Mac, harnessing their combined power to enhance productivity, creativity, and enjoyment. Embrace the broader canvas, effortless multitasking, and immersive visuals that come with an ultrawide monitor for a truly optimized Mac experience.