Introduction
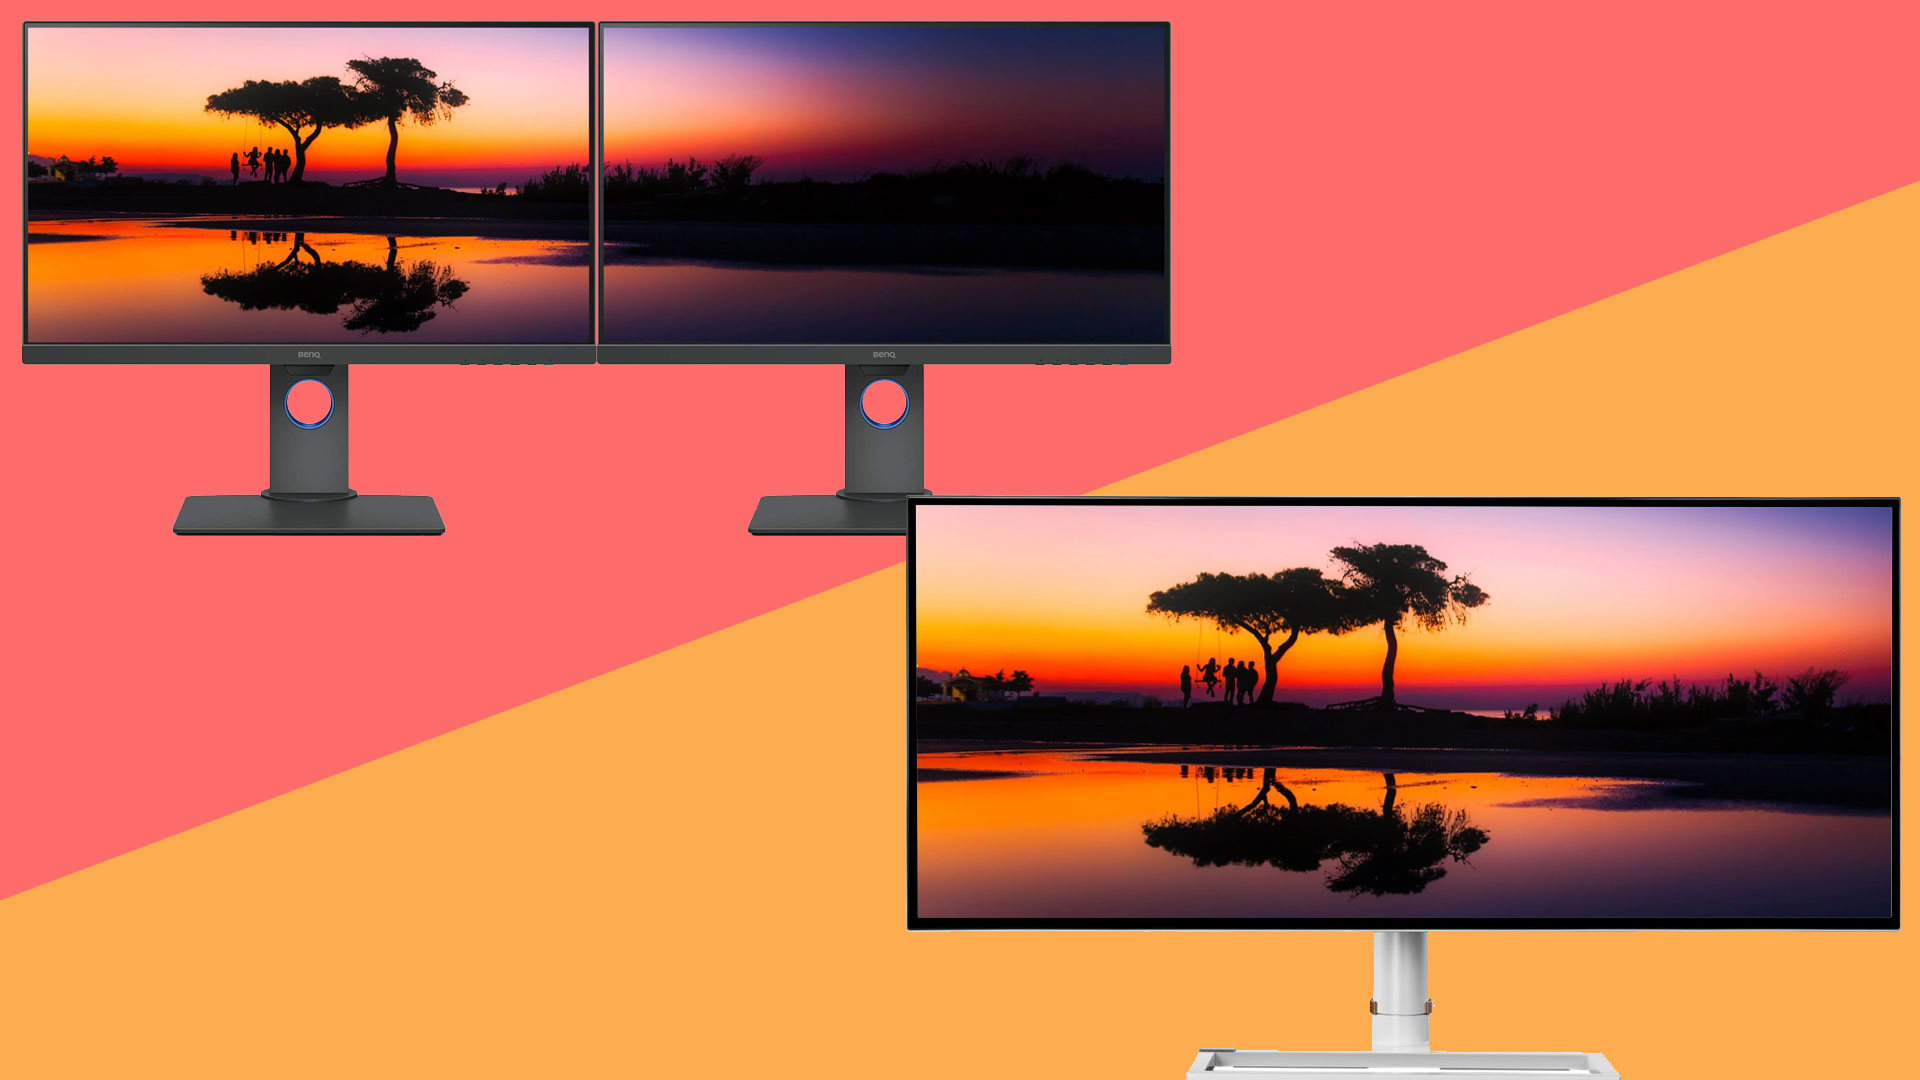
Ultrawide monitors have gained immense popularity among professionals and gamers due to their ability to provide an expansive and immersive viewing experience. Traditionally, these monitors were used as a single display, but did you know that you can effectively utilize them as two separate monitors? Splitting an ultrawide screen into two separate displays can significantly boost productivity by allowing you to multitask and access different applications simultaneously.
In this article, we will explore various methods to effectively use an ultrawide monitor as two monitors. Whether you are using a Windows or macOS operating system, we will guide you through the steps to split your screen and harness the full potential of your ultrawide monitor.
Splitting the screen of an ultrawide monitor is immensely useful for professionals such as graphic designers, content creators, stock traders, and data analysts who require multiple windows open at the same time. On the other hand, gamers can benefit from having a game running on one side of the screen while monitoring chat or streaming software on the other side.
While there are software options designed specifically for splitting the screen on an ultrawide monitor, modern operating systems like Windows 10 and macOS also offer built-in features to accomplish this. Additionally, we’ll explore the option of using Picture-in-Picture (PiP) mode to have a secondary window overlaying your primary display.
Before we dive into the methods, it’s essential to adjust the display settings of your ultrawide monitor to make the most out of it. This includes adjusting the resolution, refresh rate, and display mode. Once the display settings are optimized, we can move on to splitting the screen and organizing applications across the two virtual monitors.
In the following sections, we will provide step-by-step instructions for both Windows 10 and macOS, as well as explore some third-party software options. Additionally, we’ll provide useful tips and tricks to help you maximize your productivity when utilizing an ultrawide monitor as two separate displays.
Understanding Ultrawide Monitors
Ultrawide monitors are an increasingly popular choice among professionals and gamers due to their wider aspect ratio compared to traditional monitors. These monitors typically have an aspect ratio of 21:9 or even wider, providing a more immersive and expansive viewing experience. While standard monitors often have a 16:9 aspect ratio, ultrawide monitors offer a wider field of view, making them ideal for multitasking and multimedia consumption.
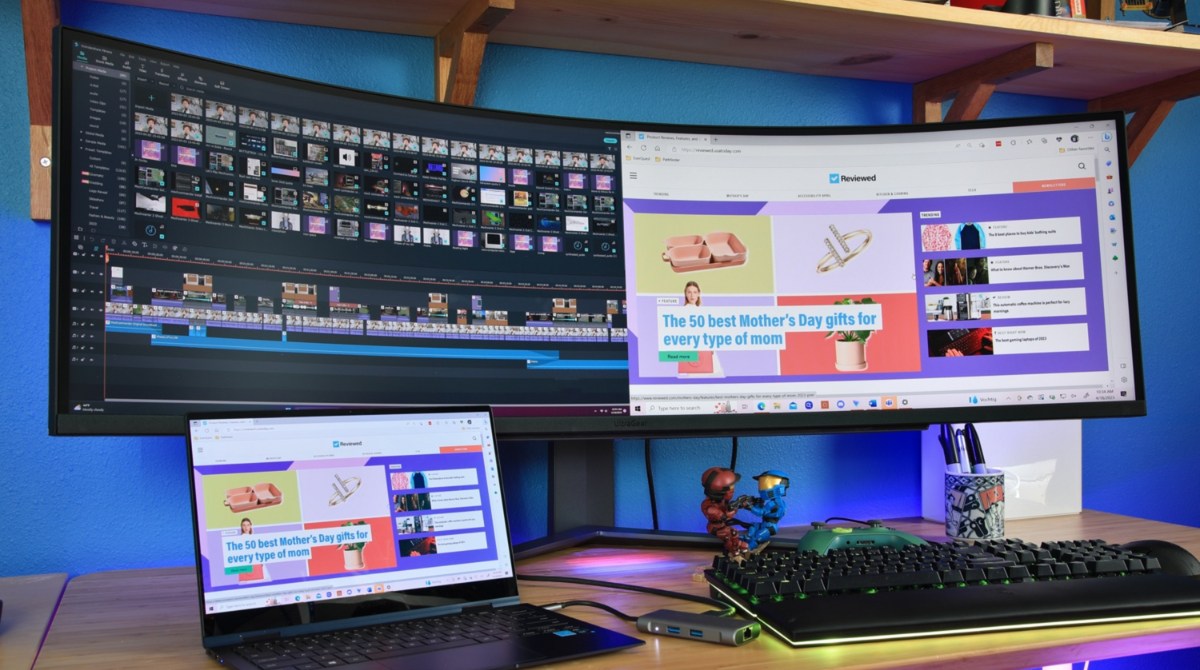
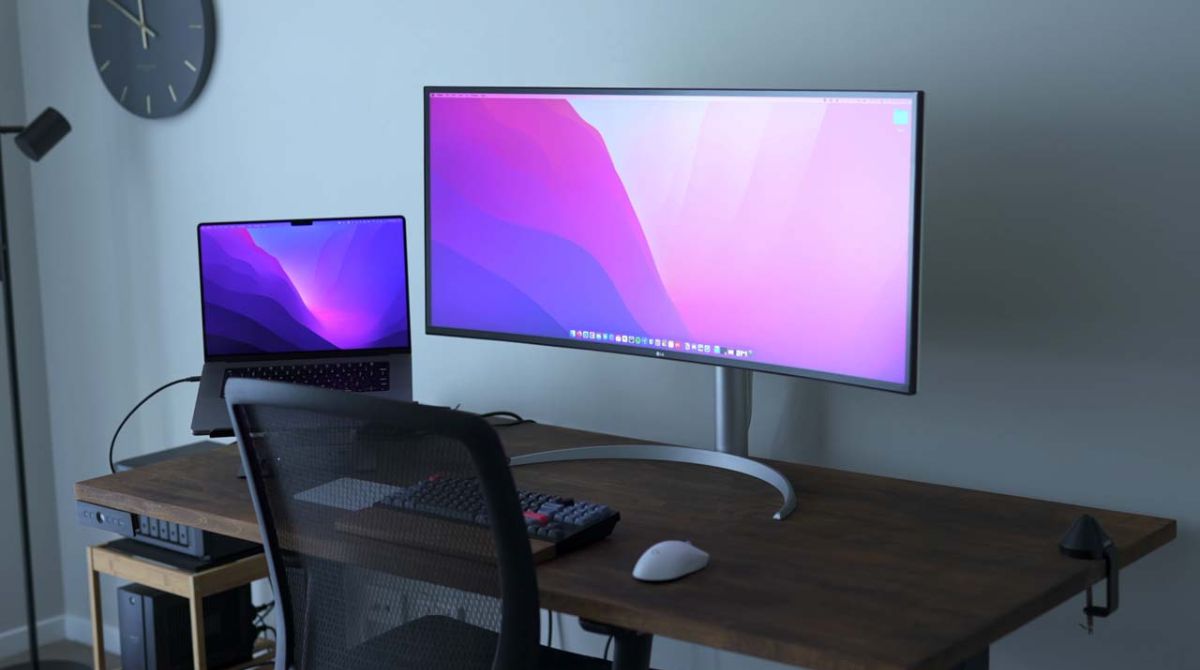
The primary advantage of ultrawide monitors is the additional horizontal screen real estate they provide. This extra space allows users to have multiple windows or applications open side by side without the need for multiple physical monitors. With an ultrawide monitor, you can have a word document open on one side while browsing the internet or editing images on the other side. This capability significantly enhances productivity and simplifies multitasking.
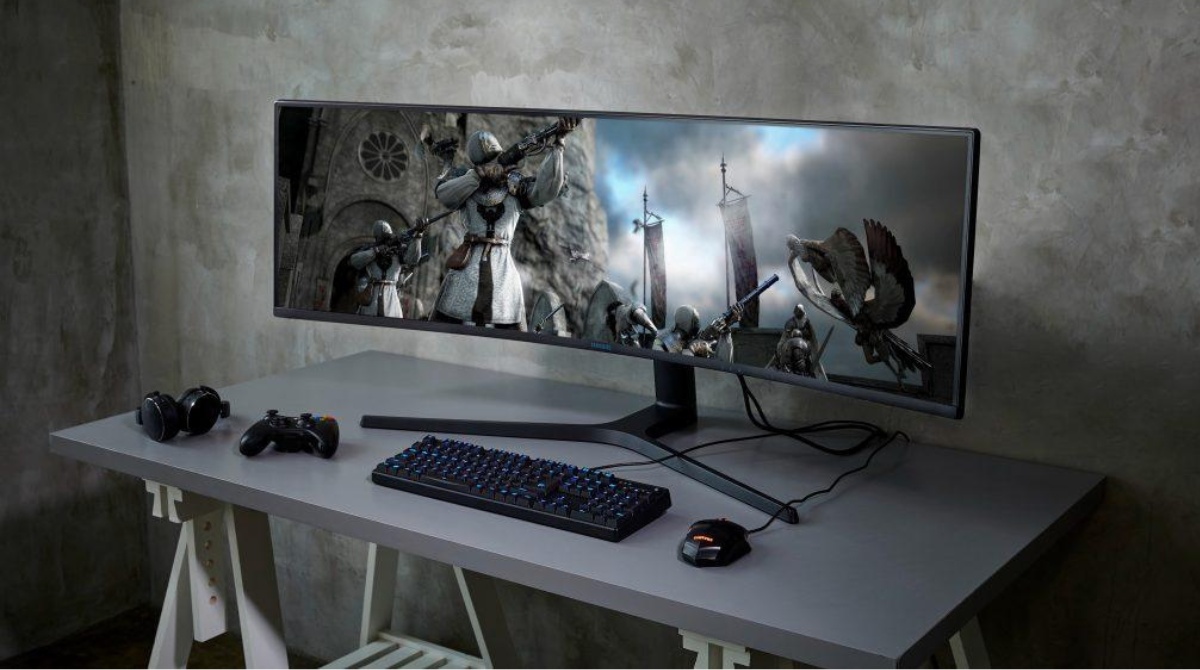
Ultrawide monitors also offer a more cinematic viewing experience, especially when watching movies or playing games that support the wider aspect ratio. The wider screen allows for a more immersive experience, with less cropping or letterboxing occurring compared to standard monitors. This makes ultrawide monitors particularly appealing to gamers who enjoy playing immersive open-world games or action-packed titles.
When considering an ultrawide monitor, it is important to consider the screen size, resolution, and curvature. Ultrawide monitors come in various sizes, typically ranging from 29 inches to 49 inches or even larger. The larger the screen size, the more screen real estate you’ll have for multitasking, but it’s essential to consider the available desk space as well.
Resolution is another crucial factor to consider. Ultrawide monitors are available in different resolutions, including Full HD (1920×1080), Quad HD (2560×1440), and Ultra HD or 4K (3840×2160). The higher the resolution, the sharper and more detailed the content will appear on the screen. However, keep in mind that higher resolutions may require more powerful hardware to drive the display effectively.
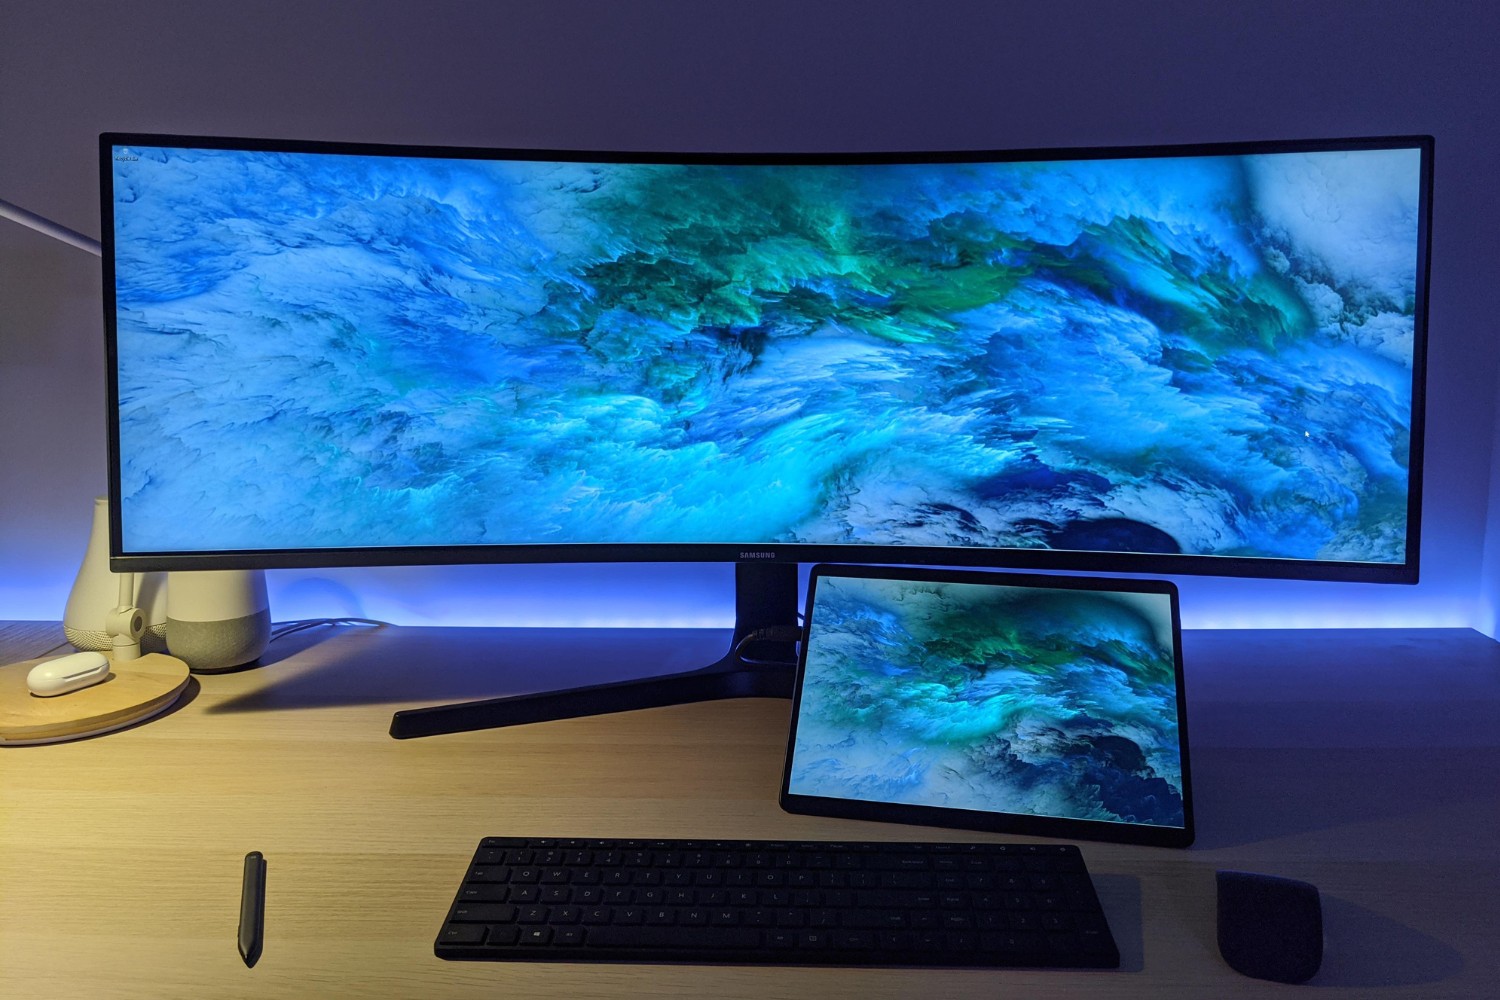
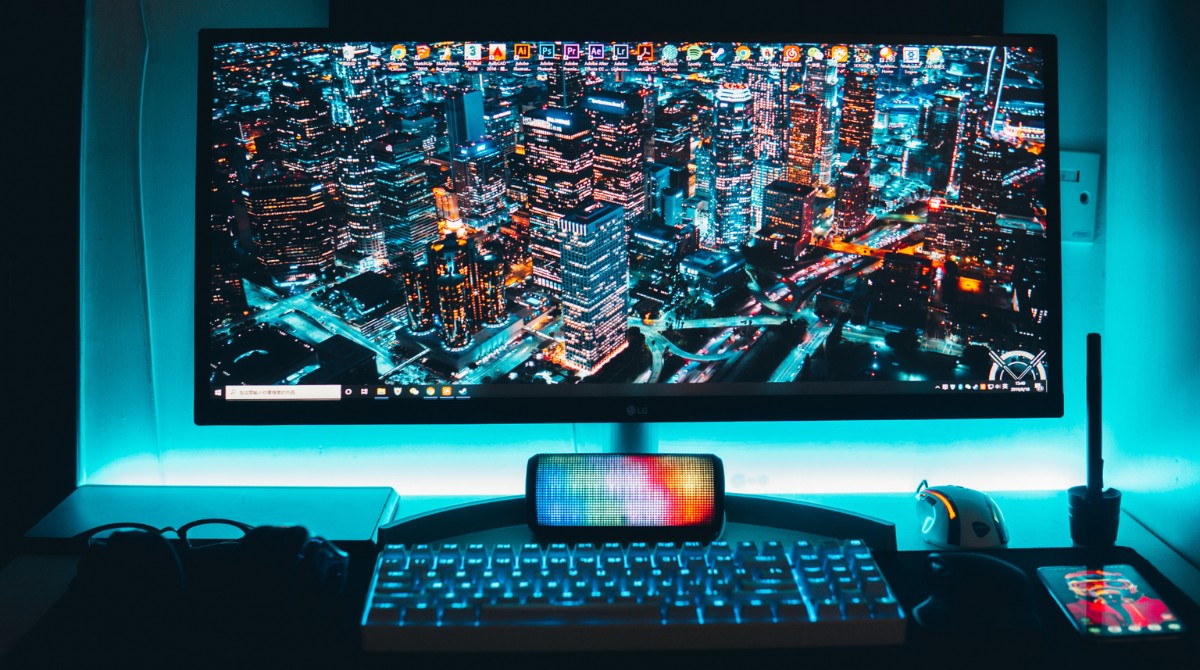
Lastly, some ultrawide monitors feature a curved display. The curved design enhances immersion by enveloping the viewer, providing a more panoramic and realistic experience. The curved screen also helps to reduce eye strain by minimizing distortion and maintaining a consistent viewing distance from all parts of the screen.
Understanding the features and benefits of ultrawide monitors is crucial for maximizing their potential and utilizing them effectively as two separate displays. In the next section, we will explore different methods and software options to split the screen and make the most out of your ultrawide monitor.
Splitting Screen with Software
Splitting the screen of an ultrawide monitor can be achieved through various software options. These software solutions provide the ability to create virtual monitors within your ultrawide screen, allowing you to divide the workspace and utilize different applications on each side. Let’s explore some of the methods for splitting the screen using software.
Windows 10: If you’re using Windows 10, you can take advantage of the built-in Snap feature to split your screen. Press the Windows key and the left or right arrow key to snap the active window to the left or right side of the screen, respectively. This action will automatically open a second window on the opposite side, allowing you to work with two separate applications side by side. You can adjust the size of each window by dragging the border between them.
macOS: macOS also offers a built-in feature called Split View, which allows you to split your screen and have two applications open side by side. To activate Split View, click and hold the green maximize button on any window and drag it to the left or right edge of the screen. This will create a space for a second window, where you can choose the application you want to use from the Exposé layout. Drag the divider between the two windows to adjust the size according to your preference.
Third-Party Software Options: In addition to the built-in options, there are also third-party software solutions available for splitting the screen on your ultrawide monitor. These options provide more advanced features and customization options. Some popular choices include DisplayFusion, Divvy, and Magnet. These software tools allow you to create custom window layouts, assign keyboard shortcuts, and provide additional functionality to optimize and streamline your workflow.
By utilizing software options to split your ultrawide monitor’s screen, you can effectively create two virtual monitors within the physical display, allowing for seamless multitasking and increased productivity. Whether you choose to use the built-in features of your operating system or opt for third-party software, splitting the screen is a convenient way to make the most of your ultrawide monitor’s expansive workspace.
In the next sections, we’ll cover additional methods for utilizing an ultrawide monitor as two separate displays, such as using Picture-in-Picture (PiP) mode and adjusting display settings. These methods offer further flexibility and customization options to enhance your multitasking experience on an ultrawide monitor.
Windows 10
Windows 10 offers built-in features that allow you to split your ultrawide monitor’s screen into two separate displays, making it easy to multitask and work with different applications simultaneously. Here’s how you can take advantage of these features:
Snap Feature: The Snap feature in Windows 10 allows you to quickly split your screen and arrange applications side by side. To snap a window to the left or right side of the screen, simply click and hold the title bar of the window and drag it to the edge of the screen. As you drag the window, you will see a preview of its position and size. When you release the mouse button, the window will snap into place, and an empty space will open on the opposite side of the screen. You can then select another window to occupy that empty space, effectively creating two separate displays within your ultrawide screen.
Resize and Adjust: Once you have two windows side by side, you can adjust their size and position for optimal multitasking. To resize a window, hover your mouse over the border between the two windows until the cursor changes to a double-sided arrow. Click and drag the border to increase or decrease the size of the window. Additionally, you can maximize a window by double-clicking on its title bar or dragging it to the top of the screen.
Keyboard Shortcuts: Windows 10 also provides keyboard shortcuts to make splitting the screen even more efficient. Pressing the Windows key along with the left or right arrow key will snap the active window to the corresponding side, just like dragging the window to the edge of the screen. This keyboard shortcut can help you quickly arrange windows without using the mouse.
By utilizing these built-in features of Windows 10, you can easily split your ultrawide monitor’s screen and take advantage of the additional workspace. Whether you’re working on multiple documents, comparing data, or simply enjoying a game while keeping an eye on other applications, Windows 10 provides a seamless multitasking experience on your ultrawide monitor.
In the next section, we’ll explore how macOS users can split their ultrawide monitor’s screen, along with other methods for utilizing an ultrawide monitor as two separate displays.
macOS
macOS provides built-in features that allow you to split your ultrawide monitor’s screen and work with two separate applications side by side. Here’s how you can utilize these features to make the most of your ultrawide monitor on macOS:
Split View: Split View in macOS allows you to easily split your screen and have two applications running side by side. To activate Split View, click and hold the green maximize button (located at the top left corner of a window) and drag the window to the left or right edge of the screen. As you drag the window, you will see other windows on your desktop shrink and create space for the new window. Release the mouse button to make the window take up half of the screen. Now, you can select another window to occupy the remaining space, effectively creating two separate displays on your ultrawide monitor.
Adjusting Window Size: Once you have two windows in Split View, you can adjust their size to suit your needs. To resize a window, hover your mouse over the divider between the two windows until the cursor changes to a double-sided arrow. Click and drag the divider to increase or decrease the size of the windows. You can also maximize a window in Split View by double-clicking its title bar.
Keyboard Shortcuts: macOS also provides keyboard shortcuts to streamline the process of using Split View. Pressing the Control + Up Arrow or Control + Down Arrow keys together will toggle between full screen and Split View for the active window. This keyboard shortcut allows you to quickly switch between using a single application in full screen mode or having two applications side by side.
With these built-in features of macOS, splitting your ultrawide monitor’s screen is effortless. The Split View feature provides an intuitive way to multitask and work with multiple applications simultaneously, making the most out of your ultrawide monitor’s expansive workspace.
In the next section, we’ll explore additional methods for utilizing an ultrawide monitor as two separate displays, including the option of using Picture-in-Picture (PiP) mode and adjusting display settings to optimize your workflow on macOS.
Third-Party Software Options
While built-in features provide convenient options for splitting an ultrawide monitor’s screen on both Windows 10 and macOS, there are also third-party software solutions available that offer additional functionalities and customization. These software options can provide advanced features to enhance your multitasking experience on an ultrawide monitor. Let’s explore some popular third-party software solutions:
DisplayFusion: DisplayFusion is a comprehensive multi-monitor management software that allows you to split your ultrawide monitor’s screen and customize your workspace. It offers a wide range of features, such as creating custom window layouts, assigning keyboard shortcuts, and managing wallpaper configurations. DisplayFusion also supports multi-monitor taskbars, ensuring seamless navigation between multiple windows and applications.
Divvy: Divvy is a lightweight window management tool that provides a quick and convenient way to split your screen on macOS. It allows you to easily resize and position windows using customizable hotkeys or a draggable interface. Divvy offers various predefined grid layouts, helping you organize and arrange windows with just a few simple keystrokes. It’s a great option if you prefer a simple and efficient way to split your ultrawide monitor’s screen.
Magnet: Magnet is another popular window management app for macOS that enables you to snap, resize, and position windows with ease. It offers a range of customizable keyboard shortcuts to quickly organize windows into predefined positions, such as taking up a half or a quarter of the screen. Magnet also provides a convenient menu bar icon for fast access to its features, allowing you to efficiently manage windows on your ultrawide monitor.
These are just a few examples of the many third-party software options available for splitting an ultrawide monitor’s screen. Each software solution offers its own unique set of features and customization options, so it’s worth exploring and experimenting with different options to find the one that best suits your needs and workflow.
By utilizing these third-party software options, you can further enhance your ability to multitask, organize windows, and make the most out of your ultrawide monitor’s workspace. However, it’s essential to consider compatibility, system resources, and user reviews before choosing and installing any third-party software solution.
In the next sections, we’ll explore additional methods for utilizing an ultrawide monitor as two separate displays, including using Picture-in-Picture (PiP) mode and adjusting display settings to optimize your productivity and workflow further.
Using Picture-in-Picture (PiP) mode
Picture-in-Picture (PiP) mode is a feature available on certain operating systems, including Windows 10 and macOS, that allows you to overlay a smaller window containing a specific application on top of another full-screen application. This feature is particularly useful when you want to watch videos, video conferences, or monitor specific applications while working on another task. Here’s how you can utilize PiP mode on your ultrawide monitor:
Windows 10: Windows 10 introduced the PiP mode with the Anniversary Update. To use PiP mode, simply open the application or video that you want to overlay on top of another window. Right-click on the application’s title bar and select “Show as Picture-in-Picture” from the context menu. The application will now appear as a floating window that can be moved and resized as per your preference. You can drag the PiP window to any corner of your screen, allowing you to have a continuous view of the PiP content while working with other applications on your ultrawide monitor.
macOS: macOS also offers a Picture-in-Picture mode that you can use on your ultrawide monitor. To activate PiP mode, first, ensure that the application you want to use supports this feature. For instance, popular video players like VLC and QuickTime have built-in PiP support. When playing a video, look for the PiP icon or the option to enter PiP mode within the application’s menu or control bar. Click the PiP icon or select the PiP option to enable the mode. The video will now appear as a floating window that you can position and resize on your screen, allowing you to continue your work while keeping an eye on the PiP content.
Using PiP mode on your ultrawide monitor provides a convenient way to multitask and stay engaged with specific applications or media content while working on other tasks. Whether you’re following a tutorial video, attending a video conference, or monitoring a live stream, PiP mode ensures that you can maintain focus on the important content without interrupting your workflow on your ultrawide monitor.
In the next section, we’ll discuss how you can adjust the display settings of your ultrawide monitor to optimize its performance and ensure a seamless experience while utilizing it as two separate displays.
Adjusting Display Settings
Adjusting the display settings of your ultrawide monitor is crucial to optimize its performance and ensure a seamless experience when utilizing it as two separate displays. Here are some key display settings to consider:
Resolution: Setting the correct resolution for your ultrawide monitor is essential to ensure a sharp and clear display. Most ultrawide monitors come with a native resolution, which should be set for the best image quality. To adjust the resolution, go to your operating system’s display settings and select the recommended resolution for your ultrawide monitor.
Refresh Rate: The refresh rate determines how many frames per second your monitor can display. Higher refresh rates can result in smoother and more responsive visuals, which is especially important in gaming or any fast-paced applications. Ensure that your monitor is set to its highest supported refresh rate in the display settings for the best experience.
Display Mode: Ultrawide monitors often offer different display modes to suit your needs. Depending on your preference, you can choose between using the entire screen as a single display or splitting it into two separate displays. Explore the display settings or the software options we discussed earlier to configure the desired display mode.
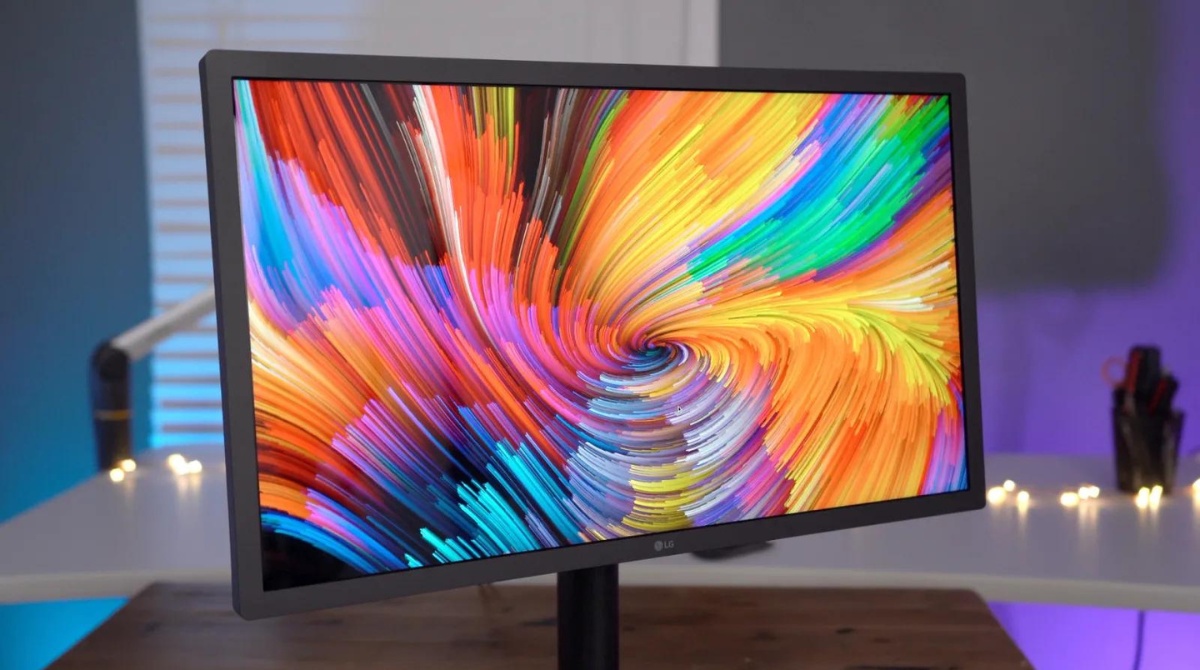
Color Calibration: Calibrating the colors of your ultrawide monitor can improve the overall image quality and ensure accurate color representation. Many operating systems provide built-in color calibration tools that guide you through the process of adjusting gamma, brightness, contrast, and color balance. Take advantage of these tools to achieve optimum color accuracy on your monitor.
By adjusting these display settings according to your preferences and the specifications of your ultrawide monitor, you can ensure the best visual experience and enhance your productivity when using it as two separate displays.
In the next section, we’ll provide helpful tips and tricks for using an ultrawide monitor as two separate displays, allowing you to make the most out of its expansive workspace and increase your efficiency.
Positioning Apps on an Ultrawide Monitor
One of the advantages of using an ultrawide monitor as two separate displays is the ability to position applications in a way that maximizes productivity and makes the most of the available screen real estate. Here are some tips and tricks for positioning apps on your ultrawide monitor:
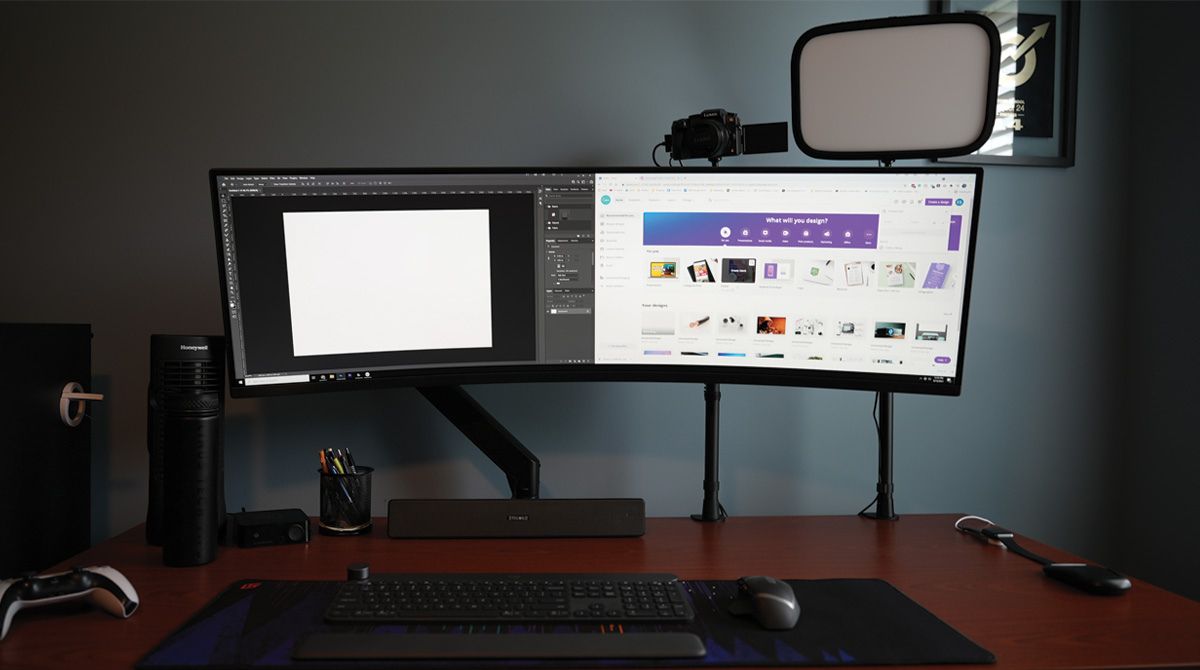
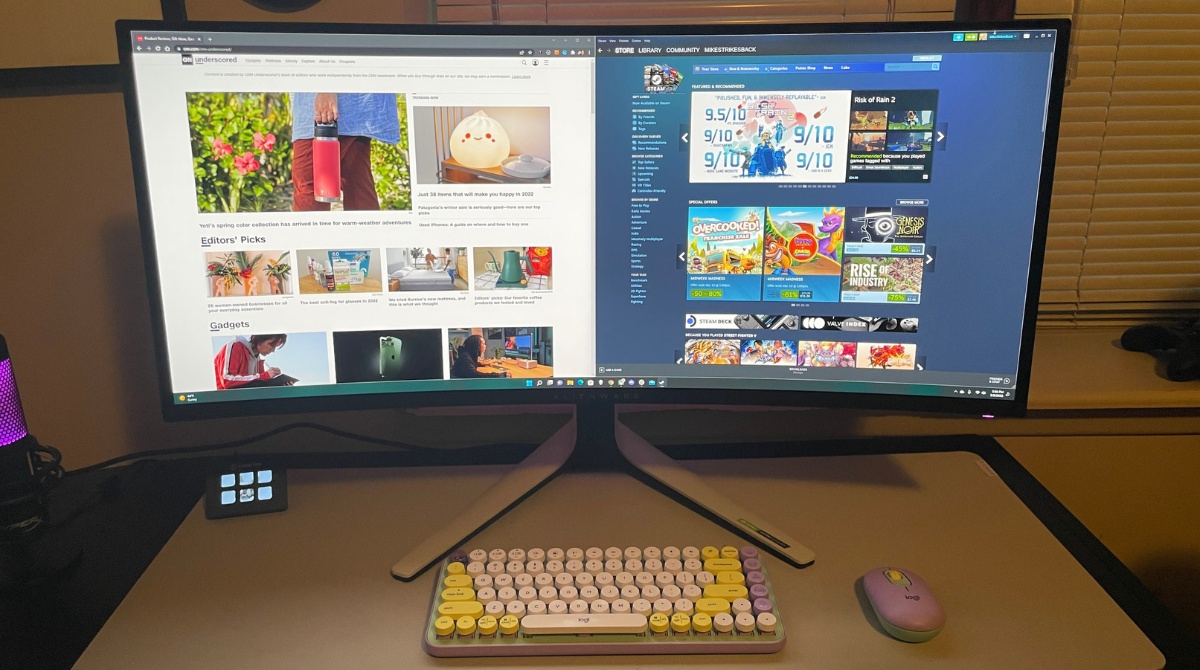
Side-by-Side: The most common way to position apps on an ultrawide monitor is by arranging them side by side. This allows you to have two applications running simultaneously, making it easy to multitask and view content from both applications at the same time. To do this, simply split the screen using the methods we discussed earlier, such as the built-in Snap feature in Windows 10 or Split View in macOS.
Primary and Secondary Focus: Consider designating one side of your ultrawide monitor as the primary focus area and the other side as the secondary focus area. Place your main work-related application or task on the primary side, such as a document editor or code editor, while using the secondary side for auxiliary applications like email, chat, or file explorer. This helps maintain focus on your primary task while still having quick access to secondary applications.
Vertical Split: In addition to the traditional side-by-side arrangement, you can also experiment with a vertical split. Instead of splitting the screen horizontally, divide it vertically to have two applications stacked on top of each other. This can be useful for tasks that require more vertical space, such as coding or reading long documents.
Expanded Workspace: Take advantage of the ultrawide monitor’s extra screen real estate by expanding each application to make use of as much space as possible. Maximize the window or resize it to fit the available area while still leaving room for other apps on the side. This allows you to see more content within each application without compromising on visibility or readability.
Use Virtual Desktops: Utilize the virtual desktop feature available in your operating system to create multiple workspaces and switch between them seamlessly. This can be particularly useful when working with several applications for different projects or tasks. Assign specific applications to different virtual desktops to keep your workspace organized and easily accessible.
By strategically positioning and arranging applications on your ultrawide monitor, you can optimize your workflow, improve productivity, and take full advantage of the additional screen space. Experiment with different layouts and find the configuration that works best for your specific tasks and work style.
In the next section, we’ll conclude the article with a summary of the key points and the benefits of using an ultrawide monitor as two separate displays.
Tips and Tricks for Using an Ultrawide Monitor as Two Monitors
Using an ultrawide monitor as two separate displays can significantly enhance productivity and multitasking capabilities. To make the most out of this setup, here are some valuable tips and tricks to consider:
Organize Your Taskbar: Arrange your taskbar to match the layout of your ultrawide monitor. Pin frequently used applications to the taskbar on one side and less frequently used applications on the other side. This way, you can easily locate and access your preferred apps based on their positions on the taskbar.
Utilize Keyboard Shortcuts: Learn and utilize keyboard shortcuts specific to your operating system and applications. Keyboard shortcuts can help you navigate between windows, switch between virtual desktops, and execute specific commands quickly, saving time and effort.
Experiment with Window Snapping: Take advantage of the window snapping features provided by your operating system. These features allow you to snap windows to specific areas of the screen, making it easier to arrange and resize them. Experiment with different snapping options to find the one that suits your workflow best.
Consider Task-Specific Workspaces: Create separate virtual desktops or workspaces for different tasks or projects. Assign specific applications and windows to each workspace to maintain a clean, organized, and focused environment. This can help reduce clutter and improve concentration on individual tasks.
Use Productivity Tools: Explore various productivity tools and software that can enhance your workflow on an ultrawide monitor. From screen-splitting utilities to window management apps, many tools offer customizable layouts, hotkeys, and other features designed specifically for optimizing multitasking on ultrawide displays.
Take Advantage of Peripheral Devices: Employ additional peripheral devices, such as a wireless keyboard or a multi-button mouse, to streamline your workflow and automate repetitive tasks. Customize the settings and buttons to match your needs and maximize efficiency.
Maintain a Comfortable Viewing Experience: Due to the wide screen of an ultrawide monitor, it is essential to ensure a comfortable viewing experience. Consider adjusting the monitor’s height, tilt, and distance to reduce eye strain and optimize ergonomics. Additionally, adjust brightness and color settings to suit your preferences and work environment.
Backup and Save Workspaces: If you have configured your ultrawide monitor and workspace to specific settings that suit your workflow, consider saving those settings as profiles or presets. This way, you can quickly restore your preferred setup, even if you need to switch between different configurations frequently.
By implementing these tips and tricks, you can harness the full potential of your ultrawide monitor as two separate displays, enhancing your productivity, organization, and overall working experience.
With a little experimentation and customization, an ultrawide monitor can revolutionize your workflow and allow you to accomplish more in less time, all while enjoying the immersive viewing experience it provides.
Conclusion
Utilizing an ultrawide monitor as two separate displays opens up a wide range of possibilities for multitasking and productivity. Whether you are a professional in need of simultaneous access to multiple applications or a gamer looking to have gameplay and chat windows side by side, an ultrawide monitor offers an expansive workspace and immersive viewing experience that can enhance your workflow.
In this article, we explored various methods to effectively use an ultrawide monitor as two monitors. We discussed how to split the screen using the built-in features of Windows 10 and macOS, as well as third-party software options like DisplayFusion, Divvy, and Magnet. Additionally, we explored the option of using Picture-in-Picture (PiP) mode to overlay a smaller window on top of another full-screen application, allowing for even greater multitasking capabilities.
Adjusting the display settings of your ultrawide monitor, such as resolution, refresh rate, and color calibration, is crucial to optimize its performance. We also provided tips and tricks for positioning apps on your ultrawide monitor and making the most of its expansive workspace. By organizing your taskbar, utilizing keyboard shortcuts, and exploring productivity tools, you can further enhance your multitasking prowess.
Remember to maintain a comfortable viewing experience by adjusting the height, tilt, and distance of your monitor, as well as incorporating peripheral devices to streamline your workflow. Backing up and saving your preferred workspace configurations can also help you quickly restore your preferred settings when needed.
In conclusion, by leveraging the power and features of your ultrawide monitor, you can significantly boost productivity, optimize multitasking, and create a seamless and immersive working environment. Take advantage of the software options, adjust display settings, and follow the tips and tricks outlined in this article to unlock the full potential of your ultrawide monitor.