Introduction
Welcome to the world of homemade soda! There’s nothing quite like the fizzy, refreshing taste of a cold soda on a hot day. And now, you can enjoy that same experience right in the comfort of your own home with a soda maker. Whether you’re looking to reduce your carbon footprint, control the ingredients in your soda, or simply get creative with flavors, a soda maker is a fantastic addition to any kitchen.
Gone are the days of relying on pre-packaged soda from the store. With a soda maker, you have the freedom to concoct your own flavors, adjust the sweetness level, and even control the carbonation. Plus, you’ll save money in the long run by avoiding the need to buy bottled soda. It’s not just about the end result – the process of making soda at home can be a fun and rewarding experience that you can enjoy with family and friends.
But where do you start? Don’t worry, in this guide, we’ll walk you through the process of making soda with a soda maker at home. From choosing the right soda maker to troubleshooting common issues, we have you covered. So, dust off your apron, grab your favorite ingredients, and let’s dive into the wonderful world of homemade soda!
Choosing a Soda Maker
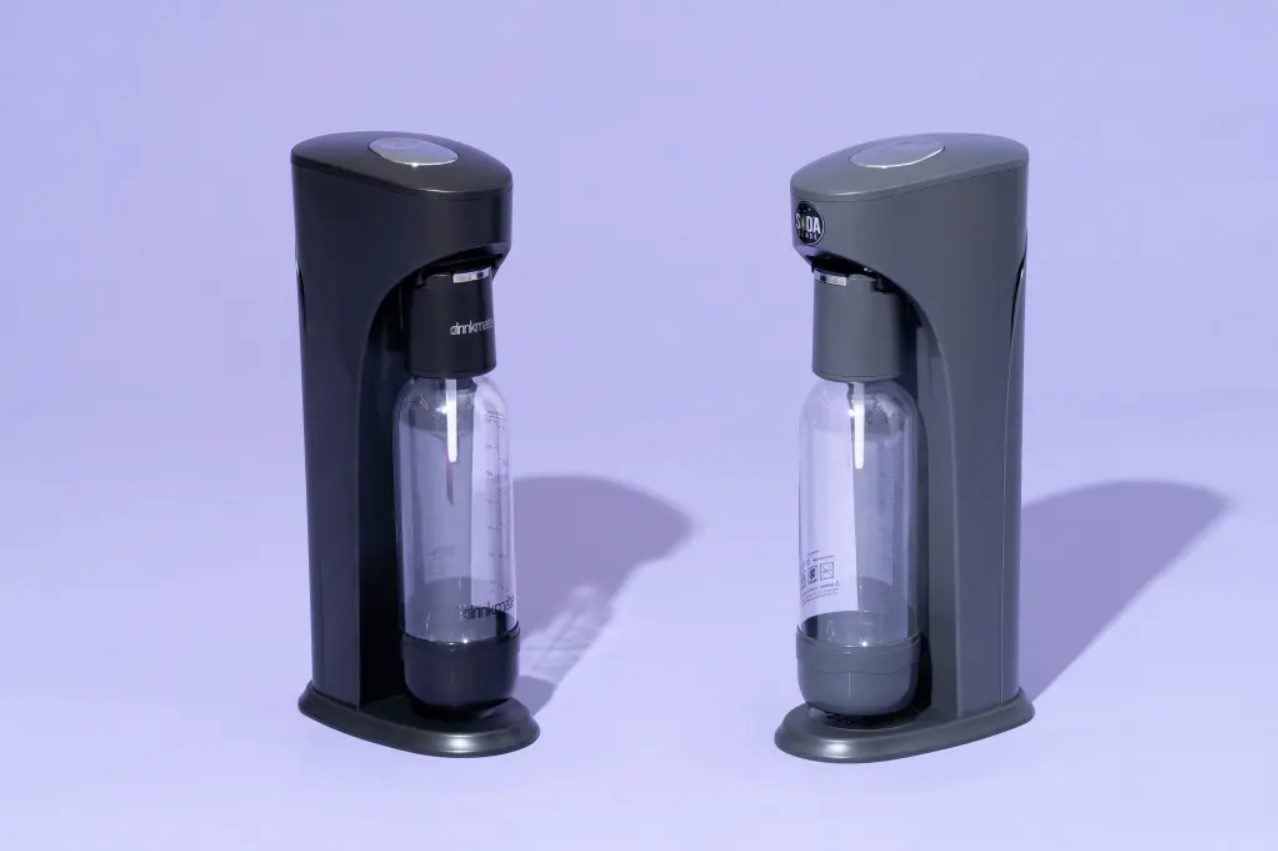
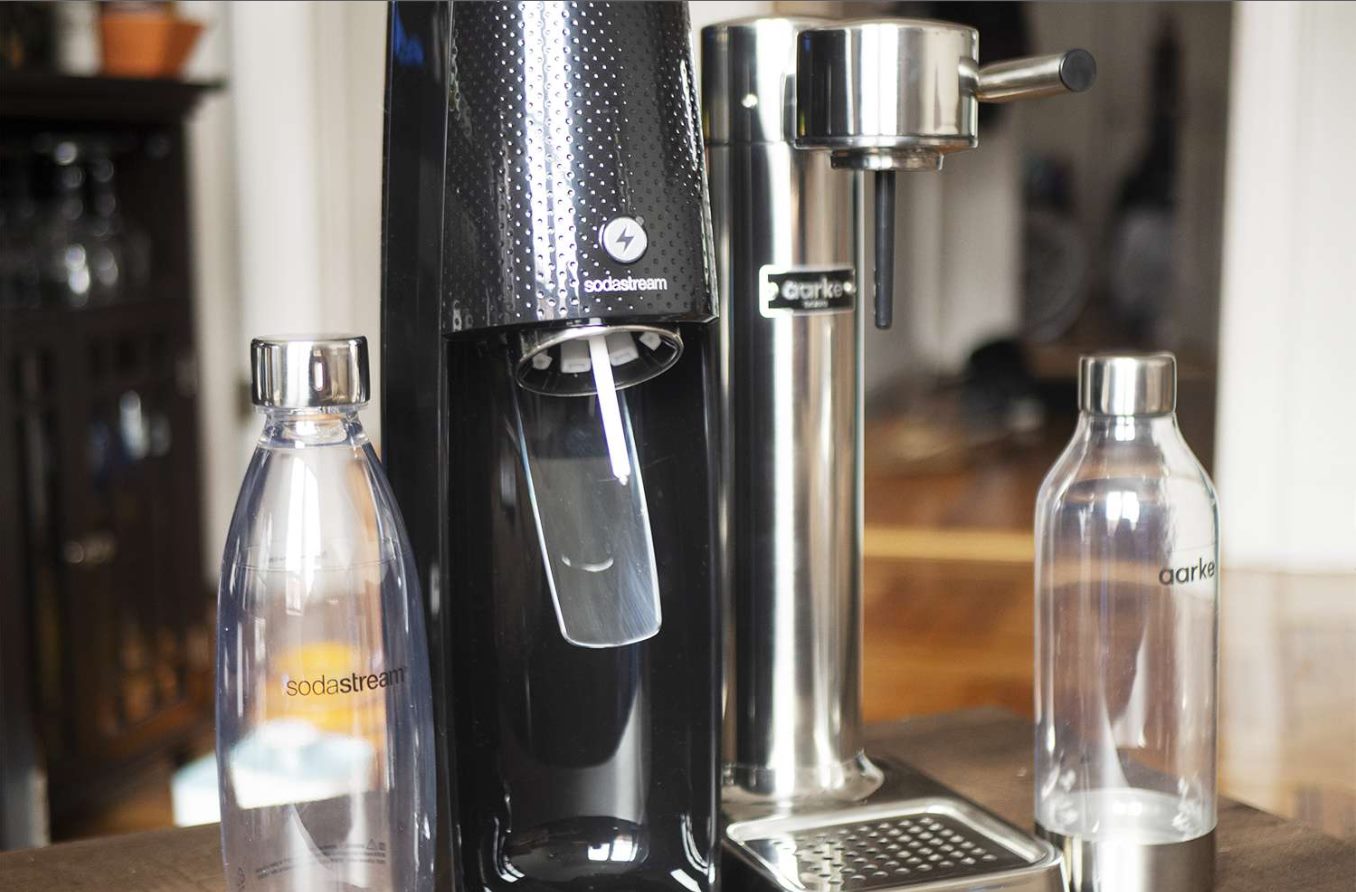
When it comes to choosing a soda maker, there are a few key factors to consider. First and foremost is the type of soda maker you want. There are two main types: manual and electric. Manual soda makers require a bit of muscle power to carbonate the water, while electric soda makers do the work for you at the push of a button. Think about your preferences and how much effort you’re willing to put in.
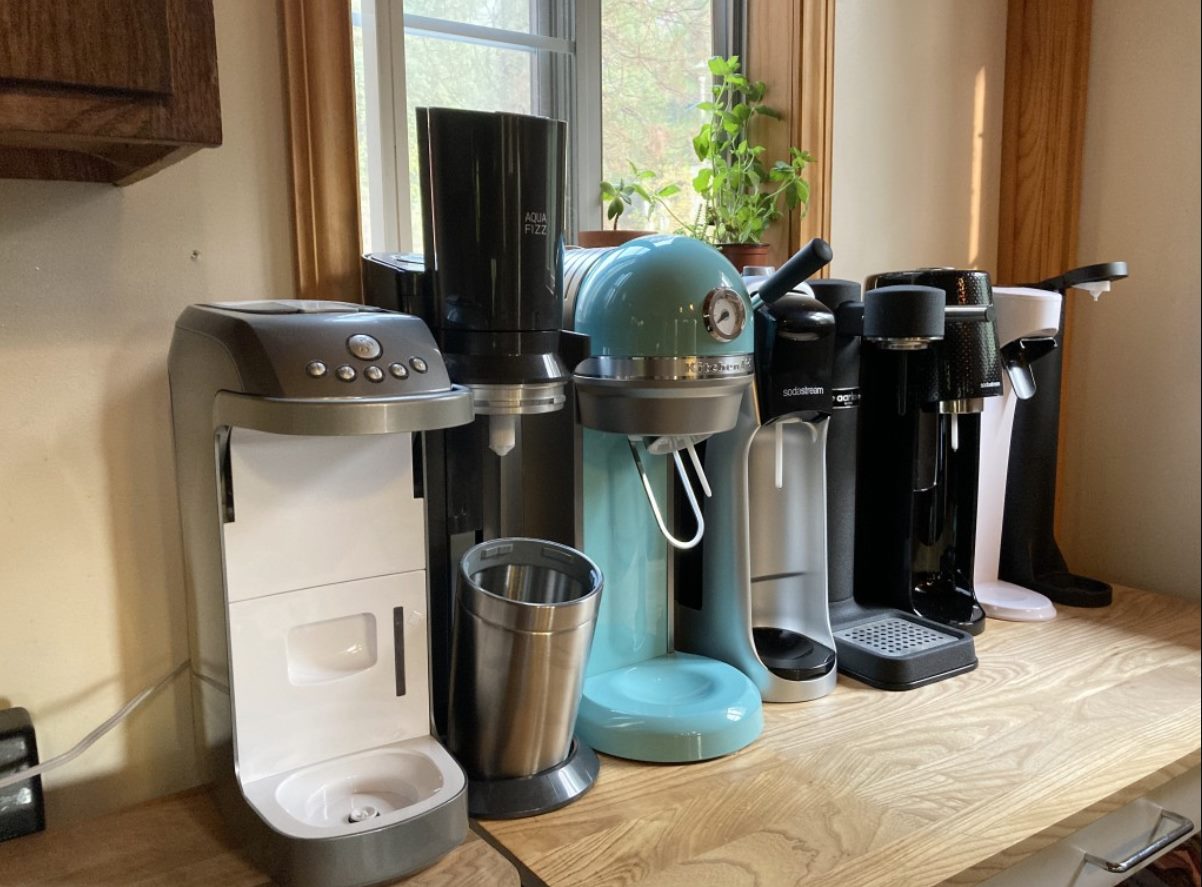
Next, consider the capacity of the soda maker. If you plan on making soda for just yourself or a small household, a smaller capacity soda maker will do the job. However, if you love entertaining or have a large family, a larger capacity soda maker will be more convenient to avoid frequent refills.
Another important factor to consider is the cost and availability of CO2 cartridges. Soda makers use CO2 cartridges to carbonate the water, so you’ll need to make sure you can easily find and purchase replacement cartridges. Some soda makers have proprietary cartridges, while others can use generic ones. Compare prices and availability before making a decision.
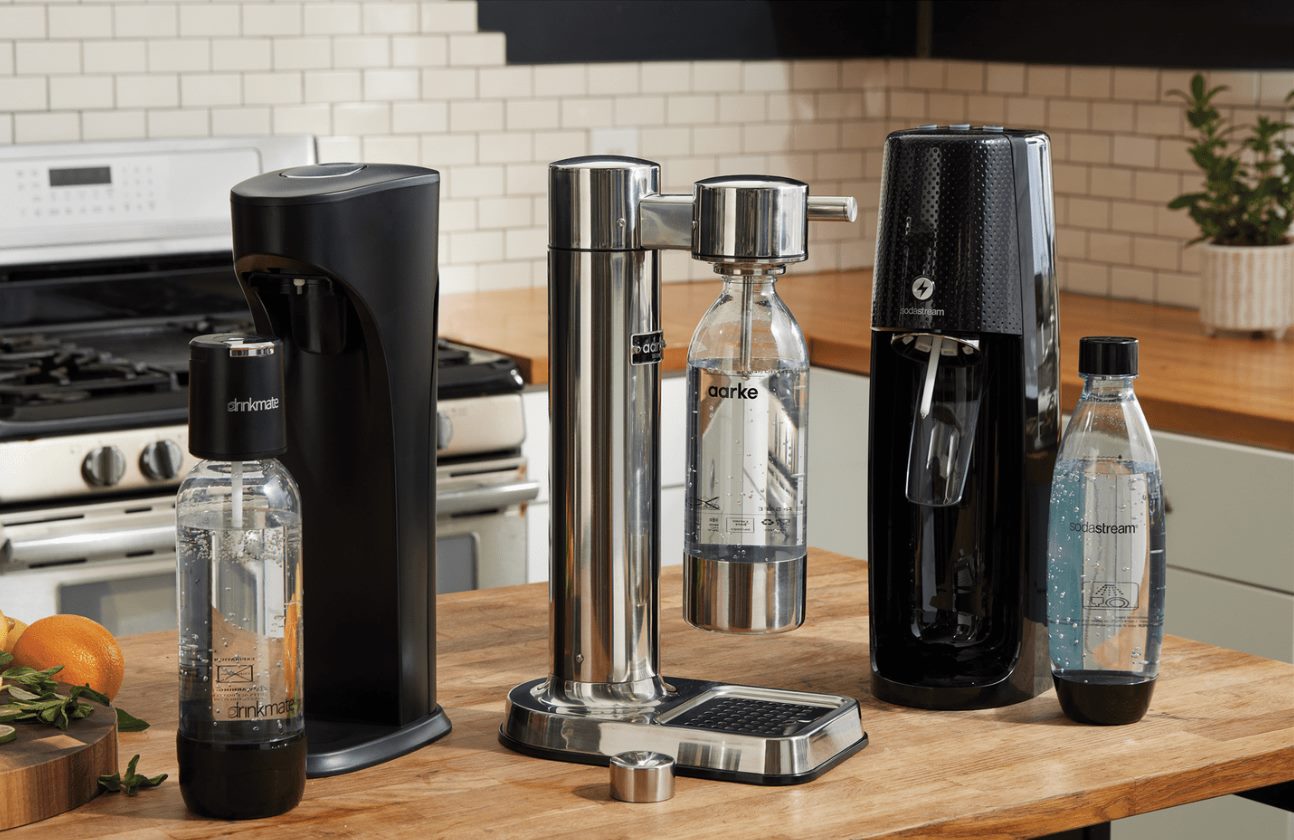
Additionally, take a look at the overall build quality and design of the soda maker. You’ll want something sturdy and durable that will last for years to come. Look for models with a sleek and compact design if you have limited countertop space in your kitchen.
Lastly, consider any additional features or accessories that may come with the soda maker. Some models offer adjustable carbonation levels, which allows you to customize the fizziness of your soda. Others may include extra bottles, flavor syrups, or even a recipe book to get you started on your soda-making journey.
By taking these factors into account, you’ll be able to choose a soda maker that best suits your needs and preferences. Remember to read reviews and do some research to ensure you’re getting a reliable and well-reviewed product. Now that you know what to look for, let’s move on to the next step – gathering your ingredients!
Gathering Your Ingredients
Now that you have chosen the perfect soda maker, it’s time to gather your ingredients to create your own delicious sodas. While you can certainly experiment with different flavors and combinations, there are a few basic ingredients that you’ll need to get started.
The first and most essential ingredient is water. Make sure to use cold, filtered water for the best tasting soda. Tap water can sometimes have a chlorine taste, which can affect the flavor of your soda. If you prefer a more natural option, you can also use sparkling water as the base for your homemade sodas.
Next, you’ll need a sweetener to add some sweetness to your soda. This can be in the form of sugar, honey, agave syrup, or even artificial sweeteners if you prefer a lower-calorie option. Keep in mind that different sweeteners have varying levels of sweetness, so you may need to adjust the amount depending on your taste preferences.
Now it’s time to think about the flavorings. You can use store-bought soda syrups specifically made for soda makers, or you can get creative and make your own homemade syrups. Popular flavors include cola, lemon-lime, orange, root beer, and ginger ale. You can also experiment with fresh fruit juices, herbs, and spices to create unique and customized flavors.
Lastly, don’t forget about the carbonation! This is where your soda maker comes into play. Make sure you have enough CO2 cartridges on hand to carbonate the water. The amount of carbonation can be adjusted based on your preference – some people like their soda super fizzy, while others prefer a more subtle carbonation.
Once you have gathered all your ingredients, you’re ready to start making soda at home. Get creative, try different flavor combinations, and most importantly, have fun with the process. In the next section, we’ll guide you through setting up your soda maker and getting it ready for your first batch of soda. Cheers!
Setting Up Your Soda Maker
Now that you have all your ingredients ready, it’s time to set up your soda maker and get it ready for soda-making action. Follow these simple steps to ensure a smooth setup process.
1. Read the manual: Start by reading the user manual that came with your soda maker. Each model may have specific setup instructions, and it’s important to familiarize yourself with the manufacturer’s recommendations.
2. Wash the bottles: Before using your soda maker for the first time, wash the plastic bottles and caps with warm soapy water. Rinse them thoroughly to remove any residue or odors that may affect the taste of your soda.
3. Install the CO2 cartridge: Depending on the soda maker model, you’ll need to install a CO2 cartridge to carbonate the water. Follow the instructions in the manual to safely attach the cartridge to the soda maker, ensuring a secure fit.
4. Carbonate the water: Fill one of the plastic bottles with cold water up to the indicated fill line. Twist the bottle onto the soda maker, ensuring a tight seal. Press the carbonation button or lever to carbonate the water. Follow the recommended number of presses or the desired carbonation level, according to your taste preferences.
5. Release excess pressure: After carbonating the water, release any excess pressure in the bottle by pressing the pressure release button or by slowly unscrewing the bottle from the soda maker. This step ensures that you won’t have an explosion of fizz when adding flavorings to the bottle.
6. Add your flavors: Once the excess pressure is released, you can add your desired flavorings to the carbonated water. This can be in the form of store-bought soda syrup, homemade syrup, or even fresh fruit juices. Experiment with different combinations to find your favorite flavors. Start with a small amount and adjust to taste.
7. Mix and chill: Once you’ve added your flavorings, gently tilt and swirl the bottle to mix the ingredients. Make sure the cap is securely tightened and place the bottle in the refrigerator to chill for at least a couple of hours. This allows the flavors to meld together and the soda to reach its optimum taste.
And voila! You’ve successfully set up your soda maker and prepared your first batch of homemade soda. Now it’s time to enjoy the fruits of your labor. In the next section, we’ll guide you through the process of making soda and experimenting with different flavors. Cheers!
Making Your First Batch of Soda
Now that you have your soda maker set up and ready to go, it’s time to dive into the exciting process of making your first batch of homemade soda. Follow these steps to create a delicious and refreshing beverage.
1. Prepare the carbonated water: Ensure that your soda maker is properly carbonated before proceeding. If needed, press the carbonation button or lever on your soda maker to carbonated water to your desired level of fizziness.
2. Choose your flavor: Select the flavoring you’d like to use for your soda. This can be a store-bought soda syrup or a homemade syrup made from your favorite fruit juice or combination of flavors. Experiment with different flavors to find your personal favorite.
3. Add the flavoring: Once you’ve chosen your flavor, add the recommended amount to the carbonated water. Start with a smaller amount and adjust according to your taste preference. Remember, you can always add more flavoring later, so start with a lighter touch to avoid overpowering the soda.
4. Mix the ingredients: Gently stir or shake the bottle to mix the flavoring with the carbonated water. Make sure the cap is tightly sealed to prevent any leaks or spills.
5. Taste and adjust: Take a small sip of your soda and make any necessary adjustments. If it’s not sweet enough, add a bit more sweetener or flavoring. If it’s too sweet, dilute it with a splash of plain carbonated water. Tailor the flavors to your liking, as everyone has different tastes.
6. Chill and serve: Place the finished soda in the refrigerator to chill for at least a couple of hours. This allows the flavors to meld together and the soda to become nicely chilled. Once it’s ready, pour into a glass, add ice if desired, and enjoy your homemade soda masterpiece.
Remember, making soda at home is a creative process, so don’t be afraid to experiment with different flavors. Mix and match various syrups, fruit juices, or even herbs and spices to create unique and exciting soda combinations. The possibilities are endless!
In the next section, we’ll explore how you can unleash your creativity even further by experimenting with flavors to customize your soda-making experience. Get ready to discover a whole new world of exciting soda creations!
Experimenting with Flavors
One of the best parts of making soda at home is the ability to experiment with flavors and create unique and customized beverages. By thinking outside the box and trying different combinations, you can elevate your soda-making experience to new heights. Here are some ideas to get you started on your flavor exploration journey.
1. Fruit Infusions: Add a burst of natural fruit flavor to your soda by infusing it with fresh fruits. Crushed berries, sliced citrus fruits, or even slices of cucumber can add a refreshing twist to your beverage. Simply muddle the fruits at the bottom of the bottle before adding the carbonated water and let it infuse for a few hours before enjoying.
2. Herbal Delights: Herbs can provide a unique and aromatic dimension to your sodas. Experiment with fresh herbs like mint, basil, or rosemary by muddling or steeping them in the carbonated water. You can also make herb-infused simple syrups to easily add a touch of herbal goodness to your drinks.
3. Spices Galore: Don’t be shy when it comes to spices. A dash of cinnamon, a pinch of cardamom, or a hint of ginger can add warmth and depth to your soda. Try incorporating spices into your homemade syrups or muddle them with the fruit or herb infusion for a flavorful twist.
4. Unique Syrup Combinations: Mix and match different store-bought or homemade syrups to create your own signature flavor combinations. For example, try combining raspberry syrup with lime for a refreshing berry twist, or mix cherry and vanilla for a nostalgic cola-like flavor.
5. Soda Floats: Take your homemade soda to the next level by adding a scoop of your favorite ice cream or sorbet. The combination of the creamy, sweet treat with the fizzy soda creates a delightful and indulgent experience.
6. Mocktails and Cocktails: Get creative and turn your homemade soda into a mocktail or cocktail. Add a splash of your favorite fruit juice, a drizzle of grenadine, or a shot of your preferred spirit to create a refreshing and flavorful adult beverage.
Remember, flavor experimentation is all about personal taste, so don’t be afraid to explore and try different combinations. Keep a record of your favorite recipes and tweak them until you find the ultimate flavor profile that satisfies your cravings.
In the next section, we’ll address some common issues that you may encounter during the soda-making process and provide troubleshooting tips to help you overcome them. Don’t let obstacles deter you from enjoying your homemade soda creations.
Troubleshooting Common Issues
While making soda at home is generally a fun and straightforward process, you may encounter a few common issues along the way. Don’t worry – we’re here to help you troubleshoot these issues and ensure that your soda-making experience is smooth and enjoyable. Let’s take a look at some common problems and their solutions.
1. Insufficient Carbonation: If your soda doesn’t have enough carbonation, it may be due to not pressing the carbonation button or lever enough times. Try increasing the number of presses to achieve a higher level of fizziness. If the issue persists, check the CO2 cartridge to ensure it’s properly installed and hasn’t expired.
2. Overcarbonation: On the other hand, if your soda is overly fizzy and tends to overflow when opening, you may have carbonated it for too long or with too many presses. To avoid this, follow the recommended carbonation guidelines provided by your soda maker and release any excess pressure before adding flavorings.
3. Syrup Dispensing Issues: If you’re facing difficulty in dispensing syrup evenly, ensure that the bottle and syrup are at room temperature. Cold syrup can become thicker, making it more challenging to pour. You can also try shaking the syrup bottle before dispensing to ensure the ingredients are well-mixed.
4. Flat Soda: If your soda lacks carbonation and tastes flat, it may be due to a CO2 cartridge that is out of gas. Replace the empty cartridge with a fresh one and try carbonating the water again. Also, ensure that the bottle is tightly sealed to prevent any carbonation from escaping.
5. Strange Taste or Odor: If your soda has an unusual taste or odor, it could be due to residue or lingering flavors from previous batches. Make sure to thoroughly clean the bottles and caps after each use, and rinse them well to remove any traces of previous flavors. If the issue persists, check the seals and tubing of your soda maker for any signs of damage or contamination.
6. Leaks or Drips: If you notice leaks or dripping from the bottle or soda maker during the carbonation process, check the bottle’s seal and ensure it’s securely attached to the soda maker. If the issue persists, inspect the bottle for any cracks or damage and replace it if necessary.
By following these troubleshooting tips, you’ll be well-equipped to overcome common issues that may arise while making soda at home. Remember, practice makes perfect, so don’t be discouraged if you encounter a hurdle – enjoy the learning process and have fun experimenting with different flavors and techniques.
In the next section, we’ll discuss how to properly care for and maintain your soda maker to ensure its longevity and continued soda-making success. Let’s keep your soda maker in top shape!
Caring for Your Soda Maker
Proper care and maintenance of your soda maker are essential to ensure its longevity and continued performance. By following these simple guidelines, you can keep your soda maker in excellent condition and enjoy many batches of delicious homemade soda.
1. Regular Cleaning: Clean your soda maker after each use to prevent residue buildup and maintain the quality of your soda. Most soda makers come with removable parts that are easily washable. Hand wash these parts with warm soapy water and rinse thoroughly. Avoid using abrasive cleaners or scrubbers that may scratch the surfaces.
2. Cleaning the Nozzle: Over time, the carbonation nozzle may become clogged with dried syrup or minerals. To clean the nozzle, use a small brush or pipe cleaner to gently remove any debris. Be careful not to damage or bend the nozzle while cleaning. You can also refer to the user manual for specific cleaning instructions.
3. Storage: When not in use, store your soda maker in a cool, dry place away from direct sunlight. This will help prevent any damage to the components and keep the machine in optimal condition. Additionally, store CO2 cartridges in a cool and dry place, following the manufacturer’s storage recommendations.
4. Replace Seals: Over time, the seals of your soda maker may wear out or become less effective. If you notice any leaks or issues with carbonation, consider replacing the seals. Check with the manufacturer or refer to the user manual for information on obtaining replacement seals.
5. Descale the Machine: Depending on the water quality in your area, mineral deposits may build up in the soda maker, affecting its performance. To descale the machine, use a mixture of equal parts water and white vinegar and run it through the carbonation process without adding flavorings. Follow this with a few rounds of plain water to rinse off any vinegar residue.
6. Follow Manufacturer Guidelines: It’s crucial to follow the specific care instructions provided by the manufacturer of your soda maker. Each model may have its own unique requirements, and adhering to these guidelines will help maintain the warranty and keep your soda maker functioning optimally.
By following these care tips, you can ensure that your soda maker remains in top shape and continues to deliver delicious homemade soda for years to come. A well-maintained machine will not only give you better tasting soda but also save you from costly repairs or having to replace the soda maker prematurely.
In the next section, we’ll provide you with some additional tips and tricks to enhance your soda-making experience and take your creations to new heights. Get ready to become a soda-making pro!
Tips and Tricks for Making Soda at Home
Making soda at home can be a fun and rewarding experience. To help you get the most out of your homemade soda creations, we’ve compiled some handy tips and tricks. These insights will elevate your soda-making game and ensure that each batch is a delicious success.
1. Experiment with Ratios: Don’t be afraid to play around with the ratios of carbonated water to flavorings. Adjust the amount of syrup or fruit juice based on your personal taste preferences. Start with smaller amounts and gradually add more until you achieve the perfect balance of sweetness and flavor.
2. Use Fresh Ingredients: Whenever possible, use fresh, high-quality ingredients for your homemade soda. Freshly squeezed fruit juices, aromatic herbs, and spices will result in vibrant, natural flavors that are far superior to artificial alternatives.
3. Let the Flavors Infuse: For fruit-infused sodas, let the mixture sit in the refrigerator for a few hours or overnight. This will allow the flavors to infuse more deeply and create a more pronounced taste. The longer you let the flavors meld, the more vibrant and refreshing the soda will be.
4. Pre-Chilled Ingredients: It’s best to chill your ingredients before making soda. This includes cold carbonated water, chilled syrups, and even chilled glasses. Cold ingredients will help maintain the carbonation and ensure a more refreshing drinking experience.
5. Label Your Creations: If you experiment with different flavors, don’t forget to label your bottles. This will save you from any surprises and help you remember which combinations you enjoyed the most. You can use reusable labels or masking tape to easily mark your soda bottles.
6. Get Creative with Garnishes: Elevate the presentation of your homemade sodas with fun and flavorful garnishes. Add a slice of fresh fruit, a sprig of herbs, or even a colorful straw to make your soda visually appealing. It’s all about the sensory experience!
7. Maintain Stock of Ingredients: Keep an assortment of flavored syrups, fresh fruits, and herbs on hand so you can be spontaneous with your soda creations. With a stocked pantry, you’ll always have the necessary ingredients to whip up a refreshing soda whenever the craving strikes.
8. Share and Enjoy: Making soda at home is a delight to share with others. Host a soda-tasting party, impress your guests with unique flavor combinations, or surprise your loved ones with a refreshing homemade soda. Sharing your creations will enhance the joy and fun of the soda-making experience.
With these tips and tricks, you’ll be well-equipped to take your soda-making adventures to new heights. So, gather your ingredients, unleash your creativity, and enjoy the delightful process of making soda at home.
In the final section, we’ll recap the highlights of this guide and sum up the key takeaways. Cheers to your homemade soda success!
Conclusion
Congratulations on exploring the world of homemade soda! You’ve learned how to choose the right soda maker, gather your ingredients, set up the machine, and create your very own refreshing beverages. By experimenting with flavors, troubleshooting common issues, and caring for your soda maker, you’ve become a soda-making pro.
Making soda at home allows you to have full control over the ingredients, flavors, and carbonation levels of your beverages. You can unleash your creativity by combining different syrups, fruits, herbs, and spices to create unique and personalized soda flavors. The process is not only enjoyable but also environmentally friendly and cost-effective.
Remember to take advantage of the tips and tricks provided in this guide to enhance your soda-making experience. From adjusting ratios and using fresh ingredients to labeling your creations and getting creative with garnishes, these insights will elevate your homemade sodas to new heights of deliciousness.
Whether you’re making soda for personal enjoyment, entertaining guests, or simply exploring your culinary skills, making soda at home is a delightful and rewarding endeavor. It’s a way to express your creativity, satisfy your taste buds, and have fun with family and friends.
So, grab your soda maker, gather your favorite ingredients, and embark on a journey of homemade soda bliss. With each sip, savor the satisfaction of knowing that you’ve created a flavorful and refreshing beverage from scratch. Cheers to your homemade soda success – may your glasses always be filled with fizzy joy!