Introduction:
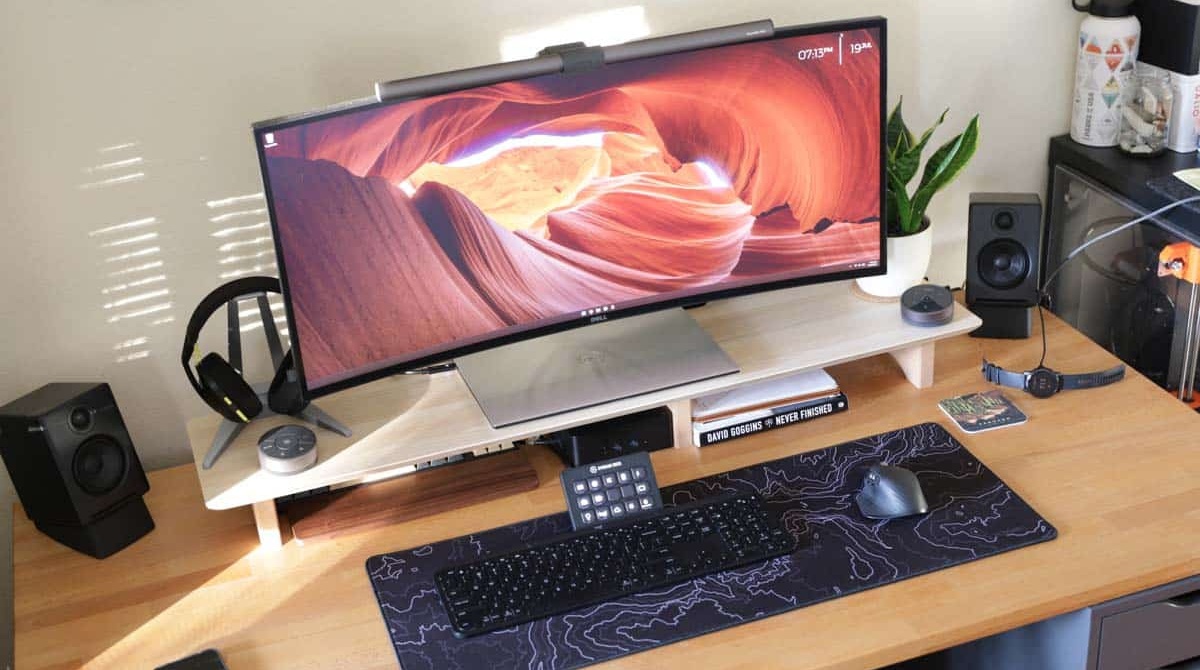
Welcome to the world of ultrawide monitors, where productivity, immersion, and entertainment come alive with the vast expanse of screen real estate. With their wider aspect ratio and larger display area, ultrawide monitors offer a unique viewing experience that is ideal for multitasking, gaming, and enjoying media content.
However, simply purchasing an ultrawide monitor is not enough to fully unlock its potential. To truly optimize your visual experience, it is crucial to calibrate your ultrawide monitor. Calibration ensures accurate and consistent colors, an optimal brightness level, and sharp image quality, all of which contribute to a more pleasing and immersive visual experience.
In this guide, we will walk you through the process of calibrating your ultrawide monitor, step by step. We will cover the importance of calibration, the tools you will need, and the specific steps to follow to achieve the best possible results.
Whether you use your ultrawide monitor for professional work, gaming, or entertainment, the information in this guide will help you unleash the full potential of your display and ensure that you are getting the most out of your investment. So let’s dive in and discover how to calibrate an ultrawide monitor!
Understanding Ultrawide Monitors:
Ultrawide monitors are a variant of computer displays that offer a wider aspect ratio compared to traditional monitors. While standard monitors typically have a 16:9 aspect ratio, ultrawide monitors come in various aspect ratios such as 21:9 or even wider. This extra width expands the horizontal space, providing a more immersive and engaging viewing experience.
One of the major benefits of ultrawide monitors is their ability to enhance productivity. The wider screen allows you to have multiple applications, documents, or web pages side by side without the need for multiple displays. This makes multitasking a breeze, enabling you to work on one project while referencing information from another source simultaneously.
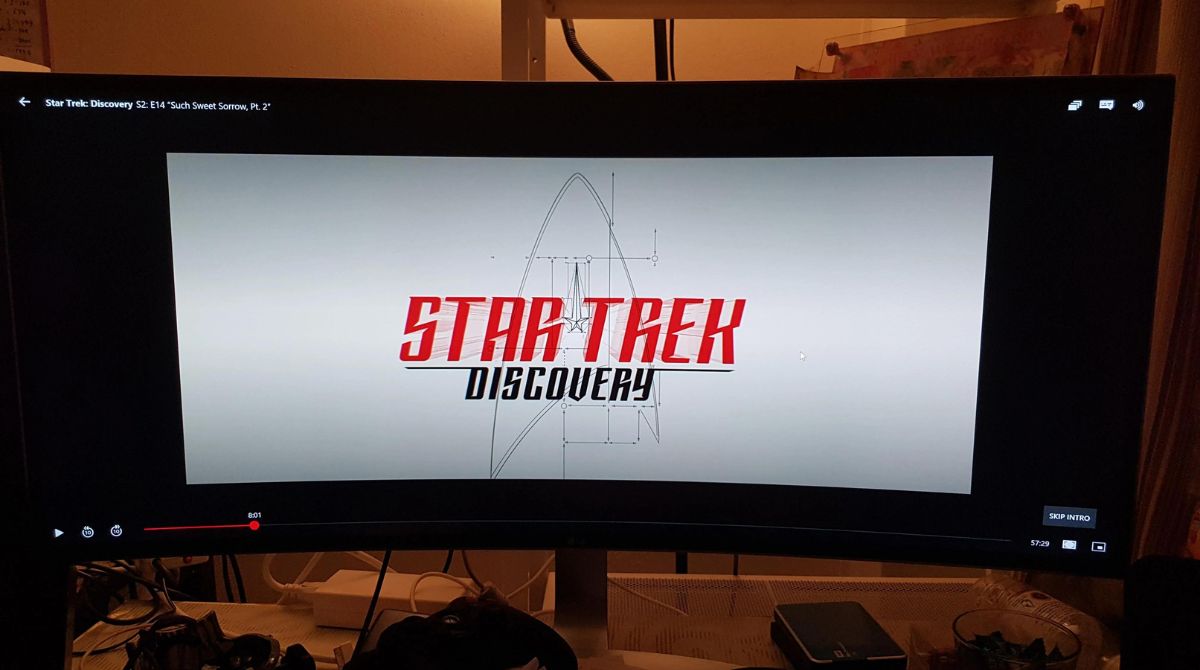
Ultrawide monitors are also popular among gamers. The wider field of view creates a more immersive gaming experience, letting players see more of the game world and react faster to in-game events. Many game developers now optimize their games for ultrawide displays, providing gamers with a wider and more expansive visual experience.
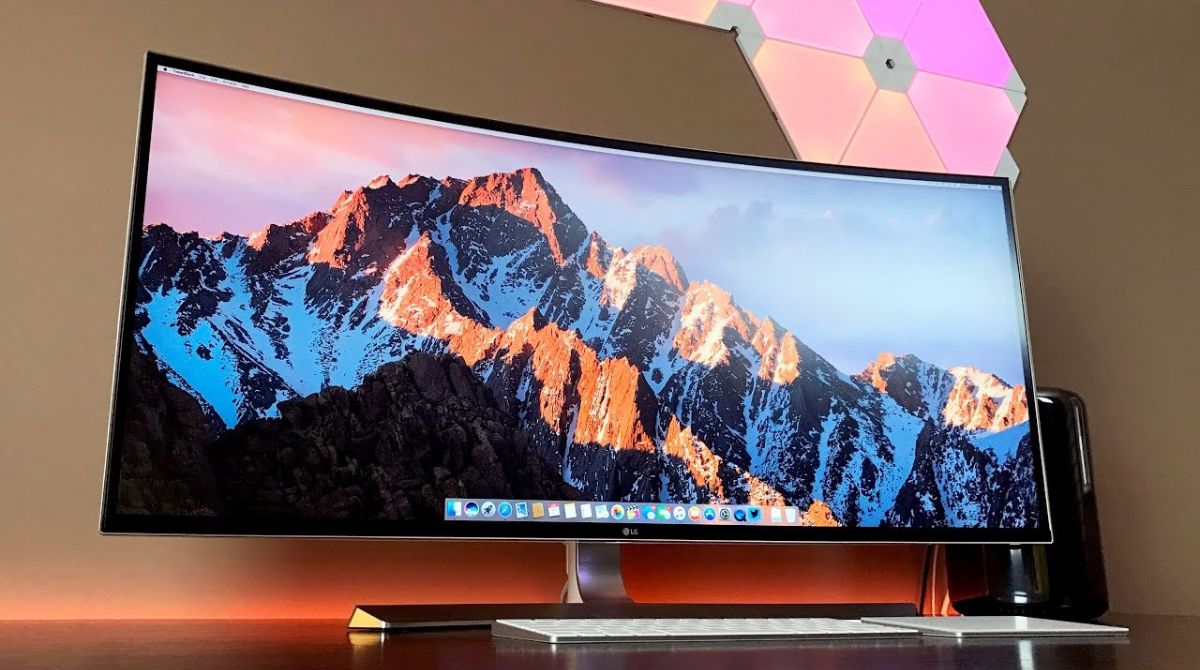
For media enthusiasts, ultrawide monitors bring movies, TV shows, and videos to life. With the wider aspect ratio, you can enjoy content without any black bars on the top and bottom of the screen, providing a more cinematic viewing experience.
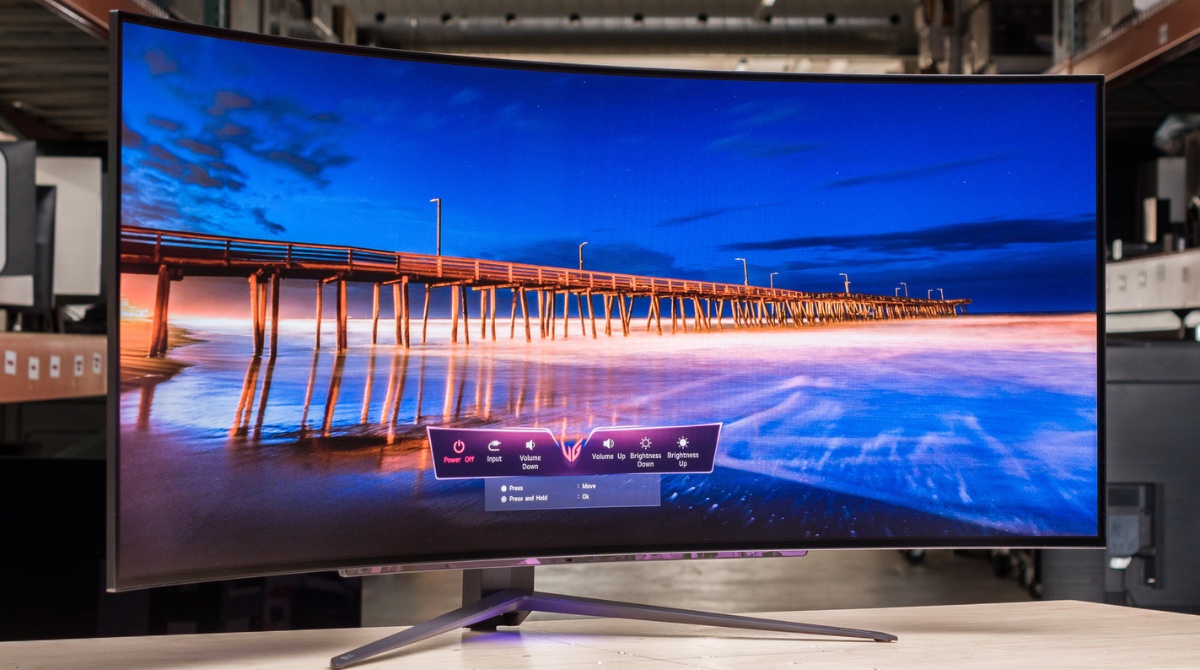
When considering an ultrawide monitor, it’s important to understand the different terms associated with them. For example, the “curvature” of the monitor refers to the degree of bending on the screen’s surface. Curved ultrawide monitors offer a more immersive and comfortable viewing experience, as they wrap around your field of vision.
Another important aspect to consider is the resolution of the ultrawide monitor. Higher resolution screens offer sharper image quality and more detailed visuals. Common resolutions for ultrawide monitors include 2560×1080 (Full HD), 3440×1440 (UWQHD), and 5120×1440 (DQHD). Keep in mind that higher resolutions may require more powerful hardware to ensure smooth performance.
Understanding the unique features and advantages of ultrawide monitors is essential for optimizing your usage and enjoying the benefits they offer. In the next section, we will explore why calibrating an ultrawide monitor is crucial to achieving the best possible visual performance.
Importance of Calibrating an Ultrawide Monitor:
Calibrating an ultrawide monitor is a crucial step in optimizing its visual performance and ensuring accurate color reproduction. While modern monitors come pre-calibrated from the factory, it’s important to remember that each individual unit may have slight variations in color accuracy. Calibrating your monitor guarantees that you are seeing colors as they were intended by content creators, which is especially important for creative professionals such as graphic designers, photographers, and video editors.
One of the primary benefits of calibrating an ultrawide monitor is achieving accurate and consistent colors. Colors may appear differently on various monitors due to differences in screen technology, panel types, and factory settings. By calibrating your monitor, you can adjust the color settings to match industry-standard color spaces such as sRGB or Adobe RGB.
When working with photos or videos, accurate color reproduction is crucial to ensuring that the final visual output looks as intended. By calibrating your monitor, you can trust that the colors you see on the screen are faithful representations of the original image or video, allowing you to make precise edits and adjustments.
Calibration also helps to ensure that your ultrawide monitor provides consistent brightness levels across the entire display. This is important for maintaining visual comfort during long periods of use. A properly calibrated brightness level will reduce eye strain and fatigue, allowing you to work or enjoy media content for extended periods without discomfort.
In addition to color accuracy and brightness, calibration can also improve the sharpness and clarity of your ultrawide monitor. By making adjustments to the sharpness settings, you can fine-tune the level of detail displayed on the screen. This is particularly important for tasks that require precise visual information, such as text editing, graphic design, or video editing.
Ultimately, calibrating your ultrawide monitor ensures that you get the most out of your display investment. Whether you’re a professional needing accurate color representation or a gamer seeking the best visual experience, calibration allows you to optimize your monitor’s performance to suit your specific needs.
In the next section, we will explore the necessary tools and equipment you will need to successfully calibrate your ultrawide monitor.
Necessary Tools for Calibrating an Ultrawide Monitor:
Calibrating an ultrawide monitor requires a few essential tools and equipment to ensure accurate and precise adjustments. Although the specific tools may vary depending on your monitor model and personal preferences, here are the basic items you will need to successfully calibrate your ultrawide monitor:
- Calibration Device: A calibration device, also known as a colorimeter or spectrophotometer, is a key tool for achieving accurate color calibration. This device measures the color output of your monitor and creates a profile to adjust the color settings accordingly. There are various calibration devices available in the market, such as the X-Rite i1Display Pro or the Datacolor SpyderX, each with their own features and price points.
- Software: To calibrate your monitor, you will need calibration software that works in conjunction with the calibration device. Many calibration devices come with their own proprietary software, which guides you through the calibration process and saves the calibration profile. Additionally, there are third-party software options available, such as DisplayCAL, which provide advanced calibration features and compatibility with a wide range of calibration devices.
- Connection Cables: Ensure that you have the appropriate cables to connect your ultrawide monitor to your computer. Most modern ultrawide monitors use DisplayPort or HDMI cables for optimum signal quality. Check your monitor’s specifications to determine the recommended cable type and make sure you have a reliable and high-quality cable at hand.
- Reference Materials: Having reference materials is useful for calibrating color accuracy. You can use physical color calibration targets, such as color swatches or color reference charts, to compare the colors on your monitor to their actual representations. This helps to ensure that your monitor accurately reproduces the colors as they should appear.
- Control Lighting: It is important to control the lighting conditions in your workspace during the calibration process. Ideally, you should have consistent and neutral lighting that does not overly influence the perception of colors on the screen. Consider using ambient light sources with a color temperature close to daylight (around 6500K) to provide a standardized viewing environment.
- Patience: Calibrating an ultrawide monitor is a meticulous process that requires patience and attention to detail. Take your time to properly follow the instructions provided by the calibration software and make the necessary adjustments. The end result will be a monitor that delivers accurate colors, optimal brightness, and sharp image quality.
By gathering these necessary tools and equipment, you will be well-prepared to begin the calibration process. In the following sections, we will dive into the step-by-step instructions to calibrate your ultrawide monitor and achieve the best possible visual performance.
Step 1: Adjusting the Brightness and Contrast:
The first step in calibrating your ultrawide monitor is to adjust the brightness and contrast settings. These settings have a significant impact on the overall image quality and visual comfort of your monitor.
Start by accessing the monitor’s on-screen display (OSD) menu. This can usually be done by using the physical buttons located on the monitor itself or through the manufacturer’s software if available.
Next, locate the brightness and contrast settings within the OSD menu. Adjust the brightness setting first, aiming for a level that provides comfortable and clear visibility without causing eye strain. A value of around 120-140 cd/m² (candelas per square meter) is generally recommended for most environments, but you can adjust this based on your personal preference and ambient lighting conditions.
After setting the brightness, move on to adjusting the contrast. The contrast setting controls the difference between the darkest and brightest parts of the image. Adjust it to a level that enhances the detail and depth of the visuals without causing any loss of highlights or shadow details. A contrast ratio of around 800:1 to 1000:1 is usually considered optimal for most monitors.
When making these adjustments, it is important to consider the specific requirements of your work or activities. For example, graphic designers and photographers may prefer a higher contrast to accurately distinguish subtle tonal variations, while gamers might prioritize a brighter display for better visibility in dark gaming environments.
Once you have made the initial brightness and contrast adjustments, take the time to view different content types to evaluate the overall visual quality. Test your monitor with photos, videos, and other media to ensure that the brightness and contrast settings provide a satisfactory viewing experience across different applications and environments.
Remember that your specific monitor model may have additional settings related to brightness and contrast, such as backlight control or dynamic contrast ratio. Familiarize yourself with these options and experiment to find the settings that best suit your needs.
In the next step, we will explore how to set the color temperature of your ultrawide monitor, which is vital for achieving accurate and true-to-life colors.
Step 2: Setting the Color Temperature:
Setting the color temperature of your ultrawide monitor is a crucial step in achieving accurate and natural-looking colors. Color temperature refers to the warmness or coolness of the white point displayed on the screen, measured in Kelvin (K).
Access the monitor’s OSD menu and navigate to the color settings or color temperature options. Most monitors provide several preset options such as cool, warm, and sRGB. However, it is recommended to choose a custom color temperature setting for the most accurate and consistent results.
The standard color temperature for most monitors is 6500K, which is considered the closest to natural daylight. This setting generally provides a neutral and balanced white point, allowing for accurate color reproduction. Select the custom color temperature and manually adjust the red, green, and blue (RGB) color levels until you achieve a white point that appears neutral and free from any color cast.
It is worth noting that the appropriate color temperature setting can vary depending on your personal preference and the ambient lighting conditions in your workspace. For example, in dimly lit environments, you may prefer a slightly warmer color temperature (around 5000K) to reduce eye strain. On the other hand, in well-lit environments, a cooler color temperature (around 7000K) may provide a more vibrant and crisp display.
While adjusting the color temperature, it’s a good idea to have reference materials available to ensure accuracy. This could be a physical color swatch or a color reference chart that displays a variety of colors. Compare these colors on your screen with their actual representations to ensure that your monitor is producing accurate and faithful colors.
After setting the color temperature, it is essential to test your changes across different applications and content types to ensure that the colors appear natural and consistent. Pay particular attention to skin tones, vibrant landscapes, and subtle color gradations to ensure accurate fidelity in your visual content.
Once you are satisfied with the color temperature settings, it’s time to move on to the next step: adjusting the gamma of your ultrawide monitor. Gamma plays a vital role in optimizing the brightness and contrast characteristics of the display.
Step 3: Adjusting the Gamma:
Adjusting the gamma of your ultrawide monitor is an important step in fine-tuning the brightness and contrast characteristics of the display. Gamma refers to the relationship between the input signal and the resulting brightness levels displayed on the screen.
Access the OSD menu of your monitor and navigate to the gamma settings. Depending on your monitor model, you may have a few preset gamma options to choose from, such as 2.2, 2.4, or a custom gamma setting. The ideal gamma setting for most monitors is typically around 2.2, as it provides a good balance between preserving shadow and highlight details.
Adjusting the gamma involves finding the right balance between the dark and light parts of the image, ensuring that details in both areas are visible and well-defined. If the gamma is set too low, the image may appear washed out with loss of shadow detail. Conversely, if the gamma is set too high, the image may appear overly dark, obscuring highlight details.
To adjust the gamma, use the OSD menu to select the desired gamma setting. If your monitor allows for custom gamma adjustments, you may have the option to fine-tune the gamma curve by manually adjusting the RGB gamma levels. This allows for greater control over the specific brightness levels and can be beneficial if you have specific preferences or requirements for your work.
When adjusting the gamma, it is helpful to have reference images or content that contain both dark and light areas. Use these references to evaluate the gamma adjustments and ensure that the details in the shadows and highlights are well-preserved and visible.
Keep in mind that gamma settings can also be influenced by the ambient lighting conditions of your workspace. If you work in a dimly lit room, you may want to adjust the gamma slightly higher to compensate for the reduced ambient light. On the other hand, in a brightly lit environment, a slightly lower gamma setting may be preferred to avoid washing out details in the image.
Once you have made the necessary adjustments, evaluate the overall image quality across different content types to ensure that the gamma setting provides a balanced and visually pleasing display. This will help you achieve optimal brightness and contrast characteristics for a wide range of applications and content.
With the gamma properly adjusted, you can now proceed to the next step: fine-tuning the RGB levels of your ultrawide monitor to ensure accurate and precise color representation.
Step 4: Fine-Tuning the RGB Levels:
Fine-tuning the RGB levels of your ultrawide monitor is a crucial step in achieving accurate color representation. RGB stands for red, green, and blue, which are primary colors used in digital displays to create a wide range of colors.
Access the OSD menu of your monitor and locate the RGB settings or color adjustments. These settings allow you to individually adjust the intensity of the red, green, and blue color channels. By fine-tuning these levels, you can achieve a more accurate color balance and eliminate any color cast or imbalance in the display.
Start by selecting the neutral color reference point in your OSD menu. This option usually displays a neutral gray or white screen. Analyze the appearance of this reference color and observe if it appears perfectly neutral or if it has any tint of color. Adjust the RGB levels incrementally until you achieve a neutral and balanced gray or white color.
When making adjustments, it’s important to remember that small changes can have a significant impact on color accuracy. Make incremental adjustments and evaluate the changes after each adjustment to ensure that you are moving in the right direction.
Additionally, it’s helpful to have reference images or content that showcase a range of colors. Use these references to assess the accuracy of the color representation after making adjustments to the RGB levels. Pay particular attention to skin tones, vibrant colors, and subtle gradients to ensure that colors appear natural and true to life.
Depending on your specific monitor model, you may have additional settings such as saturation or color balance controls that can further fine-tune the color accuracy. Experiment with these settings while referring to the reference images or content to achieve the desired color representation.
Keep in mind that the ideal RGB levels can vary depending on personal preferences, ambient lighting conditions, and the requirements of your specific tasks. Consider the intended use of your monitor and strive for a balance that accurately represents colors for your work or content consumption.
After fine-tuning the RGB levels, assess the overall color consistency and accuracy across different applications and content. This step ensures that the colors are accurately reproduced and consistent throughout various tasks, providing a satisfying visual experience.
Now that the RGB levels are fine-tuned, you are ready to move on to the next step: tweaking the sharpness of your ultrawide monitor to optimize image clarity.
Step 5: Tweaking the Sharpness:
Tweaking the sharpness of your ultrawide monitor is an important step in optimizing image clarity and enhancing the overall visual experience. Sharpness settings control the level of detail displayed on the screen, particularly the crispness and clarity of edges and fine lines.
Access the OSD menu of your monitor and locate the sharpness settings or adjustments. Depending on your monitor model, you may have options such as sharpness level, edge enhancement, or pixel overdrive.
Start by setting the sharpness to a neutral or default value to establish a baseline. From there, make gradual adjustments, carefully observing the impact on the displayed content. Avoid excessive sharpness settings, as they can introduce artifacts and visual distortions.
When adjusting the sharpness, it’s important to consider the specific tasks you perform on your monitor. For text-based work or detailed graphic design, a slightly higher sharpness setting may be beneficial to ensure text legibility and precise line art. On the other hand, for media consumption or gaming, a slightly lower sharpness setting can help reduce any artificial enhancement and provide a more natural and immersive visual experience.
Keep in mind that the optimal sharpness setting can vary depending on the resolution and pixel density of your ultrawide monitor. Higher-resolution displays may require less sharpening, as the increased pixel density already provides a high level of detail and clarity.
As you adjust the sharpness settings, it’s helpful to have reference images or content that contain fine details and edges. Analyze how the changes in sharpness impact the clarity and detail reproduction in these specific areas. Look for any artifacts, overshooting, or undershooting effects that may occur with exaggerated sharpness adjustments.
Take the time to evaluate the sharpness adjustment across different types of content, including text documents, images, and videos. This ensures that the sharpness level strikes a balance between enhancing details and preserving the overall visual quality.
Remember that personal preferences and the specific requirements of your tasks influence the ideal sharpness setting. Make adjustments according to your own preferences and the nature of your work or activities.
After tweaking the sharpness, evaluate the overall image clarity and detail for different applications and content. This step helps ensure that you have achieved an optimal level of sharpness that enhances the details without introducing any distracting artifacts or visual anomalies.
With the sharpness optimized, you can now proceed to the next step: verifying the uniformity of colors across your ultrawide monitor.
Step 6: Verifying the Uniformity of Colors:
Verifying the uniformity of colors across your ultrawide monitor is an essential step to ensure consistent and accurate color reproduction across the entire display. This step helps identify any potential color variations or inconsistencies that may occur due to the characteristics of the monitor panel.
To begin, display a solid color image or use a color test pattern that covers the entire screen. You can find various color test patterns available online or use built-in software provided by your monitor manufacturer.
Take a close look at the displayed image and carefully inspect the color consistency across the screen. Look for any noticeable variations in brightness, hue, or saturation. Pay attention to any areas that appear significantly different from the rest of the screen.
It’s important to note that some degree of color variation is normal and can be attributed to the characteristics of the panel technology used in your monitor. However, excessively noticeable differences or large patches of inconsistent color can indicate a potential issue.
If you detect significant color variations across your screen, there are a few actions you can take to address the issue:
- Panel Adjustment: Check if your monitor has any panel adjustment settings in the OSD menu. Some monitors offer features like uniformity compensation or pixel-level adjustments that can help mitigate color inconsistencies. Follow the manufacturer’s instructions or consult the user manual to access and utilize these features effectively.
- Position Changes: Adjust the viewing angle or position of your ultrawide monitor. Occasionally, slight changes in the angle or position can help minimize or alleviate color inconsistencies. Experiment with different viewing angles to see if it improves the uniformity of colors across the display.
- Contact Manufacturer: If you believe the color inconsistencies are excessive or persistent, reaching out to the manufacturer’s customer support may be necessary. They can provide guidance or suggest further steps to address the issue, including potential panel replacement, if needed.
It’s important to keep in mind that not all monitors will have perfect color uniformity, and some level of variation is to be expected. However, by verifying the uniformity of colors and taking necessary action to address any significant inconsistencies, you can maximize the overall visual quality and color accuracy of your ultrawide monitor.
After verifying the color uniformity, the next step involves checking for dead pixels, which ensures the flawless and uninterrupted performance of your monitor.
Step 7: Checking for Dead Pixels:
Checking for dead pixels is an important step in ensuring the flawless performance of your ultrawide monitor. Dead pixels are pixels on the screen that fail to display the correct color, resulting in spots that appear either black or stuck in a particular color. Identifying and addressing dead pixels early on is crucial to ensure a smooth visual experience.
To check for dead pixels, you can use either software-based pixel testing tools or perform a visual inspection of the monitor. Several online tools and software applications are available that display a series of colors and patterns to help you identify any anomalies.
Begin by displaying a solid color image on your screen. Start with a white background and observe the screen for any black spots or dots that do not change when the image is scrolled or moved. Repeat this process with different solid colors, such as red, green, blue, and black, to identify any stuck pixels that do not change color.
When visually inspecting your monitor, it’s recommended to view it under normal operating conditions. Ensure that the display is set to its native resolution and adjust the viewing distance to easily identify any dead pixels. Consider using different viewing angles and lighting conditions to thoroughly examine the entire screen surface.
Keep in mind that some monitors may have a small number of acceptable dead pixels according to the manufacturer’s specifications. However, many manufacturers provide warranties that cover dead pixel issues, especially when the dead pixels are excessive or significantly impact the overall display quality.
If you discover dead pixels on your ultrawide monitor, check your warranty or contact the manufacturer’s customer support for further assistance. They may provide guidance on potential solutions, including repair or replacement options depending on the severity of the dead pixel issue.
It’s important to note that dead pixel testing should be performed within the warranty period or the allowable return period for your monitor. Checking the condition of your monitor upon purchase or during the initial use can help identify dead pixels early on and ensure a smooth resolution process if needed.
Once you have checked for dead pixels and taken any necessary actions, you can proceed to the next step: calibrating for color accuracy to achieve optimal visual performance on your ultrawide monitor.
Step 8: Calibrating for Color Accuracy:
Calibrating your ultrawide monitor for color accuracy is a critical step in ensuring that the colors displayed on your screen are true to life and consistent across various applications. Achieving accurate color reproduction is especially important for creative professionals, photographers, graphic designers, and anyone who requires precise color representation.
To calibrate your monitor for color accuracy, you will need to use a calibration device, such as a colorimeter or spectrophotometer, along with calibration software. This combination allows you to measure and adjust the color settings of your monitor to match industry-standard color spaces like sRGB or Adobe RGB.
Connect your calibration device to your computer and launch the calibration software. Follow the on-screen instructions provided by the software to guide you through the calibration process. This typically involves displaying a series of colors, measuring them with the calibration device, and creating a color profile for your monitor.
During the calibration process, the software will guide you through adjusting various settings such as gamma, white point, and color temperature to achieve accurate color representation. It may also prompt you to make adjustments on the monitor OSD menu based on the measurements taken by the calibration device.
Some calibration software may include additional options to fine-tune specific color channels or adjust advanced settings for more precise calibration. Explore these options if you have specific preferences or if you need to cater to the requirements of your work.
Once you have completed the calibration process, the software will generate a color profile for your monitor. Load this profile onto your computer’s color management system to ensure that it is automatically applied whenever your monitor is in use.
Regularly recalibrating your monitor is important to maintain color accuracy over time. Factors such as aging of the monitor and lighting conditions in your workspace can gradually impact the color performance. It is recommended to recalibrate every few weeks or whenever you notice any significant changes in color representation.
Remember to periodically reassess your calibration settings and make adjustments as necessary, especially if you make hardware changes or upgrade to a new monitor.
By calibrating your ultrawide monitor for color accuracy, you can ensure that the colors you see on the screen reflect the true intent of your visual content and maintain consistency across different devices or platforms.
With your monitor now successfully calibrated for color accuracy, you can proceed to the next step: applying monitor calibration profiles to optimize your visual experience.
Step 9: Applying Monitor Calibration Profiles:
Applying monitor calibration profiles is an important step to ensure that the color settings and adjustments you made during the calibration process are effectively applied whenever your ultrawide monitor is in use. By applying these calibration profiles, you can maintain accurate and consistent color representation across different applications and content.
To apply a monitor calibration profile, you need to load it into your computer’s color management system. The exact method for accessing color management settings may vary depending on your operating system (such as Windows or macOS), but the general steps are as follows:
- Windows: On Windows, open the Control Panel and search for “Color Management” or “Color Calibration.” Select the “Color Management” option that appears and navigate to the “Profiles” tab. Click on “Add” or “Install Profile” and browse to select the calibration profile generated during the calibration process. Make sure to set this profile as the default profile for your monitor.
- macOS: On macOS, go to System Preferences and click on “Displays.” In the Displays settings, navigate to the “Color” tab. Click on “Open Profile” or “Import” and select the calibration profile that you generated. Ensure that the profile is selected as the active profile for your monitor.
Once the calibration profile is loaded and applied, your computer’s color management system will use the profile to ensure that the correct color settings are used whenever your ultrawide monitor is in use. This ensures accurate and consistent color representation across various applications, including image editing software, graphic design tools, and media players.
It’s essential to note that the calibration profile may only be applied within the specific operating system or computer where it is loaded. If you use multiple computers or devices with your ultrawide monitor, you will need to repeat the process of loading the calibration profile on each system.
Regularly revisiting and reapplying the monitor calibration profiles is also important to maintain consistent color accuracy. As mentioned before, factors such as aging of the monitor or changes in ambient lighting conditions can gradually impact color performance. By recalibrating and reapplying the profiles periodically, you can ensure that your ultrawide monitor continues to deliver optimal visual performance.
By applying monitor calibration profiles, you can confidently work on color-critical tasks, such as photo editing, graphic design, and video production, knowing that the colors you see on the screen are accurate and consistent.
With your monitor calibration profiles in place, you are now ready to move on to the final step: maintaining the calibration of your ultrawide monitor to ensure long-term color accuracy and performance.
Step 10: Maintaining Your Ultrawide Monitor Calibration:
Maintaining your ultrawide monitor calibration is a crucial step to ensure long-term color accuracy and optimal visual performance. Calibrating your monitor is not a one-time process, as factors such as aging of the monitor, changes in ambient lighting conditions, and usage patterns can gradually impact color accuracy over time.
Here are some important tips to help you maintain your monitor calibration:
- Regular Recalibration: It is recommended to recalibrate your monitor every few weeks or whenever you notice any significant changes in color representation. This will help restore and maintain accurate color accuracy over time.
- Monitor Aging: Over time, the performance of your ultrawide monitor can change as it ages. Some monitors may experience shifts in color accuracy or brightness levels. Regular calibration can help detect and address such changes, ensuring consistent performance.
- Avoid Extreme Lighting Conditions: Changes in ambient lighting, such as shifting from dim lighting to bright sunlight or vice versa, can influence the perception of colors on your monitor. Try to maintain a consistent lighting environment to minimize the potential impact on color accuracy.
- Hardware Changes: If you make any hardware changes to your monitor, such as replacing cables, upgrading your graphics card, or connecting your monitor to a different device, it is recommended to recalibrate your monitor. These changes may affect the color reproduction, necessitating adjustments to maintain accuracy.
- Monitor Cleanliness: Keep your ultrawide monitor clean and free from dust or smudges. Dirt or debris on the screen can affect the visual quality and color perception. Regularly clean the screen using a soft, lint-free cloth to maintain optimal display performance.
- Stay Updated with Software and Firmware: Check for software updates or firmware upgrades provided by your monitor manufacturer. These updates may include improvements or enhancements to color performance or calibration capabilities. Keeping your monitor up to date can help maintain accuracy.
By following these maintenance practices, you can ensure that your ultrawide monitor continues to deliver accurate color representation and optimal visual performance over time. Regular recalibration and attention to the various factors that can influence color accuracy are key to maintaining a consistent and reliable calibration.
Stay vigilant and make adjustments as needed to maximize the full potential of your ultrawide monitor and enjoy a visually satisfying experience for all your tasks, whether it’s professional work, gaming, or media consumption.
Conclusion:
Calibrating an ultrawide monitor is a critical step in optimizing its visual performance and ensuring accurate and consistent color representation. By following the step-by-step process outlined in this guide, you can achieve the best possible visual experience on your ultrawide monitor for a wide range of tasks, from professional work to gaming and media consumption.
Understanding the unique features and advantages of ultrawide monitors, such as their wider aspect ratio and larger display area, allows you to fully embrace the benefits they offer. Whether you use your ultrawide monitor for multitasking, immersive gaming, or cinematic media viewing, calibration ensures that you are getting the most out of your investment.
Through the different calibration steps, you learned to adjust the brightness and contrast to optimize visual comfort, set the color temperature for accurate color representation, fine-tune the gamma for optimal brightness and contrast, and tweak the sharpness for improved image clarity. You also verified the uniformity of colors and checked for dead pixels, ensuring a flawless display. Additionally, you calibrated for color accuracy and applied monitor calibration profiles to maintain consistent results.
Remember, maintaining your monitor calibration is essential for long-term performance. Regularly recalibrating, avoiding extreme lighting conditions, and keeping the monitor clean are crucial aspects of upkeep. Staying updated with software and firmware upgrades is also important to take advantage of any improvements provided by the manufacturer.
By completing the calibration process and implementing these maintenance practices, you can have confidence in the accuracy and quality of the colors displayed on your ultrawide monitor. Whether you are a professional seeking precise color representation or a gamer looking for an immersive visual experience, these calibration steps will help you unleash the full potential of your ultrawide monitor.
Enjoy the enhanced productivity, immersion, and visual pleasure that your calibrated ultrawide monitor provides and make the most out of your digital experience.