Introduction
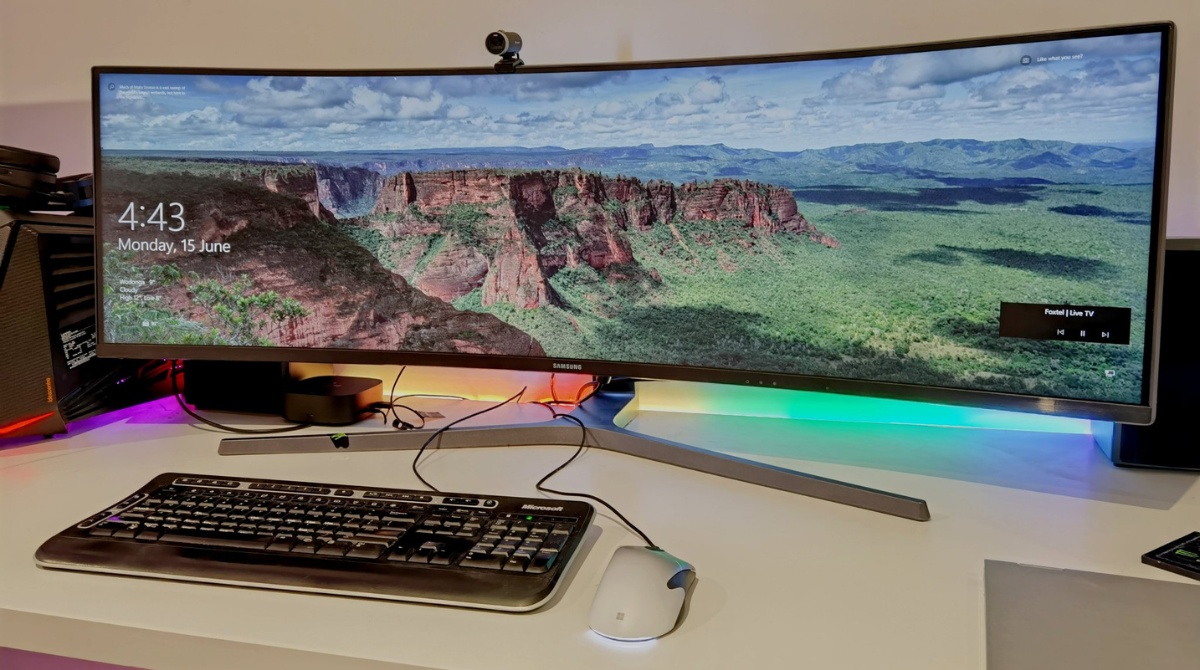
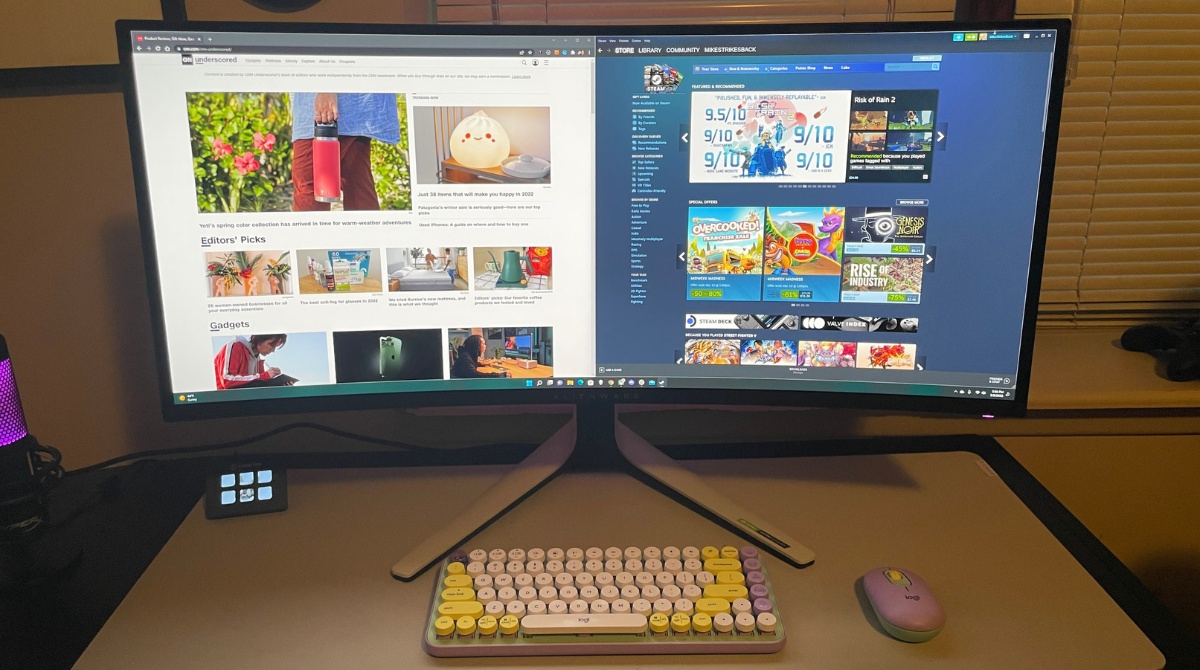
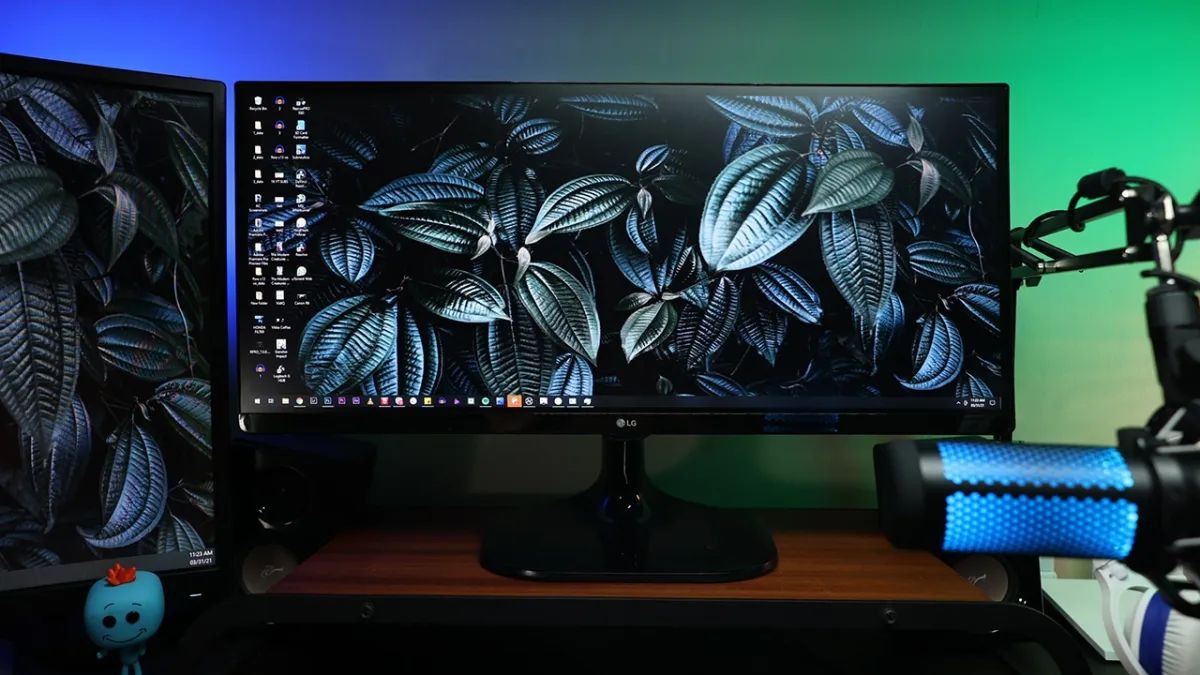
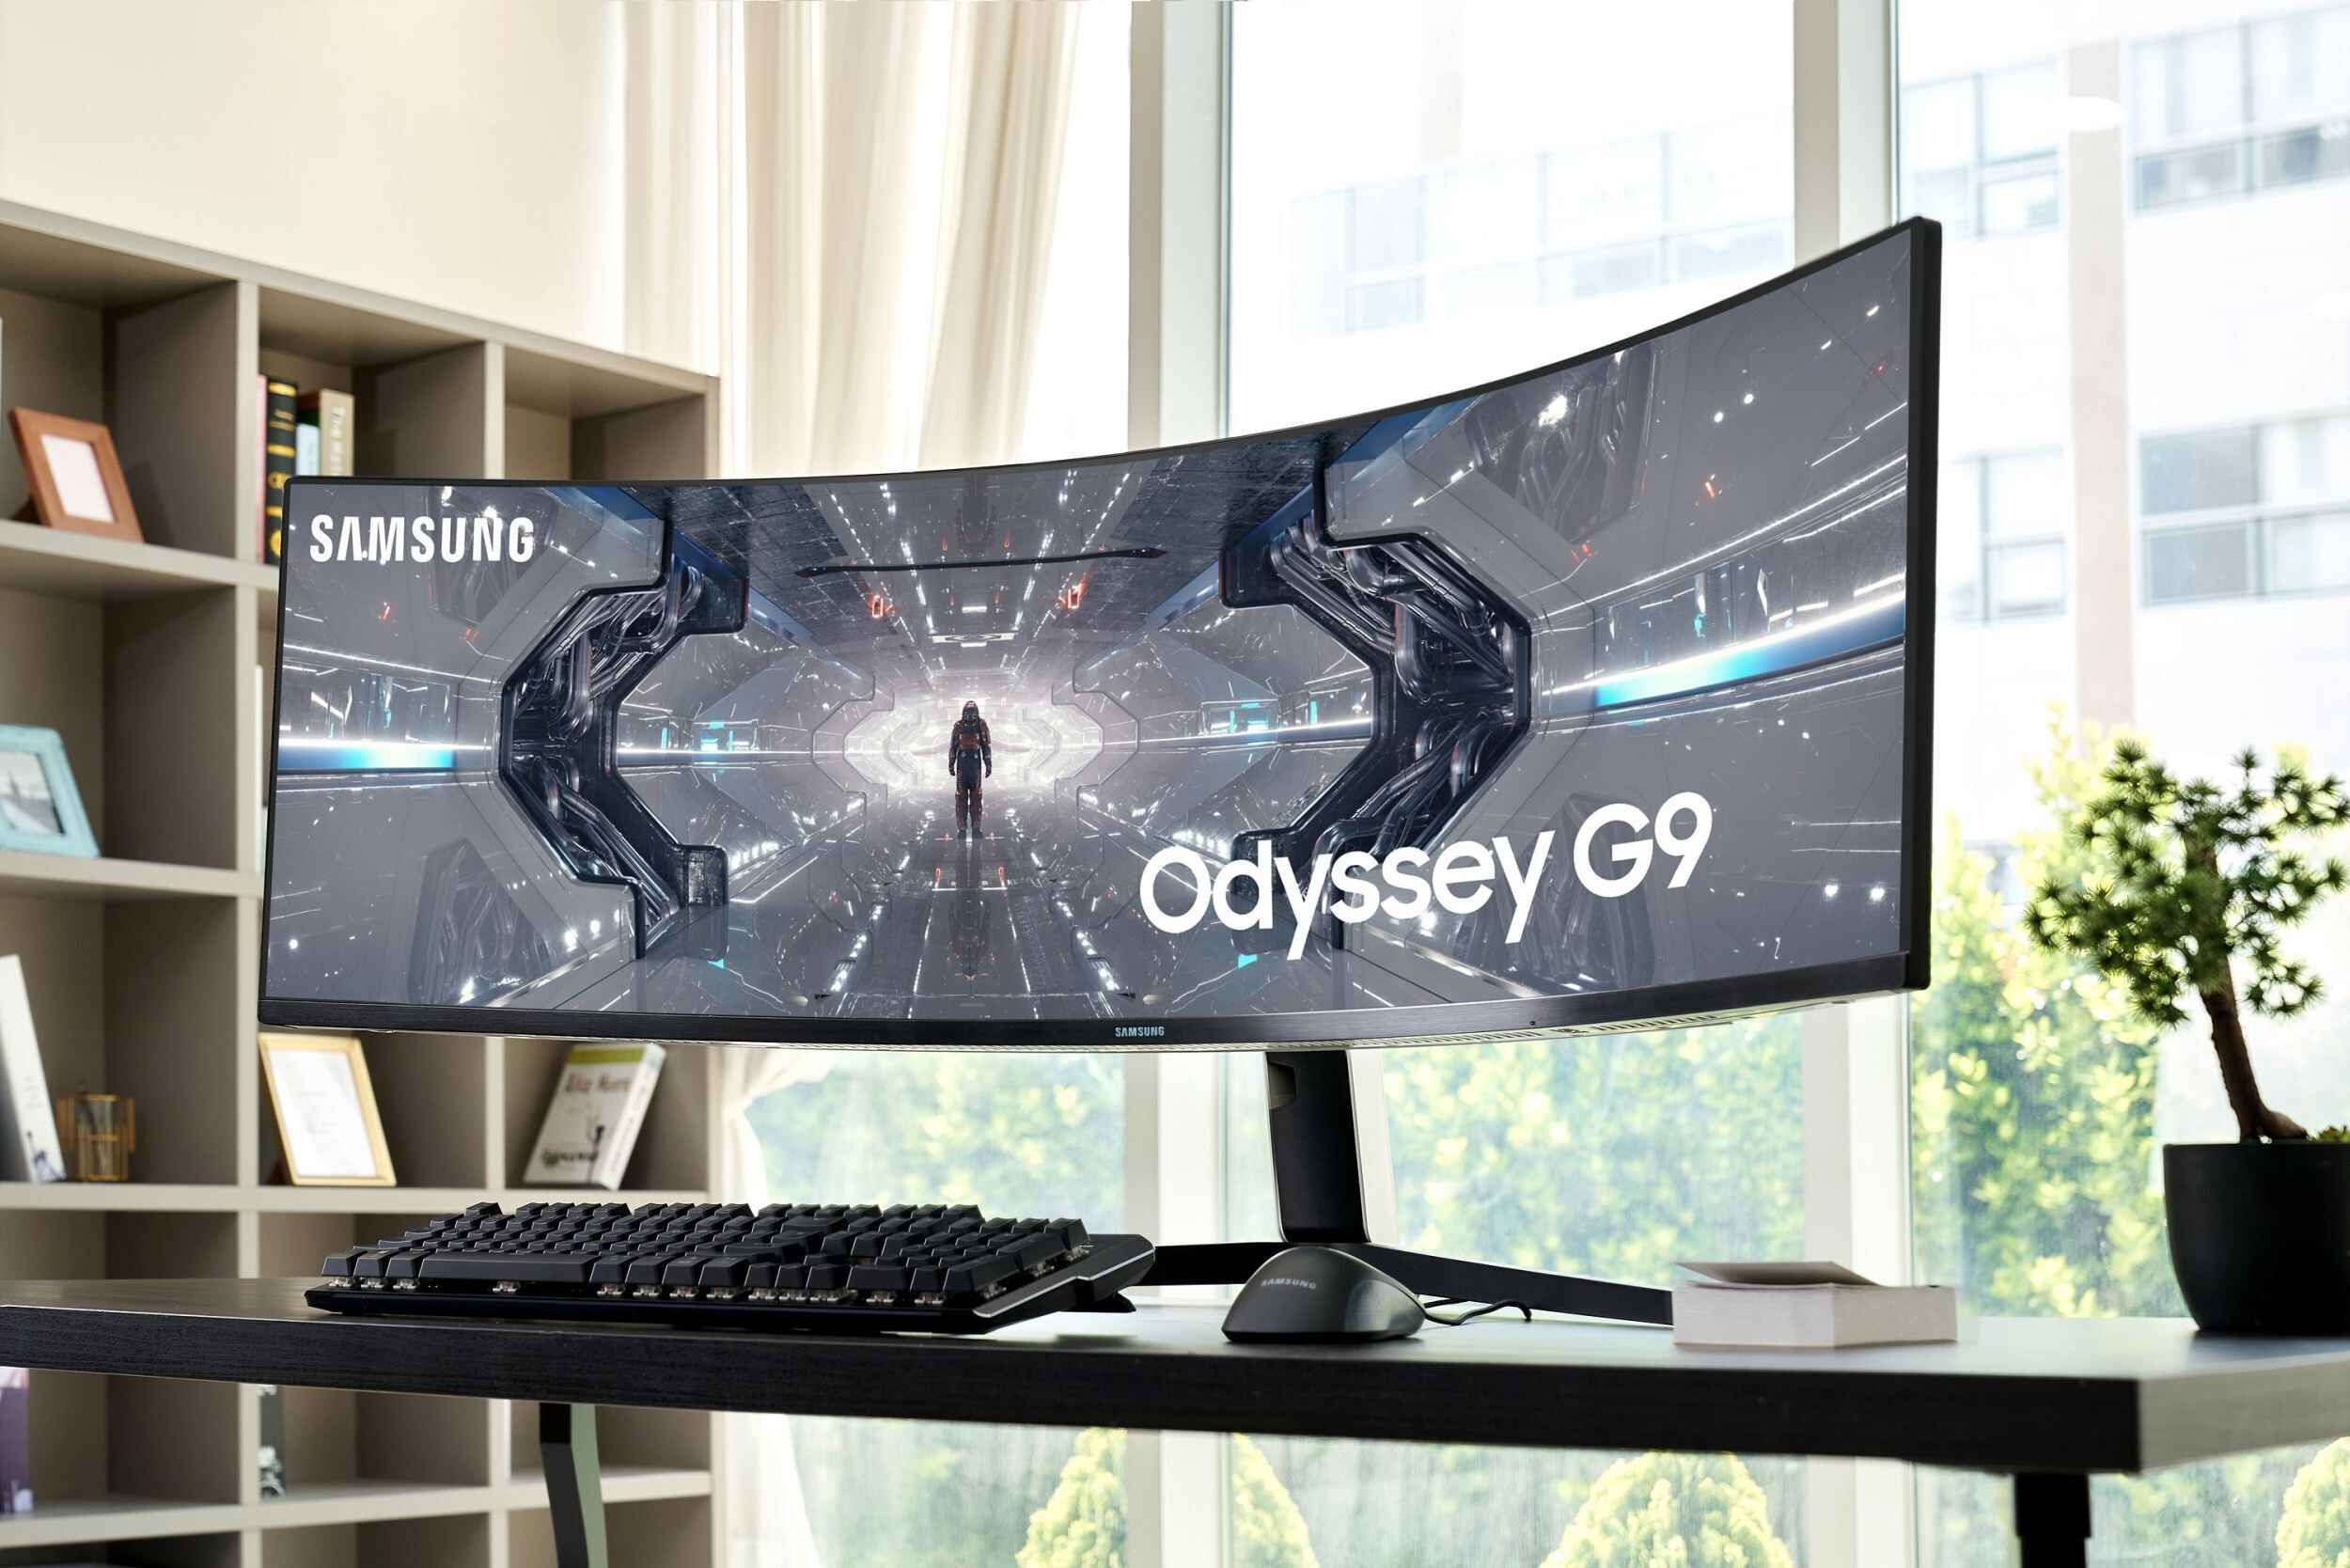
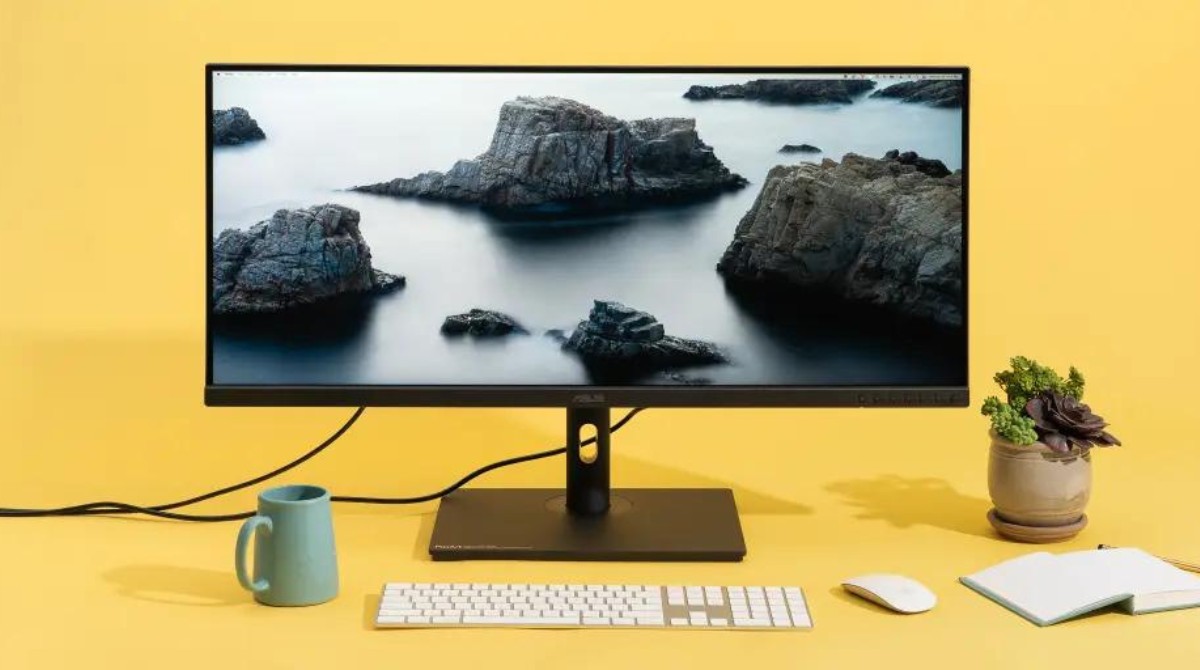
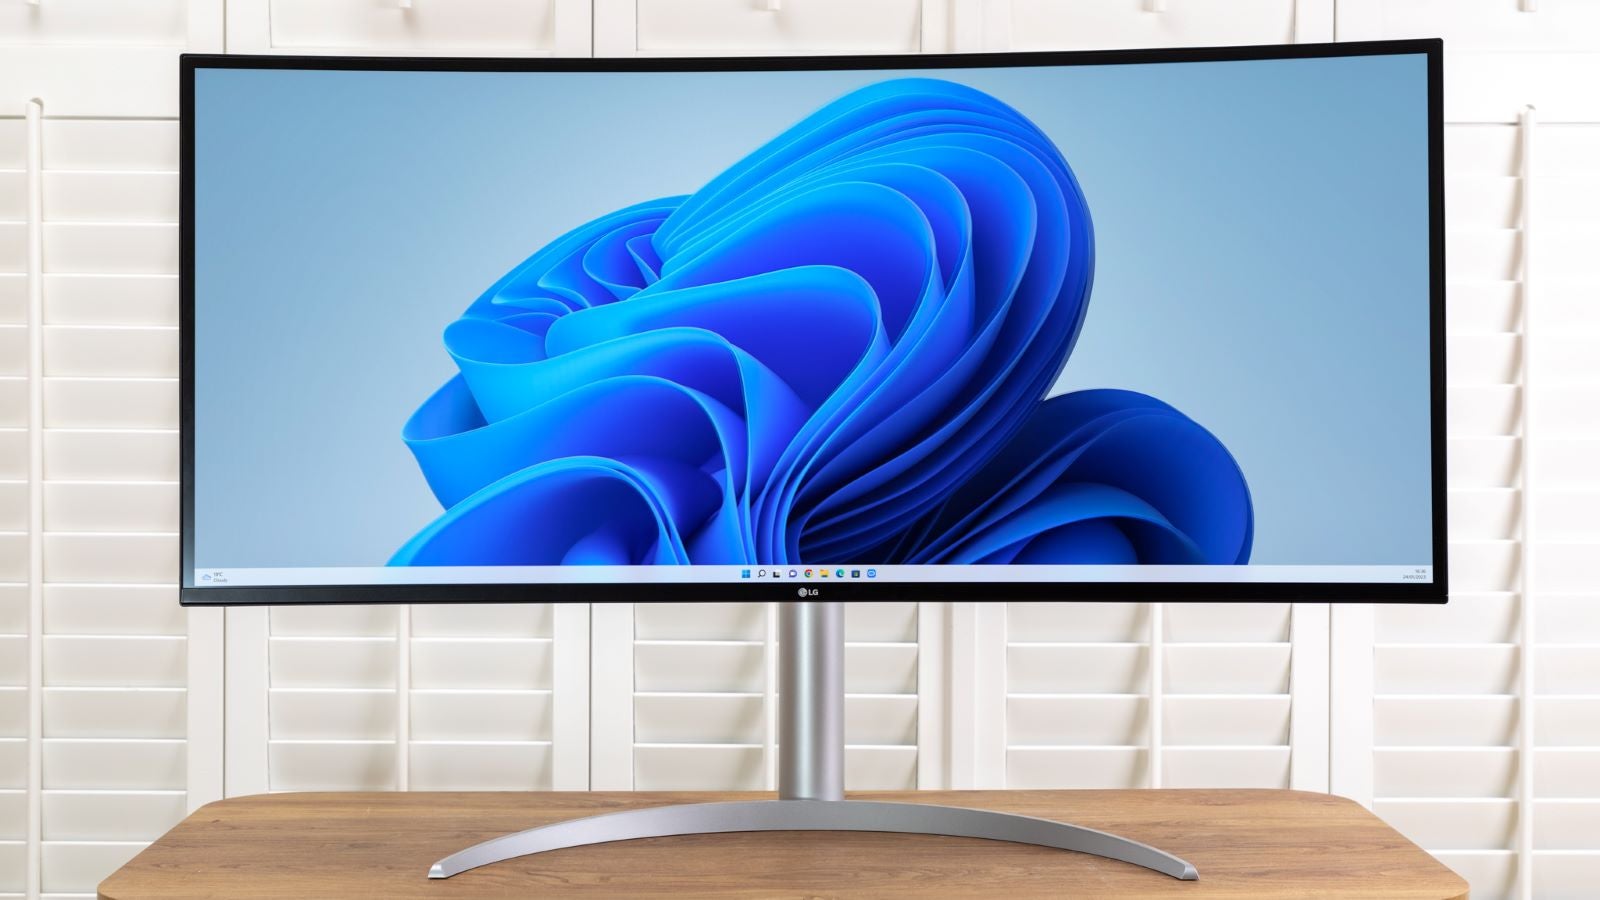
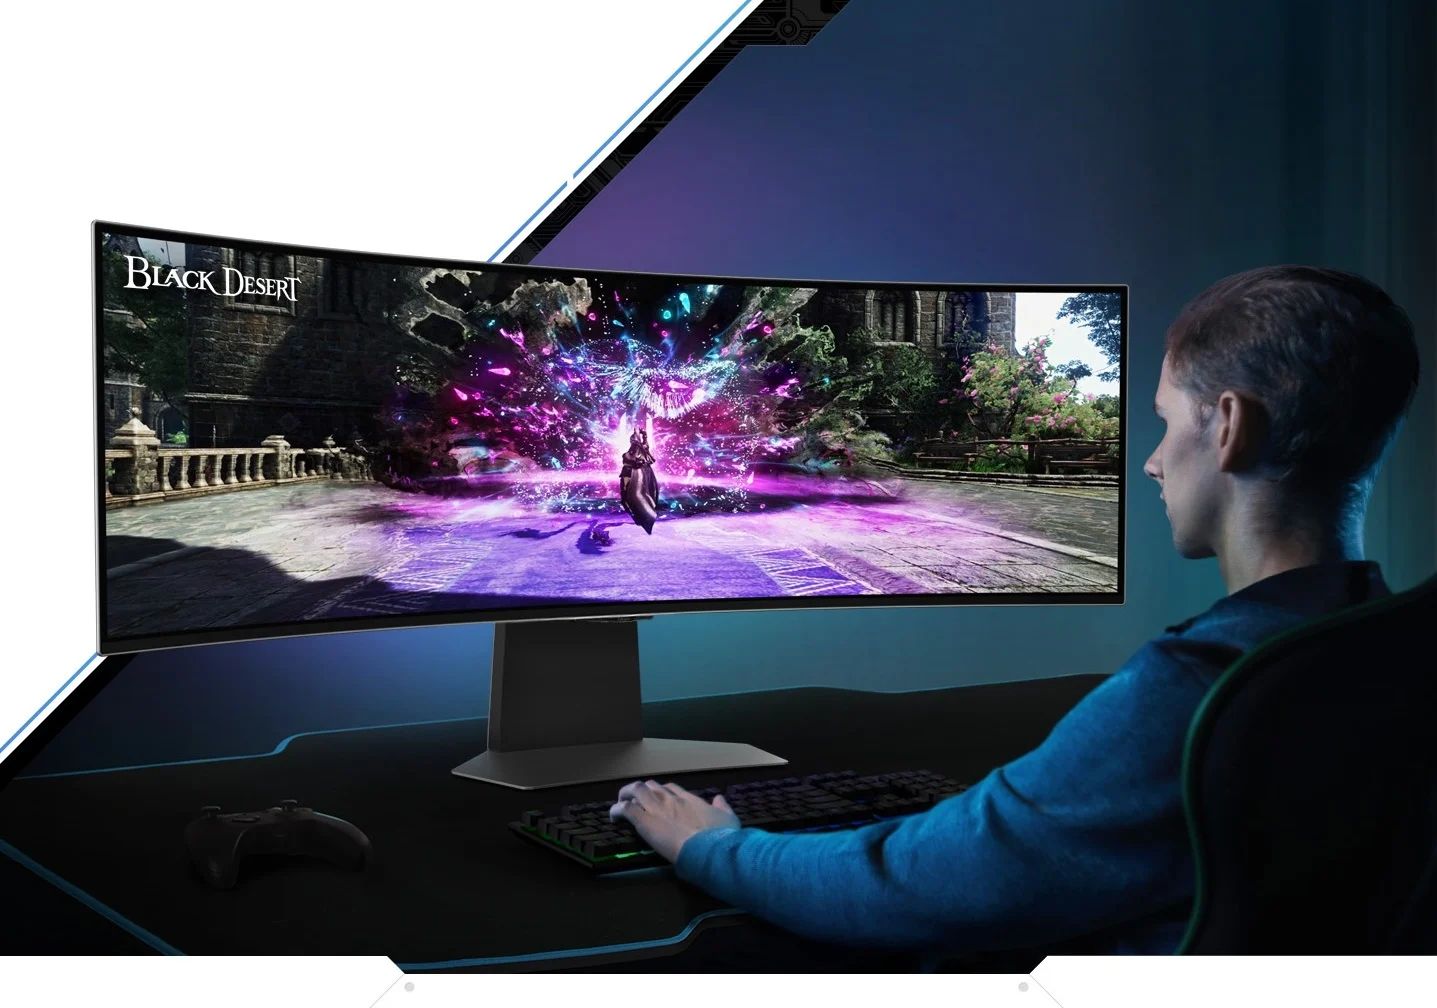
Welcome to the world of ultrawide monitors, where a panoramic view and immersive experience await you. If you’re looking to enhance your productivity, gaming, or multimedia consumption, setting up an ultrawide monitor on Windows 10 can be a game-changer.
With their ultra-wide aspect ratio and increased screen real estate, ultrawide monitors offer a wider field of view, allowing you to see more content at once. Whether you’re editing a video, multitasking with several windows open, or indulging in the latest AAA game, an ultrawide monitor provides an expansive canvas that enhances your visual experience.
In this guide, we will walk you through the steps needed to set up an ultrawide monitor on your Windows 10 computer. We’ll cover everything from checking compatibility to adjusting display settings and achieving optimal calibration. So, let’s dive in and unlock the full potential of your ultrawide monitor!
Step 1: Check your computer’s compatibility
Before diving into the setup process, it’s essential to ensure that your computer is compatible with an ultrawide monitor. Most modern computers can handle an ultrawide display, but it’s always a good idea to double-check.
First, examine the ports available on your computer. Ultrawide monitors typically use DisplayPort or HDMI connections. Check if your computer has the necessary ports to connect the monitor. If not, you may need to purchase an adapter or consider upgrading your graphics card.
Next, consider the specifications of your computer’s graphics card. Ultrawide monitors demand more graphics processing power due to their higher resolution. Make sure your graphics card can support the recommended resolution for the monitor you intend to use.
You should also check the power supply of your computer. Some ultrawide monitors require more power than standard monitors. Ensure that your power supply unit provides enough wattage to support the additional power requirements.
Additionally, take into account the physical dimensions of your workspace. Ultrawide monitors tend to have a wider footprint compared to standard monitors. Measure your desk space and make sure there is enough room to accommodate the ultrawide monitor comfortably.
Lastly, consider the intended use of the ultrawide monitor. If you’re primarily using it for gaming, ensure that your computer’s hardware meets the recommended specifications for running games at the desired resolution.
By checking your computer’s compatibility before proceeding, you’ll avoid potential issues during the setup process and ensure a seamless experience with your new ultrawide monitor.
Step 2: Connect the Ultrawide monitor to your computer
Once you’ve confirmed your computer’s compatibility, it’s time to connect the ultrawide monitor to your Windows 10 computer. Follow these steps to establish a connection:
- First, locate the appropriate ports on your computer and the ultrawide monitor. Most ultrawide monitors have either DisplayPort or HDMI ports.
- Next, use the appropriate cables to connect the monitor to your computer. If your monitor and computer both have DisplayPort ports, use a DisplayPort cable for the best quality. Alternatively, if they have HDMI ports, use an HDMI cable.
- Firmly plug one end of the cable into the corresponding port on the back of the monitor. Then, connect the other end of the cable to the matching port on your computer.
- Once the physical connection is established, power on your computer and the ultrawide monitor.
- You should now see the Windows 10 desktop extended to the ultrawide monitor. In some cases, you may need to adjust the display settings to ensure the monitor is detected and properly configured.
If the ultrawide monitor is not detected automatically, try the following:
- Right-click on the Windows desktop and select “Display settings.”
- In the Display settings window, click on “Detect” to search for connected displays.
- If the monitor is still not detected, click on “Identify” to see a number overlaid on each display. This will help you identify which display corresponds to the ultrawide monitor.
- Select the ultrawide monitor and choose the desired resolution and orientation.
By following these steps, you should successfully connect your ultrawide monitor to your Windows 10 computer. It’s now time to move on to the next step and configure the display settings for optimal use.
Step 3: Adjust display settings in Windows 10
After successfully connecting your ultrawide monitor to your Windows 10 computer, it’s important to fine-tune the display settings for optimal performance.
To adjust the display settings, follow these steps:
- Right-click on the Windows desktop and select “Display settings” from the context menu.
- In the Display settings window, you’ll see a visual representation of your monitors. The ultrawide monitor should be labeled as “1” or “2,” depending on its position relative to your primary monitor.
- Click on the ultrawide monitor in the diagram to select it.
- Scroll down to the “Scale and layout” section and adjust the scaling option. Windows 10 may set it to a default value, but you can experiment with different scaling options to find the one that suits your preferences.
- Next, check the “Resolution” drop-down menu. Ensure that the resolution matches the native resolution of your ultrawide monitor. It’s recommended to select the highest available resolution for the best image quality.
- If needed, you can also adjust the orientation of the ultrawide monitor by selecting either “Landscape” or “Portrait” from the “Orientation” drop-down menu.
- Additionally, you can rearrange the position of the ultrawide monitor in relation to your primary monitor by dragging and dropping it within the diagram.
- Once you’ve made the necessary adjustments, click on “Apply” to save the changes.
By adjusting the display settings in Windows 10, you can ensure that the content on your ultrawide monitor looks sharp, properly scaled, and aligned with your workflow.
Now that you have set the basic display settings, let’s move on to the next step and configure the monitor’s resolution and scaling options for a customized experience.
Step 4: Configure monitor resolution and scaling options
Configuring the monitor resolution and scaling options is crucial to ensure that the content displayed on your ultrawide monitor is clear, crisp, and properly scaled.
Follow these steps to configure the monitor resolution and scaling options:
- Right-click on the Windows desktop and select “Display settings” from the context menu.
- Scroll down to the “Scale and layout” section and click on the “Advanced scaling settings” link.
- In the Advanced scaling settings window, toggle on the “Let Windows try to fix apps so they’re not blurry” option. This will allow Windows to automatically adjust the scaling of applications for better clarity on the ultrawide monitor.
- Next, go back to the Display settings window and click on “Advanced display settings.”
- In the Advanced display settings window, you’ll see a list of available resolutions for the ultrawide monitor. Choose the native resolution recommended by the manufacturer for the best display quality.
- If you find that the text or icons appear too small on your ultrawide monitor, you can adjust the scaling options. Scroll down to the “Resolution” section in the Advanced display settings window and click on “Change the size of text, apps, and other items.”
- In the Scale and layout section, you can increase the scaling percentage to make text and other elements appear larger on the ultrawide monitor. Experiment with different scaling percentages until you find your preferred level of visibility and comfort.
- Click on “Apply” to save the changes, and if prompted, sign out and sign back in to make the scaling adjustments take effect.
By configuring the monitor resolution and scaling options, you can ensure that the content displayed on your ultrawide monitor is optimized for your viewing pleasure and productivity.
Now that you have customized the resolution and scaling options, let’s proceed to the next step and explore additional ways to customize and personalize your ultrawide monitor setup in Windows 10.
Step 5: Customize the monitor setup using display settings
Now that you’ve configured the basic display settings and adjusted the resolution and scaling options, it’s time to further customize and personalize your ultrawide monitor setup using the display settings in Windows 10.
Here are some ways to customize the monitor setup:
- Set the primary monitor: In the Display settings window, you can choose which monitor will be your primary display. The primary monitor is where the taskbar and desktop icons are initially shown. To set the primary monitor, click on the desired monitor in the diagram and enable the “Make this my main display” option.
- Choose the screen orientation: Depending on your preference and the content you’re working with, you can change the orientation of your ultrawide monitor. In the Display settings window, select the ultrawide monitor from the diagram and choose either “Landscape” or “Portrait” from the “Orientation” drop-down menu.
- Adjust the monitor position: If you have multiple monitors connected, you can rearrange their positions to match their physical arrangement on your desk. In the Display settings window, click and drag the monitors in the diagram to the desired positions.
- Enable or disable monitor duplication: If you prefer to duplicate the content on your primary monitor to the ultrawide monitor, you can enable the “Duplicate these displays” option in the Display settings. This can be useful when giving presentations or sharing content with others.
- Change the monitor refresh rate: Depending on the capabilities of your ultrawide monitor and graphics card, you can adjust the refresh rate for a smoother visual experience. In the Display settings window, click on “Advanced display settings” and select the desired refresh rate from the drop-down menu.
By utilizing these customization options in the display settings, you can tailor your ultrawide monitor setup to meet your specific needs and preferences.
Now that you’ve customized your ultrawide monitor setup, it’s time to move on to fine-tuning the color accuracy and brightness of your display in the next step.
Step 6: Calibrating colors and brightness
Calibrating the colors and brightness of your ultrawide monitor is essential to ensure accurate and vibrant visuals while working, gaming, or consuming multimedia content. Windows 10 provides built-in tools that allow you to calibrate and adjust these settings easily.
Follow these steps to calibrate colors and brightness:
- Right-click on the Windows desktop and select “Display settings” from the context menu.
- In the Display settings window, scroll down and click on “Advanced display settings.”
- Under the Advanced display settings, click on “Color calibration.”
- The Color Calibration wizard will open, guiding you through a series of steps to adjust gamma, brightness, contrast, and color balance.
- Follow the on-screen instructions to set the gamma levels by adjusting the slider until the middle square blends in with the surrounding darker squares.
- Next, adjust the brightness and contrast levels by using visual cues to obtain the desired brightness and contrast. The on-screen instructions will help guide you through this process.
- The color balance step allows you to adjust the levels for red, green, and blue colors until the on-screen image appears natural and accurate.
- Once you’ve completed all the adjustments, click on “Next” to finish the Color Calibration wizard.
- If you’re not satisfied with the changes or want to start over, you can click on “Reset calibration” to revert to the default settings.
By calibrating the colors and brightness of your ultrawide monitor, you can ensure that the displayed content accurately represents the intended colors and details.
Now that you’ve fine-tuned the color and brightness settings, let’s move on to the final step and explore how to adjust the ergonomic settings for your ultrawide monitor.
Step 7: Adjusting ergonomic settings for your Ultrawide monitor
Proper ergonomic settings for your ultrawide monitor are crucial to ensure comfortable and healthy use over extended periods. By making a few adjustments, you can optimize your viewing experience and minimize strain on your body.
Follow these steps to adjust ergonomic settings for your ultrawide monitor:
- Position the monitor: Position your ultrawide monitor at eye level or slightly below, so that you can look straight ahead without straining your neck. Avoid placing the monitor too high or low, as this can cause discomfort and strain.
- Distance from the monitor: Maintain a comfortable viewing distance from your ultrawide monitor. Experts suggest a distance of about 20-40 inches (50-100 cm) to reduce eye strain. Adjust the distance according to your eyesight and personal preference.
- Tilt and swivel adjustments: Most ultrawide monitors offer tilt and swivel adjustments. Tilt the monitor slightly backward or forward to find the most comfortable viewing angle. If available, swivel the monitor to the left or right to align it with your line of sight.
- Use monitor stands or mounts: Consider using monitor stands or mounts to achieve the optimal height and positioning. These accessories can provide additional flexibility and allow for easy adjustment of the monitor’s height and angle.
- Take breaks and practice good posture: Remember to take regular breaks and practice good posture while using your ultrawide monitor. Sit up straight, relax your shoulders, and maintain a neutral position for your wrists and arms to reduce the risk of repetitive strain injuries.
- Adjust keyboard and mouse placement: Ensure that your keyboard and mouse are positioned at a comfortable height and distance from your body. This will help maintain proper alignment of your wrists and minimize the risk of developing wrist or hand discomfort.
By adjusting the ergonomic settings for your ultrawide monitor, you can enjoy a more comfortable and ergonomic workstation setup, reducing the risk of strain and fatigue.
Congratulations! You have completed the steps to set up and optimize your ultrawide monitor on Windows 10. Now you can fully enjoy the immersive and expansive experience that an ultrawide monitor offers.
Conclusion
Congratulations on successfully setting up your ultrawide monitor on Windows 10! By following these steps, you have unlocked the full potential of your monitor, creating an immersive and productive workspace.
Through checking your computer’s compatibility, connecting the ultrawide monitor, adjusting display and resolution settings, customizing the setup, calibrating colors and brightness, and optimizing ergonomic settings, you have ensured an optimal viewing experience tailored to your preferences.
With the panoramic view and increased screen real estate that an ultrawide monitor provides, you can enhance your productivity, enjoy immersive gaming experiences, and indulge in multimedia content with enhanced detail and visual depth.
Remember to periodically check for driver updates and stay up to date with the latest graphics card drivers to ensure optimal performance and compatibility with your ultrawide monitor. Additionally, consider exploring additional customization options offered by your monitor’s manufacturer to further enhance your overall experience.
Now that you have configured your ultrawide monitor, sit back, relax, and enjoy the panoramic beauty and enhanced productivity that it brings to your Windows 10 computer.
Happy ultrawide monitor experience!


