Introduction
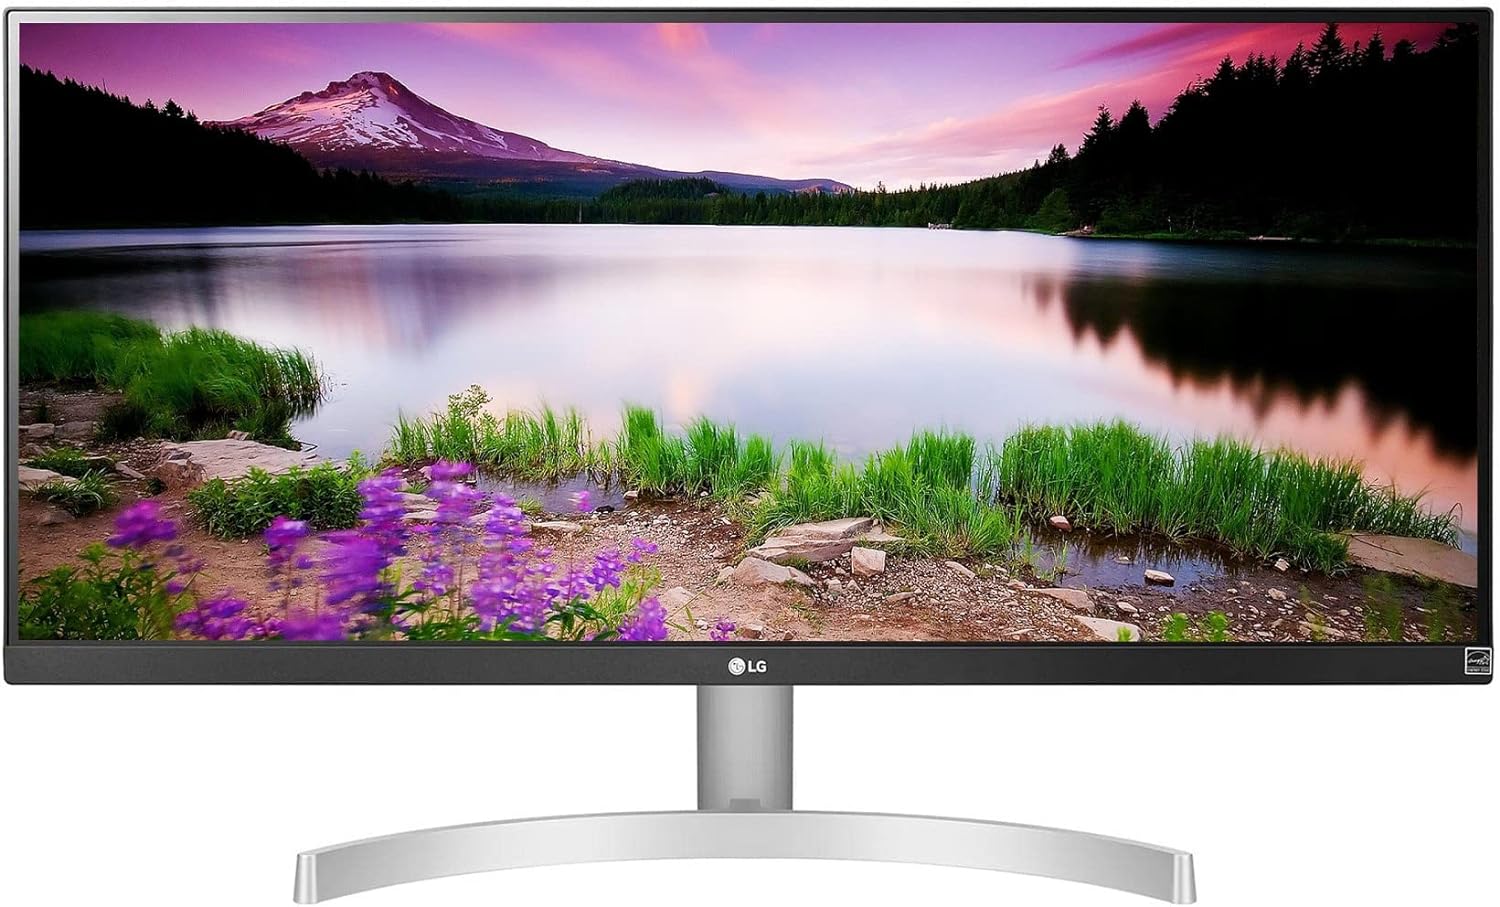
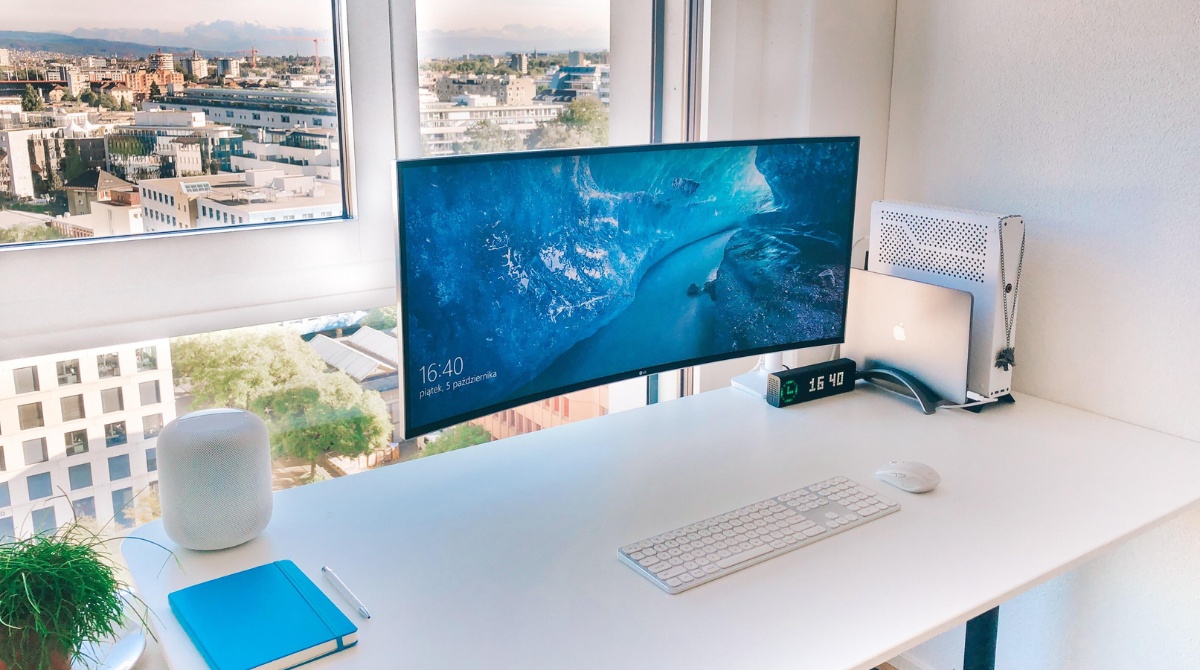
Welcome to this guide on how to set up an LG Ultrawide monitor. LG Ultrawide monitors have gained popularity for their wide display and immersive viewing experience. Whether you are a gamer, a content creator, or just someone who enjoys a large workspace, setting up your new LG Ultrawide monitor correctly is essential to ensure optimal performance and enjoyment.
In this article, we will take you through the step-by-step process of unboxing your LG Ultrawide monitor and getting it up and running. From connecting the power and display cables to adjusting the stand and configuring display settings, we’ll cover everything you need to know.
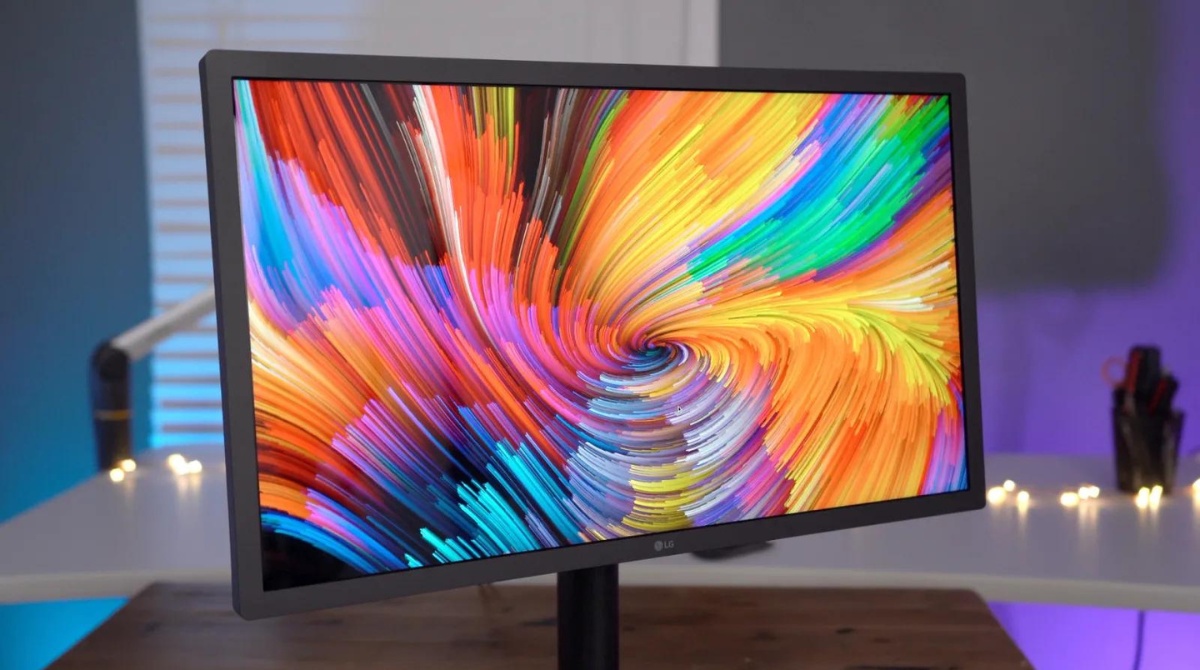
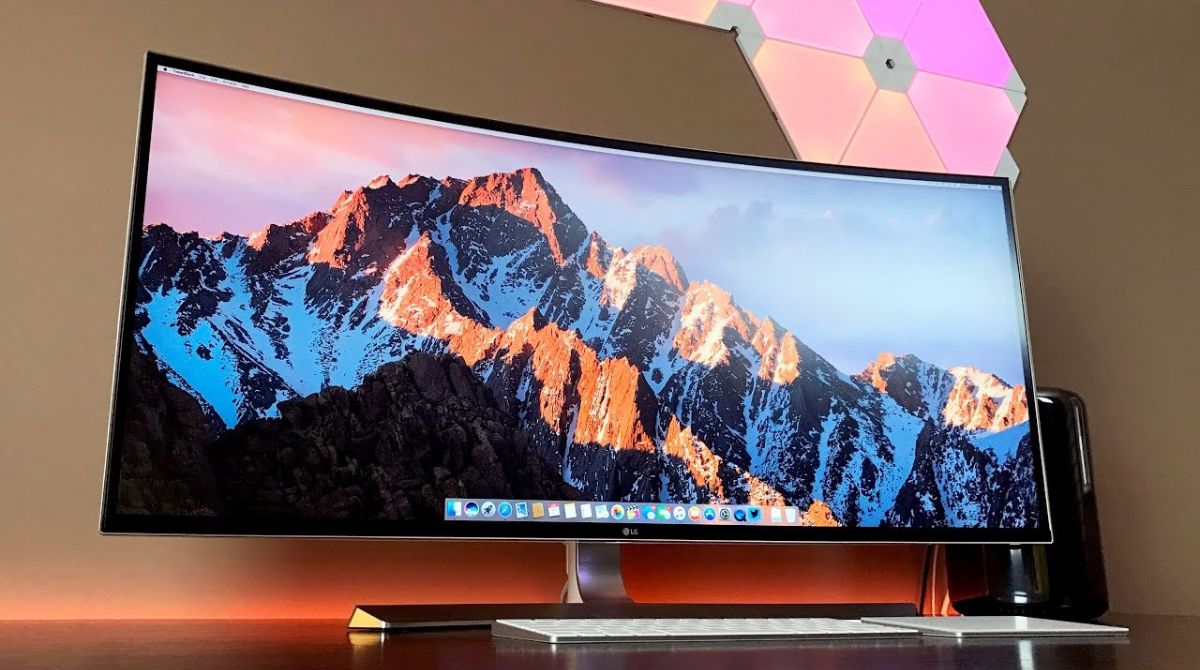
An LG Ultrawide monitor provides an expansive display area, allowing you to have multiple windows open side by side, increase productivity, and immerse yourself in games or movies. With its high resolution and advanced features, it’s important to set it up correctly to make the most of its capabilities.
Whether you are setting up an LG Ultrawide monitor for the first time or upgrading to a newer model, this guide will provide you with all the necessary steps and tips to ensure a smooth setup process.
Before we dive into the step-by-step instructions, make sure you have all the necessary components and cables included with your LG Ultrawide monitor. This typically includes the monitor itself, a power cable, a display cable (such as HDMI or DisplayPort), and any additional accessories that came with your specific model.
Now, let’s get started with the unboxing and setup process for your LG Ultrawide monitor!
Step 1: Unboxing the LG Ultrawide Monitor
Before you can start setting up your LG Ultrawide monitor, the first step is to unbox it. Follow these steps to safely unbox your new monitor:
- Find a clear and spacious area to work in. Make sure you have enough room to lay out all the components and packaging materials.
- Carefully remove the outer packaging of the monitor, being cautious not to damage the contents inside. Use a pair of scissors or a knife to safely cut through any tape or seals.
- Once the outer packaging is removed, locate the box containing the monitor stand. Carefully lift the stand and set it aside.
- Next, locate the box containing the monitor itself. Gently lift the monitor out of the box and place it on a soft, flat surface, such as a clean table or desk.
- Remove any protective covering or plastic film from the monitor’s screen and frame. Be careful not to scratch or damage the screen while doing this.
- Inspect the monitor for any visible damage or defects. If you notice any issues, such as cracks or dents, contact LG customer support for assistance.
- Take a moment to familiarize yourself with the various ports and connectors on the monitor. This will help you in the following steps when connecting cables.
- Once you have inspected the monitor and are satisfied with its condition, set it aside and gather any other included accessories, such as cables or additional stands.
- Finally, keep the packaging materials in case you need to transport or store the monitor in the future.
By following these steps, you have successfully unboxed your LG Ultrawide monitor and are ready to proceed to the next step of the setup process. Remember to handle the monitor with care and take your time to ensure a safe unboxing experience.
Step 2: Connecting the Power Cable
After unboxing your LG Ultrawide monitor, the next step is to connect the power cable. Follow these steps to ensure a proper power connection:
- Locate the power cable included with your LG Ultrawide monitor. It typically has a three-pronged plug on one end and a standard power connector on the other.
- Identify the power input port on the back of your monitor. It is usually labeled as “Power” or indicated by a power icon.
- Align the plug of the power cable with the power input port and firmly insert it. Ensure that it is securely connected to provide a stable power supply to the monitor.
- Once the power cable is connected, locate a power outlet near your setup area. Ensure that the outlet is easily accessible and can accommodate the power cable length.
- Plug the power cable into the power outlet. Make sure the connection is secure to avoid any power interruptions during operation.
- Check that the power indicator light on the monitor is lit, indicating that it is receiving power.
It is essential to connect the power cable correctly to ensure your LG Ultrawide monitor is powered on and ready for use. Always refer to the user manual or guidelines specific to your model for any additional instructions or precautions.
Note: If you are using a power surge protector, it is recommended to connect the power cable to the surge protector instead of directly into the wall outlet. This can help protect your monitor from electrical surges.
With the power cable securely connected, you have completed the second step of setting up your LG Ultrawide monitor. Now, you can move on to the next step of connecting the display cable.
Step 3: Connecting the Display Cable
Once you have connected the power cable to your LG Ultrawide monitor, it’s time to connect the display cable. Follow these steps to ensure a proper display connection:
- Identify the appropriate display cable for your monitor. LG Ultrawide monitors typically support various display connectors such as HDMI, DisplayPort, or USB-C.
- Locate the display ports on both your LG Ultrawide monitor and your computer or graphics card. These ports are usually labeled and can be found on the back or side of the devices.
- Take the display cable and align the connectors with the display ports on both the monitor and the computer. Depending on the type of connector, you may need to align the notches or pins properly.
- Gently push the connectors into the display ports until they are firmly seated. Ensure that the connection is secure to avoid any display issues.
- If you’re using an HDMI cable, make sure you hear a click sound when it is fully inserted into the port.
- Once the display cable is connected, turn on your computer or graphics card.
- Power on your LG Ultrawide monitor using the power button located on the front or side.
- If the connections are correct, your monitor should detect the signal from your computer, and you will see the display on the screen.
It’s important to use high-quality display cables for the best visual performance on your LG Ultrawide monitor. If you experience any issues with the display, double-check the cable connections, try a different cable, or consult the user manual for troubleshooting steps.
Note: If your monitor supports multiple display inputs, such as HDMI and DisplayPort, you can connect multiple devices to your LG Ultrawide monitor and switch between them using the monitor’s input selection feature.
With the display cable properly connected, you have completed the third step of setting up your LG Ultrawide monitor. Next, we’ll move on to adjusting the monitor stand for optimal viewing.
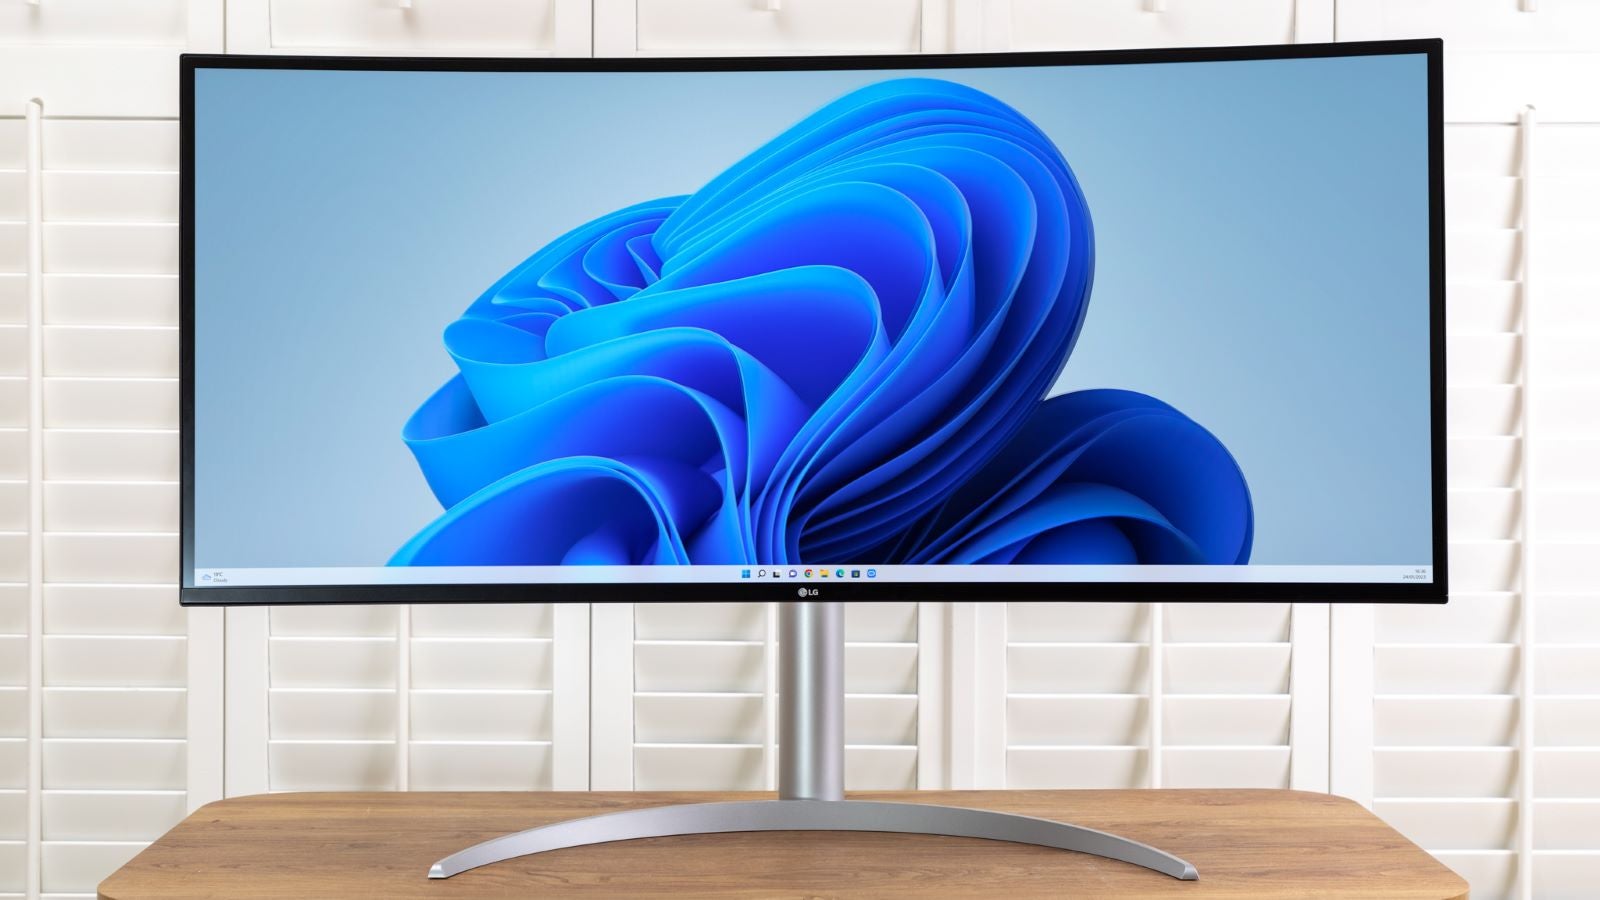
Step 4: Adjusting the Monitor Stand
After connecting the power and display cables to your LG Ultrawide monitor, it’s time to adjust the monitor stand for a comfortable viewing experience. Follow these steps to ensure proper adjustment:
- Locate the stand adjustment mechanisms on your LG Ultrawide monitor. These may include height adjustment, tilt adjustment, and swivel adjustment.
- Adjust the height of the monitor stand by gently lifting or lowering it to your desired level. Make sure the monitor is at eye level or slightly below for comfortable viewing.
- If your monitor supports tilt adjustment, adjust it to find the optimal viewing angle. Tilt the monitor forward or backward to reduce glare and improve visibility.
- If your monitor has a swivel adjustment feature, you can rotate the monitor horizontally to accommodate different viewing positions.
- Ensure that the monitor stand is stable and securely locked into place after making any adjustments.
Properly adjusting the monitor stand is crucial for maintaining good posture and reducing strain on your neck and eyes. Experiment with different settings to find the most comfortable position for your needs.
Consider the ergonomics of your workspace when adjusting the monitor stand. Make sure your keyboard, mouse, and other peripherals are at a comfortable distance and height to prevent any discomfort or injury.
If your LG Ultrawide monitor does not have an adjustable stand, you may consider using a monitor arm or a VESA-compatible stand to achieve the desired position.
With the monitor stand adjusted to your liking, you have completed the fourth step of setting up your LG Ultrawide monitor. Now, let’s move on to powering on the monitor.
Step 5: Powering On the Monitor
With the necessary connections and adjustments in place, it’s time to power on your LG Ultrawide monitor. Follow these steps to ensure a successful power-on process:
- Ensure that the power cable is securely connected to both the monitor and the power outlet.
- Locate the power button on your LG Ultrawide monitor. It is usually located on the front or side of the monitor.
- Press the power button to turn on the monitor.
- Wait for a few moments as the monitor powers on. You may see the LG logo or a power indicator light to indicate that the monitor is booting up.
- If your monitor has multiple input options, such as HDMI or DisplayPort, use the monitor’s menu or input selection feature to choose the correct input source.
- Your LG Ultrawide monitor should now display a blank screen or a welcome screen.
- If you don’t see any display or experience any issues, double-check the power connections, display cable connections, and make sure all devices are turned on.
Some LG Ultrawide monitors also have a sleep mode or power-saving feature that automatically turns off the display after a period of inactivity. To wake up the monitor from sleep mode, simply press any key on your keyboard or move your mouse.
It’s important to note that the power-on process may vary slightly depending on the specific model of your LG Ultrawide monitor. Refer to the user manual or online documentation for any specific instructions or troubleshooting steps.
With your LG Ultrawide monitor powered on and displaying the desired input source, you have successfully completed the fifth step of setting up your monitor. Next, we’ll move on to configuring the display settings to optimize your viewing experience.
Step 6: Configuring Display Settings
After powering on your LG Ultrawide monitor, it’s time to configure the display settings to ensure optimal visuals. Follow these steps to adjust the display settings:
- Access the on-screen display (OSD) menu of your LG Ultrawide monitor. This can usually be done by pressing the OSD button located on the monitor or through the monitor’s remote control.
- Navigate through the OSD menu using the arrow buttons or the joystick on the monitor. Look for options related to display settings, such as brightness, contrast, and color settings.
- Adjust the brightness and contrast levels to your preference. Optimal levels may vary depending on the lighting conditions in your environment.
- Explore color settings to fine-tune the color accuracy and vibrancy of your monitor. You may find options to adjust gamma, saturation, and color temperature.
- If your LG Ultrawide monitor has additional features such as dark mode, blue light filter, or gaming-specific settings, you can customize them according to your needs.
- Take your time to experiment with different settings and make adjustments until you are satisfied with the display quality.
- Save any changes made to the display settings before exiting the OSD menu.
It’s worth noting that different applications and activities may benefit from specific display settings. For example, gamers may prefer higher brightness and contrast, while content creators may focus on color accuracy.
If you are unsure about which settings to choose, you can search for preset modes specific to your LG Ultrawide monitor. These modes are often designed for different scenarios such as gaming, movies, or professional work, and can be accessed through the OSD menu.
Remember to consult the user manual or online resources for your specific LG Ultrawide monitor model to understand all available display settings and their functionalities.
By configuring the display settings according to your preferences, you have completed the sixth step of setting up your LG Ultrawide monitor. Next, let’s move on to adjusting color and picture settings for further customization.
Step 7: Adjusting Color and Picture Settings
After configuring the basic display settings of your LG Ultrawide monitor, it’s time to fine-tune the color and picture settings for a personalized viewing experience. Follow these steps to make adjustments:
- Access the on-screen display (OSD) menu of your LG Ultrawide monitor using the OSD button or remote control.
- Navigate to the color or picture settings section in the OSD menu.
- Adjust the color temperature to achieve the desired warmth or coolness in the display. Options may include presets such as “Warm,” “Cool,” or a manual adjustment slider.
- Experiment with the saturation and color balance settings to achieve vibrant and accurate colors. Calibrate these settings according to your personal preference or the nature of your content.
- If your monitor supports it, enable any dynamic contrast or HDR (High Dynamic Range) features to enhance the overall picture quality.
- Explore additional features such as black stabilization or motion blur reduction if your monitor provides them.
- Remember to save any changes made to the color and picture settings before exiting the OSD menu.
Adjusting the color and picture settings can greatly impact your viewing experience, whether you are working, gaming, or watching multimedia content. It allows you to personalize the visual output to your liking.
If you require accurate color reproduction for professional work, consider calibrating your monitor using external calibration tools or software. This ensures that colors are displayed accurately and consistently across different applications.
Keep in mind that different monitors may have different options and features available in their OSD menu. Take the time to explore and understand the capabilities of your specific LG Ultrawide monitor to fully utilize its customization options.
With the color and picture settings adjusted to your liking, you have completed the seventh step of setting up your LG Ultrawide monitor. Next, let’s move on to calibrating the monitor for improved color accuracy and performance.
Step 8: Calibrating the Monitor
Calibrating your LG Ultrawide monitor is an essential step to ensure accurate and consistent color representation. By following these steps, you can achieve optimal color accuracy and performance:
- Consider using a hardware calibration device or software to accurately calibrate your monitor. These tools help measure and adjust various color settings to achieve precise color representation.
- Connect the calibration device to your computer and follow the manufacturer’s instructions for setup and operation.
- Launch the calibration software and follow the prompts to initiate the calibration process.
- Adjust settings such as gamma, color temperature, and brightness based on the recommendations provided by the calibration software.
- During the calibration, the software will display various color patterns and ask you to make adjustments on your LG Ultrawide monitor’s OSD menu.
- Follow the instructions given by the calibration software to make accurate adjustments to the monitor’s color settings.
- Once the calibration process is complete, save the calibrated color profile to ensure consistent and accurate colors across different applications.
Calibrating your monitor is especially important if you are involved in professional graphic design, photography, or any work that requires precise color accuracy. It ensures that the colors you see on the screen match the intended colors.
Keep in mind that monitor calibration should be done periodically, as the color performance of a monitor can drift over time. It is recommended to recalibrate your LG Ultrawide monitor at least once every few months to maintain accurate color representation.
While software calibration can provide significant improvements, professional calibrators or color experts can offer more precise and tailored results. If color accuracy is critical for your work, consider consulting professionals for a thorough calibration.
With your LG Ultrawide monitor properly calibrated, you have completed the eighth step of setting up your monitor. Next, let’s move on to configuring sound and audio settings for an enhanced audio experience.
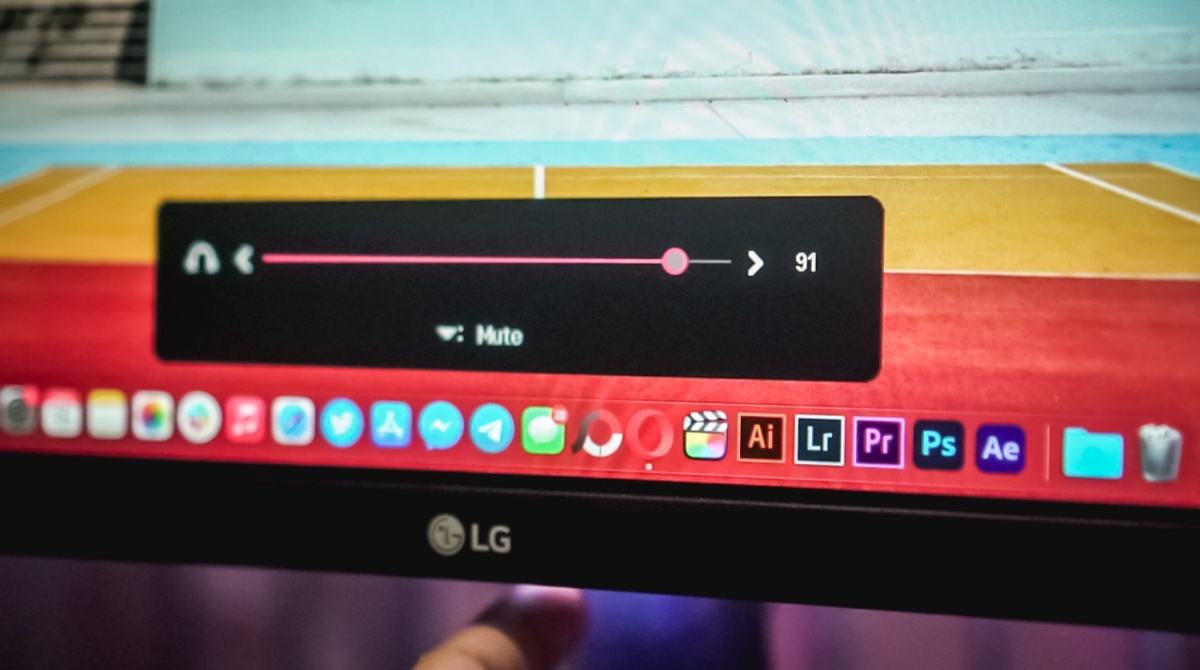
Step 9: Configuring Sound and Audio Settings
To enhance your audio experience while using your LG Ultrawide monitor, it’s important to configure the sound and audio settings. Follow these steps to optimize the audio output:
- Locate the built-in speakers or audio output options on your LG Ultrawide monitor. These are typically located on the back or bottom of the monitor.
- If your monitor has built-in speakers, connect the audio cable from your computer’s audio output to the audio input on the monitor. This allows you to utilize the monitor’s speakers.
- On your computer, adjust the audio settings to ensure the sound is being routed to the correct audio output, such as the monitor’s speakers or an external sound system.
- Access the audio settings on your LG Ultrawide monitor through the on-screen display (OSD) menu.
- Explore various audio settings such as volume level, equalizer presets, and audio enhancements. Adjust these settings according to your preference and the audio content you are consuming.
- If your monitor has a headphone jack, make sure to test the audio output using headphones to ensure the sound quality meets your expectations.
- Consider using external speakers or headphones for a more immersive and enhanced audio experience. Connect them to your computer’s audio output or any available audio output on your LG Ultrawide monitor.
- Ensure that any connected external speakers or headphones are set as the default audio output device in your computer’s audio settings.
By configuring the sound and audio settings, you can take full advantage of the audio capabilities of your LG Ultrawide monitor. Whether you are watching movies, playing games, or listening to music, the audio settings can greatly impact your experience.
It’s worth noting that while some LG Ultrawide monitors have built-in speakers, they may not provide the same level of audio quality as dedicated external speakers or headphones. Consider investing in high-quality audio peripherals for a more immersive audio experience.
With the sound and audio settings configured to your liking, you have completed the ninth step of setting up your LG Ultrawide monitor. Next, let’s explore additional features and customization options that can further enhance your overall experience.
Step 10: Additional Features and Customization Options
Your LG Ultrawide monitor may come with various additional features and customization options that can further enhance your overall experience. Explore these options to make the most out of your monitor:
- Check if your LG Ultrawide monitor supports split-screen functionality. This allows you to divide the screen into multiple sections, enabling multitasking and increasing productivity.
- Experiment with different aspect ratios and display modes to suit your specific needs. Some monitors offer ultra-wide or cinematic modes for an immersive viewing experience.
- Explore gaming features such as adaptive sync technology, high refresh rates, and gaming presets. Activate these features to optimize your gaming experience and reduce screen tearing or input lag.
- If your LG Ultrawide monitor supports a USB hub, take advantage of its connectivity options by connecting peripherals directly to the monitor.
- Consider using the picture-in-picture (PiP) or picture-by-picture (PbP) feature if available. These features allow you to display multiple sources simultaneously, such as connecting your computer and game console to the monitor at the same time.
- Look for energy-saving options in the monitor’s OSD menu. Adjust the power-saving settings to reduce power consumption and extend the lifespan of your monitor.
- Customize the on-screen display (OSD) menu layout, language, and other user preferences to make it more convenient and tailored to your needs.
- If your LG Ultrawide monitor supports a remote control, familiarize yourself with its functions and use it to conveniently adjust settings.
Make sure to refer to the user manual or online documentation specific to your LG Ultrawide monitor model for information on additional features and customization options available.
By exploring and utilizing these additional features and customization options, you can personalize your LG Ultrawide monitor and tailor it to your specific preferences and workflow.
With that, you have completed the tenth and final step of setting up your LG Ultrawide monitor. Congratulations! Your LG Ultrawide monitor is now fully set up and ready to deliver an immersive and productive experience.
Conclusion
Congratulations on successfully setting up your LG Ultrawide monitor! By following the step-by-step guide in this article, you have unboxed, connected, and configured your monitor to ensure optimal performance and enjoyment.
The unboxing process allowed you to carefully unpack and inspect your monitor for any damage or defects. Connecting the power cable and display cable ensured a stable power supply and a clear visual output.
Adjusting the monitor stand provided you with a comfortable viewing position, while configuring the display settings allowed you to fine-tune the brightness, contrast, and color accuracy to your liking.
Calibrating your monitor further enhanced the color accuracy and consistency, while configuring the sound and audio settings optimized the audio output for a more immersive experience.
Exploring additional features and customization options expanded the possibilities of your LG Ultrawide monitor, such as split-screen functionality, gaming features, and energy-saving options.
Remember to refer to the user manual or online documentation specific to your LG Ultrawide monitor model for any additional guidance or troubleshooting.
Now that your LG Ultrawide monitor is fully set up, take the time to explore its capabilities and enjoy the wide display, vibrant visuals, and immersive experience it offers. Whether you are gaming, working, or simply enjoying multimedia content, your LG Ultrawide monitor will elevate your viewing experience to new heights.
Thank you for choosing an LG Ultrawide monitor, and we hope this guide has been helpful in setting up your new monitor. Happy exploring!