Introduction
Welcome to the world of bootable external hard drives, where convenience meets versatility. Have you ever found yourself needing to boot your computer from an external source? Whether it’s for system recovery, software installation, or simply having a portable operating system, creating a bootable external hard drive can be a valuable tool in your tech arsenal.
In this article, we will explore the ins and outs of bootable external hard drives and guide you through the process of creating one. Whether you are a novice computer user or a seasoned tech enthusiast, our step-by-step instructions will ensure that you can confidently make your external hard drive bootable.
But first, let’s take a moment to understand what exactly a bootable external hard drive is and why it is useful. A bootable external hard drive is essentially a portable storage device that contains a complete operating system or bootable software. By connecting this external hard drive to a computer and instructing the computer to boot from it, you can bypass the internal hard drive and start the computer using the operating system stored externally. This can be incredibly handy in various scenarios, such as when your internal hard drive fails, when you want to try out a different operating system without installing it, or when you need to troubleshoot or repair your computer.
Now that we have a basic understanding of bootable external hard drives and their benefits, let’s delve into the preparation required before embarking on the process. Making your external hard drive bootable requires a few essential steps to ensure a smooth and successful outcome.
Understanding Bootable External Hard Drives
Before diving into the process of making an external hard drive bootable, it’s important to have a clear understanding of how bootable external hard drives work and their significance. Let’s explore the key aspects of bootable external hard drives:
1. Portability and Convenience: A bootable external hard drive offers the convenience of being able to carry your operating system or bootable software wherever you go. This eliminates the need to lug around bulky equipment or worry about accessing specific computers to perform essential tasks.
2. Operating System Independence: With a bootable external hard drive, you have the freedom to use different operating systems without altering your computer’s internal setup. You can experiment with various Linux distributions, test beta versions of operating systems, or even have a dedicated external drive for a specific purpose, such as gaming or multimedia editing.
3. System Recovery and Troubleshooting: A bootable external hard drive can be a lifesaver when your computer encounters software or hardware issues. It provides a reliable means of booting up your system and accessing diagnostic and recovery tools to resolve problems or retrieve important data.
4. Software Installation and Deployment: Installing software on multiple computers can be a time-consuming process. By creating a bootable external hard drive with the necessary installation files, you can easily deploy software on multiple systems without the need for individual installations.
5. Protection Against Malware: By booting your computer from a secure and clean external hard drive, you reduce the risk of infecting your system with malware or viruses. This is especially useful when working on public or shared computers, where the risks of encountering malicious software are higher.
By understanding the potential benefits and applications of bootable external hard drives, you can leverage this technology to enhance your computing experience. Whether you’re a tech enthusiast, a professional, or an everyday user, having a bootable external hard drive at your disposal can provide peace of mind and a range of practical solutions.
Preparing for the Process
Before diving into the process of making your external hard drive bootable, it’s important to adequately prepare. Taking the necessary steps beforehand will help ensure a smooth and successful outcome. Here’s what you need to do to prepare:
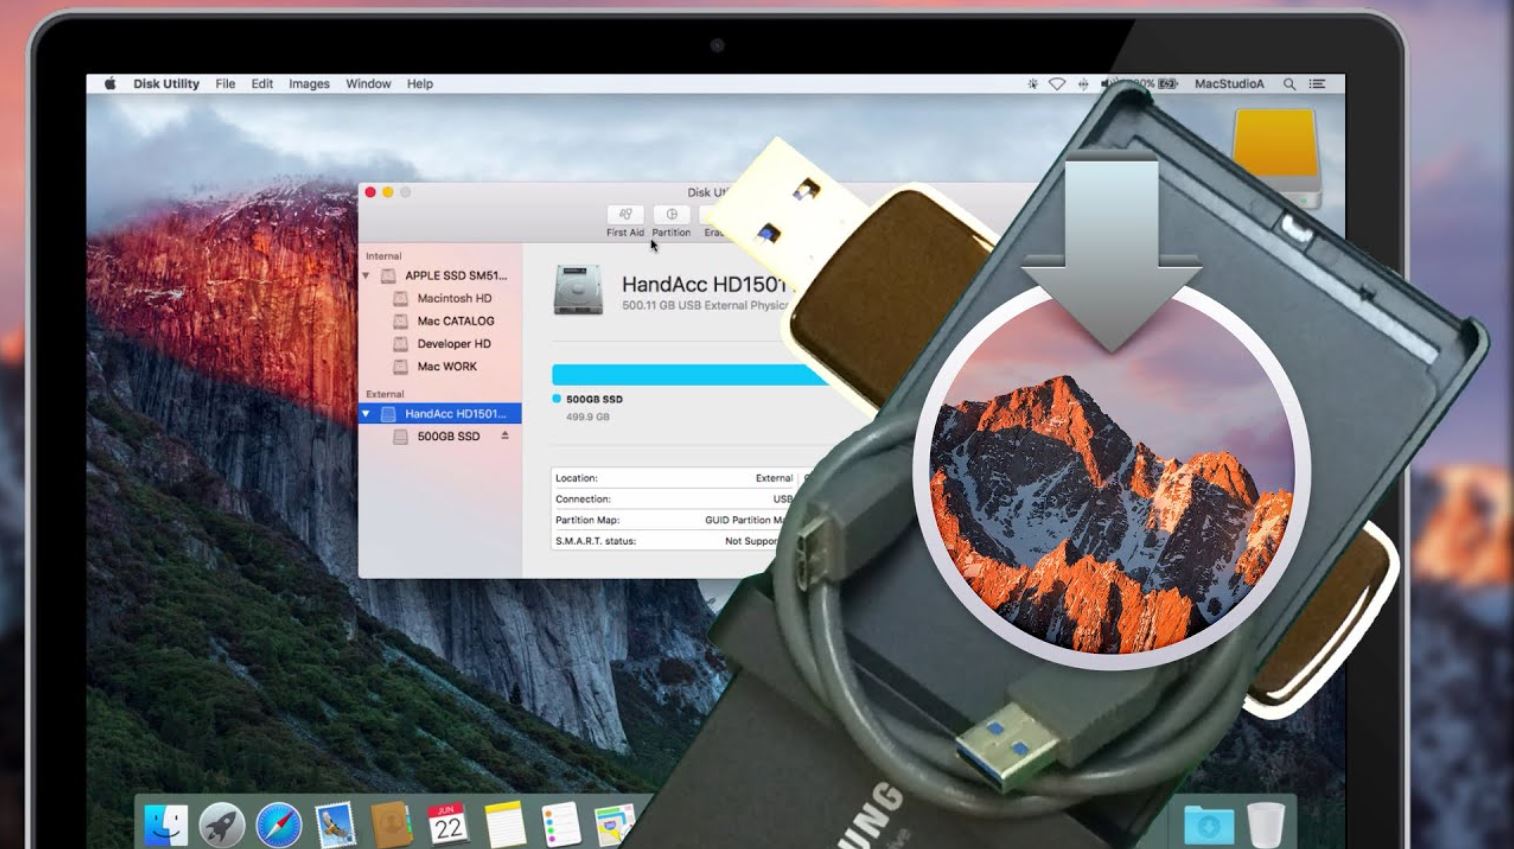
1. Select an External Hard Drive: Choose a high-quality external hard drive with sufficient storage capacity to accommodate the operating system or bootable software you plan to use. Ensure that the external hard drive is formatted correctly for your operating system (such as NTFS for Windows or exFAT for compatibility with both Windows and Mac).
2. Back Up Your Data: Making your external hard drive bootable will involve formatting it, which will erase all existing data. To prevent data loss, make sure to back up any important files or documents you have stored on the external hard drive to another location.
3. Obtain the Bootable Software: You’ll need to have the bootable software or operating system image file ready on your computer. This could be a disk image file (ISO file) or an installation file for the operating system you want to use.
4. Install Bootable Media Creation Software: To create a bootable external hard drive, you’ll need specialized software that can transfer the bootable software or operating system image file onto the external drive. There are several free and paid tools available for this purpose, such as Rufus, UNetbootin, or Etcher. Choose one that is compatible with your operating system and install it on your computer.
5. Ensure Sufficient Power: To avoid any interruptions during the creation process, ensure that both your computer and external hard drive have a stable power source. It is also advisable to connect your external hard drive directly to the computer rather than using a USB hub, as this can sometimes cause issues.
6. Check Compatibility: Before proceeding, verify that your computer has the ability to boot from an external USB device. This feature is typically available in the computer’s BIOS settings. Consult your computer’s documentation or manufacturer’s website for instructions on how to access and configure the BIOS settings if needed.
By preparing in advance and following these steps, you will be ready to embark on the process of making your external hard drive bootable. Remember, thorough preparation is essential for a successful outcome and to ensure that your valuable data is protected throughout the process.
Step-by-Step Guide to Make External Hard Drive Bootable
Now that you’ve completed the preparations, it’s time to dive into the step-by-step process of making your external hard drive bootable. Follow these instructions carefully:
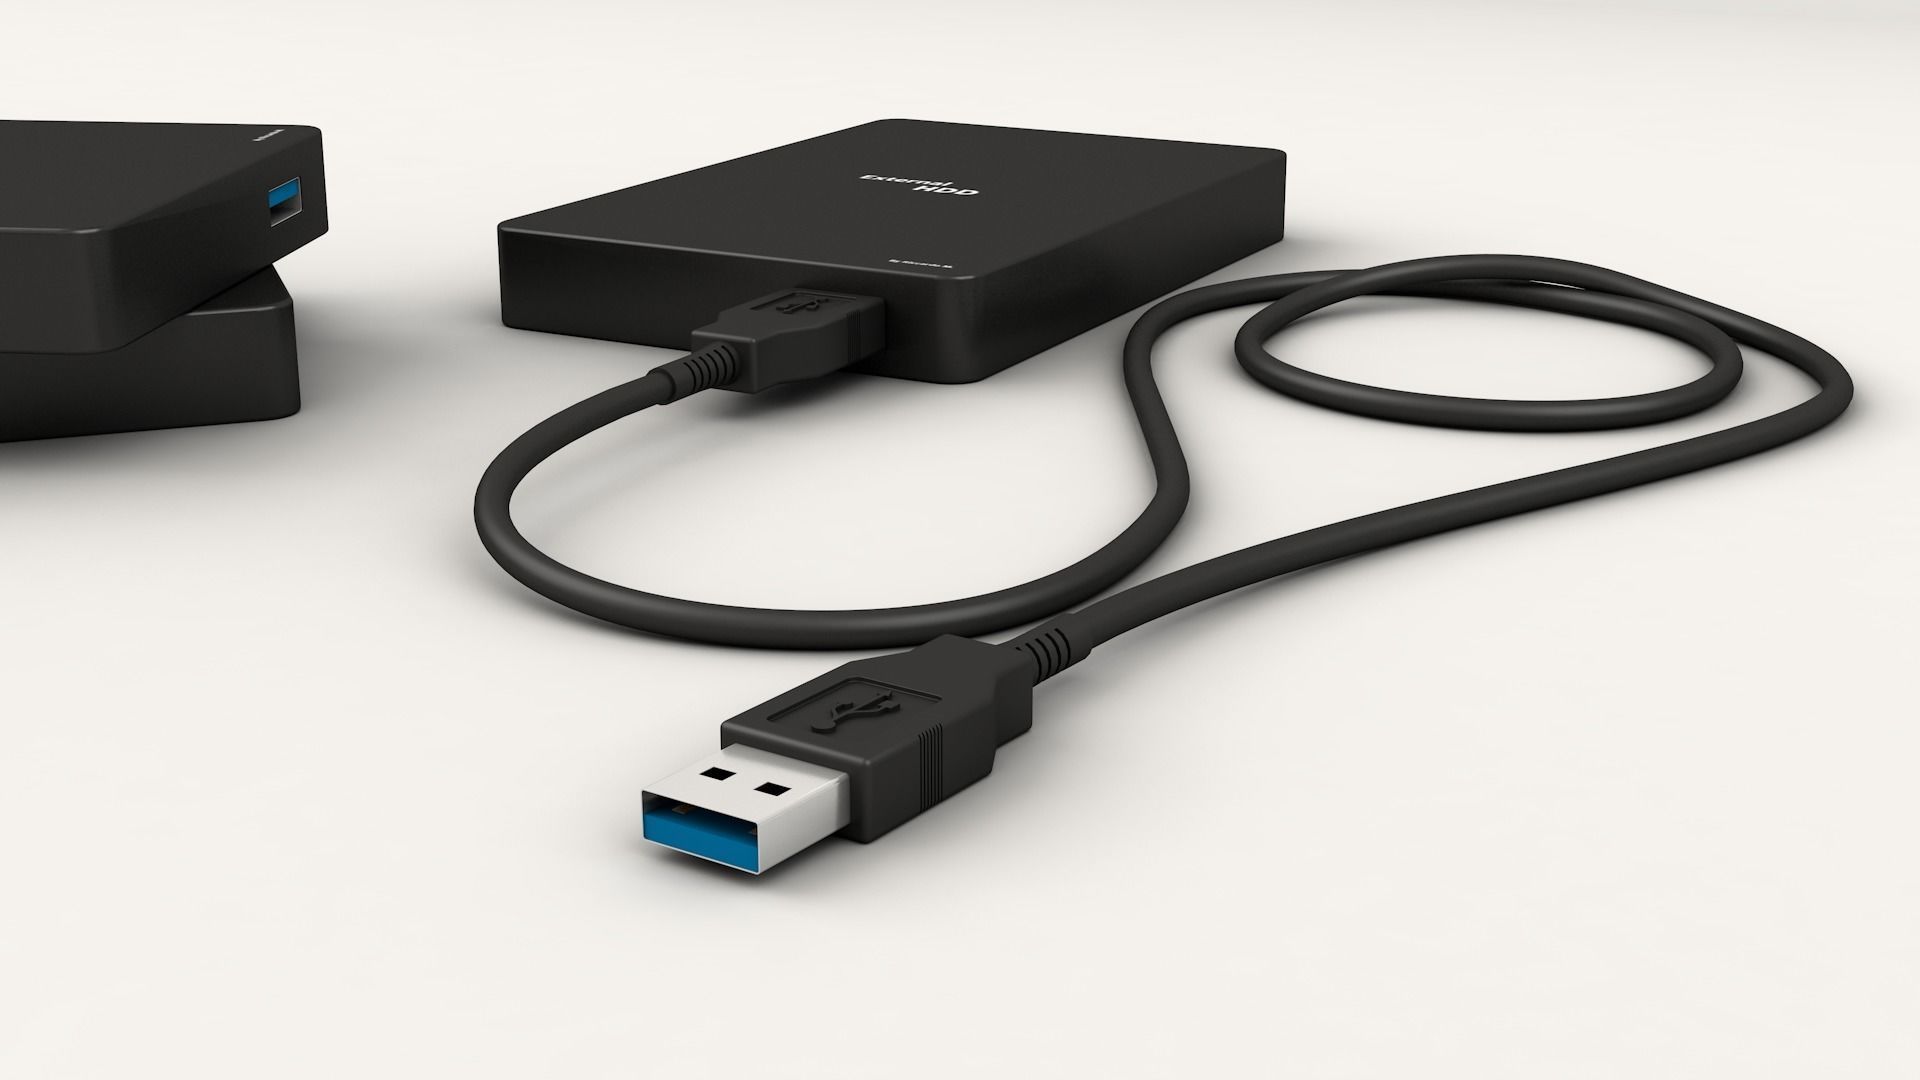
Step 1: Connect the External Hard Drive: Plug your external hard drive into an available USB port on your computer. Ensure that it is recognized and visible in the file explorer.
Step 2: Launch the Bootable Media Creation Software: Open the bootable media creation software that you installed during the preparation phase.
Step 3: Select the External Hard Drive: Within the bootable media creation software, select the option to create a bootable USB drive. Choose your external hard drive as the destination for the bootable software or operating system.
Step 4: Locate the Bootable Software: Browse to the location where you have stored the bootable software or operating system image file. Select the appropriate file within the bootable media creation software.
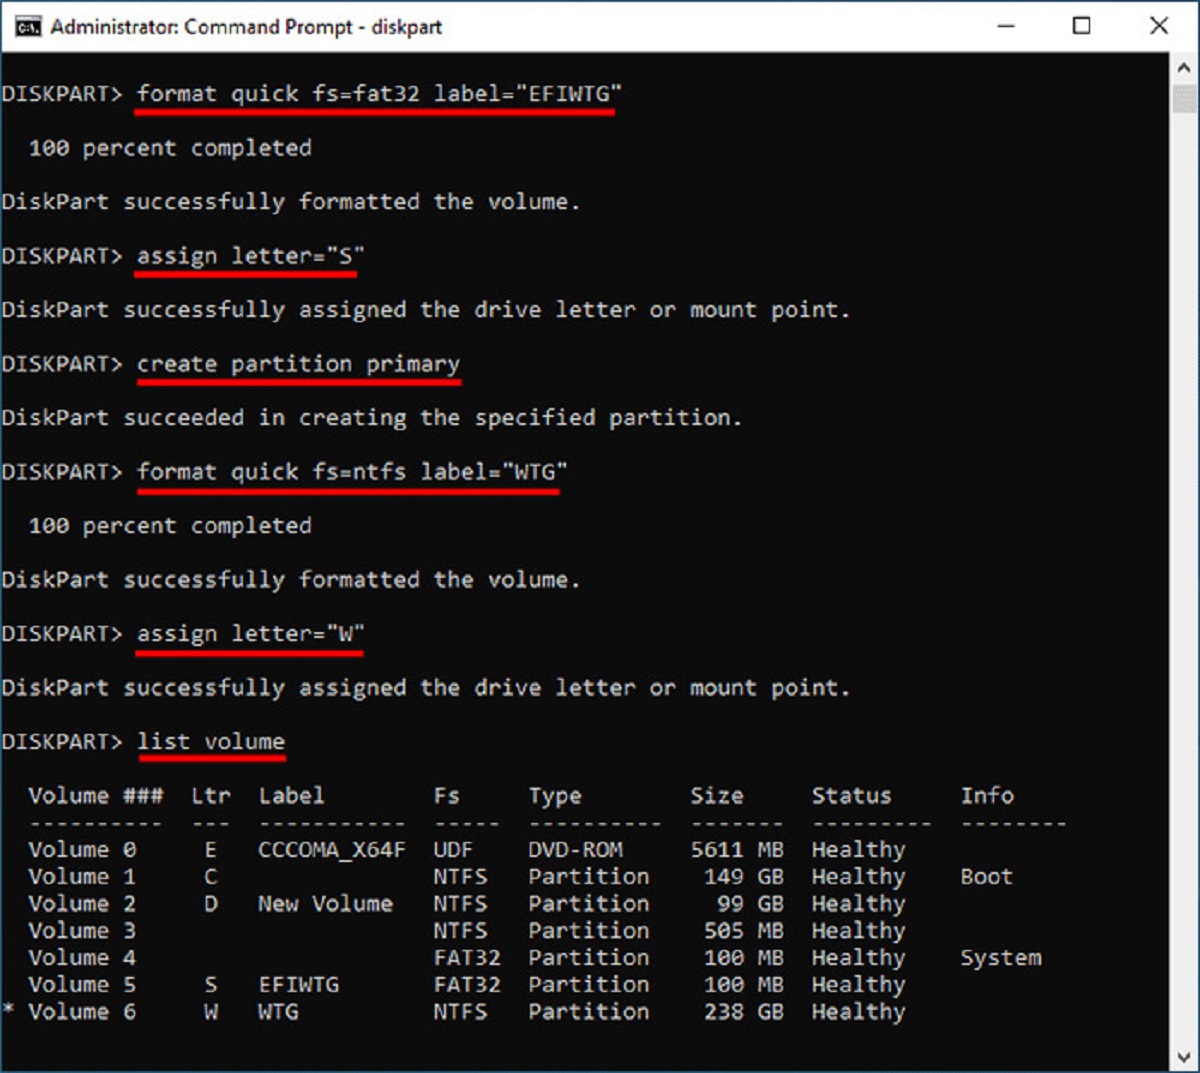
Step 5: Configure the Settings: Depending on the software you are using, you may have the option to adjust settings such as partition format, file system, and boot method. Refer to the software’s documentation or user interface to make any necessary adjustments.
Step 6: Start the Creation Process: Once you have configured the settings, initiate the creation process within the bootable media creation software. This will transfer the bootable software or operating system image file onto your external hard drive.
Step 7: Wait for Completion: The duration of the creation process will vary depending on factors such as the size of the bootable software and the speed of your computer and external hard drive. Be patient and allow the process to complete without interruption.
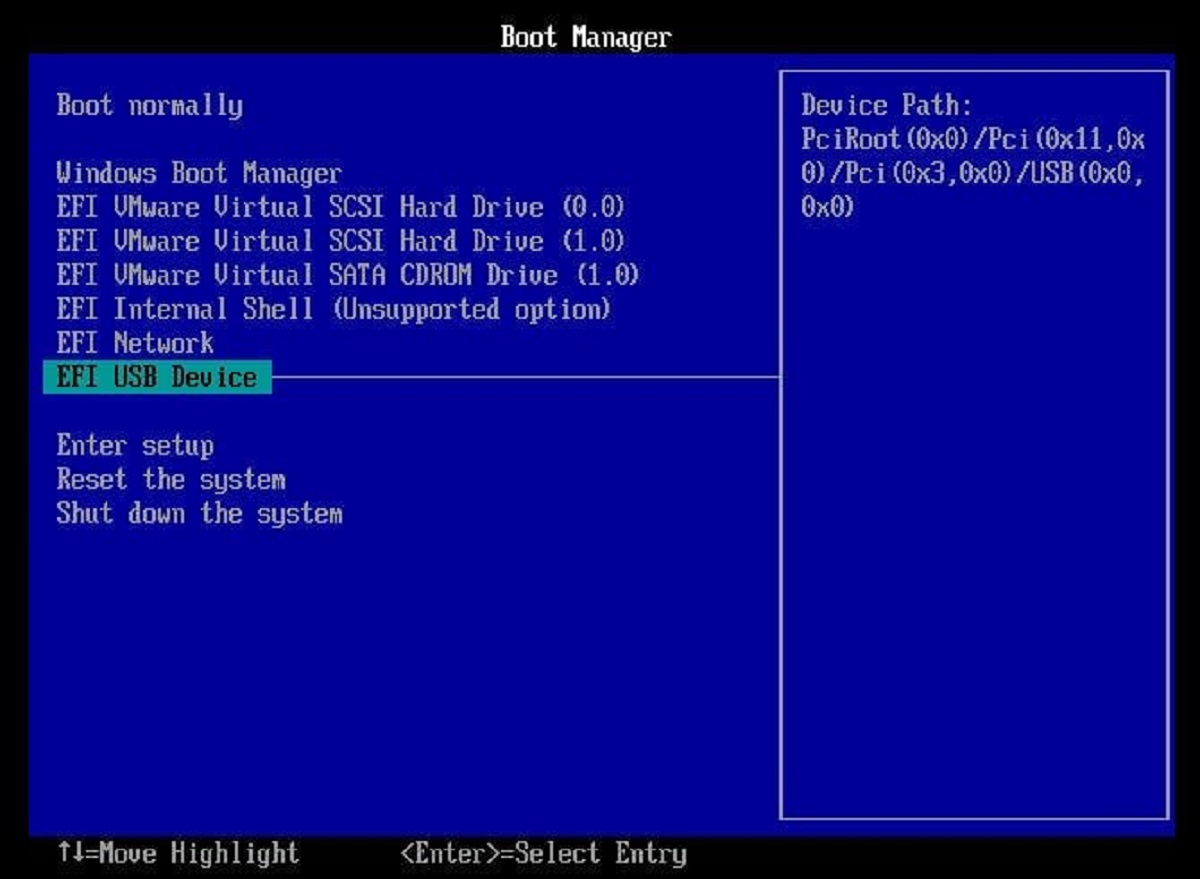
Step 8: Verify Bootable External Hard Drive: Once the creation process is finished, verify that your external hard drive is now bootable. Restart your computer and access the BIOS settings. Ensure that the external hard drive is listed as a bootable device and that the proper boot order is set to prioritize it.
Step 9: Boot from External Hard Drive: Save the BIOS settings and restart your computer. During the boot process, your computer should recognize the bootable external hard drive and start from it. Follow the on-screen instructions to proceed with the bootable software or operating system.
By following these step-by-step instructions, you can successfully create a bootable external hard drive. Remember to keep your bootable drive in a safe place and label it accordingly for future use.
Troubleshooting Bootable External Hard Drive Issues
While creating a bootable external hard drive is a straightforward process, you may encounter some issues along the way. Here are some common problems and their potential solutions:
1. External Hard Drive Not Recognized: If your computer fails to recognize the external hard drive, try connecting it to a different USB port or using a different USB cable. You can also try connecting the drive to another computer to determine if the issue lies with the drive itself.
2. Booting from External Hard Drive Not Working: If your computer doesn’t boot from the external hard drive, ensure that you have correctly configured the BIOS settings to prioritize USB booting. Double-check that the bootable external hard drive is listed as a bootable device in the BIOS.
3. Incomplete or Corrupted Bootable Software: If the bootable software or operating system image file is incomplete or corrupted, it may cause issues during the creation process. Make sure to download the software from a reliable source and verify its integrity by checking the file’s checksum or using a trusted utility for file validation.
4. Insufficient Storage Space: If your external hard drive doesn’t have enough storage space to accommodate the bootable software or operating system, you may encounter errors during the creation process. Ensure that your drive has adequate free space before attempting to make it bootable.
5. Slow Creation Process: Depending on the size of the bootable software and the speed of your computer and external hard drive, the creation process could take a significant amount of time. Be patient and avoid interrupting the process prematurely. If the creation process continues to be excessively slow, consider using a different software or checking your hardware for any potential issues.
6. Compatibility Issues: In some cases, certain bootable software may not be compatible with your specific hardware or operating system. Verify that the software you’re using is compatible with your computer and ensure that any special compatibility settings are configured correctly within the bootable media creation software.
If you experience persistent issues or encounter errors that you’re unable to resolve, consult the documentation or support resources provided by the bootable media creation software or seek assistance from online forums and communities dedicated to bootable drives and troubleshooting.
Remember, troubleshooting bootable external hard drive issues requires patience and persistence. By carefully following the steps outlined in this guide and troubleshooting any problems that arise, you’ll be able to successfully create and use a bootable external hard drive to meet your specific needs.
Conclusion
Congratulations! You have now completed the journey to understanding and creating a bootable external hard drive. By following the step-by-step guide and preparing for the process, you have gained the knowledge and skills to harness the power and convenience of a bootable external hard drive.
A bootable external hard drive can be a valuable tool in your tech arsenal, providing portability, versatility, and peace of mind. Whether you need to troubleshoot your computer, recover lost data, install software, or experiment with different operating systems, a bootable external hard drive offers the flexibility and convenience that traditional internal hard drives cannot.
Throughout the process, it’s important to remain patient and thorough. By carefully preparing your external hard drive, selecting the right bootable software, and following the step-by-step instructions, you can ensure a successful outcome. Additionally, troubleshooting any issues that may arise will help you overcome obstacles and find solutions.
Remember, a bootable external hard drive is a powerful tool, but it’s only effective if you keep it updated and in good condition. If the bootable software or operating system becomes outdated or compromised, consider creating a new bootable drive with up-to-date software. Regularly backing up your data and maintaining your external hard drive’s integrity will ensure that it remains a reliable resource when you need it most.
Now that you possess the knowledge and skills to make your external hard drive bootable, go forth and explore the possibilities. Whether you’re a tech enthusiast, a professional, or an everyday user, a bootable external hard drive can enhance your computing experience and provide solutions when you face challenges or want to venture into new territories.
So, don’t hesitate to dive into the world of bootable external hard drives. Empower yourself with this powerful tool and unlock a world of convenience, versatility, and opportunity.