Introduction
Welcome to the world of Linux! Linux is a powerful, open-source operating system that offers flexibility, security, and a wide range of software options. Installing Linux on your external hard drive allows you to carry your entire operating system with you and use it on any computer you come across. It provides you with the freedom to work on your projects and access your files without relying on a specific computer or operating system.
Whether you’re a seasoned Linux user or a new enthusiast, installing Linux on an external hard drive gives you the advantage of portability and flexibility. This guide will walk you through the steps required to successfully install Linux on your external hard drive, allowing you to have your own personal Linux environment wherever you go.
Before we dive into the installation process, it’s important to note that there are several Linux distributions available, such as Ubuntu, Fedora, and Debian, each with its own unique features and user interface. For the purpose of this guide, we will be using Ubuntu as an example, but the steps can be applied to other distributions as well.
Now, let’s get started and see how you can install Linux on your external hard drive and unlock a whole new world of possibilities!
Step 1: Prepare Your External Hard Drive
Before installing Linux, you need to prepare your external hard drive to ensure a smooth installation process. Here are the steps you need to follow:
- Backup Your Data: It’s always a good practice to back up your data before making any changes to your storage devices. Connect your external hard drive to your computer and copy any important files or documents to a safe location.
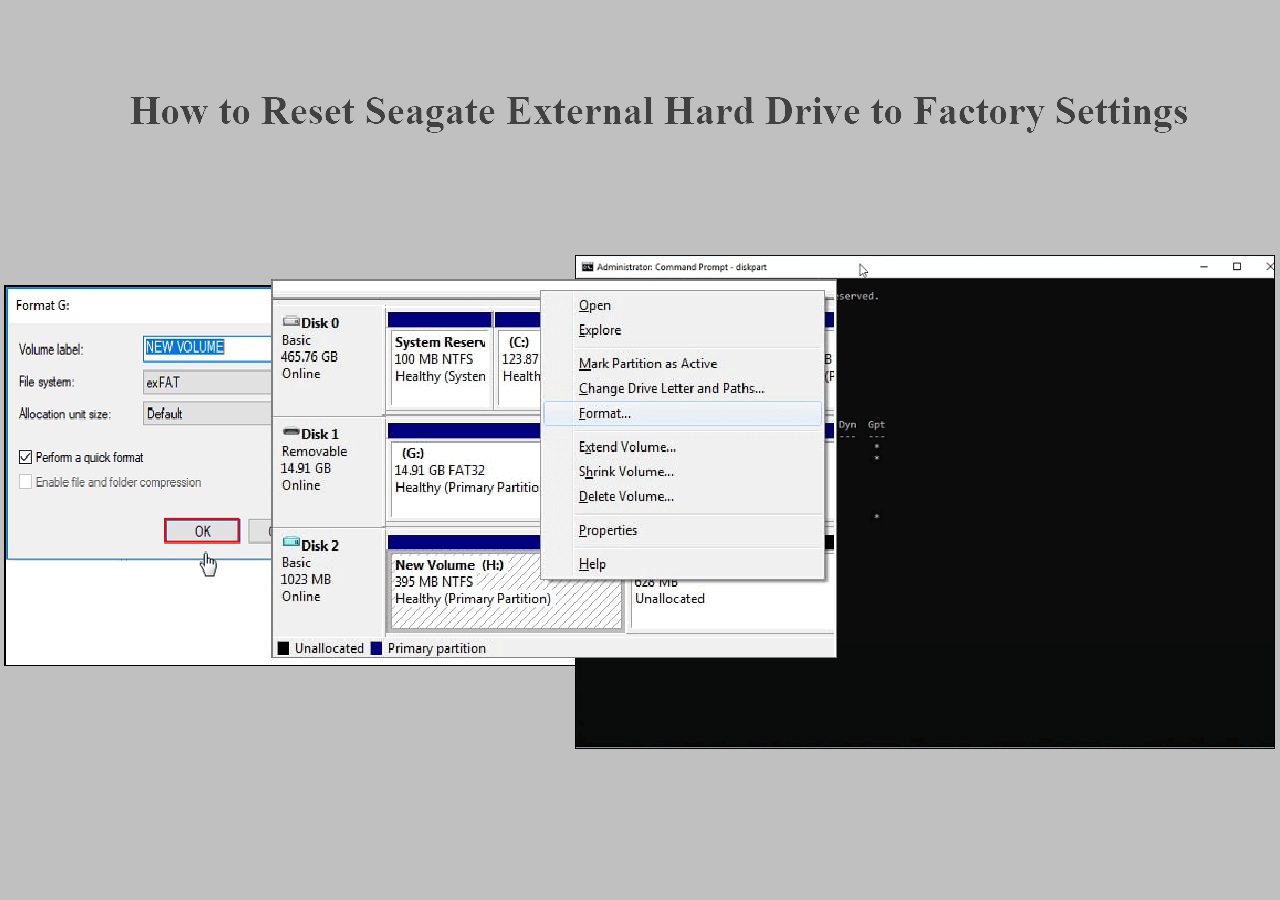
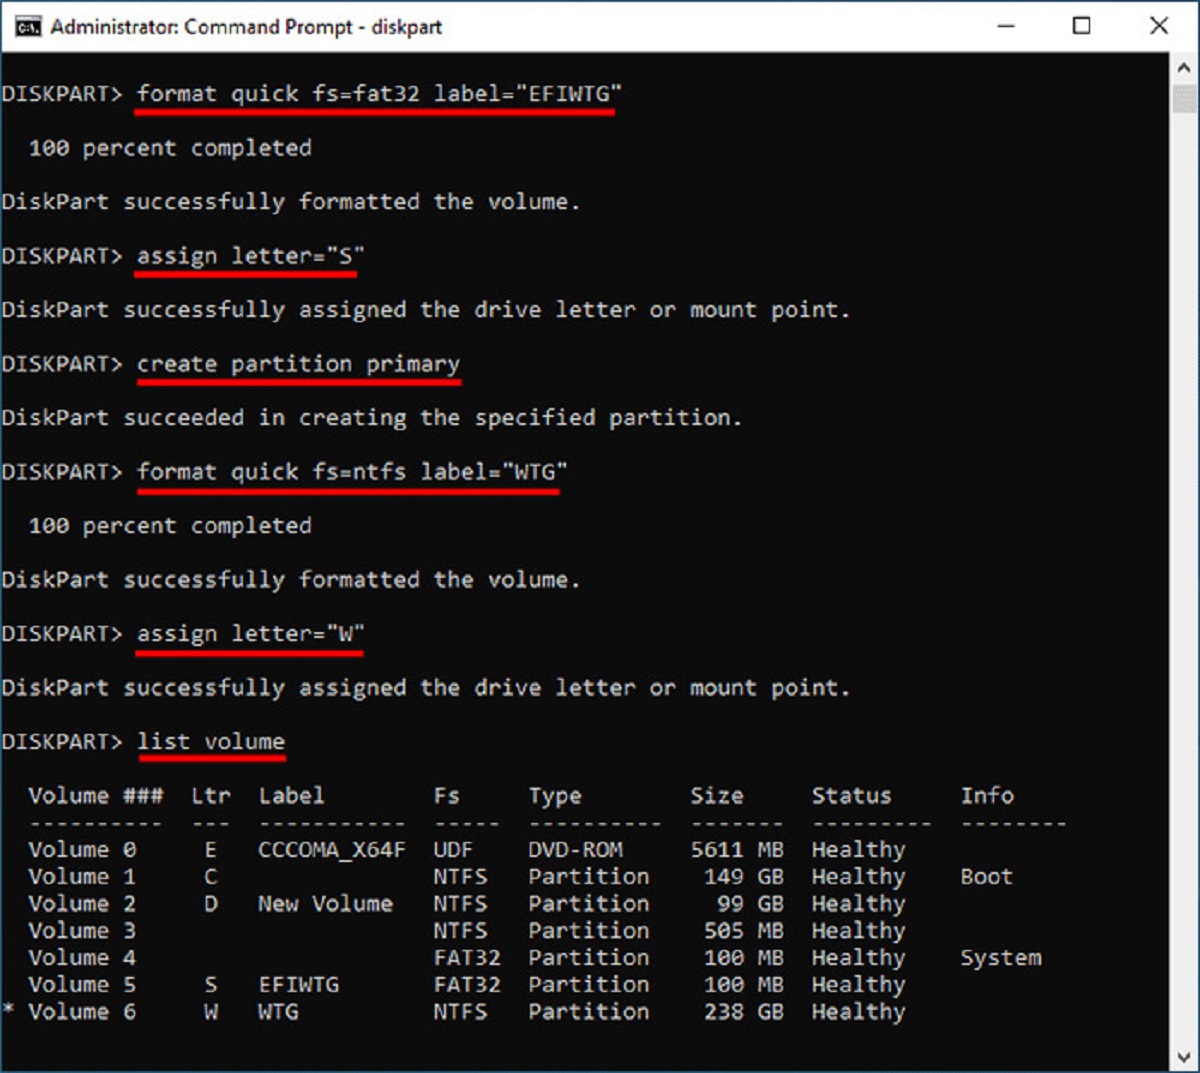
- Partition the External Hard Drive: Open Disk Management utility or a third-party software and locate your external hard drive. Right-click on it and select “Format” or “Partition”. Choose the desired partition size for your Linux installation. It is recommended to allocate at least 20-30 GB for the Linux operating system.
- Format the Partition: Once you have created the partition, format it to a file system compatible with Linux, such as ext4. Right-click on the partition and select the “Format” option. Choose the file system type and assign a name to the partition.
- Set the Boot Flag: In some cases, you may need to set the boot flag for the partition. Right-click on the partition, select “Properties” and check the box that says “Active” or “Boot”. This step ensures that your computer recognizes the external hard drive as a bootable device.
- Eject the External Hard Drive: Once you have completed these steps, safely eject the external hard drive from your computer. This ensures that any changes made to the partition table are finalized before proceeding to the next step.
By following these steps, you have successfully prepared your external hard drive for the Linux installation process. Now you are ready to move on to the next step and create a bootable USB drive.
Step 2: Create a Bootable USB Drive
In order to install Linux on your external hard drive, you will need a bootable USB drive containing the Linux distribution of your choice. Follow these steps to create a bootable USB drive:
- Download the Linux distribution: Visit the official website of the Linux distribution you wish to install, such as Ubuntu. Download the ISO file for the latest version of the distribution.
- Create a bootable USB: Insert a USB drive with at least 4GB of storage capacity into your computer. Use a tool like Rufus (for Windows) or Etcher (for macOS and Linux) to create a bootable USB drive. Select the downloaded ISO file and choose the USB drive as the destination. Click on “Start” or “Create” to begin the process.
- Wait for the process to complete: The tool will begin copying the necessary files to the USB drive and make it bootable. This may take a few minutes, so be patient and do not interrupt the process.
- Safely remove the USB drive: Once the process is complete, safely eject the USB drive from your computer.
Congratulations! You have successfully created a bootable USB drive with the Linux distribution of your choice. This USB drive will be used to install Linux on your external hard drive in the next step.
Step 3: Boot from the USB Drive
Now that you have a bootable USB drive with your preferred Linux distribution, it’s time to boot your computer from this USB drive. Follow these steps to boot from the USB drive:
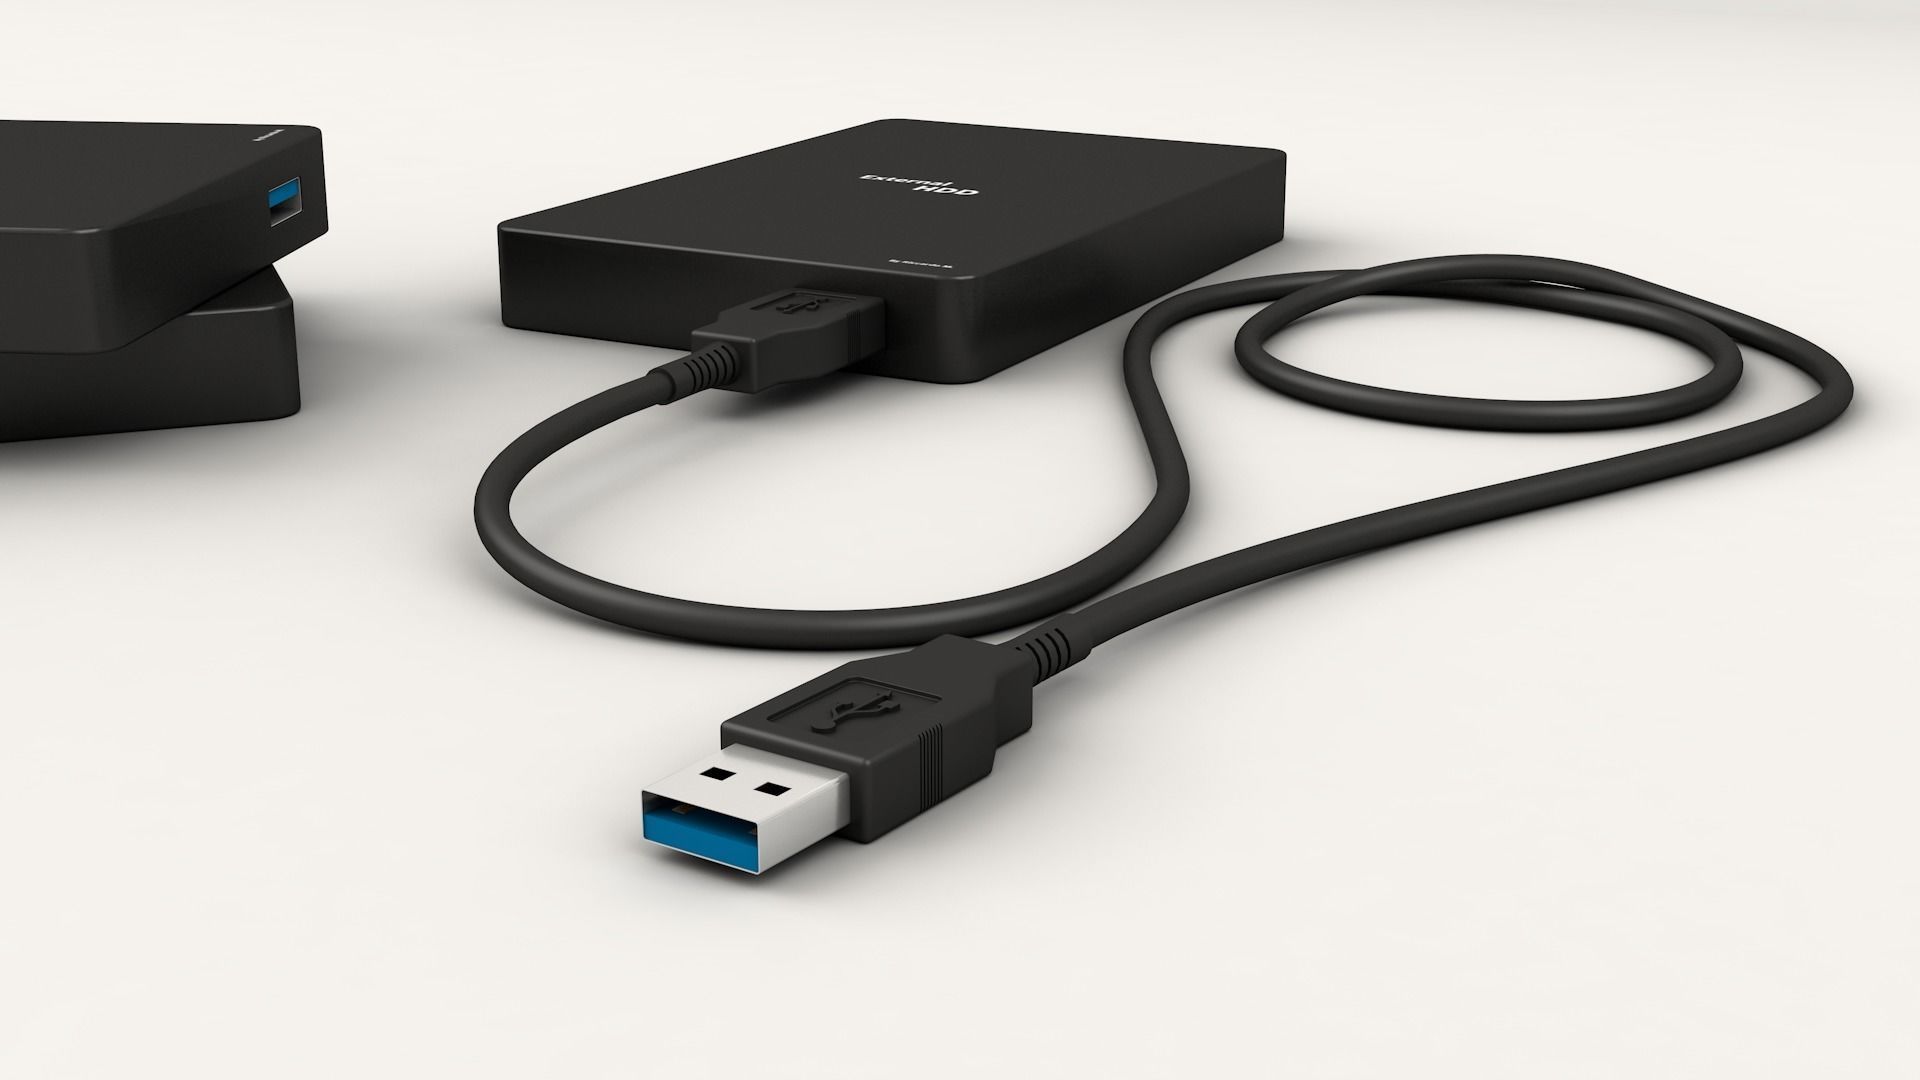
- Connect the USB drive: Insert the bootable USB drive into a USB port on your computer.
- Restart your computer: Restart your computer and enter the BIOS or UEFI settings. The method to access these settings may vary depending on the manufacturer of your computer. Typically, you can press the F2, F10, or Del key during boot to access the BIOS or UEFI settings.
- Change the boot order: In the BIOS or UEFI settings, look for the “Boot” or “Boot Order” section. Use the arrow keys to navigate and change the boot order so that the USB drive is the first boot device. Save the changes and exit the BIOS or UEFI settings.
- Boot from USB: As the computer restarts, it will now boot from the USB drive. Depending on the Linux distribution, you may see a boot menu where you can select the language and the “Try Linux” or “Install Linux” option. Choose the desired option to proceed.
Great! You have successfully booted your computer from the USB drive. In the next step, we will begin the installation of Linux on your external hard drive.
Step 4: Install Linux on External Hard Drive
Now that you have booted your computer from the USB drive, it’s time to install Linux on your external hard drive. Follow these steps to proceed with the installation:
- Select the installation language: The Linux installation process will prompt you to select the language for the installation. Choose your preferred language and click “Next” or “Continue”.
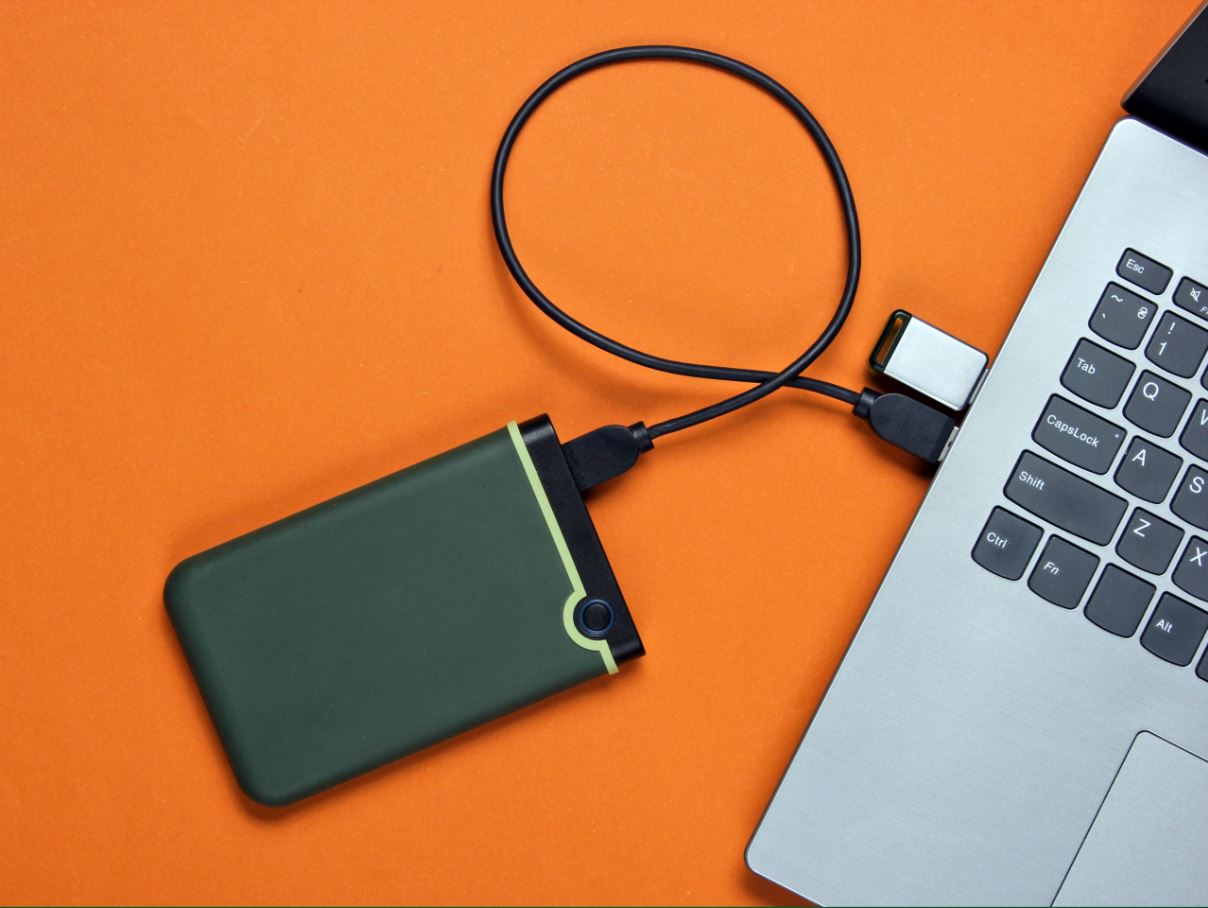
- Connect the external hard drive: Connect your external hard drive to your computer and make sure it is detected. The installer will provide options to choose the installation destination.
- Select the external hard drive as the installation destination: During the installation process, you will be presented with options for where to install Linux. Choose the external hard drive as the installation destination. Make sure you select the correct partition on the external hard drive during this step.
- Choose the installation type: Select whether you want to perform a clean installation or dual-boot with another operating system. If you want to use the external hard drive solely for Linux, choose the clean installation option.
- Configure the installation settings: During the installation process, you will be prompted to set up various settings, such as creating a username and password, configuring network settings, and selecting additional software packages. Follow the prompts and provide the necessary information to proceed.
- Begin the installation: Once you have configured the installation settings, click “Install” or “Begin Installation” to start the installation process. The installer will copy the necessary files and set up the Linux environment on your external hard drive. This may take some time, so be patient.
- Complete the installation: After the installation process is complete, you will be notified. At this point, you can choose to restart your computer and proceed to the next step.
Excellent! You have successfully installed Linux on your external hard drive. In the next step, we will configure the installation to ensure optimal performance and usability.
Step 5: Configure the Installation
After installing Linux on your external hard drive, it’s important to configure the installation to suit your needs. Follow these steps to customize and optimize your Linux environment:
- Update your system: Launch the terminal and run the following command to update your system and install any available updates:
- Install additional software: Use the package manager, such as apt or dnf, to install any additional software or packages you need. For example, to install a text editor, you can run:
- Configure your desktop environment: If you’re using a Linux distribution with a desktop environment like GNOME or KDE, you can customize it to your liking. Change the wallpaper, tweak the theme, and customize the desktop appearance and behavior through the settings or preferences.
- Set up user preferences: Configure your user preferences such as language settings, date and time format, keyboard layout, and other personalization options offered by your Linux distribution.
- Configure networking: Set up your network connection by connecting to Wi-Fi or configuring Ethernet settings. Ensure that you have internet access and that your connection is stable.
- Set up additional user accounts: If you plan to share your Linux environment with others, create user accounts for them using the user management tools provided by your distribution.
- Install essential applications: Install the applications you need for your tasks, such as a web browser, office suite, media player, or development tools. You can search for and install applications from the software center or use the terminal command with the package manager.
- Configure system preferences: Customize system preferences, such as power settings, screen lock settings, display resolution, and notification preferences, to suit your preferences and hardware configuration.
bash
sudo apt update && sudo apt upgrade
bash
sudo apt install vim
By following these steps, you can configure your Linux installation on the external hard drive to match your requirements and optimize your user experience. Take the time to explore the available options and personalize your Linux environment to your liking.
Step 6: Restart and Use Linux on External Hard Drive
Congratulations! You have successfully installed and configured Linux on your external hard drive. Now it’s time to restart your computer and start using Linux right from your external hard drive. Here’s what you need to do:
- Save and close any open applications: Make sure to save your work and close any open applications on your computer.
- Shut down your computer: Click on the “Shut Down” or “Restart” option in your operating system to safely shut down your computer. Wait for it to completely turn off.
- Disconnect any other external drives: If you have any other external hard drives or USB devices connected to your computer, unplug them to avoid any confusion during the startup process.
- Connect your Linux external hard drive: Plug in your external hard drive containing Linux into a USB port on your computer.
- Start your computer and boot from the external hard drive: Turn on your computer and look for the boot menu or BIOS/UEFI settings prompt. Select the external hard drive as the boot device to start the system from it.
- Login to your Linux environment: Once the computer boots from the external hard drive, you will be greeted with the Linux login screen. Provide your username and password to access your Linux environment.
- Explore and enjoy Linux: Congratulations! You are now using Linux on your external hard drive. Take some time to explore the Linux desktop, try out different applications, customize the interface, and enjoy the freedom and flexibility that Linux offers.
- Save your changes: Any changes you make while using Linux on the external hard drive will be saved directly to the drive. This way, you can access your files and preferences from any computer you connect your external hard drive to.
That’s it! You can now take your Linux environment with you wherever you go. Just plug in your external hard drive and boot into Linux on any compatible computer. Enjoy the power of Linux on the go!
Conclusion
Installing Linux on an external hard drive opens up a world of possibilities for computing on the go. With the flexibility to carry your entire operating system and personalized environment with you, you can work, play, and explore Linux wherever you want.
In this guide, we walked through the step-by-step process of installing Linux on an external hard drive. From preparing the external hard drive to configuring the installation and booting into Linux, you have learned the essential steps to create your portable Linux setup.
By following these steps, you have the freedom to use your preferred Linux distribution, install additional software, and customize your environment to suit your needs. Whether you’re a developer, a student, or a tech enthusiast, having Linux on your external hard drive ensures that your computing environment remains consistent and accessible across multiple computers.
Remember to keep your external hard drive and your Linux installation updated to benefit from new features, security updates, and bug fixes. Regularly back up your data to ensure that your files are safe and accessible, even in the event of hardware failure or loss of your external hard drive.
Now that you have completed the installation and configuration process, it’s time to embrace the power and versatility of Linux on your external hard drive. Explore the vast range of software, experiment with different applications, and make the most of the open-source ecosystem that Linux offers.
Enjoy the freedom and convenience of having your own Linux environment wherever you go. Embrace the limitless possibilities and let Linux empower you in your computing journey.