Introduction
Welcome to the world of digital security! In this increasingly digital age, it is crucial to safeguard your sensitive data from prying eyes. One effective method of securing your information is to encrypt your external hard drive. By encrypting your external hard drive, you can ensure that even if it falls into the wrong hands, your data remains inaccessible.
If you are using a Windows 10 operating system, you are in luck! Windows 10 offers a built-in feature called BitLocker, which allows you to encrypt your external hard drive with ease. By following a few simple steps, you can add an extra layer of protection to your data and have peace of mind.
In this guide, we will walk you through the process of encrypting an external hard drive on Windows 10 using BitLocker. We will cover everything from choosing the right encryption software to managing and accessing your encrypted drive. So, let’s dive in and secure your data!
Step 1: Choose the Right Encryption Software
The first step in encrypting your external hard drive on Windows 10 is to choose the right encryption software. While Windows 10 offers its built-in encryption feature, BitLocker, there are also third-party encryption software options available, such as VeraCrypt or AxCrypt.
When selecting encryption software, it is important to consider factors such as compatibility, ease of use, and level of security. BitLocker is a popular choice among Windows users as it provides robust encryption and integrates seamlessly with the operating system.
To check if your Windows 10 edition supports BitLocker, follow these steps:
- Click on the Start menu and open the Control Panel.
- Click on “System and Security” and then “BitLocker Drive Encryption”.
- If you see a message stating that BitLocker is not available on this edition of Windows, you may need to consider using alternative encryption software.
However, if your Windows 10 edition supports BitLocker, you are ready to proceed with the built-in encryption software.
Remember to choose an encryption software that aligns with your specific needs and requirements. Once you have selected the appropriate encryption software, you are ready to move on to the next step.
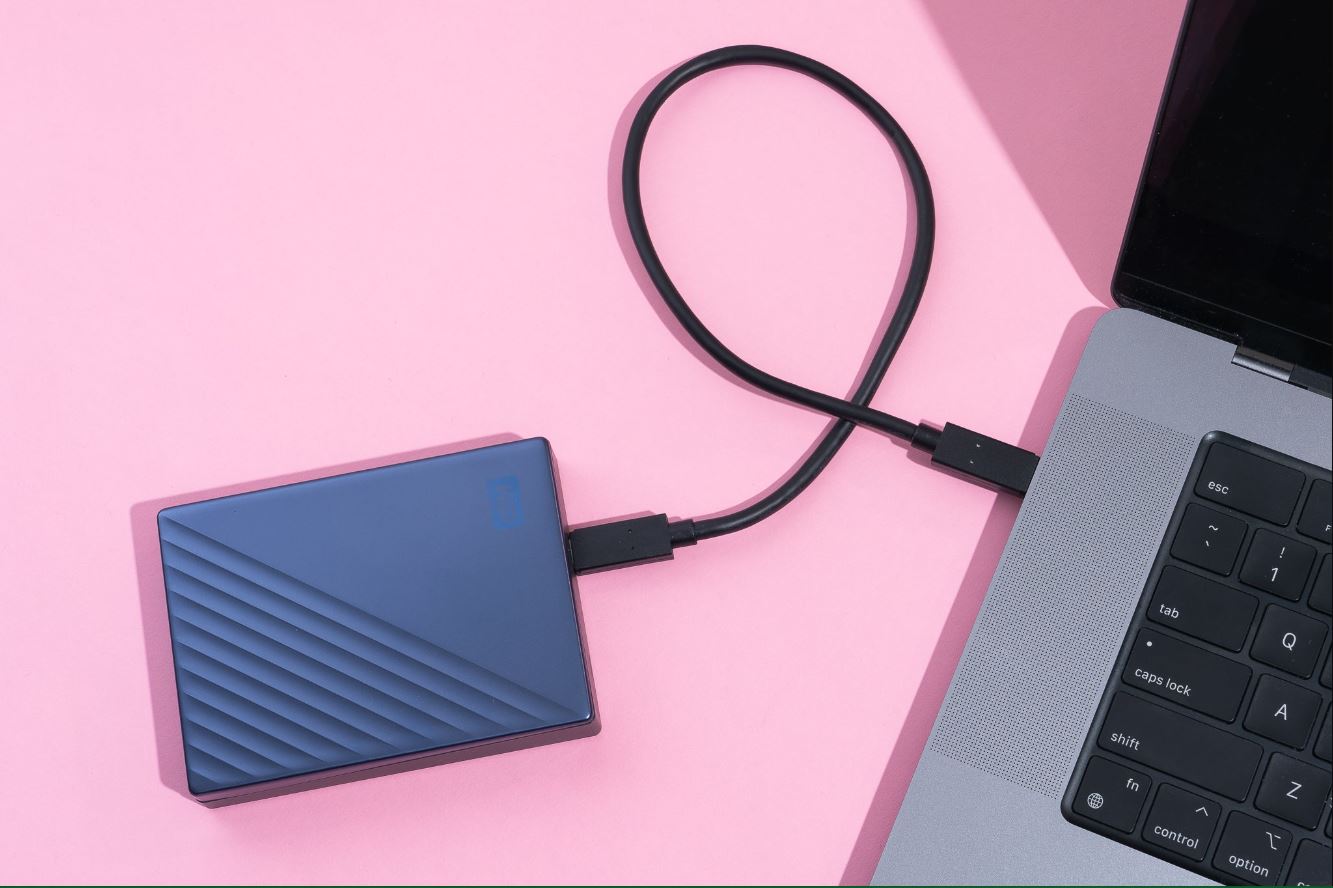
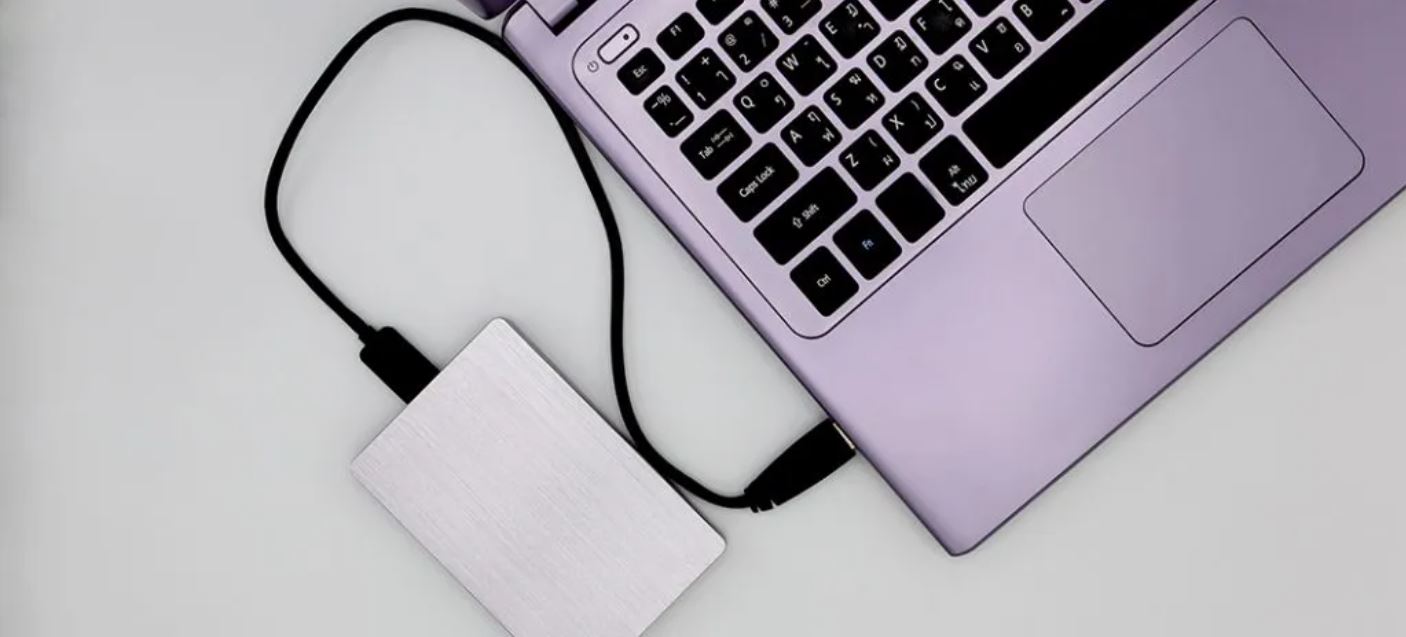
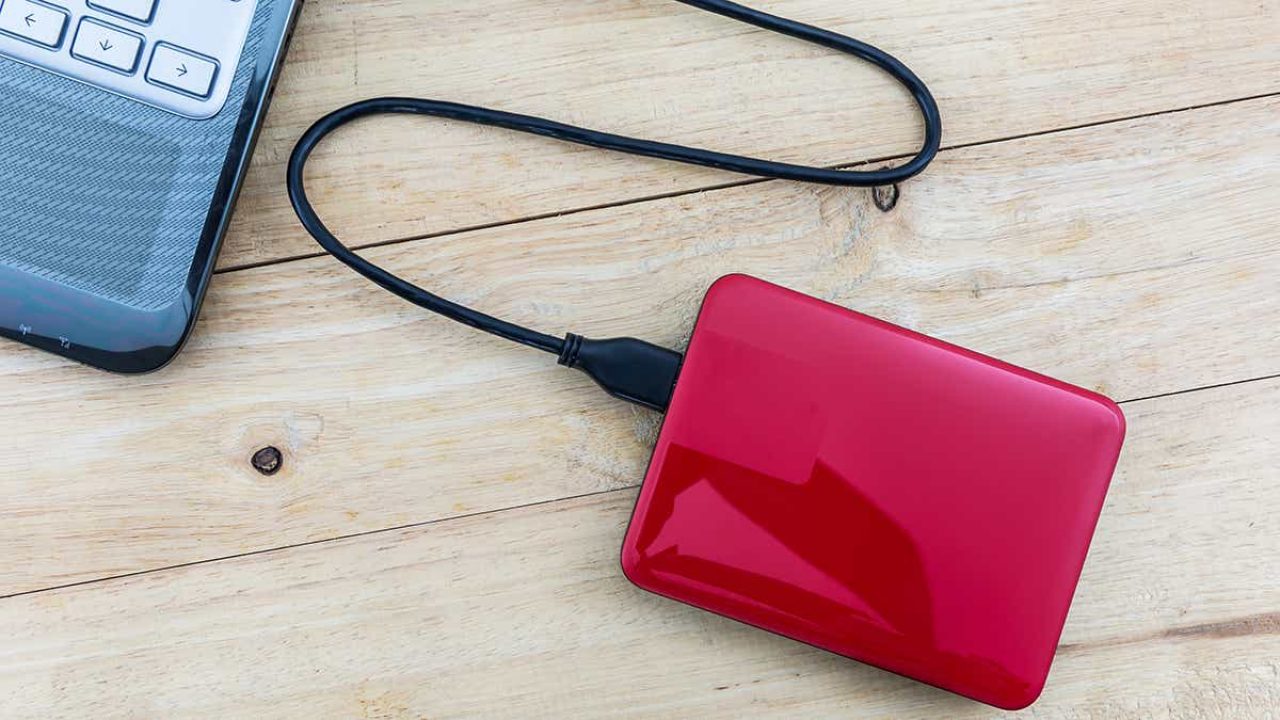
Step 2: Connect the External Hard Drive to Your Windows 10 PC
Now that you have chosen the right encryption software, it’s time to connect your external hard drive to your Windows 10 PC. Before you proceed, make sure that both your PC and the external hard drive are powered on and functioning properly.
Follow these steps to connect your external hard drive:
- Locate the USB port on your Windows 10 PC. Most PCs have multiple USB ports located on the front or back of the computer.
- Take the USB cable that came with your external hard drive and connect it to the USB port on your PC.
- Take the other end of the USB cable and connect it to the appropriate port on your external hard drive. This is usually a USB Type-A or USB Type-C port.
- Ensure that the connection is secure by gently pushing the cable connectors into the ports.
Once you have connected your external hard drive to your Windows 10 PC, give it a few moments to be recognized by the system. You may hear a notification sound indicating that the device has been successfully connected.
Now that your external hard drive is properly connected, you are ready to proceed to the next step.
Step 3: Format the External Hard Drive
Before you can encrypt your external hard drive on Windows 10, it is essential to format it to ensure compatibility and optimal performance. Formatting will erase all existing data on the drive, so make sure to backup any important files before proceeding.
Follow these steps to format your external hard drive:
- Open File Explorer on your Windows 10 PC by clicking the folder icon on the taskbar or pressing the Windows key + E.
- In the left sidebar, locate and click on “This PC.”
- Identify your external hard drive in the list of drives. It is usually labeled with a different drive letter (e.g., E:, F:, etc.).
- Right-click on your external hard drive and select “Format” from the context menu.
- In the Format window, you can choose the file system and allocation unit size. In most cases, the default settings (NTFS file system and default allocation unit size) should suffice. However, if you have specific requirements, you can customize these settings accordingly.
- Ensure that the “Quick Format” option is selected to speed up the process. Keep in mind that this option will not overwrite existing data, so if you have sensitive information on the drive that you want to permanently delete, you should uncheck this option.
- Double-check all the formatting settings and click “Start” to initiate the formatting process.
- Wait for the process to complete. It may take some time depending on the size of your external hard drive.
- Once the formatting process is finished, you will see a confirmation message. Click “OK” to close the window.
Now that your external hard drive is formatted, it is ready to be encrypted using BitLocker.
Step 4: Enable BitLocker Encryption
With your external hard drive connected and formatted, it’s time to enable BitLocker encryption on Windows 10. BitLocker is a powerful encryption tool that can protect your data from unauthorized access.
Follow these steps to enable BitLocker encryption:
- Open File Explorer on your Windows 10 PC by clicking the folder icon on the taskbar or pressing the Windows key + E.
- In the left sidebar, locate and right-click on your external hard drive.
- Select “Turn on BitLocker” from the context menu.
- A BitLocker Drive Encryption wizard will open, prompting you to choose how you want to unlock the drive. You can either use a password or a smart card as the unlocking method. For simplicity, let’s choose the “Enter a password” option.
- Enter a secure password in the provided field. Make sure to choose a strong password that is difficult to guess. You may also want to add a recovery key that can be used to unlock the drive in case you forget your password.
- Click “Next” to continue.
- In the next window, you will be prompted to choose the encryption mode. “New encryption mode” provides a higher level of security, but it requires a computer with a compatible TPM (Trusted Platform Module). If your computer does not have a TPM, you can select “Compatible mode” which offers a lower level of security.
- Select the encryption mode that suits your needs and click “Next.”
- On the next screen, you can choose to encrypt the used disk space only or encrypt the entire drive. Encrypting the entire drive is recommended for maximum security.
- Choose the desired option and click “Next.”
- In the next window, you will be asked to specify the encryption type. Select “AES 256” for strong encryption.
- Click “Next” to proceed.
- Review the details of the encryption process and click “Start encrypting” to initiate the encryption.
- Wait for the encryption process to complete. This may take a while depending on the size of your external hard drive.
Once the encryption process is finished, your external hard drive will be protected by BitLocker, ensuring that your data remains secure even if the drive falls into the wrong hands.
Step 5: Choose Encryption Type and Password
Now that you have enabled BitLocker encryption on your external hard drive, it’s time to choose the encryption type and set a strong password. These choices will determine the level of security for your encrypted drive.
Follow these steps to choose the encryption type and set a password:
- After enabling BitLocker encryption, you will be prompted to choose the encryption type. You have the option to either use the recommended encryption type or specify your own. The recommended option is typically AES 256-bit encryption, which provides a high level of security.
- Click on the radio button next to the desired encryption type.
- Next, you will need to choose a password to unlock your encrypted drive. It is crucial to select a strong and unique password that is difficult to guess. Avoid using common words, personal information, or easily guessable patterns.
- Enter your chosen password in the provided field. Make sure to create a password that is at least 12 characters long and includes a combination of uppercase and lowercase letters, numbers, and special characters.
- After entering your password, re-enter it in the “Confirm password” field to ensure accuracy.
- Click “Next” to proceed.
- At this point, you may be prompted to store a recovery key. This key can be used to unlock the encrypted drive in case you forget your password or encounter any issues. It is highly recommended to store the recovery key in a safe place, such as a USB drive, print it out, or store it in a secure password manager.
- Choose the desired method for storing your recovery key.
- Click “Next” to continue.
- Review the chosen encryption type and password settings.
- If everything looks correct, click “Start encrypting” to initiate the encryption process.
- Wait for the encryption process to complete. This may take some time depending on the size of your external hard drive and the encryption type chosen.
After the encryption process is finished, your external hard drive will be encrypted using the chosen encryption type and secured with your unique password.
Step 6: Start Encrypting the External Hard Drive
With the encryption type chosen and the password set, you are now ready to start encrypting your external hard drive using BitLocker. This process will ensure that your data remains protected and inaccessible to unauthorized users.
Follow these steps to start encrypting your external hard drive:
- Once you have chosen the encryption type and set your password, click on the “Next” button to proceed.
- In the next window, you will be prompted to choose how much of your hard drive to encrypt. Select the appropriate option based on your preference:
- If you choose “Encrypt entire drive,” all existing and future data on the drive will be encrypted.
- If you choose “Encrypt used disk space only,” only the data that is currently stored on the drive will be encrypted. Any new data added in the future will remain unencrypted.
- Choose the desired option and click on “Next” to continue.
- In the following window, review the encryption settings to ensure they are correct.
- Click on “Start encrypting” to initiate the encryption process.
- The encryption process may take some time, depending on the size of your external hard drive and the amount of data being encrypted. You can monitor the progress on the screen.
- It is important to keep your computer plugged in and avoid interrupting the encryption process. Interrupting the process could lead to data corruption or make the drive inaccessible.
- Once the encryption process is complete, you will see a notification indicating that the drive is now encrypted.
Congratulations! Your external hard drive is now securely encrypted using BitLocker. This extra layer of protection will prevent unauthorized access and ensure the confidentiality of your data.
Step 7: Manage and Access the Encrypted External Hard Drive
Now that your external hard drive is encrypted, it’s important to know how to manage and access it properly. BitLocker provides you with the necessary tools to control access, change passwords, and manage recovery keys for your encrypted drive.
Follow these steps to manage and access your encrypted external hard drive:
- To access the contents of your encrypted drive, connect it to your Windows 10 PC.
- When you try to access the encrypted drive, you will be prompted to enter the password or use another unlocking method you chose during the encryption setup.
- Enter your password in the provided field and click “Unlock” to access the drive.
- Once unlocked, you will be able to view, add, modify, or delete files on the encrypted drive just like any other external hard drive.
- If you want to change the password for your encrypted drive, right-click the drive in File Explorer, go to “Manage BitLocker,” and select “Change password.” Follow the prompts to set a new password.
- If you forget your password, you can use the recovery key you created during the encryption process to unlock the drive. Store the recovery key in a safe place and make sure it is easily accessible when needed.
- To manage your recovery key, right-click the encrypted drive in File Explorer, go to “Manage BitLocker,” and select “Back up your recovery key.” Follow the prompts to choose your preferred method of backing up the key.
- You can also manage your recovery key and other encryption settings by opening the BitLocker settings in Control Panel.
- Make sure to safely eject or disconnect your encrypted external hard drive when you are finished using it to prevent data loss or corruption.
By following these steps, you can effectively manage and access your encrypted external hard drive, ensuring the security of your data while maintaining ease of use.
Conclusion
Encrypting your external hard drive on Windows 10 using BitLocker is a crucial step in protecting your sensitive data from unauthorized access. By following the steps outlined in this guide, you can ensure that your information remains secure and confidential.
Choosing the right encryption software is the first step, and BitLocker, being built-in to Windows 10, offers a convenient and efficient option. Connecting and formatting your external hard drive are essential steps to prepare it for encryption.
Enabling BitLocker encryption and choosing the encryption type and password are crucial to establishing a strong security foundation. By choosing a robust encryption type and creating a strong password, you can significantly enhance the security of your encrypted drive.
Starting the encryption process and managing your encrypted external hard drive are equally important. Monitoring the encryption progress and accessing the drive with the correct password ensure that your data remains protected while allowing you to use the drive seamlessly.
Remember to manage your recovery key and consider updating your password periodically for added security. By following these steps and best practices, you can safeguard your data and have peace of mind knowing that your external hard drive is protected.
In an era where data breaches and privacy concerns are prevalent, taking proactive measures to protect your sensitive information is critical. Encrypting your external hard drive using BitLocker on Windows 10 is an effective and accessible way to reinforce the security of your data, providing you with the confidence and peace of mind you need in today’s digital landscape.