Introduction
Welcome to the fascinating world of booting Windows from an external hard drive! This innovative method allows you to carry your operating system with you wherever you go, offering a convenient and flexible computing experience. Whether you’re a digital nomad, a tech enthusiast, or simply looking for an alternative way to use Windows, booting from an external hard drive opens up a world of possibilities.
In this article, we will explore the benefits of booting Windows from an external hard drive and guide you through the step-by-step process. But before we dive in, let’s understand what exactly it means to boot an operating system from an external drive.
Typically, when you start your computer, it retrieves the operating system from the internal hard drive. However, by booting from an external hard drive, you bypass this traditional method and run the operating system directly from the external drive. This gives you the flexibility to use your Windows OS on any computer that supports booting from external devices.
Now, you might be wondering why you should even consider booting Windows from an external hard drive. Let’s explore some of the key benefits:
Benefits of Booting Windows from an External Hard Drive
Booting Windows from an external hard drive offers a plethora of advantages that can significantly enhance your computing experience. Here are some key benefits to consider:
Portability: One of the major advantages of booting Windows from an external hard drive is portability. You can carry your operating system, along with all your files and applications, in your pocket. This means you can conveniently access your personal workspace on any computer that supports booting from external devices, without compromising your data or settings.
Privacy and Security: By using an external hard drive to boot your Windows OS, you can ensure enhanced privacy and security. Since your operating system and personal data are stored separately from the host computer, you can reduce the risk of your data being compromised or accessed by unauthorized individuals. This is especially beneficial when using public or shared computers.
Flexibility and Freedom: Booting Windows from an external hard drive provides you with the freedom to use your preferred operating system on different computers. Whether you’re at home, in the office, or traveling, you can have your personalized Windows environment at your fingertips. This eliminates the need to install and configure your software and applications on multiple machines, saving you time and effort.
Backup and Disaster Recovery: Another advantage of booting Windows from an external hard drive is the ability to create backups and enable disaster recovery. You can easily clone your Windows system onto the external drive, allowing you to quickly restore your operating system and files in case of a hardware failure or system crash. This provides an extra layer of protection for your data.
Upgradability: Booting Windows from an external hard drive enables easier upgrades and migrations. When you upgrade your computer or switch to a new one, you can simply disconnect the external drive and connect it to the new system. This eliminates the hassle of migrating your files, settings, and applications, as everything is already stored on the external drive.
These are just a few of the many benefits of booting Windows from an external hard drive. Whether you’re a tech-savvy individual, a frequent traveler, or someone who values privacy and flexibility, this method offers an exciting and convenient way to interact with your Windows operating system.
Things to Consider Before Booting Windows from an External Hard Drive
Before you dive into booting Windows from an external hard drive, there are a few important factors to consider. These considerations will ensure a smooth and successful experience. Let’s explore them below:
Compatibility: Firstly, ensure that the computer(s) you plan to use support booting from external devices. While most modern computers have this capability, it’s always a good idea to check the BIOS settings or consult the manufacturer’s documentation. Additionally, make sure the external hard drive is compatible with the computer’s USB ports or other connection interfaces.
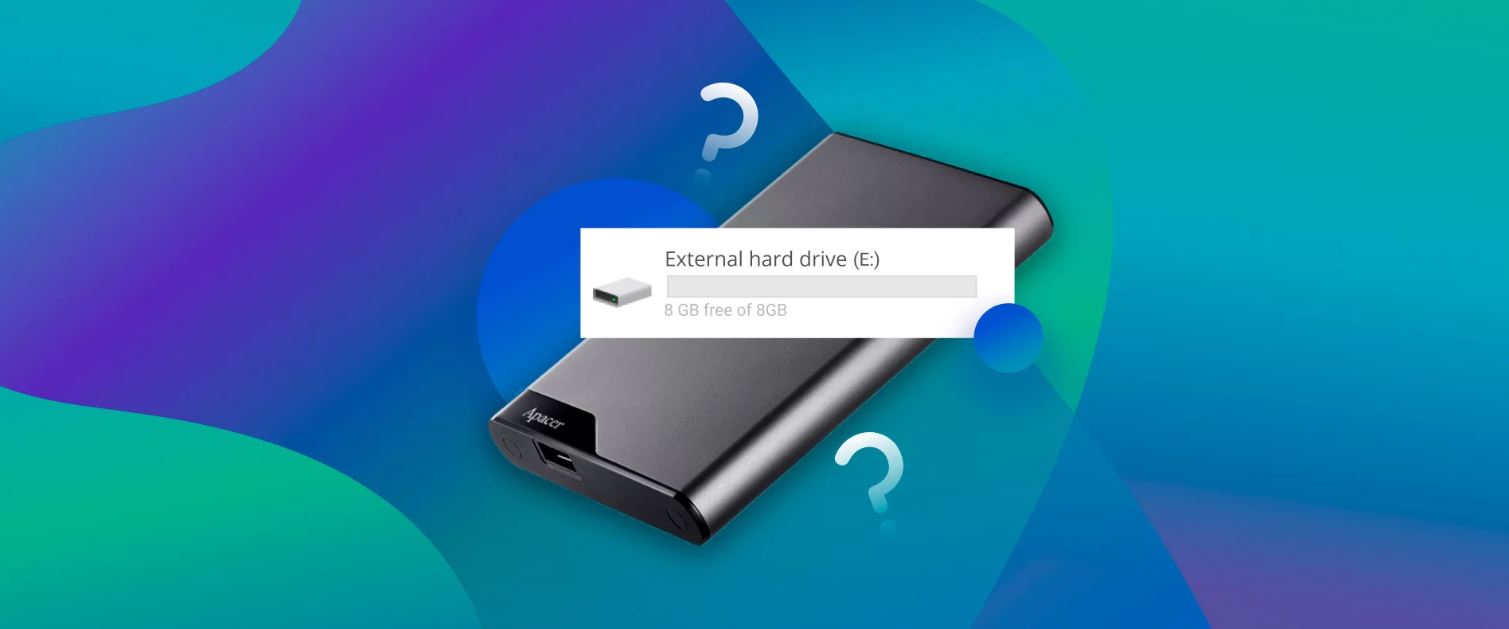
Storage Capacity: The storage capacity of the external hard drive is a crucial aspect to consider. You’ll need a drive with sufficient space to accommodate the Windows operating system, as well as your files, applications, and any additional software you may want to install. It’s recommended to have a drive with a capacity of at least 128GB to ensure optimal performance and storage.
Speed and Performance: The speed of the external hard drive can significantly impact the performance of your Windows OS. Opt for a drive with fast read and write speeds, such as an SSD (Solid State Drive). This will ensure snappy boot times and smooth operation. Keep in mind that older or slower external drives may result in slower overall system performance.
Data Backup: Before proceeding with booting Windows from an external hard drive, it’s essential to create a backup of your data. Any existing files and documents on the external drive may be erased during the process, so it’s crucial to have a backup of your important files stored elsewhere. This will safeguard your data in case of any unexpected issues during the setup or installation process.
Bootable Windows Installation: To boot Windows from an external hard drive, you’ll need a bootable Windows installation file. This can be obtained through the official Microsoft website or other trusted sources. Ensure that the installation file is compatible with your version of Windows and that it is properly downloaded and saved to a location accessible during the setup process.
Security and Privacy: While booting Windows from an external hard drive offers greater privacy and security, it’s essential to remain vigilant. Ensure that your Windows installation is kept up to date with the latest security patches and updates. Additionally, take appropriate measures to protect your data, such as using encryption or strong passwords, to prevent unauthorized access to your system.
By considering these factors before booting Windows from an external hard drive, you’ll set the stage for a successful and enjoyable experience. Remember to thoroughly research and plan your setup to ensure compatibility, performance, and data safety.
Step-by-Step Guide: How to Boot Windows from an External Hard Drive
Now that you understand the benefits and considerations, let’s dive into the step-by-step process of booting Windows from an external hard drive. Follow these instructions carefully to ensure a successful setup:
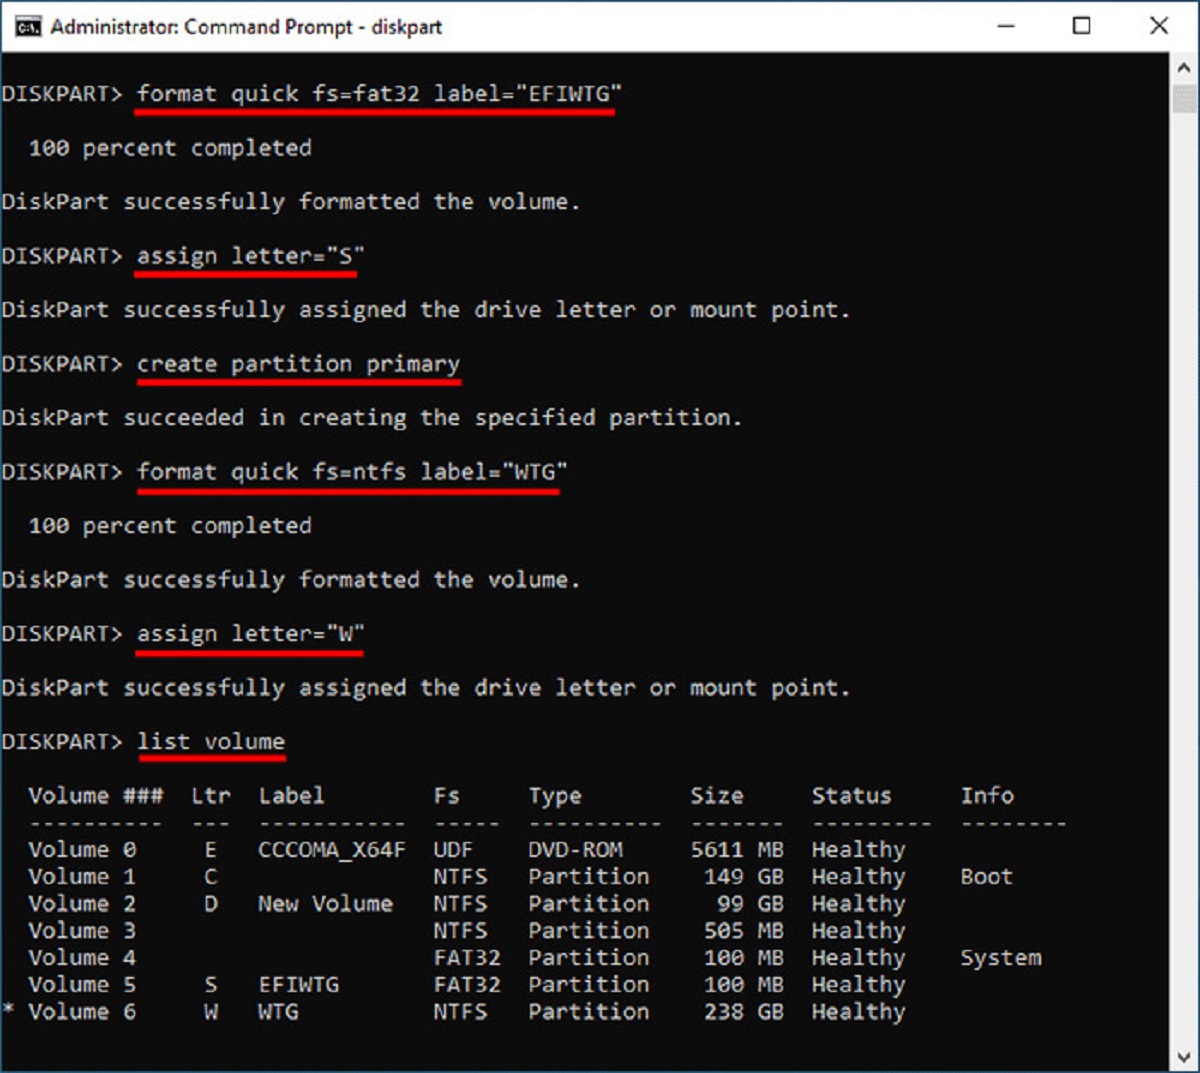
- Create a Bootable Windows Installation: Begin by creating a bootable Windows installation on your external hard drive. You can use a tool like Rufus or the official Windows Media Creation Tool to accomplish this. Make sure the external drive is properly formatted and that you have the necessary Windows installation files ready.
- Connect the External Hard Drive: Connect the external hard drive to your computer via a USB port. Ensure a stable connection and ensure that it is recognized by your computer.
- Access BIOS/UEFI Settings: Restart your computer and access the BIOS or UEFI settings by pressing the respective key during the startup process (usually F2, F11, or Del). Navigate to the boot options and set the external hard drive as the primary boot device.
- Save and Exit: Save the changes made to the BIOS/UEFI settings and exit the setup. Your computer will now restart.
- Follow the Windows Installation: Upon restarting, the Windows installation process should commence. Follow the on-screen prompts to install Windows on the external hard drive. Make sure to select the external drive as the destination for the installation.
- Customize Windows Settings: Once the installation is complete, you may be prompted to personalize and customize your Windows settings. Set up your preferences, create user accounts, and configure any additional settings according to your needs.
- Install Drivers and Software: After setting up Windows, install any necessary drivers for your computer’s hardware components. Additionally, install your preferred software applications and programs to ensure a complete computing environment.
- Eject and Boot from External Drive: Safely eject the external hard drive from your computer and shut it down. Restart your computer and access the BIOS/UEFI settings again. Set your internal hard drive as the primary boot device, saving the changes and exiting the setup.
- Windows Boot Selection: Upon restarting, you’ll be presented with a boot menu, allowing you to choose the operating system to boot. Select your external hard drive from the menu to boot into Windows from the external drive. Voila! You’re now using Windows on your external hard drive.
It’s important to note that the specific steps may vary slightly depending on your computer’s manufacturer or model. However, the general process remains the same. Be patient, follow the instructions carefully, and consult any additional resources or support documentation if needed.
Now that you’ve successfully booted Windows from an external hard drive, you can enjoy the flexibility and convenience of carrying your operating system with you wherever you go.
Troubleshooting Tips
While booting Windows from an external hard drive is generally a smooth process, you may encounter a few hiccups along the way. Here are some troubleshooting tips to help you overcome common issues:
Ensure Proper Connection: Double-check that the external hard drive is securely connected to the computer. Ensure that the USB cable or connection interface is functioning properly. Try connecting the drive to a different USB port to rule out any port-related issues.
Check BIOS/UEFI Settings: If your computer is not recognizing the external hard drive during the boot process, access the BIOS/UEFI settings again and verify that the correct boot order is set. Make sure the external drive is properly detected and set as the primary boot device.
Use Reliable Windows Installation Files: If you encounter errors or installation failures during the Windows setup, double-check that you have used reliable and up-to-date Windows installation files. Corrupted or outdated installation files can lead to a failed installation. Download the installation files directly from the official Microsoft website or trusted sources.
Ensure Sufficient Storage Space: If you receive an error indicating insufficient storage space during the installation process, ensure that your external hard drive has enough free space to accommodate the Windows installation. Delete any unnecessary files or applications to free up space.
Update Drivers: If you’re facing compatibility issues or experiencing hardware-related errors, ensure that you have the latest drivers installed for your computer’s components. Visit the manufacturer’s website and download the appropriate drivers for your hardware devices.
Check External Hard Drive Health: If your external hard drive is experiencing performance issues or is not functioning properly, use disk utility software to check its health and diagnose any potential errors. Repair or replace the drive if necessary.
Verify Bootable Windows Installation: If the external drive is not booting into Windows, check if the bootable Windows installation on the external drive is properly created. Repeat the creation process if necessary, ensuring that all files and partitions are correctly configured.
Seek Additional Support: If you’ve exhausted all troubleshooting options and are still experiencing issues, it’s advisable to seek additional support. Consult online forums, community forums, or reach out to technical support for further assistance based on your specific hardware and software configuration.
Remember, troubleshooting can be a trial-and-error process. Be patient, take notes of any error messages or specific issues encountered, and use online resources to help you pinpoint and resolve the problem. With perseverance, you’ll be able to overcome any challenges and successfully boot Windows from your external hard drive.
Conclusion
Boot Windows from an external hard drive provides a flexible and portable computing experience that allows you to take your operating system with you wherever you go. By following the step-by-step guide and considering the necessary factors, you can successfully set up and enjoy the benefits of booting Windows from an external drive.
The portability of booting from an external hard drive gives you the freedom to use your personalized Windows environment on any computer that supports booting from external devices. This offers convenience, privacy, and security, as your operating system and data are separate from the host computer.
Before starting the process, ensure compatibility, consider storage capacity and performance, and back up your data to avoid any unexpected issues. Follow the step-by-step guide, including creating a bootable Windows installation, accessing BIOS/UEFI settings, and customizing Windows settings.
If you face any troubleshooting issues, use the provided tips to resolve common problems. Check connections, verify BIOS/UEFI settings, use reliable Windows installation files, update drivers, and ensure sufficient storage space. Seeking additional support from online communities or technical support is also a valuable option.
Now that you have a comprehensive understanding of booting Windows from an external hard drive, you can enjoy the flexibility, convenience, and personalized experience it offers. Whether you’re a digital nomad, a tech enthusiast, or simply seeking a backup and portable solution, booting Windows from an external hard drive opens up a world of possibilities.
So, unleash your creativity, enhance your productivity, and make the most of your Windows OS by taking it on the go with an external hard drive. Embrace the power of portability and experience Windows like never before!