Introduction
Installing Windows on an external hard drive can provide you with the flexibility to have a portable operating system that you can use on any computer. Whether you want a backup solution or need to carry your work environment with you, this guide will walk you through all the steps needed to install Windows on an external hard drive.
By following these instructions, you can create a bootable external hard drive that will allow you to easily start up and run Windows on any compatible computer. This means that you can have your personalized Windows experience with all your preferred settings, software, and files available wherever you go.
It’s essential to have the necessary materials ready before you begin, including an external hard drive with enough storage space, a Windows installation disc or ISO file, and a computer with administrative privileges. Additionally, you’ll need a USB drive to create a bootable installer.
In this guide, we will explain how to prepare the external hard drive, create a bootable USB drive, install Windows on the external hard drive, configure the boot settings, and complete the installation process. Each step will be outlined in detail to ensure you can successfully install Windows on your external hard drive.
Installing Windows on an external hard drive is a great solution for users who need a portable operating system that can be accessed anytime, anywhere. It offers convenience and flexibility for those who work on multiple computers or require a portable backup solution. Let’s dive in and learn how to install Windows on an external hard drive!
Step 1: Gather the necessary materials
Before you begin installing Windows on your external hard drive, it’s vital to ensure that you have all the necessary materials ready. Here is a checklist of items you will need for a successful installation:
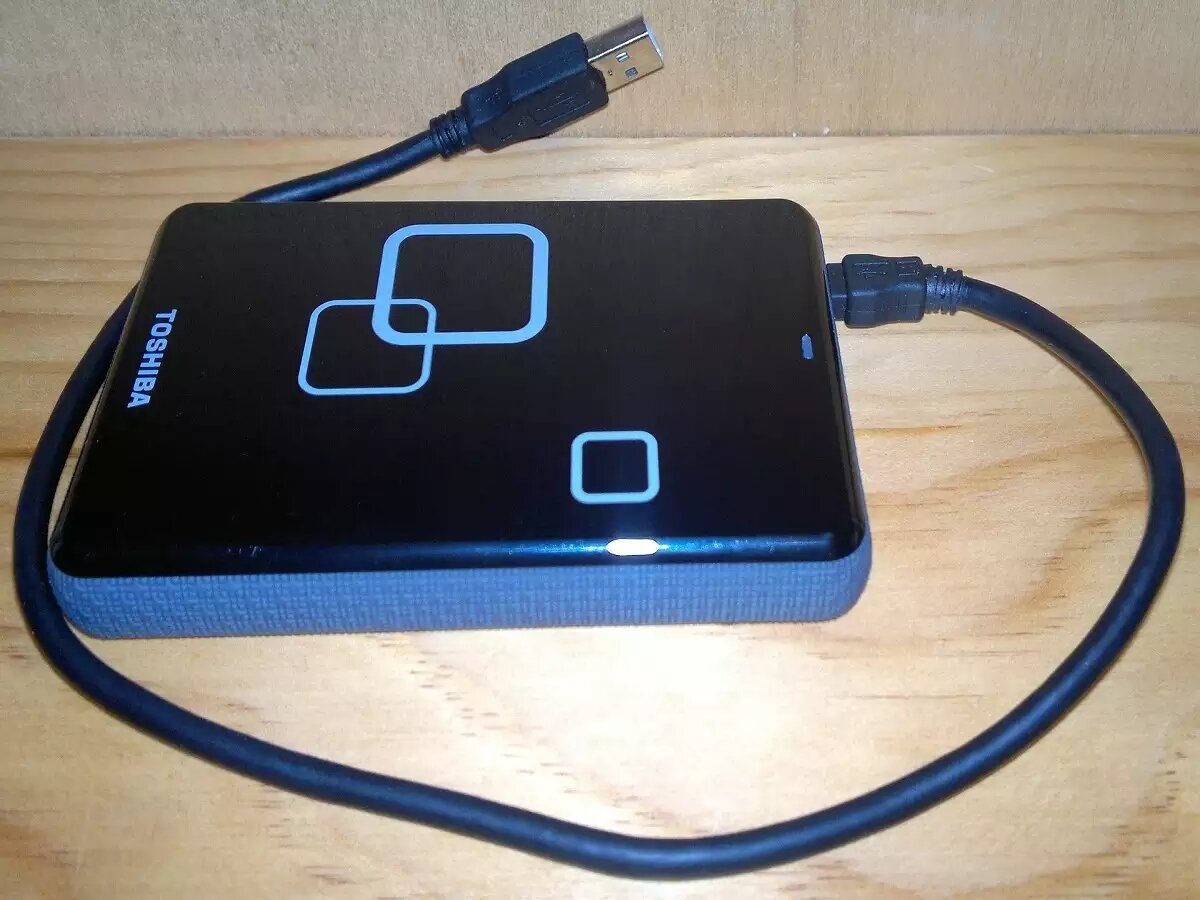
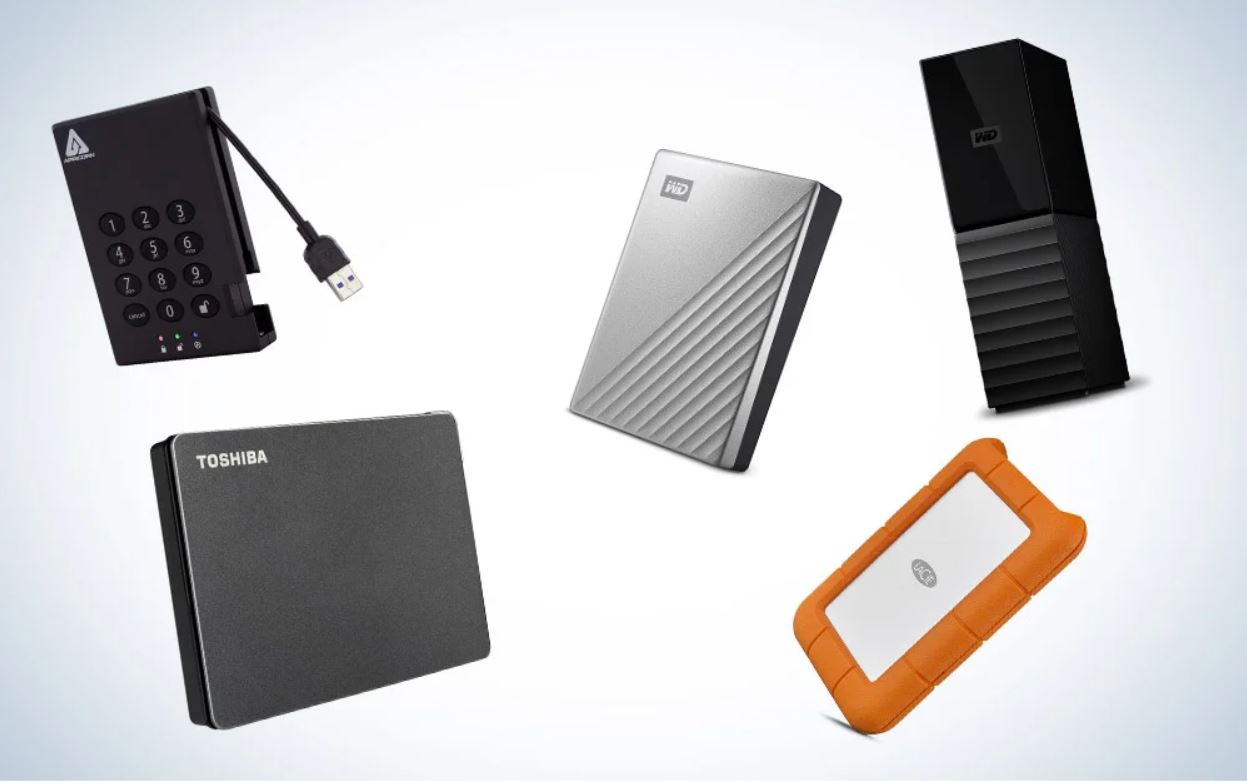
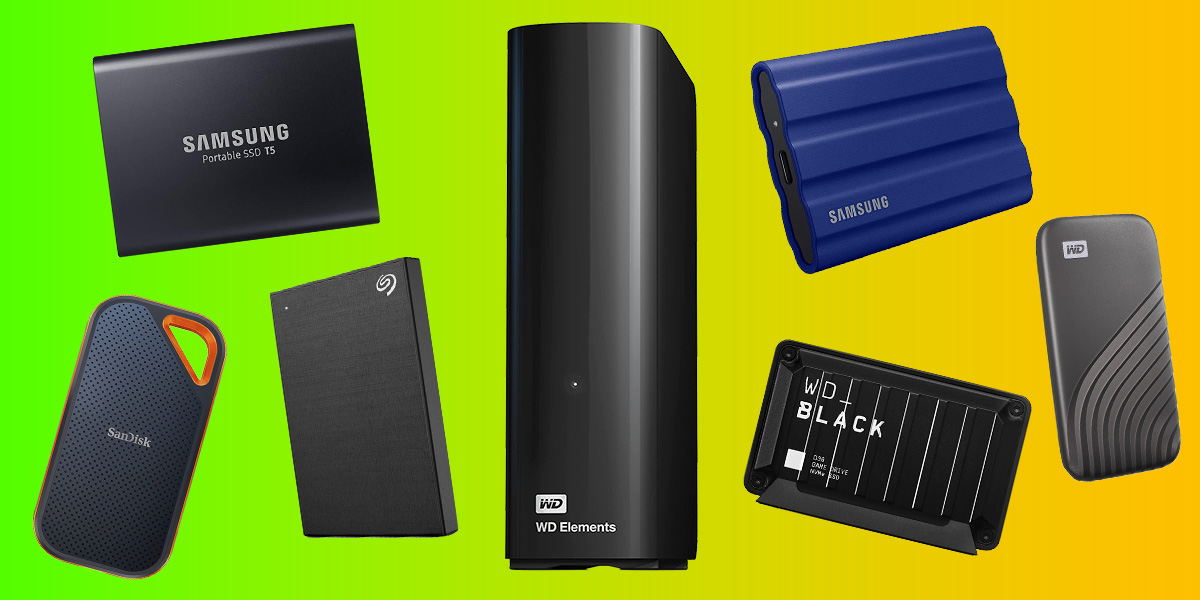
- External hard drive: Select a reliable external hard drive with sufficient storage space to accommodate both the Windows operating system and any additional software you plan to install. It’s recommended to have at least 64 GB of free space to allow for smooth operation.
- Windows installation disc or ISO file: You will need a valid copy of the Windows operating system, either in the form of an installation disc or an ISO file. Make sure you have a legitimate license key to activate Windows during the installation process.
- Computer with administrative privileges: Ensure that you have access to a computer on which you have administrative privileges. This will allow you to perform the necessary actions to create a bootable USB drive and install Windows on the external hard drive.
- USB drive: You will need a USB drive with sufficient storage capacity to create a bootable installer for Windows. It’s recommended to use a USB drive with at least 8 GB of storage space to accommodate the Windows installation files.
Double-check that you have all the required materials readily available before proceeding to the next steps. Without these essential items, you won’t be able to successfully install Windows on your external hard drive.
Once you have gathered all the necessary materials, you are ready to move on to the next step: preparing the external hard drive. Remember to refer back to this checklist if you need to confirm that you have everything you need to complete the installation process.
Step 2: Prepare the external hard drive
Now that you have all the necessary materials, it’s time to prepare your external hard drive for the Windows installation. Follow these steps to ensure that the external hard drive is properly formatted and ready to receive the operating system:
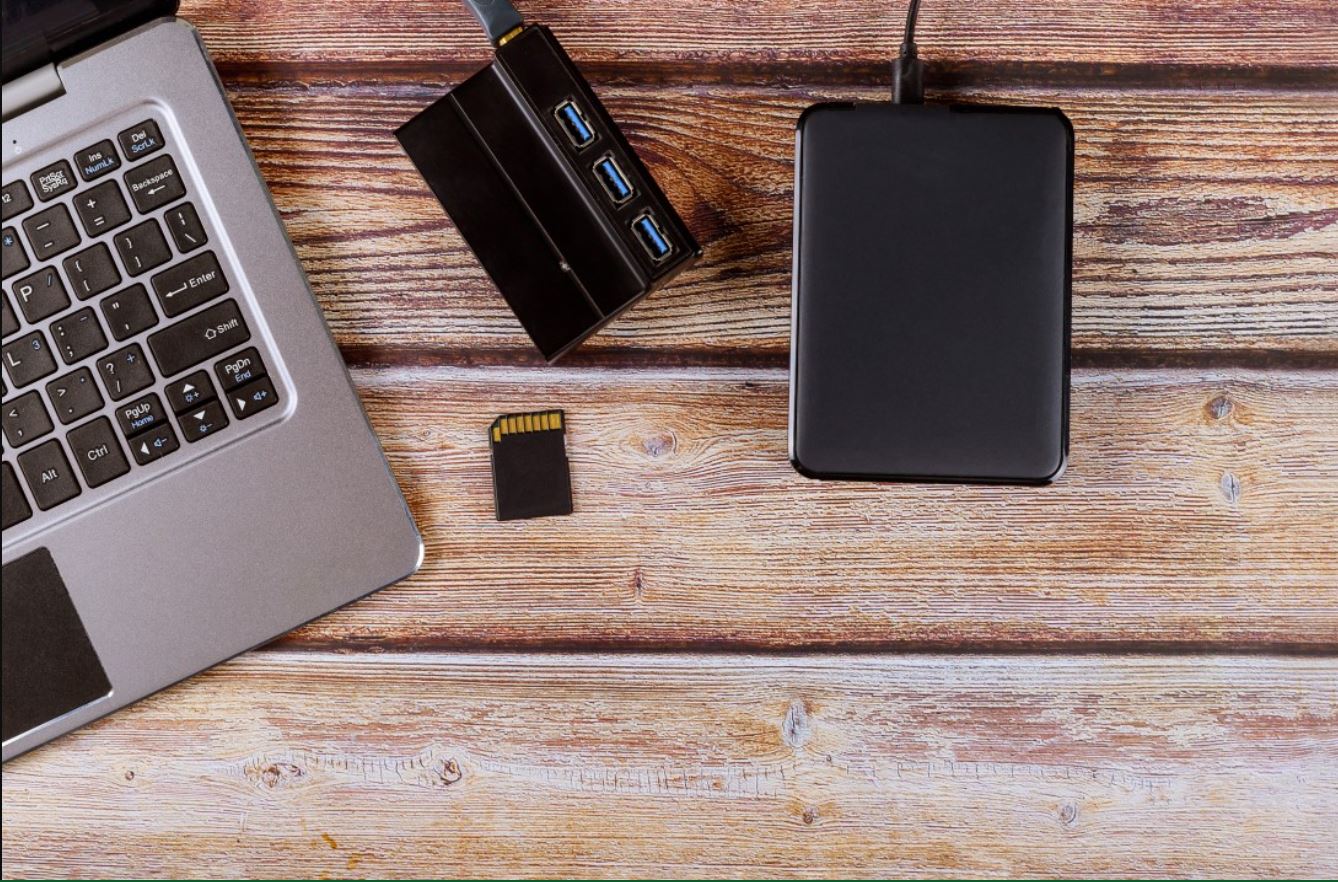
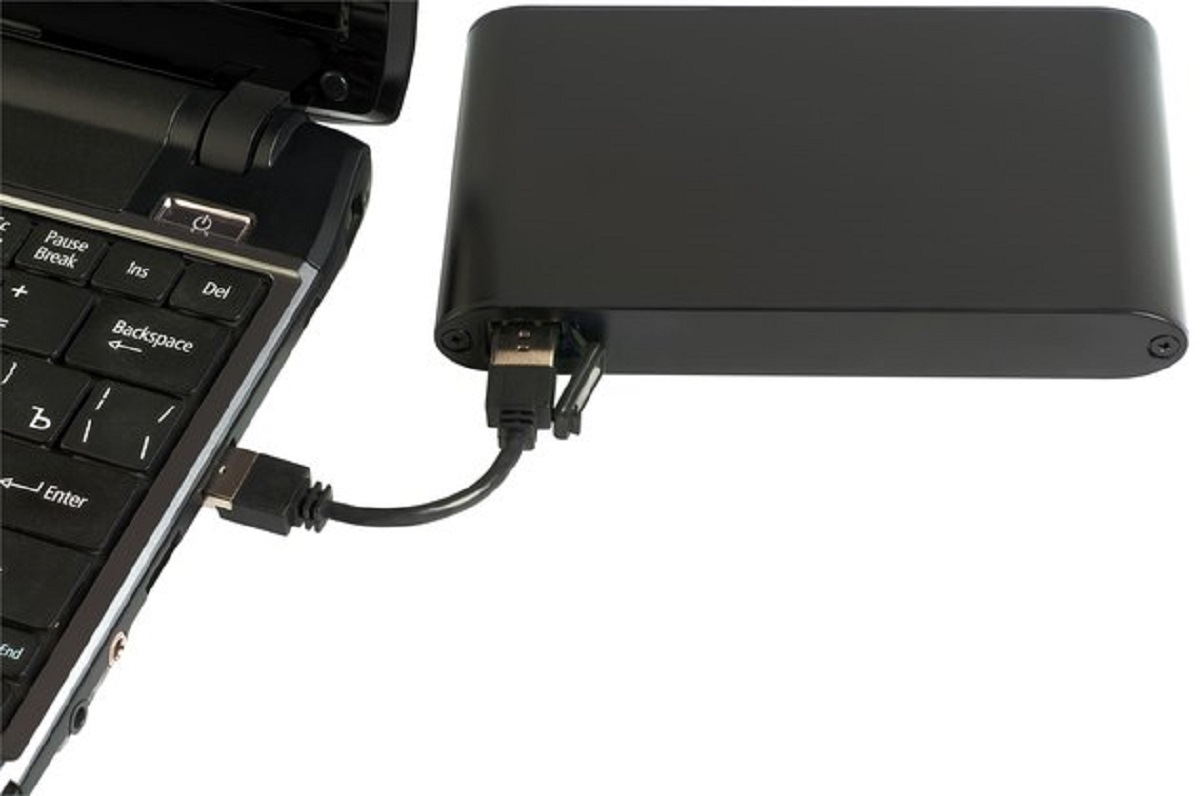
- Connect the external hard drive: Plug your external hard drive into a USB port on your computer. Make sure it is recognized and accessible by your operating system.
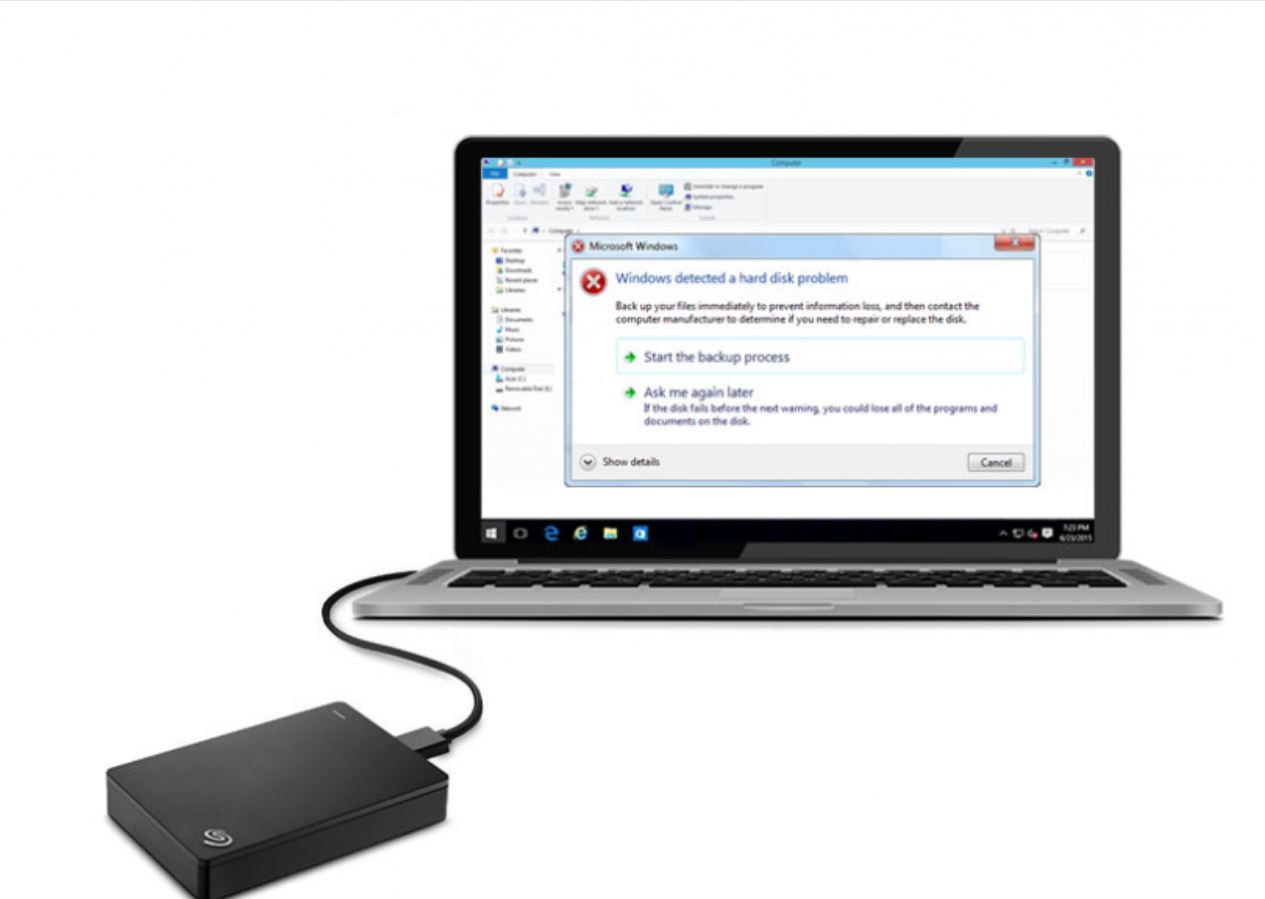
- Backup your data: Before proceeding with the preparation process, it is crucial to back up any data stored on your external hard drive. Formatting the drive will erase all existing data, so ensure that you have a copy of any important files stored elsewhere.
- Open Disk Management: In Windows, go to the Start menu, type “Disk Management” in the search bar, and open the Disk Management utility. This tool allows you to manage disk partitions and format the external hard drive.
- Select the external hard drive: Locate your external hard drive in the Disk Management window. It will be displayed as a separate disk, usually labeled with a drive letter.
- Format the external hard drive: Right-click on the external hard drive and select the “Format” option. Choose a file system (such as NTFS) and provide a name for the drive. Click “OK” to start the formatting process. This may take a few minutes, depending on the size of the drive.
Once the formatting is complete, your external hard drive is now ready to receive the Windows operating system. The drive should be empty and prepared for the installation process. You can now proceed to the next step, which involves creating a bootable USB drive to facilitate the Windows installation.
It’s essential to properly format the external hard drive to ensure that Windows can be installed and run smoothly. Following these steps will help you prepare the drive without any issues. Make sure to pay attention to the formatting process and confirm that your external hard drive is recognized and ready for the Windows installation.
Step 3: Create a bootable USB drive
In order to install Windows on your external hard drive, you need to create a bootable USB drive. This will allow you to boot from the USB and initiate the installation process. Follow the steps below to create a bootable USB drive:
- Download the Windows Media Creation Tool: Visit the official Microsoft website and download the Windows Media Creation Tool. This tool will help you create a bootable USB drive with the Windows installation files.
- Run the Media Creation Tool: Once the download is complete, run the Media Creation Tool on your computer. You may be asked to accept the license terms before proceeding.
- Select “Create installation media”: In the Media Creation Tool, select the option to “Create installation media (USB flash drive, DVD, or ISO file)” and click “Next”.
- Choose the USB drive: On the next screen, select “USB flash drive” as the media to use and click “Next”. Make sure that the correct USB drive is selected and that it has sufficient free space.
- Wait for the tool to create the bootable USB drive: The Media Creation Tool will now download the necessary Windows installation files and copy them to the USB drive. This process may take some time, depending on your internet connection and the speed of your USB drive.
- Complete the USB drive creation: Once the tool has finished creating the bootable USB drive, you will see a confirmation message. Your USB drive is now ready to be used for the Windows installation.
It’s important to note that creating a bootable USB drive will erase all existing data on the drive. Therefore, make sure to back up any important files before proceeding with this step.
With the bootable USB drive in hand, you are now equipped to install Windows on your external hard drive. In the next step, we will guide you through the installation process itself, ensuring that your external hard drive becomes a fully functional Windows device.
Step 4: Install Windows on the external hard drive
Now that you have prepared a bootable USB drive, it’s time to install Windows on the external hard drive. Follow these steps to initiate the installation process and ensure that Windows is installed successfully:
- Connect the bootable USB drive: Plug the bootable USB drive into a USB port on your computer.
- Restart your computer: Restart your computer and enter the BIOS settings by pressing a specific key (such as F2 or Delete) during the startup process. This key varies depending on your computer’s manufacturer. Consult your computer’s manual or search online for the correct key to access the BIOS settings.
- Modify the boot order: In the BIOS settings, navigate to the “Boot” or “Boot Order” section and set the USB drive as the first boot device. Save the changes and exit the BIOS settings.
- Boot from the USB drive: When your computer restarts, it should now boot from the USB drive. Follow the on-screen prompts to start the Windows installation process.
- Select language, time, and keyboard settings: On the initial Windows setup screen, choose your preferred language, time format, and keyboard layout. Click “Next” to continue.
- Install Now: Click the “Install Now” button to initiate the Windows installation process.
- Enter your product key: Enter your valid Windows product key when prompted. This key is usually provided with your Windows installation disc or in the confirmation email if you purchased a digital copy. Click “Next” to proceed.
- Accept the license terms: Read the license terms and select the checkbox to accept them. Click “Next” to continue.
- Select the installation type: Choose the “Custom: Install Windows only (advanced)” option to perform a clean installation of Windows on the external hard drive.
- Choose the external hard drive: In the disk partitioning screen, select your external hard drive as the destination for the Windows installation. Be cautious not to select your computer’s internal hard drive to prevent accidentally overwriting your existing operating system.
- Begin the installation: Click “Next” to start the installation process. Windows will copy the required files and install the operating system onto the external hard drive. This process may take some time, so be patient.
Once the installation is complete, your external hard drive will be equipped with Windows and ready to use as a portable operating system. Remember to remove the bootable USB drive from the computer before restarting to avoid booting from it again.
Congratulations! You have successfully installed Windows on your external hard drive. In the next step, we will explain how to configure the boot settings to ensure smooth startup and accessibility of your newly installed Windows system.
Step 5: Configure the boot settings
After installing Windows on your external hard drive, it’s important to configure the boot settings to ensure a smooth startup process. Follow these steps to configure the boot settings and make your external hard drive the primary boot option:
- Restart your computer: After the Windows installation is complete, restart your computer.
- Enter the BIOS settings: During the startup process, enter the BIOS settings by pressing the appropriate key (usually F2, Delete, or Esc) as indicated on the screen. Refer to your computer’s manual or search online for the specific key for your computer model.
- Access the boot settings: In the BIOS settings, navigate to the “Boot” or “Boot Order” section. Look for an option that allows you to prioritize the boot device or change the boot order. This setting may be named “Boot Priority,” “Boot Sequence,” or something similar.
- Set the external hard drive as the first boot device: In the boot settings, select the external hard drive as the first boot device. This will ensure that your computer boots from the external hard drive by default whenever it starts up.
- Save the changes: Once you have set the external hard drive as the first boot device, save the changes and exit the BIOS settings. This will restart your computer.
Now, whenever you start your computer, it will automatically boot from the external hard drive, where you have installed Windows. This will allow you to access your personalized Windows environment and use your preferred settings, software, and files wherever you go.
It’s important to note that some computers may have additional settings that need to be adjusted to ensure proper booting from the external hard drive. These settings may include disabling Secure Boot or enabling Legacy Boot mode. Refer to your computer’s manual or consult online resources specific to your computer model if you encounter any issues during the boot configuration process.
With the boot settings properly configured, you can now enjoy the convenience and flexibility of using Windows on your portable external hard drive. Your customized Windows environment is ready for use on any compatible computer you connect your external hard drive to.
In the next and final step, we will guide you through the completion of the installation process, ensuring that all remaining steps are completed for a fully functional Windows system on your external hard drive.
Step 6: Complete the installation process
You’re almost there! In this final step, we will cover the remaining tasks to complete the installation process and ensure that your Windows installation on the external hard drive is fully functional. Follow these steps to complete the installation process:
- Follow the on-screen prompts: After configuring the boot settings and restarting your computer, Windows will continue the installation process. Follow the on-screen prompts to set up your region, language preferences, and user accounts.
- Activate Windows: If prompted, enter your Windows product key to activate your copy of Windows. This key is usually provided with your Windows installation disc or in the confirmation email if you purchased a digital copy. Follow the instructions to activate Windows and validate your license.
- Install drivers and software: Once you reach the Windows desktop, connect your external hard drive, and install any necessary drivers for your computer to recognize and utilize the external hard drive properly. Additionally, install any essential software that you need for your specific requirements.
- Update Windows: It’s crucial to ensure that your Windows installation is up to date with the latest security patches and updates. Connect to the internet and navigate to the Windows Update settings to check for and install any available updates. This will help improve the stability, performance, and security of your Windows system.
- Test functionality: After installing drivers, software, and updates, take a moment to test the functionality of your Windows installation on the external hard drive. Ensure that all external devices, such as printers or scanners, are working properly and that you have access to your files and applications.
- Safely eject the external hard drive: When you’re finished using the Windows installation on your external hard drive, it’s essential to eject it safely from the computer. This helps prevent data corruption and ensures that all files are properly closed before disconnecting the drive.
By completing these final steps, you wrap up the installation process and have a fully functional Windows system on your external hard drive. You can now enjoy the convenience of accessing your personalized Windows environment and files on any compatible computer.
Remember to periodically update your Windows installation, back up your data regularly, and keep your external hard drive in a safe and secure location to preserve the longevity of your Windows installation.
Congratulations! You have successfully completed the installation process for Windows on your external hard drive. Enjoy the flexibility and portability of having Windows available wherever you go!
Conclusion
Installing Windows on an external hard drive provides you with the convenience and flexibility of having a portable operating system that you can use on any compatible computer. It allows you to carry your personalized Windows environment, complete with your preferred settings, software, and files, wherever you go.
Throughout this guide, we have walked you through the step-by-step process of installing Windows on an external hard drive. We covered gathering the necessary materials, preparing the external hard drive, creating a bootable USB drive, installing Windows on the external hard drive, configuring the boot settings, and completing the installation process.
By following these instructions, you can create a fully functional Windows system on your external hard drive. Whether you need a portable work environment, a backup solution, or simply want the convenience of accessing your preferred Windows setup wherever you go, this guide has provided you with the knowledge to accomplish just that.
Remember to consider the system requirements for Windows, ensure that you have the necessary materials, and take the time to properly prepare and format your external hard drive. Pay attention to the boot settings and follow the installation prompts to activate Windows and install any necessary drivers and updates.
With Windows successfully installed on your external hard drive, you now have the freedom to take your customized operating system with you and use it on any compatible computer. Whether you’re a digital nomad, a freelancer, or someone who simply wants the flexibility of a portable operating system, installing Windows on an external hard drive is a game-changer.
Remember to keep your Windows installation on the external hard drive up to date with regular updates and backups. Safely eject the external hard drive when not in use and store it in a safe and secure place to protect your data.
We hope this guide has been informative and helpful in assisting you through the process of installing Windows on an external hard drive. Embrace the power of portability and enjoy the freedom of having Windows at your fingertips, no matter where you are.