Introduction
Welcome to this helpful guide on how to add a user to Windows 10. Whether you want to create a new account for a family member, a friend, or even for yourself, Windows 10 offers a simple and straightforward process to accomplish this. By adding a user, each person can have their own personalized settings, files, and applications on the computer, ensuring a personalized and secure experience.
Windows 10 provides different types of user accounts, such as local accounts and Microsoft accounts. Local accounts are ideal for individuals who primarily use the computer offline, while Microsoft accounts offer additional benefits like syncing settings across devices and accessing Microsoft services like OneDrive and the Windows Store. In this guide, we’ll cover both account types, allowing you to choose the one that best suits your needs.
Whether you’re setting up a new user account for yourself or someone else, this step-by-step tutorial will walk you through the process of adding a user to Windows 10. From accessing the User Accounts settings to filling in user details and setting up passwords, we’ll cover everything you need to know to ensure a smooth and hassle-free experience.
So, let’s get started and learn how to add a user to Windows 10!
Step 1: Accessing the User Accounts settings
The first step in adding a user to Windows 10 is to access the User Accounts settings. This is where you can manage and create new user accounts on your computer. Follow these simple steps:
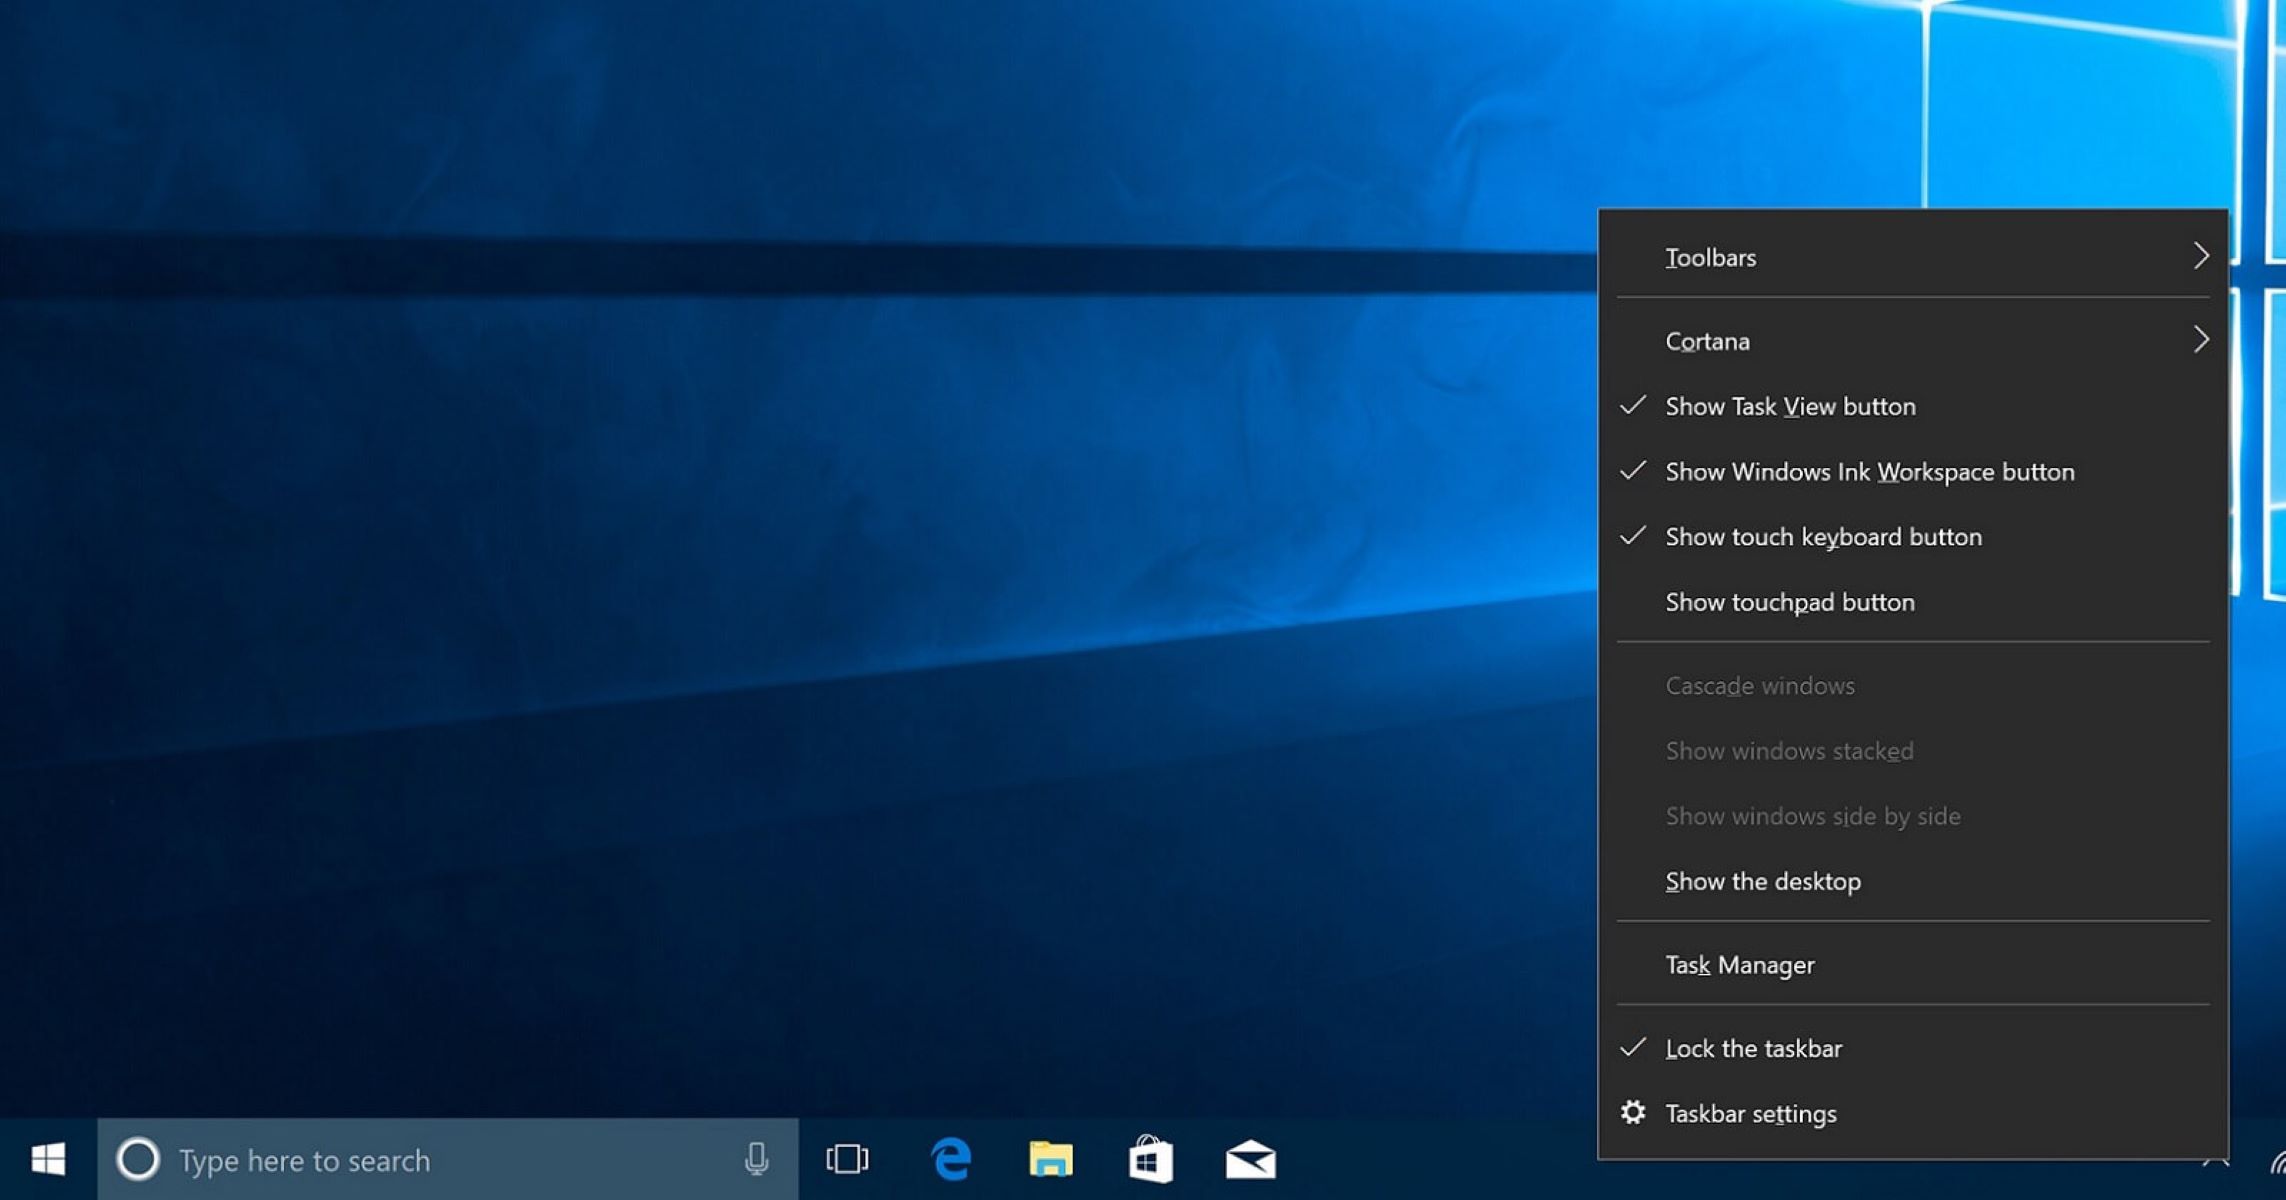
- Click on the “Start” button located at the bottom left corner of the Windows 10 taskbar. This will open the Start menu.
- From the Start menu, click on the “Settings” icon, which looks like a gear. This will open the Windows Settings menu.
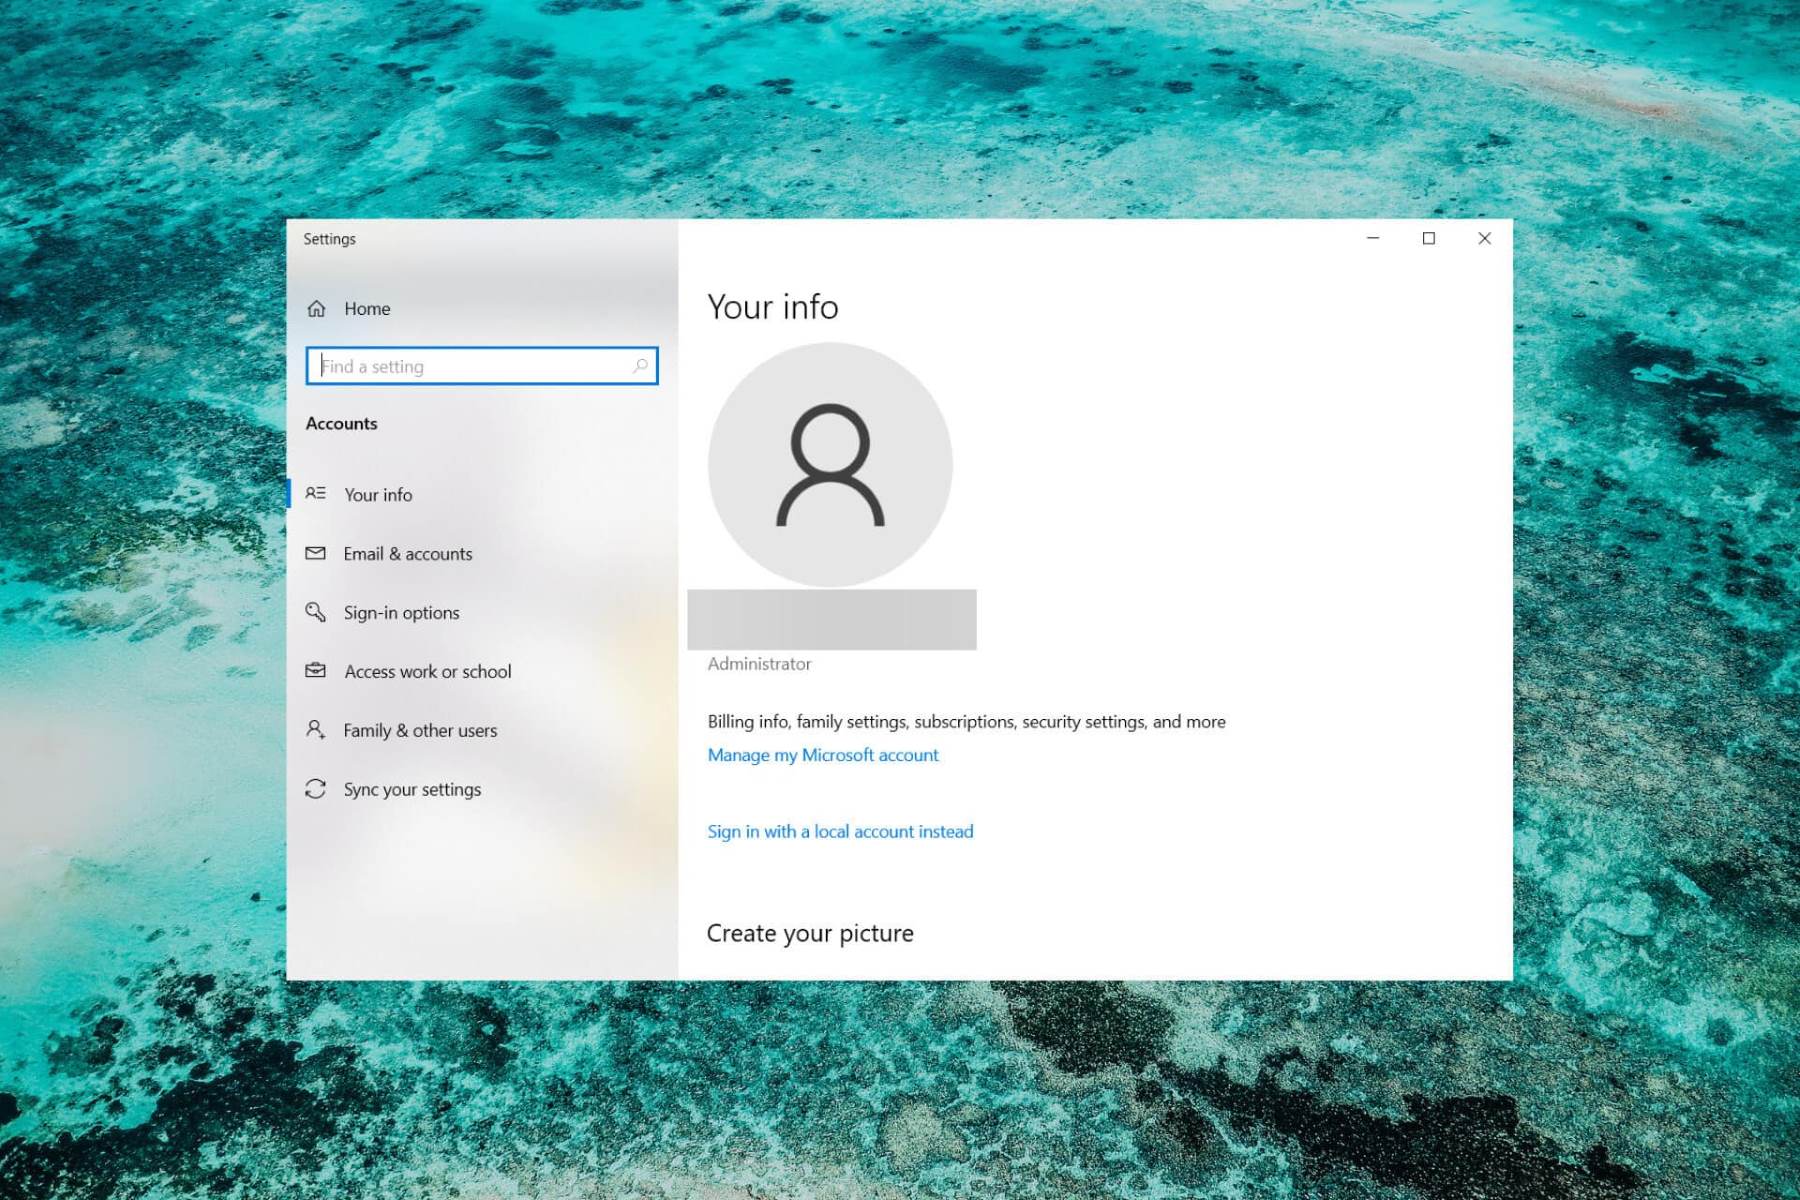
- In the Windows Settings menu, click on the “Accounts” option. This will open the Accounts settings page.
- On the left side of the Accounts settings page, click on the “Family & other users” tab. This will display the options related to user accounts.
- Scroll down to the “Other users” section. Here, you will find the option to add a new user to Windows 10.
That’s it! You have successfully accessed the User Accounts settings, and now you’re ready to proceed to the next step of adding a new user.
Note: In order to access the User Accounts settings, you will need administrative privileges on your Windows 10 computer. If you’re not logged in as an administrator, you may need to provide administrator credentials to make changes to user accounts.
Step 2: Adding a new user
Now that you have accessed the User Accounts settings, it’s time to add a new user to Windows 10. Follow these steps:
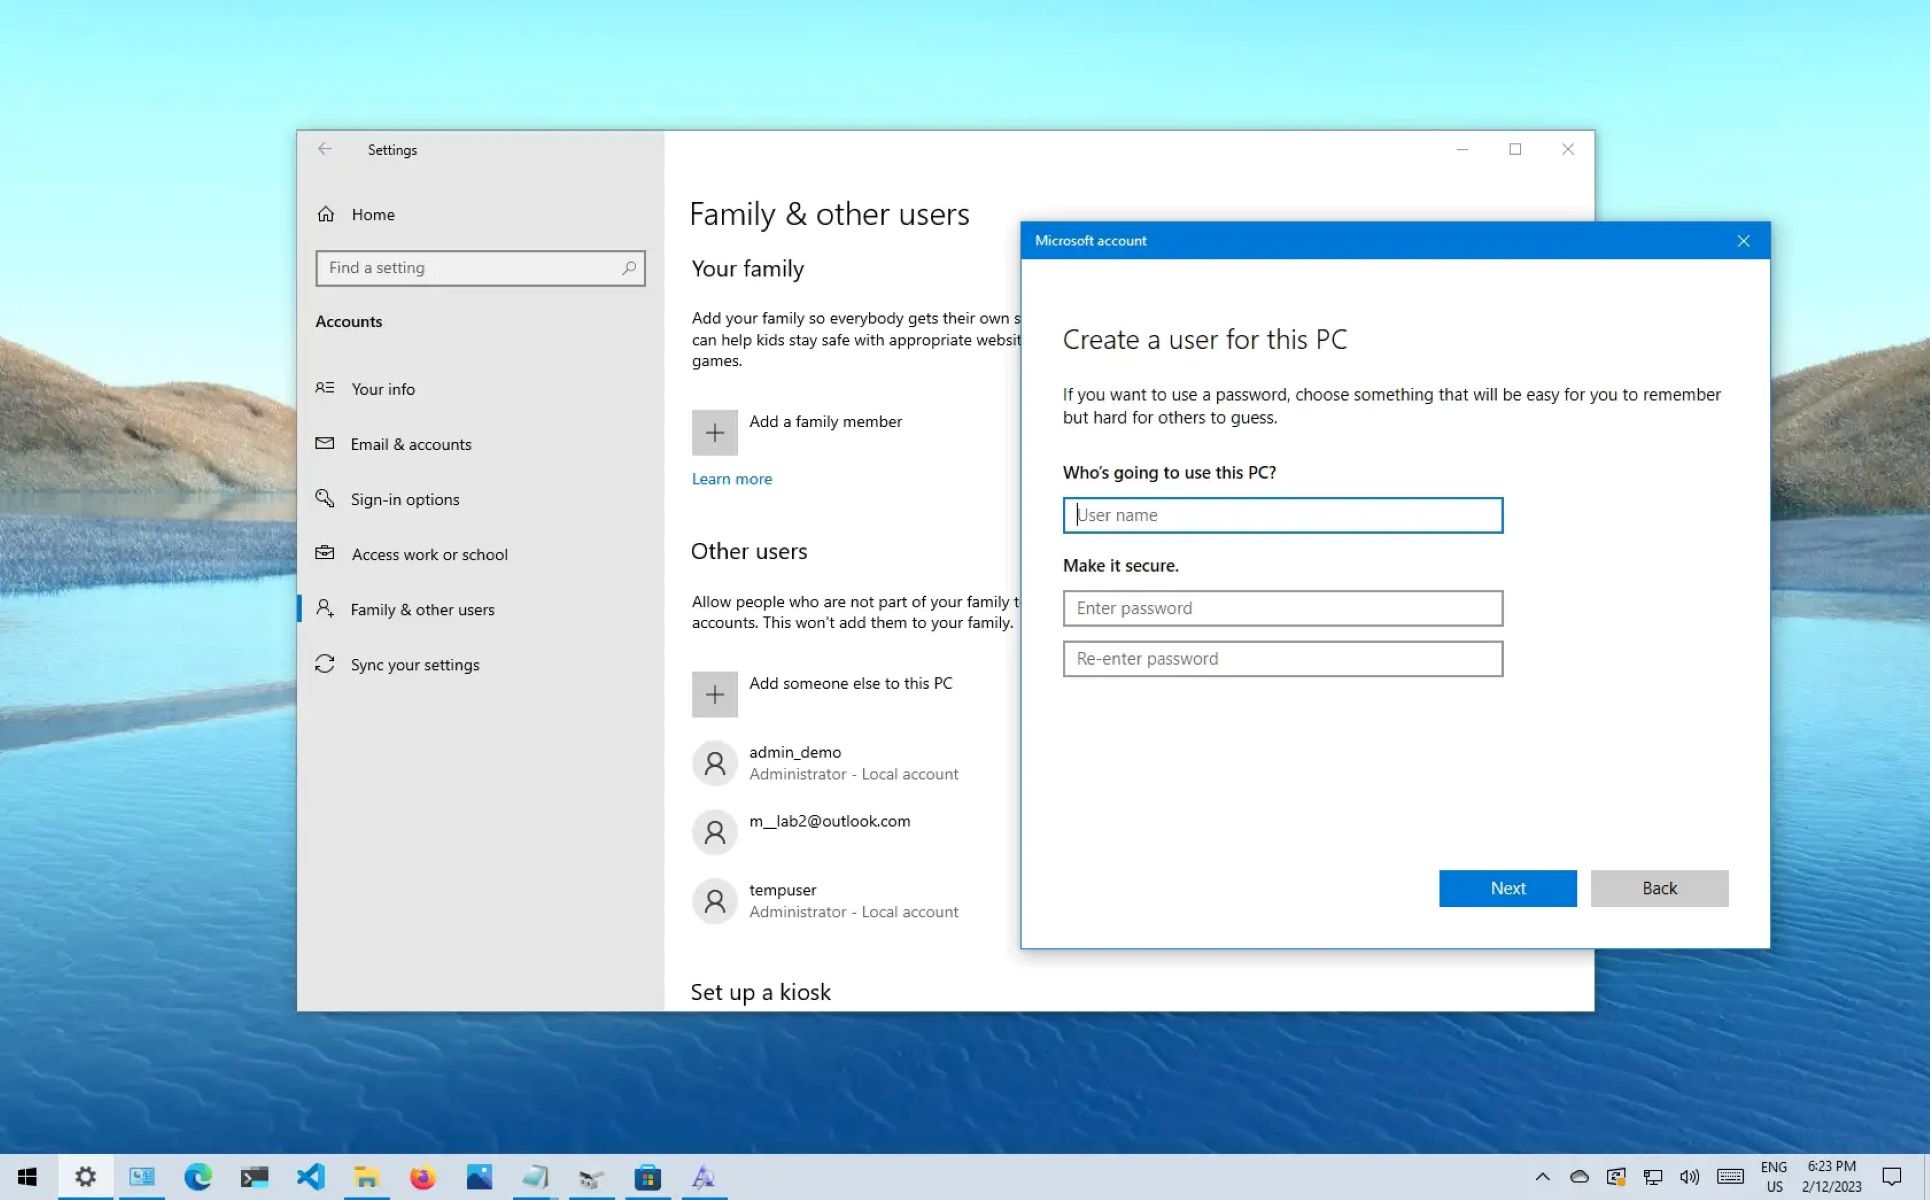
- On the “Other users” section of the Accounts settings page, click on the “Add someone else to this PC” button. This will start the process of adding a new user.
- A new window will appear, presenting you with two options for adding a user: “Microsoft account” and “Local account.” Choose the option that suits your needs.
- If you select the “Microsoft account” option, you will need to enter the email address associated with the Microsoft account you want to add as a user. If the person does not have a Microsoft account, you can click on the “The person I want to add doesn’t have an email address” link to create a new Microsoft account for them.
- If you select the “Local account” option, you will need to enter a username and password for the new local account. Optionally, you can also set up security questions to help with the account recovery process.
- After entering the required information, click on the “Next” button to proceed.
Windows 10 will now process your request and create the new user account. This may take a few moments, so be patient.
Once the process is complete, you will be redirected to the “Family & other users” section of the Accounts settings page. Here, you will see the newly added user account listed under the “Other users” section.
Congratulations! You have successfully added a new user to Windows 10. Now, you can proceed to the next step of selecting the account type for the user.
Step 3: Selecting the account type
After adding a new user to Windows 10, the next step is to select the account type for the user. Depending on the preferences and requirements of the user, you can choose between a standard user account or an administrator account. Here’s how to do it:
- On the “Family & other users” section of the Accounts settings page, locate the newly added user account under the “Other users” section.
- Click on the user account to select it.
- Under the user’s name, you will see a dropdown menu labeled “Account type.” Click on the dropdown arrow to open the menu.
- From the account type dropdown menu, select either “Standard user” or “Administrator” based on the user’s needs.
- If you choose “Standard user,” the user will have limited permissions and will not be able to make system-wide changes or install software without administrator approval.
- If you choose “Administrator,” the user will have full control over the system and will be able to make changes and install software without additional approval.
- Once you have selected the desired account type, the changes will be applied automatically.
It’s important to consider the user’s level of trust and responsibility when assigning an account type. For everyday users who do not need advanced system privileges, a standard user account is recommended to maintain system security and stability.
On the other hand, if the user needs to install applications, modify system settings, or perform administrative tasks, an administrator account might be more appropriate. However, it’s crucial to exercise caution when granting administrative access to prevent any potential misuse or unintentional modifications.
That’s it! You have successfully selected the account type for the newly added user. Now, you can proceed to the next step of filling in the user details.
Step 4: Filling in the user details
Once you have chosen the account type for the new user, the next step is to fill in their details. This includes providing their name and, if necessary, additional information for identification purposes. Follow these steps to complete this process:
- On the “Family & other users” section of the Accounts settings page, locate the newly added user account under the “Other users” section.
- Click on the user account to select it.
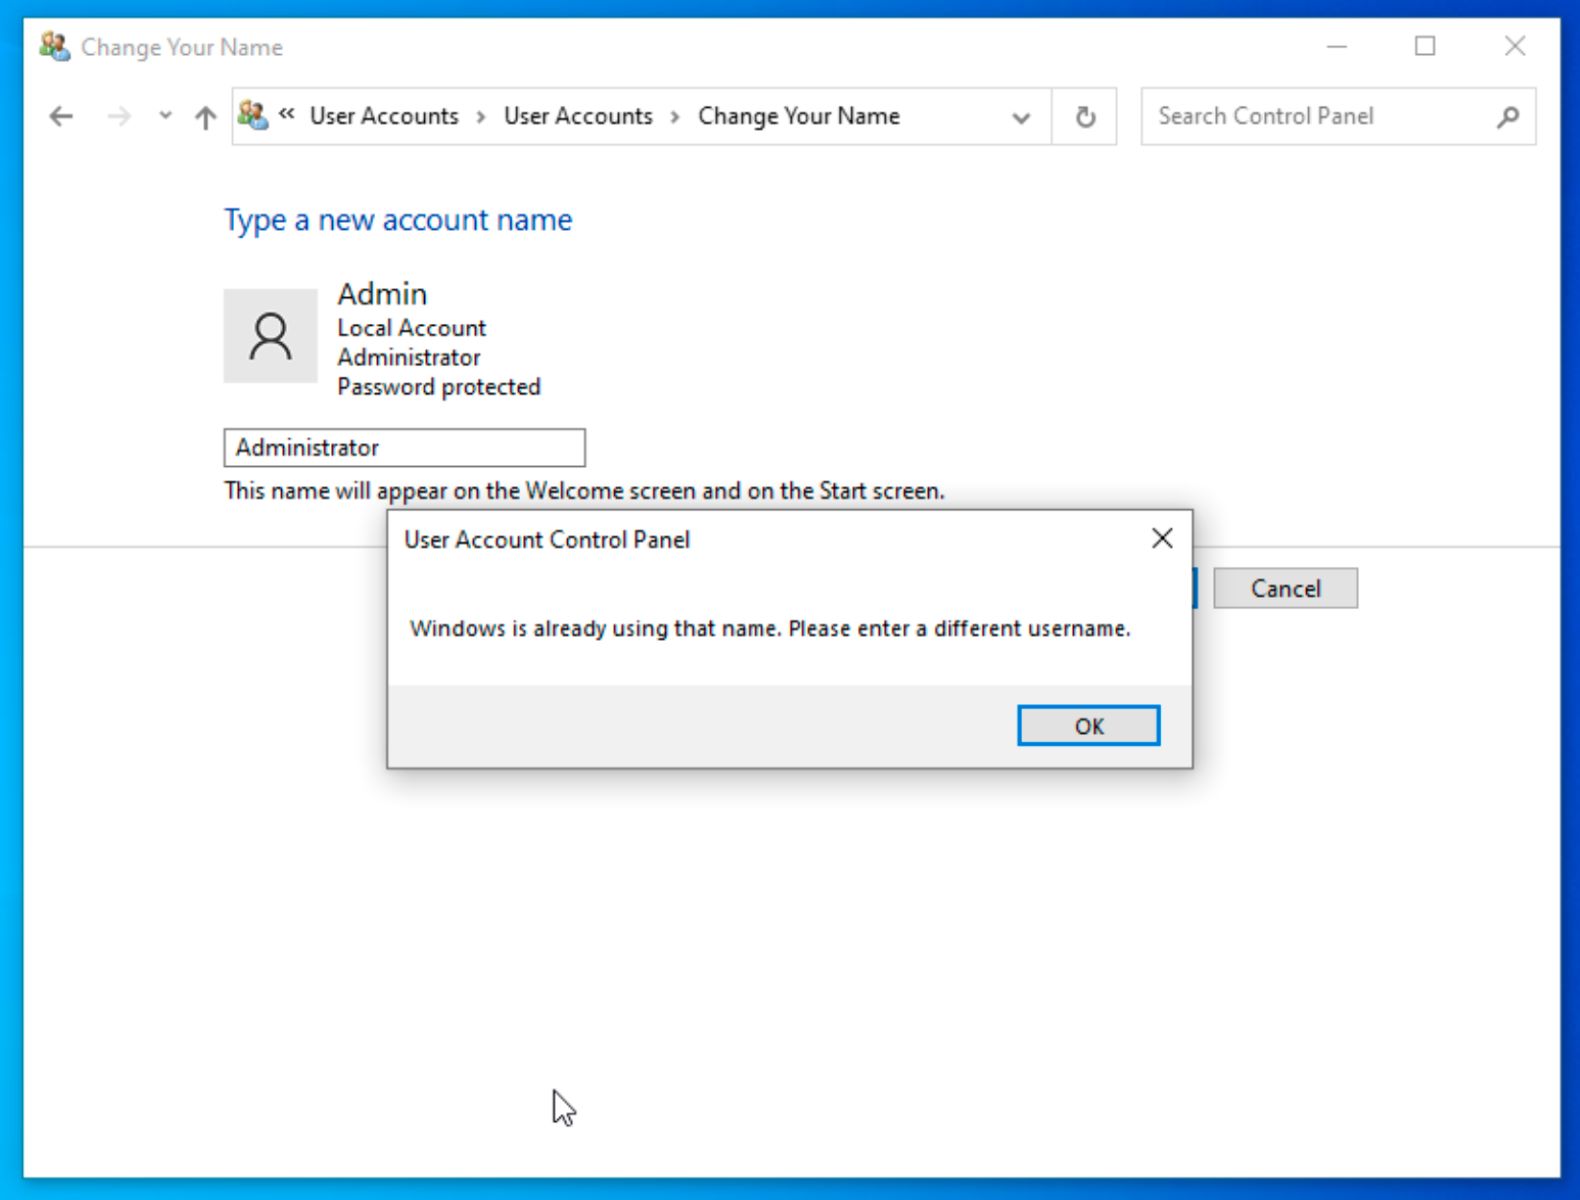
- Under the user’s name, you will find an option labeled “Change account name.” Click on this option to modify the default name assigned to the user.
- In the dialog box that appears, enter the desired name for the user.
- If needed, you can also provide additional details such as a last name or any other information that may be helpful for identification purposes.
- Once you have filled in the necessary details, click on the “OK” or “Save” button to save the changes.
By customizing the account name and providing any additional details, you can make the user’s account more personalized and easily identifiable. This is particularly useful when there are multiple user accounts on a shared computer.
Remember that the user’s account name will be displayed during the login process and in various system locations. It’s advisable to use clear and concise names to avoid confusion.
That’s it! You have successfully filled in the user details for the newly added account. Now, you can proceed to the next step of setting up a password for the user.
Step 5: Setting up the user password
One of the most important steps in adding a new user to Windows 10 is setting up a secure password for their account. A strong password helps protect the user’s personal information and ensures the integrity of their account. Follow these steps to set up a password:
- On the “Family & other users” section of the Accounts settings page, locate the newly added user account under the “Other users” section.
- Click on the user account to select it.
- Under the user’s name, you will see an option labeled “Password.” Click on the “Change” button next to it.
- A dialog box will appear, asking you to verify your identity. This step ensures that only authorized users can make changes to the account.
- Enter your administrator password or provide the necessary authentication method to proceed.
- In the new dialog box, enter the desired password for the user’s account.
- Windows 10 includes password strength requirements to ensure the security of the account. Make sure your password meets these requirements, including a mix of uppercase and lowercase letters, numbers, and special characters.
- Re-enter the password to confirm the selection.
Setting up a strong and unique password is crucial. Avoid using common passwords or easily guessable information, such as names, dates, or words found in the dictionary. Instead, opt for a combination of random characters to enhance the password’s strength.
Additionally, it’s good practice to change passwords periodically and avoid reusing passwords across multiple accounts to minimize the risk of unauthorized access.
Once you have entered and confirmed the password, click on the “OK” or “Save” button to finalize the changes.
Congratulations! You have successfully set up a password for the user’s account. Now, you can proceed to the final step of finalizing the user creation.
Step 6: Finalizing the user creation
After completing all the necessary steps to add a new user to Windows 10, it’s time to finalize the user creation. This involves reviewing the settings, ensuring everything is in order, and making any necessary adjustments. Follow these steps to finalize the user creation:
- On the “Family & other users” section of the Accounts settings page, locate the newly added user account under the “Other users” section.
- Double-check all the information related to the user, including the account type, name, and password. If any changes are required, you can click on the respective options to make adjustments.
- Review the permissions and access levels assigned to the user. Ensure that the user has the appropriate level of access based on their needs.
- Verify that the user’s account has been successfully created and is listed under the “Other users” section of the Accounts settings page.
- If everything looks correct, you can close the Accounts settings page.
By finalizing the user creation, you have successfully added a new user to Windows 10. The user will now be able to log in to their account using the provided credentials and access the personalized settings and files.
It’s worth mentioning that as an administrator, you have the ability to manage and modify user accounts at any time. This includes changing passwords, updating account types, and removing users if necessary.
With the addition of a new user, each individual can have their own customized experience on the computer, ensuring privacy, security, and a personalized environment for their work or leisure activities.
That’s it! You have completed the process of adding a new user to Windows 10. Congratulations! Now, you can enjoy the benefits of multiple user accounts and provide a personalized computing experience for yourself or others.
Bonus Tip: Adding a Microsoft account as a user
In addition to local accounts, Windows 10 also offers the option to add a Microsoft account as a user. A Microsoft account provides access to various Microsoft services, such as OneDrive, Outlook, and the Windows Store. Adding a Microsoft account offers several benefits, including syncing settings, files, and apps across devices. Here’s how you can add a Microsoft account as a user:
- On the “Family & other users” section of the Accounts settings page, click on the “Add someone else to this PC” button.
- In the new window that appears, click on the “Microsoft account” option.
- Enter the email address associated with the Microsoft account and click on the “Next” button.
- If the person doesn’t have a Microsoft account, click on the “The person I want to add doesn’t have an email address” link. This will allow you to create a new Microsoft account for them.
- Follow the on-screen prompts to set up the Microsoft account, including creating a password and providing the necessary information.
- Once the Microsoft account is created or linked, Windows 10 will complete the user creation process.
Adding a Microsoft account as a user provides seamless integration with Microsoft services and allows for a more connected experience across devices. Users can access their files, emails, and apps, and enjoy the convenience of syncing their settings effortlessly.
It’s important to note that when adding a Microsoft account, users must have an active internet connection to sign in and access their Microsoft services. Additionally, they will need to remember their Microsoft account credentials to log in to their account on the computer.
By adding a Microsoft account as a user, you can take advantage of the additional features and services provided by Microsoft, making your Windows 10 experience more versatile and integrated.
That’s the bonus tip for adding a Microsoft account as a user. Give it a try and enjoy the enhanced functionality and connectivity available through Microsoft services!
Conclusion
Adding a new user to Windows 10 is a simple and essential task that allows for personalized computing experiences, improved security, and organized user management. By following the step-by-step guide outlined in this article, you can easily create a new user account, set up account types, customize user details, and ensure the security of user passwords. Additionally, the bonus tip of adding a Microsoft account as a user offers the benefits of syncing settings and accessing Microsoft services across devices.
By having multiple user accounts on a Windows 10 computer, each individual can have their own personalized settings, files, and applications, allowing for a more efficient and enjoyable user experience. Whether you’re adding users for family members, friends, or even for yourself, the process remains the same.
Remember to carefully assign account types based on user needs and take precautions when setting up passwords. Strong passwords and periodic password changes are crucial for maintaining account security.
Adding users to Windows 10 is not only beneficial for personal use but also for organizations that require multiple user accounts for different employees. It allows for proper user management, access control, and data security.
Now that you have learned how to add a new user to Windows 10, you can confidently set up user accounts and provide a personalized and secure computing environment. Take advantage of the flexibility and convenience of multiple user accounts and enjoy the tailored experience Windows 10 has to offer!