Introduction
Welcome to this tutorial on how to change the administrator on Windows 10. If you are looking to modify the administrator account on your Windows 10 computer, whether it is to enhance security or update permissions, you have come to the right place. In this article, we will explore four different methods that will allow you to change the administrator account on Windows 10.
Having an administrator account on your Windows 10 system provides you with elevated privileges, allowing you to make system-wide changes, install software, and access sensitive files. However, there may be instances where you want to change the administrator’s username or assign a new user as the administrator. This could be due to a change in personnel or the need for different access levels within your organization.
Whatever the reason may be, the following methods will guide you through the process of changing the administrator account on Windows 10. Each method offers its own advantages, and you can choose the one that best suits your needs and level of comfort with the Windows operating system.
It is important to note that changing the administrator account can potentially have significant consequences, such as loss of data or system instability if not performed correctly. Therefore, we recommend following the instructions carefully and taking appropriate backup measures before proceeding with any changes.
Now, let’s dive into the four methods that will show you how to change the administrator on Windows 10, providing you with the flexibility to customize your computer’s settings to your specific requirements.
Method 1: Change Administrator using the User Accounts Settings
The User Accounts Settings in Windows 10 provides a straightforward method to change the administrator account. Here are the steps to follow:
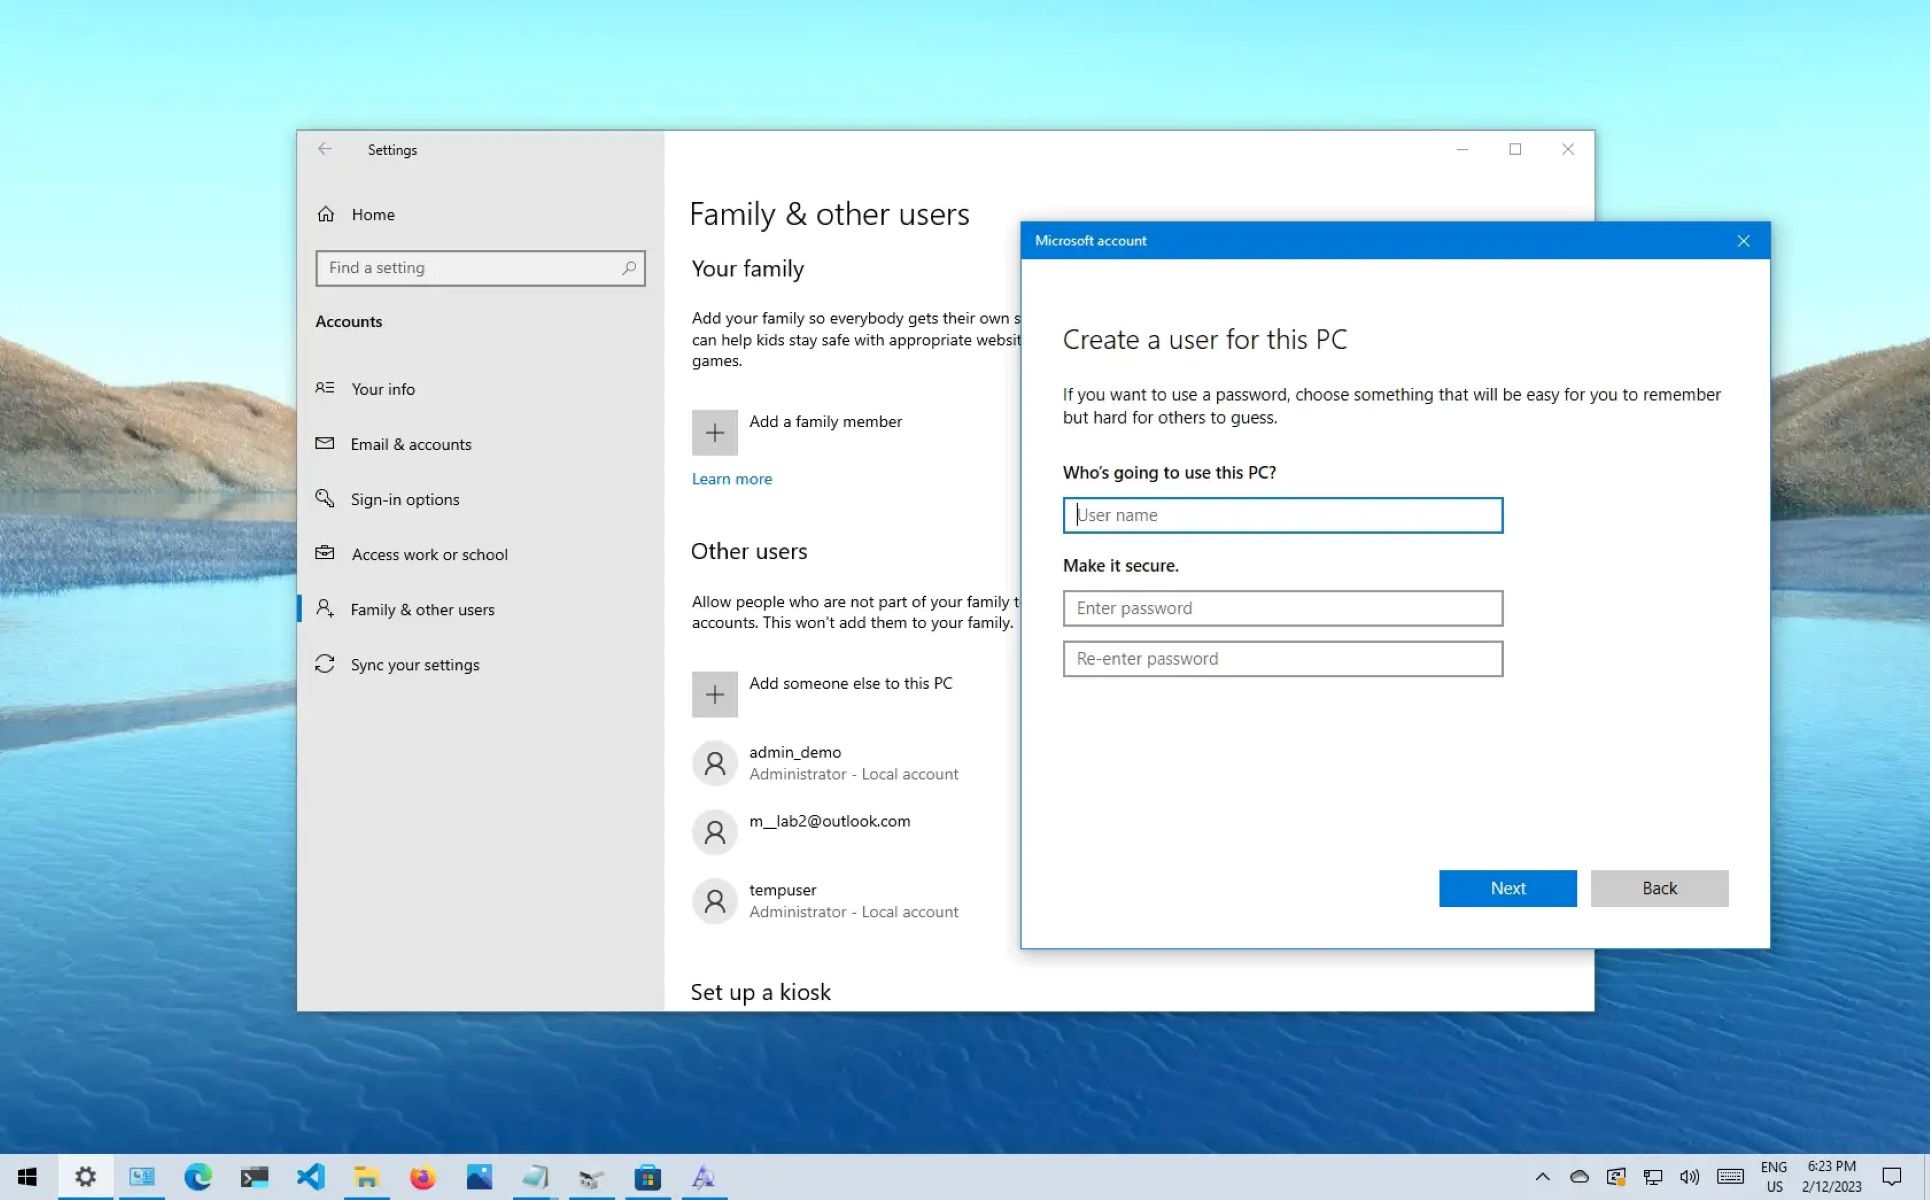
- Press the Windows key + I to open the Settings app.
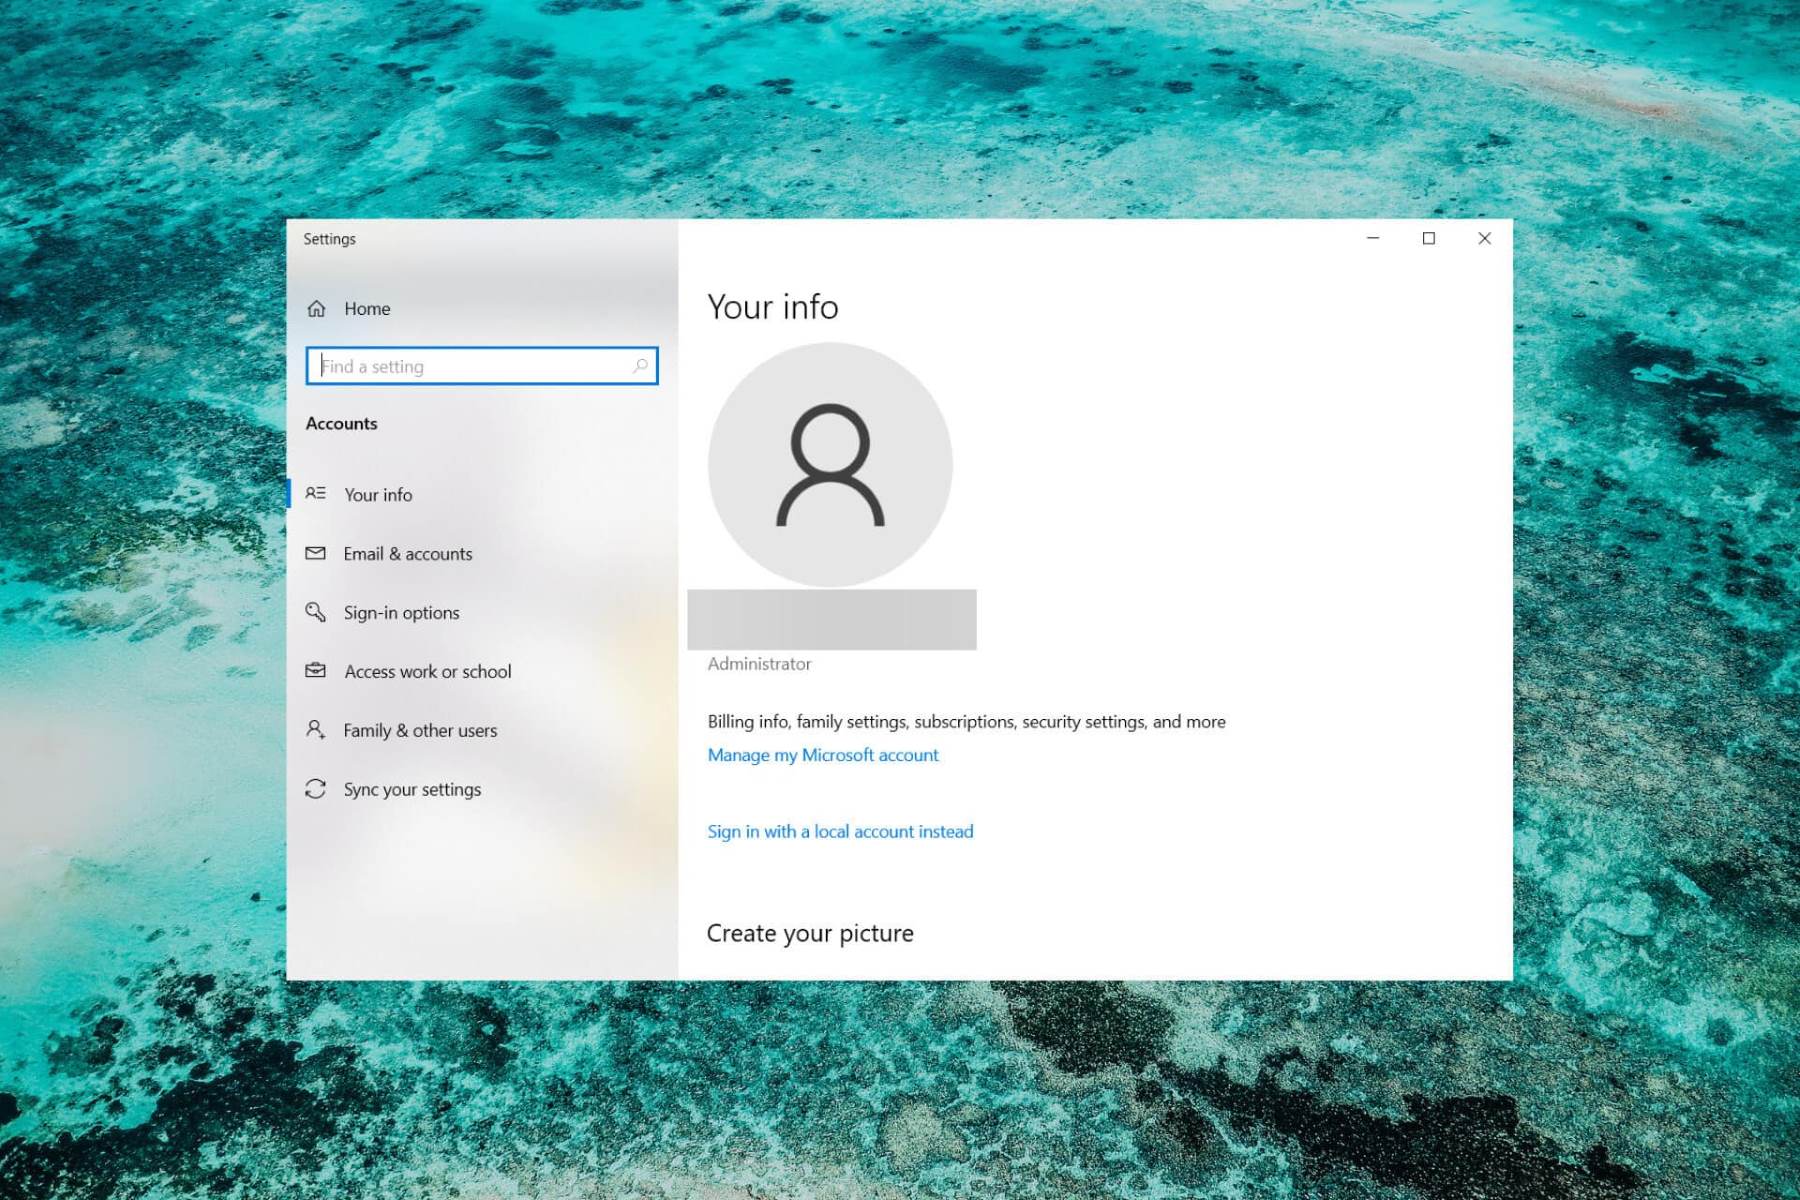
- Click on “Accounts” to open the Accounts settings.
- In the left sidebar, select “Family & other users”.
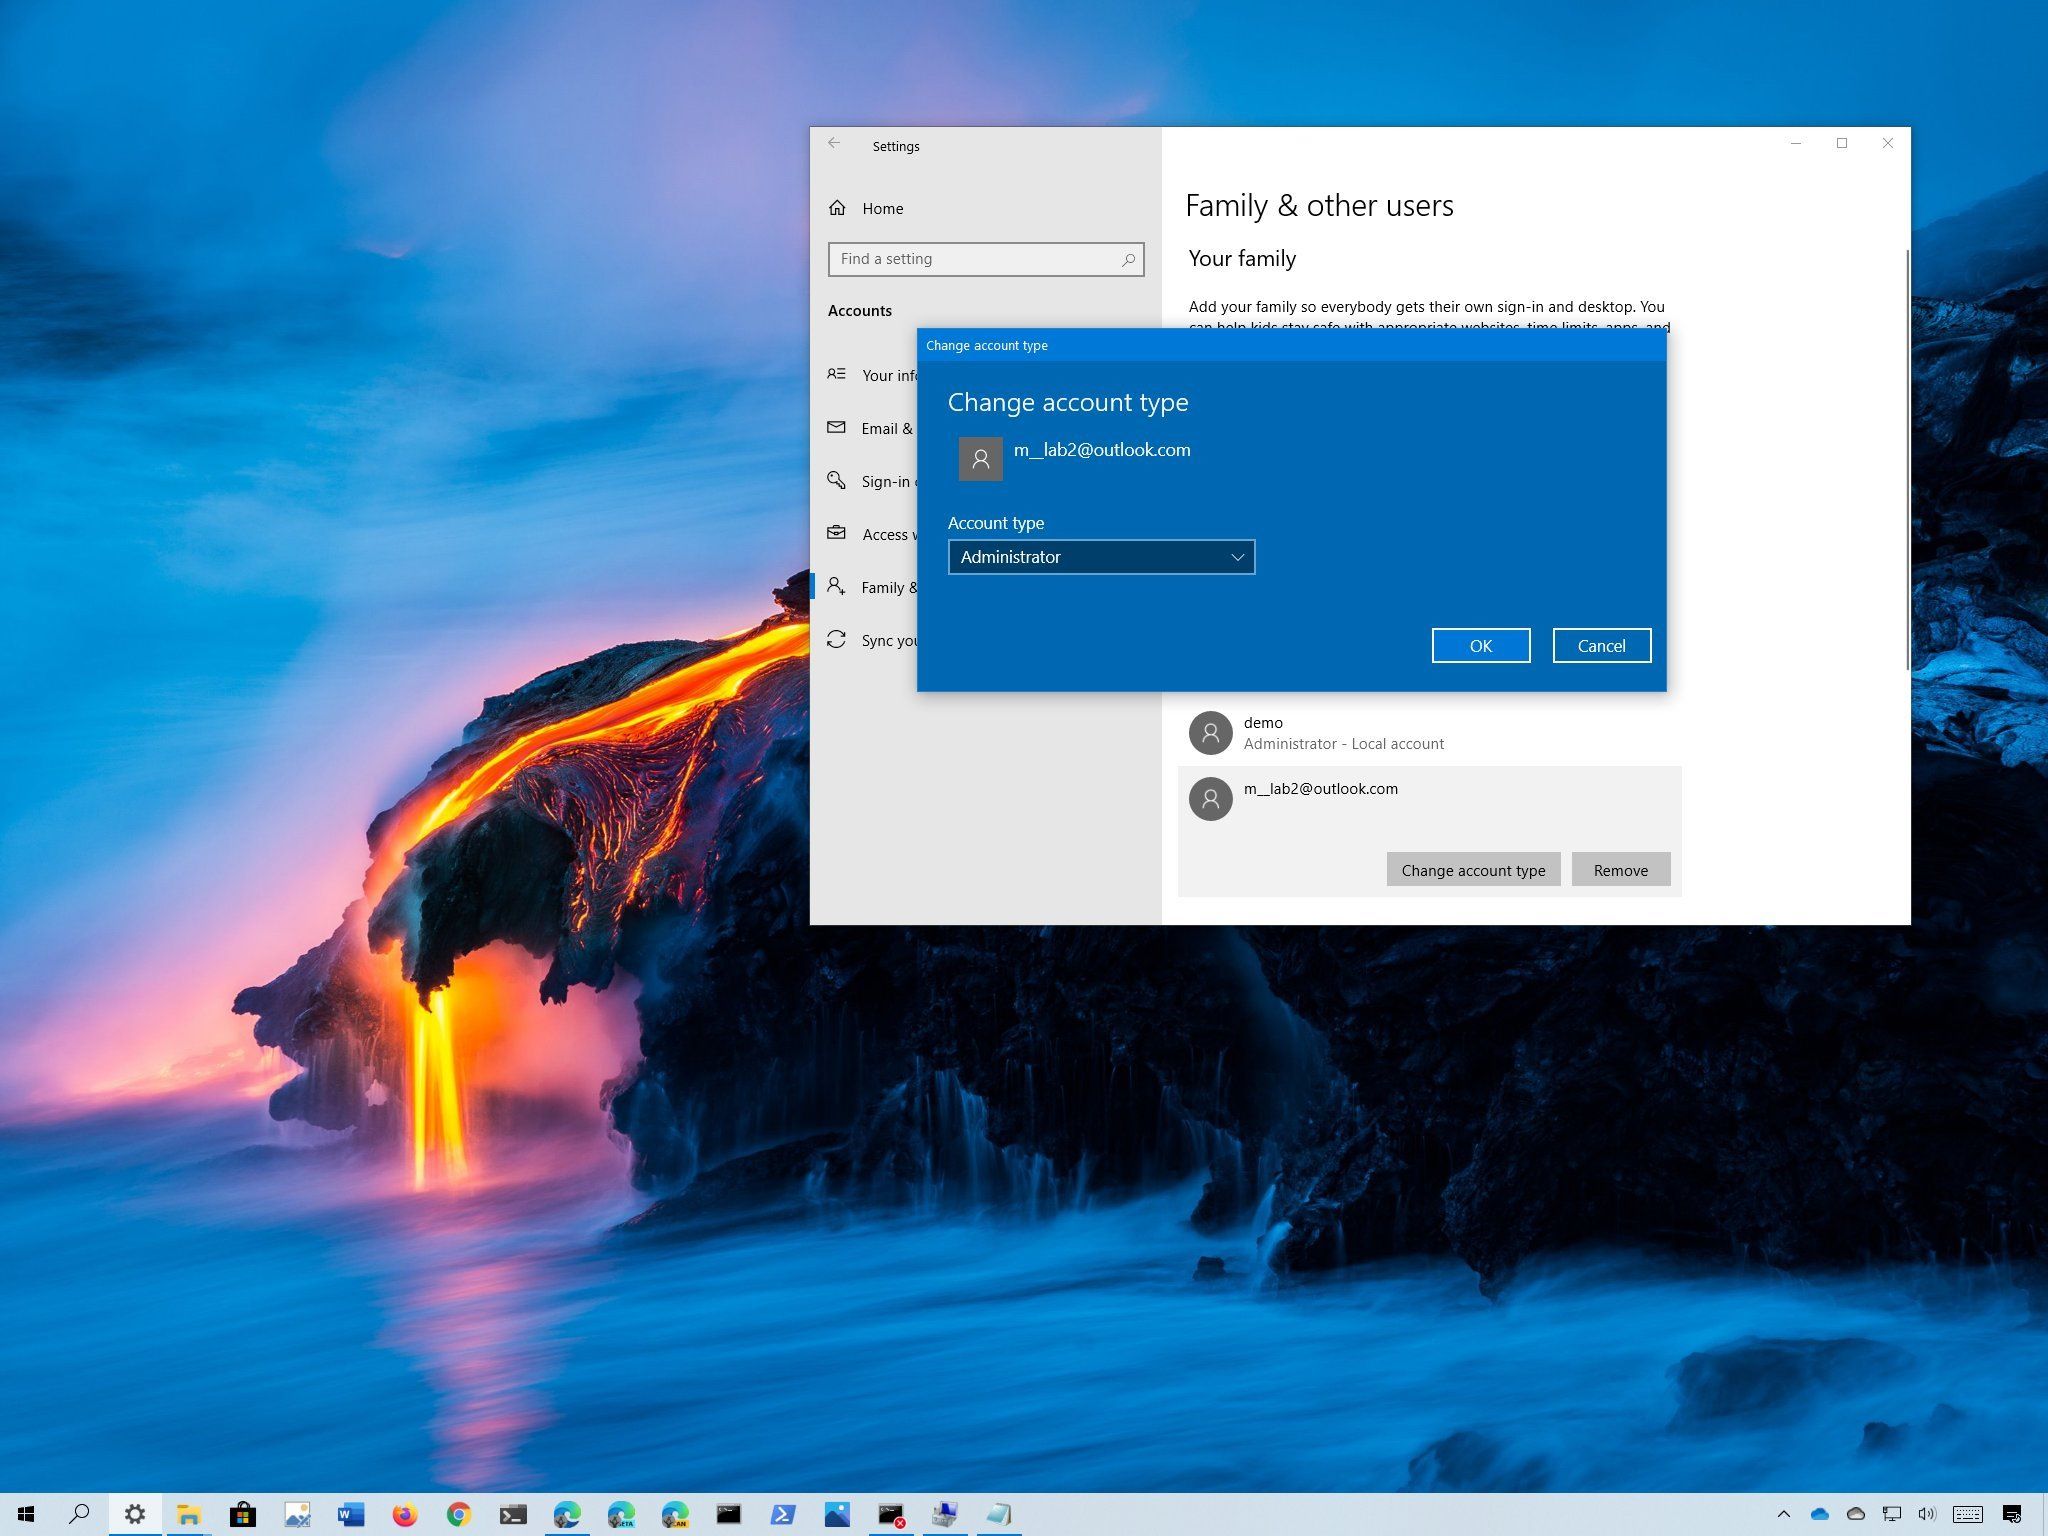
- Under the “Other users” section, you will see a list of user accounts on your computer. Find the account you want to make the administrator.
- Click on the account and then click on the “Change account type” button.
- In the new window, select the “Administrator” option and click on “OK”.
- Restart your computer for the changes to take effect.
Once you have completed these steps, the selected user account will become the new administrator on Windows 10. It is important to choose a trusted user account to avoid any potential security issues.
This method is suitable for users who prefer using the intuitive Windows Settings app for making changes to their administrator accounts. It provides a user-friendly interface and does not require any advanced technical knowledge.
However, it is worth noting that this method may not be available if you are not currently logged in as an administrator on your computer. In such cases, you may need to use other methods, which will be covered in the following sections.
Method 2: Change Administrator using the Local Users and Groups
If you prefer using the traditional administrative tools in Windows, you can change the administrator account using the Local Users and Groups feature. Follow these steps:
- Press the Windows key + R to open the Run dialog box.
- Type “lusrmgr.msc” and press Enter to open the Local Users and Groups window.
- In the left sidebar, navigate to “Users”.
- On the right-hand side, locate the user account that you want to make the administrator.
- Right-click on the account and select “Properties”.
- In the Properties window, go to the “Member Of” tab.
- Click on the “Add” button.
- In the “Enter the object names to select” field, type “Administrators” and click on “Check Names”.
- Click on “OK” to confirm the changes.
After completing these steps, the selected user account will be added to the Administrators group, making it an administrator on Windows 10.
This method is ideal for users familiar with the Local Users and Groups feature and prefer the control and precision it provides. However, it is important to exercise caution while using this method, as modifying the system settings incorrectly can lead to unintended consequences.
Keep in mind that this method is only available on Windows 10 Pro, Enterprise, and Education editions. Users with the Windows 10 Home edition may need to employ alternative methods described in the upcoming sections.
Method 3: Change Administrator using Command Prompt
For users who are comfortable with the command line interface, the Command Prompt offers a powerful way to change the administrator account on Windows 10. Follow these steps:
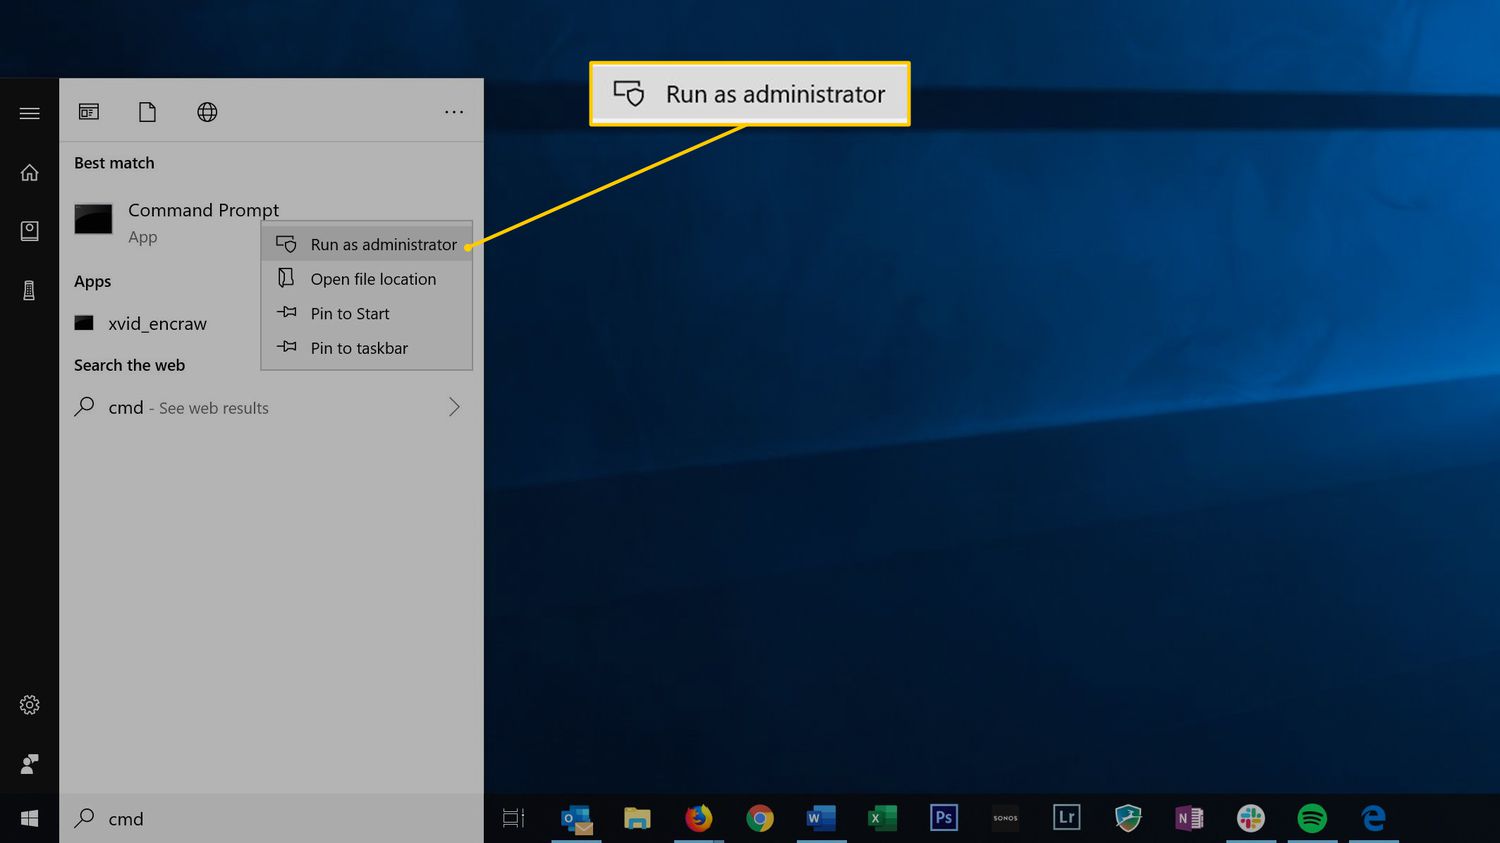
- Open the Command Prompt as an administrator. To do this, right-click on the Start button and select “Command Prompt (Admin)”.
- In the Command Prompt window, type the following command and press Enter:
net user [username] /add
Replace “[username]” with the name of the new administrator account you want to create. - Next, type the following command and press Enter:
net localgroup administrators [username] /add
Replace “[username]” with the name of the new administrator account you created in the previous step. - Close the Command Prompt window.
After completing these steps, the specified user account will be added as a new administrator on Windows 10.
This method is particularly useful for advanced users who prefer the flexibility and efficiency of the Command Prompt. However, it is crucial to exercise caution while using the Command Prompt, as executing commands incorrectly can have serious consequences for your system.
It is important to note that this method requires you to have administrative privileges, as only administrators can create and modify user accounts using the Command Prompt.
Method 4: Change Administrator using Computer Management
If you prefer using a centralized management tool to modify user accounts, the Computer Management feature in Windows 10 provides an efficient way to change the administrator account. Follow these steps:
- Right-click on the Start button and select “Computer Management”.
- In the Computer Management window, expand “System Tools” in the left sidebar and select “Local Users and Groups”.
- Click on “Users” in the right-hand pane to display the user accounts on your computer.
- Locate the user account that you want to make the administrator, right-click on it, and select “Properties”.
- In the Properties window, go to the “Member Of” tab.
- Click on the “Add” button.
- In the “Enter the object names to select” field, type “Administrators” and click on “Check Names”.
- Click on “OK” to confirm the changes.
After completing these steps, the selected user account will be added to the Administrators group, effectively becoming an administrator on Windows 10.
This method is suitable for users who prefer working with a comprehensive management tool like Computer Management. It provides a centralized location to manage user accounts, making it easier to administer multiple users on the system.
It is important to note that this method may not be available on Windows 10 Home edition, as Computer Management is a feature typically found in Windows 10 Pro, Enterprise, and Education editions.
Conclusion
Changing the administrator account on Windows 10 provides you with the flexibility to customize user access and permissions on your computer. Whether you prefer using the intuitive Windows Settings app, the traditional Local Users and Groups feature, the command line interface of Command Prompt, or the comprehensive Computer Management tool, there are multiple methods available to meet your needs.
Method 1, utilizing the User Accounts Settings, offers a user-friendly approach accessible to all Windows 10 users. Method 2, relying on the Local Users and Groups feature, provides more control and precision, but it is limited to certain editions of Windows 10.
For advanced users, Method 3 using Command Prompt allows for efficient modification of the administrator account, but caution must be exercised when working with the command line interface.
Finally, Method 4 using Computer Management consolidates the management of user accounts in one centralized tool, ideal for managing multiple users on your system.
Regardless of the method you choose, remember to backup your data and exercise caution while making changes to the administrator account. Mistakes can lead to data loss or system instability.
We hope this guide has been helpful in assisting you with changing the administrator account on Windows 10. By following these methods, you can have greater control over user access and privileges, enhancing the security and efficiency of your computer.
Now that you have learned how to change the administrator account, feel free to explore other Windows 10 settings and features to further customize your computer to meet your specific requirements.