Introduction
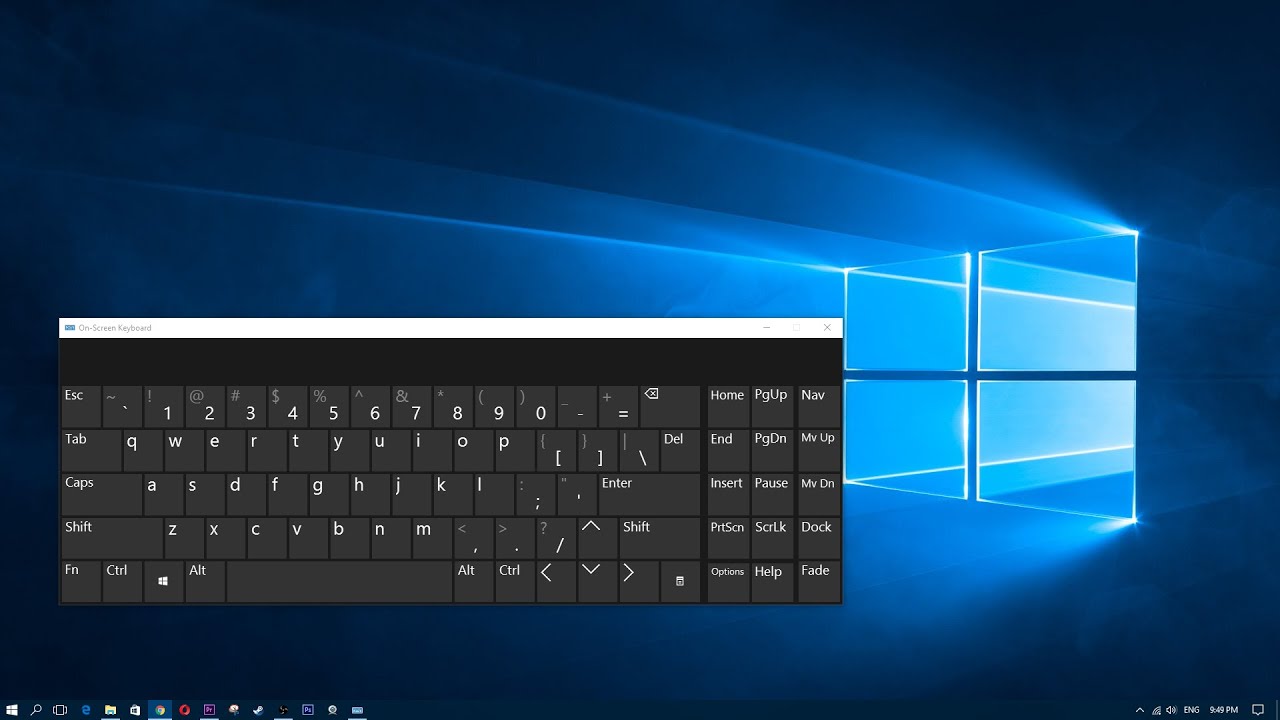
Changing the keyboard language on Windows 10 can be a useful skill to have, especially if you work with multiple languages or frequently communicate with people from different parts of the world. Whether you need to type in a language other than English or simply want to switch to a different keyboard layout, Windows 10 allows you to easily customize your keyboard settings to suit your needs.
Windows 10 provides a quick and straightforward process for changing the keyboard language. By following a few simple steps, you can switch between languages in no time. In this article, we will guide you through the process of changing the keyboard language on Windows 10 and provide some additional customization options to enhance your typing experience.
Whether you are an international traveler, a language enthusiast, or simply looking to expand your language skills, being able to change your keyboard language can greatly improve your productivity and efficiency. So, let’s dive in and learn how to make this adjustment on Windows 10.
Step 1: Open the Settings menu
The first step to changing the keyboard language on Windows 10 is to open the Settings menu. To do this, you can either click on the Windows Start button located at the bottom left corner of your screen and then click on the “Settings” icon or use the keyboard shortcut Windows key + I.
Once the Settings menu is opened, you will see various options and settings that you can customize to suit your preferences. The Settings menu is designed to be user-friendly, making it easy to navigate and locate the specific settings you’re looking for. It provides a centralized hub for managing your Windows 10 preferences and configurations.
By accessing the Settings menu, you gain control over various aspects of your Windows 10 experience, including display, sound, notifications, privacy, and more. So, not only will you be able to change the keyboard language, but you can also explore and make other adjustments to enhance your overall user experience.
Now that we have opened the Settings menu let’s move on to the next step, where we will navigate to the section specifically dedicated to language settings.
Step 2: Click on “Time & Language”
After opening the Settings menu in Windows 10, you will find various options to customize your system settings. To change the keyboard language, we need to navigate to the “Time & Language” section. To do this, simply scroll down until you locate the “Time & Language” option and click on it.
The “Time & Language” section in Windows 10 houses settings related to date and time, region, language, and other time-related configurations. It serves as a central hub for managing language preferences and ensuring that your system is set up to accommodate different language requirements.
Clicking on the “Time & Language” option will open a new window with several customization options. Here, you can modify your language settings, add new languages, change the system display language, and more.
By organizing language-related settings into one dedicated section, Windows 10 simplifies the process of changing the keyboard language. Whether you are a multilingual user or simply want to switch to a different language for a specific task, accessing the “Time & Language” section in the Settings menu is the gateway to unlocking these customization options.
Now that we have reached the “Time & Language” section, let’s move on to the next step and explore how to select the language you want to add to your keyboard settings.
Step 3: Select “Language” from the left pane
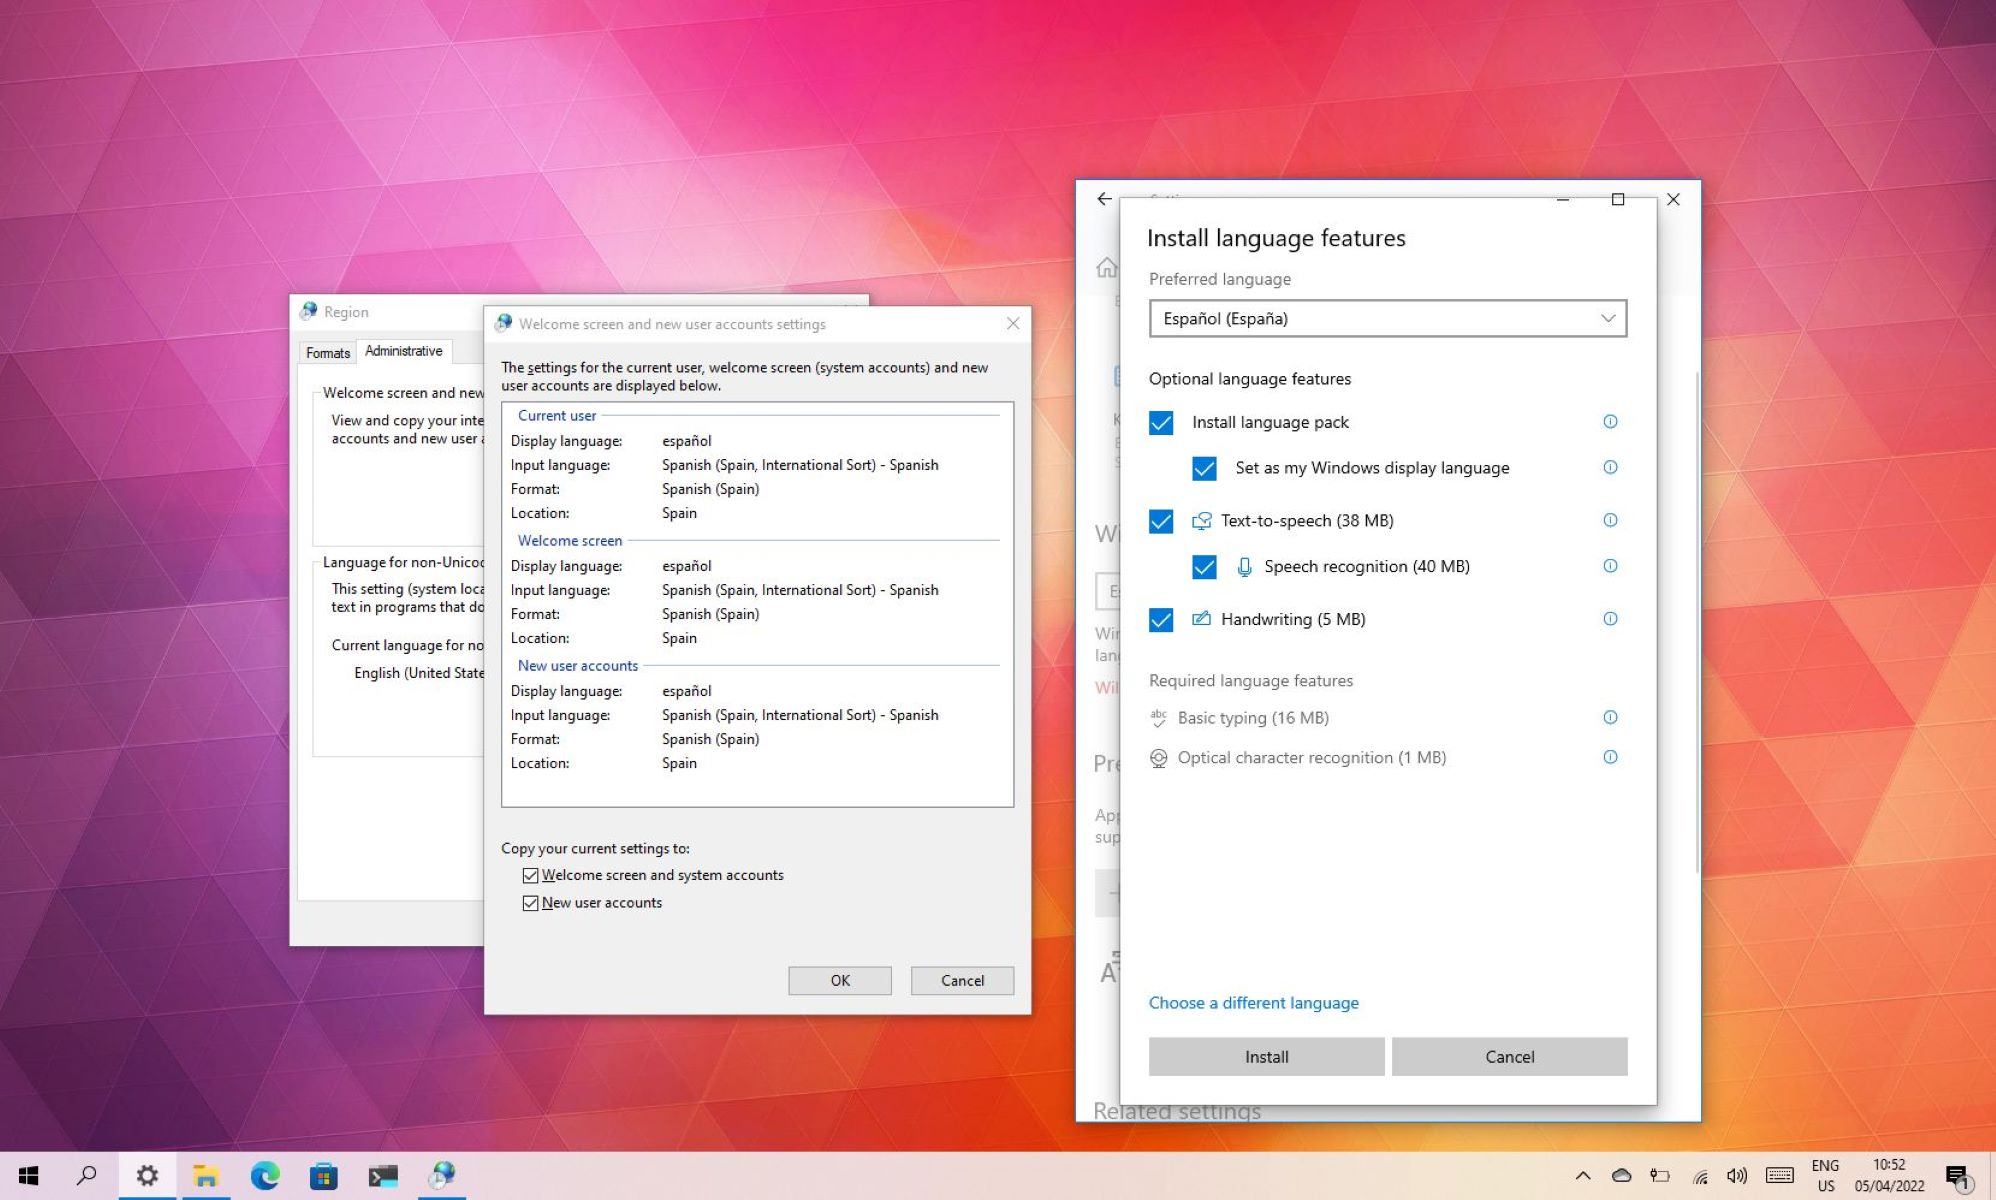
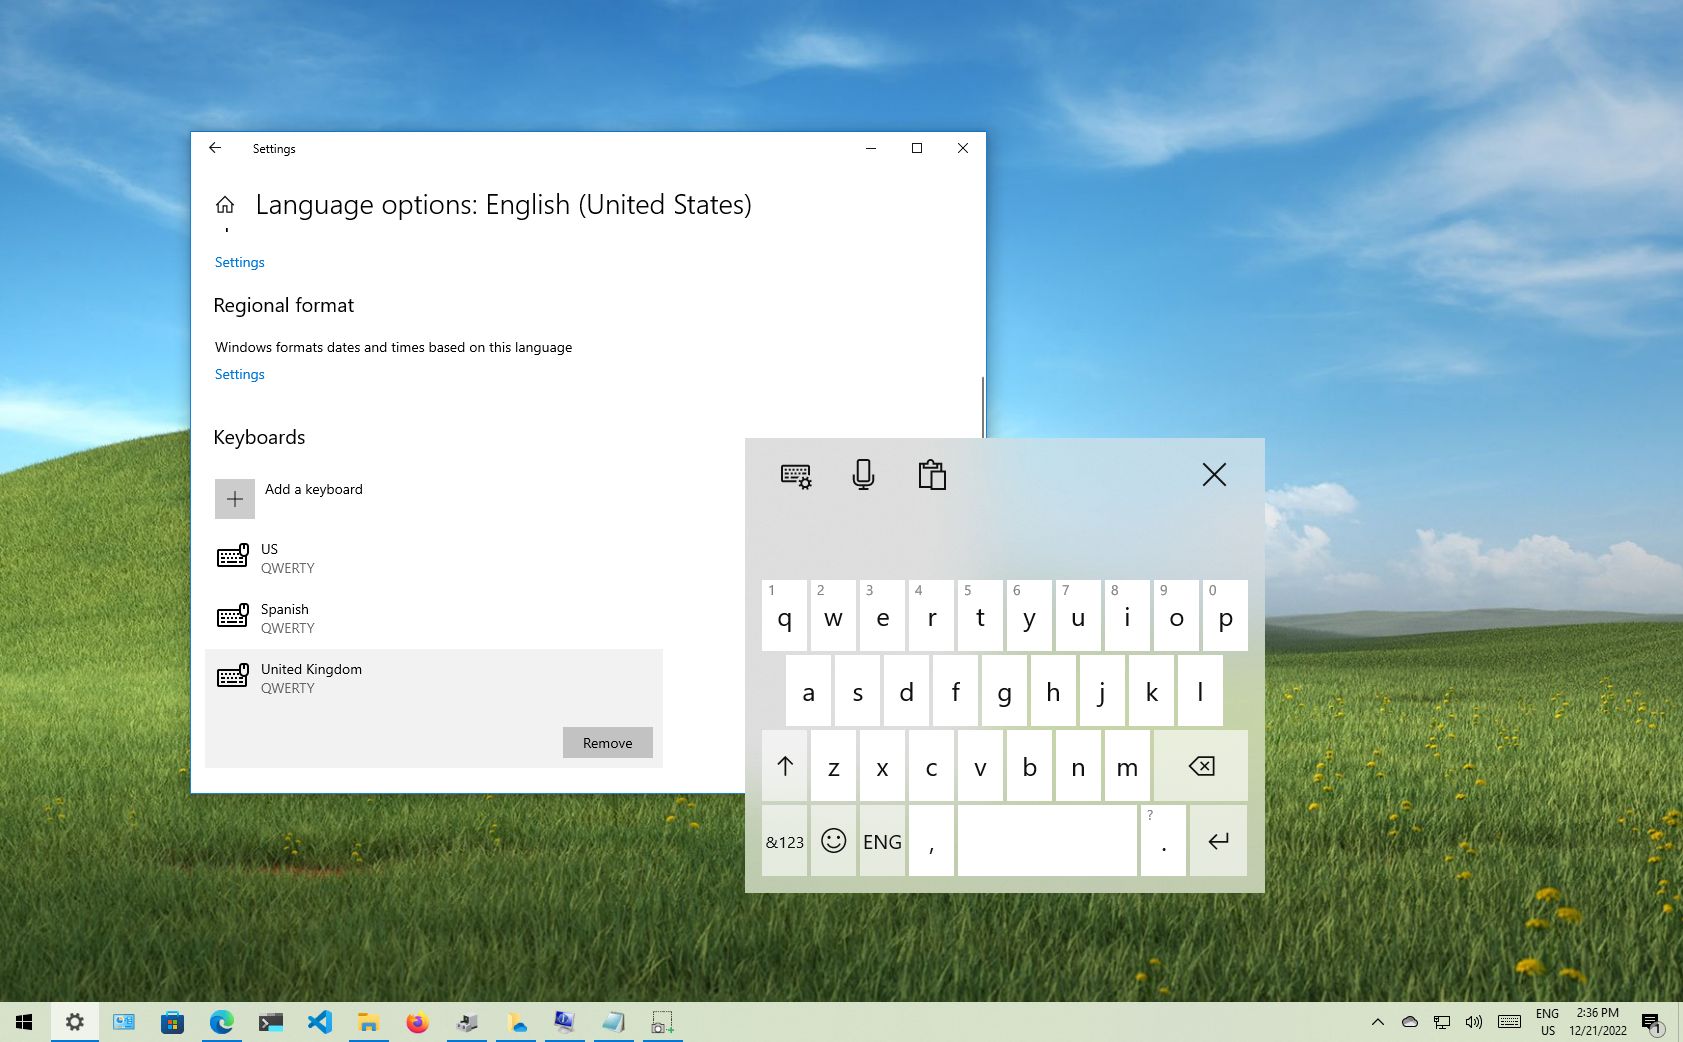
Once you have opened the “Time & Language” section in the Windows 10 Settings menu, it’s time to select the “Language” option from the left pane. The “Language” option is where you can manage the languages installed on your system and change the keyboard language.
Upon clicking on the “Language” option, you will be presented with the list of languages currently installed on your Windows 10 device. This list includes both the default language and any additional languages you may have added. The languages are displayed along with their respective language codes.
Windows 10 provides users with a wide range of languages to choose from, making it easy to switch between different languages for typing. Whether you need to type in Spanish, French, Chinese, Arabic, or any other supported language, you can find it in the list and select it.
By selecting the “Language” option, you have unlocked the ability to customize and manage your language-related settings. Not only can you change the keyboard language, but you can also add new languages, remove unwanted languages, set the default language, and adjust language-specific options.
Now that you have successfully navigated to the “Language” section, let’s move on to the next step where we will learn how to add a new language to your keyboard settings.
Step 4: Click on “Add a language”
Once you have selected the “Language” option in the left pane of the Windows 10 Settings menu, you will see a list of the languages currently installed on your system. To add a new language to your keyboard settings, click on the “Add a language” button.
Clicking on the “Add a language” button will open a new window with a list of available languages. The list is organized alphabetically, making it easier for you to locate the desired language. You can browse through the list or use the search bar to quickly find the language you want to add.
Windows 10 supports a wide range of languages from around the world, ensuring that you can find and add the specific language you need. From popular languages like Spanish, German, and French to lesser-known ones, the language list in Windows 10 is comprehensive and varied.
After clicking on the desired language in the list, Windows 10 will begin the process of downloading and installing the language pack. The time required for this process may vary depending on your internet connection speed and the size of the language pack.
Once the language pack is successfully installed, you will see the newly added language in the list of installed languages. Congratulations, you have now added a new language to your keyboard settings in Windows 10!
Next, we will proceed to the next step where we will learn how to search for and select the newly added language as the active keyboard language.
Step 5: Search for and select the desired language
After adding a new language to your keyboard settings in Windows 10, the next step is to search for and select the desired language as the active keyboard language. To do this, navigate back to the “Language” section in the Windows 10 Settings menu.
In the “Language” section, you will see the list of installed languages. Scroll through the list or use the search bar to quickly locate the newly added language you want to use as your keyboard language. As you type in the search bar, the list will dynamically update to show matching results.
Click on the desired language in the list to select it as the active keyboard language. Once selected, Windows 10 will automatically configure the keyboard layout and settings according to the selected language. This means that when you switch to this language, your keyboard will adjust to the specific character mappings and input methods associated with that language.
Windows 10 supports a wide range of keyboard layouts for various languages. From QWERTY to AZERTY, from Dvorak to Colemak, you can find and select the appropriate keyboard layout for your chosen language. This ensures that typing in the newly selected language is intuitive and comfortable.
By searching for and selecting the desired language, you have successfully set it as the active keyboard language. Now you can start typing in the language of your choice and enjoy a seamless typing experience on Windows 10.
In the next step, we will explore an optional customization option: setting the new language as the default language.
Step 6: Set the new language as default (optional)
Setting the new language as the default language in Windows 10 is an optional step, but it can be beneficial if you primarily use the newly added language and want it to be the default choice for your system. To set the new language as the default, follow these steps:
1. Navigate to the “Language” section in the Windows 10 Settings menu, as explained in the previous steps.
2. Locate the newly added language in the list of installed languages.
3. Click on the language and select the “Options” button.
4. In the language options, click on the “Set as default” button.
Setting the language as the default means that the system will use it as the primary language for various aspects, including system messages, menus, and applications. Additionally, when you start typing in any application, the default language will be automatically selected.
By setting the new language as the default, you can streamline your workflow and ensure that the system operates primarily in the language you prefer. However, if you work with multiple languages or prefer to manually switch between them, you can skip this step and continue using the language as a secondary option.
Now that you have the new language set as the default (if desired), you can move on to the next step, where we will explore an optional customization: changing the input method.
Step 7: Change the input method (optional)
Changing the input method allows you to further customize your typing experience in the newly added language. Windows 10 provides different input methods that accommodate the specific character sets and typing conventions of various languages. To change the input method, follow these steps:
1. Open the “Language” section in the Windows 10 Settings menu, as explained in previous steps.
2. Locate the newly added language in the list of installed languages.
3. Click on the language and select the “Options” button.
4. Under the language options, click on the “Add an input method” button.
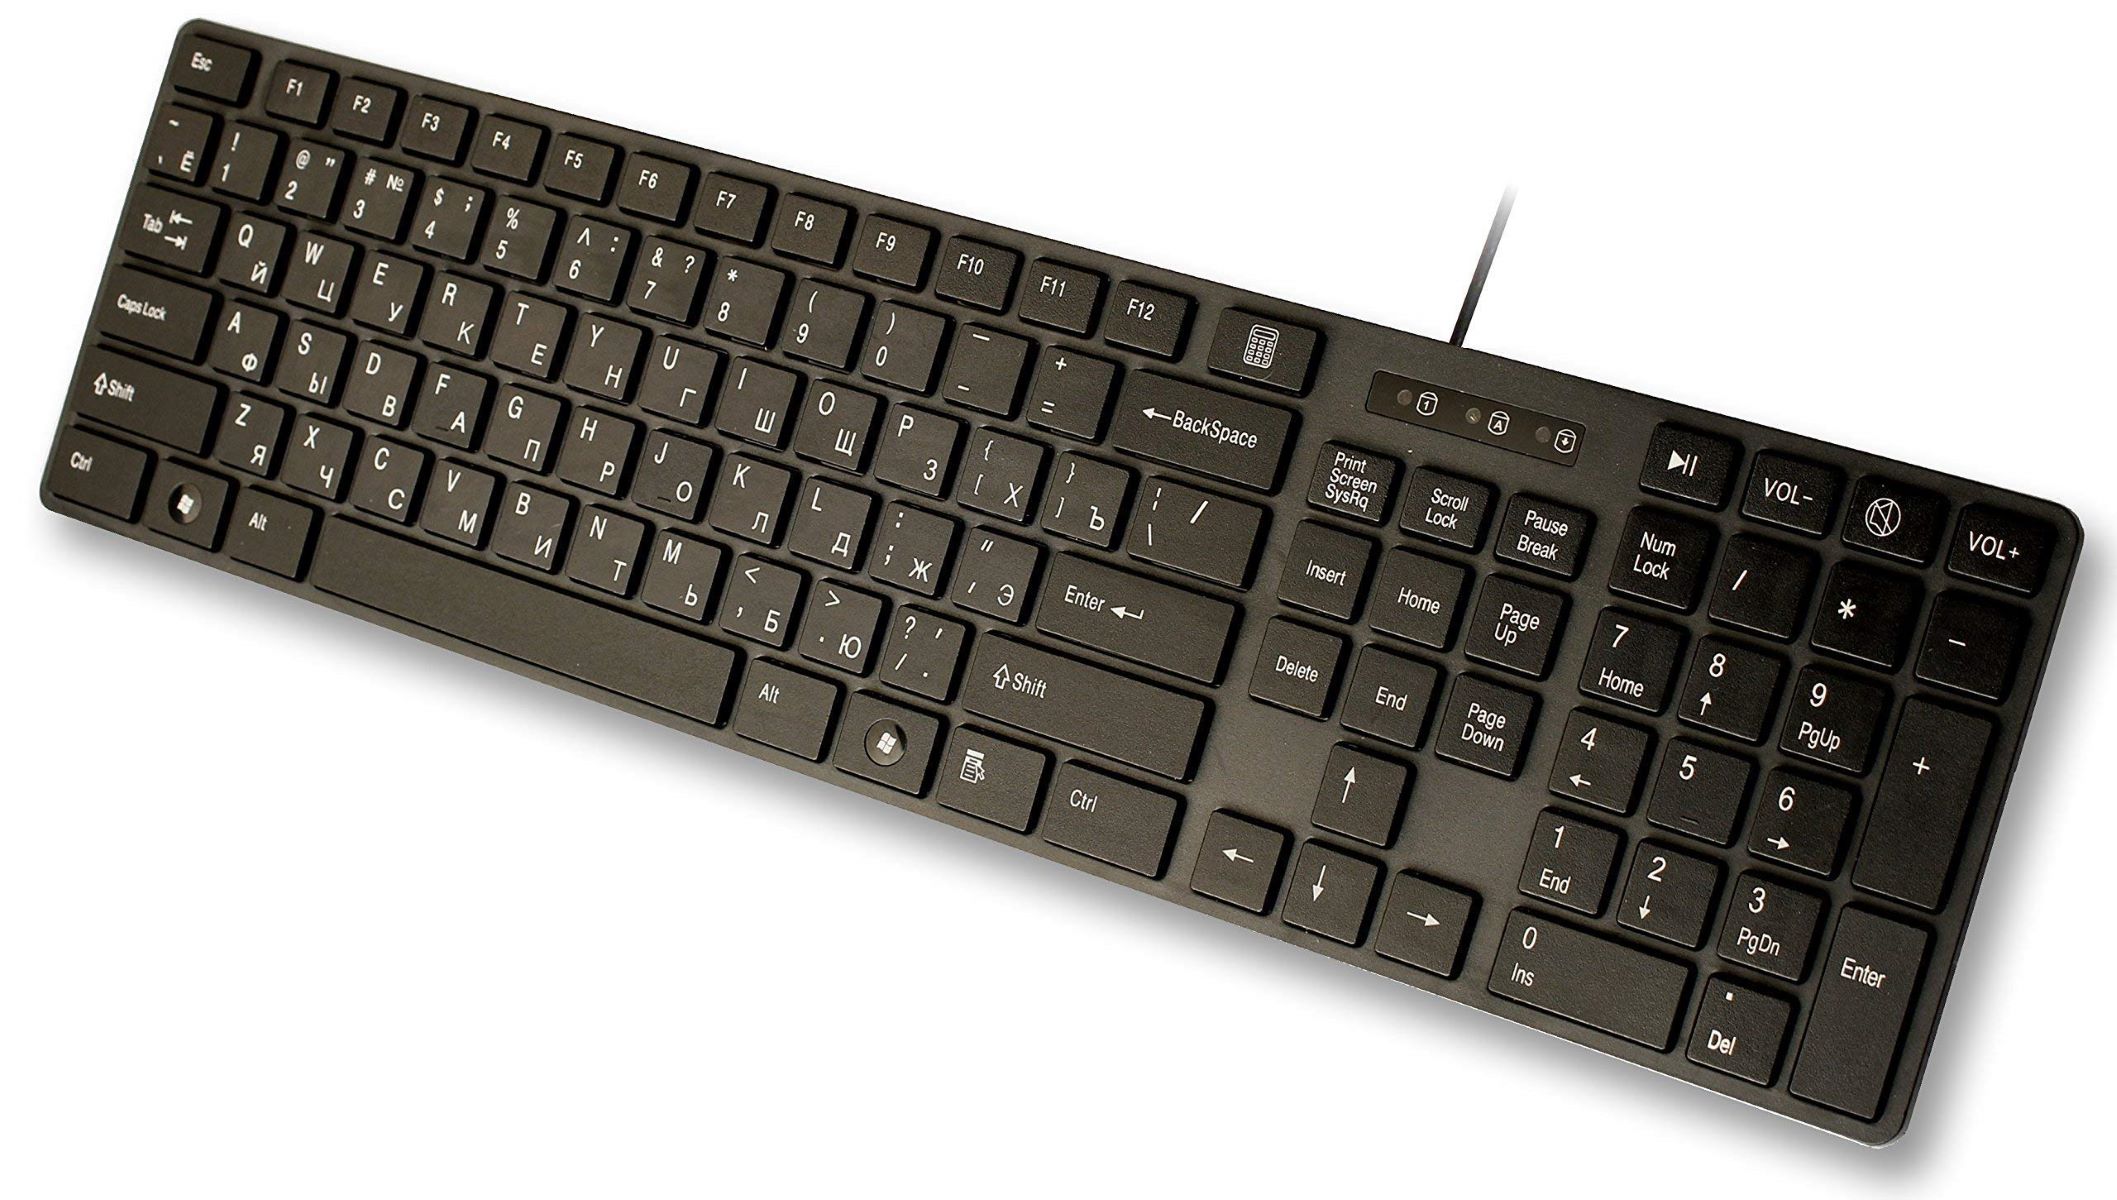
A list of available input methods for the selected language will be displayed. These input methods represent different keyboard layouts or typing methods that are specific to the chosen language. For example, if you added Russian as a language, you can select between the Russian Standard and Russian – Mnemonic input methods.
By selecting an input method, you can customize the keyboard layout and input behavior to match your preferences. Some input methods may offer special features or unique typing techniques that cater to the specific language requirements.
Windows 10 also allows you to add multiple input methods for a single language. This can be useful if you frequently switch between different typing styles or if you work with multiple dialects or variants of the language.
By changing the input method, you can further enhance your typing experience and ensure that it aligns with the conventions of the newly added language.
Now that you have the language input method customized (if desired), let’s move on to the next step, where we will explore an optional customization: removing unwanted languages.
Step 8: Remove unwanted languages (optional)
If you have languages installed on your Windows 10 system that you no longer need or use, you can remove them to streamline your language options. By removing unwanted languages, you can declutter the language settings and make it easier to navigate and switch between the languages you actually need. To remove unwanted languages, follow these steps:
1. Open the “Language” section in the Windows 10 Settings menu, as explained in previous steps.
2. Scroll through the list of installed languages until you find the language you want to remove.
3. Click on the language and select the “Options” button.
4. Under the language options, click on the “Remove” button.
Windows 10 will prompt you with a confirmation message asking if you want to remove the language. Confirm the removal, and Windows 10 will proceed to uninstall the language pack and remove the language from your system.
Removing unwanted languages can help declutter your language settings, making it easier to locate and select the desired language when you need it. It can also free up valuable disk space, especially if you have multiple language packs installed.
However, it’s important to note that removing a language will permanently delete it from your system. If you ever need to use the language again in the future, you will need to re-install the language pack.
Now that you have learned how to remove unwanted languages (if desired), you’re all set to enjoy a streamlined and personalized language experience on Windows 10.
Conclusion
Changing the keyboard language on Windows 10 is a straightforward process that allows you to adapt your typing experience to different languages and keyboard layouts. By following the steps outlined in this guide, you can easily switch between languages, add new languages, customize input methods, set default languages, and remove unwanted languages.
Being able to change the keyboard language can greatly improve your productivity, especially if you work with multiple languages or communicate with people from different parts of the world. Windows 10’s user-friendly interface and centralized settings menu make it easy and efficient to make these adjustments.
Additionally, Windows 10 offers a wide range of supported languages and input methods, ensuring that you can find the specific language and keyboard layout that suits your needs. Whether you need to type in Spanish, French, Chinese, or any other language, Windows 10 has you covered.
Remember to explore the additional customization options, such as setting the default language and adjusting the input method, to further personalize your typing experience.
With the ability to change the keyboard language on Windows 10, you can seamlessly switch between languages, communicate effectively, and navigate different language settings with ease. So, go ahead and unlock the full potential of your Windows 10 device by customizing your keyboard language to match your needs.