Introduction
Welcome to the exciting world of MIDI keyboards! Whether you’re a novice musician or a seasoned pro, a MIDI keyboard can drastically enhance your music production and performance capabilities. MIDI, which stands for Musical Instrument Digital Interface, is a communication protocol that allows electronic musical instruments, computers, and software to connect and interact with each other.
With a MIDI keyboard, you can easily trigger and control a wide range of virtual instruments, synths, and samplers directly from your computer. The keyboard’s keys, knobs, and pads can be assigned to various parameters, giving you unprecedented flexibility and expressiveness in your music-making process.
Getting started with a MIDI keyboard may seem daunting at first, but fear not! In this article, we’ll guide you through the setup process, teach you how to connect your MIDI keyboard to your computer, explore MIDI channels and instrument assignments, and even delve into the exciting world of MIDI effects. By the end of this guide, you’ll have the knowledge and skills to unleash your creativity and make the most out of your MIDI keyboard!
Before we dive into the technical details, let’s take a moment to understand the benefits of using a MIDI keyboard. First and foremost, a MIDI keyboard provides a more natural and intuitive way to play and create music compared to clicking or drawing notes with a mouse. The physical keys and controls allow you to express emotions and dynamics in your performance, just like playing a traditional instrument.
Additionally, MIDI keyboards offer a vast array of sounds and instruments that can be easily accessed and manipulated through software plugins. This opens up a whole new realm of sonic possibilities, allowing you to experiment with different genres, styles, and textures in your compositions.
Whether you’re a pianist looking to replicate the feel of a grand piano, an electronic music producer in search of unique synth sounds, or a composer wanting to arrange orchestral pieces, a MIDI keyboard will revolutionize your creative process.
Now that we’ve covered the basics, let’s move on to the next section, where we’ll explore the software setup required to unleash the full potential of your MIDI keyboard.
Getting Started
Before diving into the world of MIDI keyboards, it’s essential to ensure you have the necessary equipment and software to get started. Here are the key steps to get you up and running:
- Choose the Right MIDI Keyboard: There are various MIDI keyboards available in different sizes, features, and price ranges. Consider your needs, budget, and space limitations when selecting a MIDI keyboard. If you’re a beginner, opt for a compact and affordable model with essential features.
- Check System Requirements: Ensure that your computer meets the minimum system requirements for the MIDI keyboard and the software you’ll be using. This includes the operating system, RAM, storage, and available USB ports.
- Acquire MIDI Software: To utilize your MIDI keyboard effectively, you’ll need Digital Audio Workstation (DAW) software that supports MIDI. Popular options include Ableton Live, Logic Pro, FL Studio, and Cubase. Research the different software options and choose the one that suits your needs and preferences.
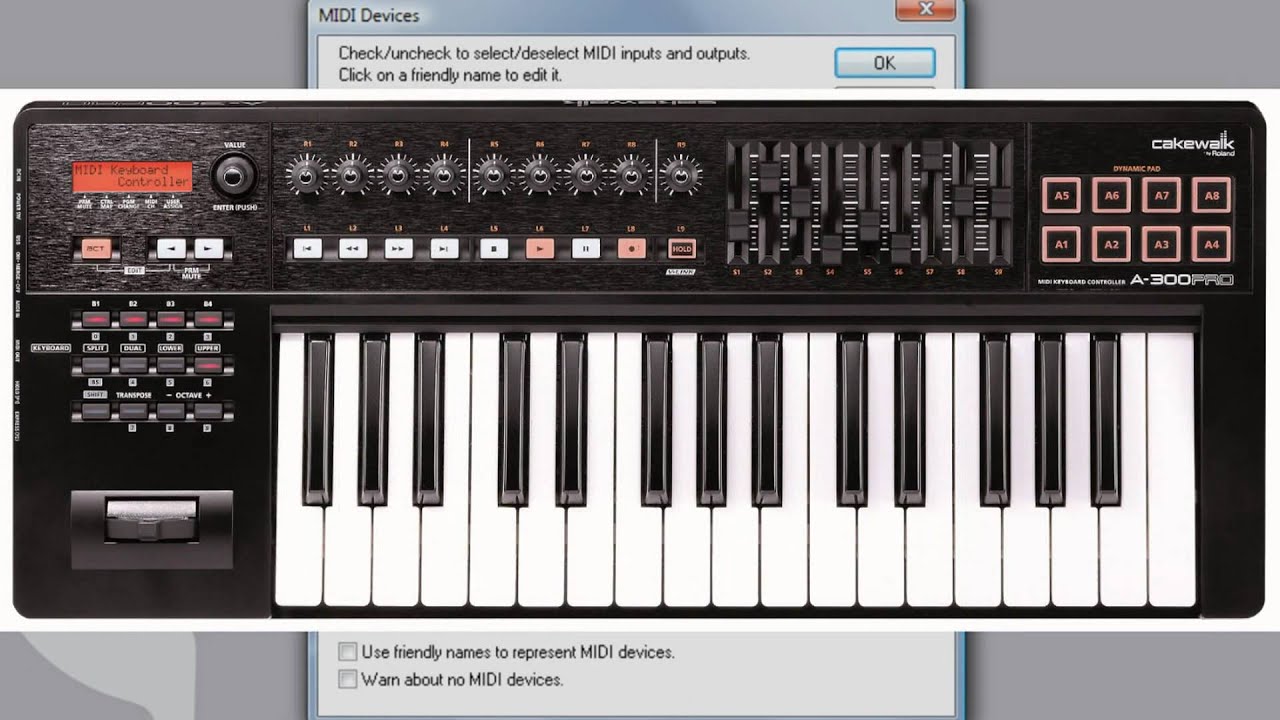
- Install and Configure the Software: Once you’ve selected your MIDI software, follow the installation instructions provided. Configure the software preferences for MIDI input and output, ensuring that your MIDI keyboard is recognized by the software.
- Update Your MIDI Keyboard Firmware: Check for any available firmware updates for your MIDI keyboard and follow the manufacturer’s instructions to install them. Firmware updates often provide bug fixes, performance improvements, and new features.
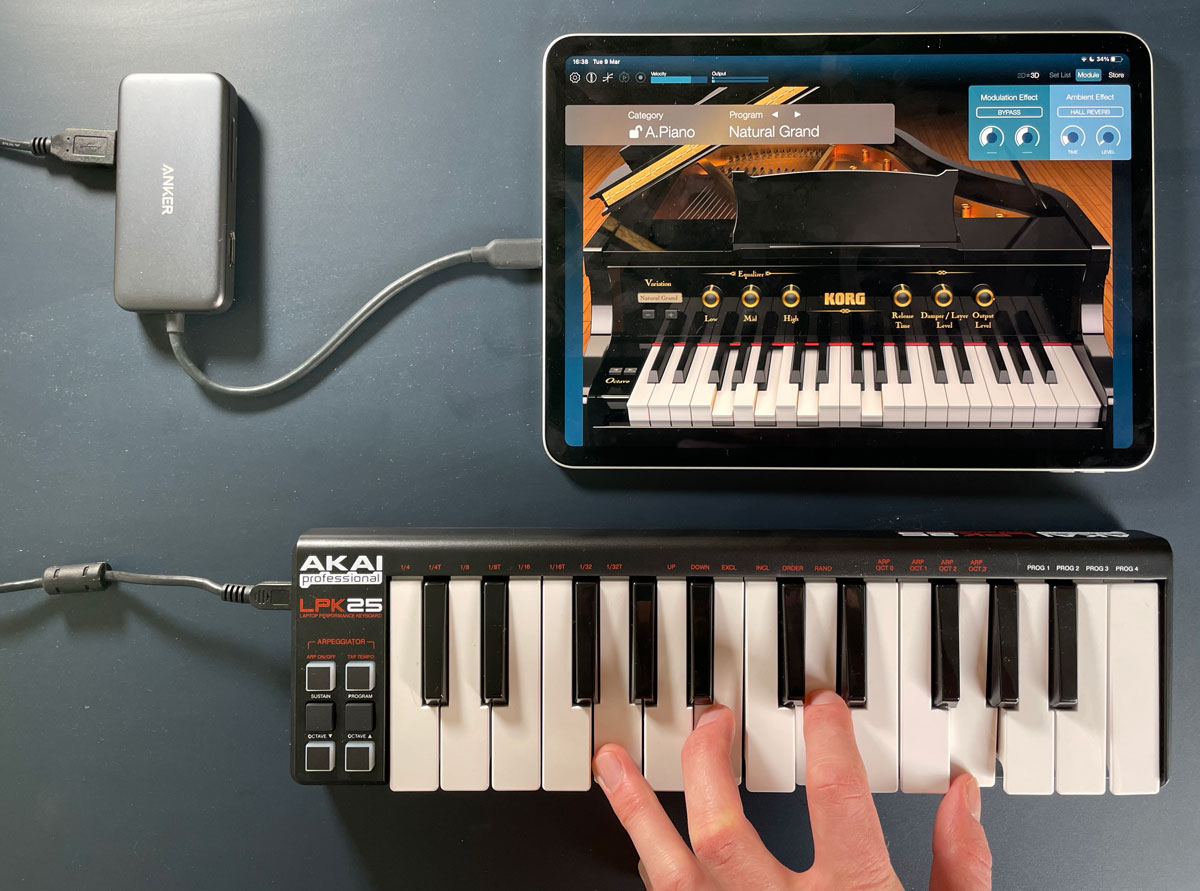
- Connect Your MIDI Keyboard: Most MIDI keyboards connect to your computer via USB, providing both power and data transfer. Connect the USB cable from the keyboard to an available USB port on your computer. Some MIDI keyboards may also have MIDI ports for connecting via MIDI cables.
- Test Your MIDI Connection: Launch your MIDI software and create a new MIDI track. Press a key on the MIDI keyboard, and you should see the corresponding MIDI input signal in the software. If not, check your MIDI settings and connections.
By following these steps, you’ll have your MIDI keyboard connected and ready to use with your preferred software. In the next section, we’ll explore how to effectively set up the MIDI channels and assign different instruments to unleash the true potential of your keyboard.
Software Setup
Once you have your MIDI keyboard connected to your computer, the next step is to set up the software to effectively use your MIDI input. Here’s a step-by-step guide to help you with the software setup:
- Open your DAW: Launch your preferred DAW software that supports MIDI input. Ensure that it recognizes and detects your MIDI keyboard as a valid input device.
- Create a new MIDI track: In your DAW, create a new MIDI track that will receive the MIDI input from your keyboard. This track will serve as your virtual instrument or sampler and allows you to record, play, and manipulate MIDI data.
- Select a virtual instrument: Within your DAW, choose a virtual instrument or sampler that you want to play or control using the MIDI keyboard. This could be a piano, synthesizer, drum machine, or any other instrument or sound that you desire.
- Assign the MIDI input: Go to the track settings and assign the MIDI input to your MIDI keyboard. This ensures that the MIDI signals generated by the keyboard are received by the selected virtual instrument or sampler.
- Configure MIDI channels: MIDI channels allow you to separate different tracks or virtual instruments within your DAW. Assign specific MIDI channels to your MIDI keyboard and corresponding virtual instruments. This allows you to play different sounds simultaneously or switch between instruments on different MIDI channels.
- Set instrument settings: Adjust the instrument settings such as volume, pan, and effects to suit your preferences. Each virtual instrument or sampler may have different settings and parameters that you can tweak to achieve your desired sound.
- Test the MIDI input: Play the keys on your MIDI keyboard and ensure that the virtual instrument or sampler responds accordingly. You should be able to hear the sound produced by the selected instrument.
Once you have completed the software setup, you can start playing and recording MIDI data using your MIDI keyboard. Experiment with different virtual instruments, explore the various MIDI channels, and utilize the features and effects provided by your DAW to enhance your music production.
In the following sections, we will delve deeper into playing and recording MIDI, manipulating sustains and modulation, working with MIDI effects, and editing and arranging MIDI data. These topics will help you unlock the full potential of your MIDI keyboard and take your music production to the next level.
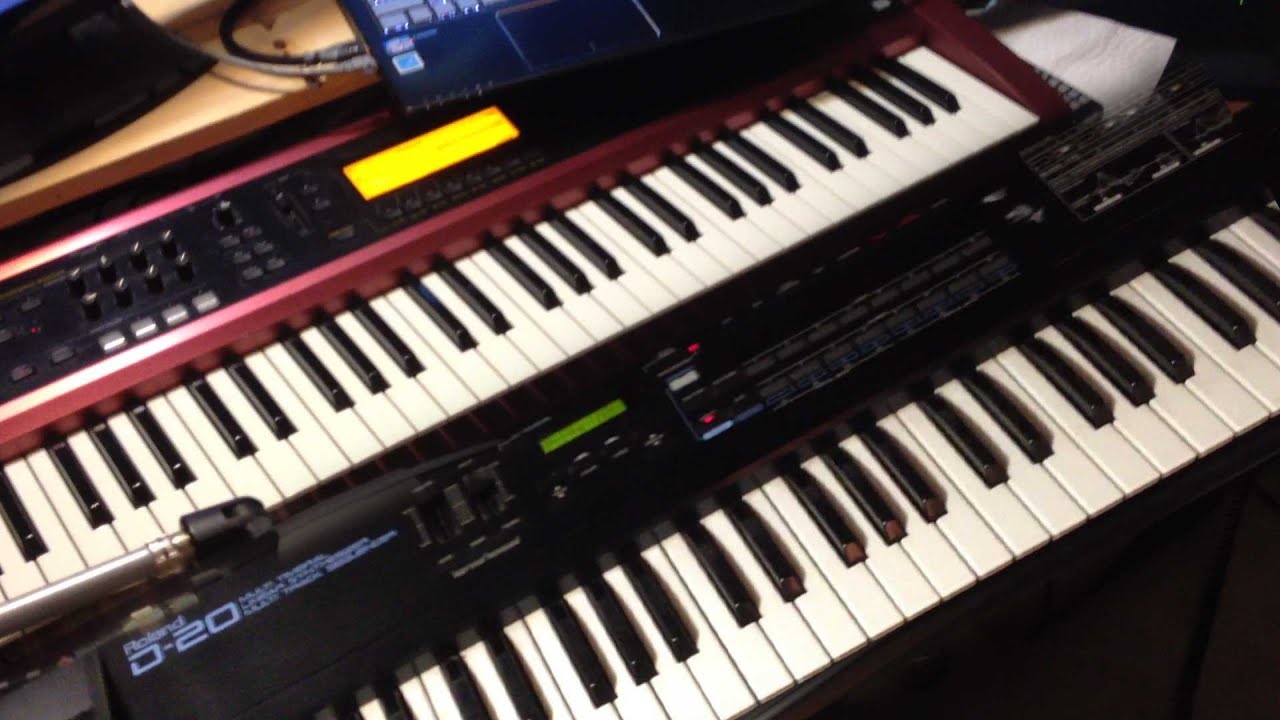
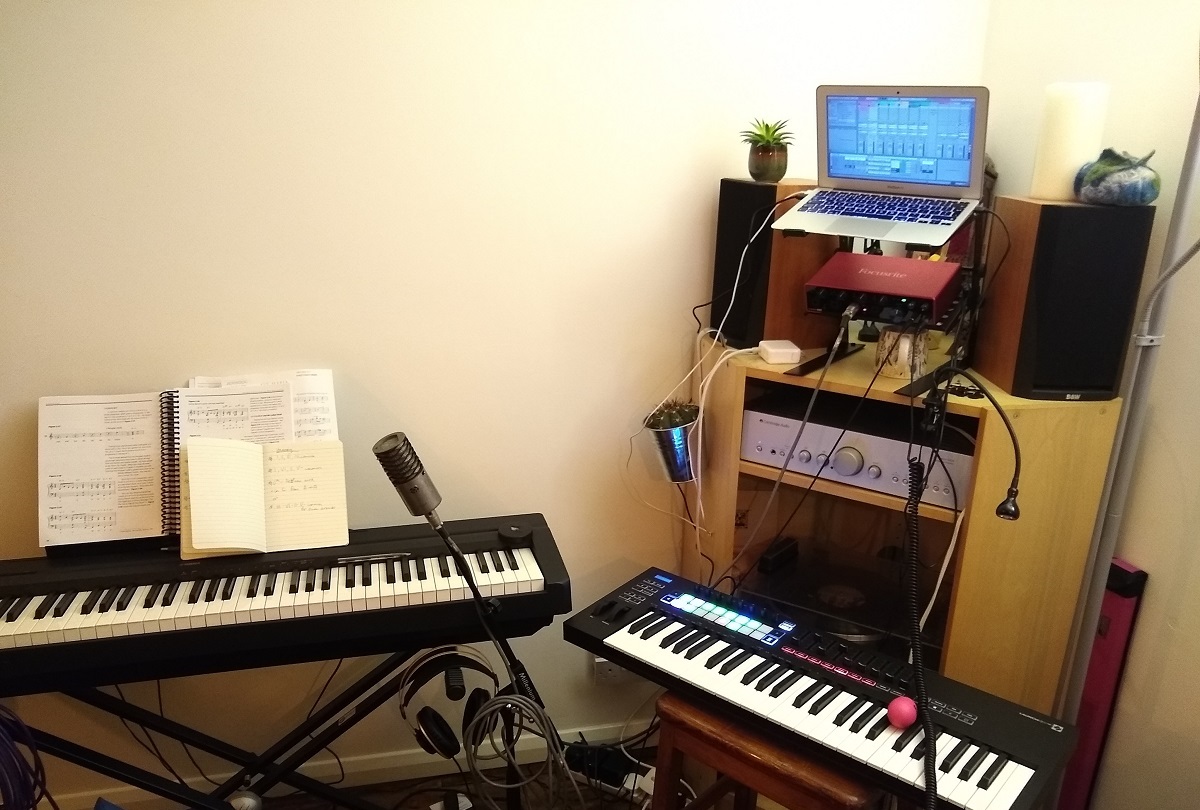
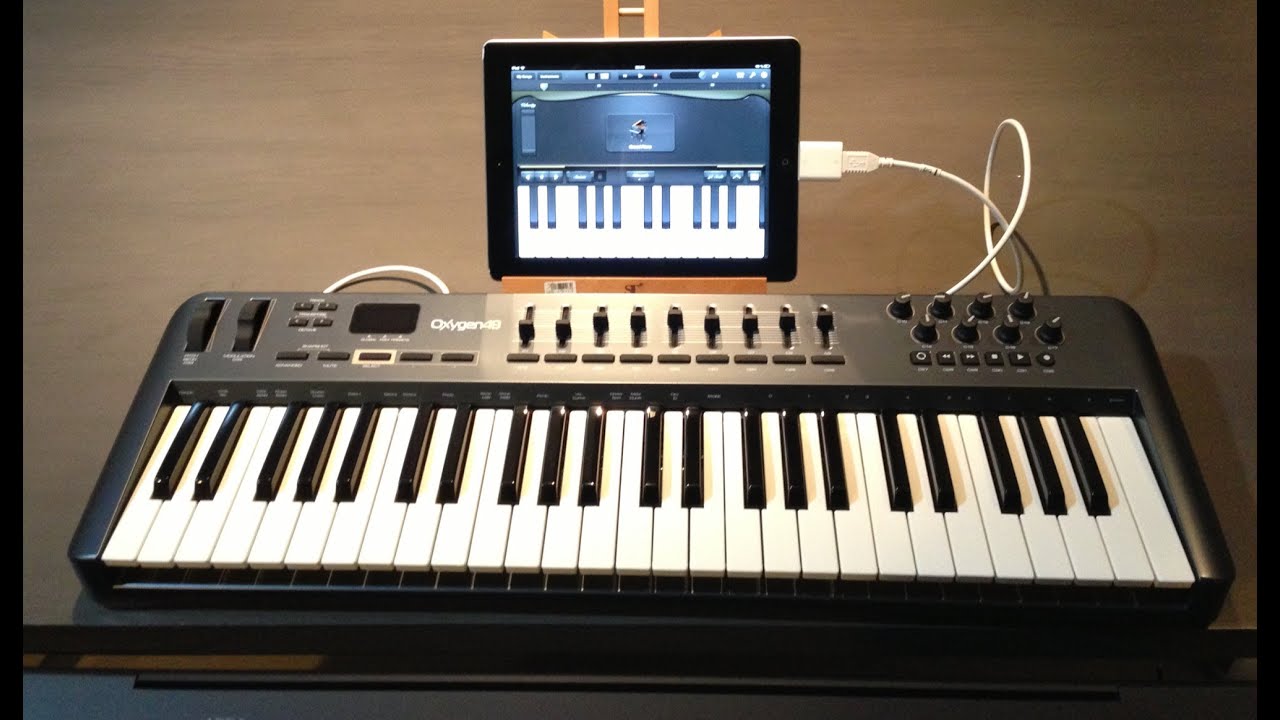
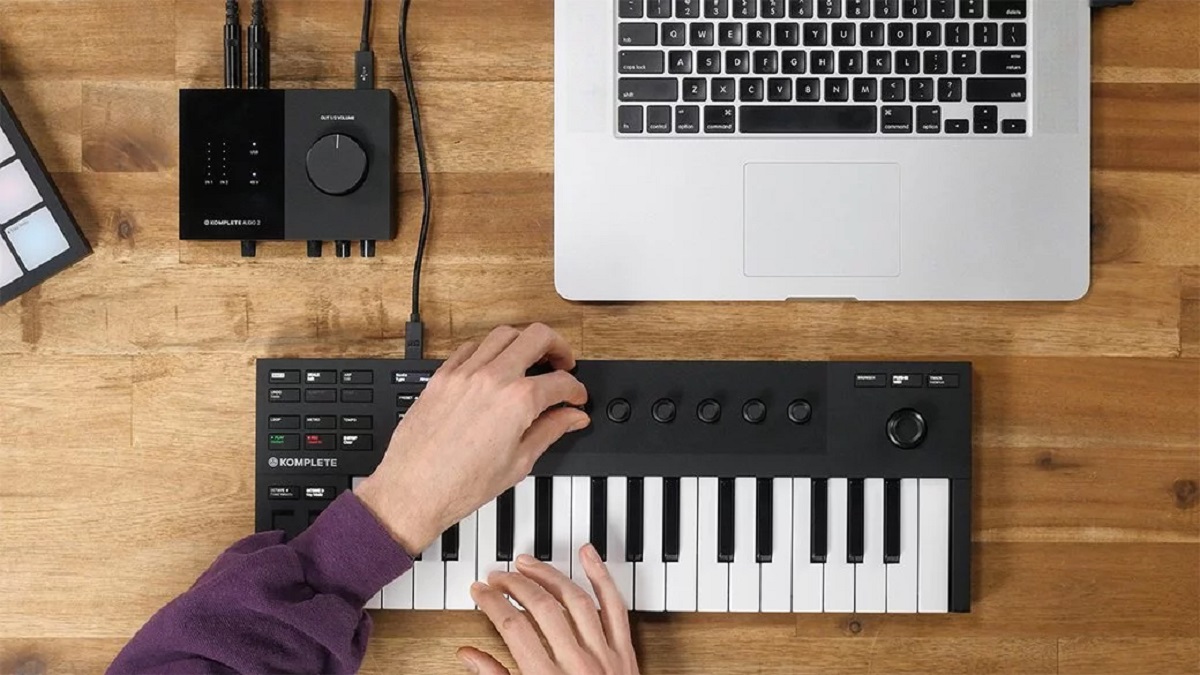
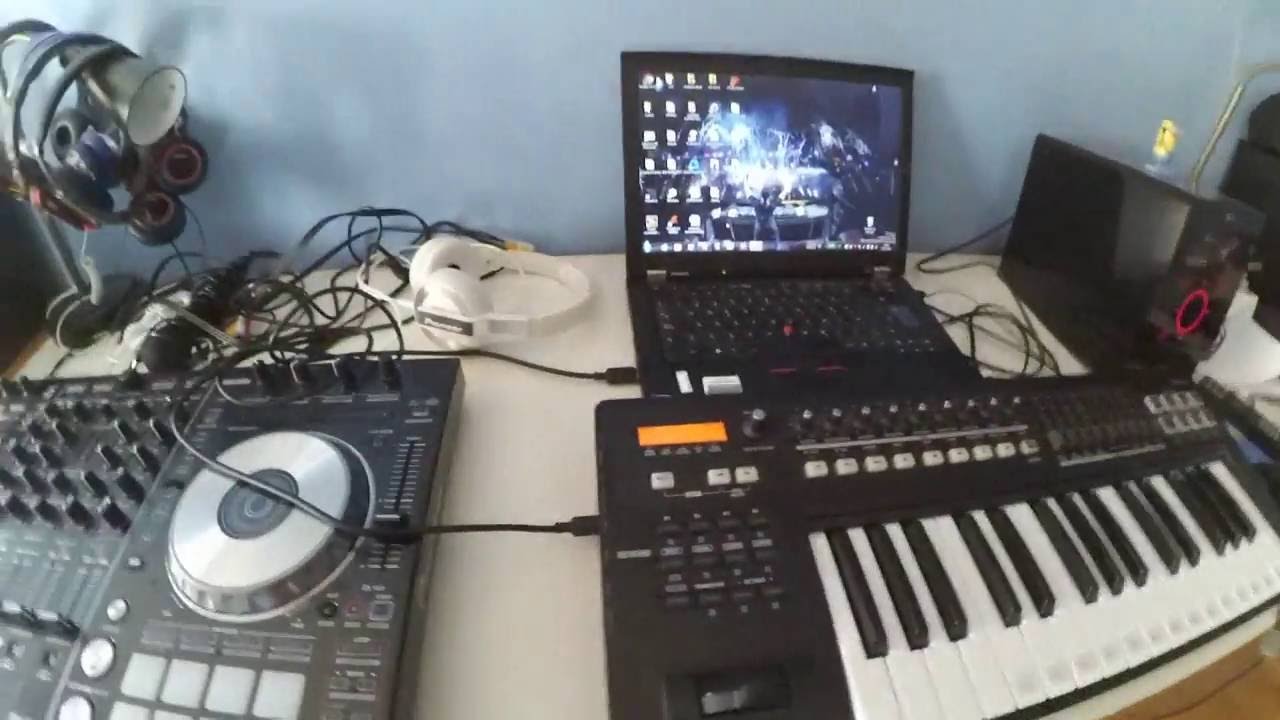
Connecting Your MIDI Keyboard
Connecting your MIDI keyboard to your computer is a crucial step in the setup process. Depending on the type of MIDI keyboard you have, there are a few different options for connecting it. Let’s explore some of the common methods:
- USB Connection: Most modern MIDI keyboards come equipped with a USB port, allowing for easy connectivity to your computer. Simply connect one end of a USB cable to the MIDI keyboard and the other end to an available USB port on your computer. This connection not only transfers MIDI data but also provides power to the keyboard.
- MIDI Ports: Some MIDI keyboards may have traditional MIDI ports (MIDI In/Out/Thru) in addition to USB connectivity. In this case, you will need to use standard MIDI cables to connect the MIDI keyboard to a MIDI interface or an audio interface with MIDI ports. Connect the MIDI Out port on the keyboard to the MIDI In port on the interface, and vice versa for MIDI In.
- Wireless Connection: If your MIDI keyboard supports wireless connectivity, you can connect it to your computer using Bluetooth or Wi-Fi. Check the manufacturer’s instructions to see if your keyboard has this capability and follow the pairing process to establish the wireless connection. Keep in mind that wireless connections may introduce slight latency, so it’s important to optimize your settings accordingly.
Regardless of the connection method you choose, it’s important to ensure that the MIDI keyboard is recognized by your computer. This involves installing any required drivers or software provided by the manufacturer. Check the user manual or the manufacturer’s website for instructions specific to your MIDI keyboard model.
Once your MIDI keyboard is connected and recognized by your computer, you can proceed with the software setup process. Make sure to configure your DAW software to recognize the MIDI input from your keyboard and assign it properly to your virtual instruments or samplers.
Remember to test the connection by pressing the keys on your MIDI keyboard and confirming that the corresponding MIDI input signals are registered in your software. If you encounter any issues, double-check your connection and settings or consult the user manual for troubleshooting guidance.
With your MIDI keyboard successfully connected to your computer, you are now ready to explore the world of MIDI music creation and performance. In the upcoming sections, we will cover topics such as MIDI channels, instrument assignments, playing and recording MIDI, and utilizing MIDI effects to help you unlock the full potential of your MIDI keyboard.
MIDI Channels and Assigning Instruments
Understanding MIDI channels and how to assign instruments to them is essential for maximizing the capabilities of your MIDI keyboard. MIDI channels allow you to control multiple virtual instruments or samplers simultaneously, each on its own channel. Here’s a breakdown of how MIDI channels work and how to assign instruments:
MIDI channels are numbered from 1 to 16. Each channel can be assigned to a different instrument or sound within your DAW software. This allows you to layer multiple sounds, play different instruments simultaneously, or switch between instruments on different MIDI channels.
To assign instruments to MIDI channels, follow these steps:
- Select a MIDI channel: In your DAW software, locate the settings or track properties for your MIDI track. Look for the MIDI channel option and choose a channel number (1-16) to assign to that track.
- Assign an instrument: Once you have selected a MIDI channel, you can assign an instrument or sound to it. This can be done by selecting a virtual instrument plugin or sampler within your DAW and setting it to receive MIDI input from the chosen channel. Each instrument plugin or sampler may have a different method for assigning MIDI channels, so consult the software’s documentation or user manual for specific instructions.
- Repeat for other channels: If you want to assign instruments to multiple MIDI channels, repeat the process for each channel. This allows you to have different sounds or instruments playing simultaneously on various channels.
By assigning different instruments to different MIDI channels, you can create complex and layered compositions. For example, you could assign a piano sound to MIDI channel 1, a string ensemble to MIDI channel 2, a bass guitar to MIDI channel 3, and so on. This gives you the flexibility to control each instrument independently using your MIDI keyboard.
It’s important to note that some MIDI keyboards have built-in controls for selecting MIDI channels or changing instrument assignments on the fly. These controls can be useful for live performances or when you want to switch between instruments quickly. Refer to your MIDI keyboard’s user manual for instructions on utilizing these features.
Experiment with different instrument combinations on various MIDI channels to create unique and dynamic compositions. Don’t be afraid to explore the different sounds and textures available to you through MIDI channels and instrument assignments. By harnessing the power of MIDI channels, your MIDI keyboard becomes a versatile tool for creating elaborate musical arrangements.
Now that you understand MIDI channels and how to assign instruments to them, it’s time to dive into playing and recording MIDI. In the next section, we’ll explore techniques for capturing your musical ideas and translating them into MIDI data using your MIDI keyboard.
Playing and Recording MIDI
One of the key advantages of using a MIDI keyboard is the ability to play and record MIDI data directly into your DAW software. This allows you to capture your musical ideas in real-time and refine them later. Here’s a guide on how to effectively play and record MIDI using your MIDI keyboard:
1. Set up a MIDI track: In your DAW software, create a new MIDI track dedicated to recording MIDI input from your keyboard. Ensure that the track is armed for recording and that it’s set to receive input from your MIDI keyboard’s assigned MIDI channel.
2. Choose a virtual instrument: Select a virtual instrument or sampler that you want to play using your MIDI keyboard. This could be a piano, synthesizer, drum machine, or any other instrument or sound that you desire.
3. Arm the MIDI track: Arm the MIDI track for recording by clicking the record enable button on the track. This enables your DAW to record MIDI data from your keyboard as you play.
4. Start recording: Hit the record button and start playing on your MIDI keyboard. The MIDI data generated by your performance will be captured and recorded on the MIDI track. The recorded MIDI data will trigger the sounds from the selected virtual instrument.
5. Editing and refining: Once you’ve recorded your MIDI performance, you can edit and refine the recorded MIDI data using the editing features of your DAW. This allows you to correct any mistakes, adjust note placements, modify velocities, and add expressive elements like modulation and sustain.
6. Loop recording: If you’re working on a specific section of your composition, you can utilize loop recording. Set the loop markers to a specific section, and enable loop recording mode. This allows you to continuously record and iterate on your performance within the defined loop region.
7. Quantization: If you want to tighten up your MIDI performance and ensure the notes align with the grid, you can apply quantization. Quantization snaps the recorded notes to the closest grid or rhythmic value, providing a more precise and consistent performance.
8. Layering parts: MIDI keyboards also allow you to layer different parts or multiple performances together. You can record additional MIDI tracks with different virtual instruments or sounds and layer them to create rich and complex arrangements.
By following these steps, you can effectively play and record MIDI data using your MIDI keyboard. Experiment with different playing techniques, dynamics, and articulations to add realism and expression to your performances. Remember to have fun and let your creativity flow!
Next, we’ll explore techniques for enhancing your performances through the use of MIDI sustain and modulation. These features allow you to add depth and character to your playing, expanding the possibilities of what you can achieve with your MIDI keyboard.
Sustaining and Modulating
In addition to playing and recording MIDI, your MIDI keyboard offers powerful features for adding sustain and modulation to your performances. These features allow you to shape and manipulate the sound in expressive ways. Let’s explore the concepts of sustaining and modulating MIDI:
Sustaining: Sustain refers to the lengthening or holding of a note beyond its original duration. Many MIDI keyboards come equipped with a sustain pedal, which emulates the functionality of a piano sustain pedal. When you press and hold the sustain pedal, any notes played on your MIDI keyboard will continue to sound even after releasing the keys.
To effectively use the sustain feature on your MIDI keyboard, follow these steps:
- Connect the sustain pedal: If your MIDI keyboard has a sustain pedal input, connect the sustain pedal using the designated port. This allows you to control the sustain with a physical pedal.
- Enable sustain in your software: Ensure that your DAW software is set up to recognize the sustain pedal input. In most cases, this configuration is done within the software settings, where you can assign the MIDI CC (Control Change) message for the sustain pedal.
- Play and use the sustain pedal: As you play your MIDI keyboard, experiment with using the sustain pedal to hold notes or chords, creating a sustaining effect. This adds a sense of richness and depth to your performance, especially when playing legato passages or creating atmospheric textures.
Modulation: Modulation refers to the ability to change and control various parameters of the sound in real-time. Many MIDI keyboards include modulation wheels or sliders that can be assigned to specific parameters within your software. The modulation wheel typically controls modulation depth, such as vibrato or tremolo, while sliders can be assigned to other parameters like filter cutoff or volume.
To effectively use modulation with your MIDI keyboard, follow these steps:
- Understand modulation assignments: Take some time to familiarize yourself with the modulation assignments available in your DAW software. This will vary depending on the virtual instrument or effect you’re using. Read the software documentation or user manual to learn how to assign parameters to modulation controls.
- Assign modulation controls: Use your MIDI keyboard’s modulation wheel or sliders to control various parameters within your software. This could include elements such as vibrato, filter cutoff, resonance, or any other assignable parameter. Experiment with different assignments to find the modulation effects that suit your musical style.
- Play and adjust modulation: As you play your MIDI keyboard, utilize the modulation wheel or sliders to dynamically adjust the assigned parameters. This allows you to add expression and articulation to your performances. For example, you can gradually introduce vibrato to a sustained note or modulate a filter to create sweeping sound effects.
By using the sustain and modulation features of your MIDI keyboard, you can add depth, nuance, and expressiveness to your performances. Experiment with different playing techniques, combining sustain pedal usage with modulation controls, and explore the range of possibilities for enhancing your MIDI compositions.
Next, we will explore the world of MIDI effects and how you can utilize them to further enhance your MIDI performances using your MIDI keyboard.
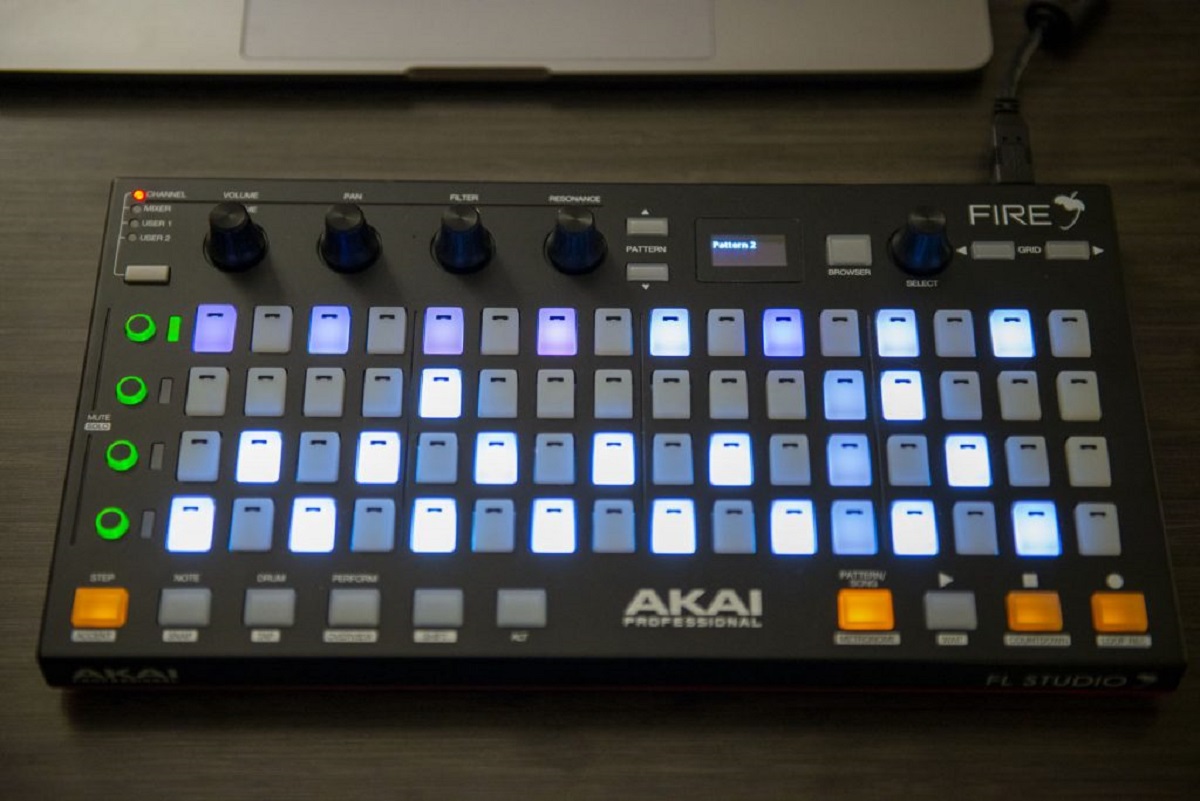
Working with MIDI Effects
MIDI effects are powerful tools that allow you to transform, manipulate, and shape MIDI data from your keyboard in unique and creative ways. They offer a wide range of possibilities for enhancing your MIDI performances and adding a touch of musical magic. Let’s explore how you can effectively work with MIDI effects using your MIDI keyboard:
MIDI Arpeggiator: An arpeggiator is a MIDI effect that automatically generates arpeggios based on the chords or notes played on your MIDI keyboard. It can create rhythmic patterns and intricate sequences from simple input. When activated, the arpeggiator will play back the notes in a specified order, direction, and speed.
To utilize the MIDI arpeggiator with your MIDI keyboard, follow these steps:
- Select an arpeggiator plugin: In your DAW software, choose an arpeggiator plugin to apply the effect to your MIDI track. Most DAWs come with built-in arpeggiators, but you can also find third-party plugins with additional features.
- Activate the arpeggiator: Enable the arpeggiator effect on the MIDI track. This will typically involve activating a button or switch within the arpeggiator plugin interface.
- Experiment with settings: Adjust the arpeggiator settings to customize the arpeggio pattern, such as the order, range, rhythm, and rate. These settings can vary depending on the specific arpeggiator plugin you’re using.
- Play your MIDI keyboard: As you play chords or notes on your MIDI keyboard, the arpeggiator effect will generate the corresponding arpeggio pattern based on your settings. You can experiment with different chords and rhythms to create intricate and dynamic arpeggios.
MIDI Sequencer: A MIDI sequencer allows you to record and play back MIDI data in a precise and controlled manner. It can be used for composing complex melodies, arranging patterns, and creating intricate musical sequences.
To work with a MIDI sequencer using your MIDI keyboard, follow these steps:
- Select a sequencer plugin: Choose a sequencer plugin that suits your needs and preferences. Look for a plugin that provides intuitive recording and editing capabilities.
- Activate the sequencer: Enable the sequencer on the MIDI track where you want to record and playback your MIDI data. This is typically done by activating a button or switch within the sequencer plugin interface.
- Record your MIDI performance: Start recording on the sequencer-enabled track and play your MIDI keyboard. Your performance will be captured and recorded as MIDI data, allowing you to edit and refine the recorded sequences later.
- Edit and arrange the sequences: Use the editing features of the sequencer plugin to refine the recorded MIDI sequences. This can include adjusting note placements, velocities, lengths, or adding additional events or effects.
These are just a couple of examples of MIDI effects that you can incorporate into your music production workflow using your MIDI keyboard. Other MIDI effects include MIDI filters, MIDI harmonizers, MIDI delay, and MIDI transformers, among others. Experiment with different MIDI effects and explore how they can enhance your MIDI performances and compositions.
As you work with MIDI effects, remember to use your MIDI keyboard to control and manipulate these effects in real-time. Capture the essence of your performance by modulating the effect parameters, adjusting the timing, or adding expressive elements while playing your keyboard.
In the next section, we will delve into editing and arranging MIDI data, allowing you to fine-tune and shape your compositions using your MIDI keyboard and other editing tools.
Editing and Arranging MIDI
Editing and arranging MIDI data is a critical step in the music production process. It allows you to fine-tune your compositions, add complexity, and bring your musical ideas to life. With your MIDI keyboard and the powerful editing tools in your DAW software, you have the ability to shape and transform your MIDI data in various ways. Let’s explore how you can effectively edit and arrange MIDI using your MIDI keyboard:
1. Quantization: Quantization is the process of snapping MIDI notes to a specific time grid, ensuring they align with the musical timing. Use your MIDI keyboard to record your performance, then apply quantization to tighten up the timing of the recorded MIDI notes. This helps to create a more precise and professional-sounding performance.
2. Editing Note Parameters: Use your MIDI keyboard in conjunction with your DAW’s editing tools to modify note parameters such as pitch, velocity (how soft or loud a note is played), and duration. This allows you to add expression and dynamics to your MIDI performances, making them more realistic and nuanced.
3. Copying and Pasting: The ability to copy and paste MIDI data is essential for creating repetitive patterns, building sections, and arranging your composition. With your MIDI keyboard, you can easily select MIDI data in your DAW’s piano roll editor and copy it to different sections of your arrangement, making the process faster and more intuitive.
4. Layering and Splitting: With your MIDI keyboard, you can play and record multiple MIDI tracks simultaneously, allowing for layering different instruments or splitting your keyboard to play different sounds. This technique enables you to create complex harmonies, melodies, and textures in your arrangements.
5. Modifying MIDI Controllers: Many MIDI keyboards feature knobs, sliders, and buttons that can be assigned to control various MIDI parameters. Use these controllers to adjust settings and effects, such as volume, panning, modulation, or filter cutoff, in real-time while playing or recording MIDI. This brings a hands-on and expressive element to your MIDI productions.
6. MIDI Editing Tools: Your DAW software provides a range of MIDI editing tools, such as quantize, legato, transpose, and more. Utilize these tools in combination with your MIDI keyboard to refine and shape your MIDI data. Experiment with different editing techniques to achieve the desired musical variation and arrangement possibilities.
By effectively using your MIDI keyboard alongside the editing tools in your DAW, you can take full control over the MIDI data, transforming it to suit your musical vision. Whether you’re correcting mistakes, adding intricate details, or arranging sections, the combination of your MIDI keyboard and editing tools gives you the flexibility and precision needed to create professional-sounding MIDI compositions.
Now that you have a deeper understanding of editing and arranging MIDI, you can unleash your creativity and explore the infinite possibilities of MIDI music production. In the final section, we’ll conclude our guide and summarize the key takeaways to help you make the most of your MIDI keyboard and elevate your music production skills.
Conclusion
Congratulations! You’ve reached the end of our guide on how to use a MIDI keyboard. Throughout this journey, we’ve explored various aspects of MIDI keyboard functionality, software setup, connecting your keyboard, MIDI channels and assigning instruments, playing and recording MIDI, utilizing sustain and modulation, working with MIDI effects, and editing and arranging MIDI data. Armed with this knowledge, you’re now equipped to unlock the full potential of your MIDI keyboard and elevate your music production skills.
A MIDI keyboard offers a myriad of possibilities for musicians and producers. It provides a more natural and expressive way to play and create music, replicating the feel of traditional instruments. By connecting your MIDI keyboard to your computer and setting up the proper software, you can access a vast array of virtual instruments, synths, and samplers and control them effortlessly.
We covered the importance of understanding MIDI channels and assigning instruments, which allows for layering different sounds and switching between instruments seamlessly. Additionally, sustaining and modulating MIDI with your keyboard adds depth, richness, and expression to your performances, making them more captivating and dynamic.
We also explored the world of MIDI effects, from arpeggiators to sequencers, which enable you to create intricate patterns, sequences, and textures. These effects can take your compositions to new heights, offering endless creative possibilities for your music.
Editing and arranging MIDI data is a crucial step in the music production process, and your MIDI keyboard, combined with powerful editing tools in your DAW, gives you the ability to shape and transform your compositions with precision and creativity.
As you continue your journey with your MIDI keyboard, remember to experiment, explore, and let your creativity guide you. Don’t be afraid to try new techniques, experiment with different sounds, and push the boundaries of your musical creations. The possibilities are limitless!
We hope this guide has provided you with the knowledge and inspiration to make the most of your MIDI keyboard. Enjoy the process, and may your musical journey be filled with joy, discovery, and endless creativity.