Introduction
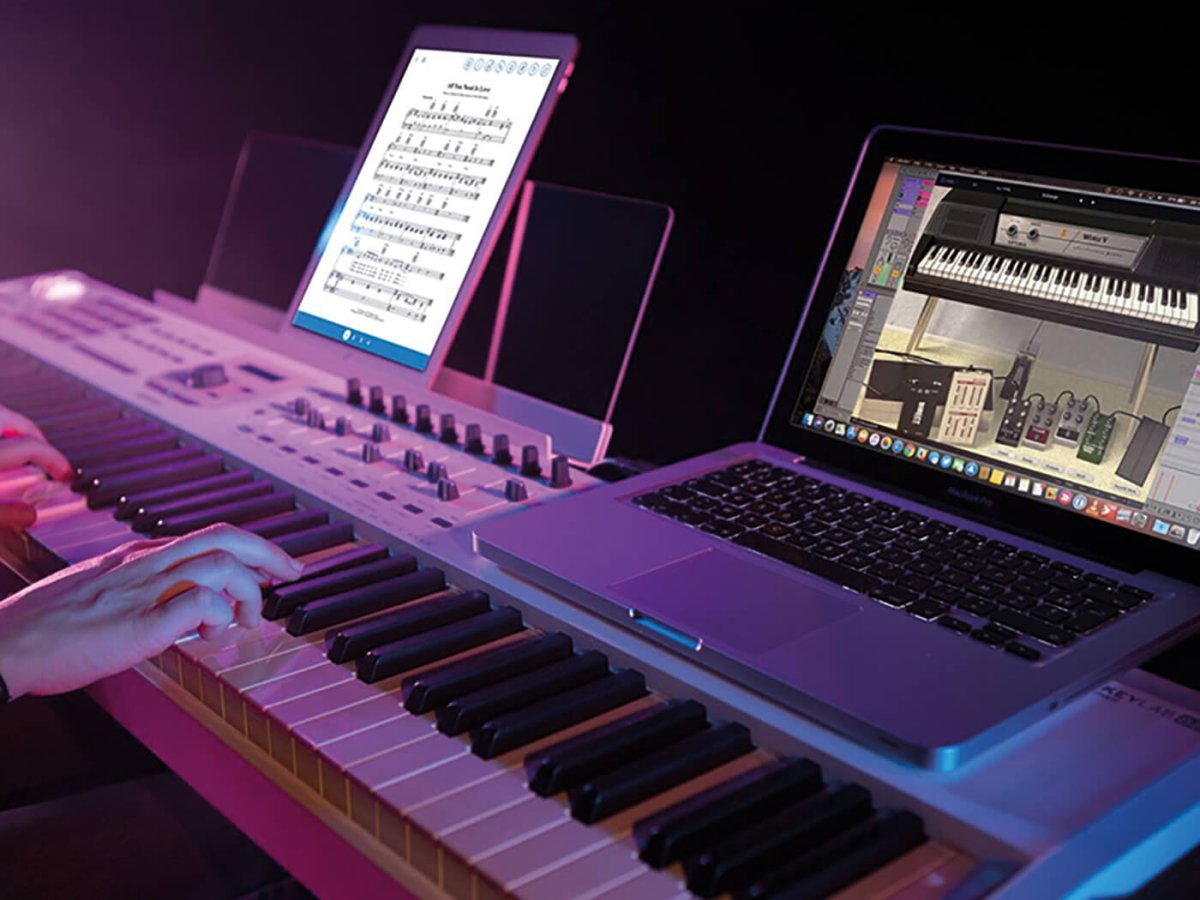
Welcome to the world of MIDI keyboards and digital music production! Whether you're a seasoned musician or just starting out, understanding how to test a MIDI keyboard connected to your PC is essential for unleashing your creative potential. MIDI (Musical Instrument Digital Interface) keyboards have revolutionized the way music is created, allowing for seamless integration with digital audio workstations (DAWs) and a myriad of virtual instruments and software synthesizers.
In this comprehensive guide, we'll walk you through the step-by-step process of testing your MIDI keyboard's connection to your PC. By the end of this tutorial, you'll have a clear understanding of how to ensure that your MIDI keyboard is functioning as intended, enabling you to dive into the world of music production with confidence.
Throughout this guide, we'll cover everything from connecting your MIDI keyboard to your PC to troubleshooting common issues that may arise during the testing process. Whether you're using a MIDI controller, a full-sized MIDI keyboard, or a compact MIDI pad, the principles outlined in this guide will apply to your setup, allowing you to verify the functionality of your MIDI device and get ready to create music.
So, if you're ready to embark on this musical journey, let's dive into the first step: connecting your MIDI keyboard to your PC. Whether you're a hobbyist, a professional musician, or a curious enthusiast, testing your MIDI keyboard's connection is the first crucial step toward unleashing the power of digital music production. Let's get started!
Step 1: Connect the MIDI Keyboard to Your PC
Before you can begin testing your MIDI keyboard, you need to establish a physical connection between the keyboard and your PC. Follow these steps to ensure a proper connection:
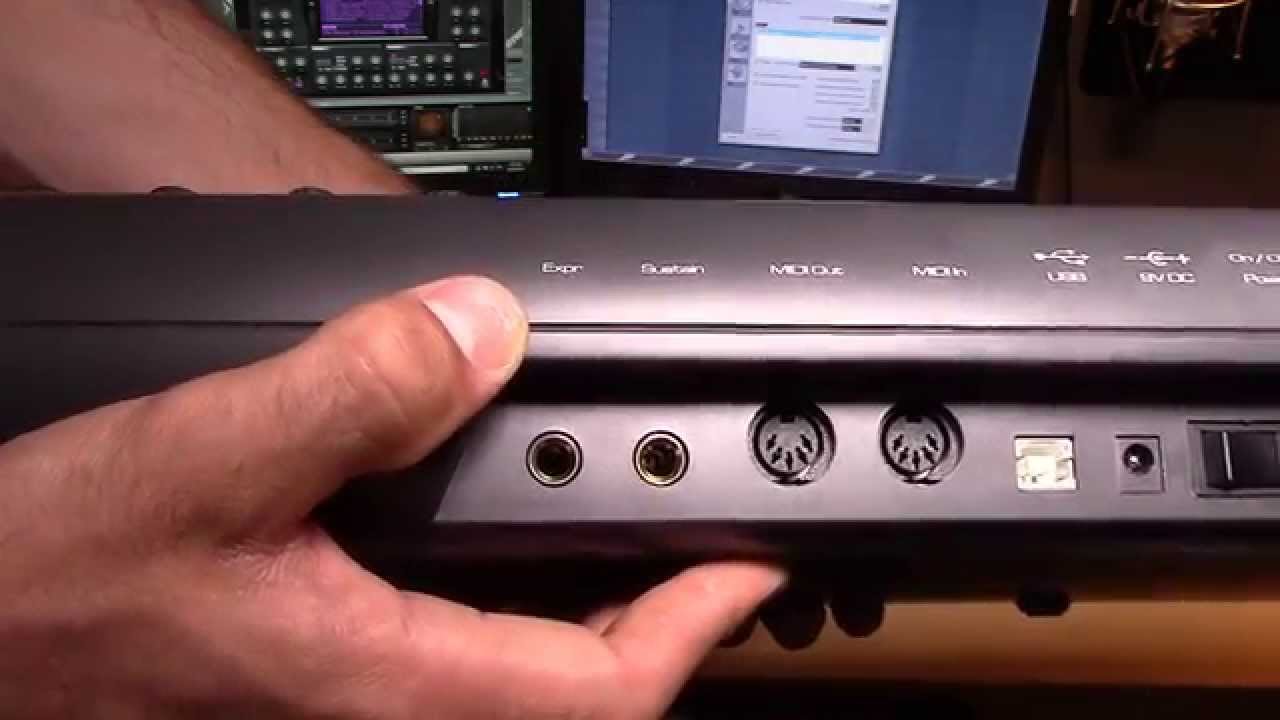
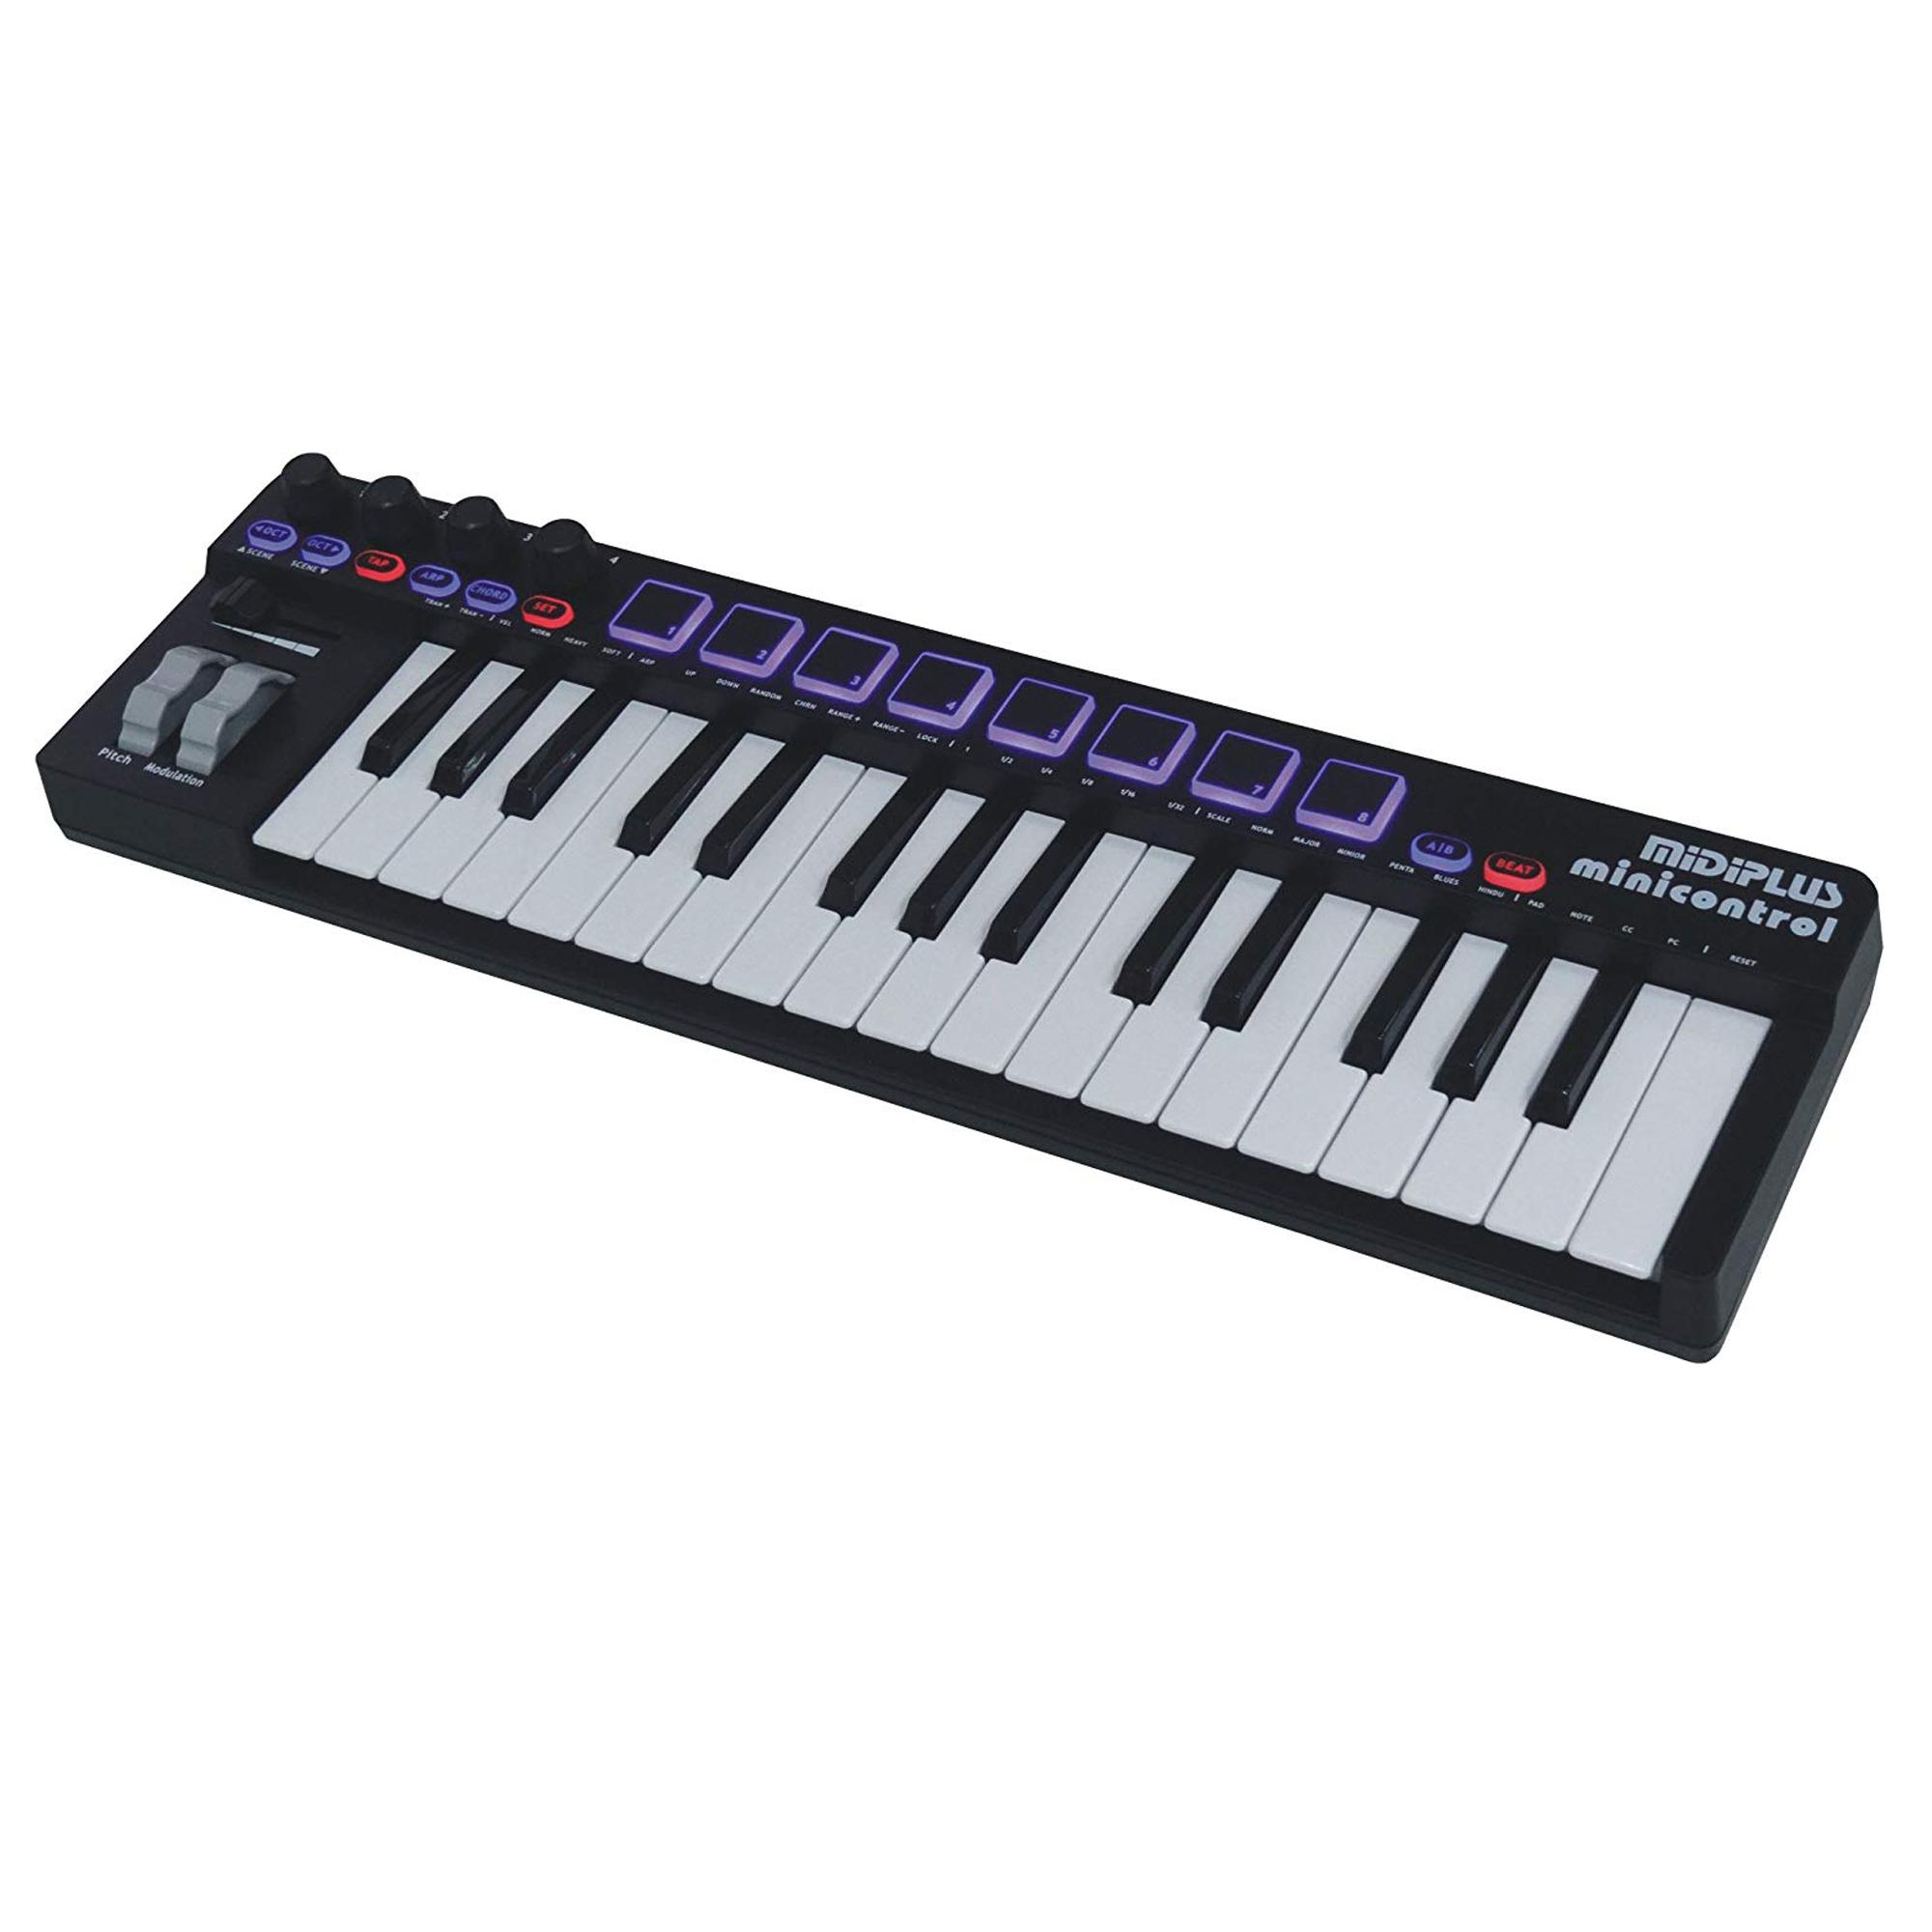
- Check the Ports: Identify the MIDI ports on your keyboard and your PC. Most MIDI keyboards feature MIDI Out and MIDI In ports, while your PC may have USB or MIDI ports available. Ensure that you have the necessary cables to connect the keyboard to your PC.
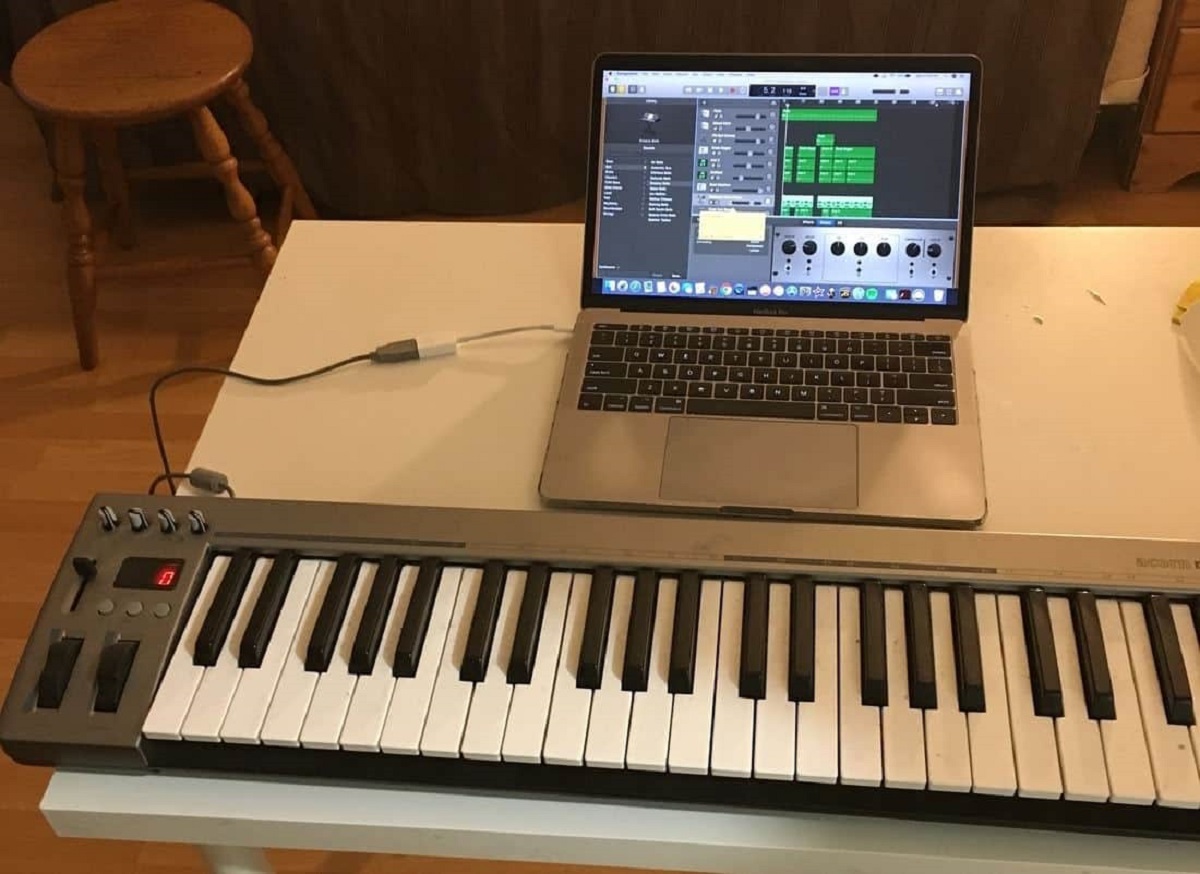
- Connect via USB: If your MIDI keyboard utilizes a USB connection, simply plug the USB cable into an available USB port on your PC. Many modern MIDI keyboards are USB class-compliant, meaning they can be recognized by your computer without the need for additional drivers.
- Use MIDI Cables: If your keyboard uses traditional MIDI ports, connect the MIDI Out port on the keyboard to the MIDI In port on your MIDI interface using a MIDI cable. Then, connect the MIDI interface to your PC using a USB cable or a MIDI-to-USB adapter.
- Power On Your MIDI Keyboard: Once the physical connections are in place, power on your MIDI keyboard. Some keyboards may require an external power source, while others can be powered via USB.
Once you have successfully connected your MIDI keyboard to your PC, you’re ready to move on to the next step: installing MIDI drivers to ensure seamless communication between your keyboard and your computer’s software.
Step 2: Install MIDI Drivers
After connecting your MIDI keyboard to your PC, it’s essential to ensure that the necessary MIDI drivers are installed to facilitate communication between the keyboard and your computer. Follow these steps to install MIDI drivers:
- Check for Manufacturer’s Instructions: Refer to the user manual or the manufacturer’s website for specific instructions on installing MIDI drivers for your keyboard. Some MIDI keyboards may require proprietary drivers, while others are class-compliant and do not necessitate additional driver installation.
- Download the Drivers: If your MIDI keyboard requires specific drivers, visit the manufacturer’s website and locate the appropriate drivers for your keyboard model and your operating system. Download the drivers to your computer.
- Run the Installer: Once the drivers are downloaded, run the installer and follow the on-screen instructions to complete the installation process. This typically involves accepting the end-user license agreement and choosing the installation location.
- Restart Your Computer: After the MIDI drivers are installed, it’s advisable to restart your computer to ensure that the changes take effect. Restarting your PC will finalize the driver installation process.
By following these steps, you’ll ensure that your MIDI keyboard is equipped with the necessary drivers to communicate with your PC effectively. With the drivers in place, your keyboard will be recognized by your computer’s operating system and any MIDI-compatible software you intend to use for testing.
With the MIDI drivers successfully installed, you’re now ready to move on to the next step: opening a MIDI-compatible software to test the functionality of your MIDI keyboard.
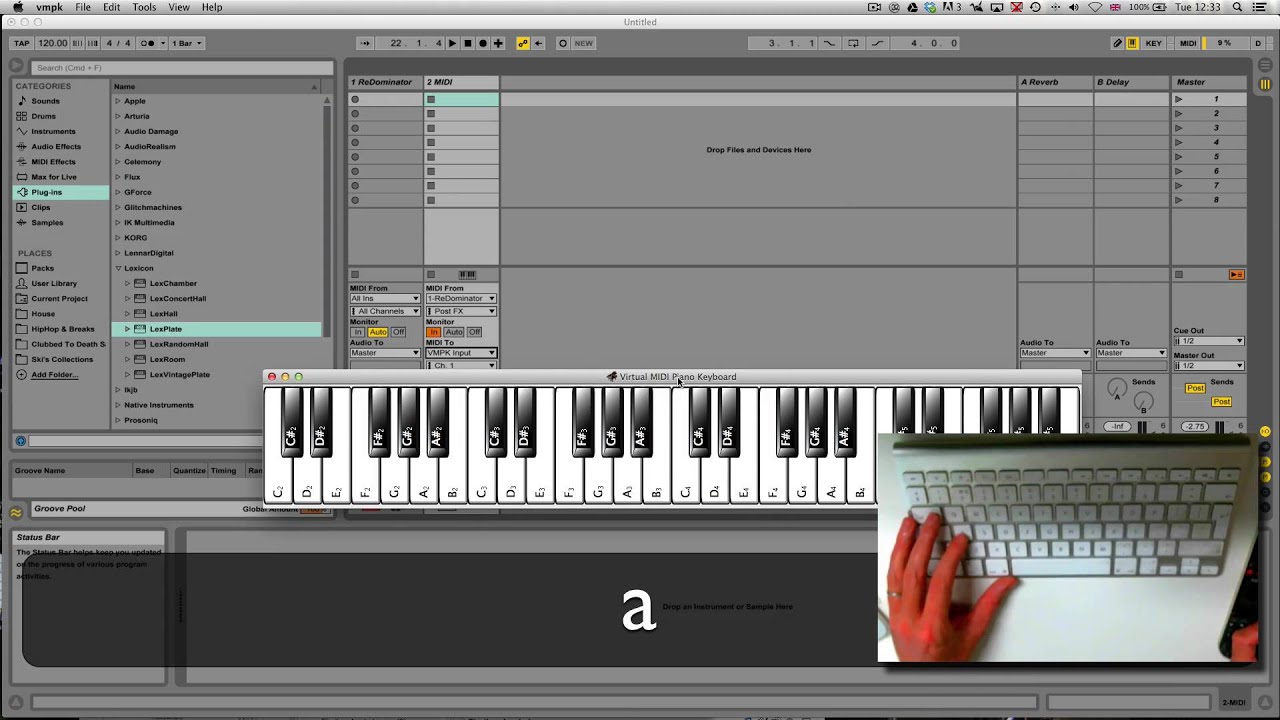
Step 3: Open a MIDI-Compatible Software
With your MIDI keyboard connected to your PC and the necessary drivers installed, the next step is to open a MIDI-compatible software that will allow you to test the functionality of your keyboard. Follow these steps to open a MIDI-compatible software:
- Choose a MIDI-Compatible Software: Select a MIDI-compatible software or digital audio workstation (DAW) that supports MIDI input. Popular options include Ableton Live, FL Studio, Logic Pro, Pro Tools, and GarageBand, among others. Ensure that the software is installed on your computer.
- Launch the Software: Once you’ve chosen the MIDI-compatible software, launch the application on your computer. You can typically do this by locating the software in your computer’s applications or programs folder and double-clicking the icon to open it.
- Configure MIDI Settings: Within the MIDI-compatible software, navigate to the settings or preferences menu to configure the MIDI input. Ensure that your MIDI keyboard is recognized by the software and set as the input device for MIDI communication.
- Create a New Project: If you’re using a DAW, create a new project or session within the software. This will provide you with a blank canvas to test the functionality of your MIDI keyboard and ensure that it’s sending and receiving MIDI data as expected.
By following these steps, you’ll have successfully opened a MIDI-compatible software and prepared it to receive MIDI input from your keyboard. With the software launched and configured, you’re now ready to move on to the next step: testing the MIDI keyboard to verify its functionality and responsiveness within the software environment.
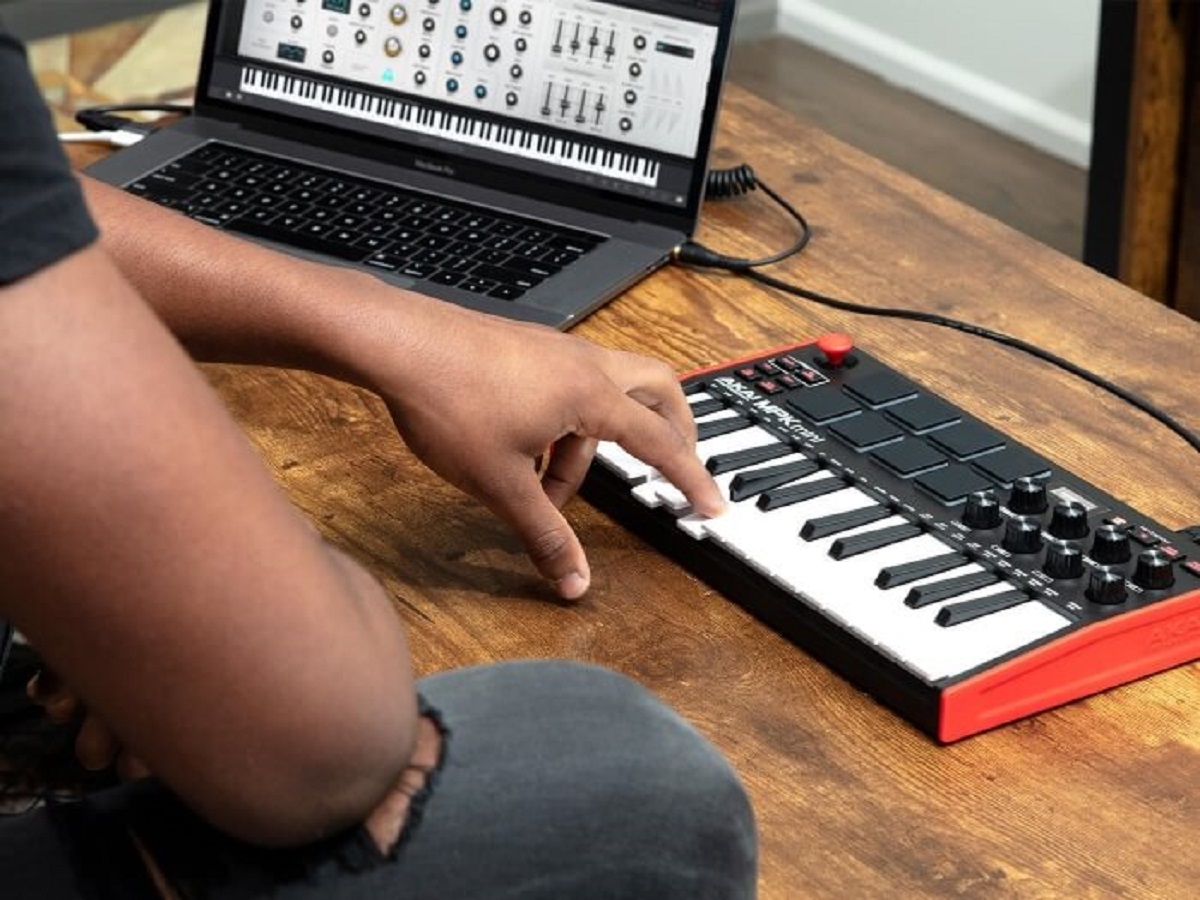
Step 4: Test the MIDI Keyboard
Now that you’ve connected your MIDI keyboard to your PC, installed the necessary drivers, and opened a MIDI-compatible software, it’s time to test the functionality of your MIDI keyboard. Follow these steps to ensure that your keyboard is sending and receiving MIDI data as expected:
- Press the Keys: Begin by pressing the keys on your MIDI keyboard. As you press each key, you should see corresponding MIDI input indicators within the software. This visual feedback confirms that the keyboard is sending MIDI data to the software.
- Explore Velocity Sensitivity: If your MIDI keyboard features velocity-sensitive keys, test the varying levels of key pressure to ensure that the software accurately captures the nuances of your playing. This is particularly important for capturing dynamic expression in your music.
- Test Modulation and Pitch Bend Wheels: If your MIDI keyboard includes modulation and pitch bend wheels or other assignable controls, test their functionality within the software. Manipulate these controls and observe how the software responds to the MIDI data being transmitted.
- Check for Latency: Play the keyboard and listen for any noticeable latency between pressing the keys and hearing the sound from the software. Lower latency ensures a more responsive playing experience, so it’s important to verify that the keyboard’s input is translated into sound without perceptible delay.
By following these steps and testing the various aspects of your MIDI keyboard’s functionality, you can ensure that the keyboard is communicating effectively with the MIDI-compatible software on your PC. This verification process is crucial for confirming that your MIDI keyboard is ready for music production and performance within a digital environment.
Step 5: Troubleshooting Common Issues
While testing your MIDI keyboard, you may encounter common issues that can affect its performance and functionality. Here are some troubleshooting steps to address these issues:
- Driver Conflicts: If your MIDI keyboard is not recognized by the software, ensure that the correct drivers are installed and that there are no conflicts with other devices connected to your computer. Reinstalling the drivers or updating them may resolve this issue.
- USB Port Selection: If you’re using a USB connection, try connecting the MIDI keyboard to different USB ports on your computer. Sometimes, using a different port can resolve connectivity issues or power-related problems.
- Software Configuration: Verify that the MIDI input settings within the software are correctly configured to receive input from your keyboard. Check the software’s documentation or support resources for guidance on configuring MIDI devices.
- Power Cycling: If the keyboard exhibits unusual behavior, power it off and then back on to reset its internal state. This simple step can often resolve temporary glitches or unresponsive behavior.
- Compatibility Issues: Ensure that your MIDI keyboard is compatible with your computer’s operating system. Some older MIDI devices may require additional steps to function with modern operating systems. Check the manufacturer’s website for any compatibility updates or workarounds.
By troubleshooting these common issues, you can address potential hurdles that may arise when testing your MIDI keyboard’s connection to your PC. These steps will help you identify and resolve any technical challenges, ensuring that your MIDI keyboard operates seamlessly within your digital music production environment.
Conclusion
Congratulations! You’ve successfully navigated the process of testing your MIDI keyboard connected to your PC. By following the steps outlined in this guide, you’ve ensured that your MIDI keyboard is properly connected, the necessary drivers are installed, and the keyboard’s functionality has been verified within a MIDI-compatible software environment. This foundational knowledge sets the stage for an exciting journey into the world of digital music production and performance.
Testing your MIDI keyboard serves as an essential preparatory step, allowing you to confirm that your keyboard is seamlessly integrated with your computer and ready for creative expression. Whether you’re a musician, producer, or enthusiast, the ability to test and troubleshoot your MIDI keyboard’s connection empowers you to harness the full potential of digital music technology.
As you embark on your musical endeavors, remember that the process of testing and troubleshooting is an ongoing part of the music production experience. Familiarizing yourself with the intricacies of MIDI connectivity and software interaction will serve you well as you delve into the art of creating and performing music in the digital realm.
With your MIDI keyboard successfully tested and operational, you’re now equipped to explore a vast array of virtual instruments, software synthesizers, and music production tools. Whether you’re composing, arranging, or performing, your MIDI keyboard is a gateway to limitless musical possibilities, and your understanding of its functionality is the key to unlocking its potential.
So, as you continue on your musical journey, remember the foundational steps you’ve taken to test your MIDI keyboard connected to your PC. Embrace the creative opportunities that lie ahead, and let your passion for music guide you as you harness the power of MIDI technology to bring your musical visions to life.