Introduction
So, you've got a MIDI keyboard and you're ready to unleash its musical magic through a set of speakers. Connecting a MIDI keyboard to speakers can bring your compositions to life with rich, resonant sound. Whether you're a music enthusiast, a budding musician, or a seasoned composer, this guide will walk you through the process of connecting your MIDI keyboard to speakers, allowing you to experience the full spectrum of your musical creations.
By following the steps outlined in this guide, you'll be able to seamlessly integrate your MIDI keyboard with a digital audio workstation (DAW) and connect the output to speakers, creating a complete audio setup. This will enable you to listen to your compositions with clarity and depth, whether you're practicing, recording, or performing live.
Music has the power to evoke emotions, tell stories, and create memorable experiences. With the right setup, you can fully immerse yourself in the world of sound, expressing your creativity and sharing your musical talent with others. Whether you're into classical, jazz, pop, rock, electronic, or any other genre, the ability to connect your MIDI keyboard to speakers opens up a world of sonic possibilities.
Throughout this guide, we'll explore the essential equipment needed, the process of connecting your MIDI keyboard to a computer, selecting a suitable DAW, and establishing the connection to speakers. By the end of this journey, you'll be ready to unleash the full potential of your MIDI keyboard and share your musical creations with the world. So, let's dive in and embark on this musical adventure together!
Step 1: Gather Your Equipment
Before you begin the process of connecting your MIDI keyboard to speakers, it’s essential to gather the necessary equipment. Here’s what you’ll need:
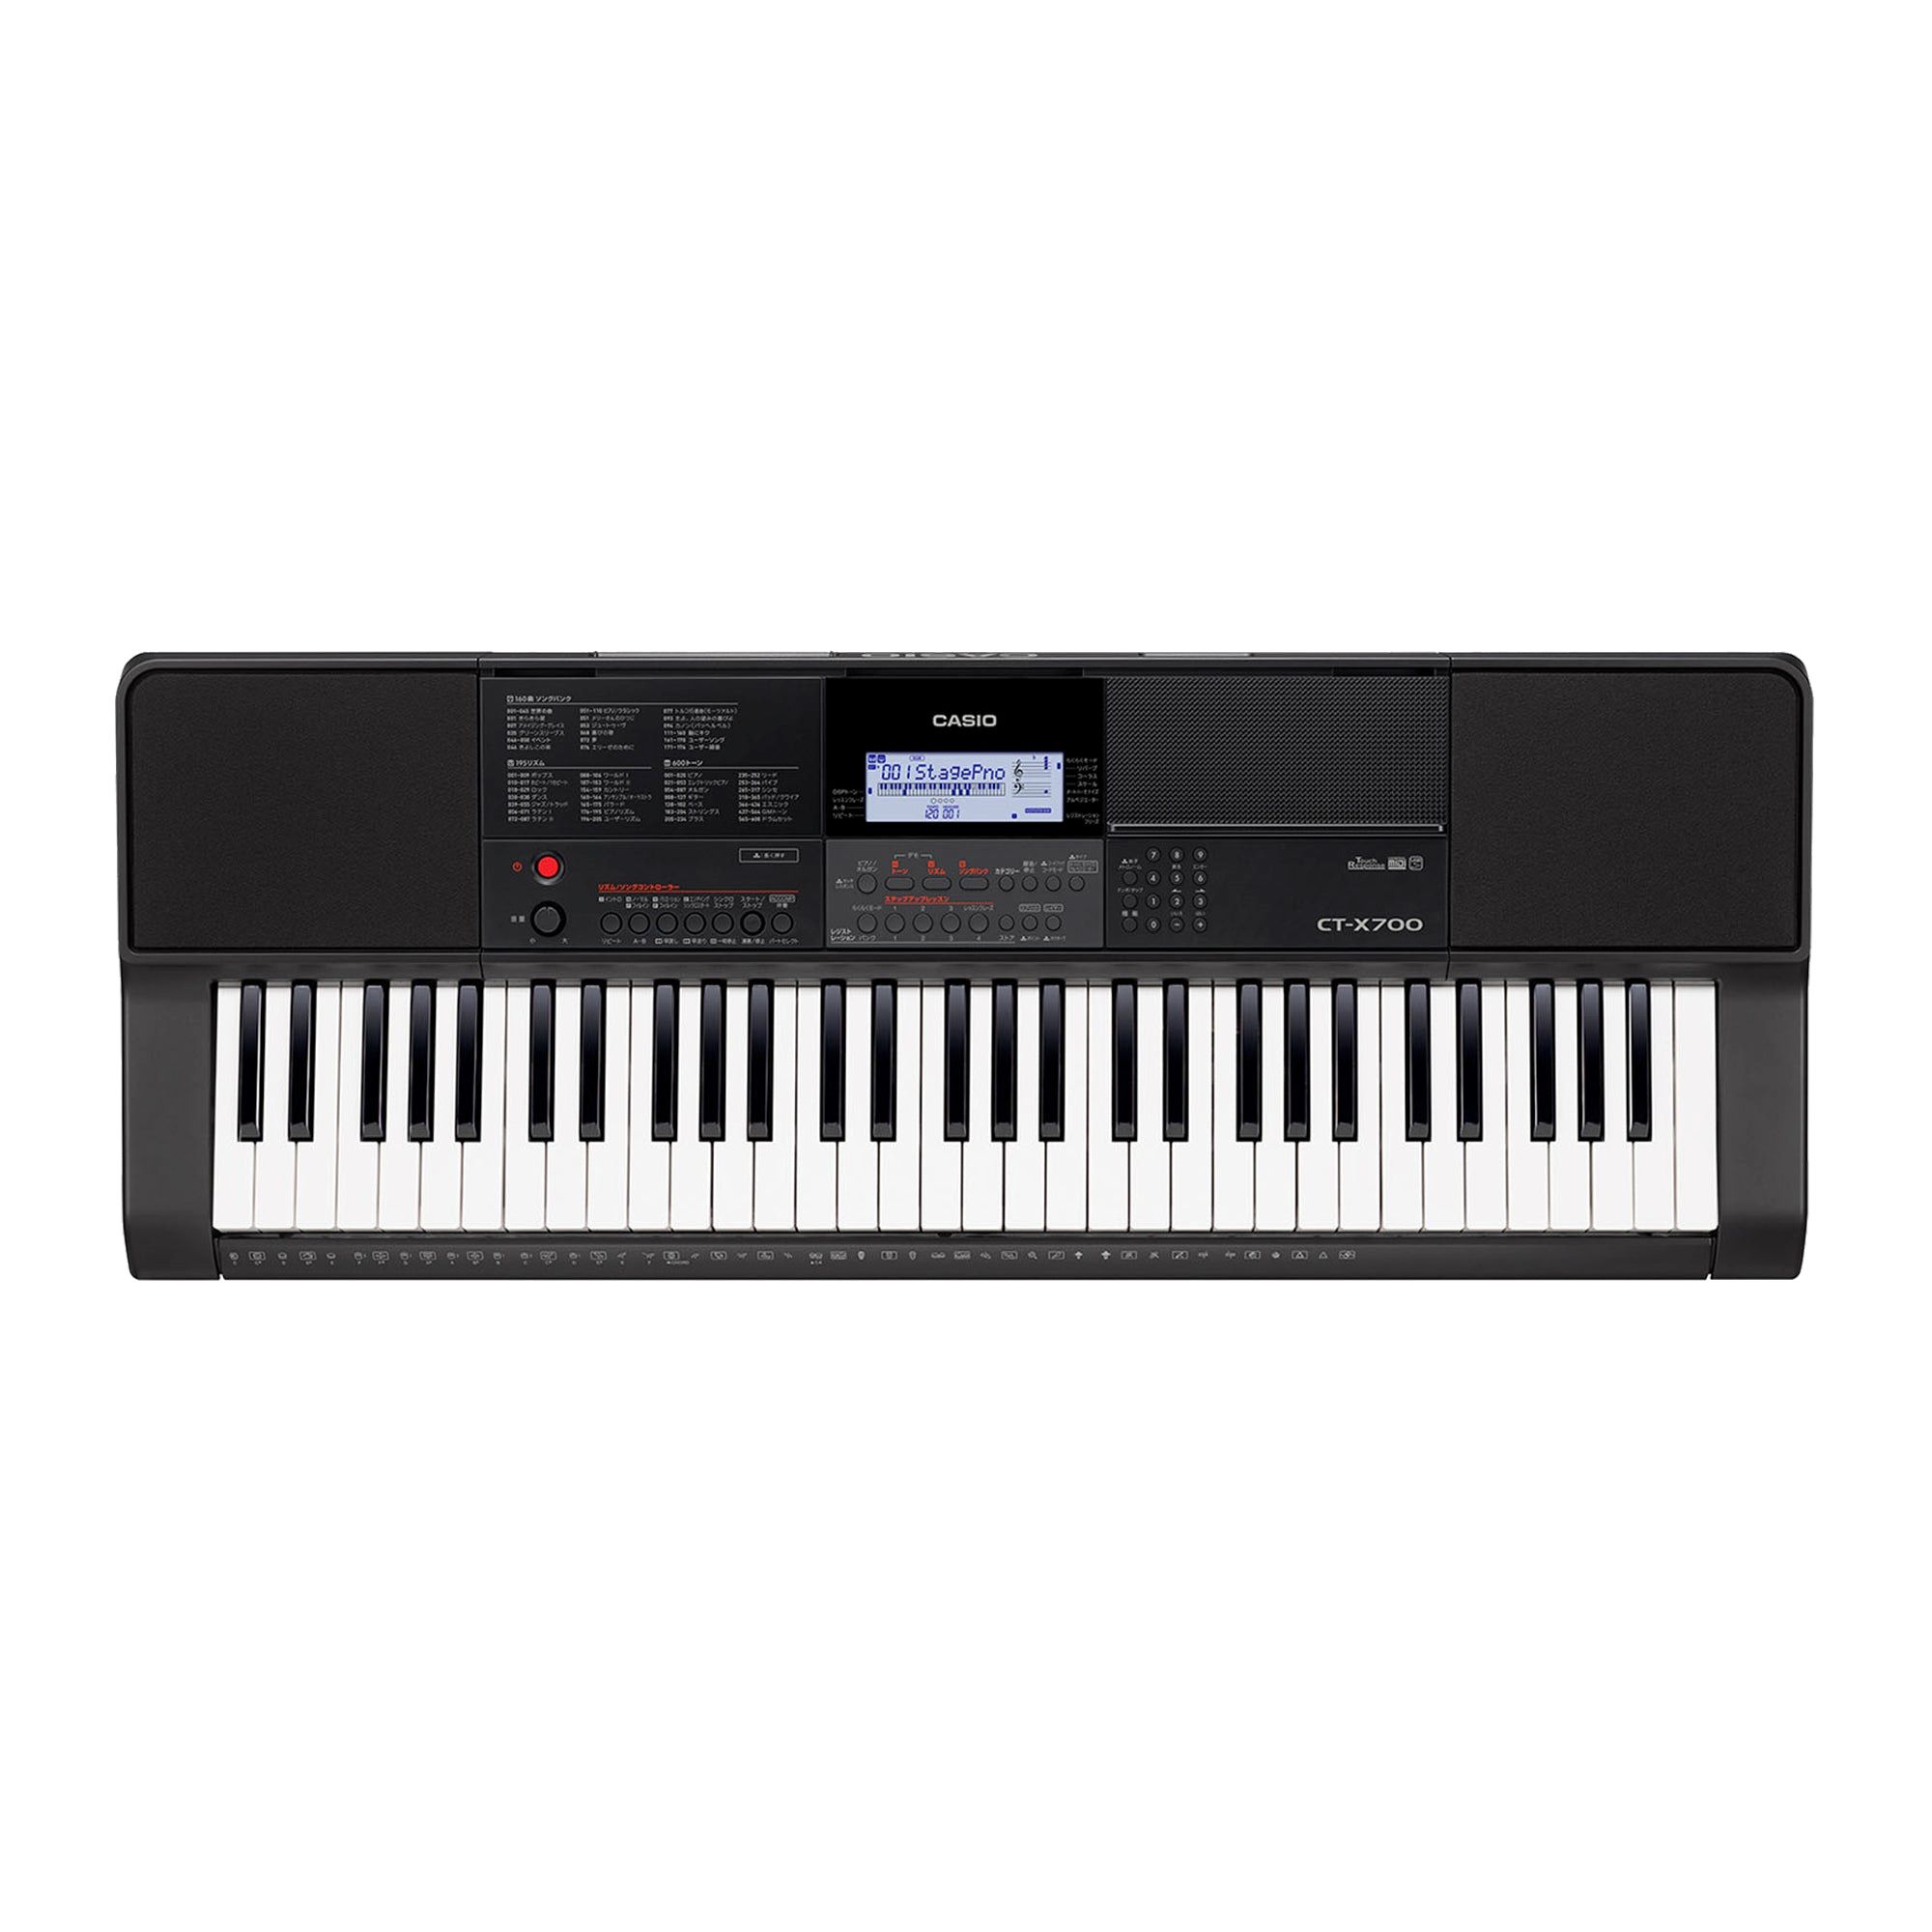
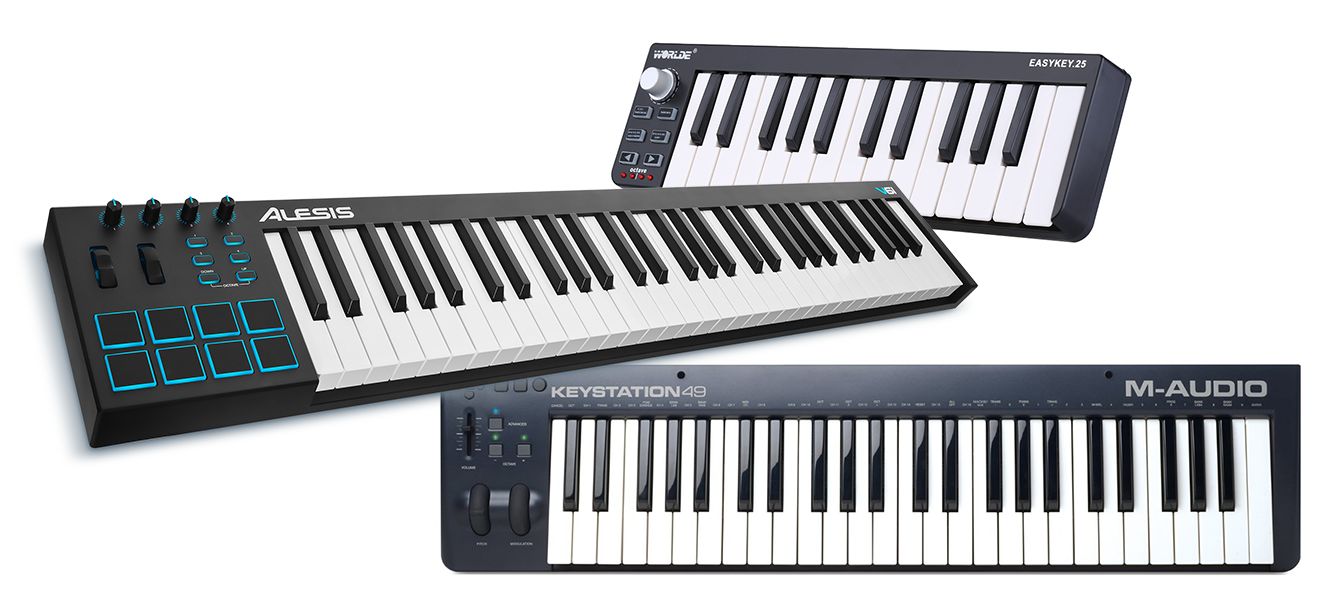
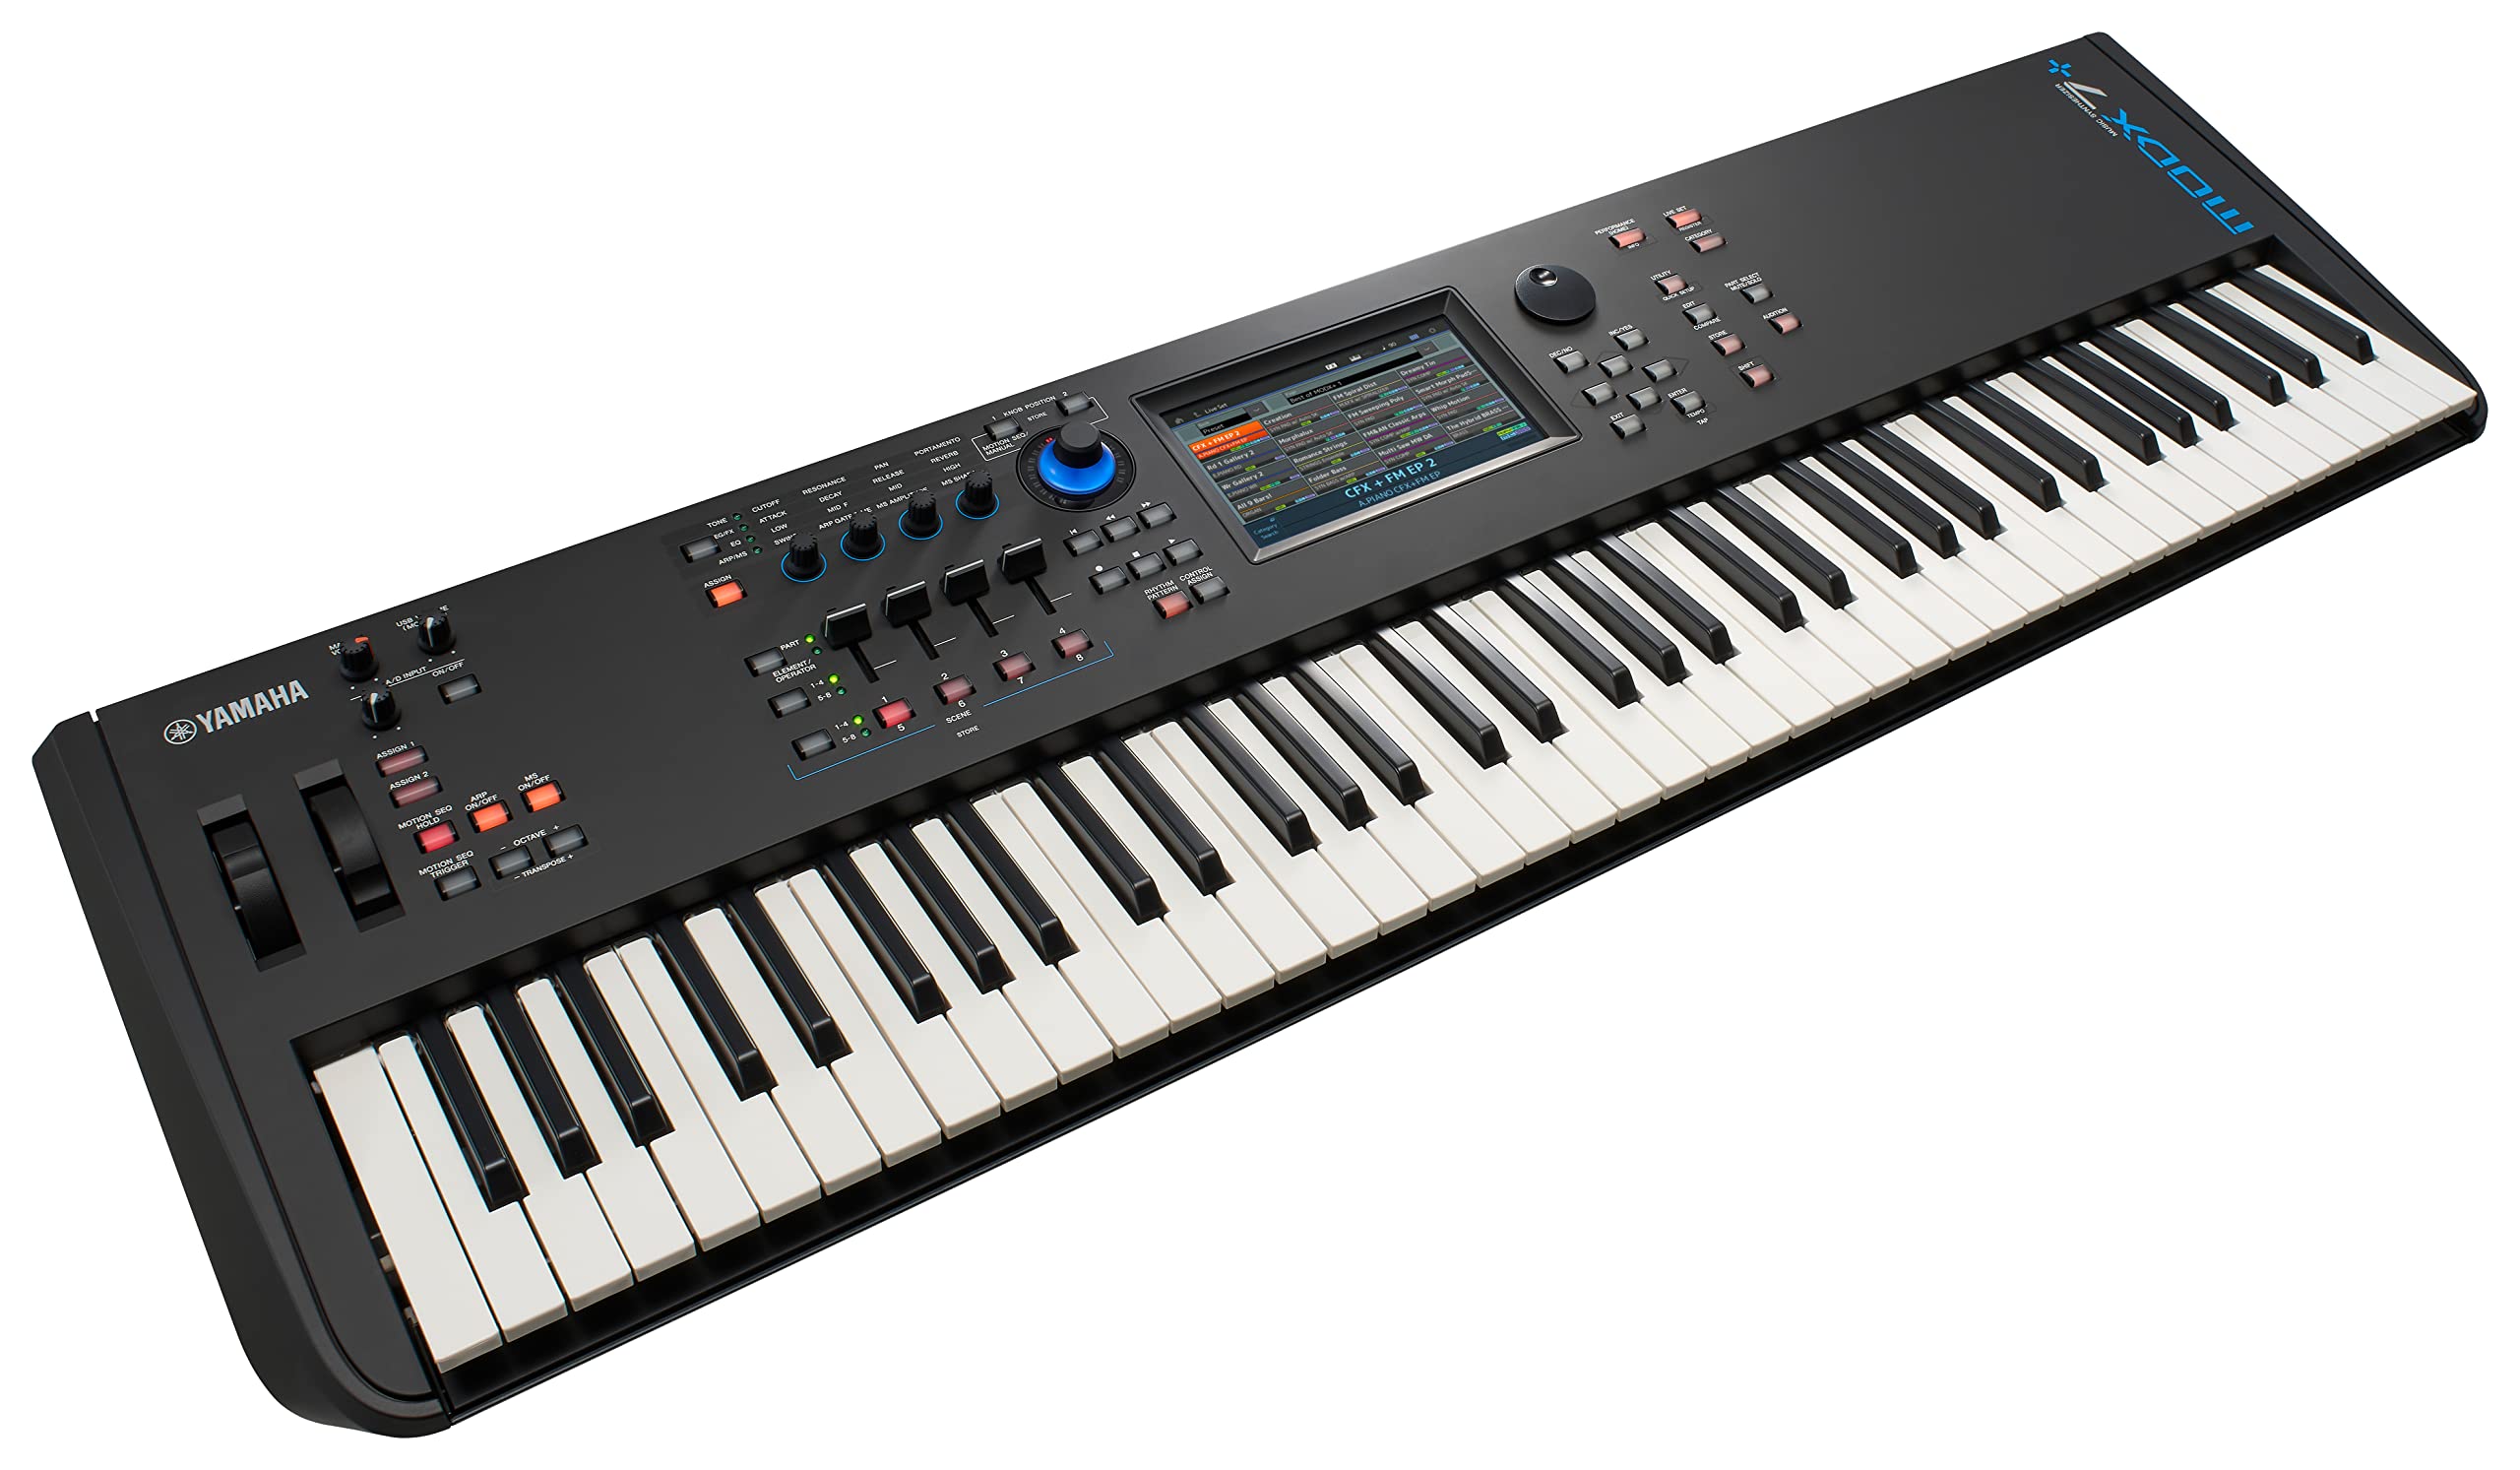
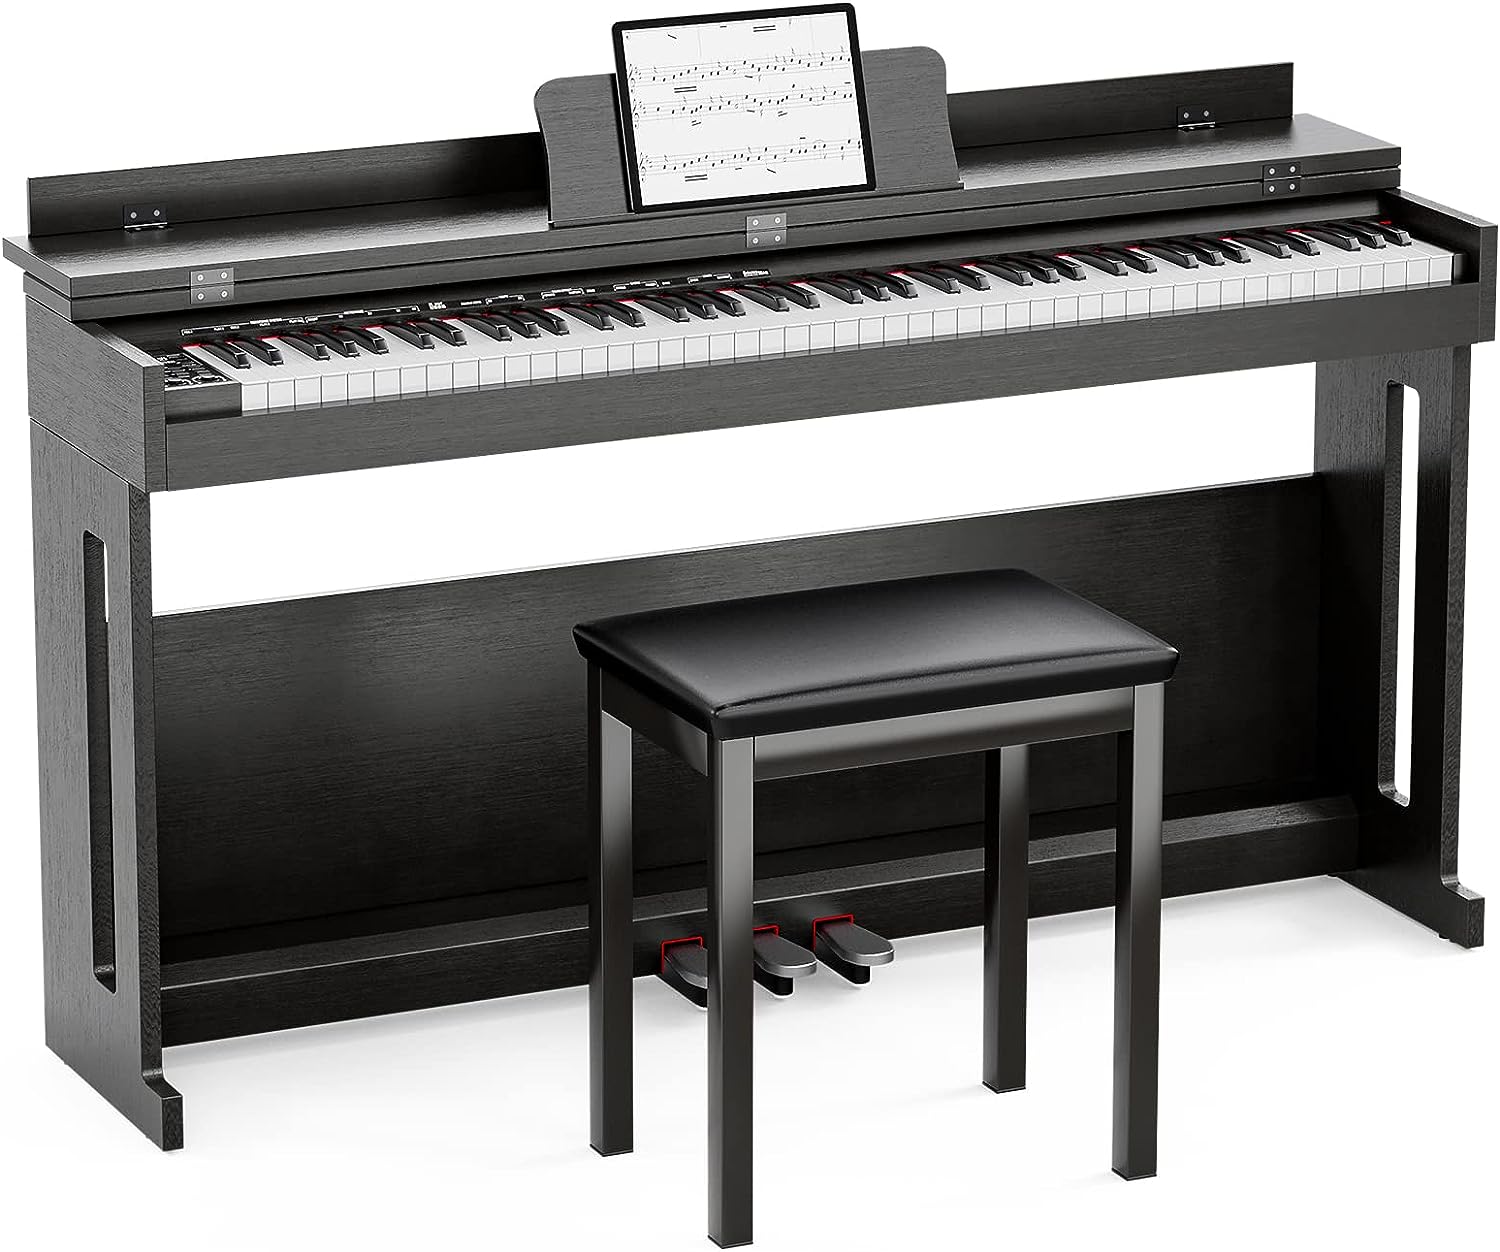
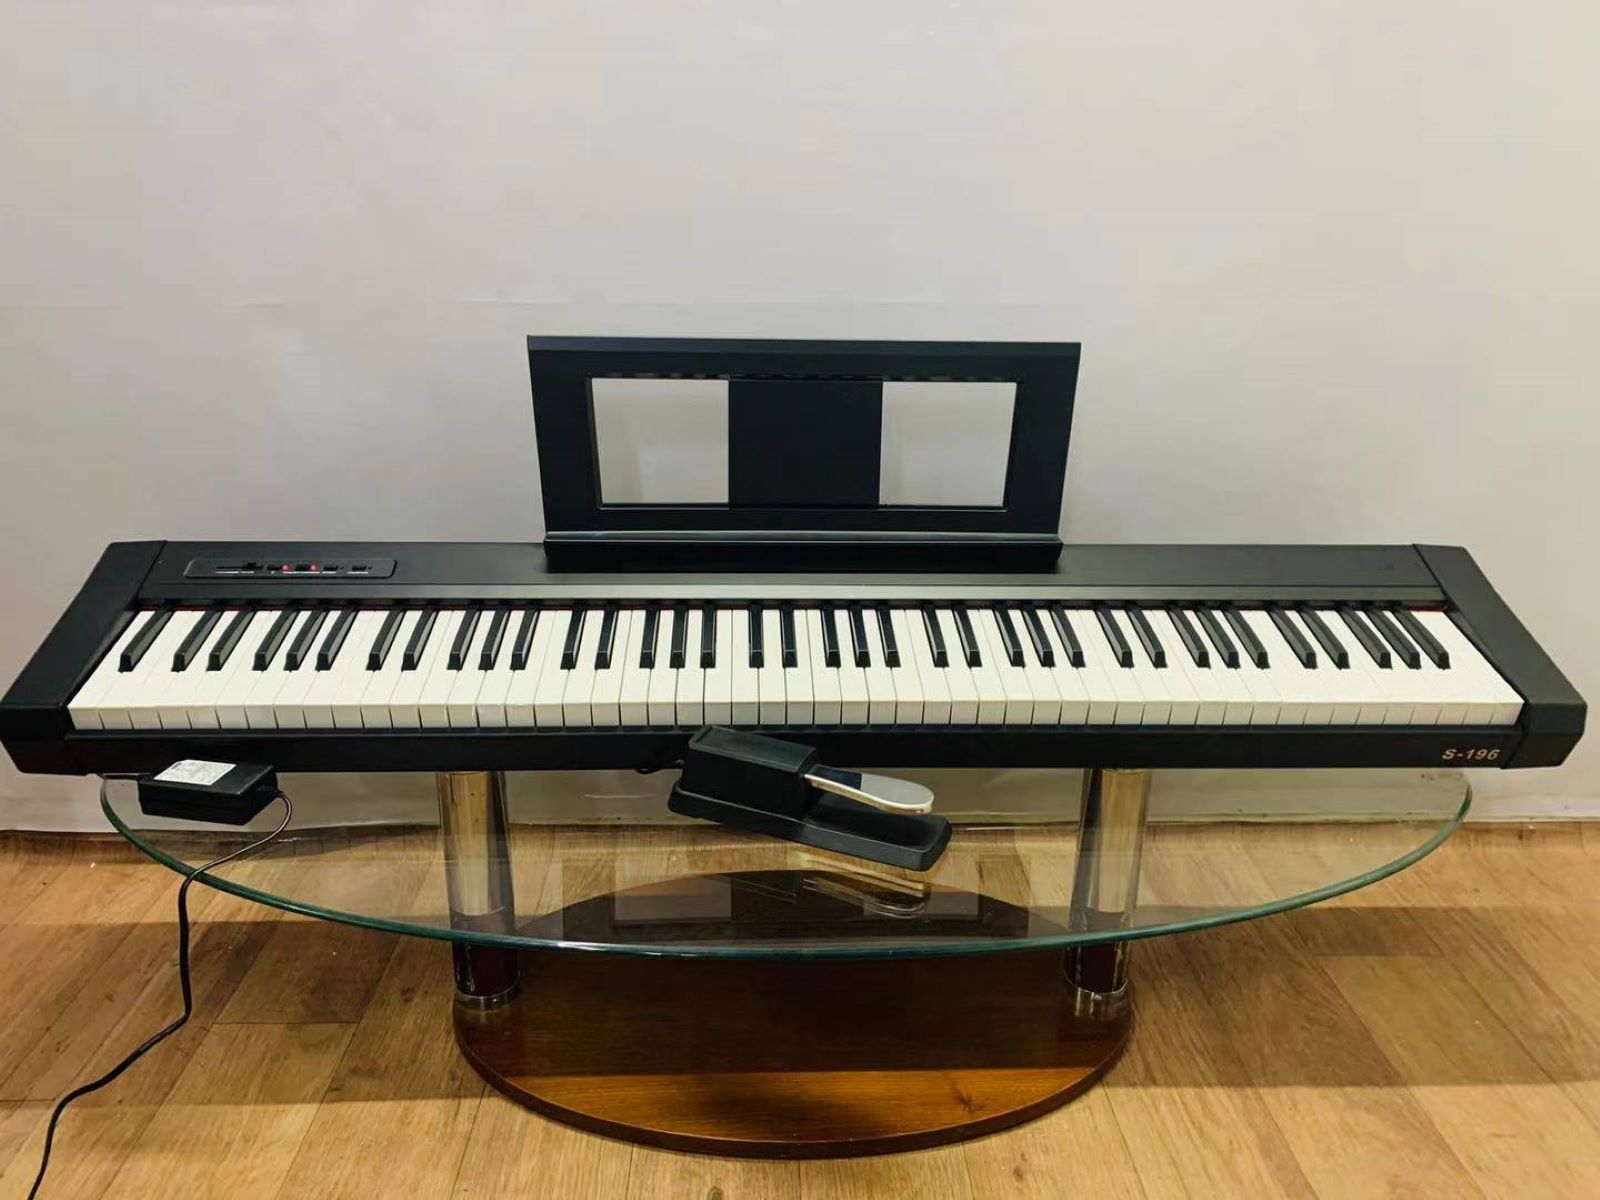
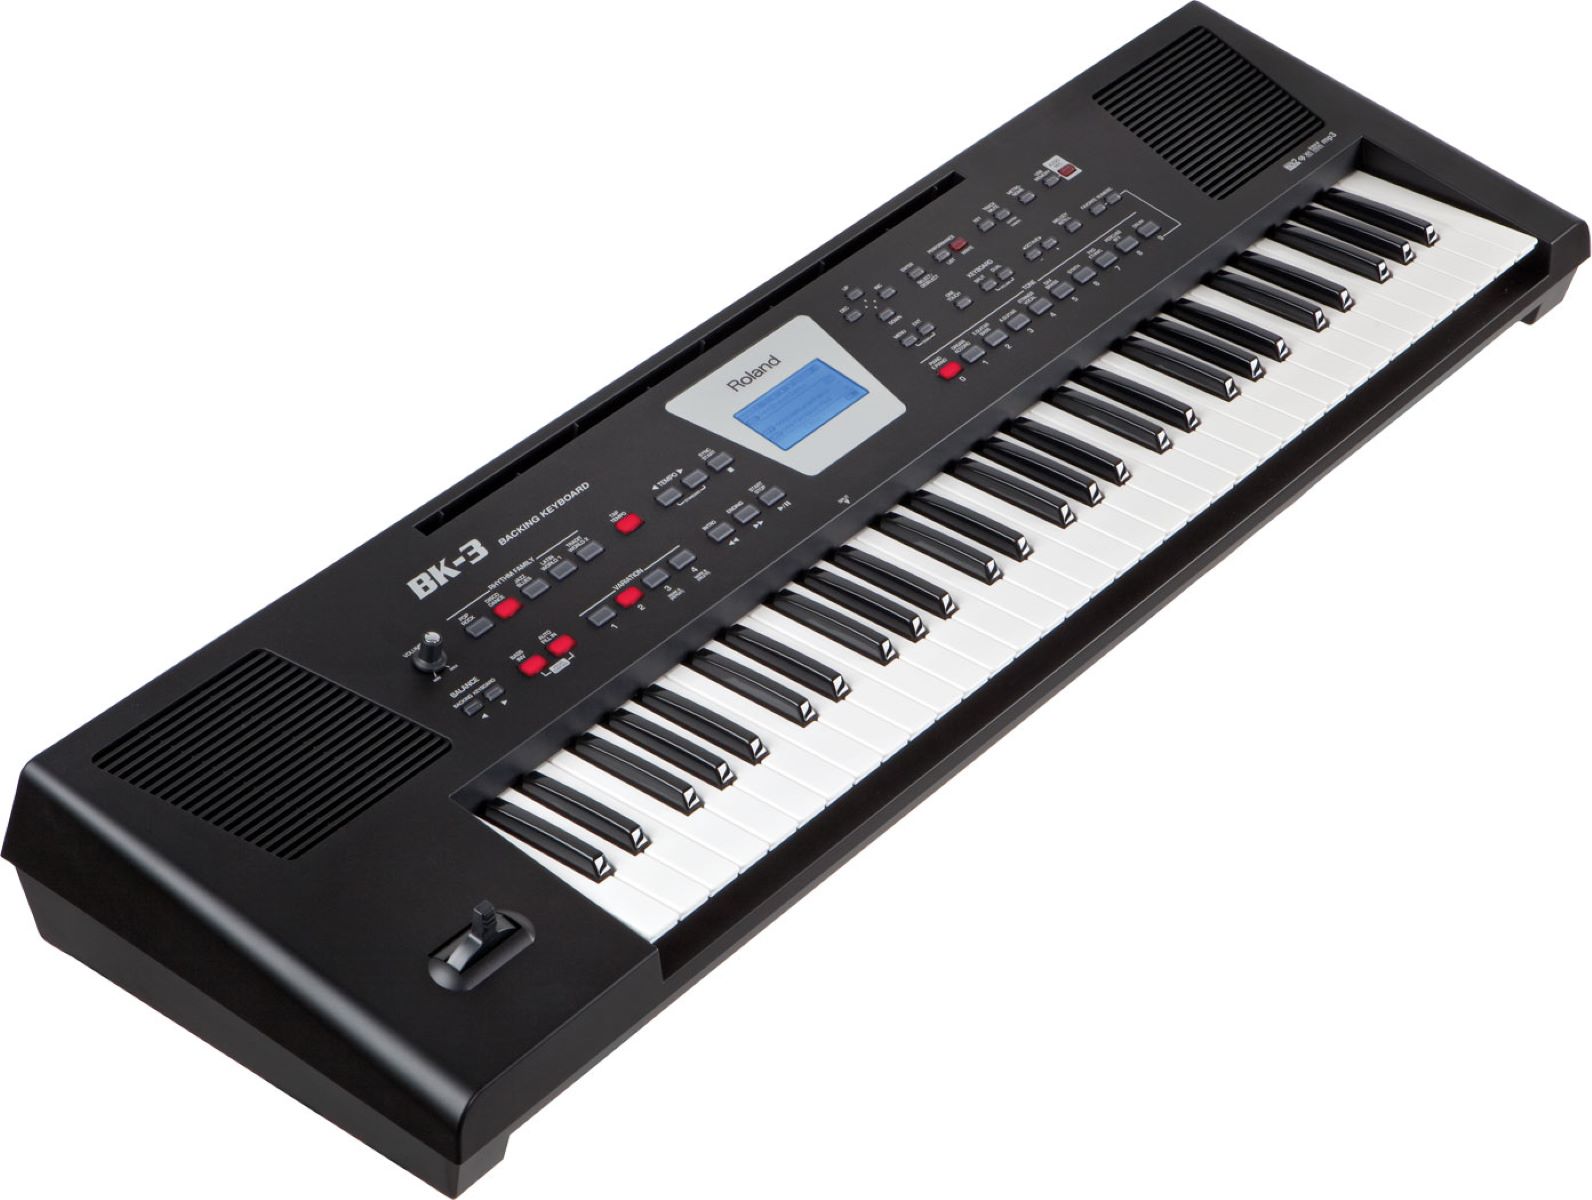
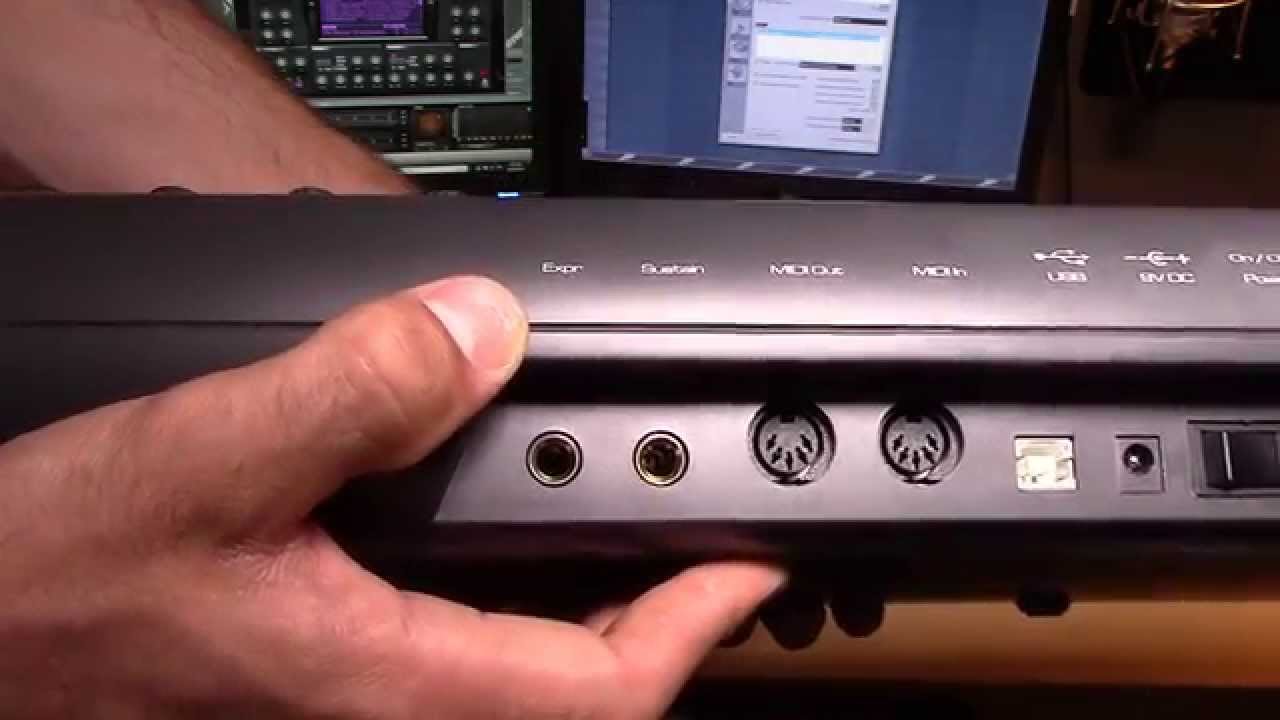
- MIDI Keyboard: This is the heart of your setup. Ensure that your MIDI keyboard is equipped with MIDI output ports, which are typically found on the back of the keyboard. Some keyboards also offer USB connectivity, providing an alternative way to connect to your computer.
- Computer: You’ll need a computer with USB ports to connect your MIDI keyboard. Whether you’re using a Mac or a PC, make sure that your computer meets the system requirements for running a digital audio workstation (DAW).
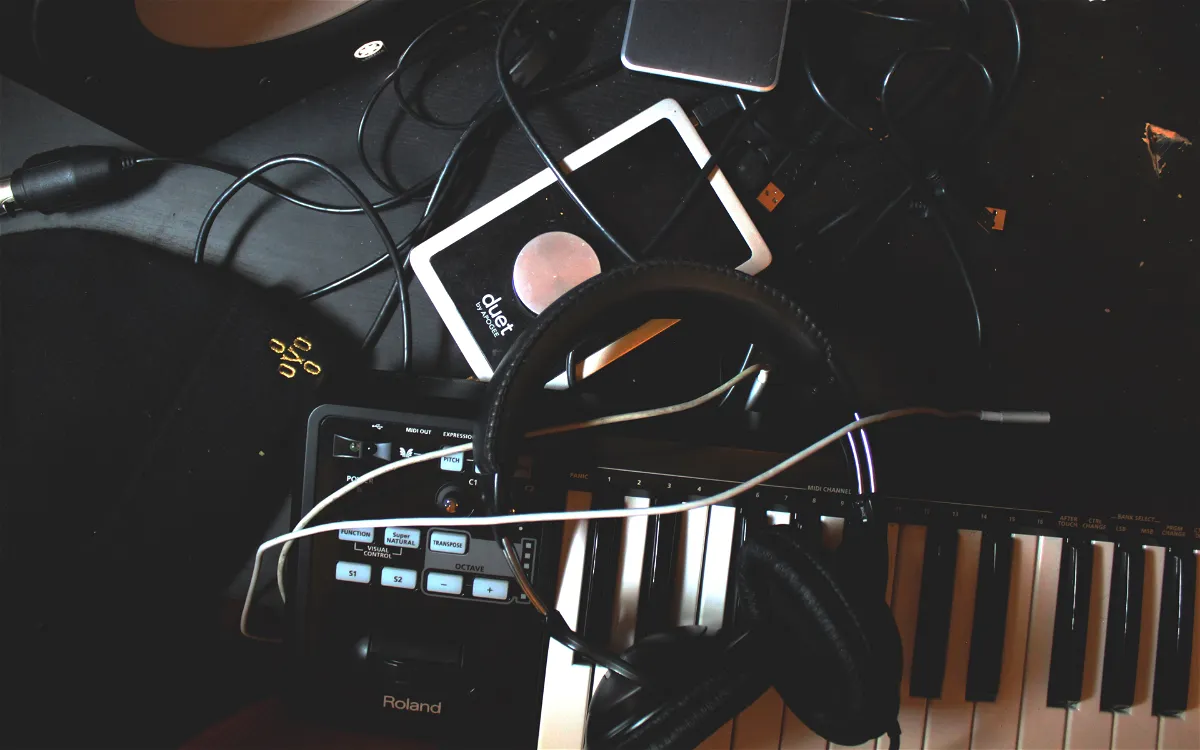
- Audio Interface: If your MIDI keyboard doesn’t have a built-in audio interface, you’ll need an external audio interface to convert the digital MIDI signal into an analog audio signal that can be connected to speakers. Look for an audio interface with MIDI input and output ports, as well as line outputs for connecting to speakers.
- Speakers: Quality speakers are essential for accurately reproducing the sound from your MIDI keyboard. Whether you choose studio monitors, powered speakers, or a dedicated amplifier and passive speakers, ensure that the speakers are capable of delivering a balanced and clear sound.
- Cables: Depending on the connections available on your MIDI keyboard, audio interface, and speakers, you may need MIDI cables, USB cables, and audio cables (such as TRS or XLR cables) to establish the connections between the devices.
- Digital Audio Workstation (DAW) Software: Select and install a DAW on your computer. There are various DAW options available, such as Ableton Live, Pro Tools, Logic Pro, FL Studio, and more. Choose a DAW that aligns with your music production needs and preferences.
Once you have all the necessary equipment at your disposal, you’ll be well-prepared to proceed with the next steps of connecting your MIDI keyboard to speakers. With the right gear in place, you can look forward to immersing yourself in the world of music production and unleashing the full potential of your MIDI keyboard.
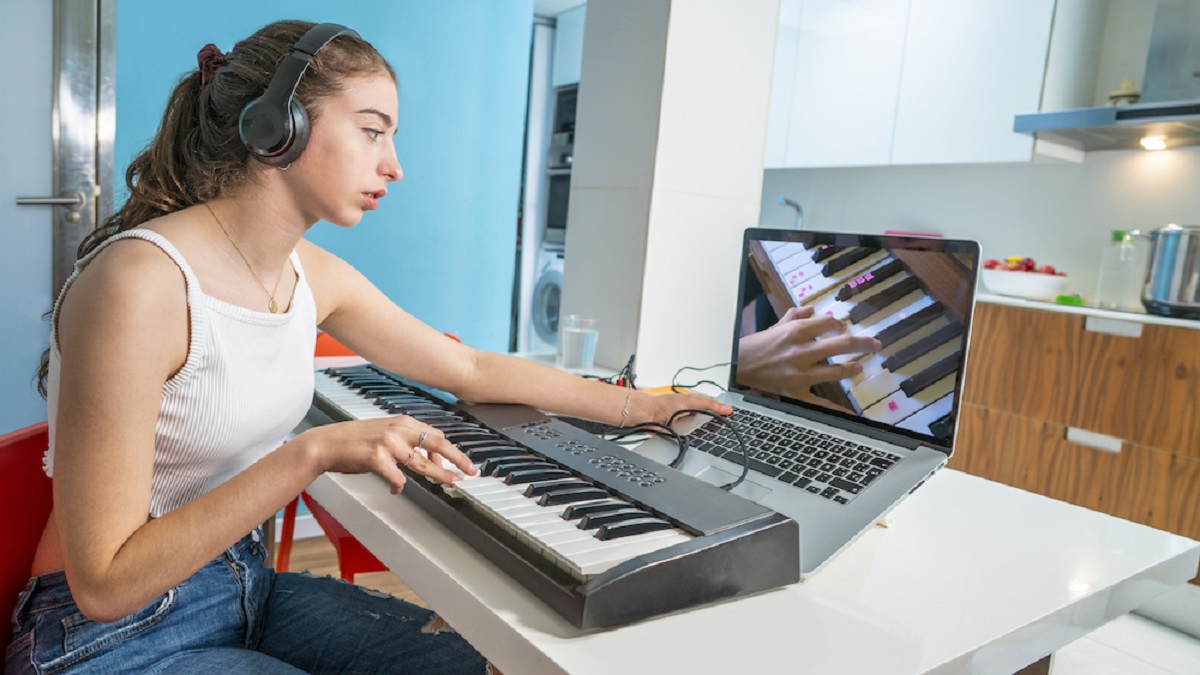
Step 2: Connect the MIDI Keyboard to a Computer
Once you have gathered the necessary equipment, the next step is to establish a connection between your MIDI keyboard and your computer. This connection will allow your computer to receive MIDI data from the keyboard and, if applicable, send audio signals back to the keyboard for playback. Here’s how to do it:
- USB Connection: If your MIDI keyboard supports USB connectivity, simply connect it to a USB port on your computer using a USB cable. Many modern MIDI keyboards offer USB MIDI functionality, allowing for a straightforward connection without the need for additional hardware.
- MIDI Connection: If your MIDI keyboard does not have USB connectivity, you can use MIDI cables to connect the MIDI output of the keyboard to the MIDI input of an audio interface connected to your computer. This method enables the transfer of MIDI data between the keyboard and the computer.
- Driver Installation: In some cases, you may need to install specific drivers for your MIDI keyboard on your computer. These drivers facilitate communication between the keyboard and the computer, ensuring that MIDI data is transmitted accurately. Check the manufacturer’s website for the latest drivers and installation instructions.
- DAW Configuration: Once the MIDI keyboard is connected to your computer, open your chosen DAW software and configure it to recognize the MIDI input from your keyboard. This typically involves selecting the MIDI keyboard as an input device within the DAW’s settings or preferences. Consult the DAW’s documentation for detailed instructions on configuring MIDI input.
By establishing a solid connection between your MIDI keyboard and your computer, you pave the way for seamless communication between the two devices. This connection forms the foundation for integrating your MIDI keyboard into your digital music production workflow, allowing you to harness the full creative potential of your instrument.
With the MIDI keyboard successfully connected to your computer, you’re now ready to move on to the next crucial step: selecting a digital audio workstation (DAW) to serve as the central hub for your music production endeavors.
Step 3: Choose a Digital Audio Workstation (DAW)
With your MIDI keyboard connected to your computer, the next pivotal decision is selecting a digital audio workstation (DAW) to serve as the central platform for recording, editing, and producing your musical compositions. The DAW plays a crucial role in integrating your MIDI keyboard with your computer and speakers, offering a versatile environment for music creation. Here are the key considerations when choosing a DAW:
- Compatibility: Ensure that the DAW you choose is compatible with your operating system (e.g., Windows, macOS) and that it supports the MIDI input from your keyboard. Many popular DAWs offer cross-platform compatibility, providing flexibility for users on different systems.
- Feature Set: Evaluate the features and capabilities offered by the DAW. Look for MIDI recording and editing capabilities, virtual instrument support, audio effects, mixing tools, and a user-friendly interface. The DAW should empower you to unleash the full potential of your MIDI keyboard and create professional-quality music.
- User Interface and Workflow: Consider the user interface and workflow of the DAW. A well-designed interface and intuitive workflow can enhance your productivity and creativity, making it easier to navigate the software, access essential functions, and bring your musical ideas to life efficiently.
- Virtual Instruments and Sound Libraries: Assess the availability of virtual instruments and sound libraries within the DAW. These resources can expand your sonic palette, providing a diverse range of instrument sounds, samples, and presets that complement the capabilities of your MIDI keyboard.
- Community and Support: Explore the community and support resources associated with the DAW. Active user communities, online tutorials, and technical support can be valuable assets as you familiarize yourself with the DAW and seek assistance with any technical or creative challenges.
Popular DAW options include Ableton Live, Pro Tools, Logic Pro, FL Studio, Cubase, and Studio One, among others. Each DAW offers a unique set of features and workflows, catering to different music production styles and preferences. Take the time to research and, if possible, try out demo versions of DAWs to determine which one best aligns with your creative needs.
Once you’ve selected a DAW that resonates with your musical vision, you’ll be one step closer to integrating your MIDI keyboard with a powerful music production environment. The chosen DAW will serve as the creative nexus where your musical ideas take shape, setting the stage for the next phase of connecting your MIDI keyboard to speakers.
Step 4: Connect the DAW to Speakers
After selecting a digital audio workstation (DAW) that suits your music production needs, the next step is to establish a connection between the DAW and your speakers. This connection will enable you to listen to your musical compositions with clarity and precision, leveraging the full potential of your MIDI keyboard and the DAW’s capabilities. Here’s how to connect the DAW to speakers:
- Audio Interface Setup: If you’re using an audio interface to facilitate the connection between your DAW and speakers, ensure that the interface is properly connected to your computer via USB or other relevant connections. Additionally, connect the audio interface’s line outputs to the inputs of your speakers using appropriate audio cables, such as TRS or XLR cables.
- DAW Configuration: Within your chosen DAW, configure the audio output settings to route the sound to the connected speakers. This typically involves selecting the audio interface as the output device and configuring the routing of audio channels to correspond with the outputs connected to your speakers.
- Speaker Placement: Position your speakers in an optimal location within your workspace. Consider factors such as speaker placement, acoustic treatment, and listening position to achieve a balanced and accurate sound reproduction environment. Proper speaker placement can enhance the sonic clarity and imaging of your music.
- Calibration and Testing: Before diving into your musical projects, take the time to calibrate and test the speaker setup. Play audio through the DAW and speakers to ensure that the sound is being accurately reproduced. Make any necessary adjustments to the speaker placement, volume levels, and equalization to achieve an optimal listening experience.
By establishing a solid connection between your DAW and speakers, you create a direct pathway for your musical creations to come to life in the physical space. The speakers serve as the conduit through which your compositions are translated into rich, immersive sound, allowing you to experience the nuances and intricacies of your music with precision.
With the DAW successfully connected to your speakers, you’re now poised to enter the realm of audio production, where your MIDI keyboard, DAW, and speakers form an interconnected ecosystem that empowers you to unleash your creative potential and bring your musical ideas to fruition.
Step 5: Test Your Setup
With your MIDI keyboard connected to your computer, your chosen digital audio workstation (DAW) configured, and the DAW connected to your speakers, it’s time to put your setup to the test. Testing your setup is crucial to ensure that all components are functioning harmoniously and that you’re ready to embark on your musical journey with confidence. Here’s how to test your setup:
- MIDI Input and Recording: Verify that your MIDI keyboard is successfully sending MIDI data to your DAW. Test the MIDI input by playing notes on the keyboard and observing the corresponding MIDI data being received in the DAW. Record a short musical passage to confirm that the MIDI recording functionality is working as expected.
- Audio Playback: Play back the recorded MIDI data within the DAW and listen to the audio output through your speakers. Ensure that the sound is being accurately reproduced and that you’re hearing the full range of your musical composition. Adjust the volume levels and monitor the audio quality to identify any potential issues.
- Instrument Selection and Sound Quality: Experiment with different virtual instruments and sound presets within your DAW. Test the responsiveness of your MIDI keyboard with various virtual instruments and assess the sound quality. Listen for articulation, dynamics, and tonal characteristics to gauge the expressive capabilities of your setup.
- Monitoring and Latency: Pay attention to monitoring and latency issues. Monitor the audio output in real time to ensure that there is minimal latency between playing notes on the MIDI keyboard and hearing the sound through the speakers. Adjust the audio interface settings and DAW preferences as needed to minimize latency and optimize monitoring.
Testing your setup provides valuable insights into the functionality and performance of your integrated MIDI keyboard, DAW, and speaker system. It allows you to fine-tune the settings, identify any potential challenges, and familiarize yourself with the intricacies of your music production environment.
By conducting thorough testing, you’ll gain a deeper understanding of how your MIDI keyboard interacts with the DAW and how the resulting audio is translated through the speakers. This knowledge empowers you to make informed adjustments, refine your techniques, and ultimately elevate the quality of your musical productions.
Once you’ve completed the testing phase and are satisfied with the performance of your setup, you’ll be fully equipped to delve into the creative process, compose captivating music, and share your sonic creations with the world.
Conclusion
Congratulations! By following the steps outlined in this guide, you’ve successfully navigated the process of connecting your MIDI keyboard to speakers, creating a cohesive and powerful music production setup. Through the careful selection of equipment, the establishment of vital connections, and the thorough testing of your setup, you’ve laid the foundation for a rewarding and immersive music production experience.
As you embark on your musical journey with your MIDI keyboard, digital audio workstation (DAW), and speakers working in harmony, you’re poised to explore your creative potential and express your musical ideas with clarity and precision. The seamless integration of these components empowers you to compose, record, and produce music with a level of control and artistry that was once reserved for professional recording studios.
With your MIDI keyboard serving as the catalyst for musical inspiration, your chosen DAW as the versatile canvas for composition and production, and your speakers as the conduit for sonic expression, you’re equipped to embark on a limitless exploration of sound and creativity. Whether you’re crafting intricate melodies, experimenting with diverse musical genres, or honing your production skills, your setup is primed to support your artistic endeavors.
Remember that the journey of music production is one of continuous learning and discovery. As you familiarize yourself with your setup, delve into the intricacies of music creation, and refine your techniques, you’ll uncover new possibilities and refine your unique musical voice.
Embrace the process, seek inspiration from diverse sources, and allow your creativity to flow uninhibited. Whether you’re composing for personal fulfillment, collaborating with fellow musicians, or preparing for live performances, your MIDI keyboard-to-speakers setup will be your steadfast companion on the path to musical excellence.
As you venture forth, let the harmonious convergence of technology and artistry guide you toward new horizons of musical expression. Your journey as a music creator is bound to be filled with moments of revelation, innovation, and sonic beauty, all made possible by the seamless connection between your MIDI keyboard and speakers.