Introduction
If you've recently purchased a MIDI keyboard or are encountering issues with your existing one, it's essential to ensure that it's functioning correctly. A MIDI keyboard serves as a versatile tool for musicians, enabling them to create and manipulate digital music with ease. However, when technical hiccups arise, it can be frustrating and disruptive to the creative process. Fortunately, there are several straightforward steps you can take to determine whether your MIDI keyboard is in working order.
In this guide, we'll walk you through the process of checking the functionality of your MIDI keyboard. Whether you're a seasoned musician or a budding producer, understanding how to troubleshoot your MIDI keyboard can save you time and frustration. By following the steps outlined in this article, you'll gain the knowledge and confidence to diagnose and resolve common issues with your MIDI keyboard.
Let's dive into the essential steps to check if your MIDI keyboard is working optimally. Whether you're a music production enthusiast, a live performer, or a hobbyist, ensuring the proper functioning of your MIDI keyboard is crucial for a seamless and enjoyable music-making experience. So, let's get started with the first step: connecting your MIDI keyboard to your computer.
Step 1: Connect Your MIDI Keyboard to Your Computer
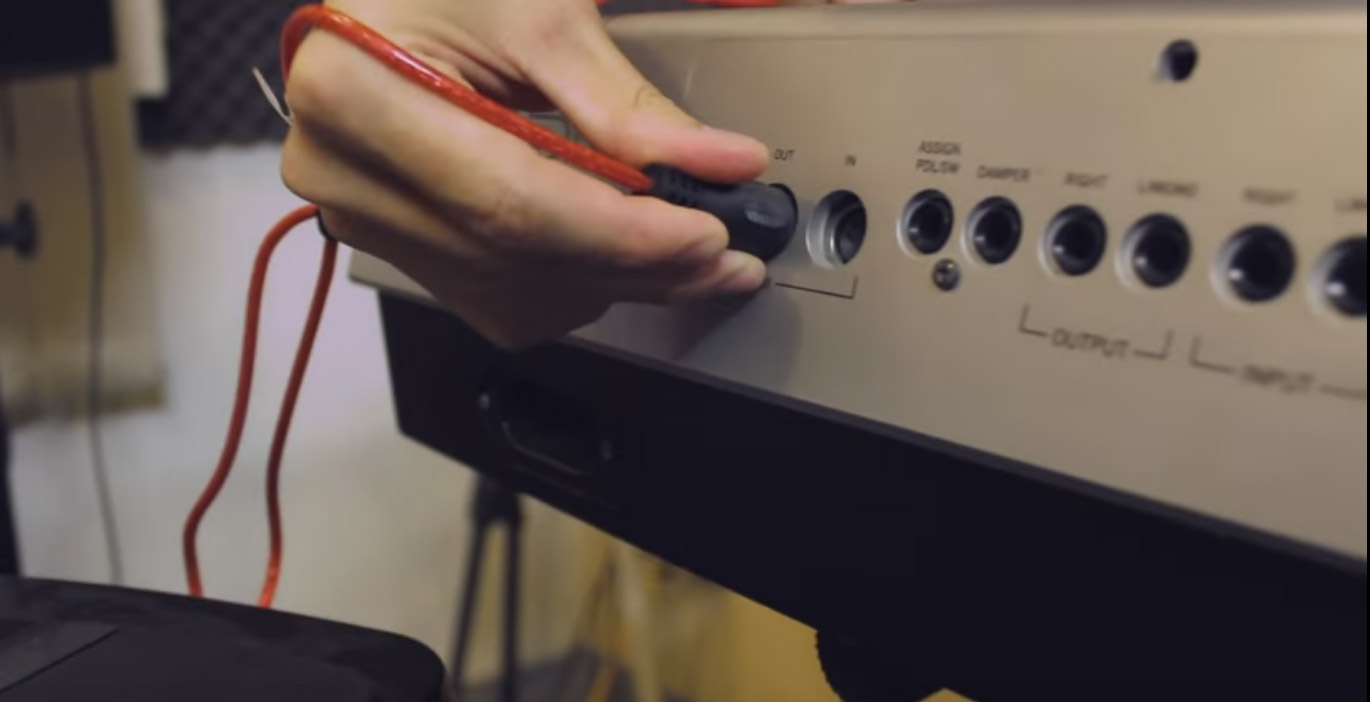
The first step in checking the functionality of your MIDI keyboard is to ensure that it is correctly connected to your computer. Most MIDI keyboards connect via USB, while some may also have MIDI ports for traditional 5-pin MIDI connections. Here’s how to proceed:
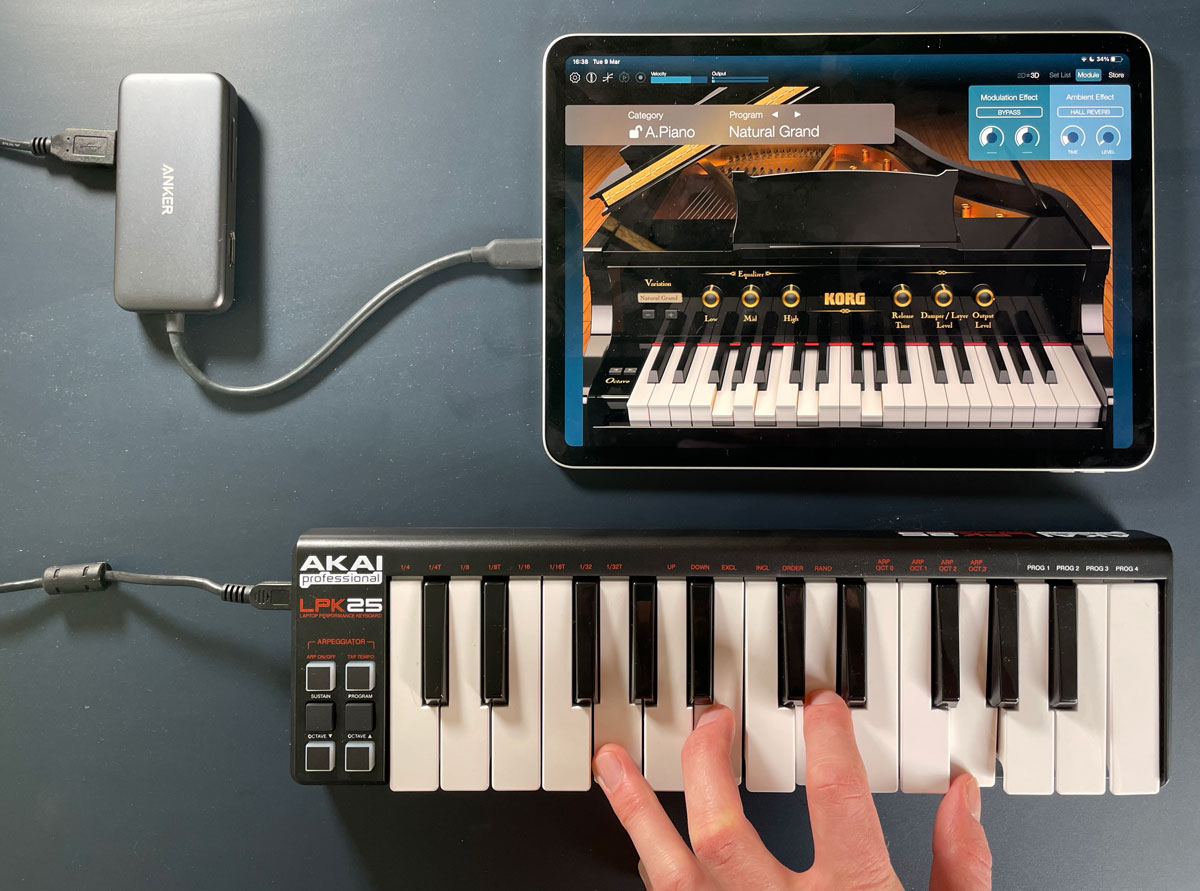
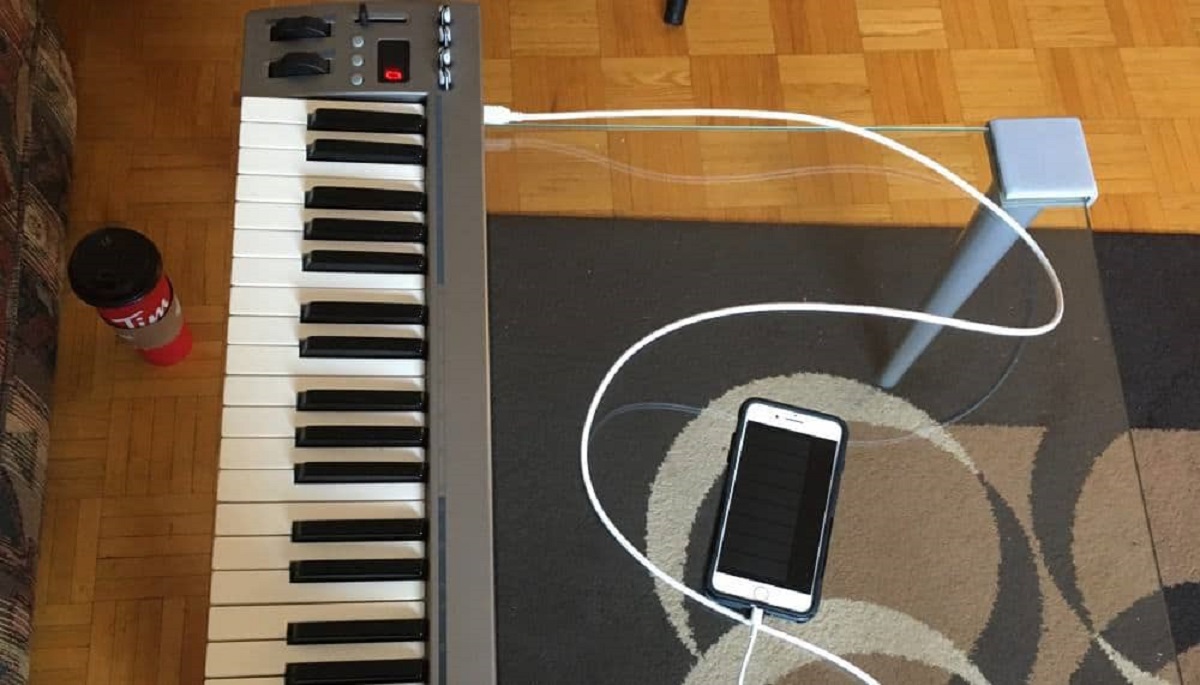
- USB Connection: If your MIDI keyboard utilizes a USB connection, simply plug one end of the USB cable into the keyboard and the other end into an available USB port on your computer. Once connected, your computer should recognize the MIDI keyboard as a new device.
- 5-Pin MIDI Connection: For MIDI keyboards with traditional MIDI ports, you’ll need a MIDI interface to connect it to your computer. The MIDI interface typically connects to your computer via USB and provides MIDI input and output ports to connect your keyboard.
After connecting your MIDI keyboard, it’s essential to ensure that the appropriate drivers are installed on your computer. Most modern operating systems automatically install generic drivers for MIDI devices, but it’s advisable to visit the manufacturer’s website to download and install the latest drivers for your specific keyboard model.
Once the connections are established and the drivers are installed, you can proceed to the next step to verify that your MIDI keyboard is properly configured for use.
Step 2: Check Your MIDI Keyboard Settings
After connecting your MIDI keyboard to your computer, it’s crucial to ensure that the keyboard is configured correctly in your system settings. Here’s how to check and adjust the MIDI keyboard settings:
- Operating System Settings: On Windows, navigate to the “Devices” or “Hardware and Sound” section in the Control Panel to verify that your MIDI keyboard is recognized and listed as a connected device. On Mac, open the “Audio MIDI Setup” utility to confirm that your MIDI keyboard is detected under the MIDI devices section.
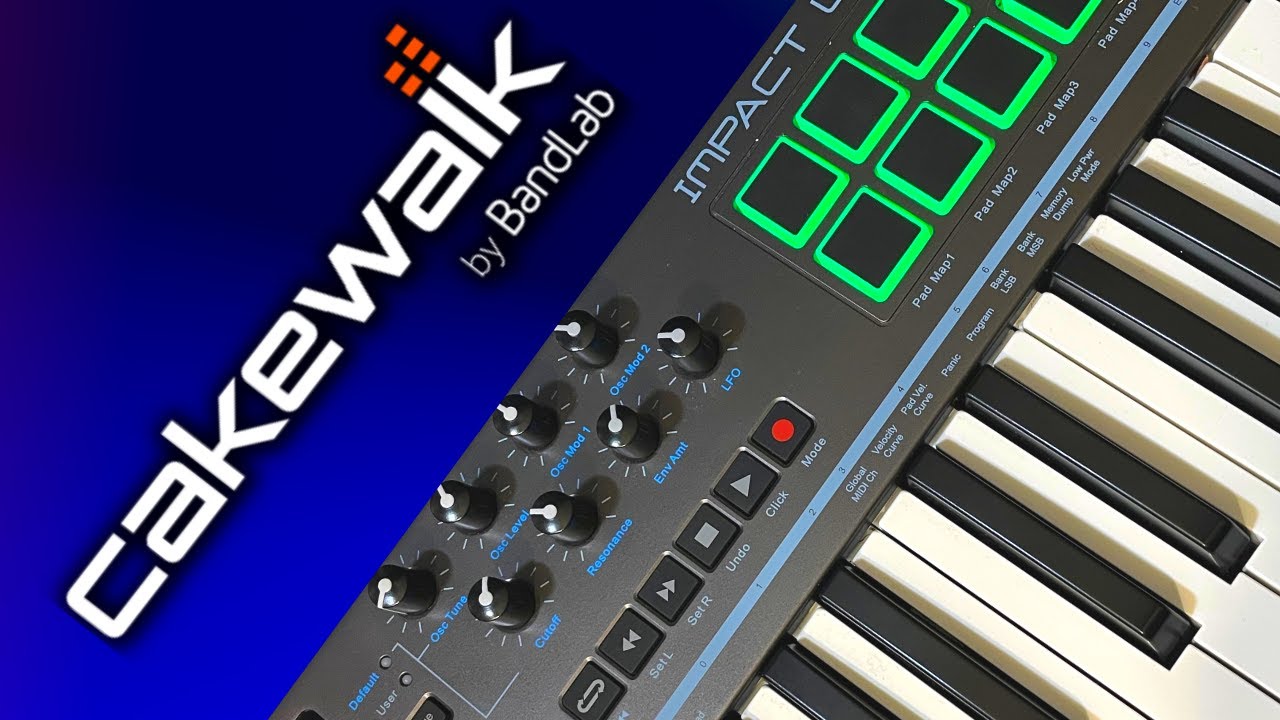
- DAW Configuration: If you intend to use your MIDI keyboard with a digital audio workstation (DAW) such as Ableton Live, Logic Pro, or FL Studio, ensure that the DAW’s MIDI settings are configured to recognize your keyboard. This typically involves selecting your MIDI keyboard as a MIDI input device within the DAW’s preferences or settings menu.
- MIDI Channel and Mode: Some MIDI keyboards offer the ability to change MIDI channels and modes. Verify that your keyboard is set to the appropriate MIDI channel and mode for your intended use. For general MIDI input, the keyboard should be set to the default MIDI channel (often channel 1) and the appropriate mode (e.g., “Normal” or “Omni” mode).
By ensuring that your MIDI keyboard is correctly configured in both the operating system and any music production software you intend to use, you can eliminate potential software-related issues that may affect the keyboard’s functionality. Once the settings are confirmed, you can proceed to the next step to further diagnose the performance of your MIDI keyboard.
Step 3: Use a MIDI Monitor Software
Using a MIDI monitor software can provide valuable insight into the communication between your MIDI keyboard and your computer. This step is particularly helpful in diagnosing issues related to MIDI data transmission and reception. Here’s how to utilize a MIDI monitor software to assess your MIDI keyboard’s performance:
- Choose a MIDI Monitor: There are various MIDI monitor applications available for both Windows and Mac systems. These programs display real-time MIDI data, allowing you to observe the signals generated by your MIDI keyboard and their transmission to the computer. Some popular MIDI monitor software options include MIDI-OX for Windows and MIDI Monitor for Mac.
- Connect and Monitor: Once you’ve installed the MIDI monitor software, connect your MIDI keyboard to your computer and open the MIDI monitor application. Press keys, turn knobs, or engage other controls on your MIDI keyboard to observe the corresponding MIDI data being transmitted and received by the software. This process helps identify whether the keyboard is sending the expected MIDI signals to the computer.
- Verify Signal Integrity: Pay close attention to the MIDI data displayed in the monitor software. Check for consistency in the transmitted note data, controller information, and other MIDI messages. Inconsistent or erratic data may indicate a problem with the MIDI keyboard’s hardware or its communication with the computer.
By using a MIDI monitor software, you can gain valuable insights into the functionality of your MIDI keyboard at a granular level. This step can help pinpoint any irregularities in MIDI transmission and aid in identifying potential hardware or communication issues. Once you’ve assessed the MIDI data using the monitor software, you can proceed to the next step to further validate your MIDI keyboard’s performance.
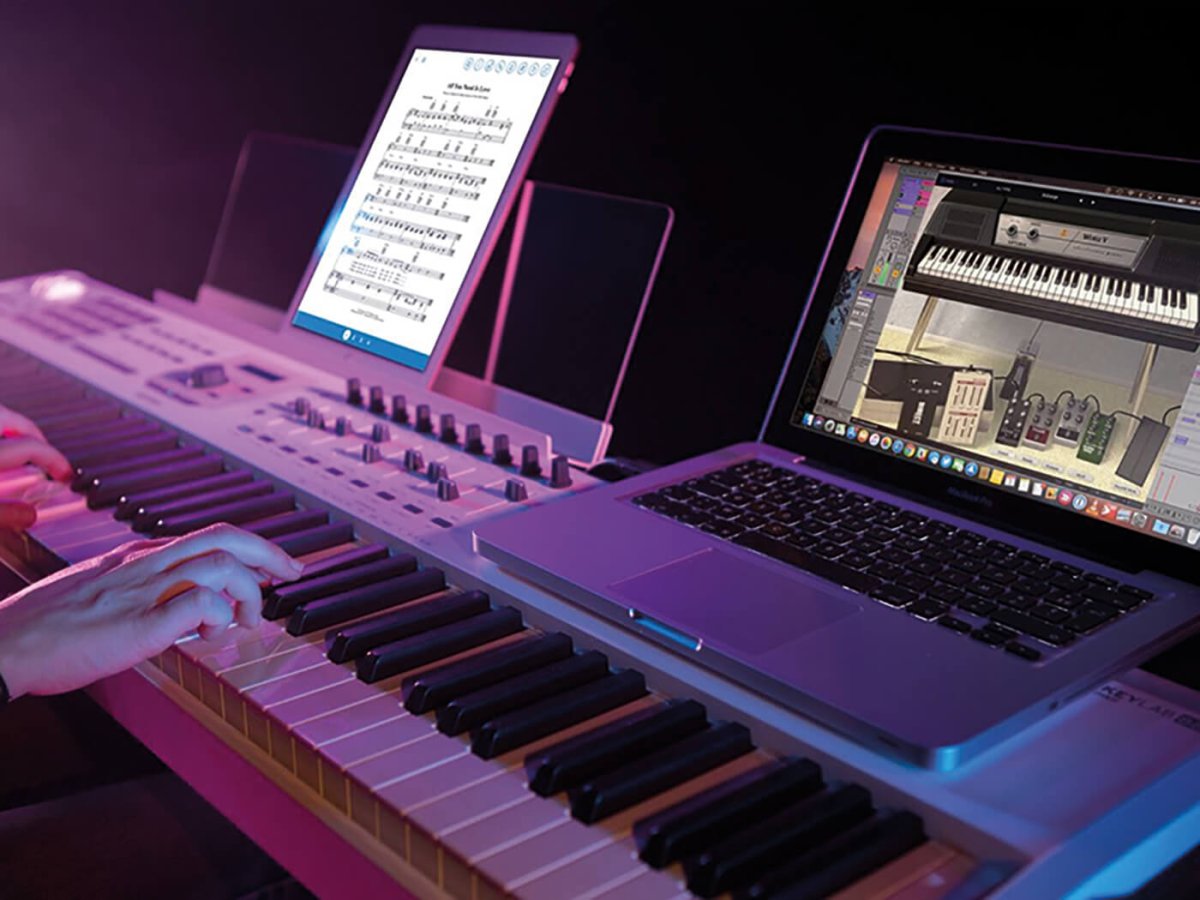
Step 4: Test Your MIDI Keyboard in a DAW
Testing your MIDI keyboard in a digital audio workstation (DAW) allows you to evaluate its performance in a real-world music production environment. By integrating the keyboard with a DAW, you can assess its responsiveness, note accuracy, and overall functionality. Here’s how to conduct a comprehensive test of your MIDI keyboard within a DAW:
- Open Your DAW: Launch your preferred digital audio workstation on your computer. Whether it’s Ableton Live, Logic Pro, FL Studio, or another DAW, ensure that the MIDI keyboard is recognized and configured as a MIDI input device within the software’s settings.
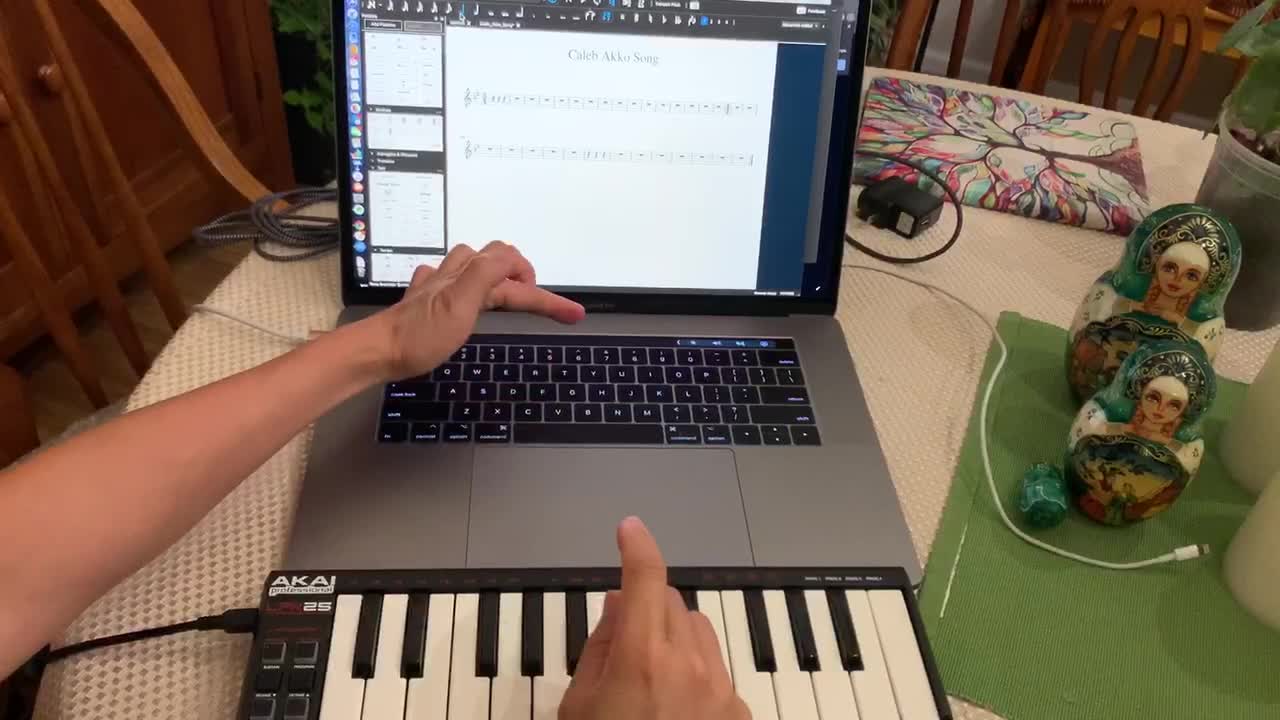
- Create a MIDI Track: In the DAW, create a new MIDI track and assign the input to your MIDI keyboard. This allows the DAW to receive MIDI data from the keyboard, enabling you to play and record musical notes and control data directly into the software.
- Play and Record: Begin playing the keys on your MIDI keyboard and observe the DAW’s response. Check for any latency or delay between pressing the keys and hearing the sound output. Record a short musical phrase to assess the accuracy and consistency of note triggering, sustain pedal functionality, and any additional control features on the keyboard.
- Test MIDI Control Features: If your MIDI keyboard includes knobs, sliders, pads, or other control elements, test their functionality within the DAW. Assign these controls to various parameters such as virtual instrument parameters, mixer settings, or effects parameters to ensure that they respond as expected.
By thoroughly testing your MIDI keyboard within a DAW, you can evaluate its performance in a practical music production context. This step allows you to identify any issues related to note triggering, latency, control elements, and overall integration with music production software. Once you’ve completed the testing process, you’ll have a comprehensive understanding of your MIDI keyboard’s functionality and can address any potential concerns accordingly.
Conclusion
By following the steps outlined in this guide, you’ve gained valuable insights into the process of checking the functionality of your MIDI keyboard. From connecting the keyboard to your computer to testing its performance within a digital audio workstation, you’ve taken proactive measures to ensure that your MIDI keyboard is operating optimally. Through these steps, you’ve not only verified the hardware and communication aspects of the keyboard but also evaluated its responsiveness and integration with music production software.
Understanding how to troubleshoot and test your MIDI keyboard is essential for musicians, producers, and enthusiasts alike. By systematically addressing potential issues and confirming the proper configuration of the keyboard, you’ve equipped yourself with the knowledge to diagnose and resolve common MIDI keyboard-related challenges. Whether you’re creating music in a studio, performing live on stage, or simply exploring musical creativity, a reliable and fully functional MIDI keyboard is a valuable asset that enhances your musical endeavors.
Remember to stay informed about software updates and driver enhancements for your MIDI keyboard, as manufacturers often release improvements to optimize performance and compatibility. Additionally, regularly testing your MIDI keyboard in different musical contexts can help maintain its functionality and reveal any emerging issues that may require attention.
By prioritizing the maintenance and assessment of your MIDI keyboard, you’re ensuring that it remains a dependable tool for expressing your musical ideas and creativity. With the knowledge and skills acquired from this guide, you’re well-prepared to troubleshoot, test, and enjoy the full potential of your MIDI keyboard in your musical pursuits.