Introduction
Introduction
MilkyTracker is a powerful music creation tool that allows users to compose, edit, and play tracker modules. It's a popular choice among musicians and composers due to its intuitive interface and robust feature set. One of the key features of MilkyTracker is its compatibility with MIDI keyboards, which enables users to leverage the expressive capabilities of these instruments in their music production workflow.
In this guide, we will explore how to seamlessly integrate a MIDI keyboard with MilkyTracker, unlocking a new level of creativity and control. By harnessing the potential of MIDI keyboards, users can elevate their music production experience and achieve greater precision and nuance in their compositions.
Whether you're a seasoned musician looking to expand your toolkit or a newcomer eager to explore the world of MIDI music production, this guide will walk you through the process of setting up and using a MIDI keyboard with MilkyTracker. From configuring the necessary settings to unleashing the full potential of your MIDI keyboard within MilkyTracker, this guide aims to empower you to make the most of this powerful combination.
Join us as we delve into the seamless integration of MIDI keyboards with MilkyTracker, and embark on a journey to unleash the full potential of your musical creativity.
MilkyTracker is a powerful music creation tool that allows users to compose, edit, and play tracker modules. It’s a popular choice among musicians and composers due to its intuitive interface and robust feature set. One of the key features of MilkyTracker is its compatibility with MIDI keyboards, which enables users to leverage the expressive capabilities of these instruments in their music production workflow.
In this guide, we will explore how to seamlessly integrate a MIDI keyboard with MilkyTracker, unlocking a new level of creativity and control. By harnessing the potential of MIDI keyboards, users can elevate their music production experience and achieve greater precision and nuance in their compositions.
Whether you’re a seasoned musician looking to expand your toolkit or a newcomer eager to explore the world of MIDI music production, this guide will walk you through the process of setting up and using a MIDI keyboard with MilkyTracker. From configuring the necessary settings to unleashing the full potential of your MIDI keyboard within MilkyTracker, this guide aims to empower you to make the most of this powerful combination.
Join us as we delve into the seamless integration of MIDI keyboards with MilkyTracker, and embark on a journey to unleash the full potential of your musical creativity.
Setting Up Your MIDI Keyboard
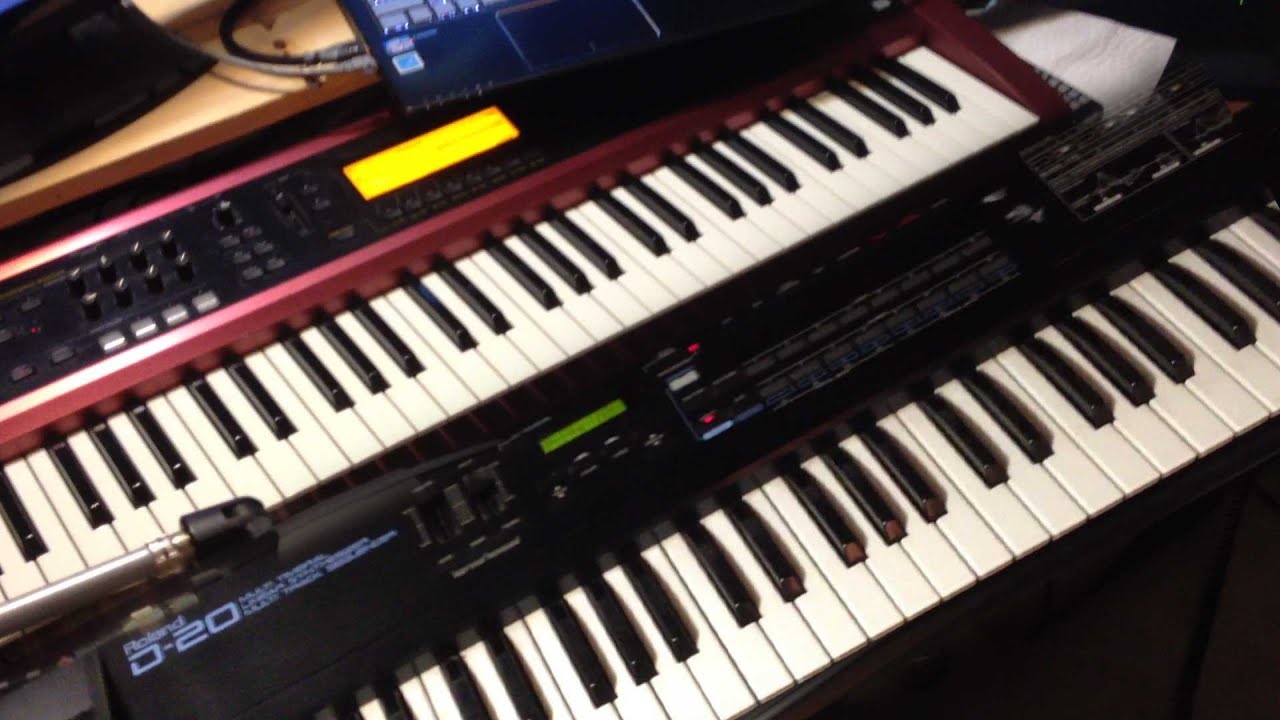
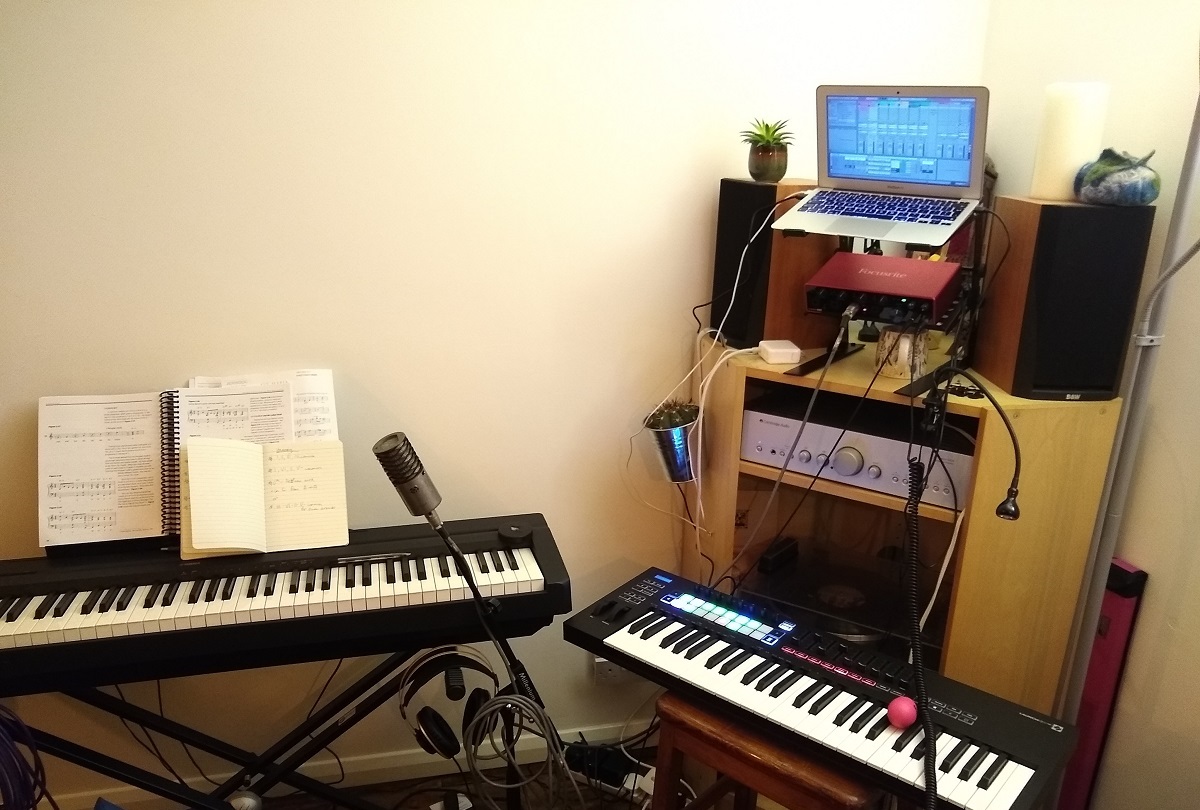
Before you can start using your MIDI keyboard with MilkyTracker, you need to ensure that it is properly set up and connected to your computer. Follow these steps to seamlessly integrate your MIDI keyboard with MilkyTracker:
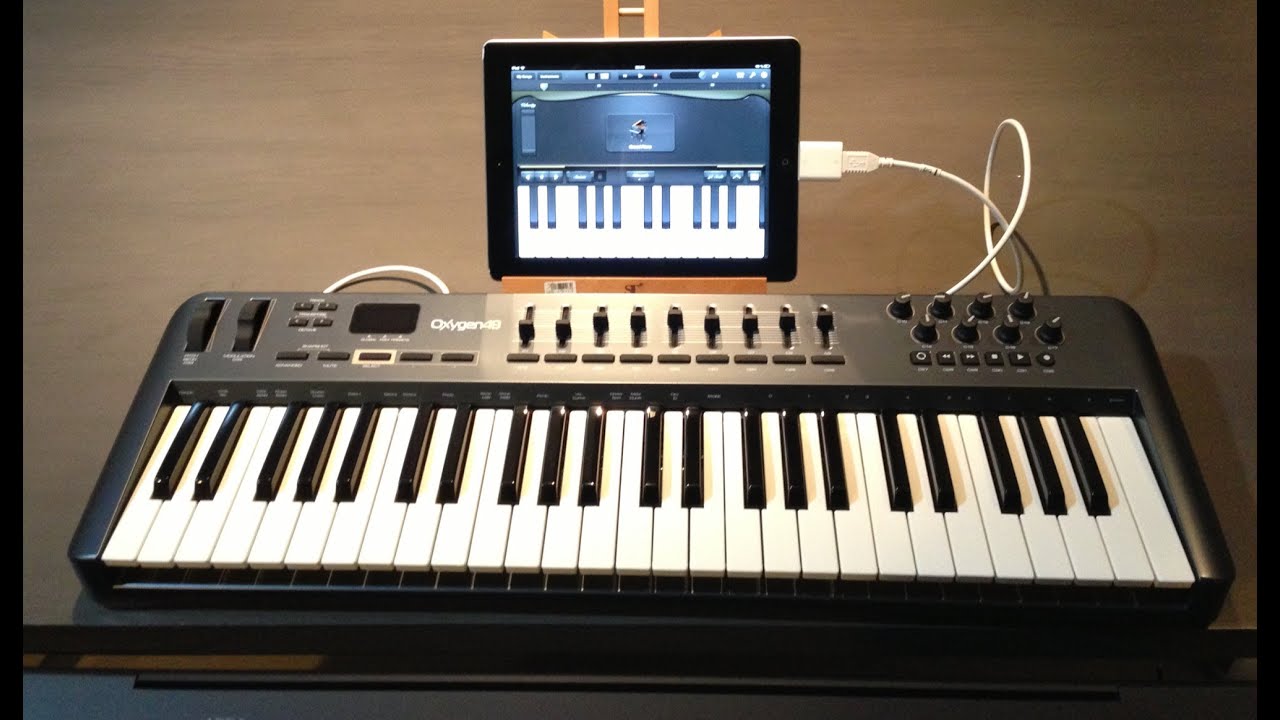
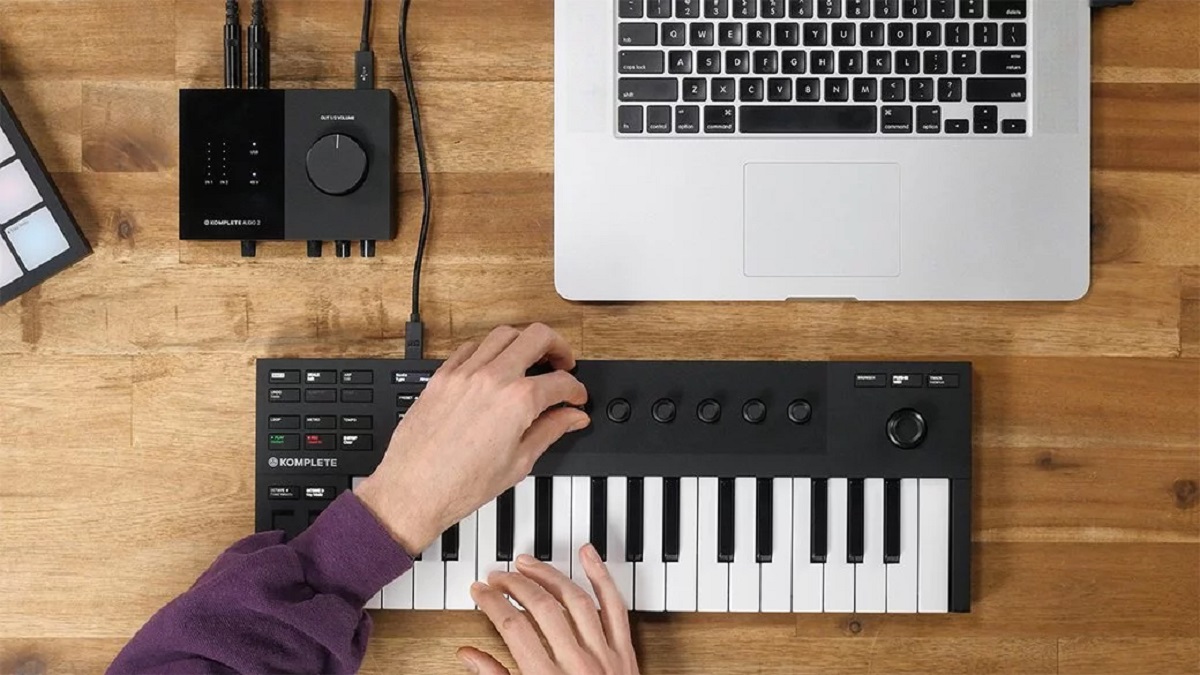
- Connect Your MIDI Keyboard: Begin by connecting your MIDI keyboard to your computer using a USB cable or MIDI interface. Ensure that the necessary drivers are installed, and the device is recognized by your operating system.
- Power On Your MIDI Keyboard: Turn on your MIDI keyboard and ensure that it is receiving power. Some keyboards may require an external power source or batteries.
- Launch MilkyTracker: Open MilkyTracker on your computer to prepare for the configuration process.
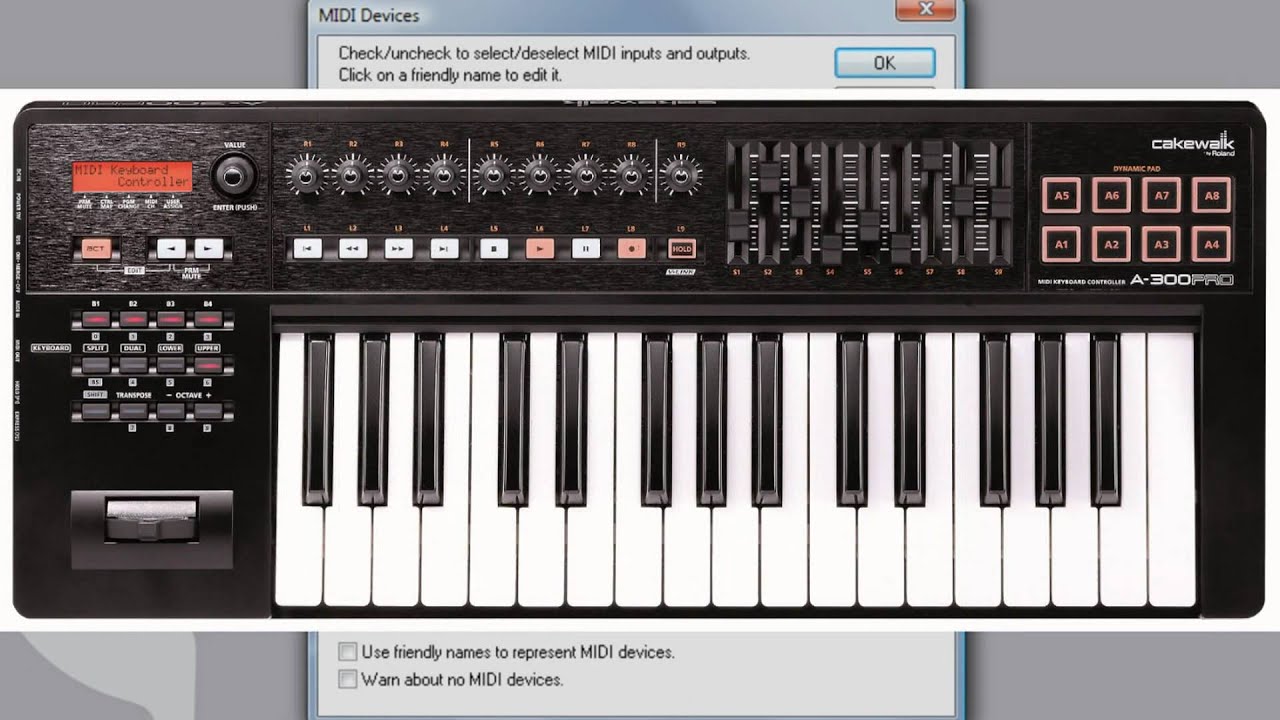
- Access the Preferences: Navigate to the preferences or settings menu within MilkyTracker to locate the MIDI configuration options.
- Configure MIDI Settings: In the MIDI settings, select your MIDI keyboard from the available input devices. Ensure that the MIDI input is enabled and properly configured to receive input from your keyboard.
- Test the Connection: To verify that your MIDI keyboard is successfully connected to MilkyTracker, play a few notes on the keyboard and confirm that the software registers the input.
Once you have completed these steps, your MIDI keyboard should be successfully set up and ready to be used in conjunction with MilkyTracker. By ensuring a seamless connection between your keyboard and the software, you can now proceed to configure MilkyTracker to fully leverage the capabilities of your MIDI instrument.
Before you can start using your MIDI keyboard with MilkyTracker, you need to ensure that it is properly set up and connected to your computer. Follow these steps to seamlessly integrate your MIDI keyboard with MilkyTracker:
- Connect Your MIDI Keyboard: Begin by connecting your MIDI keyboard to your computer using a USB cable or MIDI interface. Ensure that the necessary drivers are installed, and the device is recognized by your operating system.
- Power On Your MIDI Keyboard: Turn on your MIDI keyboard and ensure that it is receiving power. Some keyboards may require an external power source or batteries.
- Launch MilkyTracker: Open MilkyTracker on your computer to prepare for the configuration process.
- Access the Preferences: Navigate to the preferences or settings menu within MilkyTracker to locate the MIDI configuration options.
- Configure MIDI Settings: In the MIDI settings, select your MIDI keyboard from the available input devices. Ensure that the MIDI input is enabled and properly configured to receive input from your keyboard.
- Test the Connection: To verify that your MIDI keyboard is successfully connected to MilkyTracker, play a few notes on the keyboard and confirm that the software registers the input.
Once you have completed these steps, your MIDI keyboard should be successfully set up and ready to be used in conjunction with MilkyTracker. By ensuring a seamless connection between your keyboard and the software, you can now proceed to configure MilkyTracker to fully leverage the capabilities of your MIDI instrument.
Configuring Milkytracker
After successfully setting up your MIDI keyboard, the next step involves configuring MilkyTracker to effectively utilize the capabilities of your MIDI instrument. Follow these essential steps to ensure seamless integration:
- Access the MIDI Settings: Within MilkyTracker, navigate to the preferences or settings menu to locate the MIDI configuration options. This is where you will define how MilkyTracker interacts with your MIDI keyboard.
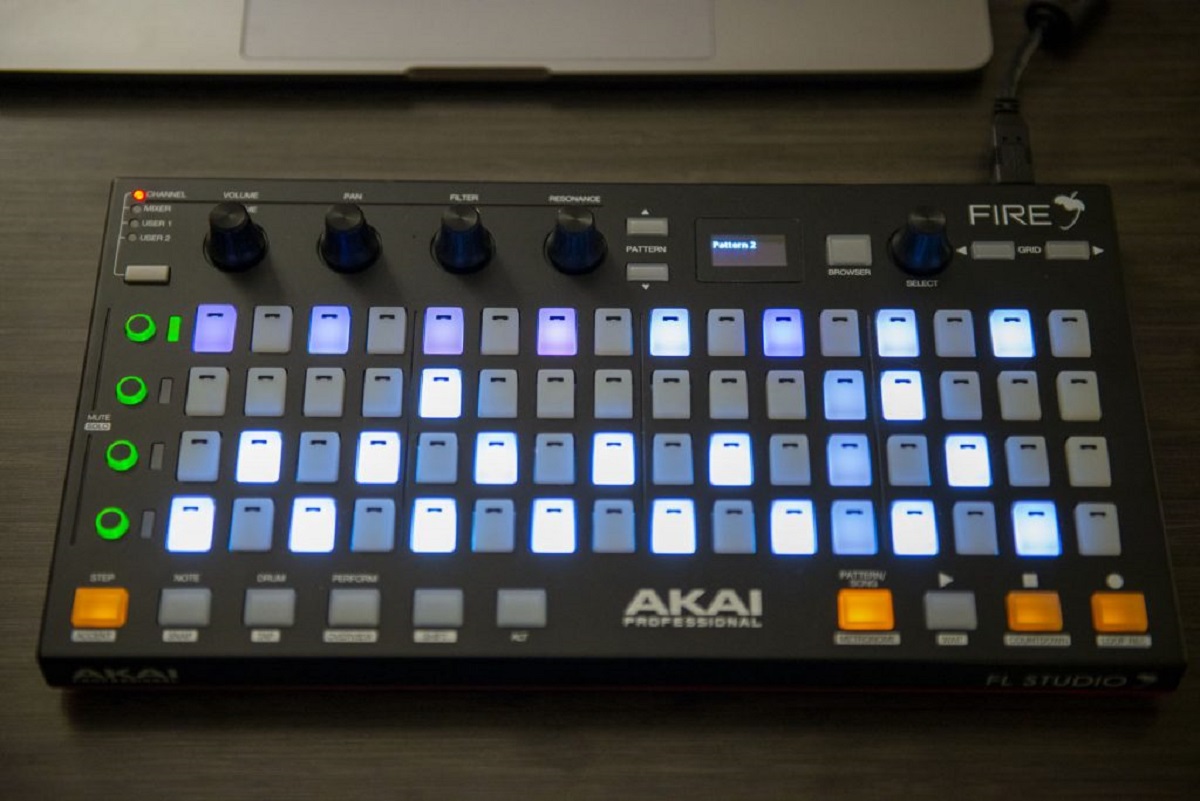
- Assign MIDI Inputs: In the MIDI settings, you can assign specific MIDI inputs to various functions within MilkyTracker. This allows you to map keyboard keys, control knobs, and other MIDI controls to different aspects of the software, providing a customized and intuitive workflow.
- Configure MIDI Channels: If your MIDI keyboard supports multiple channels, you can configure MilkyTracker to recognize and respond to input from these channels. This enables you to create more intricate and layered compositions using different instrument sounds and effects.
- Map MIDI Controls: Take advantage of the MIDI mapping capabilities in MilkyTracker to assign MIDI controls to parameters such as volume, pitch, modulation, and more. This level of customization empowers you to manipulate and shape your music with precision.
- Test MIDI Functionality: After configuring the MIDI settings, test the functionality of your MIDI keyboard within MilkyTracker. Play notes, adjust controls, and explore the responsiveness of the software to ensure that your MIDI keyboard is seamlessly integrated and fully functional.
By meticulously configuring MilkyTracker to align with your MIDI keyboard’s capabilities, you can harness the full potential of both the software and the instrument, enabling a more expressive and dynamic music creation process.
After successfully setting up your MIDI keyboard, the next step involves configuring MilkyTracker to effectively utilize the capabilities of your MIDI instrument. Follow these essential steps to ensure seamless integration:
- Access the MIDI Settings: Within MilkyTracker, navigate to the preferences or settings menu to locate the MIDI configuration options. This is where you will define how MilkyTracker interacts with your MIDI keyboard.
- Assign MIDI Inputs: In the MIDI settings, you can assign specific MIDI inputs to various functions within MilkyTracker. This allows you to map keyboard keys, control knobs, and other MIDI controls to different aspects of the software, providing a customized and intuitive workflow.
- Configure MIDI Channels: If your MIDI keyboard supports multiple channels, you can configure MilkyTracker to recognize and respond to input from these channels. This enables you to create more intricate and layered compositions using different instrument sounds and effects.
- Map MIDI Controls: Take advantage of the MIDI mapping capabilities in MilkyTracker to assign MIDI controls to parameters such as volume, pitch, modulation, and more. This level of customization empowers you to manipulate and shape your music with precision.
- Test MIDI Functionality: After configuring the MIDI settings, test the functionality of your MIDI keyboard within MilkyTracker. Play notes, adjust controls, and explore the responsiveness of the software to ensure that your MIDI keyboard is seamlessly integrated and fully functional.
By meticulously configuring MilkyTracker to align with your MIDI keyboard’s capabilities, you can harness the full potential of both the software and the instrument, enabling a more expressive and dynamic music creation process.
Using Your MIDI Keyboard with Milkytracker
Now that your MIDI keyboard is seamlessly integrated with MilkyTracker, you can explore the myriad of possibilities it offers for music creation and performance. Here are some key techniques and considerations for effectively using your MIDI keyboard with MilkyTracker:
- Expressive Playing: Leverage the sensitive touch and dynamic range of your MIDI keyboard to infuse your compositions with expressive nuances. The velocity-sensitive keys allow for varying levels of intensity, adding depth and emotion to your music.
- Real-time Control: Take advantage of real-time control features to manipulate parameters such as pitch, modulation, and filters using the knobs, sliders, and wheels on your MIDI keyboard. This hands-on approach provides a tactile and intuitive means of shaping your sound in MilkyTracker.
- Layered Compositions: With the ability to play multiple notes and utilize different MIDI channels, you can create rich, layered compositions within MilkyTracker. Experiment with stacking instrument sounds and creating complex arrangements to craft intricate musical pieces.
- Custom Mapping: Utilize the custom MIDI mapping capabilities to assign specific functions within MilkyTracker to the controls on your MIDI keyboard. This personalized setup streamlines your workflow and allows for seamless interaction with the software.
- Recording Performances: Use MilkyTracker’s recording functionality to capture your live performances with the MIDI keyboard. This enables you to preserve spontaneous musical ideas and refine them into polished tracks within the software.
By embracing the capabilities of your MIDI keyboard within MilkyTracker, you can elevate your music production experience and unlock new avenues for creativity and expression. Whether you’re composing intricate melodies, sculpting intricate soundscapes, or performing live, the seamless integration of your MIDI keyboard with MilkyTracker empowers you to realize your musical vision with precision and artistry.