Introduction
Connecting a MIDI keyboard to a mixer allows for seamless integration of electronic musical instruments into a live or studio audio setup. This process enables musicians and producers to harness the full potential of their MIDI keyboards, leveraging their diverse range of sounds and functionalities in a professional audio environment. Whether you are a live performer looking to incorporate electronic elements into your music or a studio producer seeking to blend MIDI instrument tracks with other audio sources, understanding how to connect a MIDI keyboard to a mixer is essential.
By establishing a direct link between your MIDI keyboard and mixer, you can take advantage of the mixer's capabilities to adjust levels, apply effects, and route the audio signal to various output destinations. This integration opens up a world of creative possibilities, empowering you to craft captivating musical compositions and deliver compelling live performances. Additionally, connecting a MIDI keyboard to a mixer enables seamless collaboration with other musicians and audio engineers, as the MIDI instrument's output can be easily integrated into a broader audio mix.
In this guide, we will walk through the step-by-step process of connecting a MIDI keyboard to a mixer, providing clear instructions and valuable insights to help you achieve a successful and reliable connection. Whether you are a seasoned audio professional or a newcomer to the world of MIDI instruments, this guide will equip you with the knowledge and confidence to seamlessly integrate your MIDI keyboard into a mixer setup, unlocking a wealth of creative potential in your music production or live performances. Let's dive into the process of connecting these essential components and harness the power of MIDI technology in your audio endeavors.
Step 1: Gather Your Equipment
Before embarking on the process of connecting your MIDI keyboard to a mixer, it is essential to gather the necessary equipment to ensure a smooth and efficient setup. By assembling the required tools and cables, you can streamline the connection process and minimize any potential obstacles that may arise during the integration of these audio components.
Here are the key pieces of equipment you will need:
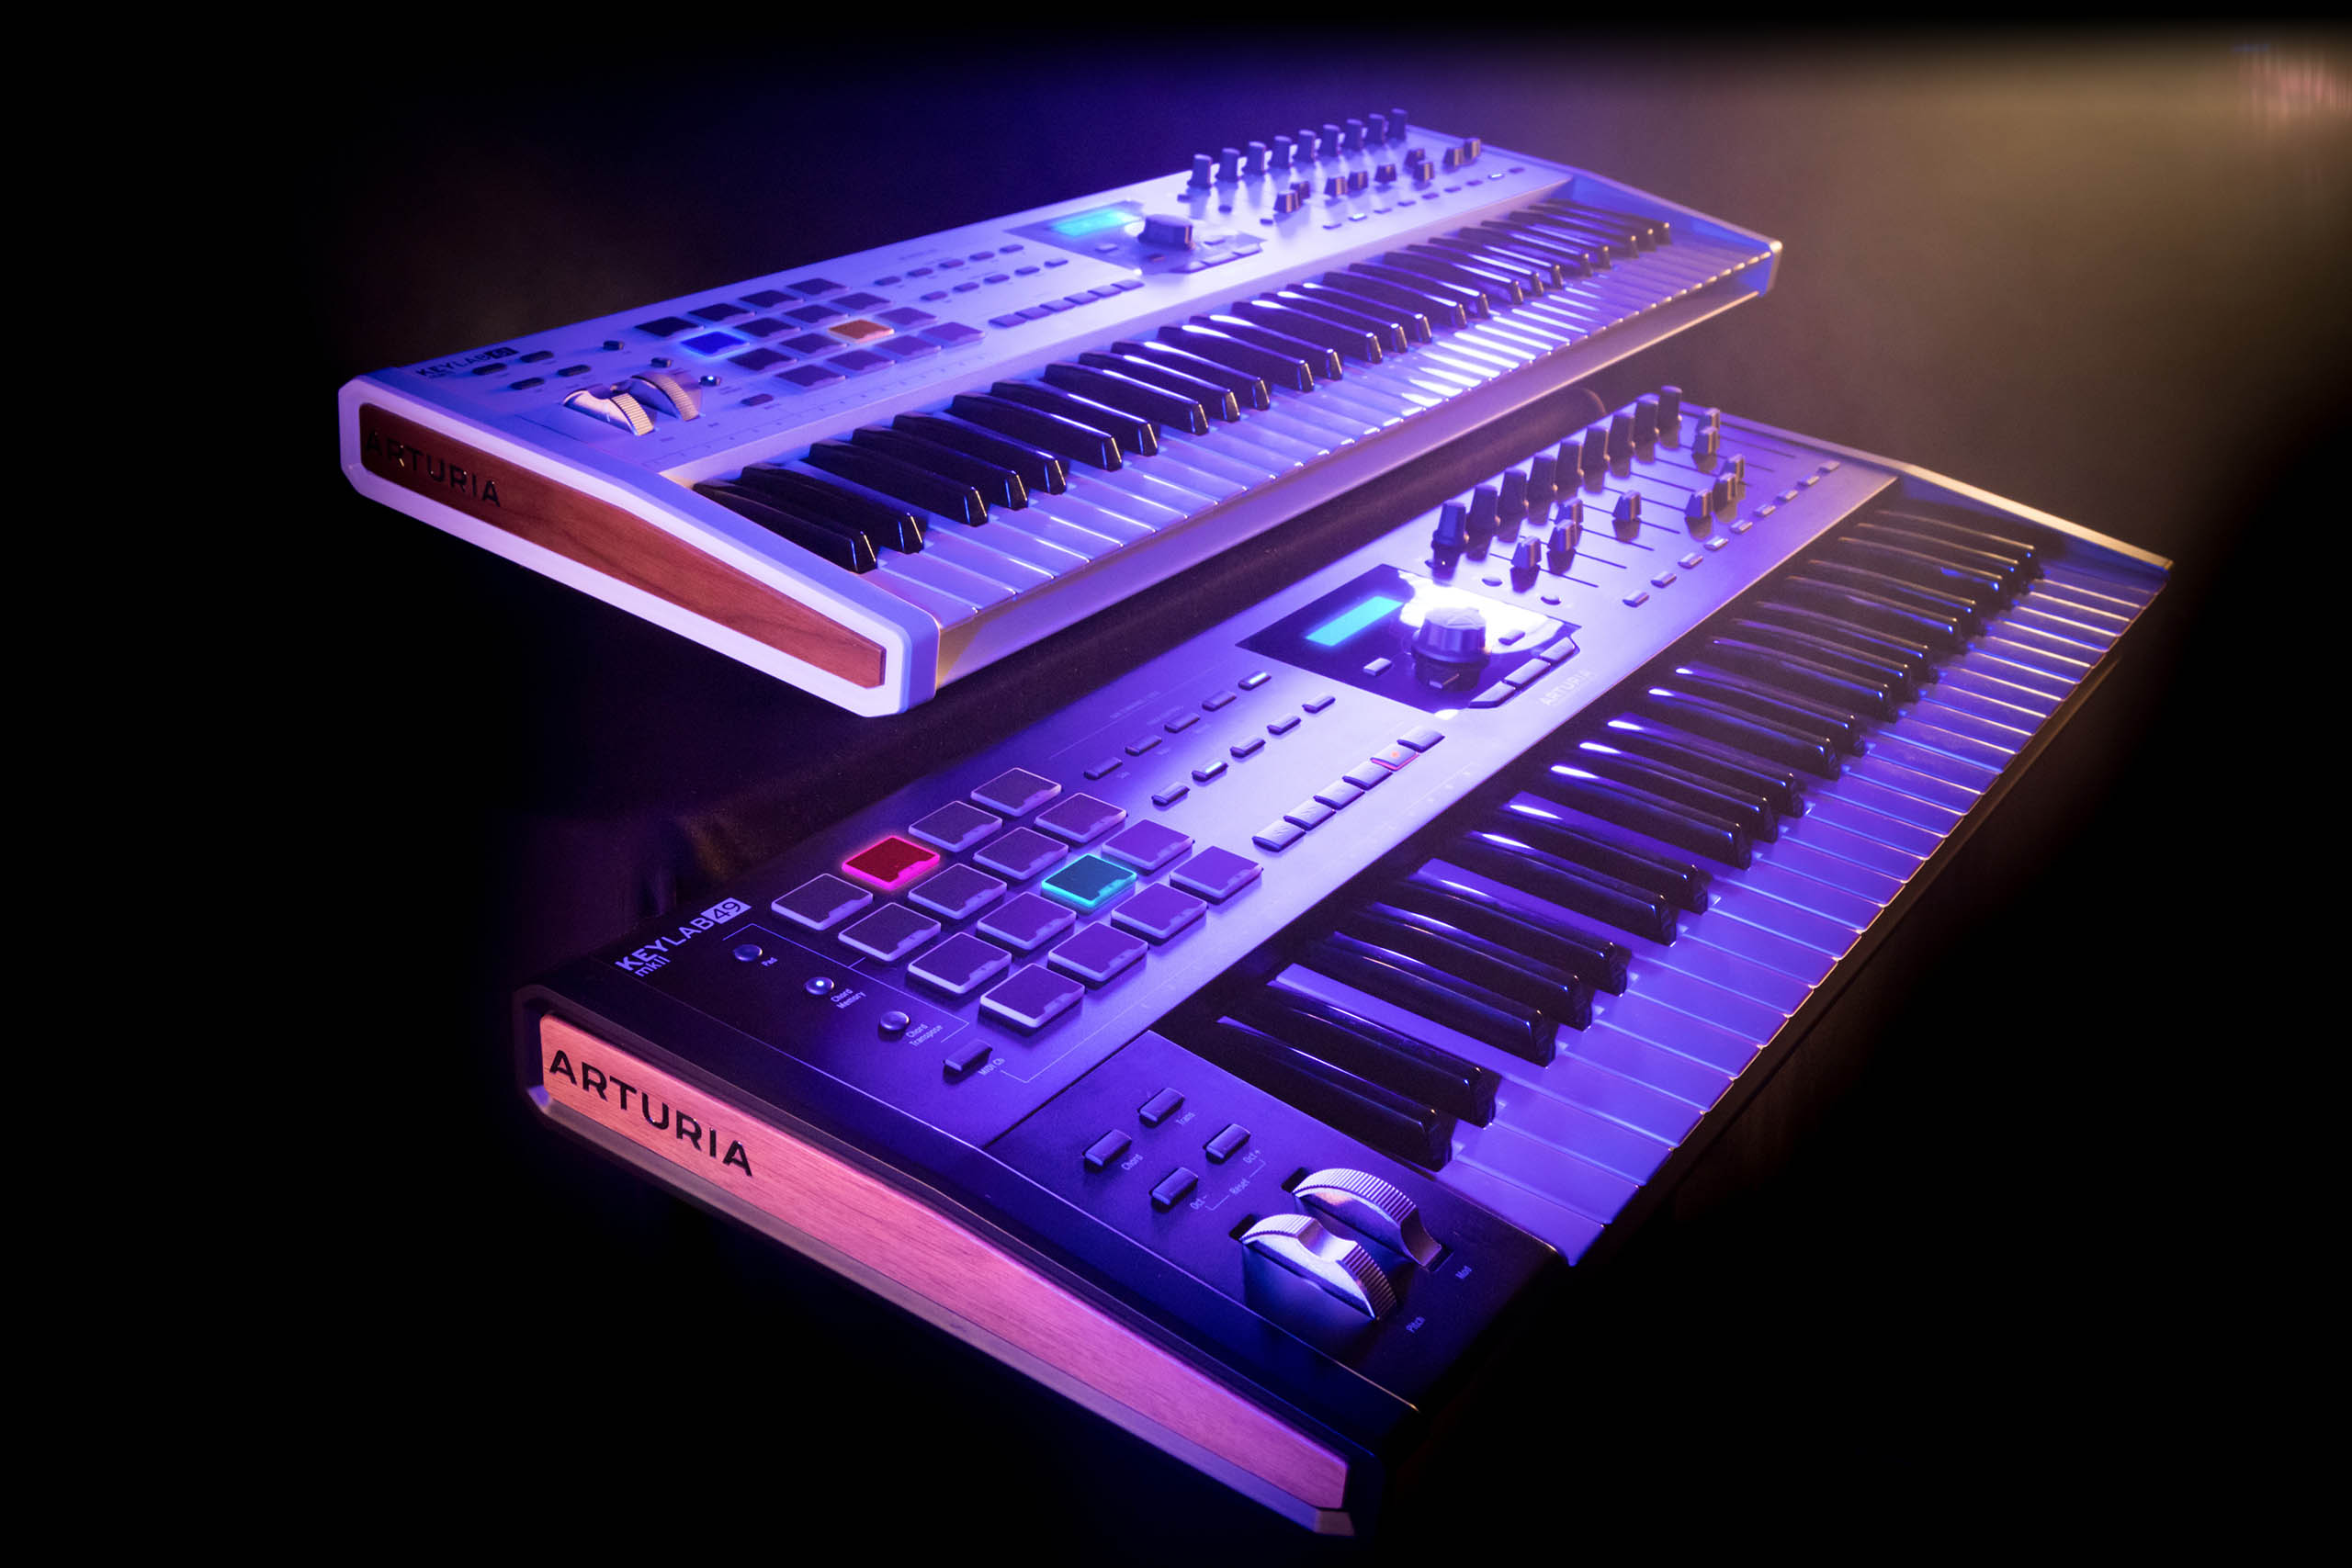
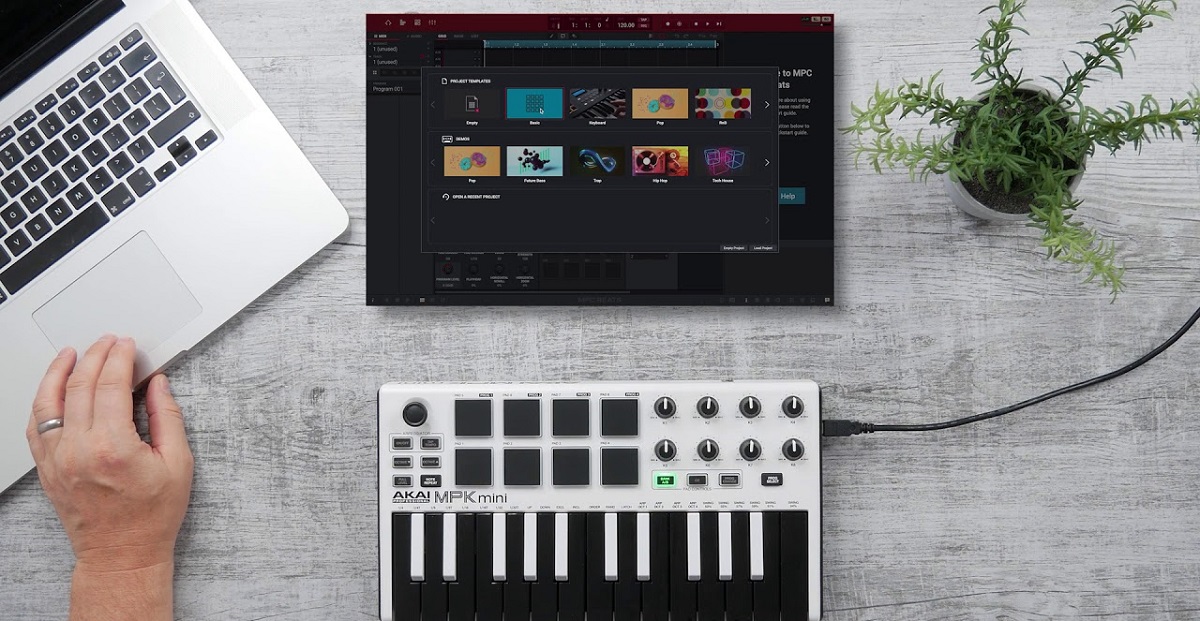
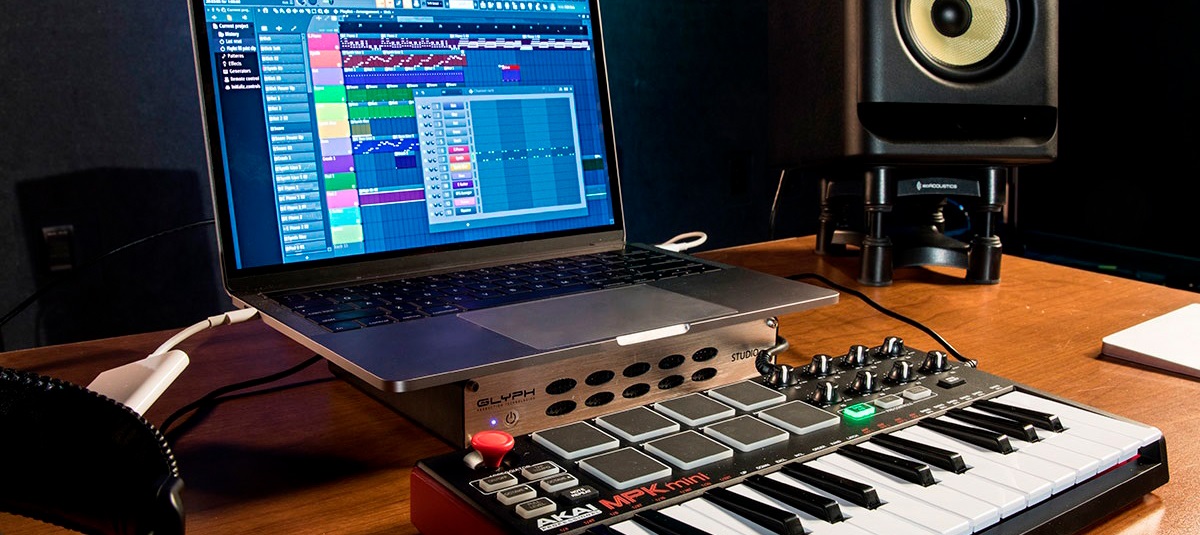
- MIDI Keyboard: Ensure that your MIDI keyboard is in good working condition and equipped with MIDI output ports. Additionally, verify that the power supply for the MIDI keyboard is readily available, as some models may require external power sources.
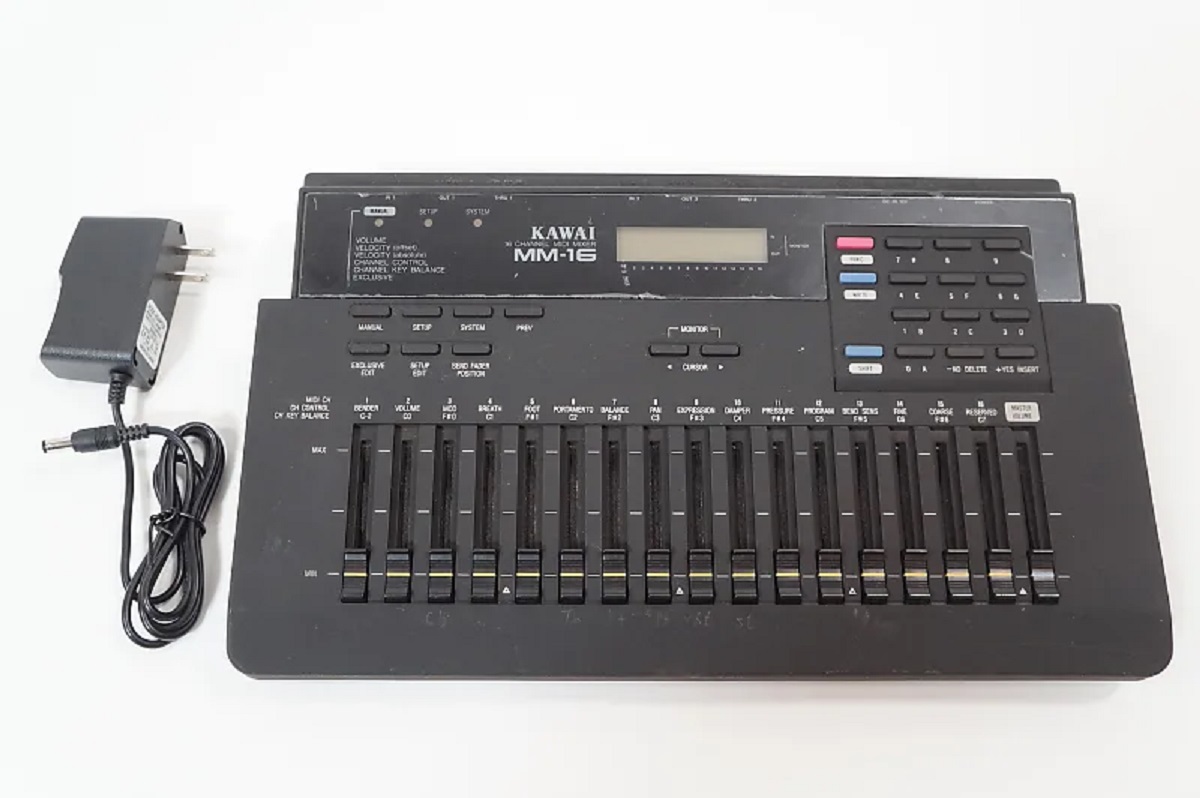
- Mixer: Select a mixer that accommodates MIDI input and offers the necessary audio routing and control features. Whether you opt for a compact mixer for a portable setup or a larger console for a professional studio environment, ensure that the mixer supports MIDI connectivity and provides the required input channels for your MIDI keyboard.
- MIDI Cables: Acquire MIDI cables with the appropriate connectors to establish a reliable connection between your MIDI keyboard and the mixer. These cables transmit the MIDI data from your keyboard to the mixer, facilitating seamless communication between the two devices.
- Audio Cables: Depending on the audio output options available on your MIDI keyboard and mixer, gather the necessary audio cables, such as 1/4-inch TRS cables or XLR cables, to transmit the audio signal from the keyboard to the mixer. Verify the input and output specifications of both the keyboard and mixer to select the appropriate audio cables for the connection.
- Power Supply: If your MIDI keyboard requires an external power supply, ensure that the power adapter is accessible and that the keyboard can be powered on during the setup process. This step is crucial to prevent any interruptions due to power-related issues once the connection is established.
By assembling these essential components, you will lay the groundwork for a successful integration of your MIDI keyboard with the mixer, setting the stage for a seamless audio workflow and optimal performance of your musical equipment. With the necessary equipment at your disposal, you are ready to proceed to the next steps of connecting your MIDI keyboard to the mixer.
Step 2: Connect the MIDI Keyboard to the Mixer
Once you have gathered the essential equipment, the next step involves establishing the physical connections between your MIDI keyboard and the mixer. This process requires careful attention to detail to ensure a secure and reliable connection, enabling seamless communication between the two devices. By following the steps outlined below, you can effectively link your MIDI keyboard to the mixer and prepare for the integration of audio and MIDI signals.
- Locate the MIDI Ports: Begin by identifying the MIDI input and output ports on both your MIDI keyboard and the mixer. The MIDI ports are typically labeled as “MIDI In” and “MIDI Out” on the devices. Take note of these ports as you will use them to establish the MIDI connection between the keyboard and the mixer.
- Connect the MIDI Cable: With the MIDI ports identified, take a MIDI cable and connect one end to the “MIDI Out” port on your MIDI keyboard and the other end to the “MIDI In” port on the mixer. Ensure that the connectors are securely inserted into the respective ports to establish a stable MIDI connection.
- Verify the Signal Flow: Once the MIDI cable is in place, confirm the signal flow from the MIDI keyboard to the mixer. This step ensures that the MIDI data generated by the keyboard can be transmitted to the mixer for further processing and control. Check the MIDI settings on the mixer to ensure that the MIDI input channel corresponds to the connected keyboard.
- Connect the Audio Cables: In addition to the MIDI connection, you will need to connect the audio output of the MIDI keyboard to the mixer. Depending on the available audio output options on your keyboard, use the appropriate audio cables to establish a connection to the mixer’s input channels. This step enables the transmission of audio signals from the keyboard to the mixer for monitoring and mixing.
- Secure the Cables: After making the necessary connections, secure the cables to prevent accidental disconnection during use. Proper cable management minimizes the risk of signal interruptions and ensures a tidy and organized setup.
By carefully executing these steps, you will successfully connect your MIDI keyboard to the mixer, establishing the essential links for transmitting MIDI data and audio signals between the two devices. With the physical connections in place, you are ready to proceed to the next phase of adjusting the settings on the mixer to optimize the integration of your MIDI keyboard into the audio setup.
Step 3: Adjust the Settings on the Mixer
With the physical connections between your MIDI keyboard and the mixer established, the next crucial step involves configuring the settings on the mixer to accommodate the MIDI input and audio signals from the keyboard. By adjusting the mixer’s settings, you can optimize the audio routing, control parameters, and signal processing to seamlessly integrate the MIDI keyboard into your audio setup. Follow the steps below to adjust the settings on the mixer for optimal performance and flexibility:
- Assign MIDI Channels: Access the MIDI settings on the mixer to assign specific MIDI channels to the input from your MIDI keyboard. Depending on the mixer’s capabilities, you may be able to assign different MIDI channels to individual input channels, allowing for independent control and manipulation of MIDI data from the keyboard.
- Set Input Levels: Adjust the input levels on the mixer to ensure that the MIDI signals from the keyboard are appropriately balanced and aligned with other audio sources. By setting optimal input levels, you can prevent distortion and maintain clarity in the MIDI data being received by the mixer.
- Configure Audio Routing: Determine the audio routing options available on the mixer and configure the input channels to receive the audio signals from your MIDI keyboard. This step involves selecting the appropriate input sources and routing the audio to the desired output destinations, such as main mix outputs, monitor sends, or auxiliary channels.
- Apply Signal Processing: Utilize the mixer’s built-in signal processing capabilities, such as EQ (equalization) and effects, to enhance the audio signals originating from the MIDI keyboard. By applying EQ adjustments and effects, you can tailor the sound of the MIDI instrument to complement the overall audio mix and achieve the desired sonic characteristics.
- Engage Monitoring Options: Enable monitoring options on the mixer to listen to the audio output from the MIDI keyboard in real time. This step allows you to monitor the sound of the MIDI instrument and make informed adjustments to the settings, ensuring that the audio signals are accurately represented in the mix.
By carefully adjusting the settings on the mixer, you can harness the full potential of your MIDI keyboard within the audio environment, enabling precise control over MIDI data and seamless integration of the instrument’s audio output into your productions or live performances. The optimized settings on the mixer pave the way for a cohesive and dynamic audio workflow, empowering you to explore the creative possibilities offered by your MIDI keyboard in conjunction with the mixer’s versatile control and processing capabilities.
Step 4: Test the Connection
After completing the physical connections and adjusting the settings on the mixer, it is crucial to thoroughly test the connection between your MIDI keyboard and the mixer to ensure that the integration is seamless and the audio signals are accurately transmitted and processed. Testing the connection allows you to identify any potential issues or anomalies and make any necessary adjustments before proceeding with music production or live performances. Follow the steps below to effectively test the connection between your MIDI keyboard and the mixer:
- Play the MIDI Keyboard: Begin by playing the MIDI keyboard to generate MIDI data and audio signals. Verify that the MIDI signals are being transmitted to the mixer and that the audio output from the keyboard is reaching the designated input channels on the mixer.
- Monitor the Audio Levels: Use the mixer’s level meters and monitoring capabilities to observe the audio levels corresponding to the MIDI keyboard’s output. Ensure that the audio signals are adequately represented in the mixer’s input channels and that the levels are within an appropriate range to prevent clipping or distortion.
- Adjust Control Parameters: Test the control parameters, such as faders, pan controls, and EQ settings, on the mixer to manipulate the audio signals from the MIDI keyboard. Make adjustments to the control parameters and observe how they influence the sound of the MIDI instrument within the overall mix.
- Verify Signal Processing: Evaluate the application of signal processing, including EQ adjustments and effects, on the audio signals from the MIDI keyboard. Listen attentively to the processed sound and assess the impact of the signal processing on the sonic characteristics of the MIDI instrument.
- Test MIDI Functionality: Confirm the MIDI functionality by sending MIDI data from the keyboard to the mixer and observing how the mixer responds to the MIDI commands. Test features such as MIDI channel assignments, control changes, and program changes to ensure that the MIDI communication is reliable and responsive.
By systematically testing the connection between your MIDI keyboard and the mixer, you can validate the integrity of the integration and address any potential issues or discrepancies that may arise during the testing process. Thorough testing provides confidence in the functionality and performance of the MIDI keyboard within the mixer setup, setting the stage for productive music creation and engaging live performances with a seamlessly integrated MIDI instrument at your disposal.
Conclusion
Mastering the process of connecting a MIDI keyboard to a mixer opens up a realm of creative possibilities for musicians, producers, and audio enthusiasts. By carefully gathering the necessary equipment, establishing physical connections, adjusting mixer settings, and thoroughly testing the integration, you have laid the foundation for a harmonious relationship between your MIDI keyboard and the mixer. This seamless integration empowers you to leverage the expressive capabilities of your MIDI instrument within a professional audio environment, whether in the studio or on stage.
Through the cohesive connection between your MIDI keyboard and the mixer, you can harness the full potential of your musical compositions and performances, blending electronic sounds with traditional audio sources to craft captivating sonic experiences. The integration of a MIDI keyboard into a mixer setup facilitates precise control, flexible routing, and seamless communication between the keyboard and other audio components, enhancing the depth and dynamism of your musical endeavors.
As you embark on your creative journey with a MIDI keyboard connected to a mixer, continue to explore the diverse sonic landscapes and expressive possibilities offered by this integration. Embrace the art of blending electronic and acoustic elements, shaping sounds with precision, and delivering compelling musical narratives that resonate with your audience. The seamless connection between your MIDI keyboard and the mixer serves as a gateway to innovation, allowing you to push the boundaries of musical expression and create immersive audio experiences that captivate and inspire.
With a solid understanding of the connection process and a well-integrated MIDI keyboard within your audio setup, you are poised to embark on a musical odyssey filled with boundless creativity and sonic exploration. Embrace the synergy between technology and artistry, and let the seamless integration of your MIDI keyboard and the mixer propel your musical vision to new heights.