Introduction
Welcome to this step-by-step guide on how to download fonts from Etsy to Cricut! Fonts play a crucial role in adding a personal touch to your Cricut projects, and Etsy is a treasure trove of beautiful and unique fonts created by talented designers. Whether you’re looking for elegant scripts, bold display fonts, or quirky handwritten styles, Etsy offers a wide range of options to suit your creative needs.
In this guide, we will walk you through the process of finding, purchasing, and downloading fonts from Etsy to use with your Cricut machine. By following these simple steps, you’ll be able to access a world of beautiful typography and elevate your Cricut crafts to the next level.
Before we dive into the details, it’s essential to have some basic knowledge about Etsy and Cricut. Etsy is an online marketplace that connects independent sellers with buyers looking for unique and handmade products. On the other hand, Cricut is a popular cutting machine that allows crafters to create intricate designs on various materials, such as vinyl, paper, and fabric.
Now that you have a general understanding of Etsy and Cricut let’s begin our journey to download fonts from Etsy to Cricut. By the end of this guide, you’ll be able to confidently explore the vast font options available on Etsy and seamlessly integrate them into your Cricut projects.
Step 1: Creating an Etsy Account
The first step towards downloading fonts from Etsy is to create an account on the platform. If you already have an Etsy account, you can skip this step and proceed to the next one.
To create an Etsy account, follow these simple steps:
- Open your preferred web browser and visit the Etsy website (www.etsy.com).
- Click on the “Sign in” button located at the top right corner of the homepage.
- On the login page, click on the “Register” button.
- You will be prompted to choose one of two options to sign up: either using your email address or your Google or Facebook account.
- If you choose to create an account using your email address:
- Enter your email address in the provided field.
- Create a strong and unique password.
- Click on the “Register” button to continue.
- If you choose to sign up with Google or Facebook:
- Click on the respective button (“Sign up with Google” or “Sign up with Facebook”).
- Follow the prompts to log in using your Google or Facebook credentials.
- Click on the “Allow” or “Continue” buttons to grant permission for Etsy to access your account information.
Once you have successfully created an Etsy account, you can move on to the next step of our guide.
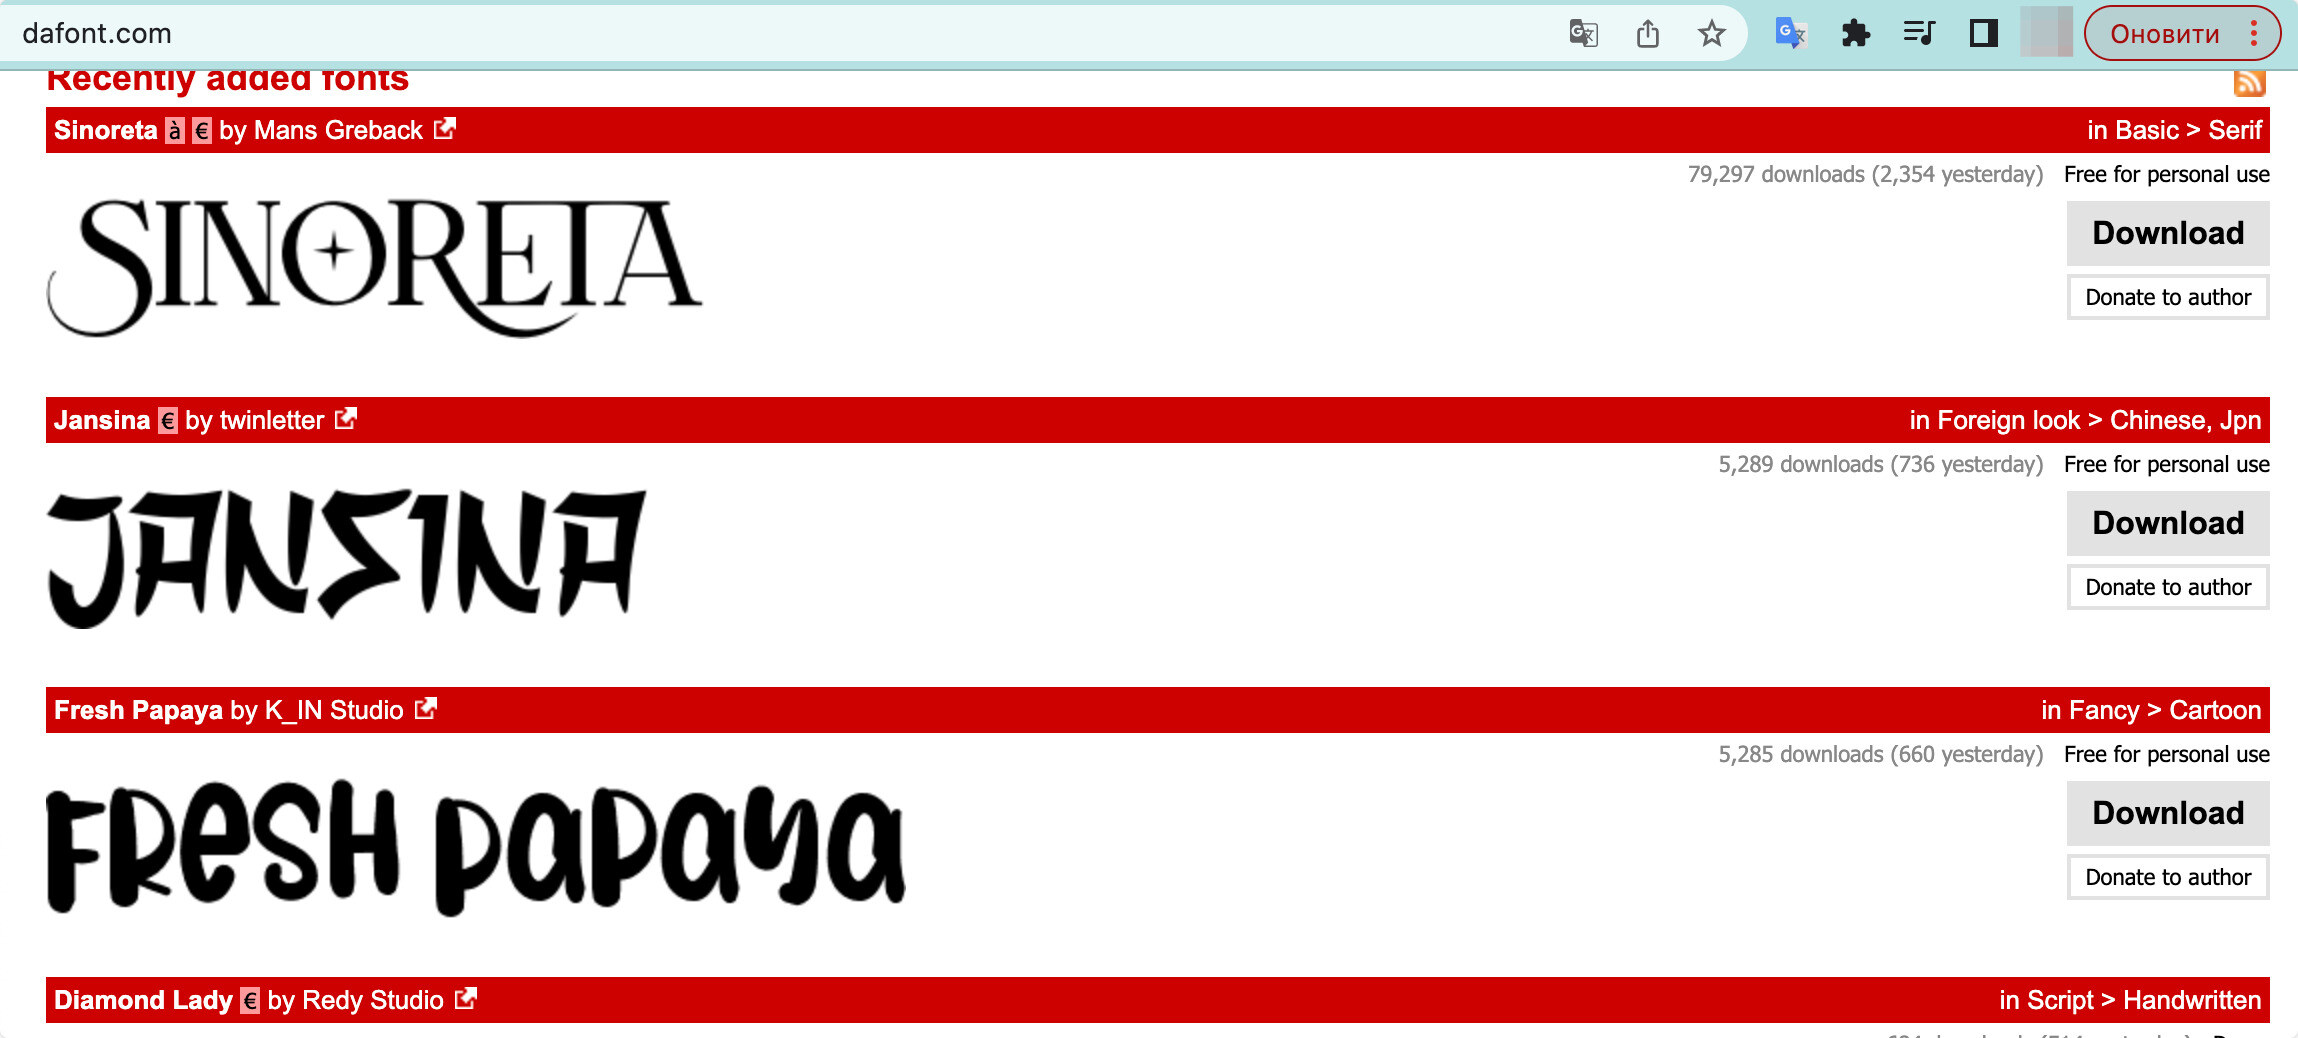
Step 2: Searching for Fonts on Etsy
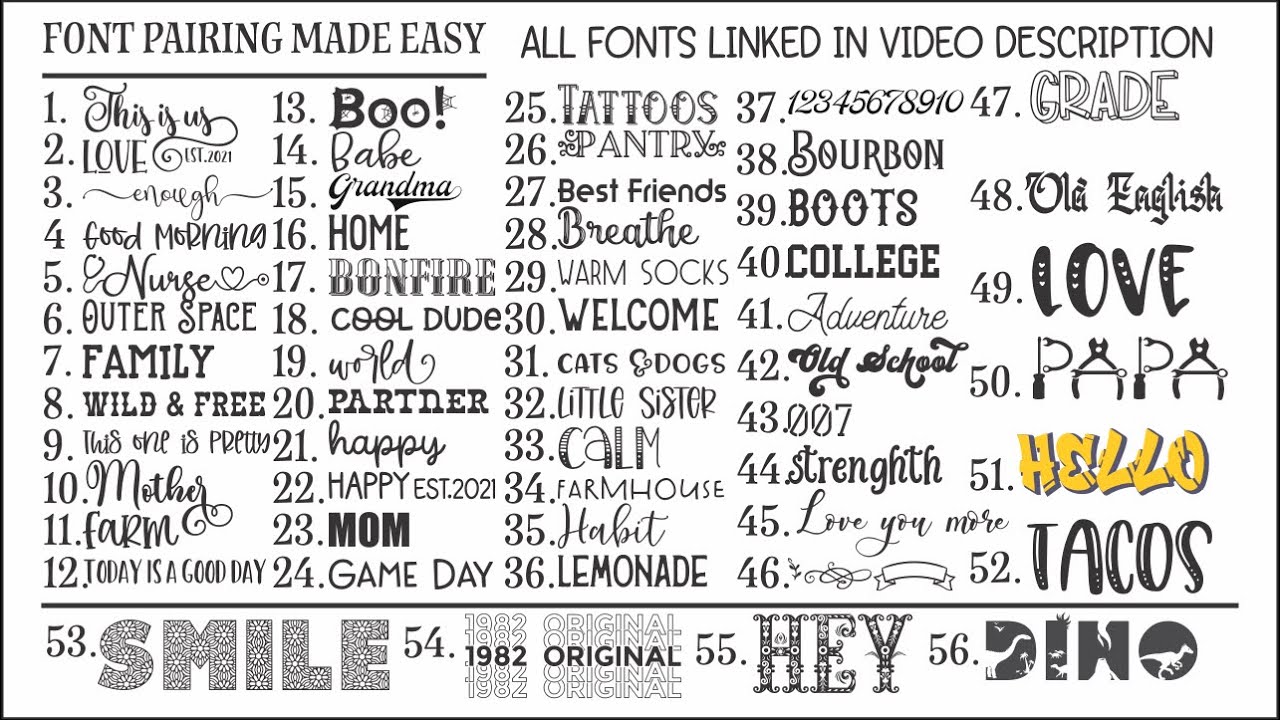
Now that you have created an Etsy account, it’s time to search for fonts that suit your creative vision. Etsy offers a vast collection of fonts, ranging from elegant serif styles to playful handwritten designs. Here’s how you can find the perfect font for your Cricut projects:
- Log in to your Etsy account.
- On the homepage, you will find a search bar at the top of the page. Type in keywords related to the font style you are looking for. For example, if you want a script font, you can search for “script font” or “handwritten font.”
- As you start typing, Etsy will provide suggestions based on popular search terms. You can select one of the suggestions or continue to enter your own search query.
- Press the Enter key or click on the magnifying glass icon to initiate the search.
- Etsy will display a list of fonts that match your search query. You can further refine the results using filters such as price range, font format, and font type. These filters can be found on the left-hand side of the search results page.
- Browse through the fonts and click on the ones that catch your eye to view more details.
- When viewing a font listing, take the time to read the description, view sample images, and check the reviews and ratings from previous buyers.
- If you find a font that you love and want to consider purchasing, you can click on the “Add to cart” button.
- If you want to explore more font options, you can go back to the search results page or repeat the search with different keywords.
Take your time to explore different fonts and find the ones that resonate with your creative vision. Once you have selected a font that you would like to purchase, proceed to the next step of our guide.
Step 3: Choosing and Purchasing a Font
After browsing through the fonts on Etsy, you may have found one that speaks to you and aligns with your creative project. Now it’s time to choose and purchase the font. Here’s how:
- On the font listing page, carefully review the font details, including the price, licensing information, and any additional files or bonuses that come with the font.
- If you are satisfied with the font and wish to proceed with the purchase, click on the “Add to cart” button. The font will be added to your Etsy cart.
- You can continue browsing Etsy for more fonts or other items, or you can proceed to the checkout process by clicking on the cart icon at the top right corner of the page.
- On the cart page, review the items in your cart and make any necessary adjustments, such as changing the quantity or removing items.
- Click on the “Proceed to checkout” button when you are ready to complete your purchase.
- On the checkout page, enter your shipping address if applicable. For font downloads, you may not need to provide a shipping address as the files are typically delivered digitally.
- Select your payment method. Etsy offers various payment options, including credit/debit cards, PayPal, and Etsy gift cards.
- Follow the prompts to enter your payment information and complete the transaction.
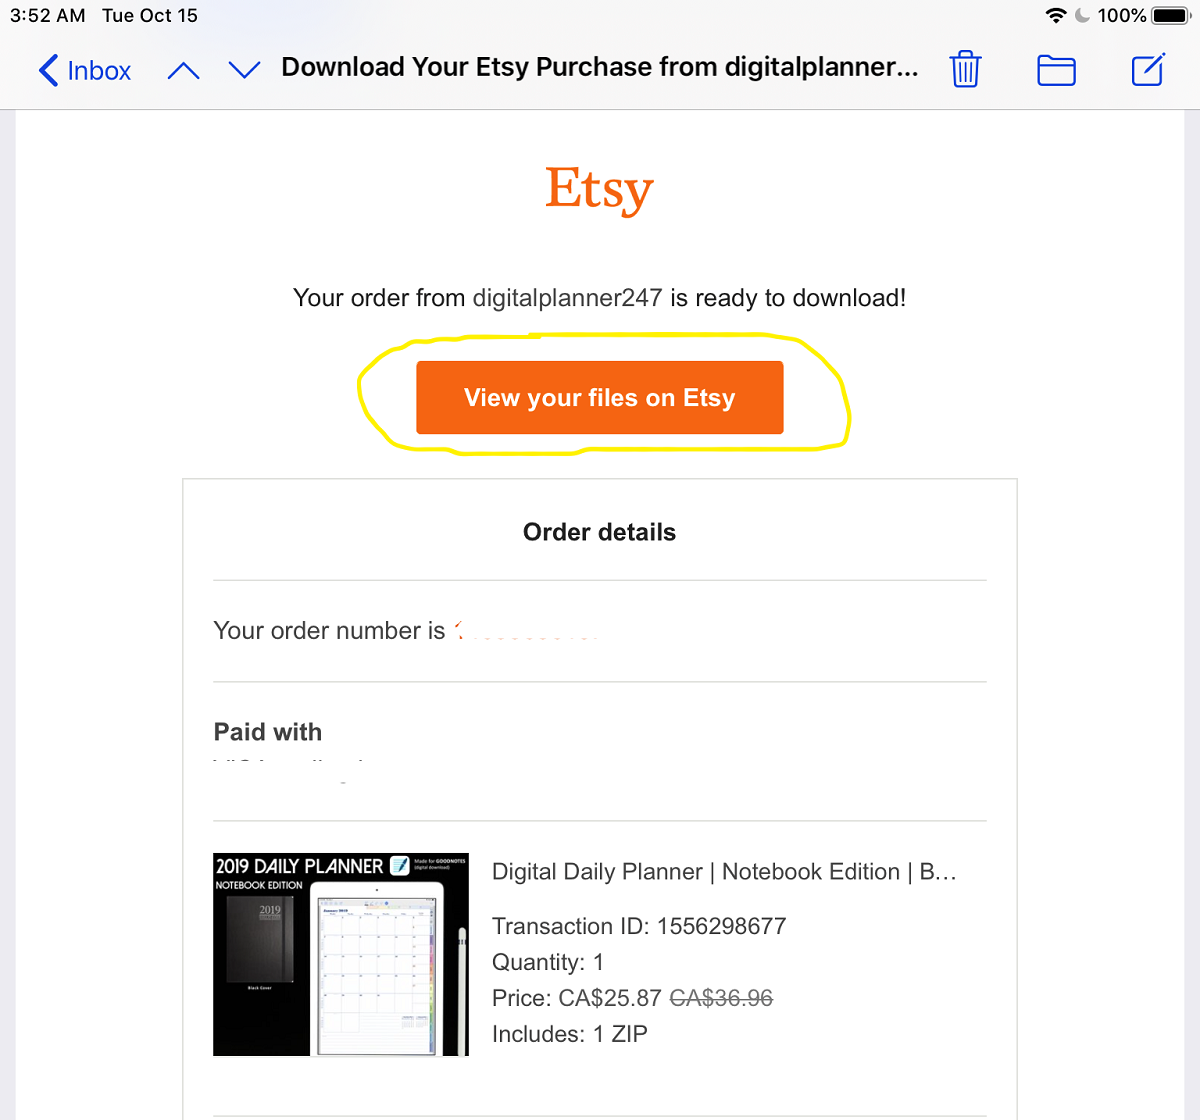
- Once your payment is processed successfully, you will receive a confirmation email from Etsy containing the details of your purchase.
- After purchasing the font, you can access the digital files by going to your Etsy account and navigating to the “Purchases and reviews” section.
Keep in mind that fonts on Etsy are typically sold as digital downloads, so you won’t receive a physical product. However, the downloadable font files will be accessible for you to use on your computer and Cricut machine.
With your font purchased and downloaded, it’s time to move on to the next step and retrieve the font files.
Step 4: Downloading the Font Files
Now that you have successfully purchased a font from Etsy, it’s time to download the font files onto your computer. Here’s how you can do it:
- Log in to your Etsy account.
- Go to the “Purchases and reviews” section, which can usually be found by clicking on your profile picture or the “You” icon on the top right corner of the Etsy homepage.
- In the “Purchases and reviews” section, you will see a list of your recent purchases. Locate the font you purchased and click on the “Download” button or link next to it.
- Depending on the font file format provided by the seller, you may have different options for downloading. Common font file formats include .ttf (TrueType Font) and .otf (OpenType Font).
- Click on the appropriate download link for the font file format you prefer. Your browser will typically prompt you to choose a location on your computer to save the downloaded file.
- Select a folder or directory on your computer where you want to save the font file. It’s a good practice to choose a location that is easy to remember and access, such as your desktop or a dedicated folder for fonts.
- Click “Save” or “Download” to initiate the download process. The font file will be downloaded to the selected location on your computer.
- Once the font file is downloaded, you can close the browser or continue browsing on Etsy.
Congratulations! You have successfully downloaded the font files onto your computer. The next step is to extract the font files (if necessary), which we will cover in the following step of our guide.
Step 5: Extracting the Font Files (If necessary)
After downloading the font files from Etsy, it’s essential to ensure that they are in a usable format on your computer. In some cases, font files may be compressed or archived, requiring extraction before you can use them. Here’s how you can extract the font files (if necessary):
- Locate the downloaded font file on your computer. It may be in your Downloads folder or the location you selected during the download process.
- Depending on the file format and the compression method used, you may need to extract the font files from a ZIP or RAR archive. To do this, right-click on the font file and select the “Extract” or “Extract Here” option from the context menu.
- If the font file is compressed in a ZIP or RAR archive, a new folder containing the font files will be created in the same location.
- Open the newly created folder, and you should see the font files with the appropriate file extensions (.ttf, .otf, etc.).
- (Note: If the font files are not compressed and directly downloaded as individual files, you can skip the extraction process and proceed to the next step.)
By extracting the font files, you ensure that they are readily available for installation and use. Once the font files are extracted, you can move on to the next step of our guide, which covers uploading the font to Cricut Design Space.
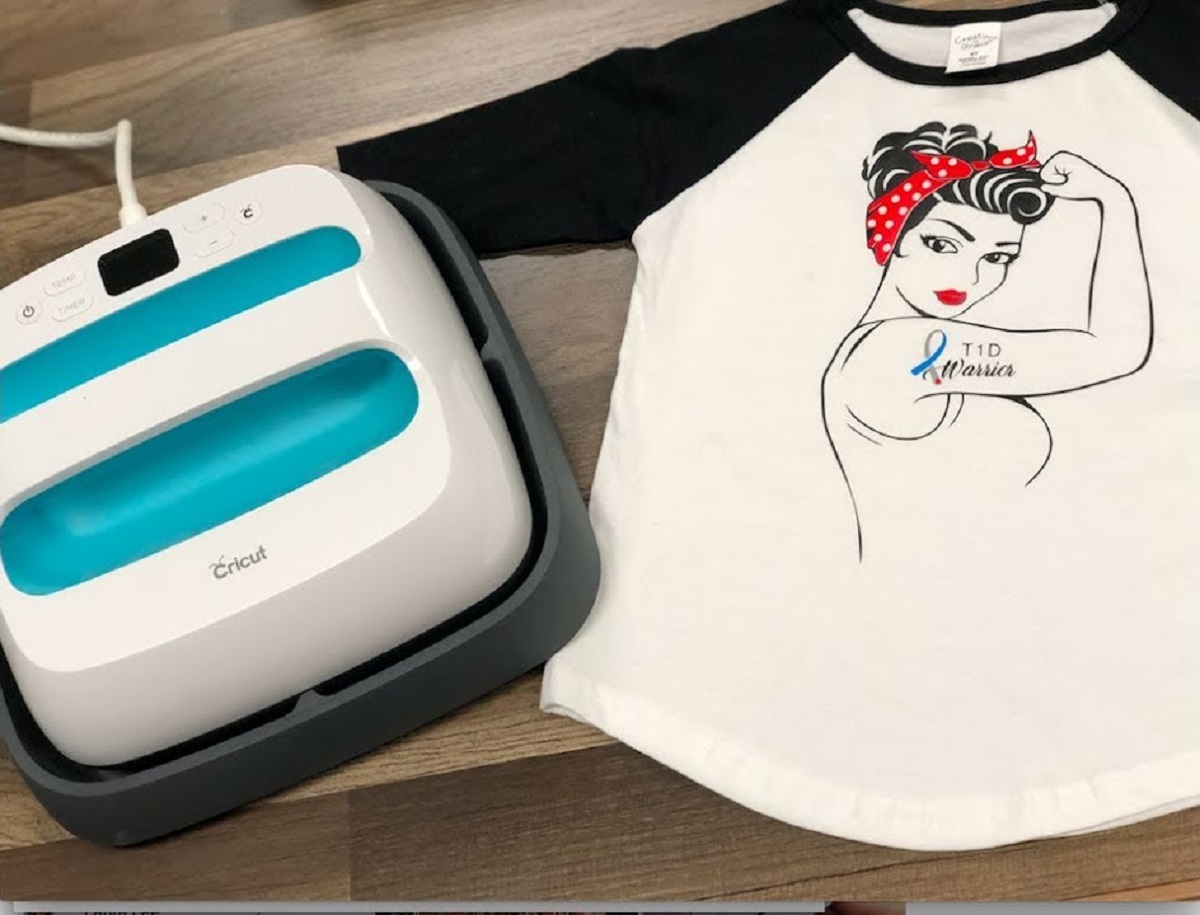
Step 6: Uploading the Font to Cricut Design Space
Now that you have the font files ready on your computer, it’s time to upload them to Cricut Design Space. Here’s how you can do it:
- Open Cricut Design Space on your computer. If you don’t have it installed, you can download it from the official Cricut website (www.cricut.com/design).
- Login to your Cricut account or create a new account if you don’t have one.
- In Cricut Design Space, click on the “New Project” button to create a new project or open an existing project where you want to use the font.
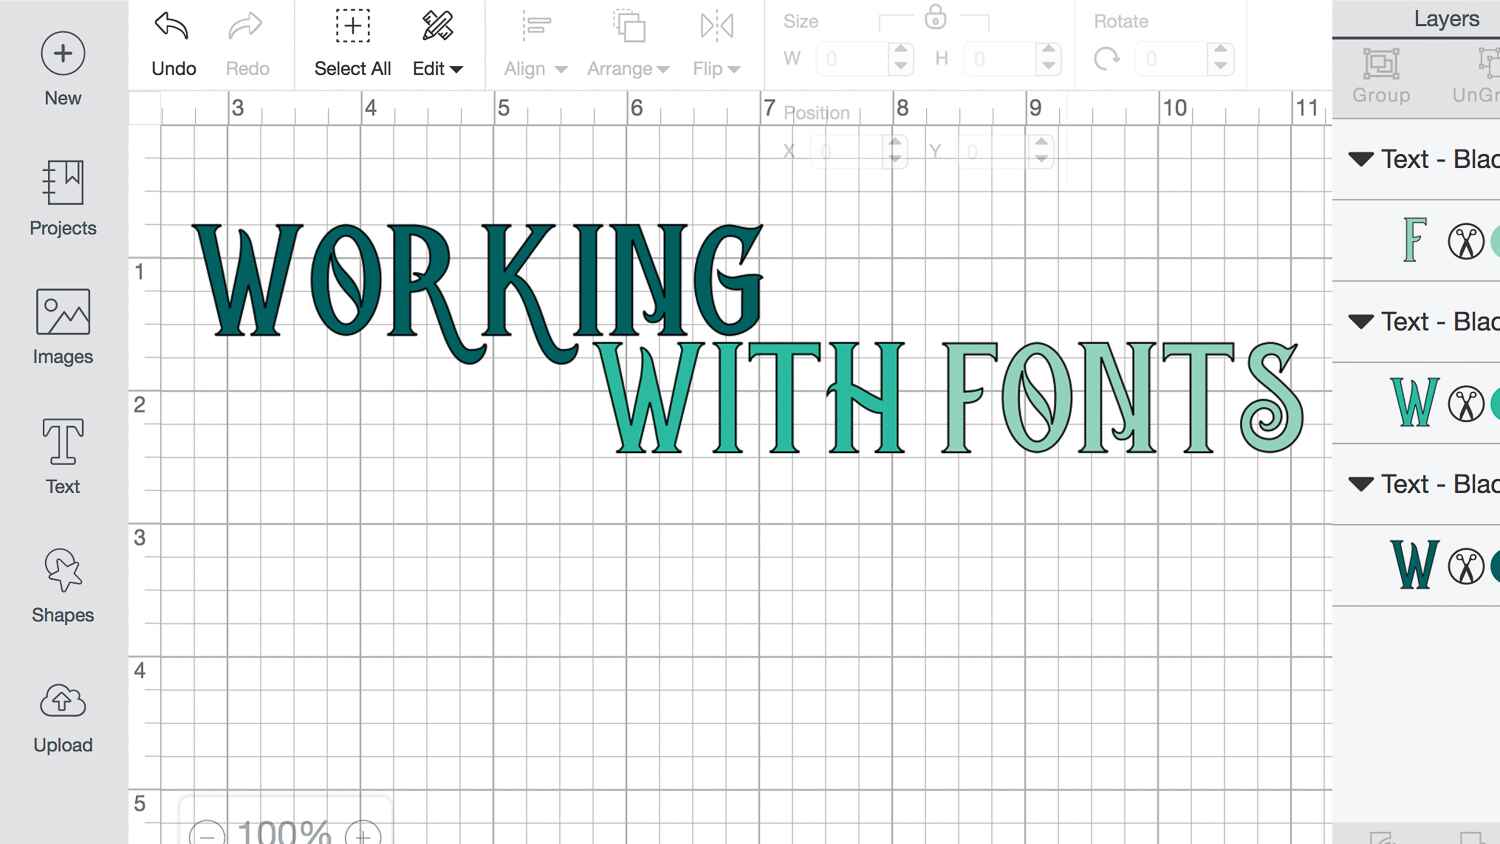
- In the Design Space canvas, click on the “Text” button located on the left-hand side of the screen. This will open the text tool.
- Type in a sample text that you want to use to preview the font. This will give you an idea of how the font looks in actual use.
- With the text selected, click on the “Font” drop-down menu located in the toolbar at the top of the screen.
- At the bottom of the font list, click on the “System Fonts” option.
- In the system font list, you should see the font you downloaded from Etsy. Select the font from the list to apply it to your text.
- The selected font will be applied to your text in the Design Space canvas.
- You can further customize the font by adjusting the size, spacing, and other settings using the Design Space toolbar.
- Once you are satisfied with the appearance of your text, you can proceed with your project as usual.
Congratulations! You have successfully uploaded the font to Cricut Design Space, allowing you to use it in your Cricut projects. Now you can unleash your creativity and explore the endless design possibilities with your newly added font.
Step 7: Installing the Font on Your Computer
For optimal use of the font in various applications on your computer, it’s recommended to install the font files. Here’s how you can install the font on your computer:
- Locate the font files that you downloaded and extracted from Etsy.
- Right-click on the font file and select “Install” from the context menu.
- The font file will automatically install on your computer and be available for use in any compatible application.
- (Note: If you are using a Mac computer, you can also install the font by double-clicking on the font file and then clicking on the “Install” button in the font preview window that opens.)
- To confirm that the font is installed, you can open a text editor or any application that allows you to select different fonts. Look for the font name in the font selection menu and verify that it appears on the list.
- Once the font is installed on your computer, you can use it in various graphic design software, word processors, and any other applications that support custom fonts.
Installing the font on your computer ensures consistent access and usage across different programs and applications. Now that the font is installed, you can move forward in incorporating it into your creative projects effortlessly.
Step 8: Accessing the Font in Cricut Design Space
Now that you have installed the font on your computer, you can easily access it in Cricut Design Space whenever you create new projects. Here’s how:
- Open Cricut Design Space on your computer and log in to your account if you haven’t already done so.
- Create a new project or open an existing project where you want to use the font.
- In the Design Space canvas, click on the “Text” button located on the left-hand side of the screen. This will open the text tool.
- Type in the desired text or select the existing text that you want to change the font of.
- With the text selected, click on the “Font” drop-down menu located in the toolbar at the top of the screen.
- If the font you installed is a system font, you can find it in the “System Fonts” section. Scroll through the list or use the search bar to locate the font.
- Click on the font name to apply it to your selected text. The font will be updated in the Design Space canvas.
- Adjust the size, spacing, and any other text attributes as desired using the options available in the toolbar.
- Continue working on your project, adding other design elements or making further modifications as needed.
- Preview your project and ensure that the font is displaying correctly and meets your design requirements.
- Once everything looks perfect, you can proceed to cut, draw, or print your design using your Cricut machine.
By accessing the font in Cricut Design Space, you can effortlessly incorporate it into your projects, creating personalized and unique designs. Enjoy the flexibility and creativity that the font brings to your Cricut projects!
Conclusion
Congratulations! You have successfully learned how to download and utilize fonts from Etsy in your Cricut projects. By following the step-by-step guide provided in this article, you can enhance your designs and add a personal touch with unique and beautiful fonts.
We started by creating an Etsy account, then moved on to searching for fonts that match your creative vision. After selecting and purchasing a font, we downloaded and, if necessary, extracted the font files onto your computer. We then covered how to upload the font to Cricut Design Space, ensuring seamless integration into your projects.
Finally, we discussed how to install the font on your computer, allowing you to access it in various applications, and how to access the font within Cricut Design Space to bring your designs to life.
With this newfound knowledge, you have the ability to explore the vast world of fonts available on Etsy and unleash your creative potential with your Cricut machine.
Remember to respect the licensing terms and permissions set by font designers on Etsy. Ensure that you are using the fonts in compliance with the permitted use, whether it’s for personal or commercial purposes.
So go ahead, download those amazing fonts, and let your creativity soar with Cricut and Etsy!