Introduction
Welcome to the world of Adobe Creative Cloud! As a designer or a creative professional, you’re probably familiar with the wide range of tools and resources that Adobe offers. From Photoshop to Illustrator, Adobe Creative Cloud provides a plethora of options to enhance your creative projects.
One of the key features of Adobe Creative Cloud is its extensive font library. Fonts play a crucial role in giving your designs a unique and professional touch. With Adobe Creative Cloud, you have access to a vast collection of fonts that will help you transform your projects from ordinary to extraordinary.
In this article, we’ll guide you through the process of downloading and installing fonts from Adobe Creative Cloud. Whether you’re designing a website, creating a logo, or working on a print project, having access to a diverse range of fonts will give your work that extra edge.
Join us as we explore the step-by-step process of finding, activating, and downloading fonts from Adobe Creative Cloud. By the end of this article, you’ll be equipped with the necessary knowledge to take full advantage of this powerful font resource.
So, grab your favorite design tool and let’s delve into the world of Adobe Creative Cloud fonts!
Step 1: Sign in to Adobe Creative Cloud
Before you can start exploring the wide selection of fonts available in Adobe Creative Cloud, you’ll need to sign in to your Adobe account. If you don’t already have an account, you can easily create one by visiting the Adobe website and following the registration process.
Once you have your Adobe account, follow these simple steps to sign in to Adobe Creative Cloud:
- Launch the Adobe Creative Cloud desktop app on your computer. If you don’t have the app installed, you can download it from the Adobe website.
- When the app opens, you will be prompted to sign in. Enter your Adobe ID and password in the provided fields.
- Click on the “Sign In” button to access your Adobe Creative Cloud account.
After successfully signing in, you will have access to all the features and resources available in Adobe Creative Cloud, including the extensive font library.
It’s important to note that Adobe Creative Cloud offers both free and paid subscription plans, with different levels of access to fonts and other creative tools. Make sure you have a subscription that includes access to fonts or upgrade your plan if necessary to fully utilize the font features.
Now that you’re signed in, let’s move on to the next step and explore the Fonts section in Adobe Creative Cloud.
Step 2: Access the Fonts Section
Once you’ve signed in to Adobe Creative Cloud, it’s time to navigate to the Fonts section where you can browse and discover the vast collection of fonts available to you. Follow these simple steps to access the Fonts section:
- Open the Adobe Creative Cloud desktop app on your computer if it’s not already open.
- In the app’s navigation menu, you’ll find a section labeled “Apps” or “Assets”. Click on that section to expand it.
- Within the expanded section, locate and click on the “Fonts” option. This will take you to the Fonts section of Adobe Creative Cloud.
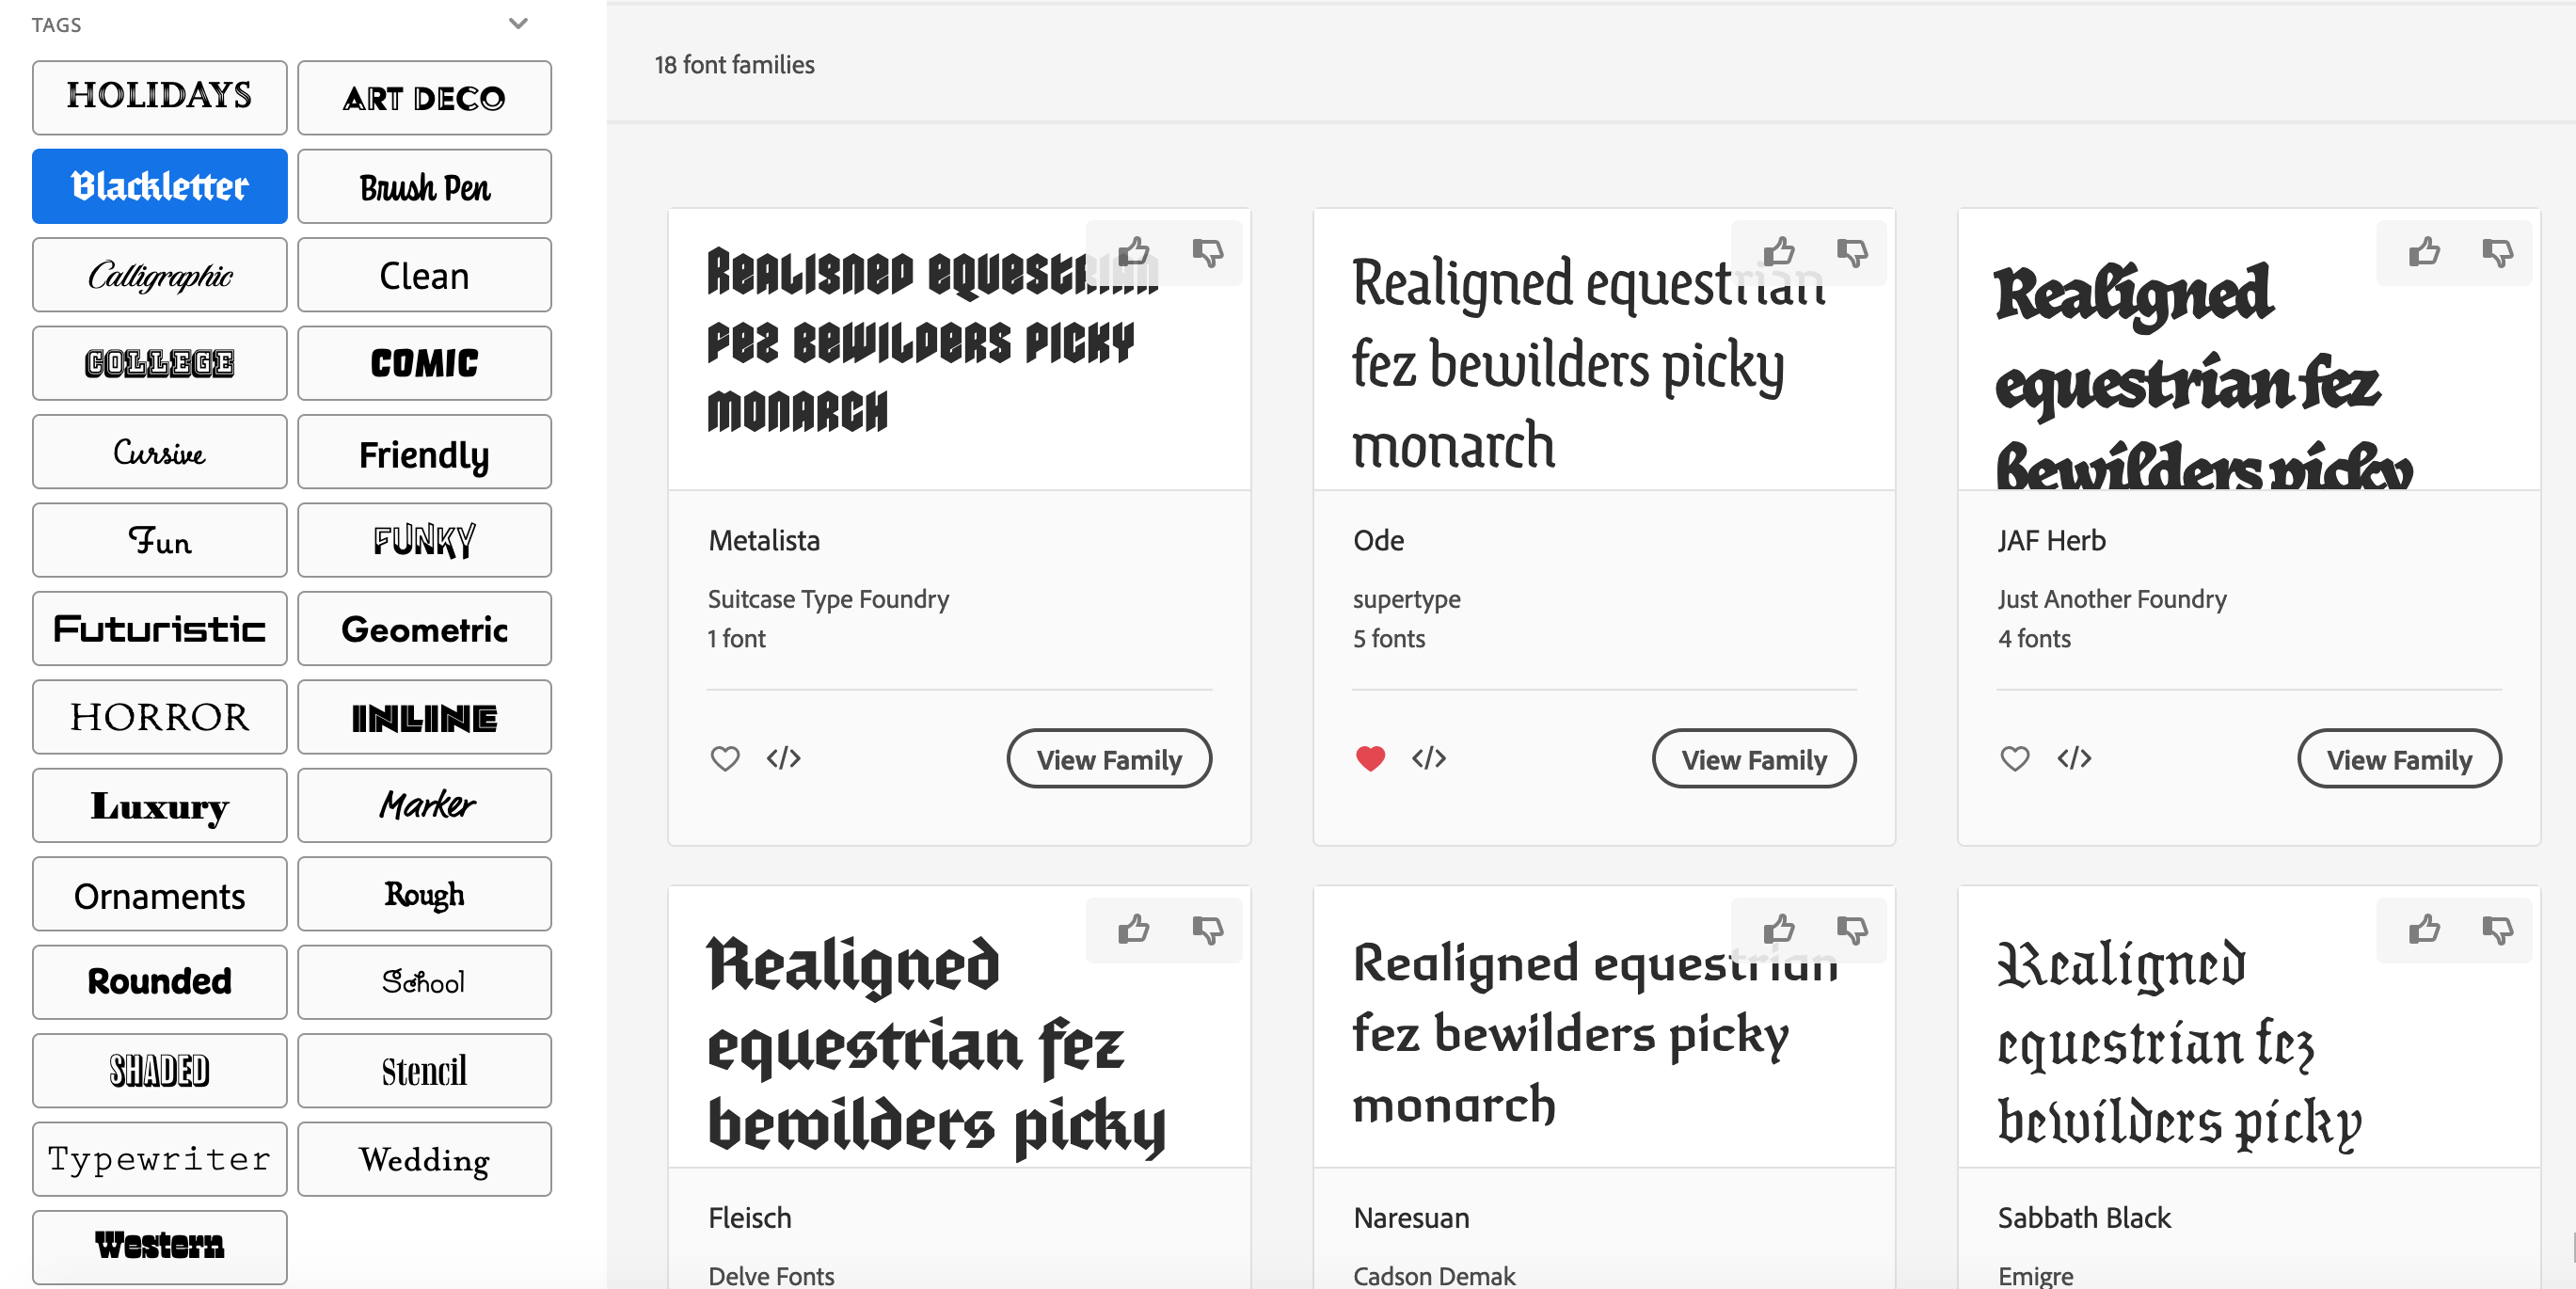
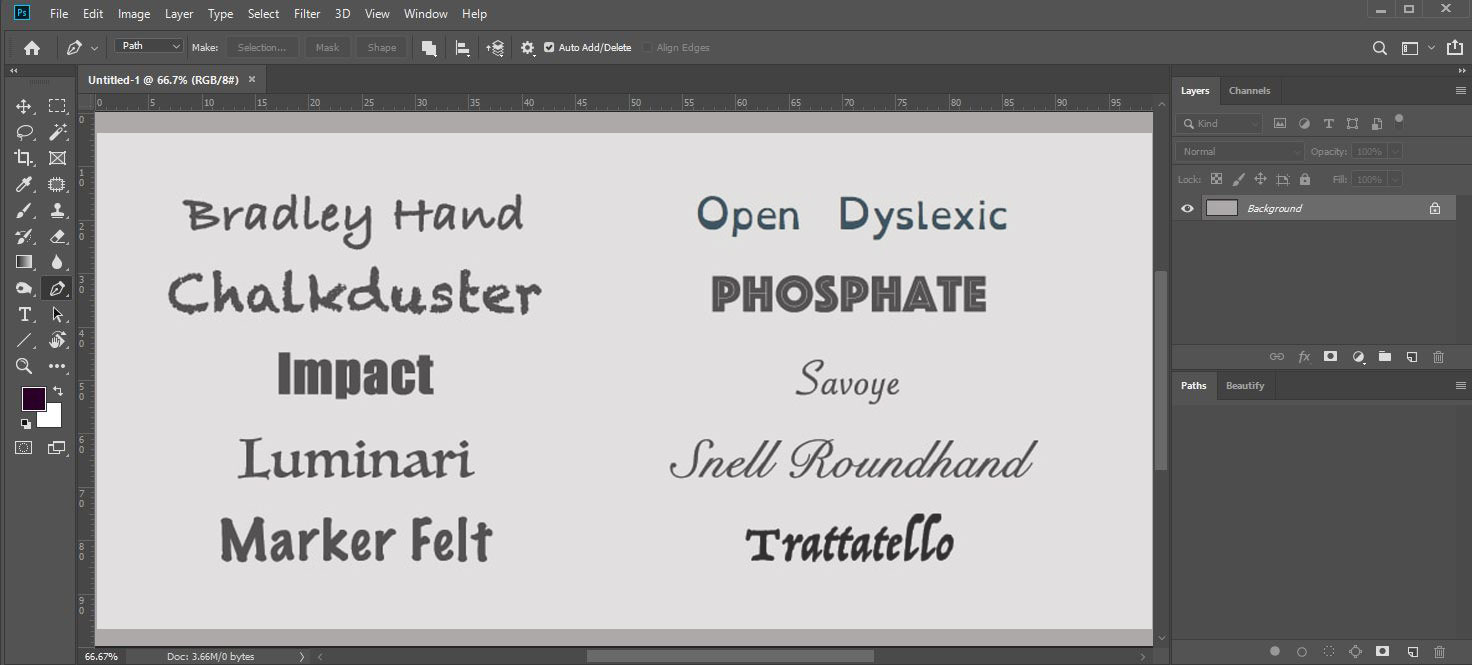
Once you’re in the Fonts section, you’ll find yourself surrounded by a plethora of font options, categorized for easy exploration. You can browse through different font families, styles, weights, and more depending on your specific design needs. Adobe offers a diverse range of fonts, from classic and timeless to modern and trendy.
In addition to searching for specific fonts, Adobe Creative Cloud also provides curated font collections to help inspire your design projects. These collections are carefully curated by industry professionals and can be a great starting point when looking for the perfect font combination for your next creative endeavor.
Now that you’ve accessed the Fonts section, it’s time to dive into the world of fonts and find the ones that will elevate your designs. Let’s move on to the next step and learn how to find and choose fonts in Adobe Creative Cloud.
Step 3: Find and Choose Fonts
Now that you’re in the Fonts section of Adobe Creative Cloud, it’s time to explore the vast collection of fonts and find the perfect ones for your design projects. Follow these steps to find and choose fonts:
- Take some time to browse through the different categories and collections of fonts. You can click on each category to expand it and view the fonts within.
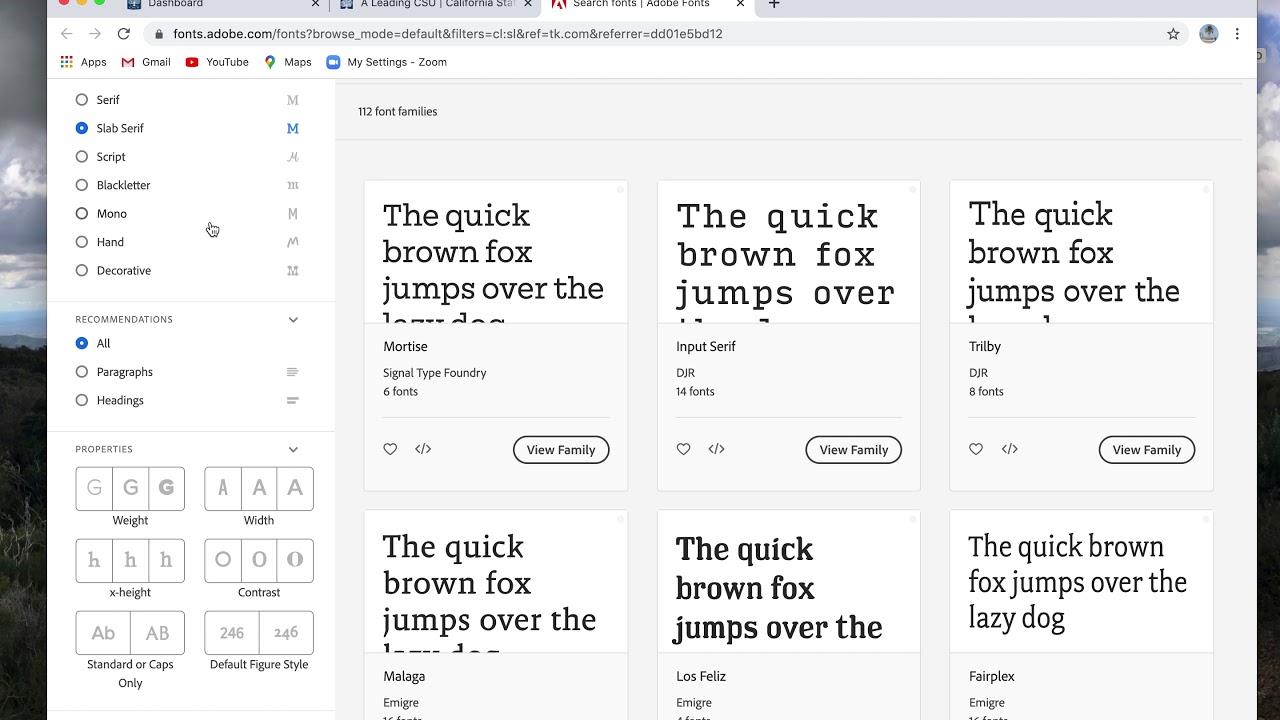
- Use the search bar at the top of the Fonts section to search for specific fonts. You can search by font name, style, or any other relevant keyword.
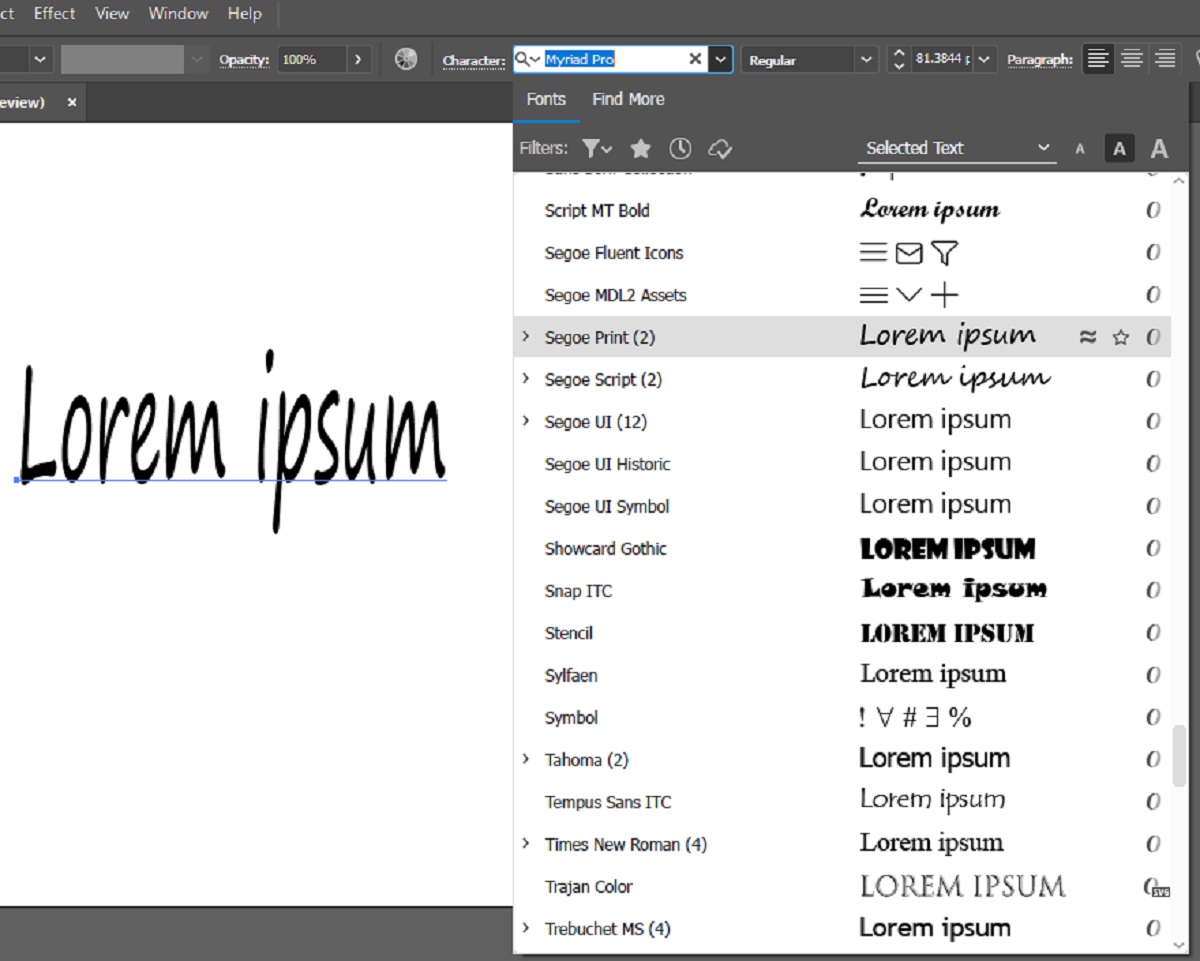
- As you browse through the fonts, click on each font to view more details about it. You can see a preview of the font, including different styles and weights available.
- To further refine your font search, you can use the filters available. Filters allow you to narrow down the fonts based on criteria such as classification, language support, and more.
- Once you’ve found a font that catches your eye, click on the “Activate” button to add it to your active fonts list.
When choosing fonts for your design projects, consider factors such as readability, style, and compatibility with your overall design concept. Experiment with different font combinations to create visual harmony and balance in your designs.
Remember, Adobe Creative Cloud provides a wide variety of fonts to cater to different design aesthetics and purposes. Whether you’re looking for elegant scripts, bold display fonts, or clean and minimalist options, you’re bound to find the perfect fonts within the Adobe font library.
Now that you’ve learned how to find and choose fonts, let’s move on to the next step and learn how to activate the fonts you’ve selected.
Step 4: Activate Fonts
Once you’ve found the fonts you want to use in your design projects, it’s time to activate them within Adobe Creative Cloud. Activating fonts allows you to access and use them across all the Adobe Creative Cloud applications on your computer. Follow these steps to activate fonts:
- Go back to the Fonts section within the Adobe Creative Cloud desktop app.
- In the Fonts section, you’ll see a list of all the fonts you’ve browsed and selected. These fonts are displayed under the “Active Fonts” tab.
- Review the list of fonts and ensure that the ones you want to use are included. If a font you want to activate is not listed, go back to the Fonts section and click on the “Activate” button for that particular font.
- Once you’ve confirmed that all the desired fonts are included in the Active Fonts list, you’re ready to proceed to the next step.
Activating fonts in Adobe Creative Cloud ensures that they are readily available for use in all your design applications. Whether you’re working in Photoshop, Illustrator, InDesign, or any other Adobe Creative Cloud app, you’ll be able to access and apply the activated fonts seamlessly. This eliminates the need to install fonts individually on each application or device, saving you time and effort.
Now that you’ve successfully activated your chosen fonts, let’s move on to the next step and learn how to download these fonts from Adobe Creative Cloud.
Step 5: Download Fonts
Once you’ve activated the fonts you want to use in Adobe Creative Cloud, it’s time to download them to your computer. Downloading fonts ensures that you have the font files stored locally and can access them even when you’re not connected to the internet. Follow these steps to download fonts from Adobe Creative Cloud:
- Go back to the Fonts section within the Adobe Creative Cloud desktop app.
- In the Fonts section, click on the “Browse Fonts on Adobe Fonts” button. This will take you to the Adobe Fonts website.
- On the Adobe Fonts website, you’ll find a list of all the fonts you’ve activated. Browse through the fonts to ensure that the correct ones are included.
- Click on the toggle button next to each font to select it for download. The toggle button should turn blue when a font is selected.
- Once you’ve selected all the fonts you want to download, click on the “Activate Selected Fonts” button.
Adobe Creative Cloud will start the download process, and you’ll be able to monitor the progress in the app. Once the fonts are successfully downloaded, you’ll have access to them on your computer, even without an internet connection.
It’s important to note that the font files can take up a significant amount of storage space on your computer, especially if you download multiple fonts. Therefore, make sure you have enough available storage before initiating the download process.
Now that you’ve downloaded your chosen fonts from Adobe Creative Cloud, let’s move on to the final step and learn how to install these fonts on your device.
Step 6: Install Fonts on Your Device
Now that you’ve successfully downloaded the fonts from Adobe Creative Cloud, the final step is to install them on your device. Installing fonts ensures that they are readily available for use in any application or program installed on your computer. Follow these steps to install the fonts:
- Locate the downloaded font files on your computer. By default, the fonts are typically saved in your computer’s “Downloads” folder.
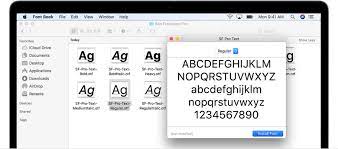
- Double-click on each font file to open it. This will launch the font installation process.
- In the font installation window, click on the “Install” button to install the font on your device.
- Repeat the process for each font file you want to install.
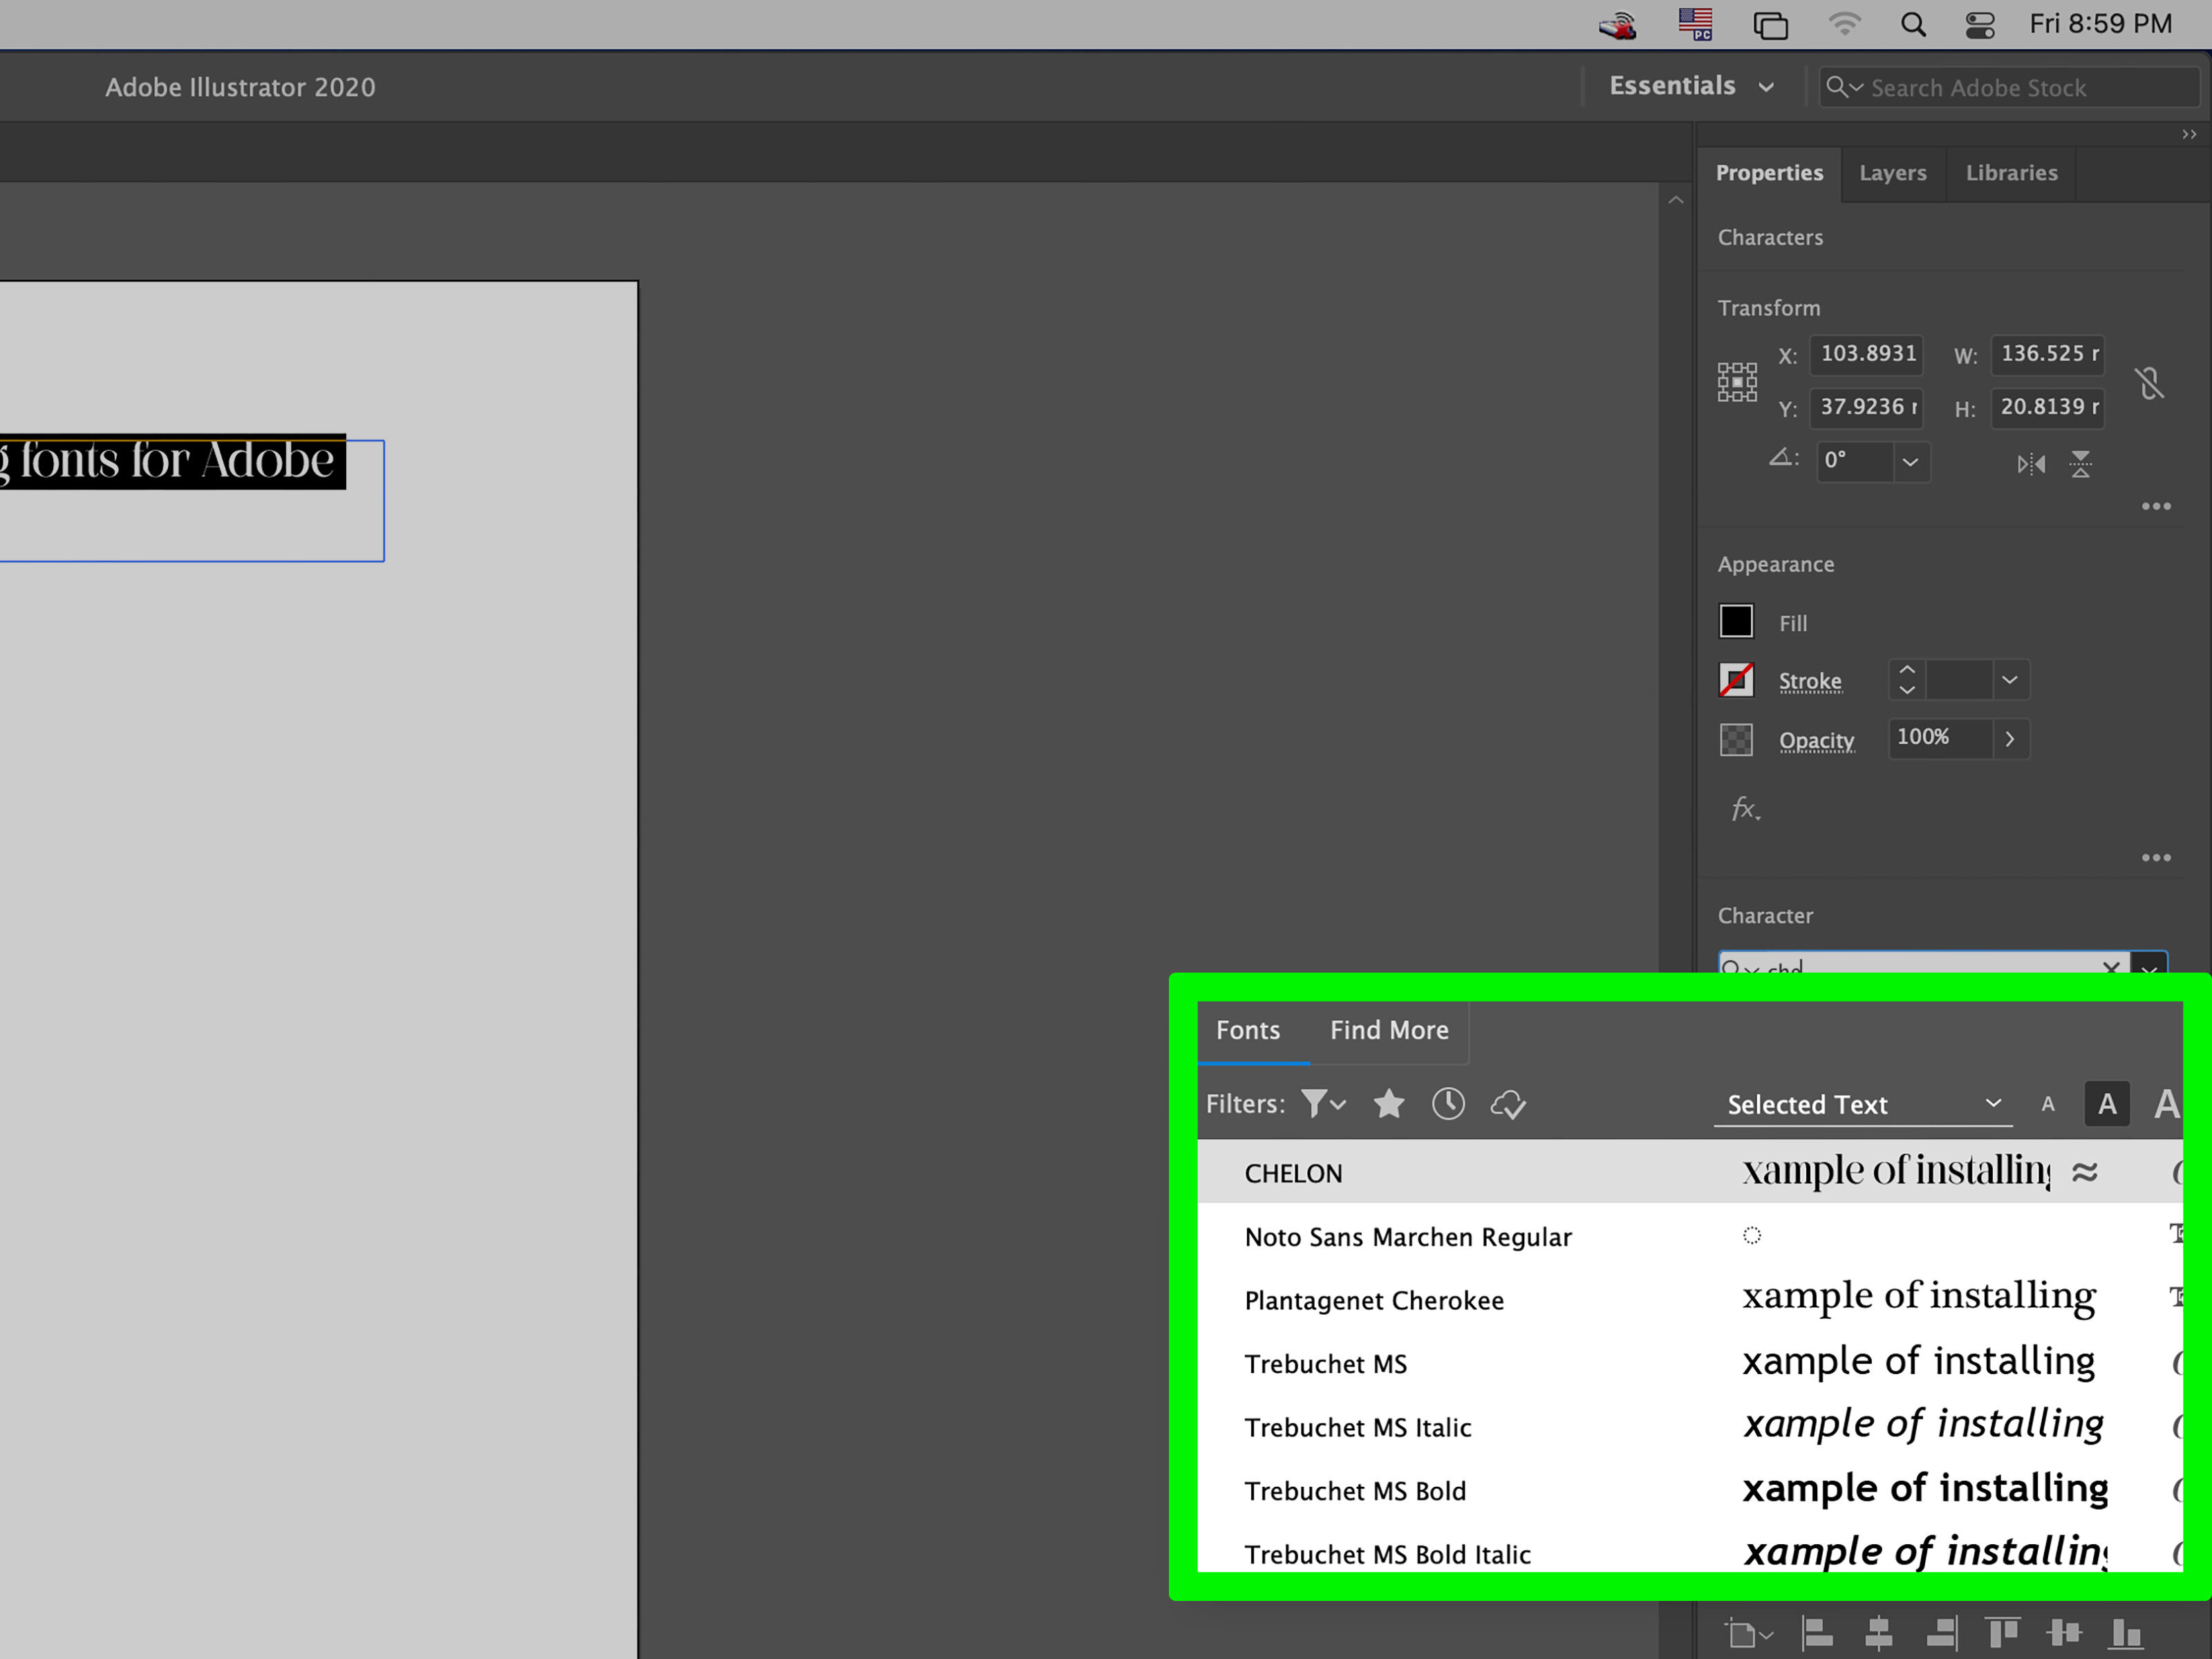
- Once the fonts are installed, you can use them in any application that supports custom fonts. Simply select the installed font from the font menu within the application.
It’s important to note that the font installation process may slightly vary depending on your operating system and the applications you’re using. However, the general steps outlined above should work for most situations.
After installing the fonts, it’s a good practice to restart the applications in which you plan to use the newly installed fonts. This ensures that the applications recognize and load the newly installed fonts correctly.
Congratulations! You’ve successfully installed the fonts from Adobe Creative Cloud on your device. Now, you can unleash your creativity and use these fonts to transform your design projects into works of art.
In this article, we’ve covered the step-by-step process of downloading and installing fonts from Adobe Creative Cloud. By following these steps, you can access a wide range of fonts and elevate your design projects to new heights.
So, start exploring the rich collection of fonts available in Adobe Creative Cloud, and let your creativity soar!
Conclusion
Unlocking the power of the Adobe Creative Cloud font library has never been easier. By following the steps outlined in this article, you can take advantage of the extensive selection of fonts to enhance your design projects.
We began by signing in to Adobe Creative Cloud, ensuring that you have access to all the features and resources available. From there, we navigated to the Fonts section and explored the diverse range of fonts at your fingertips. By searching, browsing, and activating fonts, you can find the perfect ones to bring your designs to life.
Once you’ve selected your desired fonts, we guided you through the process of downloading them to your computer, ensuring that you have access to them even when you’re offline. Finally, we covered how to install these fonts on your device, making them readily available for use in any design application.
Now, armed with the knowledge of how to download and install fonts from Adobe Creative Cloud, you have the tools to take your creative projects to the next level. Whether you’re designing a website, creating a logo, or working on a print project, having access to a wide variety of fonts is essential for capturing your desired aesthetic.
So, dive into the world of Adobe Creative Cloud fonts and let your imagination run wild. Explore different font combinations, experiment with styles and weights, and create visually stunning designs that leave a lasting impact.
Remember, fonts are not just a functional aspect of design; they have the power to evoke emotions, convey messages, and set the tone for your projects. With Adobe Creative Cloud, you have the opportunity to elevate your designs by choosing from an extensive collection of high-quality fonts.
So, sign in to Adobe Creative Cloud, access the Fonts section, find and activate fonts, and download and install them on your device. Unlock the full potential of your design projects with Adobe’s powerful font library.
Happy designing!