Introduction
Adobe Fonts is a popular platform that offers a vast collection of high-quality fonts for designers, creatives, and enthusiasts alike. With its extensive library, user-friendly interface, and seamless integration with various Adobe Creative Cloud applications, Adobe Fonts provides a convenient way to access and download fonts for your projects.
In this article, we will guide you through the process of downloading fonts from Adobe Fonts. Whether you’re a graphic designer working on a project, a web developer looking for unique typography options, or a casual user who wants to personalize your documents, this step-by-step guide will help you navigate the process effortlessly.
We will walk you through signing up for an Adobe Fonts account, browsing and selecting fonts, adding them to your projects, and finally, downloading the fonts to your computer. By the end of this article, you’ll have the knowledge and tools to enhance your designs with beautiful and diverse fonts from Adobe Fonts.
So, let’s get started and unlock a world of endless typographic possibilities!
Step 1: Signing up for Adobe Fonts
The first step to download fonts from Adobe Fonts is to sign up for an account. If you already have an Adobe ID, you can simply use that to log in. If not, you can easily create a new account by following these steps:
- Visit the Adobe Fonts website at https://fonts.adobe.com/.
- Click on the “Sign In” button located at the top right corner of the page.
- On the login page, click on the “Get an Adobe ID” link.
- Fill out the registration form with your email address, password, and other required information.
- Agree to the terms of service and privacy policy by checking the respective checkboxes.
- Click on the “Sign Up” button to create your Adobe ID.
After successfully signing up, you will be redirected to the Adobe Fonts website, where you can start exploring and downloading fonts.
It’s important to note that Adobe Fonts is available as part of an Adobe Creative Cloud subscription or as a standalone service. While some fonts are available for free, premium fonts may require a paid subscription. However, even with a free account, you still have access to a wide selection of high-quality fonts.
With your Adobe ID in hand, you’re now ready to dive into the world of Adobe Fonts and discover the perfect fonts for your projects. Now, let’s move on to the next step: browsing and selecting fonts.
Step 2: Browsing and selecting fonts
Once you have signed up for an Adobe Fonts account, it’s time to explore the vast collection of fonts available on the platform. Here’s how you can browse and select fonts:
- Visit the Adobe Fonts website and sign in to your account.
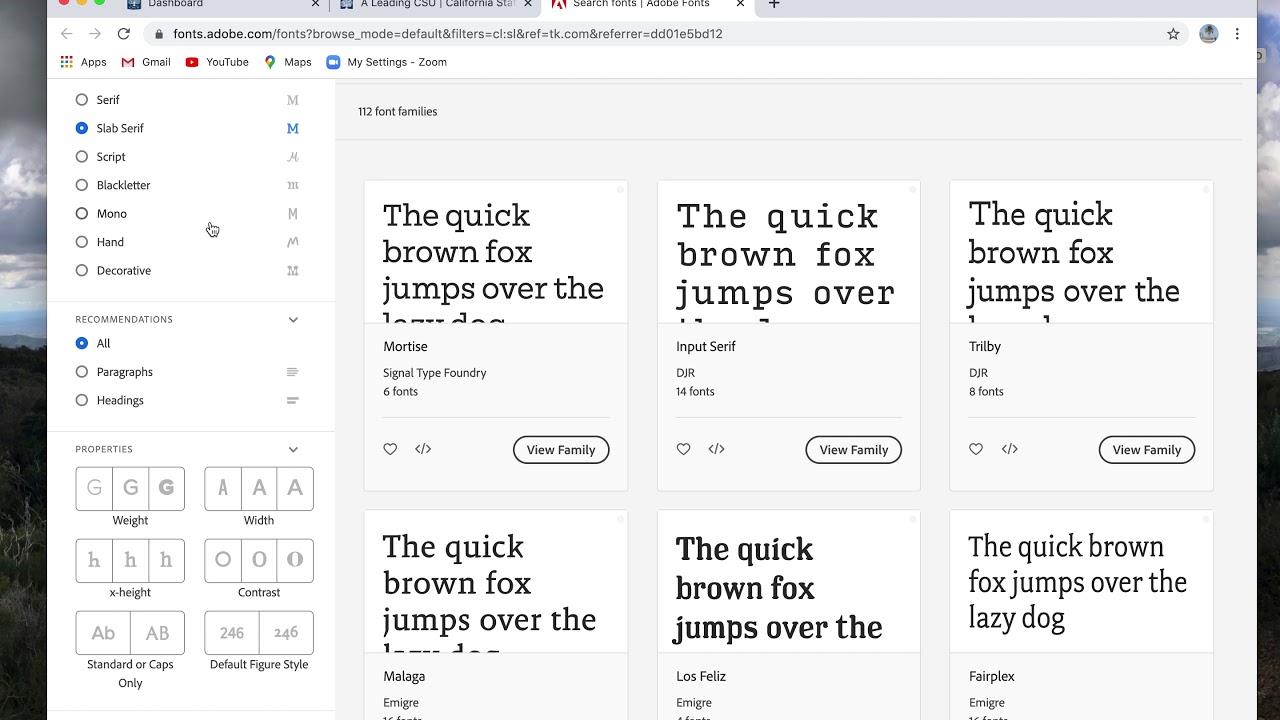
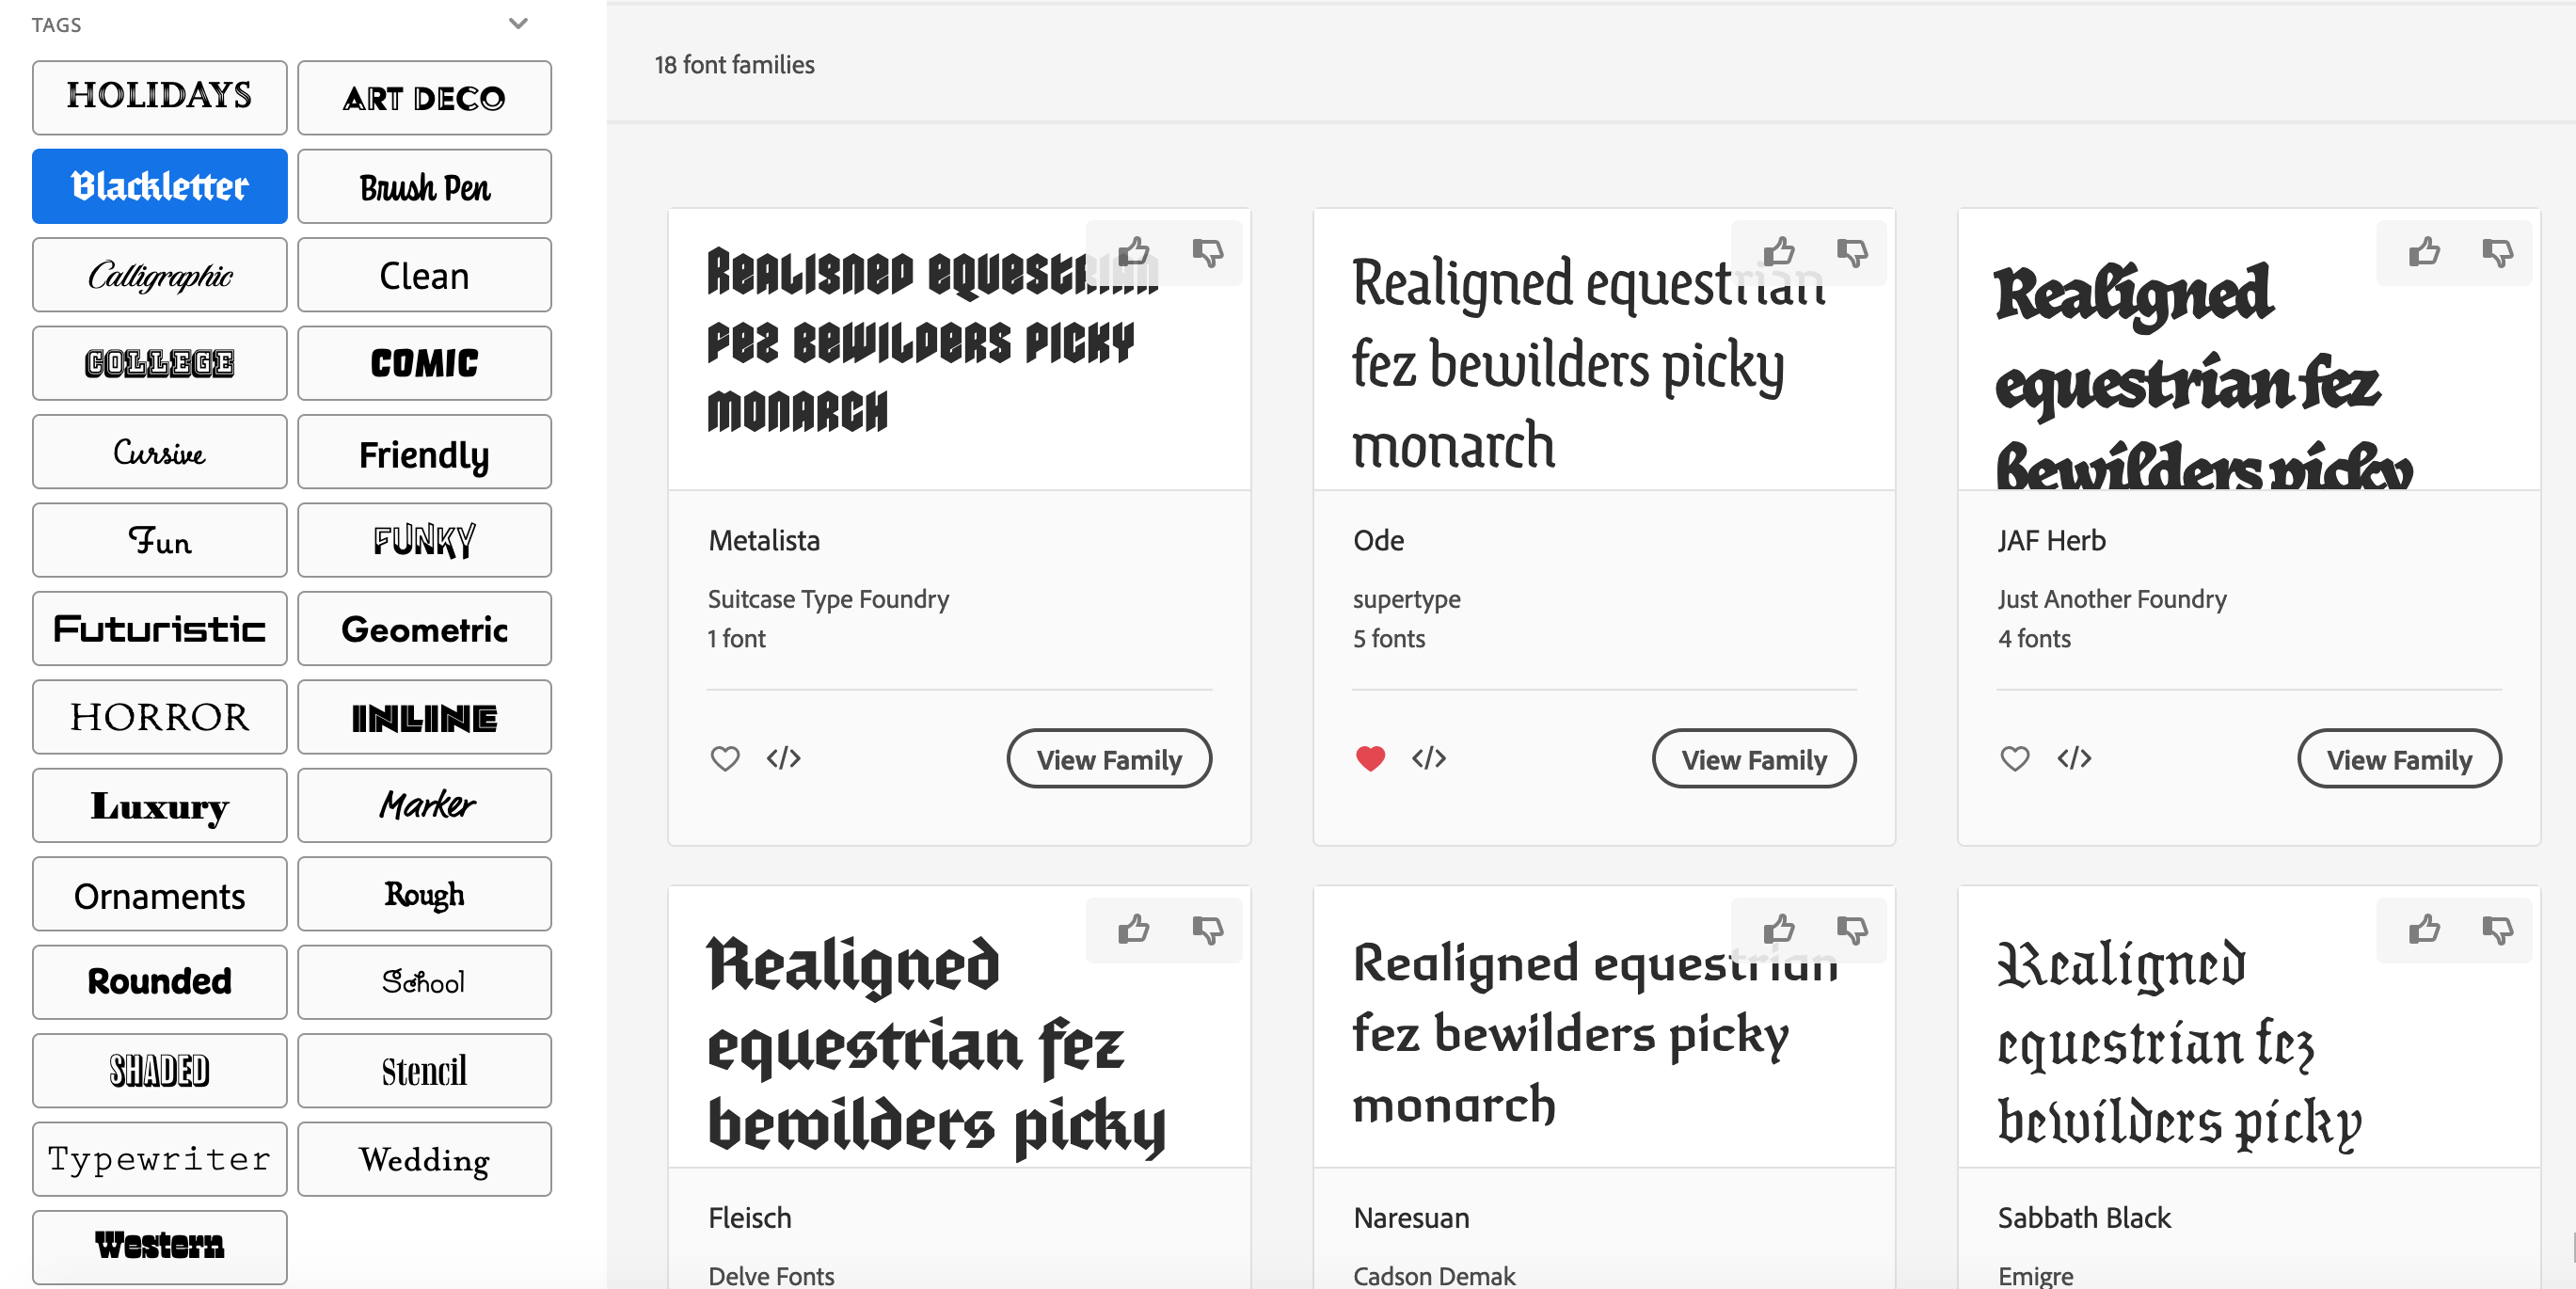
- On the homepage, you’ll see a variety of font categories, such as Serif, Sans Serif, Display, and Handwriting. You can browse through these categories to find fonts that match your design style or project requirements.
- Alternatively, you can use the search bar at the top of the page to search for specific fonts by name, designer, or keywords related to the desired style.
- As you explore different fonts, you can use the “Filter” option on the left side of the page to narrow down your search based on criteria like style, weight, and language support.
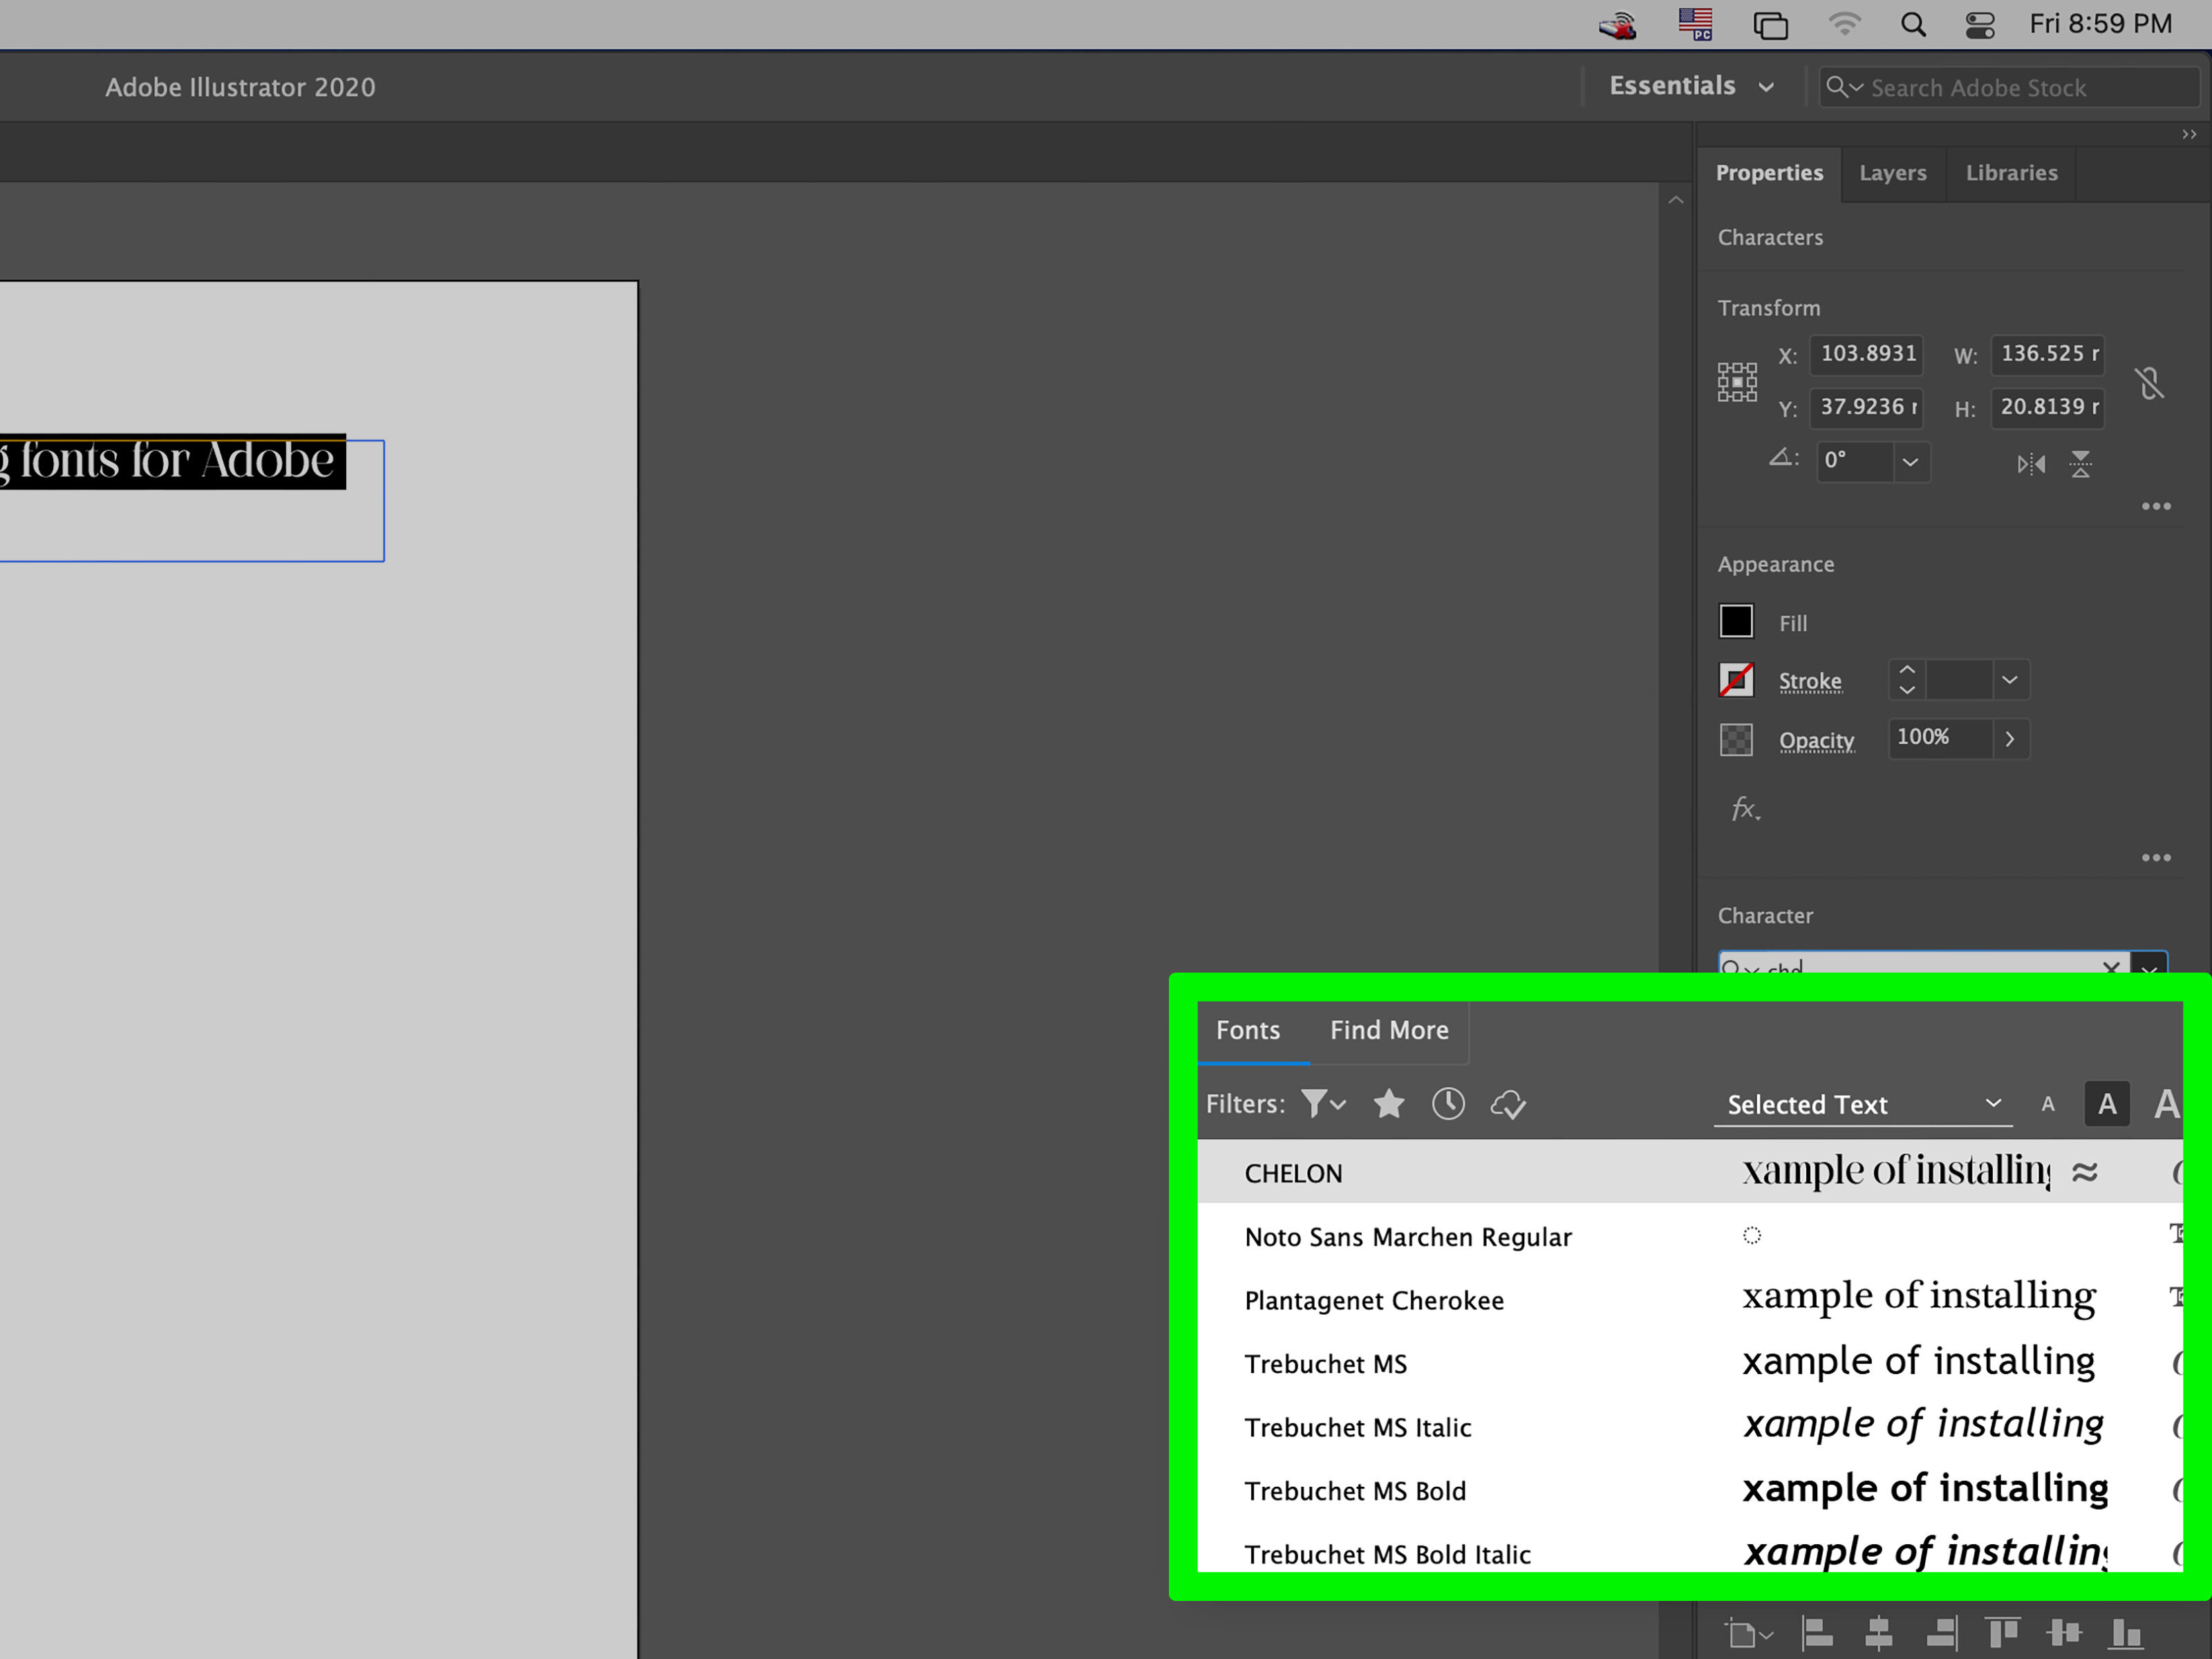
- When you come across a font that catches your attention, click on its thumbnail to view more details about the font, including an overview, character set, and additional information like the designer and usage restrictions.
- To assess how the font will look in different contexts, you can also preview it by typing in custom text or choosing from provided sample phrases.
- If you want to compare multiple fonts side by side, you can create a collection by clicking on the “Add to Collection” button below the font details. This allows you to gather your favorite fonts for easy access later on.
Remember to take your project’s needs and desired aesthetic into account when selecting fonts. Consider factors such as readability, suitability for different platforms (print, web, mobile), and the overall tone and visual impact you want to achieve.
Once you have browsed and selected the fonts that resonate with your project, it’s time to move on to the next step: adding fonts to your project.
Step 3: Adding fonts to a project
After browsing and selecting the fonts you want to use from Adobe Fonts, the next step is to add them to your project. Here’s how you can incorporate the fonts seamlessly:
- On the Adobe Fonts website, navigate to the font you wish to add to your project and click on its thumbnail to access its details.
- Under the font overview, you will find a code snippet in HTML and CSS format. This snippet contains the necessary code to embed the font into your project.
- To use the font on a website or web application, copy the provided code and paste it into the HTML or CSS file of the respective web page. Make sure to place the code within the appropriate tags or selectors.
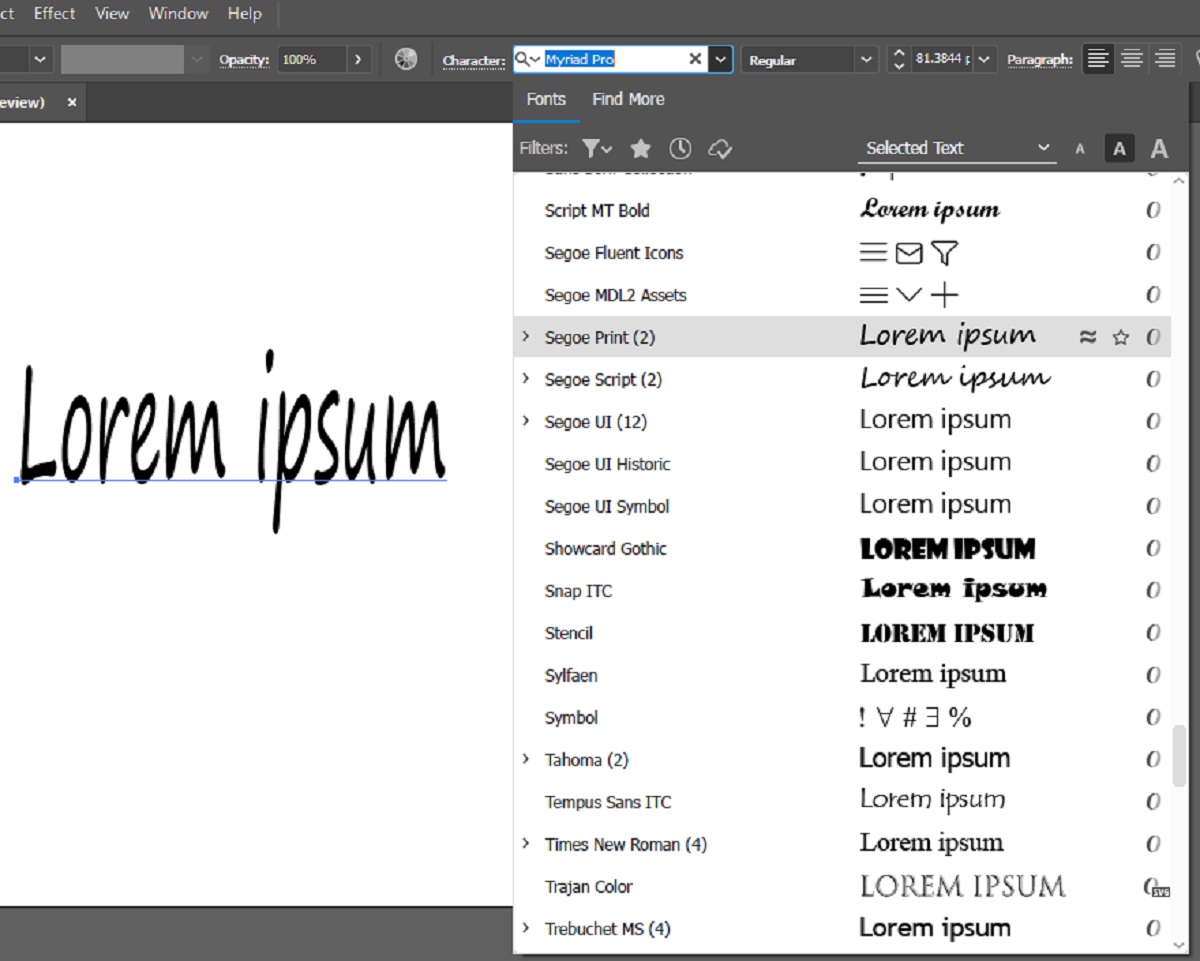
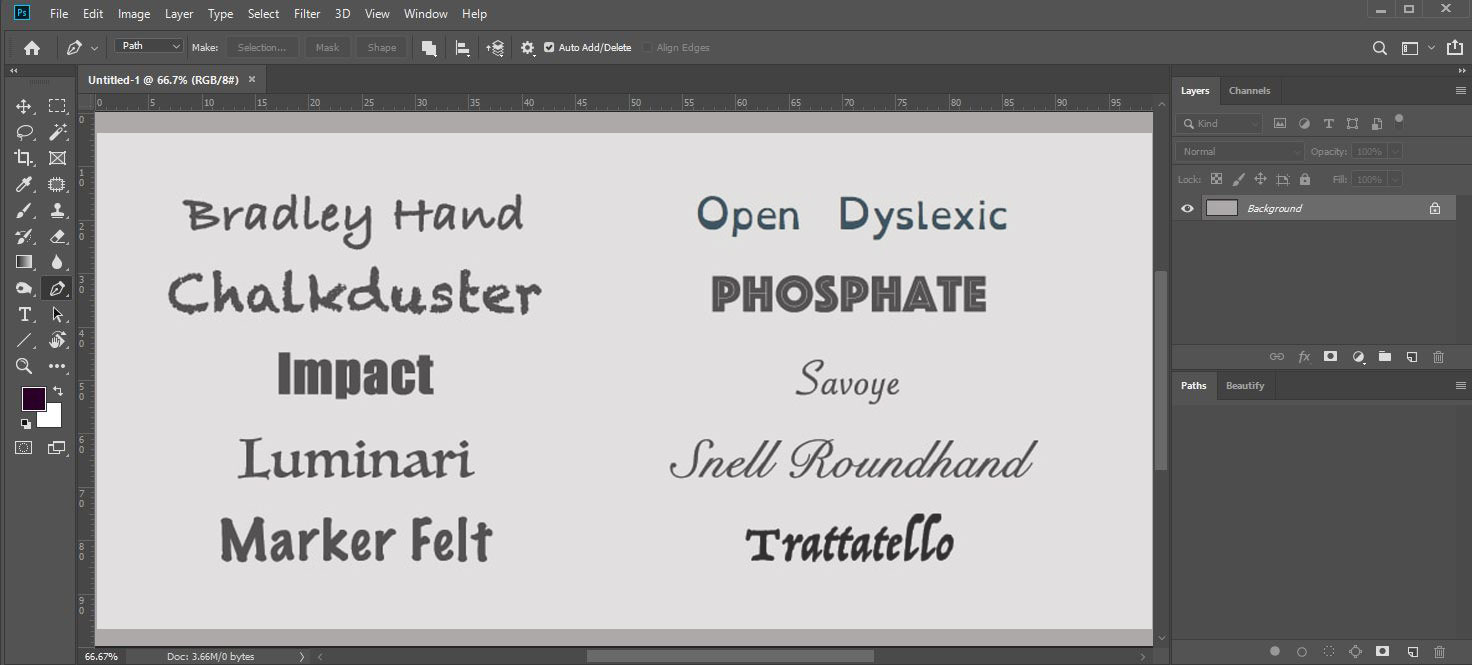
- If you’re working on a design project in an Adobe Creative Cloud application like Photoshop, Illustrator, or InDesign, you can activate the font directly within the software. Simply sync your Adobe Fonts account with the Creative Cloud application by clicking on the “Activate Font” button on the font details page.
- Once the font is activated in the Creative Cloud application, it will be available in the font selection drop-down menu, allowing you to use it in your designs.
- If you’re using other design software or platforms that do not have built-in integration with Adobe Fonts, you can manually download the font files and install them on your computer. To do this, click on the “Download” button on the font details page, and then follow the instructions to install the font on your operating system.
It’s important to note that when using web fonts in a project, the font files are loaded from the Adobe Fonts servers, ensuring consistent rendering across different devices and browsers.
By adding the selected fonts to your project, you can now proceed to the final step: downloading the fonts.
Step 4: Downloading fonts
Once you have added the desired fonts to your project, you may also want to have the font files downloaded and stored locally on your computer. Here’s how you can download fonts from Adobe Fonts:
- Visit the Adobe Fonts website and sign in to your account.
- Navigate to the font you wish to download and click on its thumbnail to access its details.
- On the font details page, you will find a “Download” button. Click on it to initiate the download process.
- Depending on your browser settings, the font file will either be automatically downloaded or prompt you to choose a location to save the file.
- Once the font file is downloaded, locate it on your computer and extract the file if it is in a compressed format, such as a ZIP file.
- To install the font on your operating system, simply double-click on the font file and click the “Install” button when prompted. The font will be added to your system’s font library and can be accessed by any application on your computer.
By downloading the fonts, you have the flexibility to use them in various projects, even if you are not connected to the internet or do not have access to Adobe Fonts.
It’s important to note that downloaded fonts may be subject to certain licensing restrictions. Make sure to review the font’s license agreement to understand any limitations on usage, such as the number of installations or the platforms on which the font can be used.
Congratulations! You have successfully downloaded fonts from Adobe Fonts and installed them on your computer. Now, you can unleash your creativity and incorporate these unique and beautiful typefaces into your designs.
Conclusion
Downloading fonts from Adobe Fonts opens up a world of possibilities for designers, creatives, and enthusiasts. The step-by-step process we have covered in this guide enables you to sign up for an account, browse and select fonts, add them to your projects, and download them for offline use. By following these steps, you can enhance your designs with unique and high-quality typography.
Remember, Adobe Fonts offers a diverse collection of fonts that caters to various styles and design needs. Take the time to explore different categories, use the search function to find specific fonts, and create collections to gather your favorites for easy reference.
Whether you are designing for the web, print, or any other medium, Adobe Fonts provides the flexibility to seamlessly integrate fonts into your projects. Activate fonts within Adobe Creative Cloud applications or manually download and install them on your computer for offline use.
Before downloading fonts, it is important to consider the licensing restrictions that may apply. Ensure you review the font’s license agreement to understand any usage limitations and comply with the terms and conditions.
With Adobe Fonts, you have the power to elevate your designs with exceptional typography that stands out. So, sign up for an account, explore the extensive font library, and take your creative endeavors to new heights!